

GM8 Group GutterMate RBM-GUTWB Installation Manual
Installation Guide For 160L Terracottage
(E)
(D)
Wall Mounted Water Butt
This is the installation guide for the 160L Terracottage Wall Mounted Water Butt (product code RBMGUTWB) and applies to other terracottage products within bigger packages. This water butt weighs 10kg
when empty so it is the customer’s responsibility to determine, if the wall has adequate strength to support
the water butt when full of water. The total weight when full and to be supported is 170kgs (a litre of water
weighs approx. 1 kg).
Here are 8 simple steps on how to install the Wall Mounted Terracottage Water Butt
Step 1
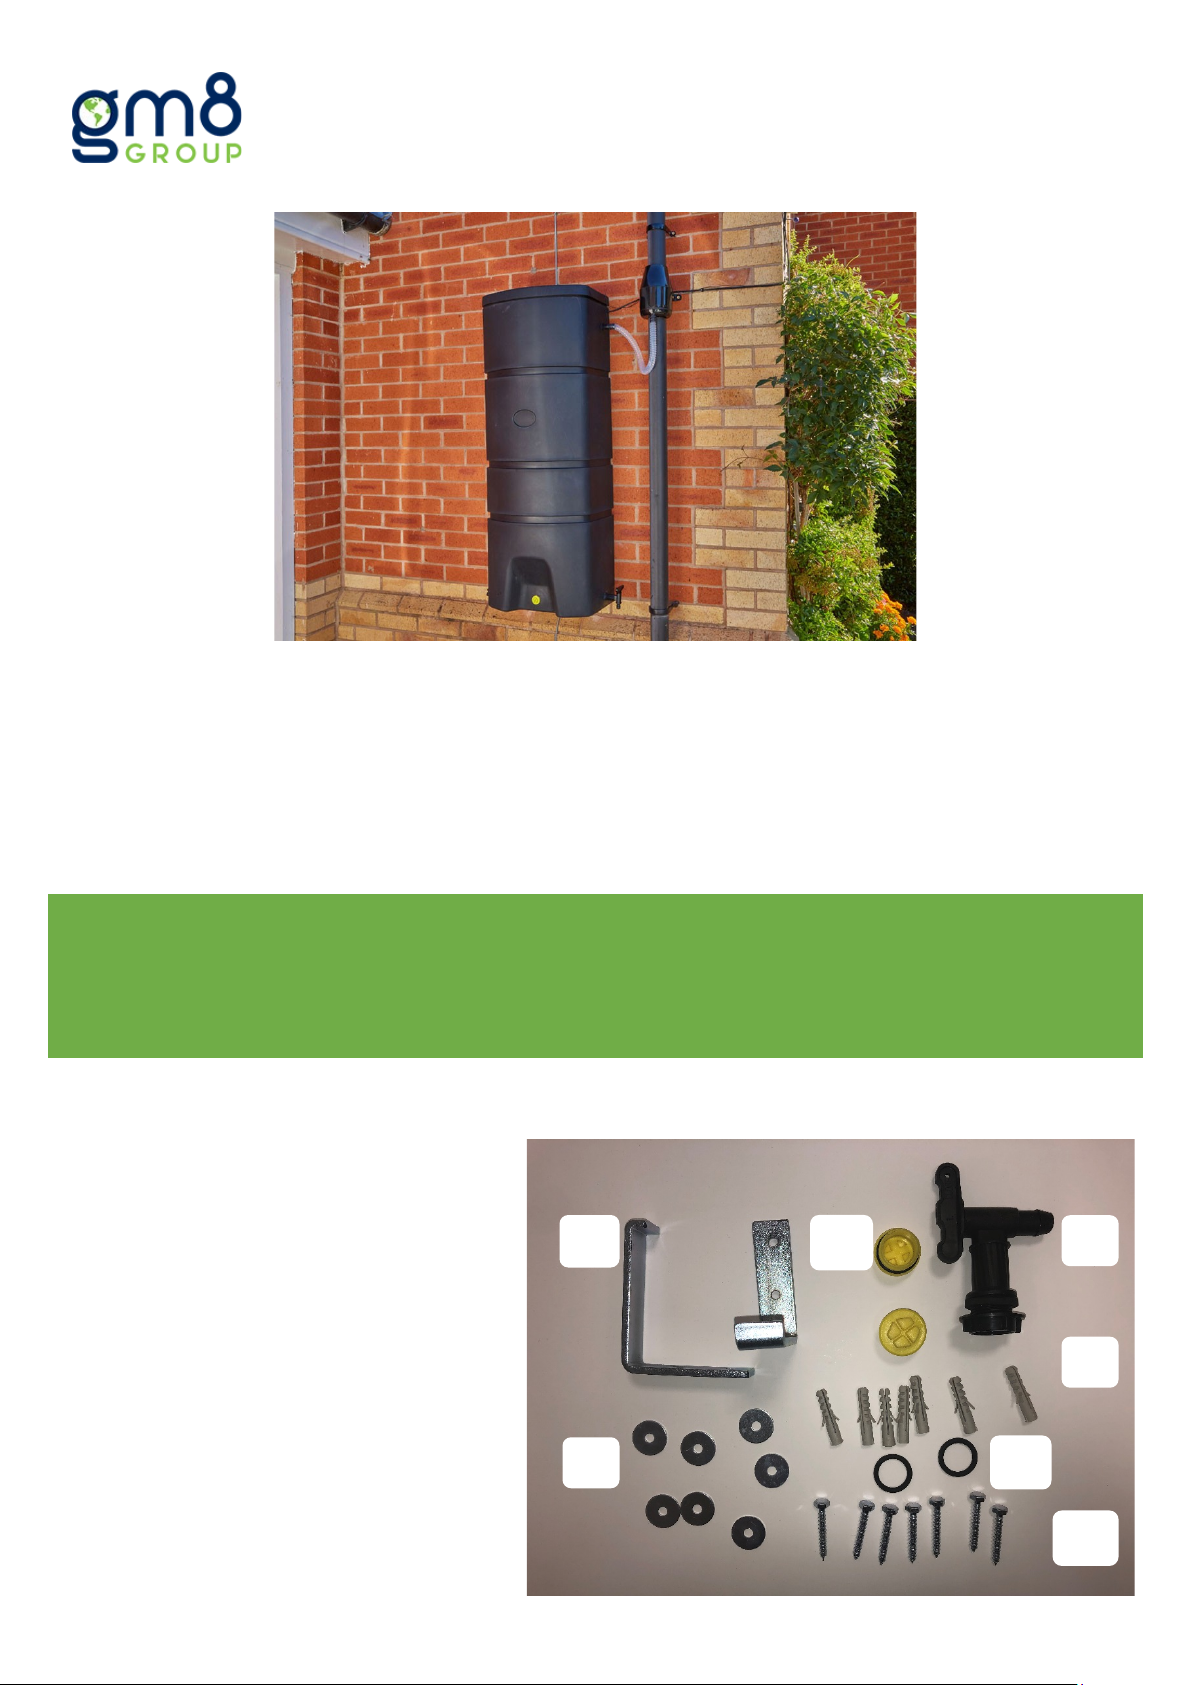
Before getting started, please check your delivery package against the image and list below to ensure it
contains all the correct items.
The pack includes:
• (A) 2 brackets
• (B) 1 tap
• (C) 2 yellow blanking plugs
• (D) 7 screws
• (E) 7 rawl plugs
• (F) 7 washers
• (G) 2 rubber o-rings
(A) (C)
(B)
Do not use any substitutes for these parts.
(F)
(G)
Step 2
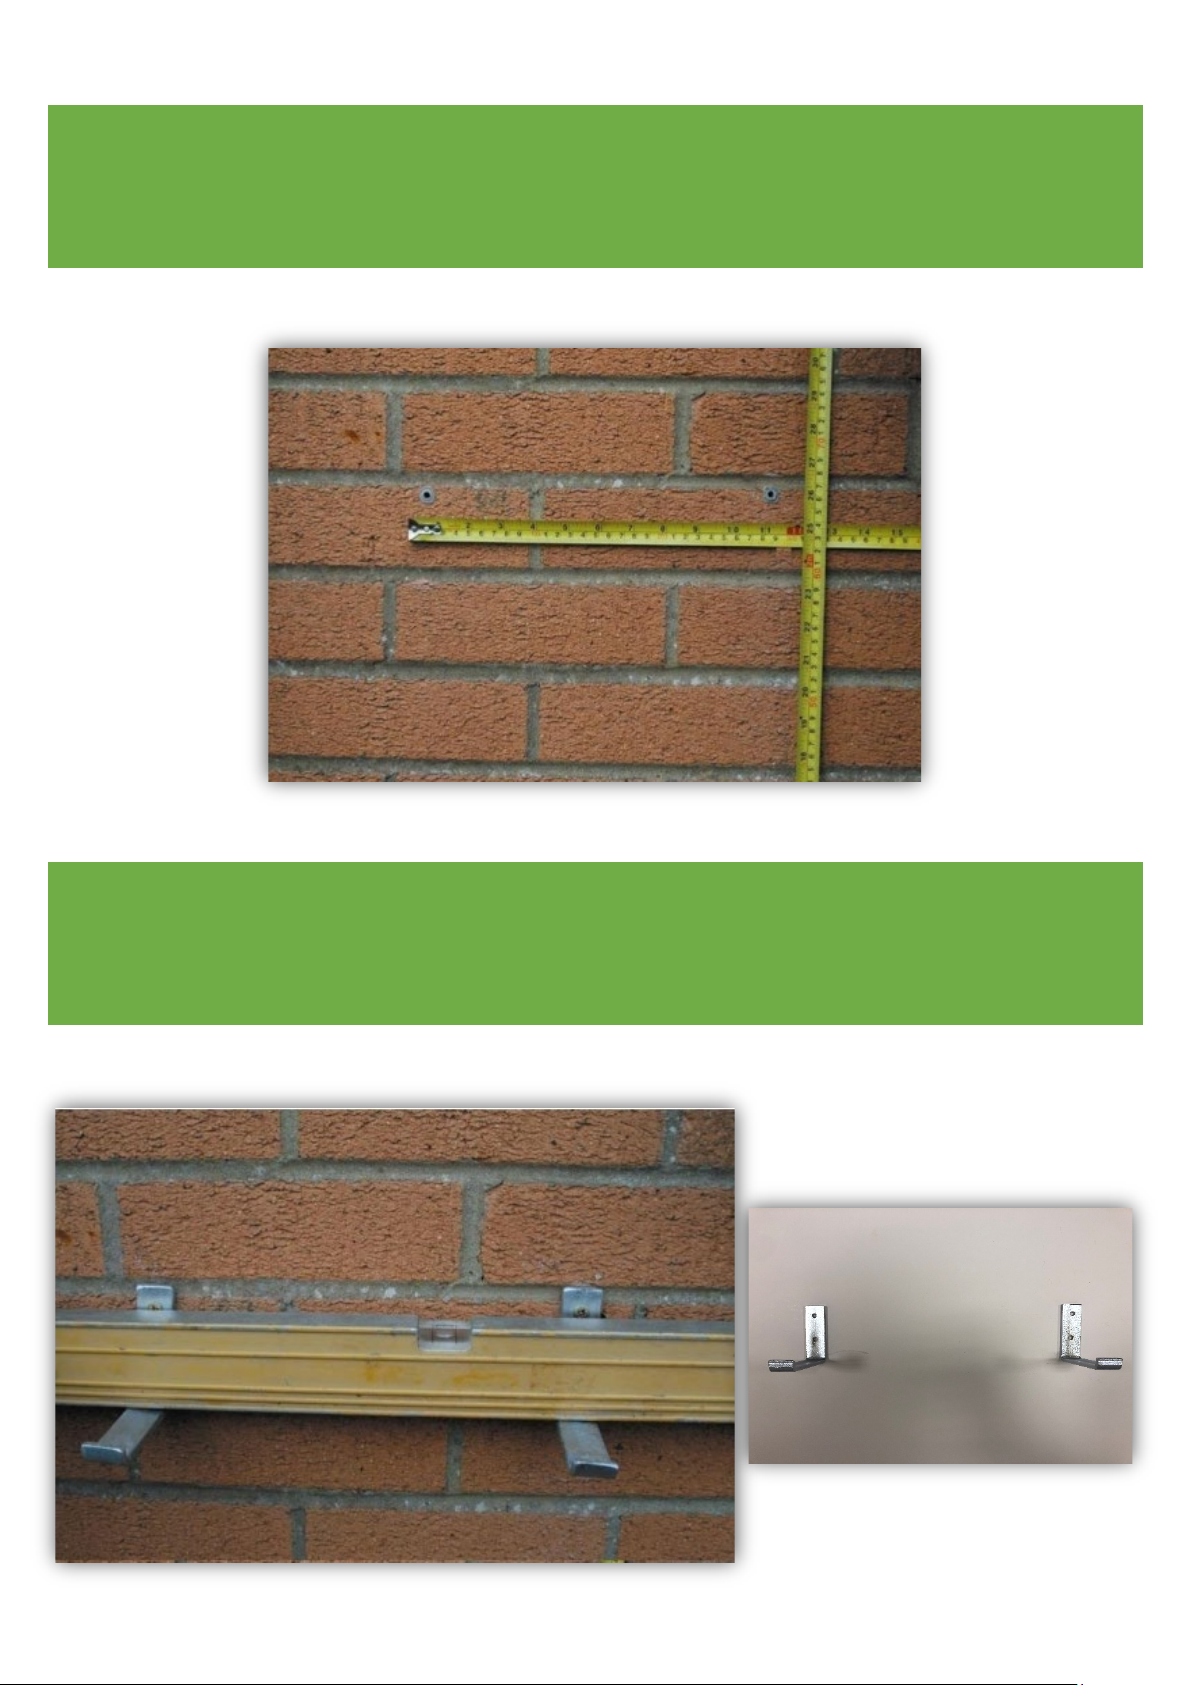
You will need to mount the water butt on the wall a minimum of 30cm (or higher if using a tall watering can)
from the ground. Height from the ground is dependent on the bucket or can that will be filled. The brackets
are fixed 30 cm apart.
Step 3
Make sure both brackets are level before fixing. Brackets must be fixed facing upwards (see images).
Brackets are fixed properly to take the weight of a full water butt. Mark the holes with a pen, pencil or the
end of a screw.
 Loading...