

Gloview FP3 Quick Start Manual

Manual for FP3 Board
FINGER TOUCH PORTABLE INTERACTIVE WHITEBOARD
FP3 BOARD
QUICK START GUIDE
V 4.0

Manual for FP3 Board
Contents
Package……………………………….……………….1
Hardware Installation...……… ……………………..1
Adjust the hardware......................….............…….4
Software installation ...................................................4
Automatic Calibration…………………….…….……….8
Manual Calibration………………………………..………9
Manual for FP3 Board
1
Quick Start Guide
Package:
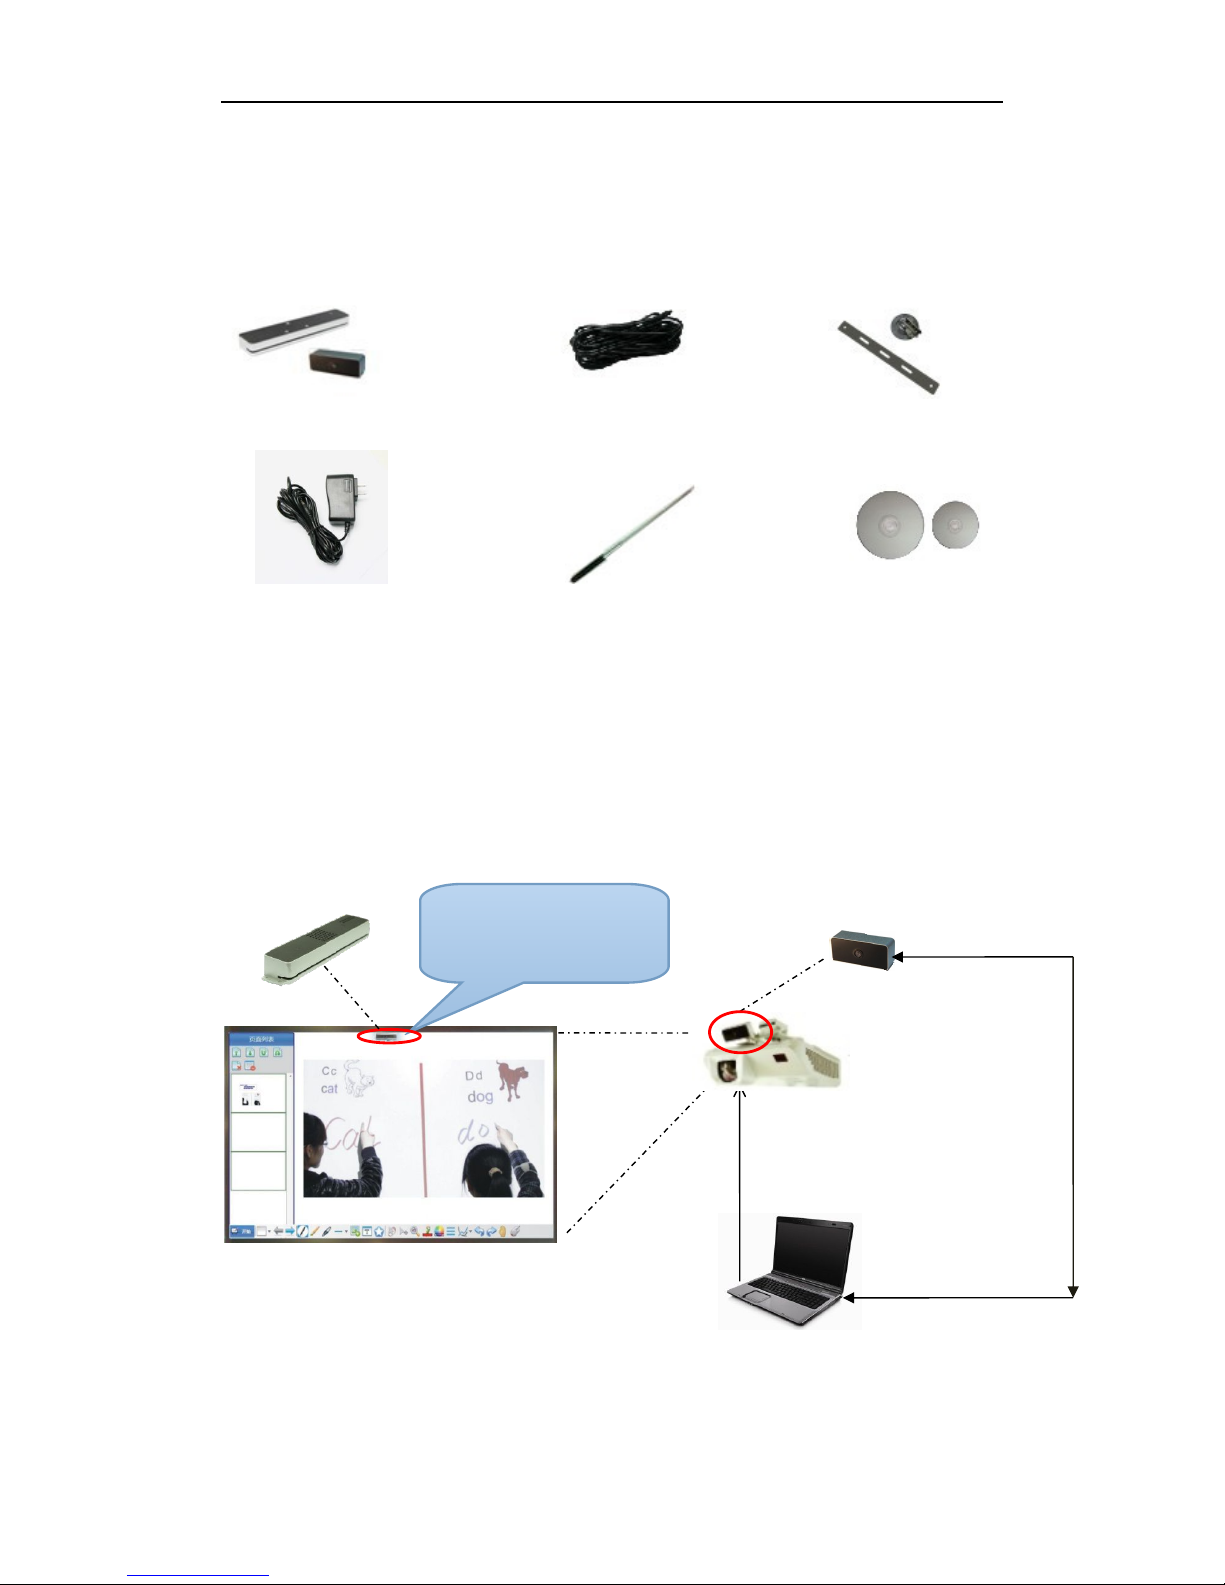
Device (Sensor and Emitter) 12m USB Cable Mounts
Power Adaptor Pointer CDs
Installation preparation:
Projector, Computer (Vista, XP, Windows 7, Windows 8), Flat whiteboard (Must very flat)
Hardware Installation
Connection Topological graph:
Requirement for installation
1. The whiteboard should be flat, more flat, better touch feeling.
2. It is better to use curtain if the room be full of sunshine.
Sensor
Attach to the projector
USB
VGA
Emitter ( 5V,1A )
Size:3.5cm*17cm*2.4cm
Manual for FP3 Board
2
3. USB cable or adapter cable cannot be cut or extended.
4. Leave 7cm space above the projection screen before you install the projection, such space for install
the emitter.
5. Put a adhesive tape on the middle of emitter(the central point of projection screen must on straight
line with the central point the emitter)
6. Must use the screw to install emitter for long-term use
7. Camera use the mount install beside or on the projector, make sure the camera is fixed after adjusting
the projection screen in the camera’s view.
8. One emitter support 90inch,two emitter support double screen under 180inch.
Installation
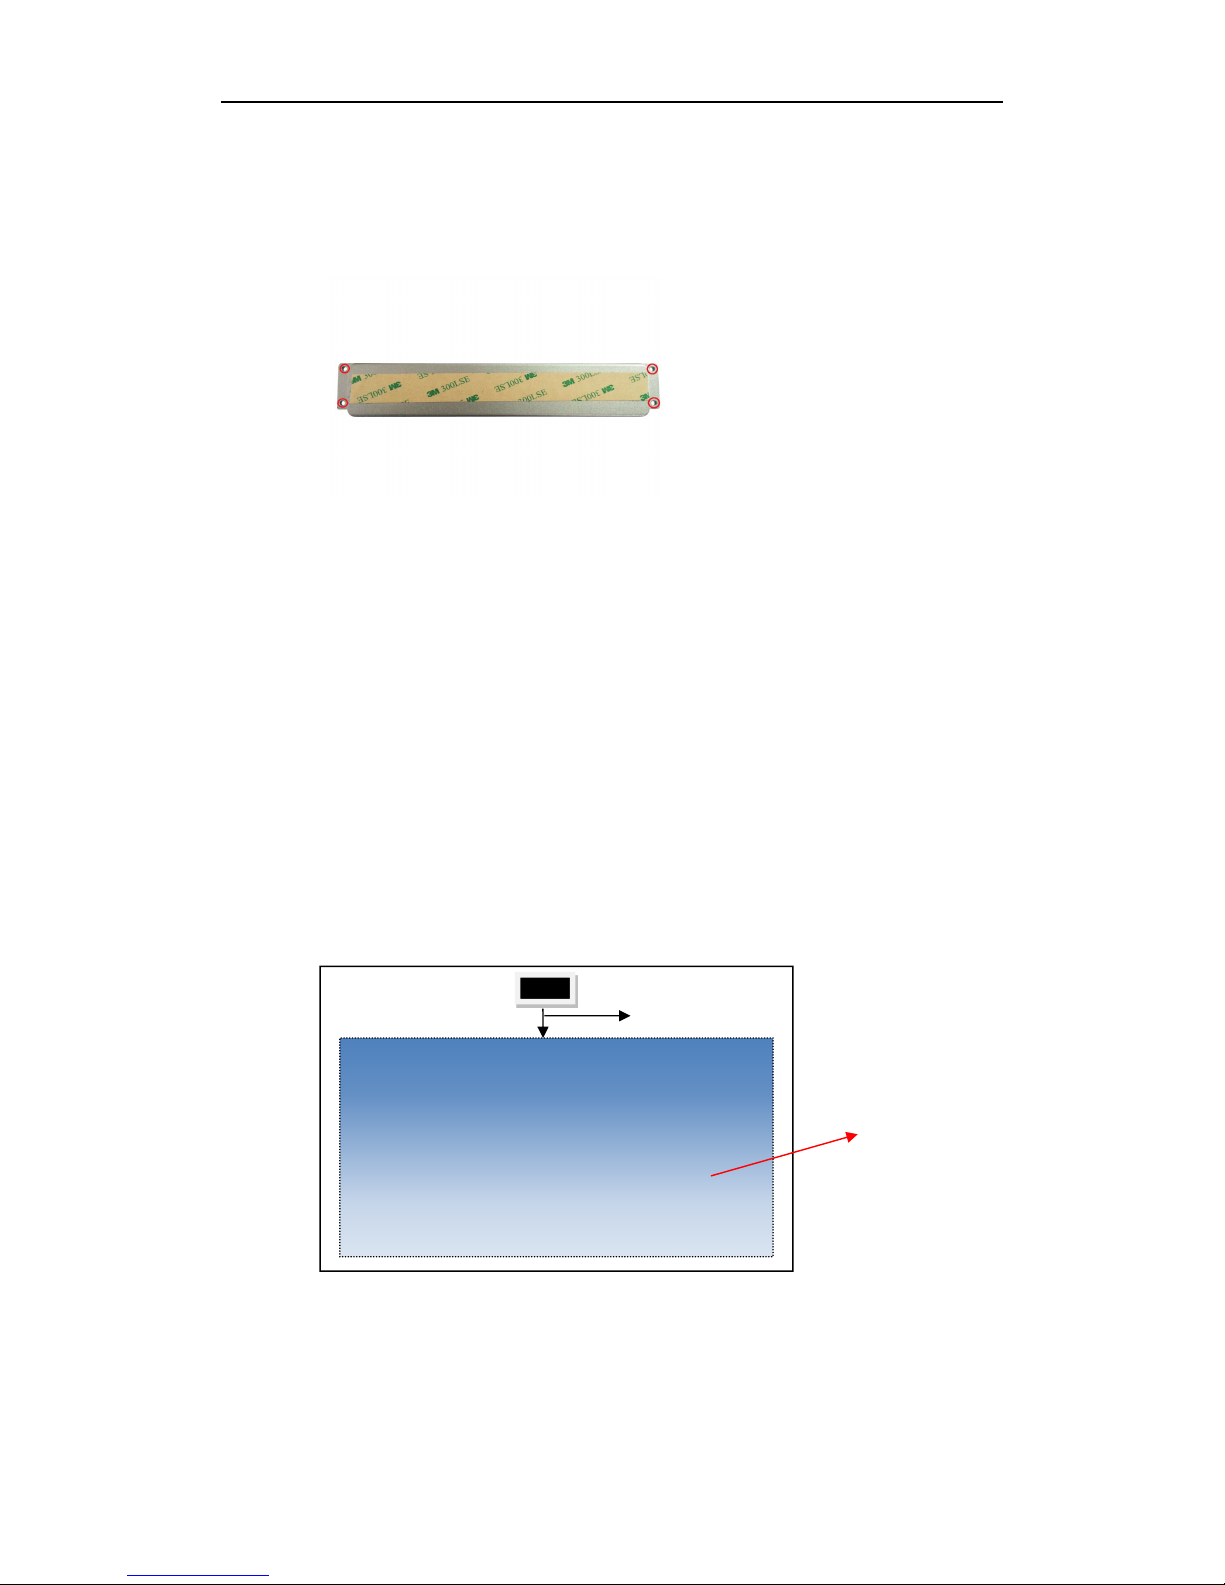
Step 1:
Emitter installation: Make sure the projection screen between 40”-90”. Put the emitter part on the upper
middle of the projection screen by screws.
*Please leave a space about 3cm between emitter and the projection screen’s upper edge (as below
Pic1).
* Don't install the Emitter to the frame of board.
Projection screen
Pic 1
FP3 Board (emitter)
3cm
 Loading...