

Page 1
Serial #:
Canada Model
IR1800-C
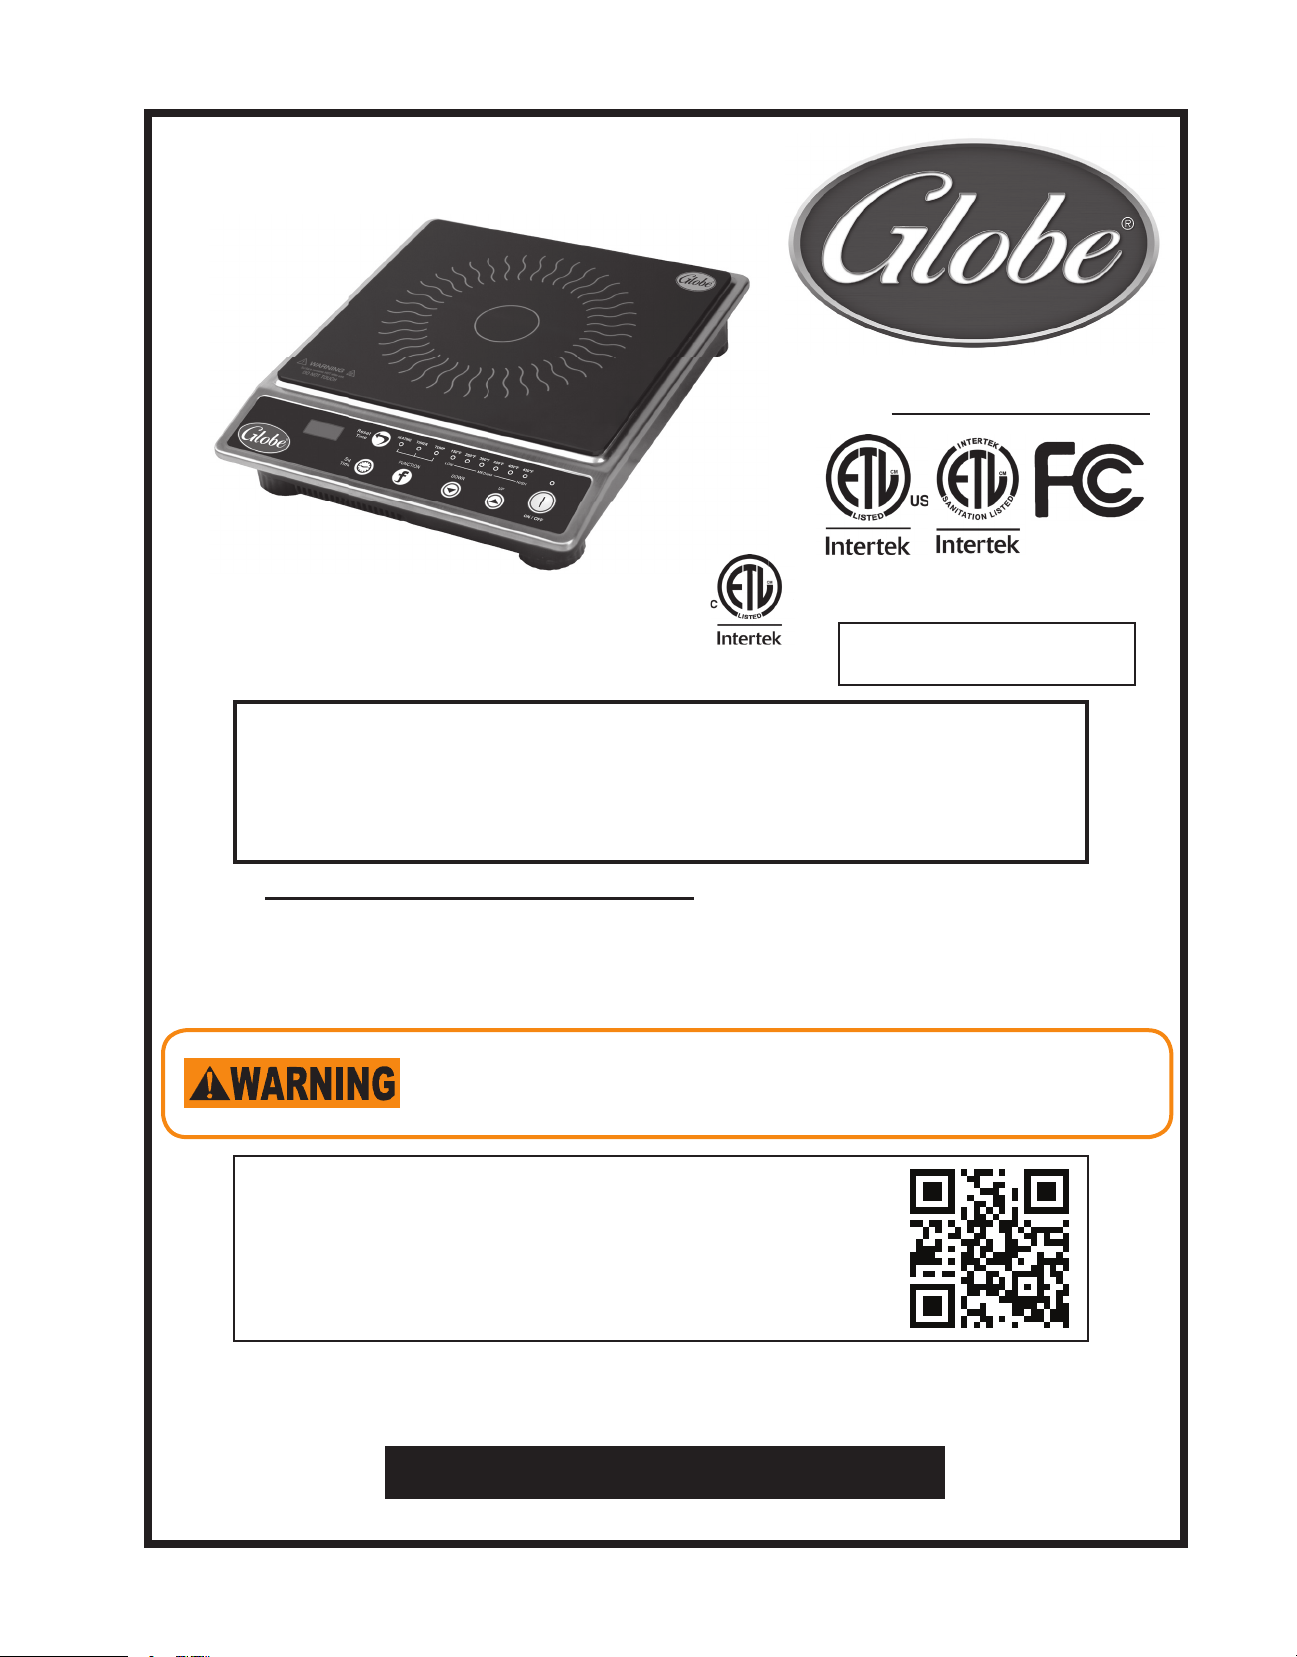
Globe Cooking Products Conform to
NSF-4 and UL STD. 197 Standards
Instruction Manual for the
Globe 1800W Countertop Induction Range
Model
For Service on Your Induction Range:
1. Visit our website at www.globefoodequip.com
2. Or call the Globe Service Department at 937-299-8625 and ask for contact
information for your local service company.
IMPORTANT: PERSONS WITH PACEMAKERS
Persons with pacemakers should stay at least 3 feet away from the induction range.
When using the induction range with the general public, a pacemaker notice should
be posted near the equipment when in use.
WARRANTY REGISTRATION
SCAN THE QR CODE WITH YOUR MOBILE DEVICE OR GO TO
WWW.GLOBEFOODEQUIP.COM
TO FILL OUT AND SUBMIT YOUR WARRANTY REGISTRATION.
IR1800 / IR1800-C
www.globefoodequip.com/support/warranty-registration-form
Visit our website for information on additional products available from Globe.
www.globefoodequip.com
Slicers, Mixers, Countertop Cooking Equipment, Meat Choppers & Scales
- IMPORTANT SAFETY NOTICE -
This manual contains important safety instructions which must be strictly followed when using this equipment.
Page 2

Index
2153 DRYDEN RD.
DAYTON, OH 45439
PHONE: 937-299-5493
TOLL FREE: 800-347-5423
FAX: 937-299-4147
E-MAIL: info@globefoodequip.com
ATTENTION OWNERS AND OPERATORS ................................................................................................................3
INSTALLATION ....................................................................................................................................................... 4-5
SAFEGUARDS & SAFETY INSTRUCTIONS ......................................................................................................... 6-7
OPERATING INSTRUCTIONS ................................................................................................................................ 7-9
CLEANING INSTRUCTIONS ....................................................................................................................................10
TROUBLESHOOTING ..............................................................................................................................................11
LIMITED INDUCTION RANGE WARRANTY ............................................................................................................12
GLOBE FOOD EQUIPMENT COMPANY
2153 DRYDEN RD.
DAYTON, OH 45439
PHONE: 937-299-5493
TOLL FREE: 800-347-5423
FAX: 937-299-4147
E-MAIL: info@globefoodequip.com
WEBSITE: www.globefoodequip.com
WARRANTY REGISTRATION
SCAN THE QR CODE WITH YOUR MOBILE DEVICE OR GO TO
WWW.GLOBEFOODEQUIP.COM
TO FILL OUT AND SUBMIT YOUR WARRANTY REGISTRATION.
www.globefoodequip.com/support/warranty-registration-form
© Globe Food Equipment Company, 2014 Printed 01-2014
Ver. 1 Rev 3_2014
Page 3
Attention Owners and Operators
Globe equipment is designed to provide safe and productive processing, cooking and warming of food products as long
as the equipment is used in accordance with the instructions in this manual and is properly maintained. Unless the
operator is adequately trained and supervised, there is a possibility of serious injury. Owners of this equipment bear
the responsibility to make certain that this equipment is used properly and safely, to strictly follow all of the instructions
contained in this manual, and adhere to the requirements of local, state or federal law.
Owners should not permit anyone to touch this equipment unless they are over 18 years of age, are adequately trained
and supervised, and have read and understand this manual. Owners should also ensure that no customers, visitors
or other unauthorized personnel come in contact with this equipment. Please remember that Globe cannot anticipate
every circumstance or environment in which its equipment will be operated. It is the responsibility of the owner and
the operator to remain alert to any hazards posed by the function of this equipment. If you are ever uncertain about a
particular task or the proper method of operating this equipment, ask your supervisor.
This manual contains a number of precautions to follow to help promote safe use of this equipment. Throughout the
manual you will see additional warnings to help alert you to potential hazards.
Warnings affecting your personal safety are indicated by:
or
Warnings related to possible damage to the equipment are indicated by:
If the warning label or this manual are misplaced, damaged, or illegible, or if you require additional copies, please
contact your nearest representative or contact Globe directly to request these items at no charge.
Please remember that this manual and the warning label do not replace the need to be alert, to properly train and
supervise operators, and to use common sense when using this equipment.
Page 3
Page 4

Installation
UNPACKING
Unpack the induction range immediately after receipt. If the machine is found to be damaged, save the packaging
material and contact the carrier within fteen (15) days of delivery. Immediately contact Globe or your local dealer
of the equipment. You have no recourse of damage after fteen (15) days.
TO AVOID SERIOUS PERSONAL INJURY:
• ALWAYS install equipment in a work area with adequate light and space.
• ONLY operate equipment on a solid, level, nonskid surface that is nonammable and away from sinks
and water hazards.
• NEVER bypass, alter or modify this equipment in any way from its original condition. Doing so may create
hazards and will void warranty.
• PERSONS WITH PACEMAKERS - Persons with pacemakers should stay at least 3 feet away from the
induction range. When using the induction range with the general public, a pacemaker notice should be
posted near the equipment when in use.
PROPER GROUNDING
THIS MACHINE IS PROVIDED WITH A THREE-PRONG GROUNDING PLUG. THE OUTLET TO WHICH THIS
PLUG IS CONNECTED MUST BE PROPERLY GROUNDED. IF THE RECEPTACLE IS NOT THE PROPER
GROUNDING TYPE, CONTACT AN ELECTRICIAN. DO NOT, UNDER ANY CIRCUMSTANCES, CUT OR
REMOVE THE THIRD GROUND PRONG FROM THE POWER CORD OR USE ANY ADAPTER PLUG
(Fig. 5-1 and Fig. 5-2).
Fig. 5-1 Correct Fig. 5-2 Incorrect
1. Complete the warranty register online at www.globefoodequip.com/support/warranty-registration-form.
2. Induction range and outside covering/containment unit may become HOT after use. Use caution when
touching the unit.
SAVE THESE INSTRUCTIONS
Power Cord:
• A shorter power cord is provided to reduce the risk of someone becoming entangled or tripping.
• Proper Use of Extension cord, if required.
1. The extension cord should be a grounding-type 3-wire cord: the marked electrical rating of the extension
cord should be at least as great as the electrical rating of the appliance.
2. The cord should be arranged so that it will not drape over the countertop or tabletop where it can be pulled
on by patrons or tripped over.
3. Check local re and safety ordinances before using an extension cord.
Page 4
Page 5

Installation
INSTALLATION
1. Read this manual thoroughly before installation and operation. DO NOT proceed with installation and
operation if you have any questions or do not understand anything in this manual. Contact your local
representative or Globe rst.
2. Remove the induction range from the box. Once your induction range has been removed from the
packaging, be certain that all protective plastics and residues are removed from all surfaces.
4. Inspect the induction range upon removing the packing material.
3. Select a location for the induction range that has a level, solid, nonskid surface that is nonammable and away
from water hazards or sinks, and is in a well-lit work area.
5. Install the induction range with at least 5'' between the appliance and walls or other objects.
6. Proper connections and power supply are essential for efcient performance.
This equipment gets EXTREMELY HOT so make sure all ammable/combustible
materials are set away from this equipment.
COMMISSIONING:
Commissioning of your new Induction range is of the utmost importance. Commissioning is the thorough and
methodical testing of the equipment, sub systems, and systems to ensure that the nal product functions properly
and safely at the work site. By identifying any potential problems (i.e.: equipment location, ventilation, local re/
electrical codes, installation, operator training and certication) prior to equipment being placed into service, costly
outages and potential damages may be avoided.
SAFETY ALWAYS.
APPROVED COOKWARE MATERIALS - Ferromagnetic Cookware only
Suitable Pans:
Steel or cast iron, enameled cast iron, stainless steel, and aluminum if marked “suitable for induction cooking”,
at-bottom pans/pots with a diameter of 12-26 cm or 4.75-10.25 inches. (If a magnet sticks to the bottom of the
pan, it will work with the induction range)
Unsuitable Pans or Pots:
Heat-resistant glass, ceramic containers, copper pans, pots with feet, stainless steel and aluminum if marked “not
suitable for induction cooking”, pottery, or bronze materials. Round-bottom pans or pots with their base measuring
less than 12 cm or 4.75 inches.
Page 5
Page 6

Safeguards & Safety Instructions
IMPORTANT: PERSONS WITH PACEMAKERS
Persons with pacemakers should stay at least 3 feet away from the induction range.
When using the induction range with the general public, a pacemaker notice should
be posted near the equipment when in use.
TO AVOID SERIOUS PERSONAL INJURY:
• DO NOT operate the induction range on, near or around microwaves.
• DO NOT operate the induction range before reading the instruction manual.
• ALWAYS disconnect or unplug electrical power before cleaning, servicing or adjusting any parts or
attachments.
• NEVER bypass, alter, modify or attach any unauthorized parts to this equipment.
Doing so may create hazards and will void warranty.
• NEVER operate the induction range with a damaged power cord or plug.
• NEVER leave the induction range on overnight or for prolonged periods of non-use.
• NEVER use the induction range as a heating source for your kitchen, space, or room.
• ALWAYS keep hands, hair and cloth away from heating elements.
IMPORTANT SAFEGUARDS & SAFETY INSTRUCTIONS INCLUDING THE FOLLOWING:
When using electrical appliances, basic safety precautions should always be followed.
DO NOT operate induction range if unit appears damaged or malfunctions in any
manner. Call customer service for assistance.
• Do not touch ceramic plate surface while, or after, cooking as ceramic surface will become hot.
from heat generated by cooking pan.
• To protect against electric shock, do not immerse cord, plugs, or appliance in water or any liquid.
• Do not put induction range in a dishmachine for cleaning.
• Close supervision is necessary when induction range is being used. Operator must be properly trained on all
operational and safety procedures, especially when using near children.
• Unplug unit when not in use and before cleaning. Allow unit to cool before moving or cleaning.
• The use of any accessories or cooking pans which are not recommended by the manufacturer may cause
re or injuries.
• Do not use outdoors. For indoor use only.
• Do not allow power cord to hang over edge of table or counter, or to touch hot surfaces.
• Do not place the induction range in, on, or near open ames, electric burners, heated ovens, or other high
temperature equipment or surroundings.
• To disconnect, turn off all controls, then gently remove plug from wall outlet.
• Do not use induction range for anything other than cooking. Always use suitable, ferromagnetic pans/pots.
• Do not immerse induction range in water, as this will cause permanent damage to unit.
• Do NOT use if ceramic cooktop should break or crack, as cleaning solutions and spill-overs may
penetrate the broken cooktop and could create an electric shock risk.
• Before Cleaning Ceramic Plate Surface – Unit must be unplugged and cool to touch. Wipe ceramic
plate with damp cloth and only use a non-abrasive glass cleaning solution on spills.
Page 6
Page 7

Safeguards & Safety Operating Instructions
• Caution - To ensure continued protection against risk of electric shock, connect to properly grounded
outlet only.
• Do not heat empty pans or pots as this will automatically activate the over-heating protection device and
shut off the unit. Never heat any sealed metal cans on induction range as this could cause them to explode
and the unit to shut down.
• Do not place metallic objects such as knives, forks, spoons, lids, cans and aluminum foil on, or near, the top
glass plate.
• Allow sufcient space around the cooking area and always place unit on a level at surface. Do not block the
air-intake panel as this may cause unit to overheat. Keep unit a minimum of 5'' from wall, other equipment,
and obstructions to allow for proper ventilation.
• Never use or place the unit on a low surface, heat-resistant or ammable materials (carpet, vinyl, paper,
or fabric).
• NEVER place any paper between the cooking pan and the cooking plate as the paper could ignite.
• NEVER submerge the unit in water and DO NOT put unit in a dishmachine.
• When storing, DO NOT place any object(s) on top of the induction range. This could cause damage to the
cooking surface and/or the unit.
• Items such as radios, televisions, automatic-banking cards, cassette tapes, microwaves, etc. can be damaged.
• Persons with a pacemaker should not operate and/or come within 3 feet of an operating induction range.
Operating Instructions
Operating the Induction Range
Before operating the induction range, check to see that it is sitting level.
NOTE: Upon rst use, induction range may produce a metal-burning odor.
This is normal and will dissipate with use.
Cookware : Suitable / Ferromagnetic cookware includes :
- Steel or enameled cast iron
- Iron, steel or non-enameled cast iron
- 18/0 stainless steel and aluminium (if marked suitable for induction cooking)
Unsuitable cookware includes:
- Cookware with a diameter of less than 12cm
- Ceramic or glass cookware
- Stainless steel, aluminium, bronze or copper cookware, unless marked as suitable for induction cooking
- Cookware with feet
- Cookware with a rounded bottom (e.g. wok)
CONTROL PANEL
6 9 10 11
2
41 3
127 8
1. Heat indicator light
2. Timer indicator light
3. Temp (F) indicator light
5
4. Temperature and heat range indicator lights
5. Power indicator light
6. LED Display
7. Reset Time button
8. Set Time button
9. Function button
10. Decrease time, temperature, or heat button
11. Increase time, temperature, or heat button
12. On/Off button
Page 7
Page 8

Operating Instructions
COOKING:
1. Connect the appliance to the power outlet.
2. Once the induction range is properly connected, the unit will beep once and the light above the ON/OFF button will
blink, indicating power has been applied to the unit.
NOTE: If the power indicator light is not illuminated and the unit is plugged in, check the power cord connection.
3. Place suitable Ferromagnetic cookware onto the center of the range.
NOTE: The cooktop’s surface will not heat up if the wrong type of cookware is applied or there is no cookware
placed on the unit.
NEVER place empty cookware on the appliance.
NOTE: The induction range will automatically power down if there is no functional operation within 2 hours.
4. Set ‘HEATING’
Press the ON/OFF button one time. The ‘HEATING’ indicator light will illuminate below the selected function.
NOTE: The default setting for this induction range is “Low” heat.
(Heat is the amount of power in WATTS applied to the cookware. Max wattage of this unit is 1800W - choose low,
medium, or high). Press the UP or DOWN “ ” to the desired heat range.
Press “FUNCTION” (f - key) to toggle between ‘HEATING’ and ‘TEMP. The indicator light under each function will
illuminate to indicate which function is ready to be set.
5. Set ‘TEMP’
Press the “FUNCTION” (f - key) to toggle to ‘TEMP’
Set the temperature ‘TEMP’. The ‘TEMP’ indicator light will illuminate below the selected function. Press UP
or DOWN “ ” to adjust the induction range to the desired temperature (from 150°F up to 450°F).
6. Set TIMER - ON, OFF, and RESET:
NOTE: If the TIMER is not set or not needed, the induction range will properly function in ‘ON’ mode up to
two hours.
Timer ON:
A. Press “SET TIME”. The indicator light will illuminate below the selection for ‘TIMER’ and the LED display will
show a visible number in the display window.
B. Press UP or DOWN “ ” to adjust the timer from 0-170 minutes.
NOTE: Press the UP/DOWN buttons repeatedly to set the timer minute by minute. Or, to move quickly
through the timer, press and hold the UP or DOWN “ ” button to the desired time. Once you have
reached the desired set time, the LED displayed number will blink. After a few seconds it will stop ashing
and the timer is then set.
IMPORTANT: In order for the timer to be running, the ‘TIMER’ Indicator light must be illuminated and the digital
display will have a visible number illuminated in the LED display window.
Page 8
Page 9

Operating Instructions
C. To adjust the set time while the timer is running, press the ‘SET TIME’ button and adjust the time by pressing
UP or DOWN “ ”. Once you have reached the desired set time, the LED displayed number will blink.
After a few seconds it will stop ashing and the timer is then set.
D. You may also choose the ‘RESET TIME’ button. This button cancels a set time completely and allows the
induction range to stay on and functioning.
To reset a new time, using the ‘RESET TIME’ button, press the “RESET TIME’ button and then follow the
Timer ON instructions listed on the previous page.
Timer nishes:
When the timer reaches “0”, the induction range will beep four times indicting time has ended and the range is
powering down.
IMPORTANT: The induction range will shut off automatically after the ‘TIMER’ reaches “0”. The cooktop will power
down, the fan will cool the unit/parts, and the fan will shut off (approximately one minute after the induction range
powers down).
7. Turn the induction range ‘OFF’ and/or disconnect power to the unit after use.
After cooking/warming is complete, press the ON/OFF button to turn off the unit. The range will stop heating, the
fan will cool the unit down and will then shut off.
As long as the ‘ON/OFF’ indicator light is illuminated and/or blinking, there is power/current owing to the unit. Unplug
the induction range to disconnect power to the unit.
WARNING: Before cleaning to prevent electric shock always unplug the unit.
Page 9
Page 10

Cleaning Instructions
• ALWAYS unplug the induction range and wait for it to cool completely before cleaning.
• DO NOT use any cleaning uids that can be harmful to you, others around you, or to the environment.
• DO NOT hose down, immerse or pressure wash any part of the induction range.
• NEVER use a scrubber pad, steel wool or abrasive material to clean the induction range.
BEFORE CLEANING, ALWAYS DISCONNECT OR UNPLUG THE ELECTRICAL POWER TO THE
INDUCTION RANGE.
RECOMMENDED CLEANING
It takes very little time and effort to keep the induction range attractive and performing at top efciency. Clean after
each use according to the cleaning schedule below:
PART REQUIRED ACTION FREQUENCY
Induction
range glass
top
Body Wipe down the unit with a damp cloth (DO NOT use benzene, thinner,
Controls Unit should be turned off when not in use.
Intake and
exhaust vent
NEVER run water over the unit.
Wipe down the unit with a damp cloth (DO NOT use Benzene, thinner,
scrub brushes or polishing powder to clean any surface on the induction
range.)
Note: If pots/pans are used without being cleaned rst, staining of the
glass top may result.
scrub brushes or polishing powder to clean any surface on the induction
range.)
It is recommended that the unit power be shut off and disconnected from
the power supply (the outlet)
Use a clean, damp cloth to wipe down the control panel.
Once the unit has cooled, use a vacuum attachment to remove dirt and/
or debris from the intake and exhaust vents.
After each use
Daily
Daily
When needed
Page 10
DO NOT attempt to repair or service this unit yourself. Call an Authorized Servicer to
perform repairs and/or service this unit.
Page 11

Troubleshooting
ISSUE CAUSE SOLUTION
Induction range not working Power supply Check power source
Power button has not been turned
‘ON’
Suitable cookware is not being used Check cookware compatibility. (Refer
No cookware placed on unit Place suitable cookware on unit.
Intake and exhaust vent clogged/dirty With the unit unplugged and cooled,
Plug/cord damaged Call for service
Cooking surface heats up slowly Temperature set too low Change temperature of range
HEAT set too low Adjust the Heat/Wattage going to the
Intake and exhaust vent clogged/dirty With the unit unplugged and cooled,
Faulty elements Call for service
Range beeps continuously Pot/pan has been removed from
cooktop
Error Code Lockout Error Code Lockout Unplug the unit, wait ve minutes,
Check that the unit is correctly
plugged in and turned ON
to page 5 of this manual)
Range will not activate normally until
contact with the proper cookware is
made.
After 2 minutes with no cookware
placed on the unit, the induction
range will power down completely.
use a vacuum attachment to remove
dirt / debris from the intake and
exhaust vents.
range.
use a vacuum attachment to remove
dirt / debris from the intake and
exhaust vents.
Place pot/pan back on the cooktop.
and plug the unit back in. Use
normally.
If error lockout continues, call for
service.
ERROR CODE CAUSE & SOLUTION
E01 The range has become too hot, most likely due to
blocked ventilation slots.
E02 Overheat-protection was activated and the range
has switched off.
E03 Temporary voltage overload. Let the range cool down before restarting.
If problems persist and the assigned solution does not remedy the issue, please call Globe’s Service Department at:
866-260-0522
Clear vents, unplug, let range cool down before
restarting. If error message continues, contact an
authorized servicer.
Remove cookware from the cooktop and let the
range cool down before restarting.
Additionally, check to see if the pan in use is
suitable for induction cooking.
Page 11
Page 12

Limited Warranty
Globe Food Equipment Company (“GFE”) warrants to the original purchaser of new equipment that said equipment,
when installed in accordance with our instructions within North America and subjected to normal use, is free from
defects in material or workmanship for a period of one (1) year. The labor warranty is one (1) year from original
installation or 18 months from actual factory shipment date, whichever date occurs rst. Unit must be sent prepaid
to GFE for repair. No mileage or travel time is paid.
THIS WARRANTY IS IN LIEU OF ALL OTHER WARRANTIES, WHETHER EXPRESSED OR IMPLIED. GFE
EXPRESSLY DISCLAIMS ANY IMPLIED WARRANTY OF MERCHANTABILITY OR EXPRESSED OR IMPLIED
WARRANTY OF FITNESS FOR A PARTICULAR PURPOSE.
GFE’S OBLIGATION AND LIABILITY UNDER THIS WARRANTY IS EXPRESSLY LIMITED TO REPAIRING
EQUIPMENT WHICH PROVES TO BE DEFECTIVE IN MATERIAL OR WORKMANSHIP WITHIN THE APPLICABLE
WARRANTY PERIOD. All repairs pursuant to this Warranty will be performed by GFE Service during normal working
hours. IN NO EVENT SHALL GFE BE LIABLE FOR INCIDENTAL OR CONSEQUENTIAL DAMAGES TO BUYER
OR ANY THIRD PARTY, INCLUDING, WITHOUT LIMITATION, LOSS OF PROPERTY, PERSONAL INJURY, LOSS
OF BUSINESS OR PROFITS OR OTHER ECONOMIC LOSSES, OR STATUTORY OR EXEMPLARY DAMAGES,
WHETHER IN NEGLIGENCE, WARRANTY, STRICT LIABILITY, OR OTHERWISE.
This warranty is given only to the rst purchaser from a retail dealer. No warranty is given to subsequent transferees.
This warranty does not cover product failures caused by: failure to maintain, neglect, abuse, damage due to excess
water, re, normal wear, improper set up and use. Periodic maintenance is not covered.
This warranty is not in force until such time as a properly completed installation and warranty online
registration form has been received by GFE within 30 days from the date of installation. Register online at
www.globefoodequip.com/support/warranty-registration-form
Proof of purchase is required if extended more than one (1) year from date of shipment from the factory
THE FOREGOING WARRANTY PROVISIONS ARE A COMPLETE AND EXCLUSIVE STATEMENT BETWEEN
THE BUYER AND SELLER. GFE NEITHER ASSUMES NOR AUTHORIZES ANY PERSONS TO ASSUME FOR
IT ANY OTHER OBLIGATION OR LIABILITY IN CONNECTION WITH SAID EQUIPMENT.
Example of items not covered under warranty, but not limited to just these items:
1. Acts of God, re, water damage, burglary, accident, theft.
2. Freight damage.
3. Improper installation or alteration of equipment.
4. Use of generic or after market parts.
5. Repairs made by anyone other than a GFE designated servicer.
6. Lubrication.
7. Expendable wear parts, adjustable feet, blown fuses, lamps, etc.
8. Cleaning of equipment.
9. Misuse or abuse.
Page 12
WARRANTY REGISTRATION
SCAN THE QR CODE WITH YOUR MOBILE DEVICE OR GO TO
WWW.GLOBEFOODEQUIP.COM
TO FILL OUT AND SUBMIT YOUR WARRANTY REGISTRATION.
www.globefoodequip.com/support/warranty-registration-form
 Loading...