

Page 1
Serial #:
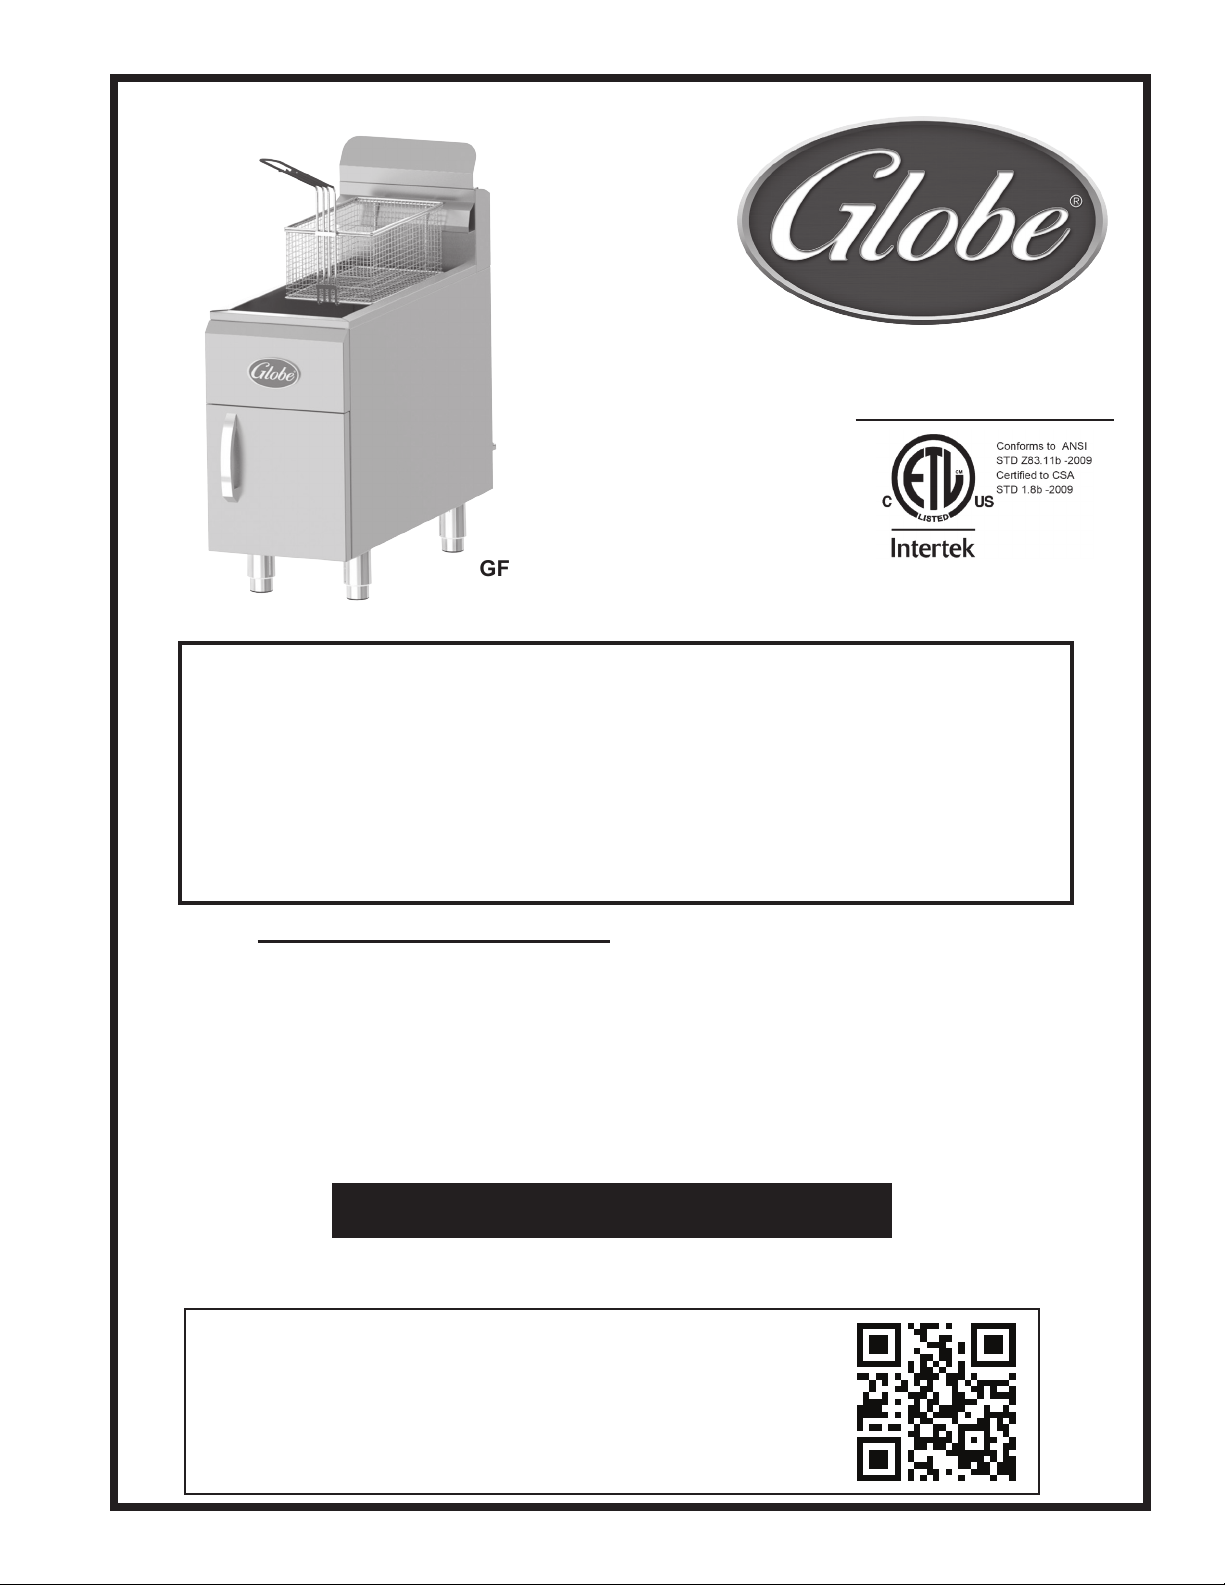
GF15G/GF15PG
Instruction Manual for the
Globe Gas Countertop Fryer Models:
GF15G, GF30G and GF15PG, GF30PG
For Service on Your Gas Fryer:
1. Visit our website at www.globefoodequip.com
2. Or call the Globe Service Department at 937-299-8625 and ask for contact
information for your local service company.
Visit our website for information on additional products available from Globe.
www.globefoodequip.com
Slicers, Mixers, Countertop Cooking Equipment, Meat Choppers & Scales
- IMPORTANT SAFETY NOTICE -
This manual contains important safety instructions which
must be strictly followed when using this equipment.
WARRANTY REGISTRATION
SCAN THE QR CODE WITH YOUR MOBILE DEVICE OR GO TO
WWW.GLOBEFOODEQUIP.COM
TO FILL OUT AND SUBMIT YOUR WARRANTY REGISTRATION.
www.globefoodequip.com/support/warranty-registration-form
Page 2

Page 3

Index
ATTENTION OWNERS AND OPERATORS ................................................................................................................5
UNPACKING & INSTALLATION .............................................................................................................................. 6-7
WARNINGS & SAFEGUARDS FOR OPERATION .....................................................................................................8
OPERATING INSTRUCTIONS ...............................................................................................................................9-11
CLEANING INSTRUCTIONS .............................................................................................................................. 12-13
TROUBLESHOOTING ..............................................................................................................................................14
LIMITED WARRANTY ...............................................................................................................................................16
GLOBE FOOD EQUIPMENT COMPANY
2153 DRYDEN RD.
DAYTON, OH 45439
PHONE: 937-299-5493
TOLL FREE: 800-347-5423
FAX: 937-299-4147
E-MAIL: info@globefoodequip.com
WEBSITE: www.globefoodequip.com
WARRANTY REGISTRATION
SCAN THE QR CODE WITH YOUR MOBILE DEVICE OR GO TO
WWW.GLOBEFOODEQUIP.COM
TO FILL OUT AND SUBMIT YOUR WARRANTY REGISTRATION.
www.globefoodequip.com/support/warranty-registration-form
© Globe Food Equipment Company, 2015 03172014
Ver. 1 Rev. 2_2015
Page 4

Page 5
Attention Owners and Operators
Globe’s equipment is designed to provide safe and productive processing, cooking and warming of food products as
long as the equipment is used in accordance with the instructions in this manual and is properly maintained. Unless
the operator is adequately trained and supervised, there is a possibility of serious injury. Owners of this equipment
bear the responsibility to make certain that this equipment is used properly and safely, and to strictly follow all of the
instructions contained in this manual and the requirements of local, state and/or federal law.
Owners should not permit anyone to touch this equipment unless they are over 18 years of age, are adequately trained
and supervised, and have read and understood this manual. Do not attempt to repair or convert any gas types on your
own. Repairs and conversions are to be made solely by an authorized Globe servicer. Owners should also ensure
that no customers, visitors or other unauthorized personnel come in contact with this equipment. Please remember
that Globe cannot anticipate every circumstance or environment in which this equipment will be operated. It is the
responsibility of the owner and the operator to remain alert to any hazards posed by the function of this equipment. If
you are ever uncertain about a particular task or the proper method of operating this equipment, ask your supervisor.
This manual contains a number of precautions to follow to help promote safe use of this equipment. Throughout the
manual you will see additional warnings to help alert you to potential hazards.
Warnings affecting your personal safety indicated by:
OR
Warnings related to possible damage to the equipment and property are indicated by:
If any warning labels and/or this manual are misplaced, damaged, or illegible, or if you require additional copies, please
contact your nearest representative or Globe for these items available at no charge.
Please remember that neither this manual nor the warning labels replace the need to be alert, to properly train and
supervise operators, and to use common sense when using this equipment.
Page 5
Page 6

Unpacking & Installation
TO AVOID SERIOUS PERSONAL INJURY AND PROPERTY DAMAGE:
• ALWAYS install equipment in a work area with adequate light and space.
• ONLY operate on a solid, level, nonskid surface that is nonammable and away from sinks and water hazards.
• NEVER bypass, alter or modify this equipment in any way from its original condition. Doing so may create
hazards and will void warranty.
GAS and GAS PRESSURE
This unit is factory supplied in Natural Gas or L.P. gas. This unit cannot be converted
from one gas supply to another. Documentation may be necessary for warranty issues.
Failure to comply with this instruction will void the warranty.
WARNING: A factory authorized agent should handle all maintenance and repair. Before doing any maintenance
or repair, contact Globe.
Unit installation must conform with the National Fuel Gas Code, ANSI Z223.1/NFPA 54, the
National Gas Installation Code, CSA-B149.1, or the Propane Installation Code, CSA-B149.2
as applicable and in accordance with local codes.
The appliance and its individual shutoff valve (to be supplied by user) must be disconnected
from the gas supply piping system during any pressure testing of that system at test pressures
in excess of ½ psi (3.45 kPa).
The appliance must be isolated from the gas supply piping system by closing it’s individual manual shut-off valve
during any pressure testing of the gas supply piping system at test pressures equal to or less than ½ psi (3.45 kPa).
These models are designed, built, and sold for commercial use only.
Instructions must be posted in a prominent location. All safety precautions must be taken in the event the user smells
gas. Safety information can be obtained from your local gas supplier.
UNPACKING
Unpack the fryer immediately after receipt. Remove the gas fryer from the crate; remove all packaging on and
surrounding the unit, and be certain to remove protective plastic and residue from all surfaces. Make sure that all
parts are provided.
If the equipment is found to be damaged, save the packaging material and contact the carrier within fteen (15) days
of delivery. Immediately contact Globe or your local dealer of the equipment. You have no recourse to damage
after fteen (15) days of receipt of Fryer.
Page 6
Page 7

Unpacking & Installation
INSTALLATION
1. Read this manual thoroughly before installation and operation. DO NOT proceed with installation and
operation if you have any questions or do not understand everything in this manual. Contact your local
representative or Globe rst.
2. Select a location for the fryer that has a level, solid, nonskid surface that is nonammable and away
from water hazards or sinks, and is in a well-lit work area away from children and visitors.
3. Equipment must be installed under proper ventilation as required per local code.
NOTICE: Local codes regarding installation and ventilation vary greatly by area. Unit installation must conform
with the National Fuel Gas Code, ANSI Z223.1/NFPA 54, the National Gas Installation Code, CSA-B149.1, or
the Propane Installation Code, CSA-B149.2 as applicable and in accordance with local codes.
4. Screw legs into the permanently fastened nuts on the four corners of the unit and tighten by hand. Legs must
be installed to adequately provide proper ventilation to the unit.
5. Level unit by adjusting the four feet and tighten securely. The feet have an adjustment of one inch.
Do not slide unit with legs mounted; lift if necessary to move unit.
6. The supplied gas pressure regulator is factory set at 6'' Natural gas W.C. or 10'' for L.P.
7. THESE UNITS ARE SUITABLE FOR INSTALLATION ON NON-COMBUSTIBLE SURFACES ONLY.
Non-combustible clearances: 6” sides (152 mm) 6” rear (152 mm) 4” oor (102 mm)
8. Do not obstruct the ow of combustion and ventilation air, under the unit by the legs or behind the unit by
the ue. Do not place objects between the bottom of the unit and the countertop.
9. There must be adequate clearance for removal of the front panel. All major parts, except the burners, are
removable through the front if the gas line is disconnected.
10. It may be necessary to adjust the balance of gas volume and air supply to each burner. This must be done
by an authorized service technician.
11. Pipe threading compound must be resistant to the action of liqueed petroleum gases.
DO NOT use an open ame to check for leaks. Check all gas piping for leaks with a soap
and water solution before operating unit. Personal injury and damage to equipment can
occur.
COMMISSIONING:
Commissioning of your new Fryer is of the utmost importance. Commissioning is the thorough and methodical testing
of the equipment, sub systems, and systems to ensure that the nal product functions properly and safely at the work
site. By identifying any potential problems (i.e. equipment location, ventilation, local re/electrical codes, installation,
operator training and certication) prior to equipment being placed into service, costly outages and potential damages
may be avoided.
SAFETY ALWAYS.
Page 7
Page 8

Warnings and Safeguards for Operation
TO AVOID SERIOUS PERSONAL INJURY AND PROPERTY DAMAGE:
For your safety, do not store or use gasoline or other ammable vapors or liquids in the
vicinity of this or any, other appliances. Keep the area free and clear of combustible.
Improper installation, adjustment, alteration, service or maintenance of this equipment can
cause property damage, personal injury, or death and voids warranty. Read the installation
operating and maintenance instructions thoroughly before installing, or operating this
equipment.
Instructions must be posted in a prominent location. All safety precautions must be taken
in the event the user smells gas. If you smell gas, immediately shut off the main gas valve,
extinguish all heat and ames, and call 911. Safety information can be obtained from your
local gas supplier.
IMPORTANT SAFEGUARDS & SAFETY INSTRUCTIONS
When using gas cooking equipment, basic safety precautions should always be followed,
including the following:
The fryer outside surfaces can become HOT after use. Use caution when touching the unit.
• Never directly touch the cooking surface while the fryer is on. Fryer can become EXTREMELY HOT.
• Always turn off main gas supply when servicing or adjusting any parts or attachments, and before cleaning.
• Never leave the fryer on overnight*.
• Do not operate any equipment with a damaged or leaking gas line, ignitor or valves, or if the unit is dropped or
damaged in any manner. Call for service.
• The use of attachments not recommended or sold by the manufacturer may cause re, injury or even death.
• Do not use outdoors.
• Do not use this equipment for any use other than the use intended by the manufacturer.
• Never use the fryer as a heating source
• The Globe fryer does not contain any user-serviceable parts. Globe recommends that a qualied technicians
should carry out repairs. Do not remove any components or service panels on this product.
• Never bypass, alter, modify or attach any unauthorized parts to this equipment. Doing so can create
hazards and will void warranty
• Globe takes every care to ensure that all products are safe. Steel cutting procedures used to manufacture
these items result in sharp edges. These sharp edges are removed to the best of our ability; however, we
insist the operator take care when in contact with this piece of equipment.
• Always keep hands, hair and clothing away from heating source.
• Allow the fryer to cool down after use and before dismantling for cleaning; the unit will be EXTREMELY HOT
do not handle immediately after use.
• DANGER: Never mix oil and water together in the frypot during cooking or cleaning process as this
will result in hot oil ashing/spiting from the pot that can result in severe burns.
• Once the unit has been turned on, the cooking compound/oil becomes very HOT very quickly.
Take care when approaching the unit and never reach in or touch the hot oil.
• If the oil begins to smoke, turn the unit off immediately. The oil is too old to use or the temperature is too high.
Complete the warranty register online at www.globefoodequip.com/support/warranty-registration-form.
* SEE OVER NIGHT SHUTDOWN OPERATIONS ON PAGE 11
Page 8
Page 9

Operating Instructions
Operating the Fryer - Before Lighting Pilot and Burners
Fill the oil pot about 3/4'' below the full line with proper
frying compound before lighting pilot. (The reason for
lling the tank 3/4'' below the full line is that the frying
compound will expand during the preheating process.)
If the frying compound expands above the full line, the
frying compound may overow out of the tank during the
cooking process.
Add frying compound/oil in fry
tank before lighting the pilot or
burners is imperative so that the
unit will not be damaged during
the pilot Ignition process.
Operating Instruction:
• Step 1. Make sure Gas Control Valve dial is in the
“OFF” position.
• Step 2. Make sure this thermostat dial is in the “OFF”
position.
• Step 3. Turn the Gas Control Valve dial to “Pilot”
position and hold. Press the pilot ignition button. In order
to drain any air within the gas pipe system, for the rst
use, please hold the Valve dial at the “Pilot” position for
5-7 Minute till lighting.
If Gas Fryer is setting without pilot Ignition, please hold an Ignition
source (by the match) at the pilot. When the ame is established,
remove the Ignition source.
• Step 4. Turn the Gas Control Valve dial to the “ON “
position and using the thermostat dial, set the desired
temperature. You can monitor the ame status through
this panel.
Operating the Fryer - Pilot Lighting Instructions
Before operating fryer, it should be checked to see that it is sitting level. Adjust the feet to level the fryer. Be sure
the catch tray has been properly placed.
NEVER light the pilot light with an empty frypot. Damage to equipment can occur.
All burners are lit from constantly burning pilots. Turning the thermostat to the desired temperature is all that is
required to put the unit in service. The thermostat adjusts from 200° up to 400°F.
Do not permit fans to blow directly at the unit. Wherever possible, avoid open windows next to the unit’s sides
or back. Avoid wall type fans which create air cross-currents within a room. It is also necessary that sufcient
air should be allowed to enter the room to compensate for the amount of air removed by any ventilating system.
Otherwise, a subnormal atmospheric pressure will occur, which will effect operation and cause undesirable
working conditions.
A properly designed and installed hood will act as the heart of the ventilating system for the room or area in which
the unit is installed and will leave the unit independent of changing draft conditions.
All valves and thermostats must be checked periodically. Consult the authorized service representative in your
area.
Page 9
Page 10

Operating Instructions
First Use: Prepping the fryer for use
Before the fryer can be put to use, the frypot needs to be burned in. To “Burn in” the frypot for use, go to page 13, in
the cleaning section and follow the instructions for cleaning the Frypot.
Normal Use of the Fryer:
For normal operation, once the fryer is turned on for the rst time each day, allow 15-20 minutes for the frying
compound/oil to come up to the desired temperature.
1. Place product in the basket for frying. No more than 3/4 full - Do NOT over ll the baskets as. Fill them while
they are placed on the nesting hooks only. Do not attempt to ll the baskets while they are submerged in oil.
Depending on moisture content of the food product, some oil cracking/spiting may
occur. Please be careful when dropping the product down into the oil. Never reach in
or touch the oil with your hands, do so can result in severe burns.
2. Once the frying compound/oil is to the desire temperature, the burners will switch off and the frying basket my
be gently “dropped” for frying. (Follow the cooking directions of the product being fried for the proper cooking
time.) Do NOT salt the food over the oil.
3. Once the cooking time for the product has been reached, the fry basket can then be lifted and placed on the
nesting hook for draining. Allow at least 5-10 seconds for draining, Product can then be served or placed in a
proper heated containment unit for serving.
NOTE: the time between “drops”, in order for the oil to come back up to the original frying temperature is about 5 to
7 minutes
Total recovery time from rst batch drop to next batch drop is approximately 15 minutes.
Continue use of the frying compound/oil until it becomes darkened, becomes heavily soiled with food particles, and/
or the food product begins to look darkened or burned. Frying compound/oil may need to be changed based on the
product being fried in it. (For example: Onion rings tend to degrade the oil faster than french fries) See Instructions
for Fry Pot/Tank care and draining oil below.
Filling Fry Tank (CAUTION: NEVER LIGHT PILOT OR TURN BURNERS ON WITH EMPTY TANK)
1. Fill the fry tank approximately 3/4'' below the full line. The fry compound will expand as it is heated. Heat the fry
compound to 375°F for 20 minutes then check the level. Add appropriate amount of fry compound so it lines up
with the full line.
2. When using solid frying compound, put enough compound in fry tank so at least half or more of the tank has
compound in it. Then set the temperature to 200°F on dial and allow the compound to liquefy. Add to adjust
compound level.
3. Use a quality frying compound.
4. Filter the frying compound frequently, at least once a day.
5. Skim out food particles frequently with a strainer/skimmer.
6. Add at least 15% (of fry pot/tank capacity) of fresh frying compound daily (more if possible) without overloading.
If 15% of frying compound is not used daily, remove some of the compound to as to add in 15% of fresh
compound daily.
7. Do not overload the fry baskets. (Recommended 3/4 of the way full or about 5 lbs). This will result in longer
recovery time, longer cook time, and compound absorption into the product.
8. Prepare the food properly.
9. Keep salt out of the frying compound. Do not salt foods with the basket above the kettle.
10. To make sure of a good thermostat operation, check frying compound temperature with a reliable frying
thermometer. Temperature of compound should be comparable to thermostat setting.
11. Keep the fry tank and thermo-probes clean.
Page 10
Page 11

Operating Instructions
OVER NIGHT SHUTDOWN
Turn the temperature control knob to the Off position. Or turn the Off/Pilot/On valve control to Pilot if you wish not
to change the temperature setting. (The pilot ame alone will keep the frying compound temperature to 130-145°F.
when not under any load. This will shorten preheat time when turned back on.)
A fryer cover is recommend in instances where the fryer remains ready for use but is turned completely off.
EXTENDED SHUTDOWN (4 DAYS OR LONGER)
1. Turn the temperature control knob to the Off position.
2. Turn the Off/Pilot/On valve control knob to the Off position.
3. Turn the manual control valve under the unit to the Off position.
4. Turn the supply valve to the Off position (not supplied by Globe).
5. The entire ue duct opening on the top rear of unit must always be left uncovered.
Instruction for draining oil
Allow the fryer and fryer oil to
cool completely before draining.
Never drain the oil while the
fryer is on, doing so can result
in severe burns.
NOTE: Attached to the inside of the main door, a drain
extension pipe has been provided.
1. Screw the drain extension pipe into the main drain
valve.
2. Once secured, use the blue handle; turn the valve
on to release the oil.
3. Drain oil into a waste container for disposal.
Page 11
Page 12

Cleaning Instructions
• DO NOT use any abrasive or ammable cleaning uids.
• DO NOT hose down, immerse or pressure wash any part of the fryer, excluding the oil pot.
• NEVER use a scrubber pad, steel wool or abrasive material, or cleaners containing chlorine, iodine and
ammonia or bromine chemicals as these will deteriorate the stainless steel and shorten the life of the unit.
IF CLEANING ALL THE FRYER’S SURFACES, THE MAIN GAS VALVE MUST BE SWITCHED TO THE
CLOSED POSITION. AFTER CLEANING, THE GAS LINE CAN BE SWITCHED BACK TO THE OPEN
POSITION. PLEASE FOLLOW THE LIGHTING INSTRUCTIONS IN THIS MANUAL TO RELIGHT
THE FRYER’S PILOT LIGHTS AS NEEDED.
RECOMMENDED CLEANING
Allow fryer and oil to completly cool before cleaning. If fryer and oil is not completly cooled
before handling, serious personal injury can occur.
It takes very little time and effort to keep the fryer attractive and performing at top efciency. Please follow the
cleaning steps below:
PART REQUIRED ACTION FREQUENCY
Body Use a clean cloth and a non-abrasive cleaner to clean the stainless
steel body of the Fryer.
Wipe the polished areas with a soft cloth.
Back splash Thoroughly clean. Wipe with clean, warm, mildly soapy water then
re-wipe splashes with a damp cloth.
Controls Unit should be turned down to the recommended overnight hold
temperature or off when not in use.
It is recommended that the unit be disconnected from the gas supply by
closing the main gas valve.
Use a clean cloth to wipe any down controls and/or knobs
Daily
Daily
Daily
Page 12
Page 13

Cleaning Instructions
RECOMMENDED CLEANING (CONTINUED)
PART REQUIRED ACTION FREQUENCY
Frypot Wait until the fryer and the oil are completely cool.
Weekly or
Remove fryer baskets and burner cover. (Clean these parts separately)
Strain the frying compound/oil into a clean container. Make sure there is
NO compound/oil left in frypot. (If the frypot is left empty for more than 2
minutes, shut the pilot off. If this is not done, the pot may be damaged.)
Before lighting the fryer burners add cold water to the “MAX” line.
Add suitable cleaning solution, following cleaner instructions.
Light the burner and turn the thermostat to 250°F. Let the heating unit
bring the solution to a light boil.
Boil the solution and water mix long enough to loosen or dissolve all
varnish or carbon deposits. This should take approximately 30 minutes
to one hour. (DO NOT place any part of your body over the frypot during
the boiling cleaning process)
Turn the unit off. Make sure pilot is turned off at this time. Let the fryer
and the solution cool completely and rinse with clean water and then a
second rinse with 2 cups of vinegar.
Rinse with clean water until the vinegar odor is gone. The frypot must be
thoroughly rinsed since even a trace of cleaner left inside the tank will
contaminate the fry compound. (DO NOT SPRAY WITH HOSE)
As Needed
Thoroughly drain all water, cleaning solution water-vinger etc. from the
frypot
Dry thoroughly. CAUTION: Water and oil will ash and spit when
unit is operational. This will cause burns to the operator. Every part
of the frypot unit must be dry before use with oil for frying.
Cover the tank if compound will not be added until a future date.
After the unit is completely dry and free water, place the burner cover
back in place, and frying compound/oil may be reintroduced to the fryer.
Regulator Clean the regulator. Make sure the vent opening is open and not
blocked in any way. Failure to do so will cause variations in pressure.
Your unit will not function as well and it could shorten the life of the
product.
Monthly
Page 13
Page 14

Troubleshooting
ISSUE CAUSE SOLUTION
Fryer pot - compound oil not heating Fryer temperature is too low Adjust the fryer temperature
Main gas line is closed Open valve
Pilot light is not lit Ignite pilot light
Cause unknown Call for service
Flame is to high or to low Adjustment knob is turned up or
down
Pilot light not staying lit Flame is too low Adjust pilot light ame height
Pilot tube clogged Replace pilot tube. Call for service
Strong smell of gas in cooking area Main gas line leak Turn off main gas valve.
Cooking compound/oil is heating up
slowly
Frying compound/oil will not hold
heat
Excessive smoke and or darkening
of frying compound
Carbon build up Clean unit
Fryer temperature is too low Turn up the fryer temperature
Cause unknown Call for service
Fryer overloaded Reduce product
Fryer temperature is set too low Adjust the fryer temperature
High moisture content in product Check product for over moisture
Fryer temperature is too high Adjust the fryer temperature
Fryer compound/oil is old and full of
food particles
Adjust ame with control knob
DO NOT LIGHT FLAME, ignite
anything, or turn/switch on anything
electrical
Call re department.
Call for service
saturation. Replace product if
necessary
Strain or skim compound/oil
Change compound oil completely
Use a quality oil
Improper preparation on food
Product under lled
Product over-lled
Gas type of unit needs to be
converted
If problem persists and the above solutions do not correct the issue, please call Globe’s Service Department at:
866-260-0522.
THERMOSTAT CALIBRATION
The fryer control is factory calibrated. If cooking results indicate unit is not maintaining correct temperatures, consult
an authorized service representative.
Page 14
Unit ships from the factory Natural
gas OR Natural Gas. Conversion of
this unit is not applicable.
Check to see if food is breaking
down. Replace food product if
needed
Fill basket to proper level
Reduce the lled basket for proper
frying conditions
Contact Globe. Do not attempt
conversion.
Page 15

Page 16

Limited Warranty
Globe Food Equipment Company (“GFE”) warrants to the original purchaser of new equipment that said equipment,
when installed in accordance with our instructions within North America and subjected to normal use, is free from
defects in material or workmanship for a period of 2 year. The labor warranty is two year from original installation
or 18 months from actual factory shipment date whichever date occurs rst. Warranty includes onsite service
calls within 60 miles of an authorized service company. End user is responsible for all extra travel and mileage at
prevailing rates.
THIS WARRANTY IS IN LIEU OF ALL OTHER WARRANTIES, WHETHER EXPRESSED OR IMPLIED. GFE
EXPRESSLY DISCLAIMS ANY IMPLIED WARRANTY OF MERCHANTABILITY OR EXPRESSED OR IMPLIED
WARRANTY OF FITNESS FOR A PARTICULAR PURPOSE.
GFE’S OBLIGATION AND LIABILITY UNDER THIS WARRANTY IS EXPRESSLY LIMITED TO REPAIRING AND
REPLACING EQUIPMENT WHICH PROVES TO BE DEFECTIVE IN MATERIAL OR WORKMANSHIP WITHIN
THE APPLICABLE WARRANTY PERIOD. All repairs pursuant to this Warranty will be performed by an Authorized
Designated GFE Service Location during normal working hours. This warranty does not cover services performed
at overtime or premium labor rates. End user is responsible for the difference between normal service rates
and premium service rates. IN NO EVENT SHALL GFE BE LIABLE FOR INCIDENTAL OR CONSEQUENTIAL
DAMAGES TO BUYER OR ANY THIRD PARTY, INCLUDING, WITHOUT LIMITATION, LOSS OF PROPERTY,
PERSONAL INJURY, LOSS OF BUSINESS OR PROFITS OR OTHER ECONOMIC LOSSES, OR STATUTORY
OR EXEMPLARY DAMAGES, WHETHER IN NEGLIGENCE, WARRANTY, STRICT LIABILITY, OR OTHERWISE.
This warranty is given only to the rst purchaser from a retail dealer. No warranty is given to subsequent transferees.
Warranty does not cover product failures caused by: failure to maintain, neglect, abuse, damage due to excess
water, re, normal wear, improper set up and use. Periodic maintenance is not covered.
This warranty is not in force until such time as a properly completed and signed installation/warranty registration or
an online registration form has been received by GFE within 30 days from the date of installation. Register online
at www.globefoodequip.com/support/warranty-registration-form
Proof of purchase is required to extend warranty more than 2 year from date of shipment from the factory.
THE FOREGOING WARRANTY PROVISIONS ARE A COMPLETE AND EXCLUSIVE STATEMENT BETWEEN
THE BUYER AND SELLER. GFE NEITHER ASSUMES NOR AUTHORIZES ANY PERSONS TO ASSUME FOR
IT ANY OTHER OBLIGATION OR LIABILITY IN CONNECTION WITH SAID EQUIPMENT.
Example of items not covered under warranty, but not limited to just these items:
1. Acts of God, re, water damage, burglary, accident, theft.
2. Freight damage.
3. Improper installation or alteration of equipment.
4. Use of generic or after market parts.
5. Repairs made by anyone other than a GFE designated servicer.
6. Lubrication.
7. Expendable wear parts, adjustable feet, blown fuses, lamps, etc.
8. Cleaning of equipment.
9. Misuse or abuse.
WARRANTY REGISTRATION
SCAN THE QR CODE WITH YOUR MOBILE DEVICE OR GO TO
WWW.GLOBEFOODEQUIP.COM
TO FILL OUT AND SUBMIT YOUR WARRANTY REGISTRATION.
www.globefoodequip.com/support/warranty-registration-form
 Loading...