

Page 1
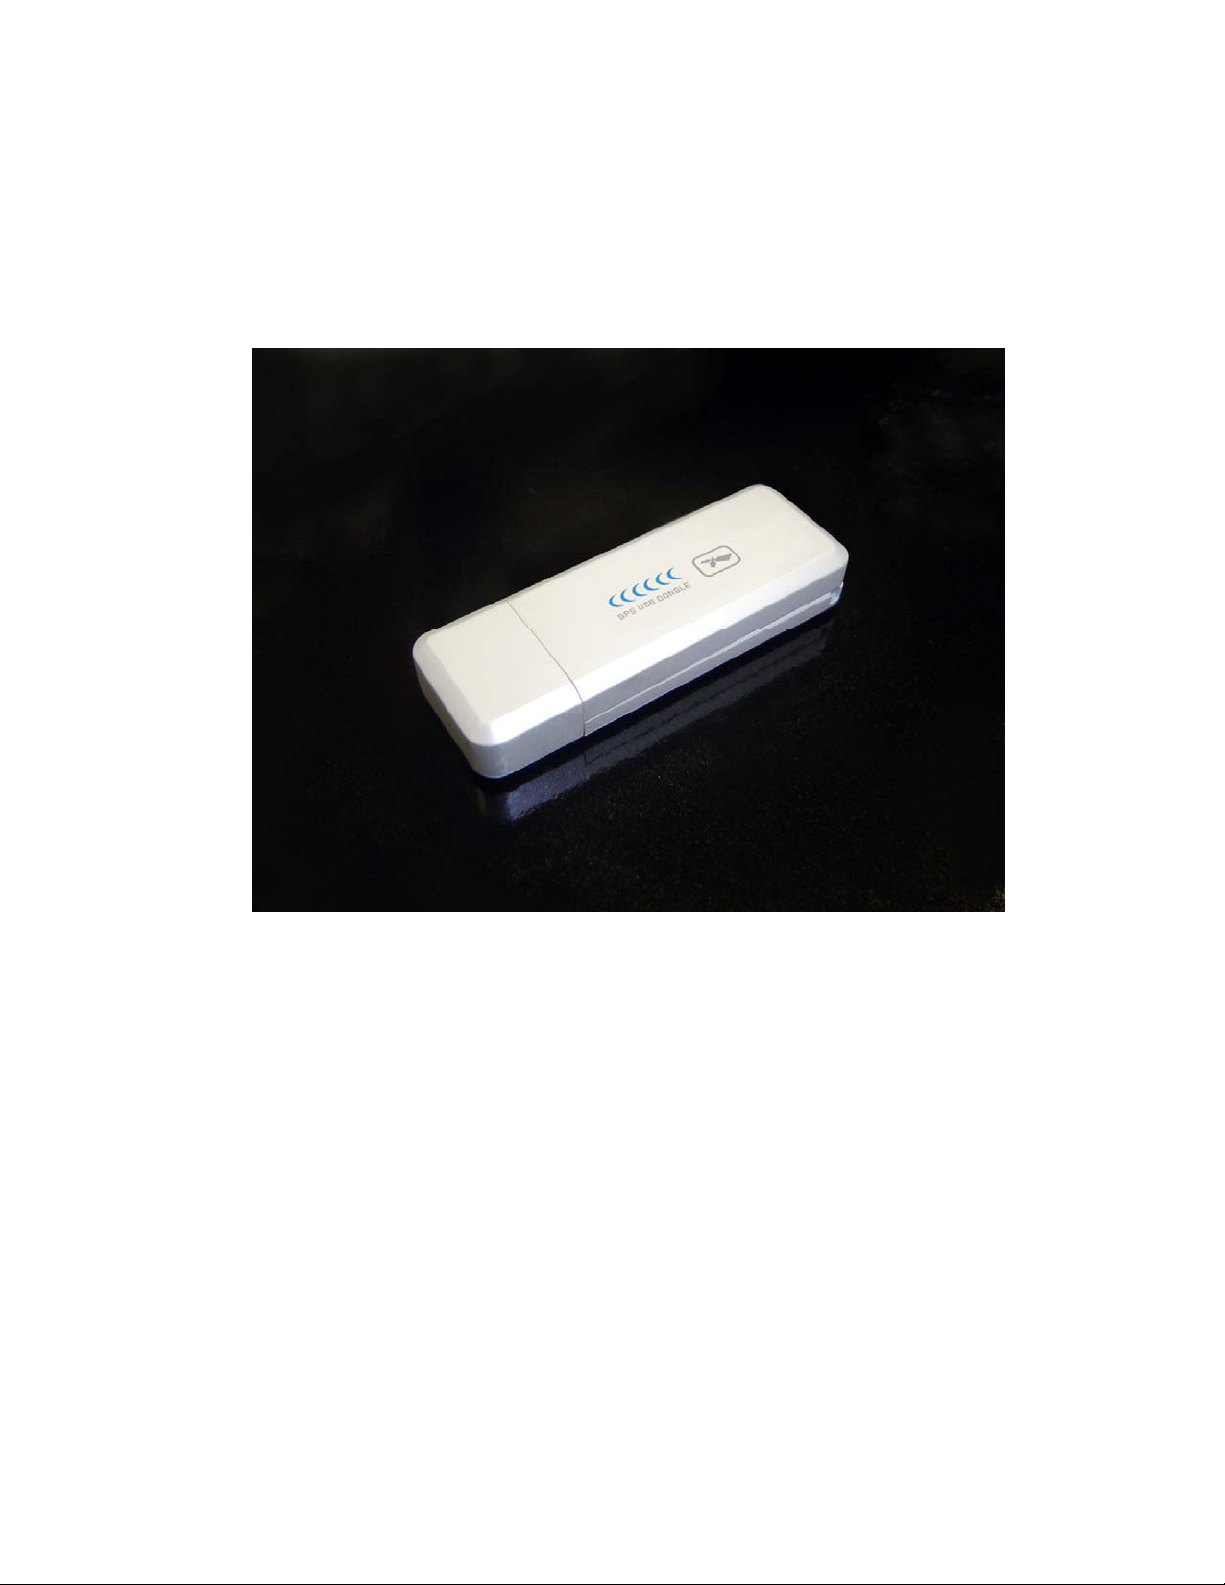
ND-100 GPS Dongle
Quick Start Guide
Version 0.3
Page 2

Accessories
ND-100 Unit
CD (user manual, driver,
applications, and map data)
Note:
1. If any item is missing or damaged, please contact with your local retailer.
USB cable
Quick Guide
Overview
Status LED(Blue)
USB CONNECTOR
2
Front View
Blinking – GPS position is fixed
Steady light – GPS position is not fixed
TO Connect Laptop USB PORT
Page 3
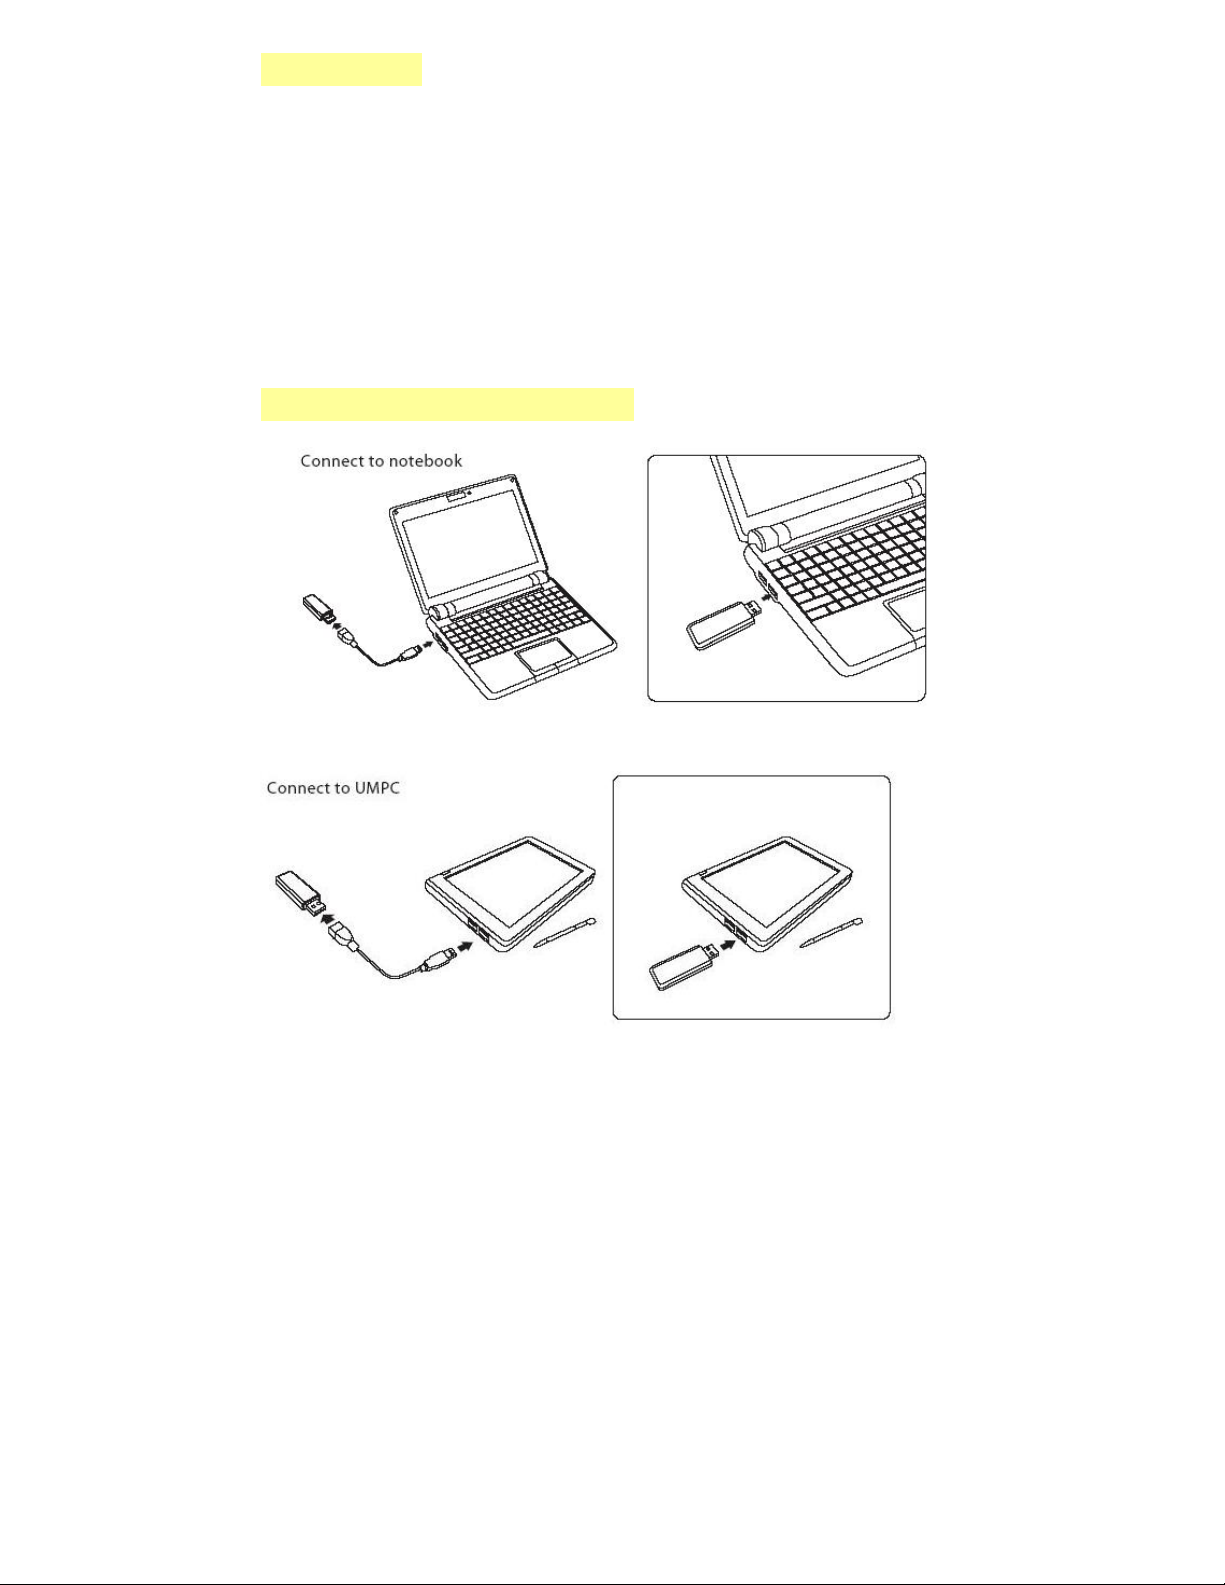
How to start
1. Connect the ND-100 to laptop USB PORT.
2. To choose and install the ND-100 driver in the CD, so that we can identify the
Laptop ND-100.
3. Wait for the completion of the ND-100 satellite positioning, the ND-100 location
indicator light (blue light) will blink
4. ND-100 will be the time for the positioning of various environmental and climat e
variables, ND-100 has not received satellite positioning and poor, you can use the
attached USB product line extension of the (15cm) in order to S tretch perfo rmance
Connect to Laptop or UMPC
3
Page 4

USING / TESTING ND-100
Once the ND-100 receiver’s driver and your personal mapping software have been
installed and configured properly, you can begin to use your navigation system by
plugging the ND-100 into your laptop’s USB port and launching your mapping
software. If you don’t have a mapping, or navigation software, we’ve included a
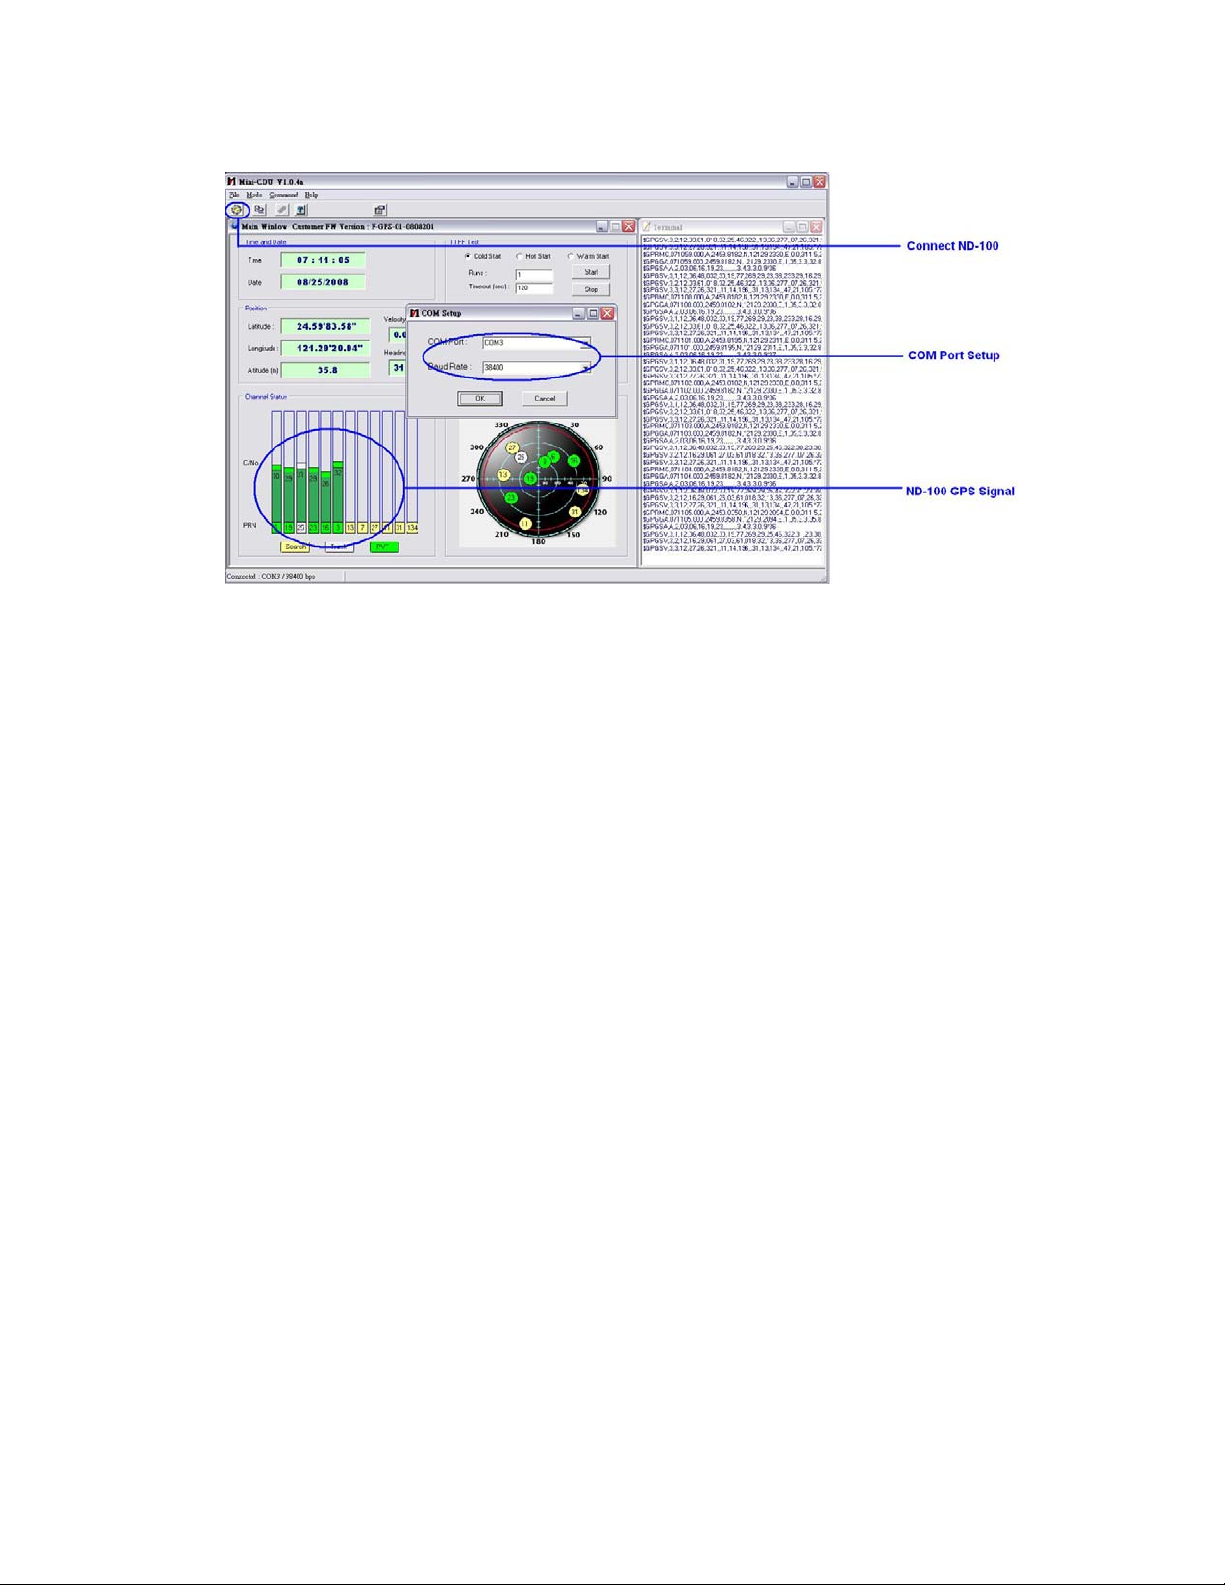
GPS test utility called “MiniCDU” for the purpose of confirming your installation and
configuration. This utility can be installed by clicking the MiniCDU.exe file from
the Win directory on the CD-ROM or downloaded from our web-site
www.globalsat.co.uk
LED Status indicator on the ND-100
LED OFF: GPS receiver is off (no power).
LED ON (solid): No fix, searching for GPS signals.
LED FLASHING: Position fix established and GPS signals are b eing received.
Always select an area in the vehicle where the GPS unit will be secure and not
obstruct normal driving, visibility and safety , but still maint aining a “view to the sky”
in order to receive satellite data.
It is recommended that you first load and test your GPS receiver with the
MiniCDU.exe. This process will confirm you have found correct COM port
number and have configured it properly.
1. Run MiniCDU.exe to load the utility.
2. Enter the proper COM port for your GPS device (see COM Port Verification
above)
3. Set COM port to Baud rate: 38400
4. If no errors have been made in configuration, there should be GPS data being
displayed in the window, which is confirmation that the communication between
the GPS device and the “MiniCDU” software is working properly.
4
Page 5
5. If there is no GPS data displayed (or data with multiple zeros in them), ple ase
exit the software and unplug the GPS receiver from the USB port and reinsert it
after 10 seconds to reset the device.
NOTE: Configuration (or selection) of an assigned COM port for the GPS device
from within your mapping or charting software mu st be completed wheneve r using
a software for the first time.
5
 Loading...