

Global Point Products X Games Clipster, Games Clipster User Manual
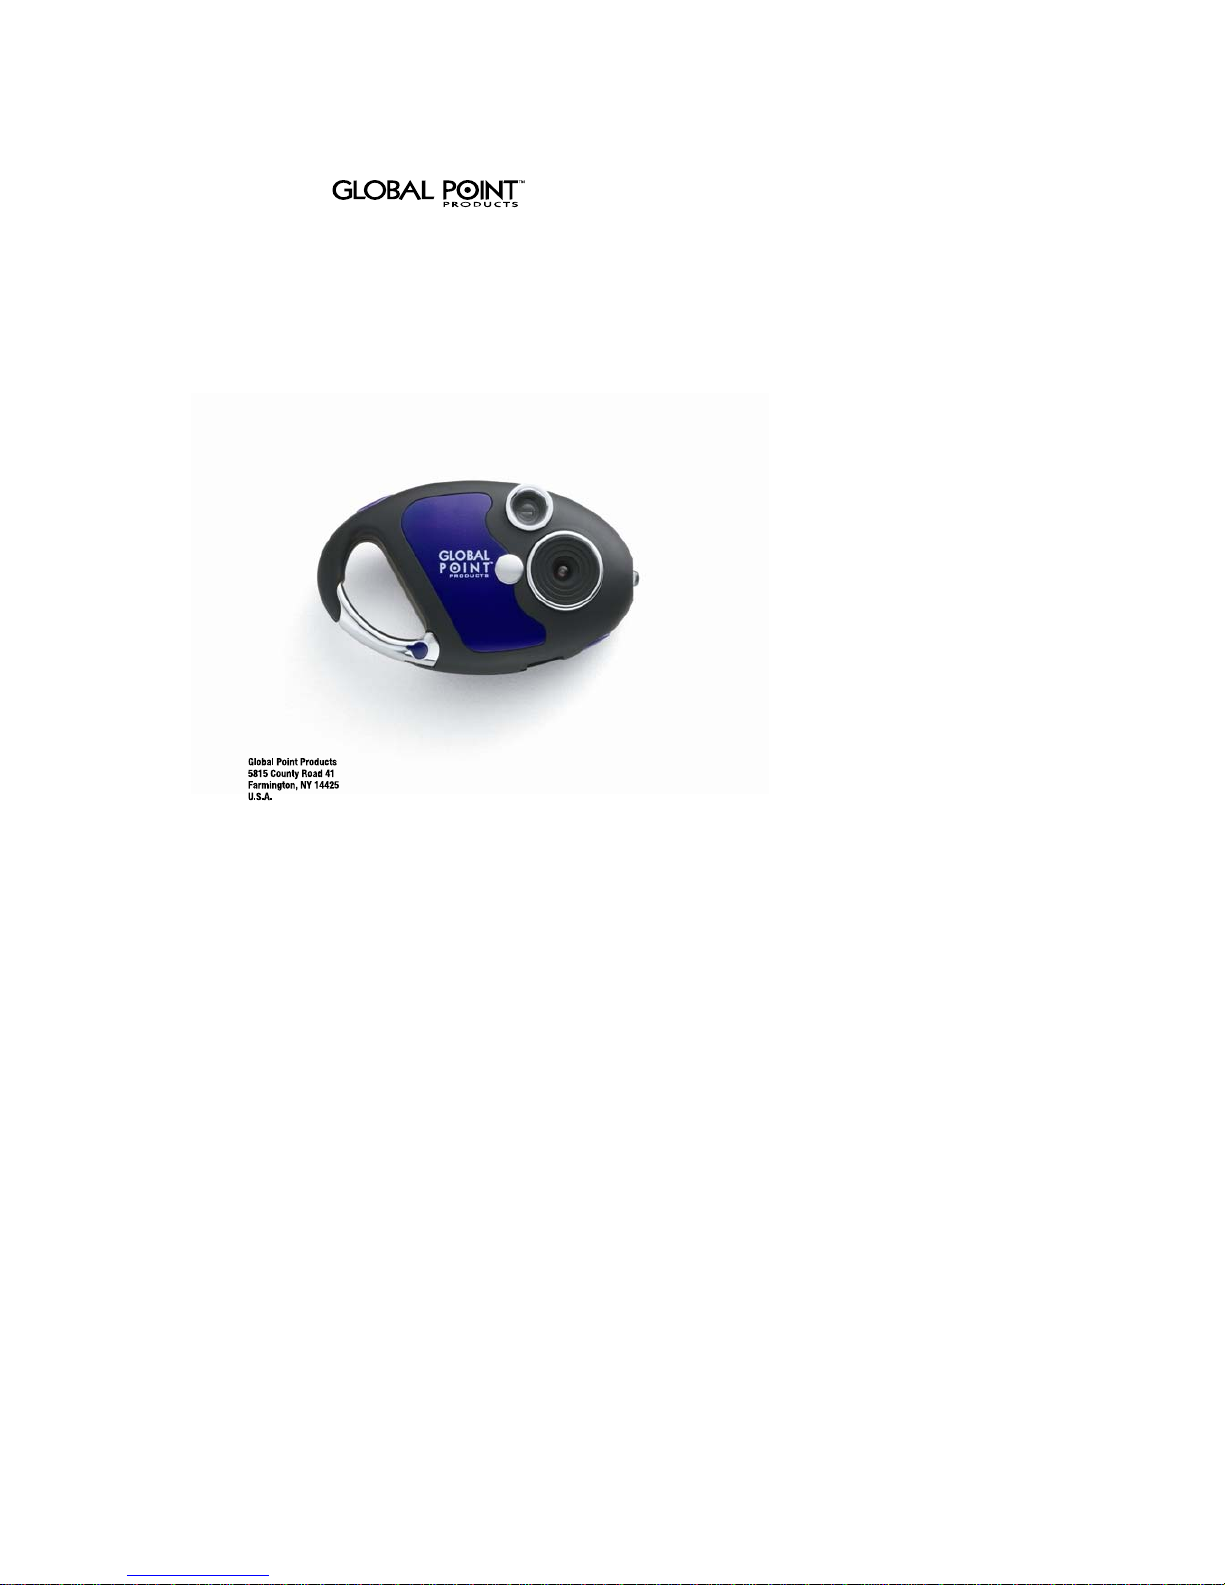
Clipster Digital Camera
User Manual

Micro Digital Camera
PROFILE OVERVIEW
Thank you for purchasing the CLIPSTER digital camera. This camera takes still, video, and
acts as a PC Webcam This camera is equipped with a 4M*16b built-in SDRAM. Through the
USB Cable provided, you can download the captured images to your computer, or use the
camera as a webcam for face-to-face online chat with your friends the internet.
SYSTEM REQUIREMENT
- Microsoft win98/2000/NT/ME/XP operation system
- 125MB or above free hard disk space, 32MB or more ROM
- Usable USB interface and CD-ROM
- Color Monitor with at least 800 x600 24 net character or above
GETTING STARTED
This camera is equipped with standard accessories including instruction CD
and USB cable. The following sections explain how to use them on the camera.
POWER SUPPLY
1 AAA Alkaline battery.
Precautions
1. Always download the images from camera before the battery discharged, otherwise, the images will be
deleted automatically.
2. When using the PC Camera function it is not necessary to use the battery as the computer will provide
the required power through the USB cable.
Before using this function, download the images from the camera before you discharge the battery or the
images will be deleted automatically.
Note: Do not mix old and new batteries or of different type and brand.
AUTOMATIC SHUT OFF FEATURE
To save battery power, the camera will automatically shut off when not used after 30 seconds.
INSTALLATION OF DRIVER
1. Make sure the camera is not connected to your computer. Load the software CD to your PC.
2. Installation of Driver
Click <Install Camera Drive> and follow the step-by-step instructions to complete installation. After
successful installation of driver, restart your computer. A "Precision 801 V4" folder will appear on your
desktop.

TAKING PHOTOGRAPHS
Install one AAA Alkaline Battery.
1.To turn on the camera, press the mode button on the back. The LCD data screen will appear.
2.Center your subject in the viewfinder.
3.Hold the camera steady, and press the shutter button to take photos;
4.When you hear the buzzer beep once, this indicates you have taken a photo.
5. When the maximum number of photos have been taken, the buzzer will sound continuously indicating
no additional images can be shot.
Note:
1. When taking photos, the louder sound indicates a successful shot.
A faint beep will indicate a failed shot.
2. The digital camera is capable of storing over 99 images, however, the LCD can only display up to 99.
TURNING OFF CAMERA
1.Press MODE button until the data LCD displays "off".
2.Press the "Shutter" button within 5 seconds to turn off the camera swiftly.
SELF-PORTRAIT FEATURE
1. On the front of the camera adjacent to the lens is a small aiming mirror.
2. Hold camera at arms length and use mirror to center your portrait.
3. Press the "Shutter" button to take image.
SELF TIMER MODE
1.Press MODE button until the data LCD displays .
2.Press"Shutter"button within 5 seconds to enter the 10 second time set. The digital camera will beep for
every second.
3.After 10 seconds, the camera will take the picture.
Note:
This function will not operate when the memory is full and the maximum number of pictures have been
taken.
VIDEO MODE
1.Press the mode button until the data LCD displays
2.Press and hold the "Shutter" button within 5 seconds, for continuous video capture.
3. To stop the video capture, release the shutter button.
Note:
When the memory is full, the operation will stop and the "FL" symbol will appear.
CONTINUOUS CAPTURE
1.Press MODE button until the data LCD displays
2.Press the "Shutter" button within 5 seconds to take three photos continuously.
 Loading...