


Table of Contents
Basic Introduction ................................................................... 1
Quick Start .......................................................................... 1
Battery management and charging ......................................... 1
Boot and Shutdown .......................................................... 2
Connect with PC ............................................................. 3
Interface Introduction ............................................................... 4
Top bar of the Interface...................................................... 4
The HOME Screen menu ................................................... 4
Desktop ....................................................................... 4
Basic Operation ..................................................................... 5
Date and time settings: ...................................................... 5
Display settings .............................................................. 6
Wireless Connection: ........................................................ 7
G-Sensor calibration ......................................................... 8
Applications install and uninstall ............................................ 8
Browser ....................................................................... 9
Video player: ................................................................ 10
Music player: ................................................................ 10
Photo Browser .............................................................. 11
Camera ...................................................................... 12
Sound Recorder ............................................................ 12
Market ........................................................................ 13
Frequently Asked Questions ...................................................... 14
Important Safety Precautions ..................................................... 15
System:Android2.3
Processor: Boxchip A10

Basic Introduction
� CPU: Boxchip A10 Cortex A8 1.2Ghz
� LCD Screen:8" 800 * 600 Screen
� Camera: Build-in 1.3M pixel camera
� Operating System: Google Android 2.3
� Network Connection: Built-in 802.11b/g/n wireless
� Audio format: MP3,WMA,MP2,OGG,AAC,M4A ,FLAC,APE, WAV
� Video format: max 1080p full HD video (AVI,3GP,
MP4, MPG, RM, RMVB, MOV,FLV, WMV,MKV)
� TOUCH PANNEL: Multi-touch Capacitive screen
� Language: support multiple languages
� Ports: mini USB*1(OTG) , mini HDMI*1,Earphone * 1, TF card slot *
1,DC IN*1,MIC*1
� Buttons: Back/Home/Menu/Power/Reset/Vol+/Vol-
Quick Start
Battery management and charging
Before using this device, please charge it fully. Put the charger adapter into the DC jack,
the device will start to charge.
【 TIPS】 :
� This device adopts built-in polymer battery. Only the specified charger should be
used.
when it is charging, the icon of battery will be rolling.
when the charging finish, the battery icon will turn green and stop rolling.
� If you do not use this device for a long time, please charge/release it
once one month to avoid deep discharge.
1
� When it is power off because of low battery, connect to the charger, the
device will indicate “low power” or “charging”, please wait for a second until the
machine can turn to the main interface once the power is enough.
� The built-in polymer battery should be charged regularly. The damage
caused by battery over-consuming is not included in the warranty.
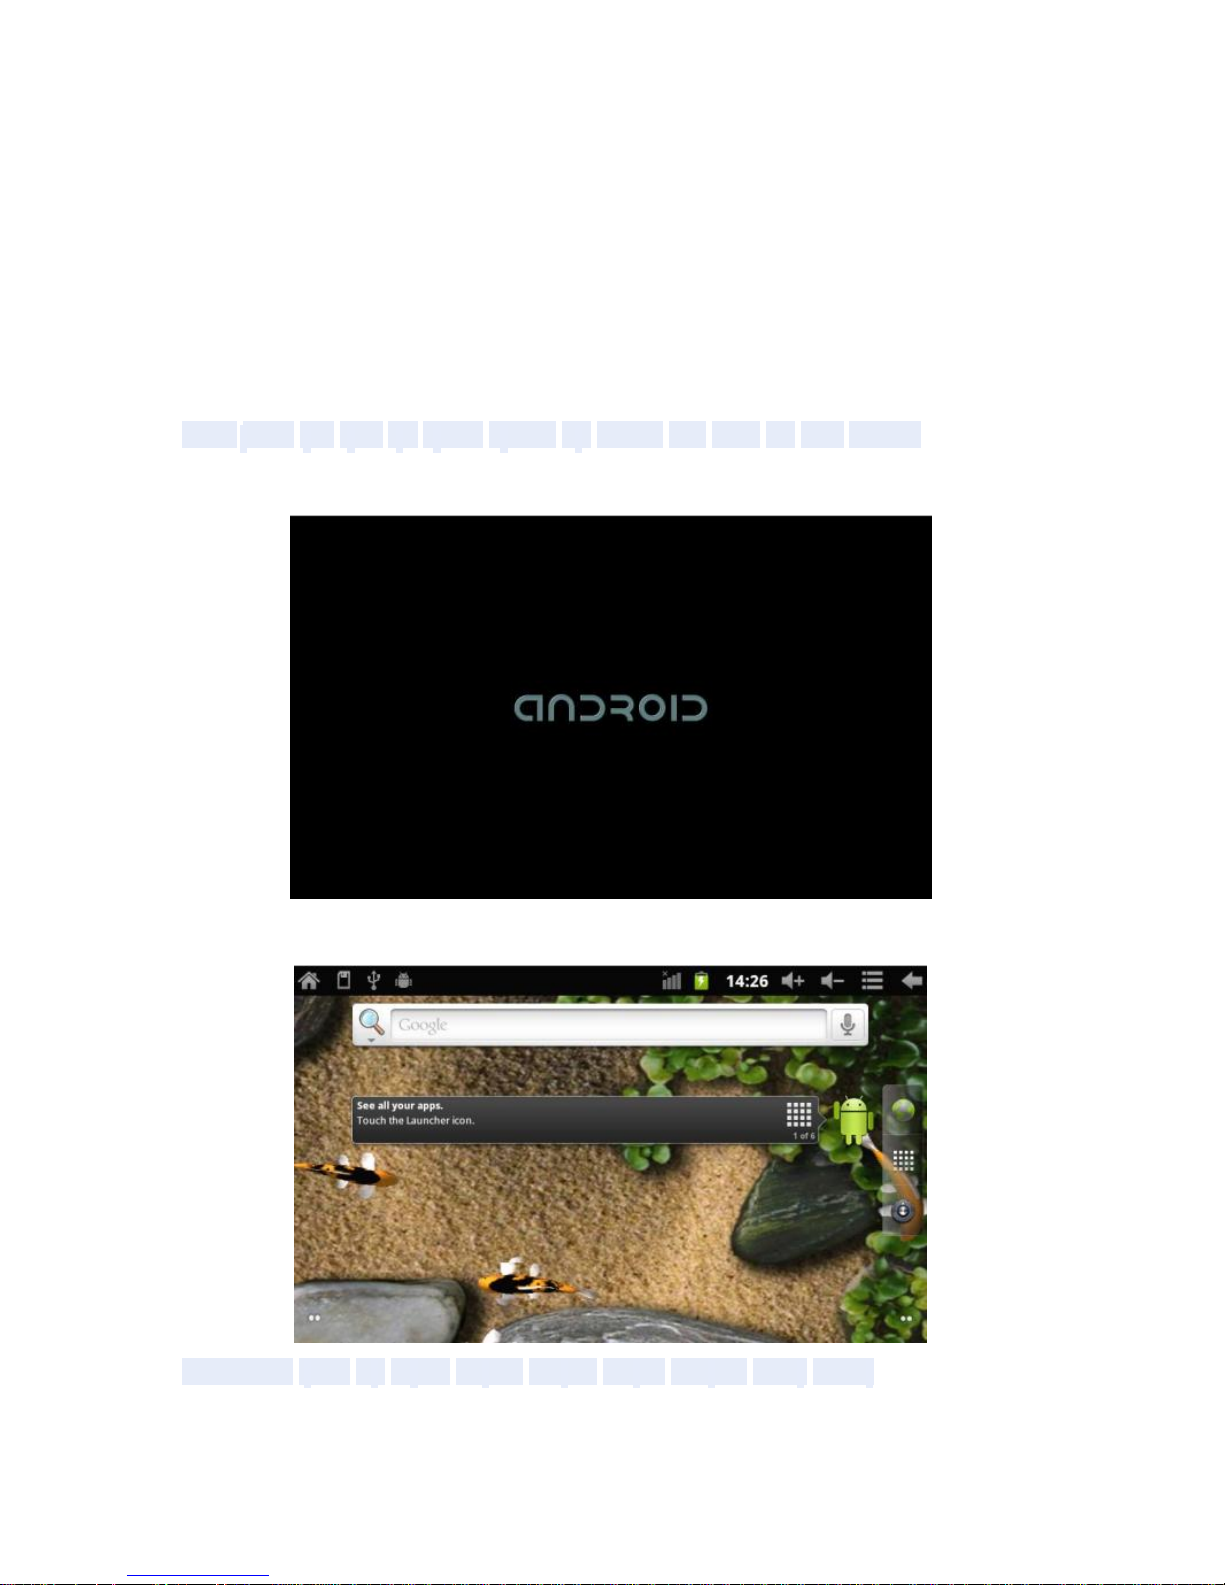
Boot and Shutdown
Boot: Press and hold the power button, the system will enter the boot
process, system has been started, entering the Android system:
The system enters the default home interface.
Shutdown: Press the power button, popup device options, select
Power off Click OK, you can safely shut down.
2
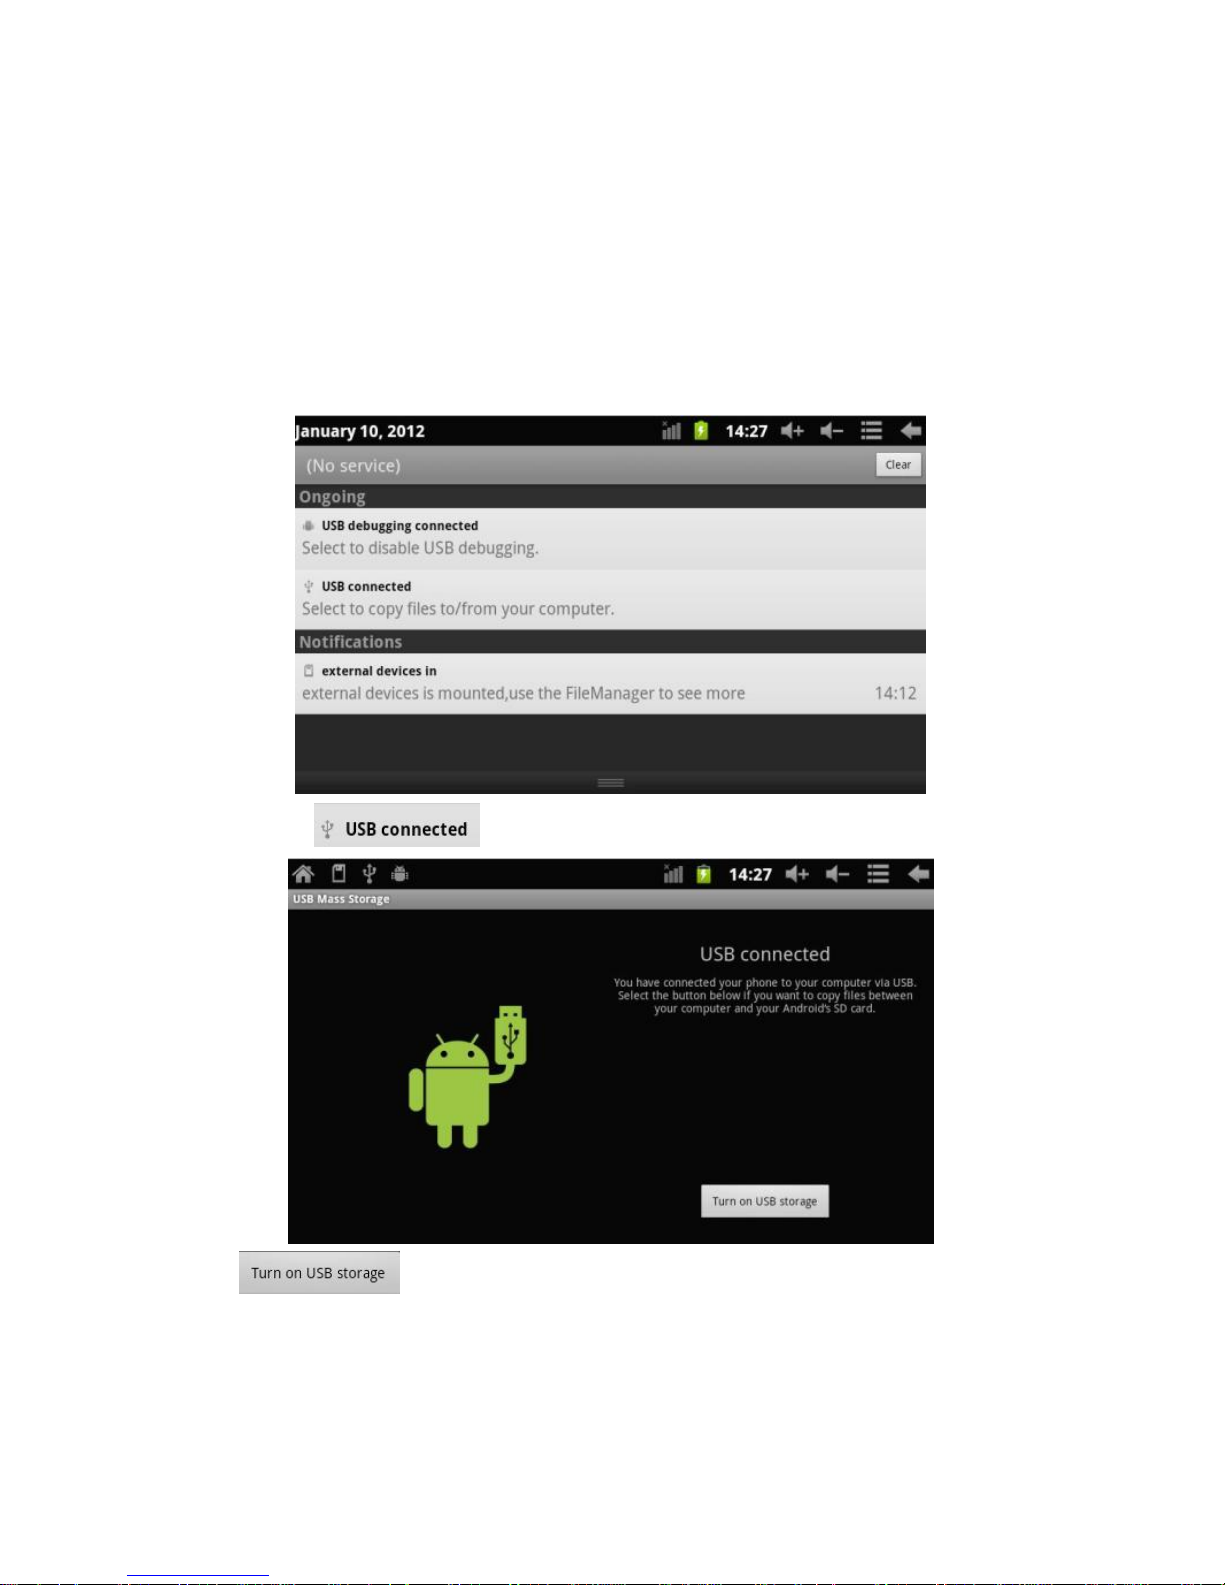
Connect with PC
By mini USB (OTG) interface of the device, you can connect with PC by mini USB
cable attached with the device. USB Data transferring is available. You can operate the
files through the PC.
When your device is connected successfully, to pull up the notification area of the status
bar, can see the following icon
Then click to enter the next
Click , then the device can transmission data with PC.
Note: The device also supports the FAT32 format for external devices, for
example U disk, TF card to Transfer data.
3

Interface Introduction
Top bar of the Interface
A. WIFI signal status icon: If connected to the WIFI wireless network, the icon
will be displayed
B . OTG connect icon: If the device connected to the PC, will show the OTG
connected icon.
C .Time display: Display the time of the current system, which has been set.
D. Battery status icon: Displays the current battery level and the charging status.
E. 3G signal status icon: If connected to the 3G network, will show the "3G" network
icon
F. Menu, Home, Back, Volume down and Volume up virtual buttons
The HOME Screen menu
Press the lower end of the long button on the device, it will display a
home screen menu as following:
Add: To add a HOME Screen item(Shortcuts, Widgets, Folders,
Wallpapers). Wallpaper: Users can replace the wallpaper with you wishes.
Manage apps: It can quickly open a list of all applications.
Search: Provides fast access to Google search interface.
Settings: Fast access to system settings, user can choose “Wireless &
networks”, “Display”, “Date & time” etc, for personalized settings.
Notifications: display some notice of the system when the users operation the device.
Desktop
When sliding around with your finger to switch the main screen, the desktop fixed on the
main screen, will not move. User could drag the application icon placed on the desktop
4
area in the main screen.
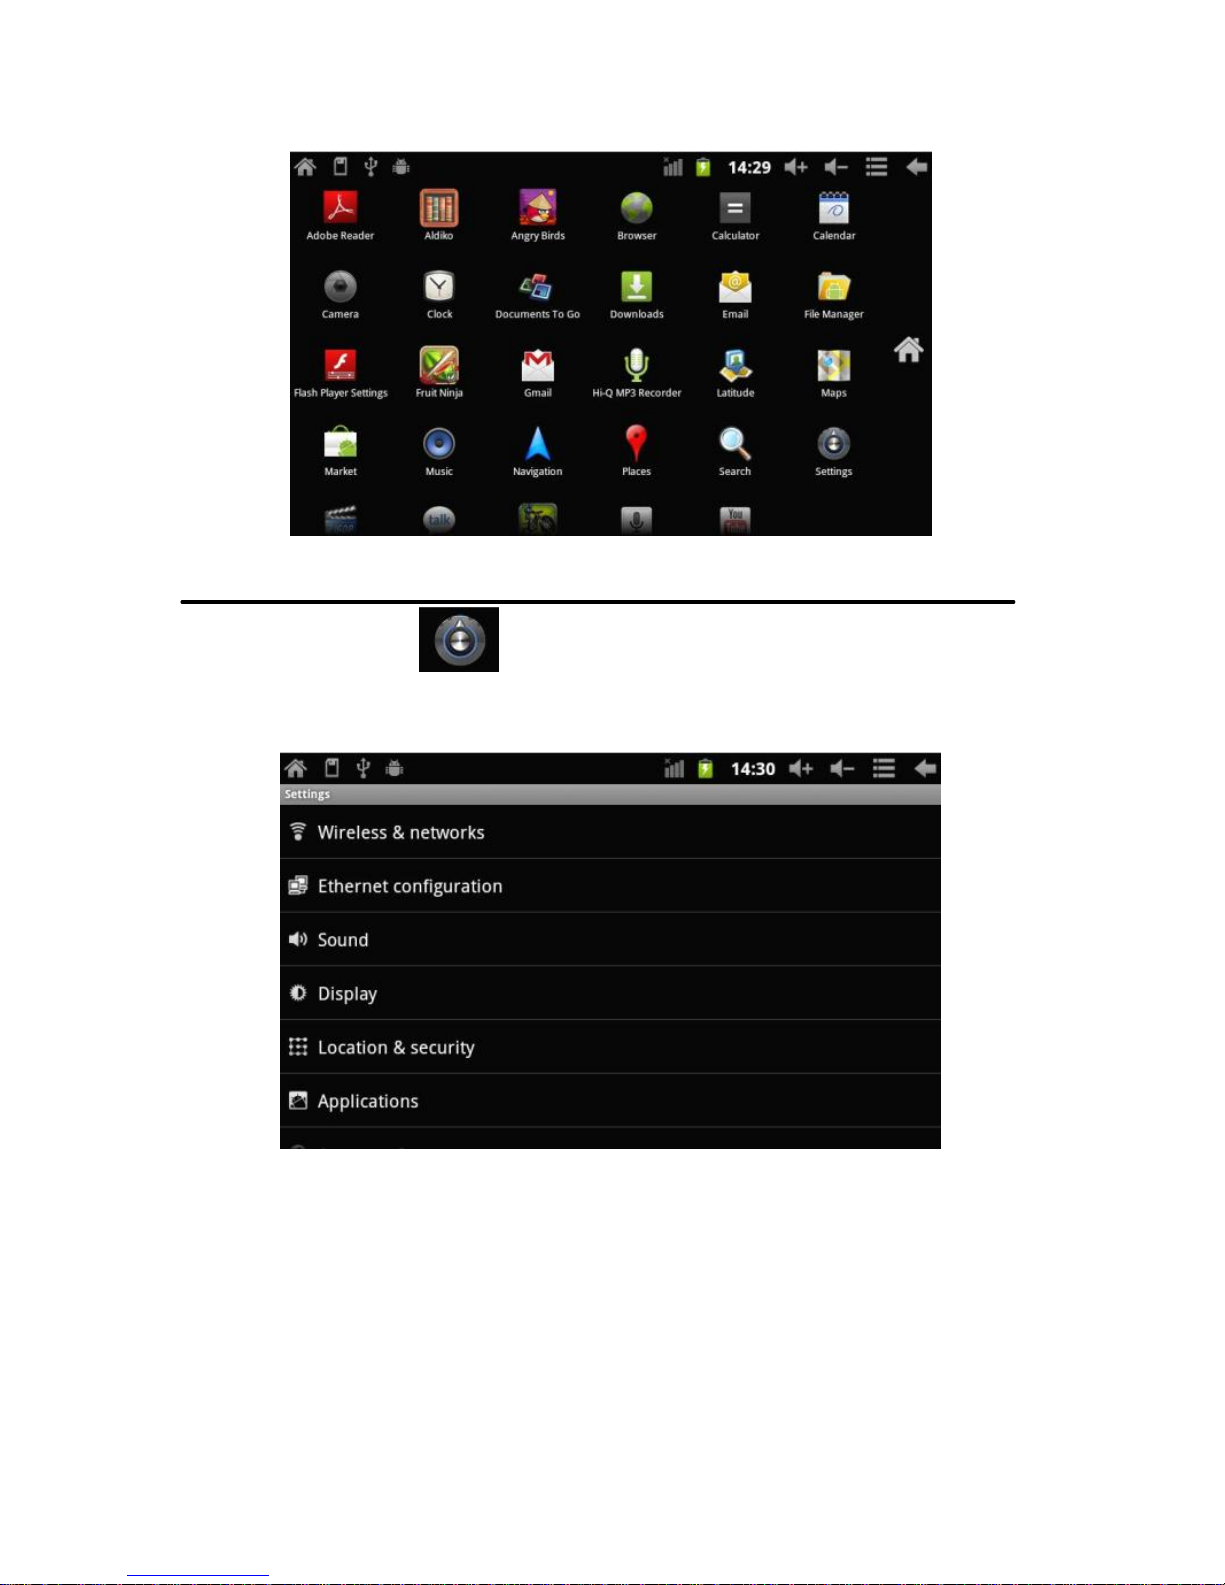
Basic Operation
Click the "Settings" icon in the main applications area, you can open the
system
Setting interface, as shown below:
Select the appropriate operation of the relevant items, such as: wireless and
network, display, language, date and time settings, about device, etc.
Date and time settings:
Click "Date & time" to enter the Date and time settings interface:
Select to set the date, select the time zone, set the time, time format, date format and
5

other information.
For example, choose to set the date, as follows:
Select +: that the increase of 1 unit,
Select - : that the reduction of 1 unit.
Also you can choose the number, enter the input mode. Directly entering
the desired number, then click “Done” to set the Date.
Display settings
In the settings interface choose " Display " to enter the display settings interface, select
"Brightness", Pull the progress bar to adjust the brightness ,as below interface:
Click screen timeout to adjust the delay before the screen automatically turns
off. When screen is turns off, press power key to wake up.
6

When display "Screen locked" interface, follow the prompts to unlock it .
Wireless Connection:
Click the main menu "Settings" icon, go to "Settings" screen, click on "Wireless and
networks" into the "Wireless and networks settings" interface. Click the "WIFI" section to
quickly open the WIFI feature, click on "WIFI settings" column enter" WIFI settings" interface,
click on the WIFI column also can open and close the WIFI feature, click on the "Network
Notice" to list the searched wireless routers, click the search name will pop up settings
dialog, please follow the prompts to complete the WIFI network links. Some encrypted
network, need to enter a valid key. As shown below:
According to the above method to connected Wi-Fi, as shown below:
7

G-Sensor calibration
When the acceleration sensor is not accurate, please use the calibration. You can
click Display settings to calibrate the G-Sensor
Applications install and uninstall
Install applications
1. Click the Settings and enter to Applications
2. Click “Unknown Sources”, then click “OK”, As shown below:
3. Copy the APK installer software to TF card or NAND FLASH.
8

4. Click File Manager to find the app directory, then select applications to
install.
Users can "Android market" online installation, or download via the computer,
or online through the machine built-in browser to download and install.
Uninstall applications
Pitch on the item "Settings - Applications -Management Applications",
select the appropriate application has been installed, click the applications
which you need to uninstall
Browser
When the network connected, open the browser enter the URL,
you can quickly browse the Web or through the main desktop search bar
enter the URL, open the web page.
9

Video player:
Online video: The product supports flash 11.0 online video playback.
Local video: Click the Super-HD Player icon, the Player can loading new
albums and photos automatically which stored in local disk or micro SD card,
then select the videos to playback
Music player:
Click the music icon you can enter the music player interface.
Click the music files you will enter the player to play music
10

Click “
”:Play the previous music, long press to fast reverse.
Click “
”
:Click it to suspend, the icon turn to
“
” ,click and return to
the
normal playing again.
Click “
”
:To play the next song, long press to do function.
Click “
”
:To display the present playing
list. Click “
”
:
To select the random playing
mode.
。
Click “
”
:To select the repeat playing
mode.
Photo Browser
Click “Super-HD player” to get into Photo Browser directly. There will list all the picture
files and video files. As shown below:
Select a picture file and enter the picture playback interface, as shown
below. Can select "Zoom", "narrow" "set" and "delete" etc operation.
11
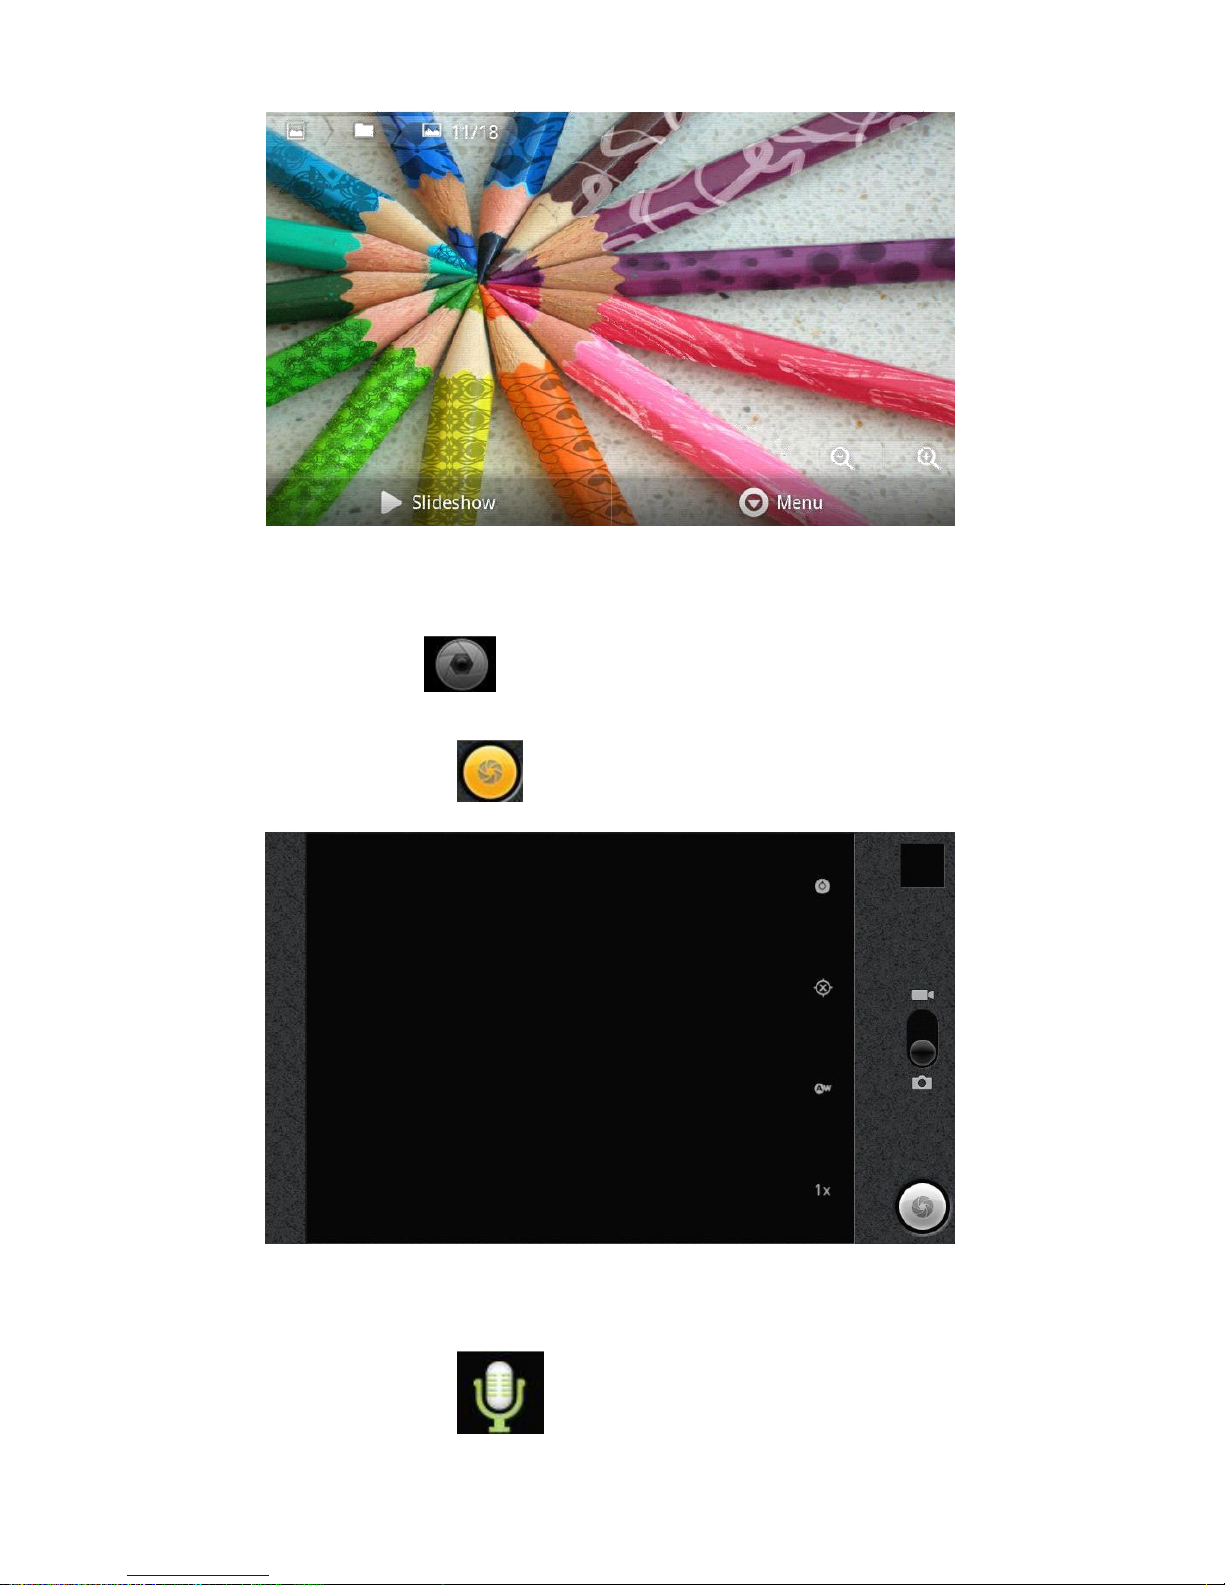
Camera
Click the Camera icon in the applications menu, as shown below
Click the camera shutter to take photos or videos
Sound Recorder
Click the recorder icon in the applications menu, as show below:
12

N
ot
e:
Se
lec
t
"Rec
ord"
button
t
o
rec
ord
,
w
h
e
n
it i
s
comple
ted,
se
le
ct
"St
op"
button . At this point you can find the recordings folder in the file browser
which saved the recordings.
Market
Click the icon into the "Market" interface. If have no gmail account, should
create a gmail account.
The final picture to login market as shown below:

13

Select “Accept” to enter market, as shown below
Frequently Asked Questions
Android
Q: What Android OS version is on my Device?
A: 2.3
APK
Q: What is APK?
A: APK is Android Package acronym that Android installation package.
Q: How to obtain the APK?
A: You can download via PC-side installation, you can also "Android market"
online to download and install.
Email
Q: Can I use any of my personal email addresses to send/receive email?
A: The device supports POP3 and SMTP accounts. Some free email
accounts are not supported on mobile devices. Check with your email provider
to see if you account is supported.
Q: Which media cards are compatible with my Device?
A: TF cards.
14

Music
Q: What type of music files can I play on my device?
A: MP3,WMA,MP2,OGG,AAC,M4A,FLAC,APE,
WAV Photos.
B: What type of photo files can I view on my
device?
A: JPG, JPEG, BMP , JPG and PNG.
Video
Q: What type of video files can I play on my device?
A: AVI, 3GP, MP4, MPG, RM, RMVB, MOV, FLV, WMV,MKV(max
1080p full HD video)
Q: Can I play YouTube videos on my device?
A: Yes. You can. Tap the YouTube application icon to quick access videos.
Wi-Fi
Q: Do I need a Wi-Fi adapter to connect to the Internet?
A: No. The Wi-Fi adapter is built-in to the device.
Important Safety Precautions
Always follow these basic safety precautions when using your Tablet. This
reduces the risk of fire, electric shock, and injury.
� Do not expose this product to rain or moisture.
� Keep the device out of direct sunlight and heat sources.
� Protect the power cord. Route power cords so that they are not likely to be
walked on or pinched by items placed on or against them. Pay particular
attention to the point where the cord attaches to the device.
� Only use the AC adapter included with the device. Using any other power
adapter voids your warranty.
� Do not remove the cover. There are no user-serviceable parts inside.
� Clean your Device
Treat the screen gently. To clean fingerprints or dust from the screen, we
recommend using a soft, non-abrasive cloth such as a camera lens cloth.
15
 Loading...