

GLOBALINX® TALK-100 Dual Port
Digital Telephone Adaptor
User’s Manual
© Copyright 2009 GLOBALINX®. All rights reserved.
No part of this document may be copied or reproduced in any form or by any means without the prior written consent of GLOBALINX®.
GLOBALINX® makes no warranties with respect to this documentation and disclaims any implied warranties of merchantability, quality, or fitness for any particular purpose.
The information in this document is subject to change without notice. GLOBALINX® reserves the right to make revisions to this publication without obligation to notify any
person or entity of any such changes. Trademarks or brand names mentioned herein are trademarks or registered trademarks of their respective owners.
TALK-100-11/09

Table of Contents
1 Welcome ..................................................................................................... 1
Safety Compliances ...................................................................................................................... 1
2 Warranty .................................................................................................... 2
3 Connect Your TALK-100 ............................................................................. 3
Included Equipment .................................................................................................................... 3
4 Installing the TALK-100 .............................................................................. 4
Without a Router .. ......................................................................................................................... 4
With a Router ................................................................................................................................... 5
5 Product Overview ..................................................................................... 8 & 9
System Specications ............................................................................................................... 8 & 9
6 Basic Operation .......................................................................................... 10
Placing a Phone Call ...................................................................................................................... 10
Call Hold ............................................................................................................................................ 10
Call Waiting ...................................................................................................................................... 10
3-Way Conferencing ......................................................................................................................10
7 Call Features ............................................................................................... 11
8 Safety Warnings .......................................................................................... 12
9 Legal Information ....................................................................................... 13
TALK-100 User’s Manual

1
Welcome
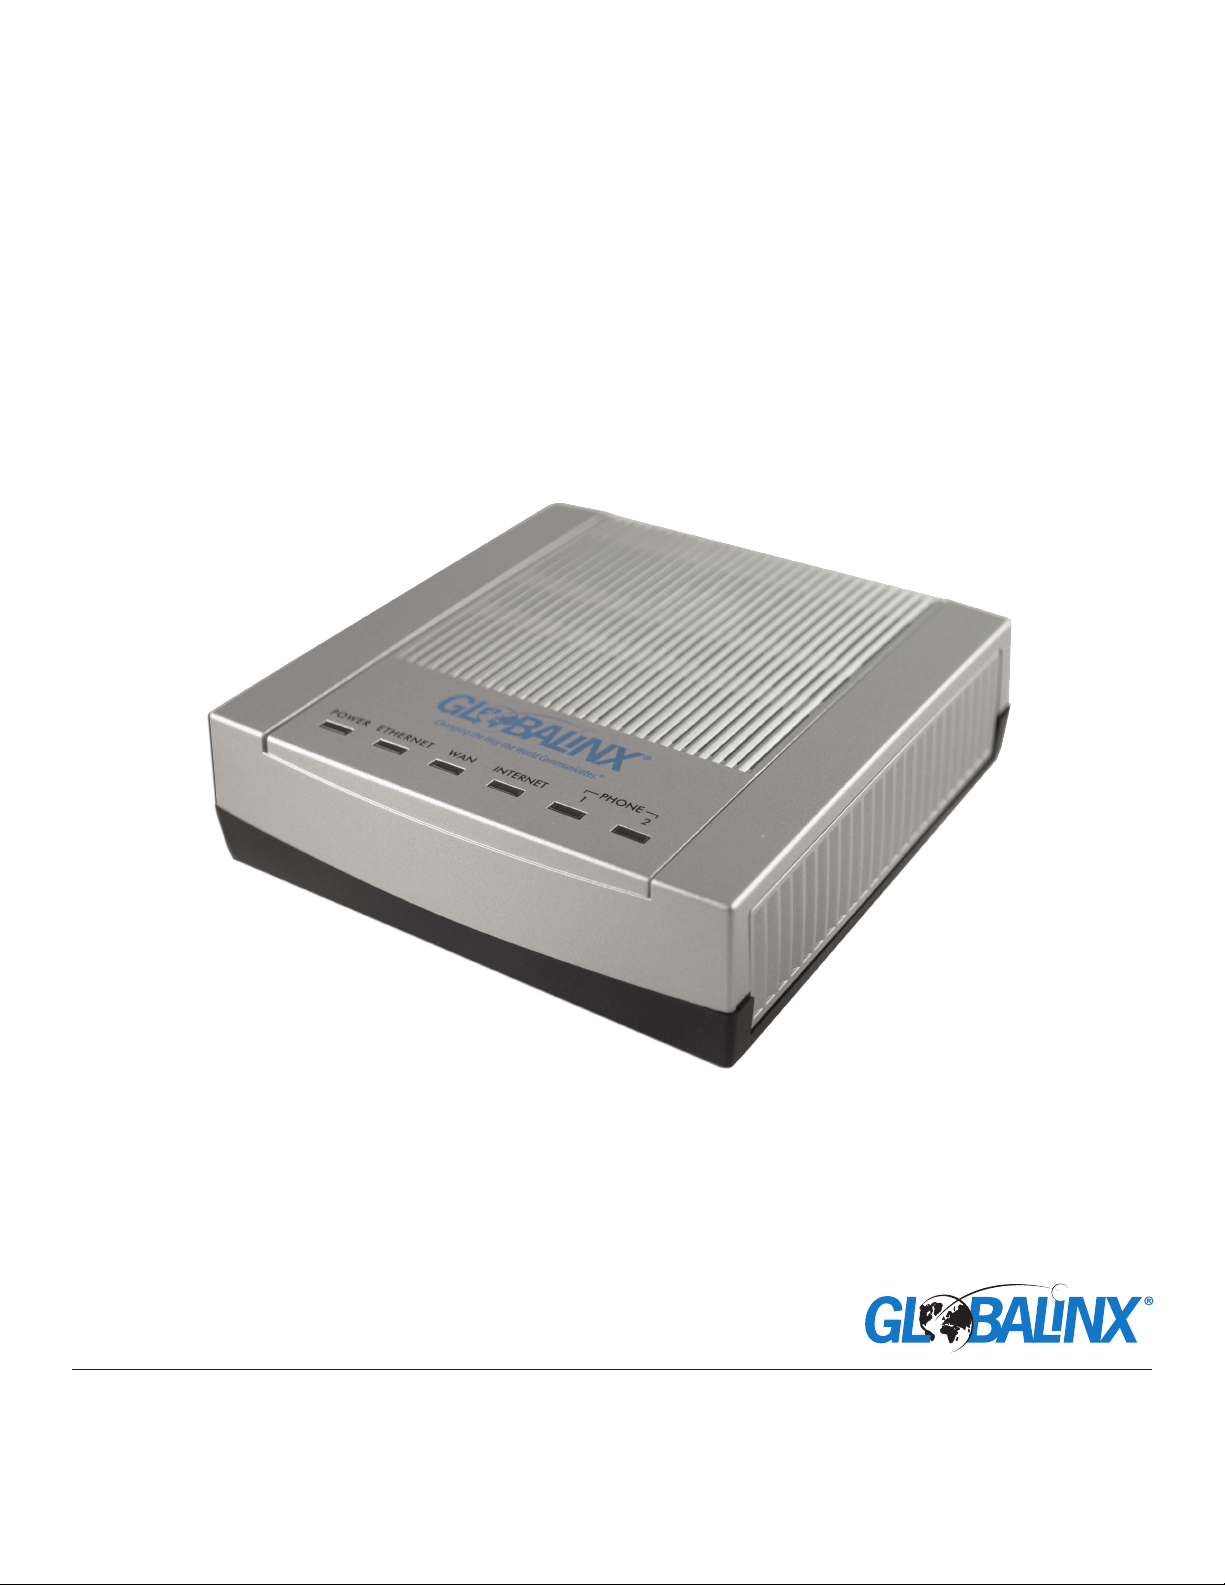
Thank you for purchasing the GLOBALINX® TALK-100, the aordable, feature-rich
Digital Telephone Adapter (DTA). The GLOBALINX® TALK-100 features rich audio
quality, a broad range of voice codecs, and functionality including two (2) phone
ports each with independent GLOBALINX® accounts.
This manual will help you learn how to operate and manage your GLOBALINX®
TALK-100 Digital Telephone Adapter and make the best use of its many upgraded
features including simple and quick installation and 3-way conferencing.
Safety Compliances
The TALK-100 DTA complies with FCC/CE and various safety standards.
The TALK-100 power adapter is compliant with UL standards. Only use the
universal power adapter provided with the TALK-100 package. The warranty
does not cover damages to the phone caused by unsupported power adapters.
TALK-100 User’s Manual 1

2
Warranty
TALK-100
®
GLOBALINX
GLOBALINX® warrants to the original purchaser of this product that it shall be
free of defects resulting from workmanship or components for a period of one
(1) year from the date of sale. Defects covered by this Limited Warranty shall be
corrected either by repair or, at GLOBALINX’s discretion, by replacement. In the
event of replacement, the replacement unit will be warranted for the remainder
of the original one (1) year period or thirty (30) days, whichever is longer. There
are no other oral or written warranties expressed or implied, including but not
limited to those of merchant ability or tness for a particular purpose.
This Limited Warranty is nontransferable and does not apply if the product has
been damaged by negligence, accident, abuse, misuse, modication, misapplication, shipment, or service by someone other than GLOBALINX®. Transportation and/or shipping charges to GLOBALINX® are not covered by this Limited
Warranty. To be eligible for warranty service, the purchaser must have previously
spoken with GLOBALINX® Technical Support. Once GLOBALINX® Technical Support has determined that the unit should be replaced, a RMA number will be
issued to the purchaser. The warranty is valid for twelve (12) months from date of
sale and the defective device must be returned within thirty (30) days of receipt
of GLOBALINX®-provided, pre-paid return label. GLOBALINX® does not warrant
that this product will meet your requirements; it is your sole responsibility to
determine the suitability of this product for your purposes.
GLOBALINX® does not warrant the compatibility of this product with your computer or related peripherals, software. GLOBALINX’s sole obligation and liability
under this warranty is limited to the repair or replacement of a defective product. GLOBALINX® shall not in any event be liable to the purchaser or any third
party for any incidental or consequential damages or liability in the tort relating
to this product or resulting from its use or possession.
This document is subject to change without notice. The latest electronic version
of this user’s manual is available for download at: http://www.globalinx.com
Reproduction or transmittal of the entire or any part, in any form or by any means, electronic or
print, for any purpose is not permitted without the express written permission of GLOBALINX® Inc.
TALK-100 User’s Manual 2
3
Connect Your TALK-100
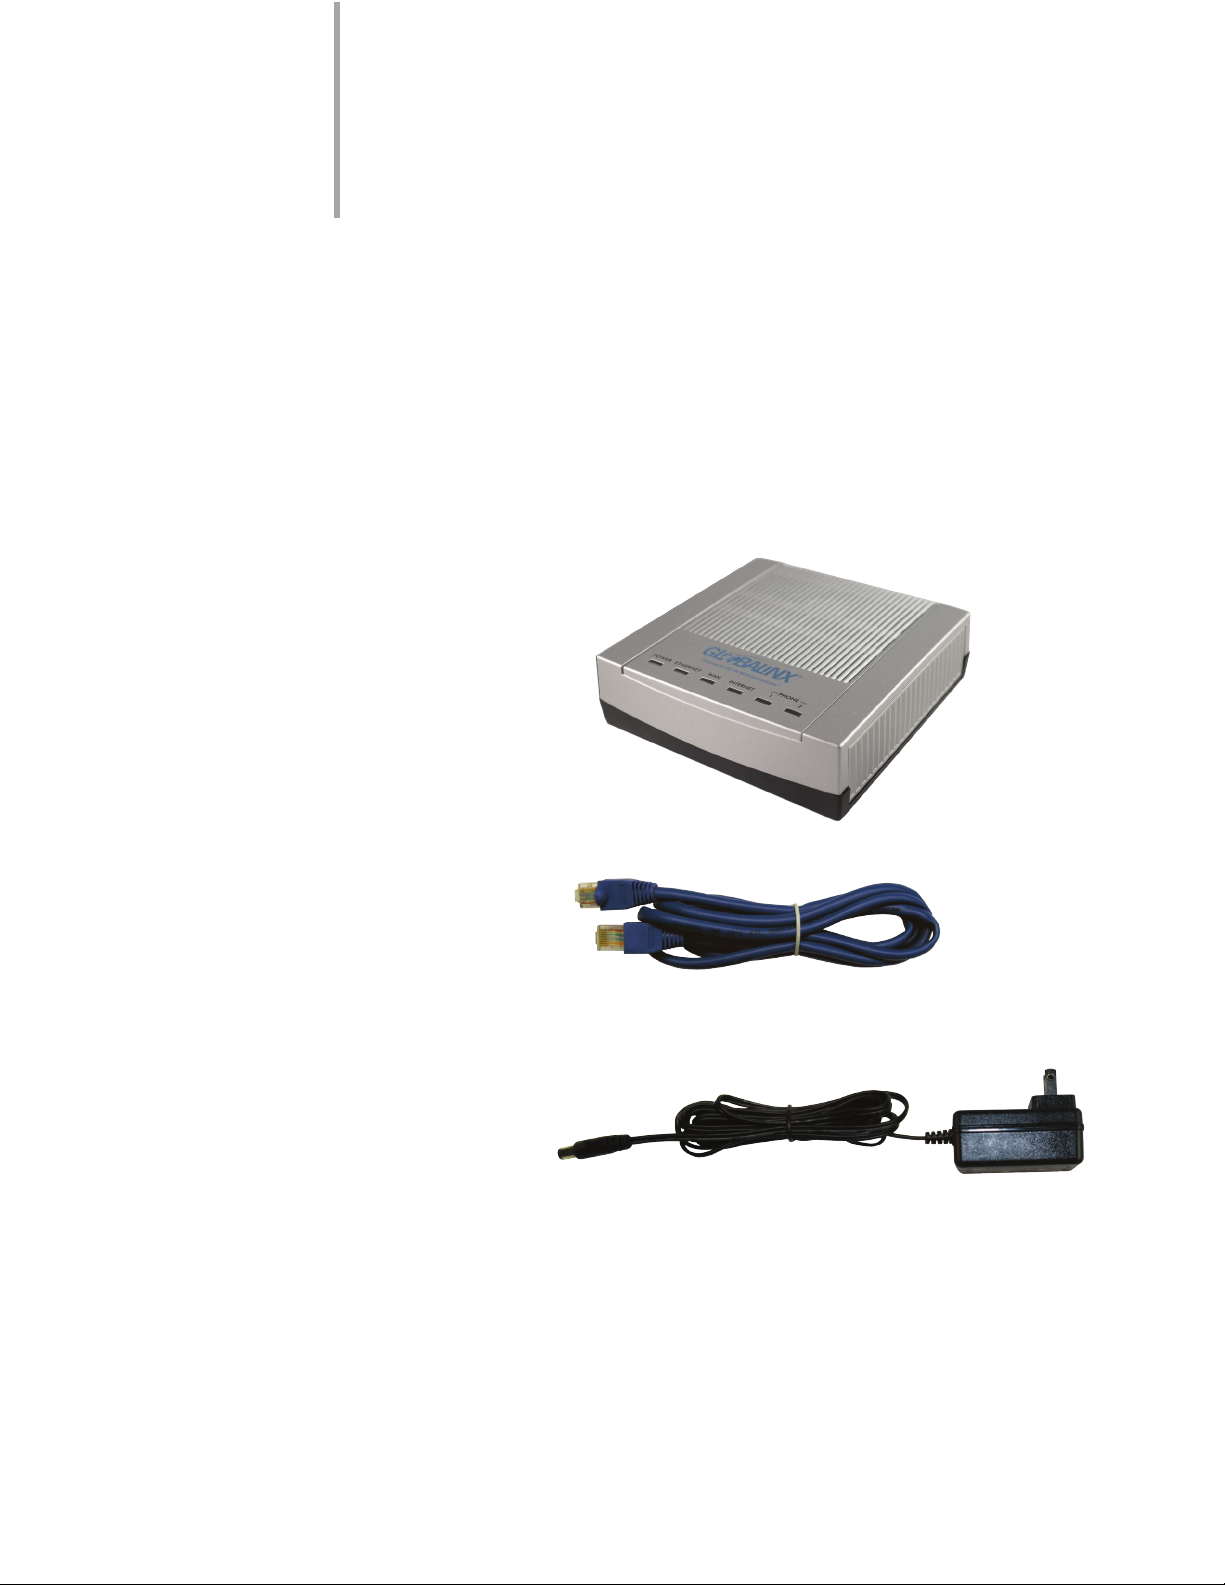
Included Equipment:
The TALK-100 DTA package contains:
• One TALK-100 Telephone Adapter
• One Ethernet Cable
• One Power Adapter
TALK-100
Telephone Adapter
Ethernet Cable
Power Adapter
TALK-100 User’s Manual 3

TALK-100
®
4
Installing the Talk-100
The TALK-100 is designed for easy conguration and installation.
Follow these quick steps to start using your GLOBALINX® service:
Installing without a Router
GLOBALINX
Internet
It’s fast and easy to set up your Telephone Adapter! Just follow these simple steps:
Insert the provided blue Ethernet Cable into the blue WAN port [B] of the Telephone Adapter. Connect the other
STEP #
STEP #
STEP #
1
end of the Ethernet Cable to an Uplink port of the DSL or Cable Modem.
If you do not have a Router you can connect a PC to the yellow Ethernet port [C] of the Telephone Adapter with
2
a second Ethernet cable (not included).
Insert the provided Power Adapter into the Power Connection [A] and connect the other end to a wall outlet.
3
Allow up to 5 minutes to fully boot up before placing a call.
DSL or Cable
Modem
LED Status Lights
F
Telephone
Adapter
A B
C
Telephone
E
Computer
DO NOT UNPLUG AT THIS TIME OR YOU WILL DAMAGE THE UNIT.
STEP #
STEP #
Connect a standard touch-tone analog telephone to the Telephone Adapter. To do this, insert the telephone cable
4
into the Phone 1 port [E] and connect the other end of the telephone cable to the telephone.
5
When the Phone 1 LED Status Light [F] turns a solid color, your service is ready to use.
IMPORTANT NOTICE, READ FIRST!
Once you have connected the Power Adapter into the Power Connection of
the device it may take up to 5 minutes to activate your new Telephone Adapter
and get it connected to the GLOBALINX® network. DO NOT unplug the power or
Internet cable during this waiting period or you will damage the unit. When the
Phone 1 Status Light turns a solid color, your service is ready to use.
If all LED Status Lights ash green simultaneously, DO NOT unplug
NOTE:
power Ethernet cords. This means the device is automatically upgrading.
TALK-100 User’s Manual 4

Computer
Installing with a Router
Computer
LED Status Lights
F
Telephone
Adapter
STEP #
STEP #
STEP #
STEP #
C
E
Internet
DSL or Cable
Modem
A B
Router
Using a Router? Just follow these simple steps to connect your Telephone Adapter:
Note: This set-up assumes your Modem is already connected to your Router (as shown above with the yellow line).
Insert the provided blue Ethernet Cable into the blue WAN port [B] of the Telephone Adapter and connect the other
1
end of the Ethernet Cable to an available Ethernet port on your Router. You can now connect your PC to another
available Ethernet port on your Router (shown above with black lines). The yellow port [C] will not be used.
2
Insert the provided Power Adapter into the Power Connection [A] and connect the other end to a wall outlet. Allow up
to 5 minutes for the Telephone Adapter to fully boot up before placing a call.
3
Connect a standard touch-tone analog telephone to the Telephone Adapter. To do this, insert the telephone cable into
DO NOT UNPLUG AT THIS TIME OR YO U WILL DAMAGE THE UNIT.
the Phone 1 port [E] and connect the other end of the telephone cable to the telephone.
4
When the Phone 1 LED Status Light [F] turns a solid color, your service is ready to use.
IMPORTANT NOTICE, READ FIRST!
Once you have connected the Power Adapter into the Power Connection of
the device it may take up to 5 minutes to activate your new Telephone Adapter
and get it connecte d to the GLOBALINX® network . DO NOT unplug the power or
Internet cable during this waiting period or you will damage the unit. When
the Phone 1 Status Light turns a solid color, your service is ready to use.
Telephone
If all LED Status Lights ash green simultaneously, DO NOT unplug
NOTE:
power Ethernet cords. This means the device is automatically upgrading.
TALK-100 User’s Manual 5

TALK-100
®
Table 1: Denitions of the TALK-100 Connectors
(6) LED Status Lights
Reset
Button
Phone
2 Port
GLOBALINX
Power
Connection
Power Connector - Power adapter connection.
WAN Port (Blue) - Connect to the cable or DSL modem or router for Internet connection.
Ethernet Port (Yellow) - Connect the Ethernet port to your PC.
RESET - Factory Reset button. Press for 7 seconds to reset factory default settings.
PHONE1 (Gray) - Phone port to be connected to an analog phone.
PHONE2 (Gray) - Phone port to be connected to an analog phone for second line only.
Six (6) LED Status Lights - Help manage the status of your GLOBALINX® TALK-100.
WAN Port
Back
Phone
1 Port
Ethernet Port
TALK-100 User’s Manual 6

TABLE 2: Definitions of the TALK-100 LEDs
Power LED blinking green: Device is booting up
Power LED steady green: Device has nished boot up cycle and it is trying to connect to the network
WAN,LAN LED blinking or steady: There is network activity in any of those ports
Internet LED Green: Device connected to the Internet
Internet LED Red: Device unable to connect to the Internet, no IP address on the WAN side
Phone LED 1 active and
green steady when on-hook:
Phone LED 1 active & green blinking:
Phone LED 1 active and steady amber: There’s a new voicemail waiting in voicemail server
All LEDs blinking at the same time:
Only Phone 2 LED on, amber color, &
Power LED blinking or o completely:
Behavior for Phone LED 2 is the same as LED 1.
Device has already registered with SIP server,
and FSX port 1 is enabled
Incoming call or phone is o-hook
Device is undergoing a rmware upgrade, DO NOT TOUCH, MOVE,
or DISCONNECT ANY PORT(INCLUDING POWER) or device can break.
Device not functional
TALK-100 User’s Manual 7

TALK-100
®
5
The TALK-100 is a feature-rich Voice over Internet Protocol (VoIP) device that oers
a high-level of integration including dual 10M/100Mbps Ethernet ports with integrated
router, NAT, DHCP server, dual port FXS telephone gateway, market-leading sound
quality, rich functionalities and a compact and lightweight design.
Product Overview
SYSTEM SPECIFICATIONS
System Specications
Router Features
• NAT (includes multi-to-multi NAT)/
SUA, 2048 NAT sessions
• NAT Server (Port Forwarding)
GLOBALINX
• TCP/IP
• PPPoE Client
• DHCP Client/Server
• RIP I/RIP II Supported
• IP Multicasting, IGMP v1 and v2
• Dynamic DNS Support
• IP Alias
Voice Functionality
• SIP (RFC 3261) version 2
• SDP (RFC 2327)
• RTP (RFC 1889)
• RTCP (RFC 1890)
• Echo Cancellation: G.168
• VAD (Voice Activity Detection)
• Silence Suppression
• CNG (Comfort Noise Generation)
• Support TOS & Diserv Tagging
• VLAN Tag Support
• Codec: G.711 (PCM A-law or μ-law
selectable), G.729a/b G.726 (ADPCM)
• DTMF Detection
• Modem and Fax Tone Detection
Phone Features
• CW (Call Waiting)
• Call Waiting w/Caller ID
• Call Forwarding (Unconditional/
Busy/No Answer)
• Call Transferring
• Three Way Conference
• Call Hold/Call Retrieve
• Incoming Call Policy
(Call Accept/Call Forward/Call Block)
• MWI (Message Waiting Indicator
(RFC 3842))
• IVR (Interactive Voice Response)
• Speed Dial (Phone Book)
Network Functionality
• Remote Firmware Upgrade
• Secure HTTP Auto-provisioning
(default by 3DES encryption)
• IVR for IP address
NAT Traversal
• Simple Traversal of UDP over NAT
(STUN, RFC3489)
• Outbound proxy
• Manual congured SIP and RTP
(Fake address)
Management
• SNMP v1 & v2c with MIB II
• Embedded FTP/TFTP Server for rmware
upgrade and romle backup and restore
• Easy Provisioning Management of
TR-104 (by project)
• Remote Management Control:
Telnet, FTP, Web
• UPnP support
TALK-100 User’s Manual 8

HARDWARD SPECIFICATIONS
ENVIRONMENTAL SPECIFICATIONS
• Built-in TWO auto MDI/MDI-X 10/100M
RJ-45 ports for LAN & WAN
• 2 FXS Phone Ports
• Restore Factory Defaults/Reset button
PHYSICAL SPECIFICATIONS
• Dimensions: 108 (W) x 33 (D) x 105 (H) mm
• Weight: 168 g
Operation Environment
• Operating Temperature: 0°C ~ 40°C
• Operating Humidity: 20% ~ 85%
(non-condensing)
Storage Environment
• Storage Temperature: -20°C ~ 60°C
• Storage Humidity: 20% ~ 90%
(non-condensing)
TALK-100 User’s Manual 9

TALK-100
®
6
Basic Operation
Placing a Phone Call
1. Phone or Extension Numbers:
Dial the number directly (it takes about 2 seconds to connect)
Call Hold
Place a call on hold by pressing the “FLASH” button on the analog phone (if the
phone has that button). Press the “FLASH” button again to release the previously
held Caller and resume conversation. If no “FLASH” button is available, use “hook
FLASH” (toggle on-o hook quickly). You may drop a call using hook ash.
GLOBALINX
Call Waiting
Call waiting tone (3 short beeps) indicates an incoming call, if the call waiting
feature is enabled. Toggle between incoming call and current call by pressing
the “FLASH” button. First call is placed on hold. Press the “FLASH” button to
toggle between two active calls.
3-Way Conferencing
The TALK-100 supports Bellcore style 3-way Conference.
Instructions for 3-way Conferencing:
Assume that call party A and B are in conversation. Caller A (TALK-100) wants to
bring third Caller C into conference:
1. A presses FLASH (on the analog phone, or hook ash for old model
phones) to get a dial tone.
2. A dials C’s number.
3. If C answers the call, then A presses FLASH to bring B, C in the conference.
4. If C does not answer the call, A can press FLASH back to talk to B.
5. If A presses FLASH during conference, C will be dropped out.
6. If A hangs up, the conference will be terminated.
TALK-100 User’s Manual 10

7
Call Features
The TALK-100 supports all the traditional and advanced telephony features.
FEATURE SET CANCEL
Abbreviated Dial 75* + menu 75* + menu
Anonymous Call Rejection *77 v *87 v
Call Block * 60 + menu *80 + menu
Call Forward – All Calls 72* + phone number + # 73*
Call Forward – Busy 76* + phone number + # 77*
Call Forward – No Answer 78* + phone number + # 79*
Call Forward – Out of Svc 70* + menu 71*
Call Forward – Selective *63 + menu *83 + menu
Caller ID Block *67 N/A
Caller ID Block Release N/A *82 + no.
Call Return *69 N/A
Call Trace *57 N/A
Call Waiting FLASH *70+no.
Conferencing (3-Way Call) FLASH+no. N/A
Do Not Disturb *04 *04
Hold FLASH FLASH
Priority Call *61 + menu *61 + menu
Privacy Guard *88 + menu *88 + menu
Redial *07 N/A
Speed Dial 74* + menu 74* + menu
Voice Mail *09 N/A
Special Feature: Remote Call Forwarding - Dial 718-408-1362
vAvailable through GLOBALINX® Web Portal
TALK-100 User’s Manual 11

TALK-100
®
GLOBALINX
8
Safety Warnings
Do NOT use this product near water, for example, in a wet basement or near a swimming pool.
Do NOT expose your device to dampness, dust or corrosive liquids.
Do NOT store things on the device.
Do NOT install, use or service this device during a thunderstorm.
There is a remote risk of electric shock from lightning.
Connect ONLY suitable accessories to the device.
Do NOT open the device or unit. Opening or removing covers can expose you to dangerous
high voltage points or other risks. ONLY qualied service personnel should service this device.
Please contact your vendor for more information.
Make sure to connect the cables to the correct ports.
Place connecting cables carefully so that no one will step on them or stumble over them.
Always disconnect all cables from this device before servicing or disassembling.
Use ONLY an appropriate power adapter or cord for your device.
Connect it to the right supply voltage.
Do NOT allow anything to rest on the power adapter or cord and do NOT place
the product where anyone can walk on the adapter or cord.
Do NOT use the device if the power adapter or cord is damaged as it might cause electrocution.
If the power adapter or cord is damaged, remove it from the device and power source.
Do NOT attempt to repair the power adapter or cord.
Contact your local vendor to order a new one.
Do NOT use the device outside and make sure all connections are indoors.
Do NOT obstruct the device ventilation slots as insucient airow may harm your device.
Use only No. 26 AWG (American Wire Gauge) or larger telecommunication line cord.
If you wall mount your device, make sure no electrical lines, gas or water pipes will be damaged.
This product is recyclable. Dispose of it properly.
TALK-100 User’s Manual 12

9
Legal Information
Certications
Federal Communications Commission (FCC) Interference Statement
The device complies with Part 15 of the FCC Rules.
Operation is subject to the following two conditions:
• This device may not cause harmful interference.
• This device must accept any interference received, including interference
that may cause undesired operations.
This device has been tested and found to comply with the limits for a Class B
digital device pursuant to Part 15 of the FCC Rules. These limits are designed
to provide reasonable protection against harmful interference in a residential
installation. This device generates, uses and can radiate radio frequency energy
and if not installed and used in accordance with the instructions, may cause
harmful interference to radio communications. However, there is no guarantee
that interference will not occur in a particular installation. If this device does
cause harmful interference to radio/television reception, which can be determined by turning the device o and on, the user is encouraged to try to correct
the interference by one or more of the following measures:
• Reorient or relocate the receiving antenna
• Increase the separation between the equipment and the receiver
• Connect the equipment into an outlet on a circuit dierent from that
to which the receiver is connected
• Consult the dealer or an experienced radio/TV technician for help.
Notices
Changes or modications not expressly approved by the party responsible for
compliance could void the user’s authority to operate the equipment.
This Class B digital apparatus complies with Canadian ICES-003.
TALK-100 User’s Manual 13
 Loading...