

Global Communications G-404, G-408 Quick Start Manual

G-400 Series Quick Start Guide
This guide explains how to get started with the G-408 and G-404 modular communication products.
After following this guide, you should be able to connect to your G-400 series product and will be
prepared to start performing detailed configuration to suit your specific needs. Detailed
configuration is not covered in this guide.
Overview Summary
These are the basic steps you will perform when following this guide:
1) Plug in the unit and turn it on.
2) Connect the unit and login as the default user.
3) Change the IP Address and user password.
4) Access in-system help, change the default
language, add additional users, and prepare for
detailed configuration.
5) Learn how to reset the default user password.
Powering Up
1) Before powering on, you may have the module interface cards inserted into the rear of the
unit or not. Modules provide physical connectivity to things like radios and phone lines. Their
presence is optional for the initial setup.
2) The provided external power supply requires a line voltage input of 90 to 264 VAC, 47 to 63 Hz.
Connect the 12 VDC plug to the power input connector on the back of the unit. After a few
moments, the smart power button on the unit will start blinking. The power button is located
on the front of the G-408 and on the rear of the G-404.
3) Turn on the power on the unit by pressing the power button for about one second. The light
on the smart power button will turn solid green.
4) Observe the front panel display. It will go through a few stages, but after about 15 seconds
will report “System Running”. This means the system is operational and ready to use.
Connect and Login
1) Using a standard Ethernet cable, connect the unit to a PC's Ethernet jack. By default, the G-
400 series products use IP Address 192.168.0.200 with a Subnet Mask of 255.255.255.0.
Configure your PC so that it can talk to that IP Address. (For example, set your PC's IP Address
to 192.168.0.100 with a Subnet Mask of 255.255.255.0.)
700-100 G400 © GLOBAL COMMUNICATIONS TECHNOLOGY, LLC 1
Dec-15
2) On your PC, open any standards-compliant web browser. For example, start Internet Explorer,
Chrome, Firefox, or Safari. (Other modern web browsers will work as well.)
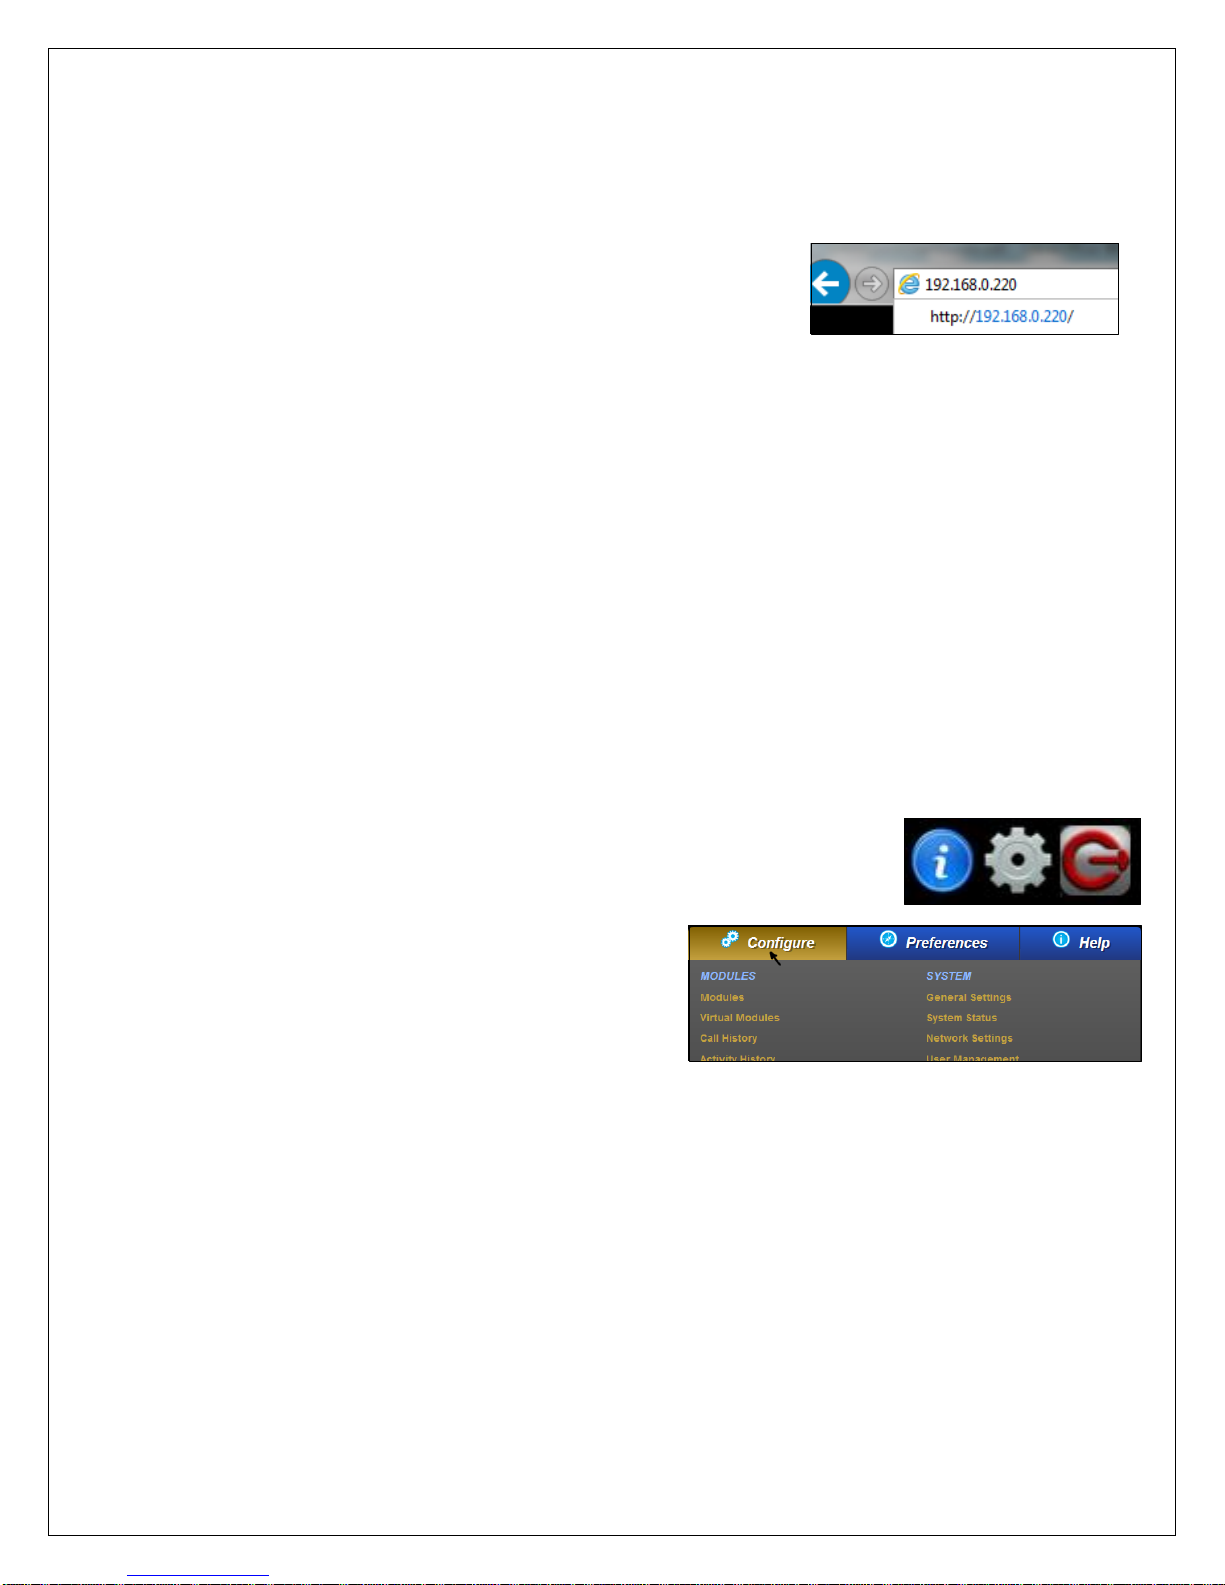
3) In your browser's navigation bar, enter the G-400 series default IP Address of “192.168.0.200”.
Press enter. After a brief moment, you will be prompted by the G-400 series login page. If you
are not, make sure the system is on and make sure your PC
can connect to IP Addresses in the “192.168.0.XXX” range.
Alternatively, the system may have already had its IP Address
changed. Click (push in) the physical knob on the front panel
of the unit. It will show you the current IP Address and web port. If the web port is not port
80, you can simply add it to the IP Address in your browser with a colon “:”. For example, if
the web port is “3333”, enter this in your browser: 192.168.0.200:3333.
4) Login to the system using the default username and password: “admin” and “admin”
respectively. User names and passwords are case-sensitive. If you receive a message about
an invalid username/password, check your Caps-Lock key and try again. If it still fails, it is
likely that the system has already been at least partially configured and the “admin” user's
password has been changed from the default. If you don't know what the password is, you
can follow the “reset” procedure explained at the end of this guide.
5) After logging in, you will be presented with the main audio patch control page (called the “Link
Builder”).
Change Network Settings
1) After logging in as the “admin” user, access the configuration settings
by clicking on the gray “gear” icon in the upper right hand corner of the
Link Builder tool. (The other buttons are for showing “Link Builder”
help and for logging out.)
2) You will then see a menu at the top of the screen
showing “Configure”, “Preferences”, and “Help”.
3) Hover your mouse over the “Configure” header
(no click is necessary). Select “Network Settings”
from the list on the right.
4) In the newly displayed “Network Settings” tool, specify the desired connectivity information. If
using a static IP, only the IP Address and Subnet Mask are required. If using DHCP, no other
settings are required. Note that while DHCP will work, its use is only recommended in special
applications – it is often necessary to have a known and stable fixed IP address.
5) When finished, click “Save Changes”.
6) Advanced Use Note: If you need to change the default web port (so that the system can be
accessed through a router using a port-forwarding feature), click on the “Port Management”
button and adjust it from there.
7) Changing network settings requires a system restart. You can do this by pushing and holding
the physical power switch on the unit for two seconds (until it starts blinking). The system will
shut down cleanly. After it does, push the power button again (for about one second) to get it
to come back on. Alternatively, you can simply restart it from the user interface. Hover your
mouse on the “Configure” menu, then select “Shutdown System” from the list on the right.
700-100 G400 © GLOBAL COMMUNICATIONS TECHNOLOGY, LLC 2
Dec-15
 Loading...