

Glastender Juice Pro Dispensers User Manual
Operation Manual and Parts Directory
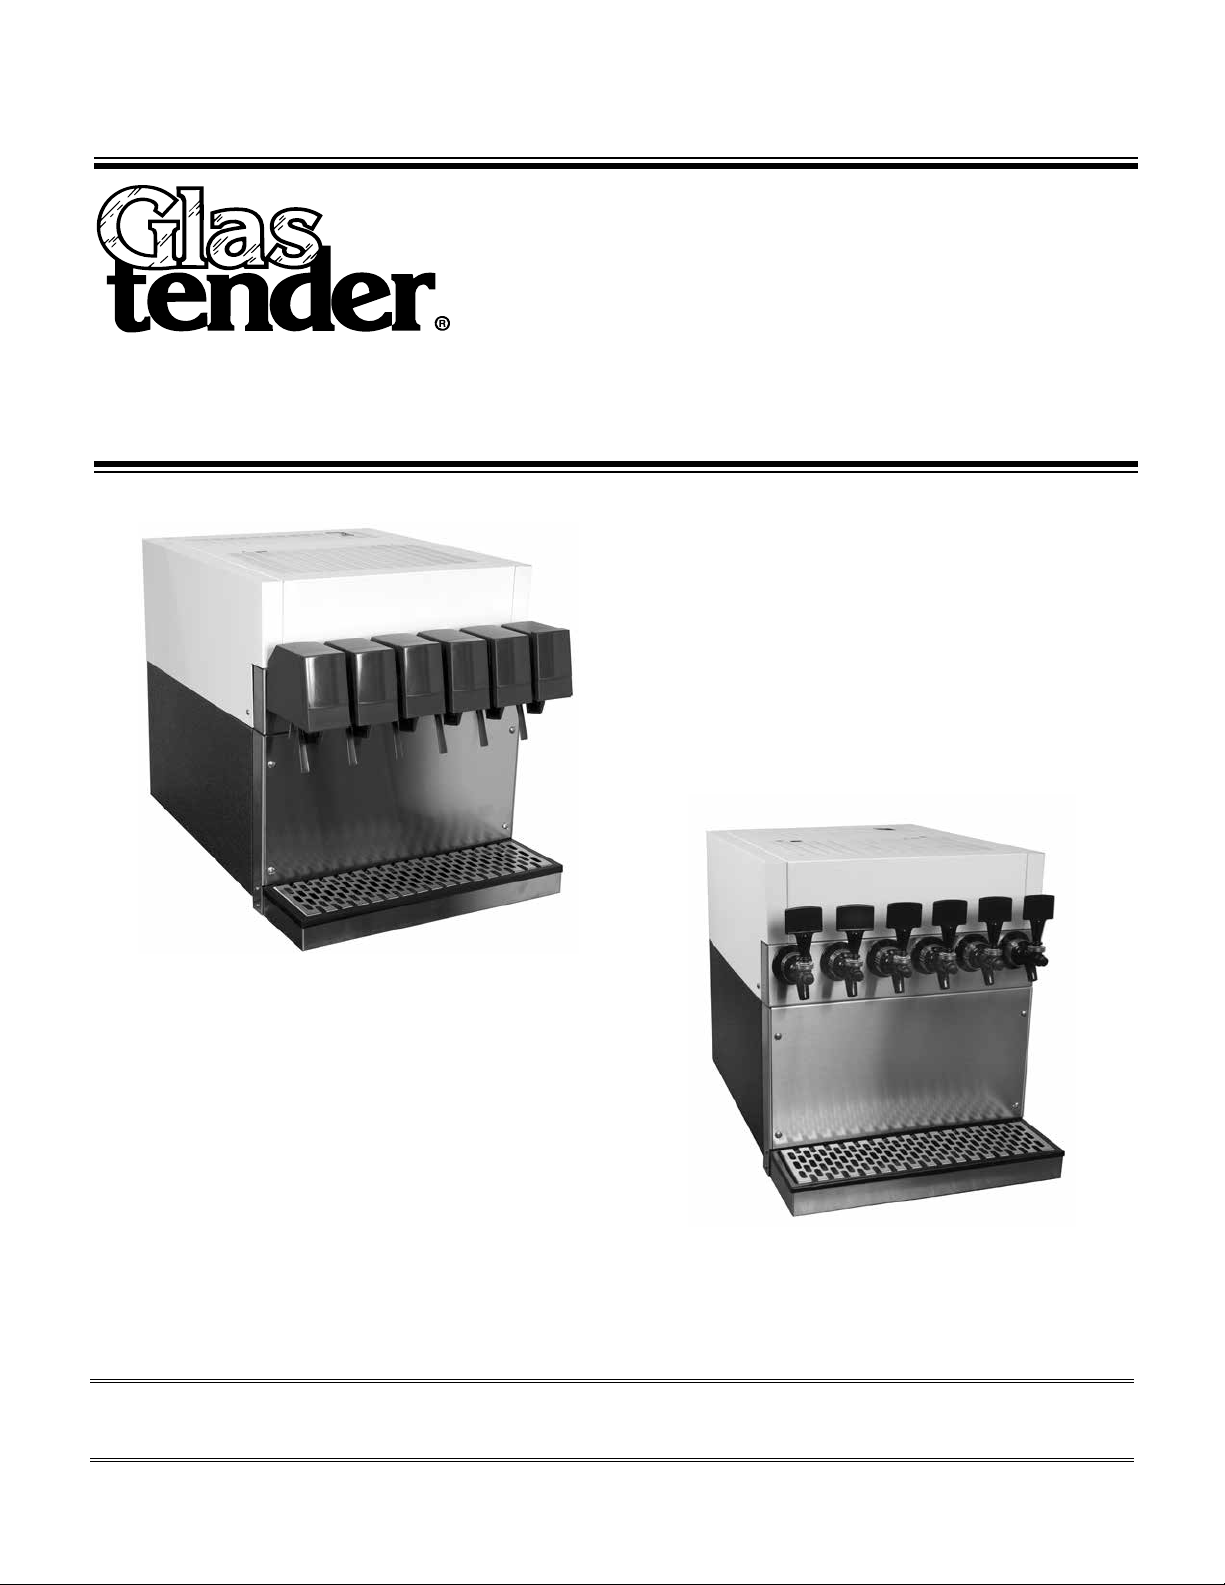
LC66 Pre Mix, Post Mix and JuiCe Pro disPensers
Sprint Counter top DiSpenSerS
Rev. 02-05-14
Post-Mix LC66-6-LEV
Pre-Mix LC66-6-PRE
Glastender, Inc. · 5400 North Michigan Road · Saginaw, MI · 48604-9780
800.748.0423 · 989.752.4275 · Fax 989.752.4444 · www.glastender.com
© 2007 Glastender, Inc.


inDex
Topic Page
Installation ....................................................................................................... 1
Trouble Shooting ............................................................................................2
Quality Assurance Tips ................................................................................... 3
Specifications .................................................................................................. 4
Wiring Diagram ..............................................................................................4
Parts Directory .............................................................................................5-6
Typical Installation Diagram .......................................................................... 7
Installation Notes ............................................................................................ 8
Warranty
LABOR: Glastender, Inc. warrants all products to be free
of defects in material and workmanship. In established
areas, a start-up and a 90-day labor warranty are included with glasswasher models GT-24 and GT-30. The GT18 series glasswashers include a 90-day labor warranty.
Self-contained refrigeration models, except beer line
chillers, include a 90-day labor warranty and a 5-year
compressor warranty. Authorization for labor must be
obtained from Glastender within the 90-day warranty
period and prior to the service being performed.
PARTS: Within one year from date of installation, or 15
months from date of factory shipment, whichever occurs
sooner, Glastender, Inc. will replace any part or assembly found defective under normal use and service. Field
replacement parts include a warranty of 90 days from date
of installation.
A warranty claim form MUST accompany all returned
defective parts or assemblies. This form MUST be
completed in full. Failure to do so may result in delay
or denial of credit. Any defective part or assembly must
be returned to Glastender, Inc., Saginaw, Michigan,
with all transportation and delivery charges prepaid.
Warranty repairs or replacements will be shipped FOB
factory in Saginaw, Michigan.
The warranty does not cover equipment subjected to
accidents, freight damage, alterations, improper power
and/or plumbing hookups, improper chemical use, general misuse, or lack of routine required maintenance as
determined by Glastender, Inc.
No representative, distributor, dealer, or any other person is authorized to modify this warranty. This warranty
replaces all other written or verbal warranties.
NOTE: Glastender, Inc.’s policy of constant quality improvement means that prices, specifications,
and policies are subject to change without notice.
Questions regarding this warranty should be directed to
Glastender’s Customer Service Representative.
03/08/05
Glastender, Inc. • 5400 North Michigan Road • Saginaw, MI • 48604-9720
800.748.0423 • 989.752.4275 • Fax 989.752.4444 • www.glastender.com

inStaLLation
LoCation
1. Position the dispenser, drill counter for lines to pass through.
refrigeration Start-up
1. Remove top cover and fill water bath..
2. Connect electrical supply.
Water ConneCtionS
1. Ensure 1/2” (12.70 mm) main water supply.
2. Reduce to 3/8” (9.525 mm) line to the carb.
3. Reduce to 1/4” (4.35 mm) for sweet water valve.
4. Flush water lines before connecting.
Carbonator ConneCtionS
1. Connect 1/4” (6.35 mm) soda supply line to dispenser.
2. Ensure a minimum 20 p.s.i. (1.4 kp/cm2) differential between gas and water pressure.
3. If there is less than 20 p.s.i. (1.4kp/cm2), install a water pressure regulator.
4. Recommended gas pressure: 80 p.s.i. (5.6 kp/cm2).
5. Connect power upon completion.
gaS ConneCtionS
1. Mount regulator to wall or cylinder.
2. Connect lines to carb. and syrup tanks.
3. Connect high pressure line to CO2 cylinder.
Syrup Line ConneCtionS
1. Connect syrup supply lines between tanks/BIB and Sprint.
Start-up
1. Turn on water supply to carbonator.
2. Purge air through the relief valve on the carb.
3. Connect electrical supply to the carb.
4. Adjust carb. gas regulator to 90 p.s.i. (5.6 kp/cm2)
5. Operate valves until carb. has cycled several times.
6. Purge holding pressure from syrup tanks.
7. Connect syrup and gas lines to syrup tanks/BIB.
8. Set syrup pressure regulator at 20 p.s.i. (1.4 kp/cm2).
NOTE: Required syrup pressures may vary by product and installation.
Glastender, Inc. • 5400 North Michigan Road • Saginaw, MI • 48604-9720
1
800.748.0423 • 989.752.4275 • Fax 989.752.4444 • www.glastender.com
 Loading...