

Page 1
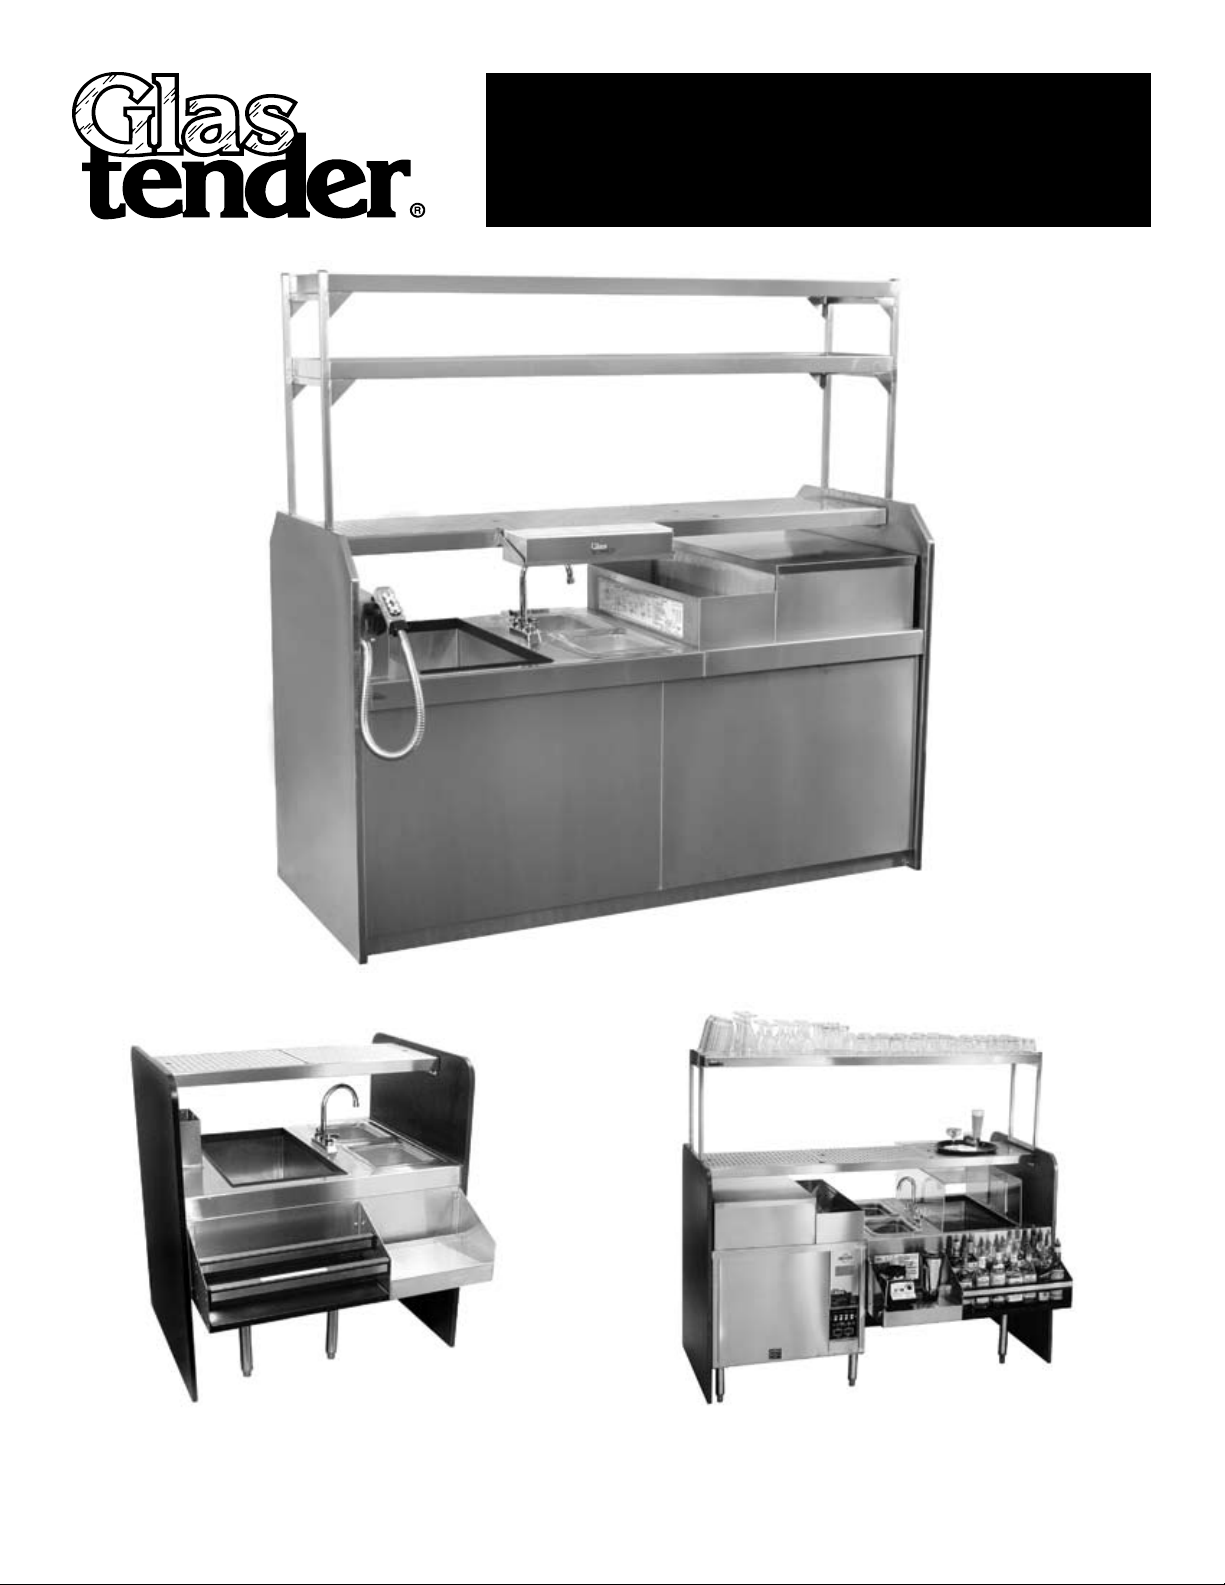
Cocktail Station
Assembly Instructions
CS-42
CS-72-CCW
Server Side
CS-72-CCW
Bartender Side
F-750-045 Rev A 01/24/07
Page 2

Assembly Illustration
*
D
K
N
O
H
A
Q
M
R
G
B
P
E
N
C
L
I
Back side shown with pre-mounted clips
View is of Cocktail Station Server Side
Cocktail Station Components
A Sink, ice, and tubing chase section
B GT-30 Rotary Glasswasher
C
End Panel
D End Panel
E Trim Rail for Glasswasher
F Kick Rail
G Tray Shelf
H Tubing Chase
I Front Panel - Back side showing
F
F Cross Section
J
Front side shown
Place this side
facing out
J Front Panel - Front side showing
K End Panel Clip
L End Panel Clip
M Overshelves
N Overshelf Bracket
O Tray Shelf Clip
P Tray Shelf Clip
Q Faucet
R Wet Waste Strainers
Page 3

Cocktail Station Assembly Instructions
Install 4 legs on A Sink, ice and tubing chase section and 4 legs on B GT-30 Rotary
1.
Glasswasher using 1/4-20 leg bolts provided.
Attach E Trim Rail for Glasswasher to A Sink, ice and tubing chase section, using 8-32S/S hex
2.
nut and afxed 8-32x1/2 phillips pan head machine screw into the end of trim rail.
Clip A Sink, ice, and tubing chase section to front edge and E Trim Rail to the side of B GT-30
3.
Rotary Glasswasher.
Utilizing pre-installed L End Panel Clip, attach C End Panel to back edge of B GT-30 Rotary
4.
Glasswasher.
Utilizing pre-installed K End Panel Clip, attach Clip D End Panel to edge of A Sink, ice, and
5.
tubing chase section.
Attach end of E Trim Rail to C End Panel using afxed screws into C End Panel.
6.
Attach ends of F Kick Rail to pre-mounted screws on C End Panel and D End Panel with
7.
screws provided. NOTE: Reference F Cross Section illustration for correct placement.
Insert top edge of I Front Panel with front side facing out under A Sink, ice, and tubing chase
8.
section until I pre-mounted clips are able to be placed over the top of F Kick Rail. Lower I
Front Panel until clips engage with F Kick Rail. Insert top edge of J Front Panel with front side
facing out under E Trim Rail until J pre-mounted clips are able to be placed over the top or F
Kick Rail. Lower J Front Panel until clips engage with F Kick Rail.
Mount H Tubing Chase with included screws into pre-punched holes of A Sink, ice, and tubing
9.
chase section.
Attach ends of G Tray Shelf to O and P pre-mounted Tray Shelf Clips located on D and C End
10.
Panels. Screws to mount are afxed in each end of G Tray Shelf.
Use afxed screws to attach N Overshelf Bracket to the top edges of C and D End Panels.
11.
Use afxed screws to attach M Overshelves to N Overshelf Bracket.
12.
Install Q Faucet with provided hardware.
13.
Place R Wet Waste Strainers in sinks of A Sink, ice, and tubing chase section.
14.
CS-72-CCW
NOTES:
For CW rotation glasswasher, reverse location of A
1.
and B.
Use adjustable feet in legs to level station and glass-
2.
washer to each other.
The illustration included in this instruction diagrams the
*
assembly of the CS-72 Cocktail Station with CCW Rotation
Glasswasher and double overshelves accessory. Assembly
of additional Cocktail Station models is synonymous with
slight variations.
Page 4

Promote Team Work, Increase Efciency
Glastender manufactures a large variety of pass-thru cocktail stations. Many of the typical features are
detailed in the example below. Reference our product directory for additional information.
Optional
Sneeze Guard
Overshelves (Optional)
• Single (shown)
and double available
Draining Tray Shelf
with perforated inserts
Laminated (shown)
or stainless front
and end panels
Automatic Glasswasher
• Available with some models
CS-72-CCW with optional SOS/SS-72 single overshelf and SG-30 sneeze guard
Why does a Cocktail Station have finish panels?
A Cocktail Station actually passes through the bar and is seen
from the customer side. Front and end finish panels are provided
to match the surrounding decor. The end panels are also necessary
to hold up the tray shelf and optional overshelves. Laminated panels are available in any standard manufacturer laminate color.
Please specify the manufacturer, color, and catalog number
when ordering. The finish panels may also be converted to
stainless steel (see cocktail station accessories for conversion
model numbers).
Why are Cocktail Stations offered without panels?
Glastender offers Cocktail Stations without finish panels because
some customers prefer to make their own and we want to offer
them that flexibility. However, the finish panels are required, so
if they are not provided by Glastender, they must be provided by
someone else. The Glastender Specification Guide has drawings
that show the details necessary to fabricate the finish panels.
Tubing Chase
Pass-thru Ice Bin
• Available with
some models
Wet Waste Sinks
with Faucet
and Strainers
Blender Shelf
Double Speed Rail
What is an orientation or rotation specification?
All Cocktail Stations have an orientation or rotation that determines the work flow. The orientation is dictated by the position of
the glasswasher within the station. Even though assembly style
Cocktail Stations do not have a glasswasher, their orientation
is based on the complete Cocktail Stations from which they
are derived. The orientation and work flow are determined as
follows:
Counterclockwise: The glasswasher is positioned to the bar-
tender’s
Clockwise: The glasswasher is positioned to the bartender’s
right. The work flow is left to right.
left. The work flow is right to left.
5400 NORTH MICHIGAN ROAD • SAGINAW, MICHIGAN 48604 • USA
800.748.0423 • 989.752.4275 • FAX 989.752.4444 • www.glastender.com
 Loading...