

Page 1
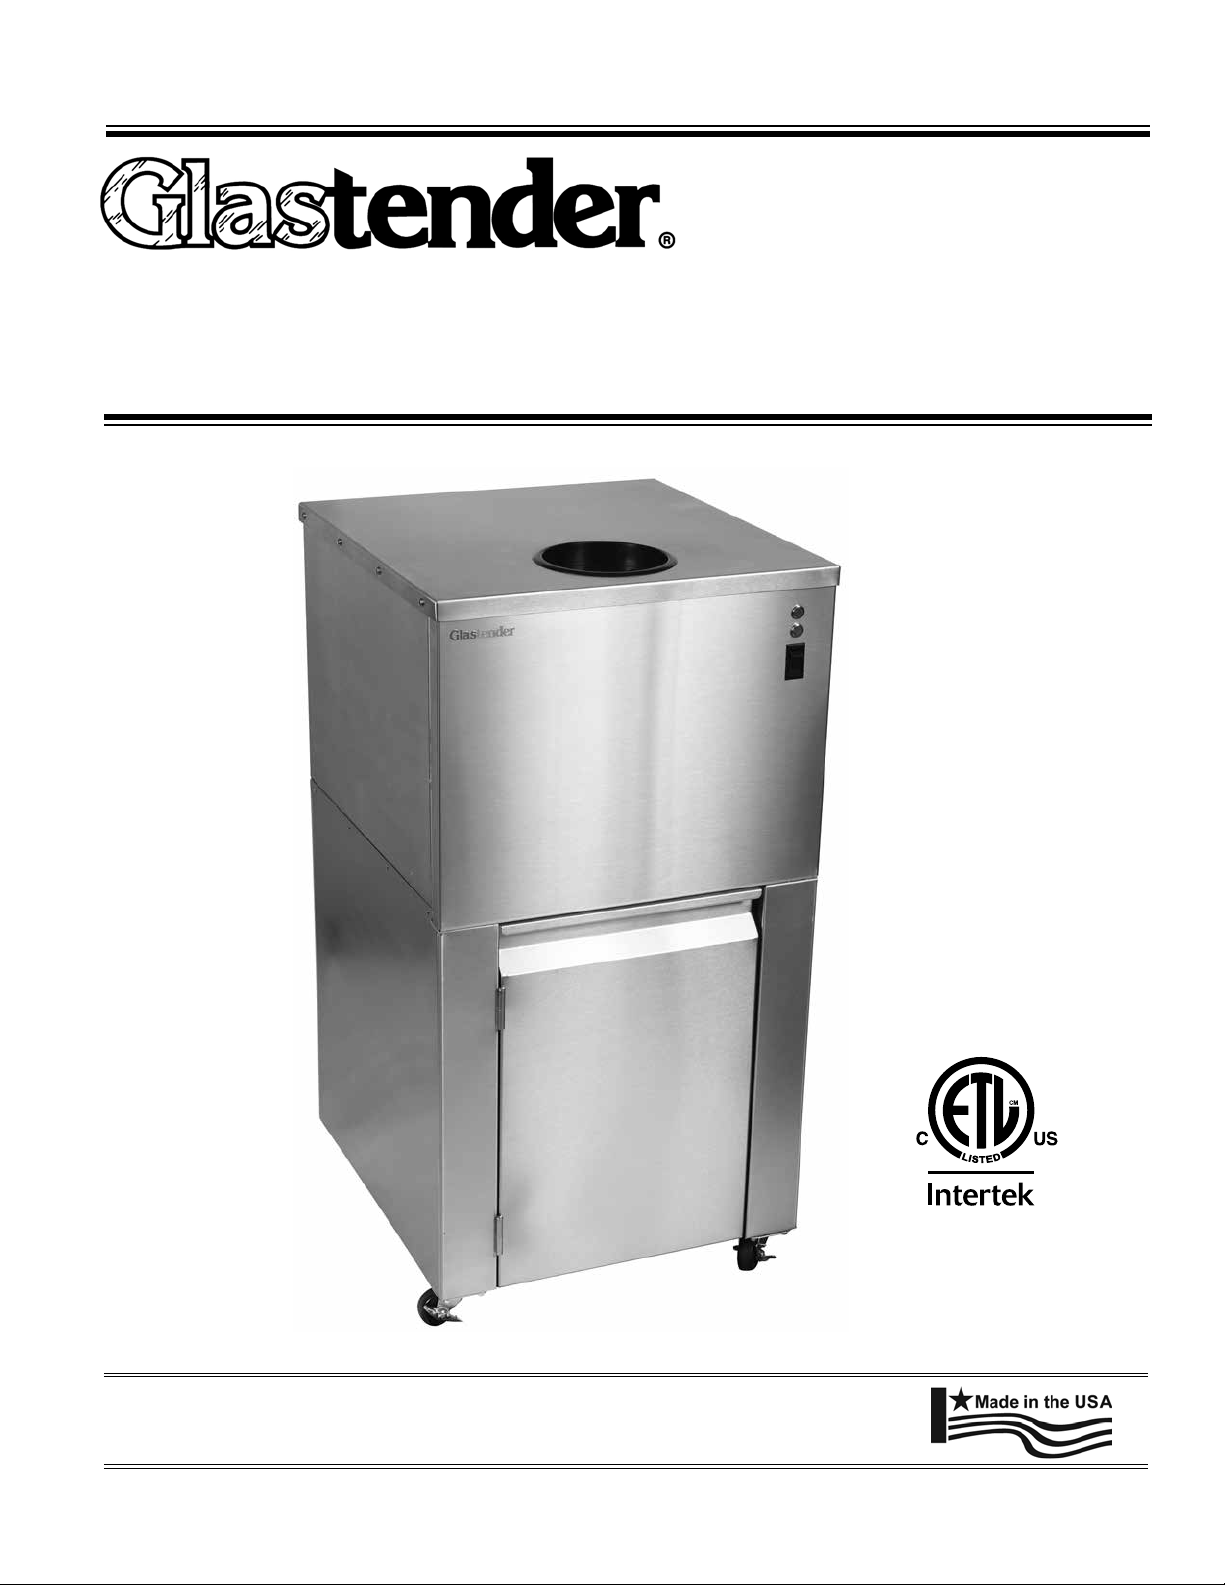
Operation Manual & Parts List
A Family Company Manufacturing In The USA Since 1969
Bottle Disintegration system
Glastender, Inc. · 5400 North Michigan Road · Saginaw, MI · 48604-9780
800.748.0423 · 989.752.4275 · Fax 989.752.4444 · www.glastender.com
Rev. 03-21-14
4004503
Conforms to UL STD 73
Certied to CAN/CSA STD
C22.2 No. 68
© 2012 Glastender, Inc.
Page 2

safety anD grounDing instructions
IMPORTANT SAFETY INSTRUCTIONS
WARNING – When using electric appliances, basic precautions should always be followed, including
the following:
a. Read all the instructions before using the appliance.
b. To reduce the risk of injury, close supervision is necessary when an appliance is used near children.
c. Do not contact moving parts.
d. Only use attachments recommended or sold by the manufacturer.
e. Do not use outdoors.
f. – To disconnect, turn all controls to the off (“O”) position, then remove plug from outlet.
– Do not unplug by pulling on cord. To unplug, grasp the plug, not the cord.
– Unplug from outlet when not in use and before servicing or cleaning.
– Do not operate any appliance with a damaged cord or plug, or after the appliance malfunctions or
is dropped or damaged in any manner. Return appliance to the nearest authorized service facility for
examination, repair, or electrical or mechanical adjustment.
g. For a grounded appliance – Connect to a properly grounded outlet only. See Grounding Instructions.
h. To Reduce the Risk of Electric Shock – Connect to a receptacle that is protected by a ground fault circuit
interrupter (GFCI).
SAVE THESE INSTRUCTIONS
GROUNDING INSTRUCTIONS
This appliance must be grounded. In the event of malfunction or breakdown, grounding provides a path of least
resistance for electric current to reduce the risk of electric shock. This appliance is equipped with a cord having
an equipment-grounding conductor and a grounding plug. The plug must be plugged into an appropriate outlet
that is properly installed and grounded in accordance with all local codes and ordinances.
DANGER – Improper connection of the equipment-grounding conductor can result in a risk of electric
shock. The conductor with insulation having an outer surface that is green with or without yellow stripes is
the equipment-grounding conductor. If repair or replacement of the cord or plug is necessary, do not connect
the equipment-grounding conductor to a live terminal. Check with a qualied electrician or serviceman if the
grounding instructions are not completely understood, or if in doubt as to whether the appliance is properly
grounded. Do not modify the plug provided with the appliance – if it will not t the outlet, have a proper outlet
installed by a qualied electrician.
Glastender, Inc. • 5400 North Michigan Road • Saginaw, MI • 48604-9780
1
800.748.0423 • 989.752.4275 • Fax 989.752.4444 • www.glastender.com
Page 3

inDex
Topic Page
Safety and Grounding Instructions ........................................................................... 1
Introduction ............................................................................................................... 2
What is a Bottle Disintegration System (BDS)? ...................................................... 2
Utility Requirements and Connections ..................................................................... 3
Uncrating and Assembly Instructions ....................................................................... 3
Operating Instructions ............................................................................................... 4
Cleaning Instructions ...........................................................................................5 - 6
Wiring Diagram ........................................................................................................ 7
BDS Parts List ...................................................................................................8 - 10
Accessories ............................................................................................................. 10
220V Parts List ....................................................................................................... 10
Troubleshooting Guide ........................................................................................... 11
Warranty .................................................................................................................. 12
IMPORTANT !! Attention Service Companies IMPORTANT !!
Please review the important warranty information on page 8. If you believe a service call should be covered by
the factory, please call the factory for authorization between 8AM and 5PM EST, Monday through Friday.
introDuction
This manual describes the operational features for the BDS model Bottle Disintegration System. Please review
this information before attempting installation and operations. Long term, trouble-free operations will follow if
good housekeeping and maintenance procedures are followed. Thank you for selecting Glastender, Inc. products.
What is a Bottle Disintegration system?
It is simply a piece of machinery that crushes or breaks down glass bottles, reducing the area needed to store
empty containers and minimizing the volume for disposal purposes. When the ON/OFF switch is on, a motor
will run causing the crusher bar to spin rapidly. Glass bottles are introduced into the machine through the bottle
chute. When they come in contact with the crusher bar, they are reduced to small pieces of glass called cullet.
The cullet falls down the drum and into the bucket in the bottom enclosure of the machine.
For the machine to function normally:
• The bucket must be in place and seated fully in the unit
• The door must be closed
• The covers must be in place
• The crusher bar must be spinning at top speed (allow a minimum of 3 seconds before inserting a bottle)
Glastender, Inc. • 5400 North Michigan Road • Saginaw, MI • 48604-9780
800.748.0423 • 989.752.4275 • Fax 989.752.4444 • www.glastender.com
2
Page 4

utility requirements anD connections
Electrical: 120 V single phase, 60 Hz, 9' grounded cord included. A dedicated 15 amp circuit is
recommended. Power requirements - 9.0 amps.
uncrating anD start-up instructions
The BDS is shipped fully assembled in one carton.
Refer to photo right to identify the following:
1. Top cover
2. Door
3. Chute opening
4. Baffles
5. Indicator lights and ON/OFF switch
6. Casters
Start-up instructions:
1. Remove all packaging from around the main section.
2. Remove BDS unit from wood pallet and place on a firm,
level surface.
3. Remove all plastic protective paper from all stainless
steel parts.
4. The BDS must be installed in accordance with local
country electrical codes. A standard electrical supply
(120VAC only, 60HZ, 9.0A), properly grounded in
accordance with the National Electrical Code and local
codes and ordinances, is required.
5. Plug in BDS, place in position. BDS unit should be placed
up to a wall against the back bumpers (see Figure 1).
1
6
4
3
5
2
Bumpers
Back
6. Lock the front casters, open the door, and assure that the
bucket is fully seated in the unit.
1. Unit must be located on a rm and level surface.
2. A 1/2" clearance above top is required for proper air ow to avoid
overheating the motor.
3. Unit must be installed in an area protected from the elements such as rain,
water spray, or drips.
4. Unit must NOT be located next to ovens, grills, or other high heat sources.
Glastender, Inc. • 5400 North Michigan Road • Saginaw, MI • 48604-9780
3
800.748.0423 • 989.752.4275 • Fax 989.752.4444 • www.glastender.com
Figure 1
Front
Page 5

operating instructions
1. Do NOT reach into the bottle chute while machine is running and plugged in.
2. Do NOT attempt to un-jam or repair the machine while it is plugged in.
3. Do NOT reach into the drum opening while the machine is running and plugged in.
4. Do NOT place plastic bags in the bucket.
5. Only use bucket supplied.
6. Do NOT place metal caps, plastics, or ceramics into the Bottle Chute.
7. Do NOT put hand into the bucket and into cullet.
8. Only Glastender, Inc. replacement parts should be used. Components from other
suppliers may result in machine malfunctions.
Operating instructions:
1. Turn the machine on by toggling the ON/OFF switch. The green light will illuminate to signify the unit
is on and running. Wait a minimum of three (3) seconds for the crusher bar to reach maximum speed.
2. Feed a bottle through the top chute opening. A quick thrust is required to get the bottle through the
chute baffles. If desired, you may slowly feed one bottle using the next bottle to push it through the
chute. NOTE: Although it is safe for your fingertips to be inserted through the top rubber baffles, do
NOT reach your hand into the bottle chute!
3. Turn the machine off by toggling the ON/OFF switch when done crushing bottles. NOTE: If you
intend to remove the bucket, wait a minimum of 60 seconds for the glass particles to settle.
4. Periodically remove the bucket to verify fill level to prevent overflowing.
If the red light is on, turn the machine off and check the following:
1. Is the bucket properly in place? Security feature: the unit will not operate when the bucket is not in
place. With the bucket handle facing out, move the bucket in place and properly seat into the unit.
2. Is the door closed? Security feature: the unit will not operate if the door is open. Close the door
completely.
NOTE: For additional assistance please refer to the Trouble Shooting Guide on page 11.
Glastender, Inc. • 5400 North Michigan Road • Saginaw, MI • 48604-9780
800.748.0423 • 989.752.4275 • Fax 989.752.4444 • www.glastender.com
4
Page 6

cleaning instructions
General Cleaning and Care Instructions for Stainless Steel:
IMPORTANT: Always follow label instructions on cleaning products. Soap, water and a soft cloth or sponge
are suggested rst unless otherwise noted.
Stainless steel will stain or rust if not cared for properly. Please pay attention to the following guidelines:
1. Use the proper tools – Use non-abrasive tools, such as a soft cloth or plastic cleaning pad. NEVER
use steel wool pads, soap lled scouring pads, abrasive cleaners, cleaners containing chlorine, Cooktop
Polishing Creme, or gritty washcloths.
2. Clean with the polish lines – Always scrub in a direction that is parallel to the grain or lines in the
stainless steel.
3. Clean regularly – Make cleaning easier by doing so frequently to avoid build-up of hard, stubborn
stains. Use alkaline, alkaline chlorinated, or non-chloride containing cleaners.
4. Rinse and wipe – Anytime chemicals are used to clean stainless steel, make sure to rinse afterward with
clean water and wipe away any standing water.
5. Never use hydrochloric acid (muriatic acid) on stainless steel.
Recommended cleaners for specic situations:
Stainless steel needs to be cleaned for aesthetic considerations and to preserve corrosion resistance. Stainless
steel actually thrives with frequent cleaning, and, unlike some other materials, it is impossible to “wear out”
stainless steel by excessive cleaning.
Routine cleaning - Use warm water, liquid detergent, ammonia, or all-purpose cleaner. Apply with soft cloth or
sponge. Rinse with clean water and dry with a soft cloth.
Food spills - Clean Immediately. Use a stainless steel cleaner and polish. Apply with a soft cloth or sponge.
Fingerprints and smears - Use a stainless steel cleaner and polish or glass cleaner. Apply with a soft cloth or
sponge.
Hard water spots - Remove with vinegar. Apply with a soft cloth or sponge.
Daily Cleaning:
1. Turn off unit. Wait 60 seconds before opening door.
2. Open door, remove bucket, and empty cullet.
3. Replace bucket and shut door.
4. Clean outside of unit per General Cleaning and Care Instructions for Stainless Steel above.
5. Use a damp cloth to wipe down the top rubber gasket of the bottle chute.
Glastender, Inc. • 5400 North Michigan Road • Saginaw, MI • 48604-9780
5
800.748.0423 • 989.752.4275 • Fax 989.752.4444 • www.glastender.com
Page 7

cleaning instructions
Odor Control Cleaning:
Use one or a combination of the following steps as needed to control odor.
A. Introduce a multipurpose, water-soluble, malodor counteractant, such as Disappear® by Franklin Mainte-
nance Products. Note: NEVER use chlorine.
1. Pour a few drops of malodor counteractant down the chute opening or pour some in a bottle prior to
crushing.
B. Clean interior surfaces:
1. Turn off unit. Wait 60 seconds before opening door.
2. Open door, remove bucket, and empty cullet.
3. Rinse out bucket with hot, soapy water.
4. Vacuum out interior of bottom enclosure.
5. Clean interior of unit per General Cleaning and Care Instructions for Stainless Steel, page 5.
6. Replace bucket and shut door.
C. Clean bottle chute (NOTE: Reference page 8 for bottle chute assembly diagram):
1. Unplug unit.
2. Remove Top Cover by removing eight (8) screws and lifting off the top cover.
3. To clean the bottle chute:
a. Disconnect the safety switch.
b. Remove the eight (8) screws and nuts (4 each) for Top Cover of Bottle Chute to Small Tube Weldment
and for Small Tube Weldment to Large Tube Weldment.
c. Remove the rubber and plastic gaskets and wash with warm, soapy water.
d. CAUTION: Do NOT get electrical components wet! Clean per General Cleaning and Care Instructions
for Stainless Steel, page 5.
e. Re-assemble bottle chute. Note: The middle plastic gasket must be oriented with the star pattern offset
of the star pattern of the rubber gasket.
f. Re-connect safety switch.
4. Replace top cover and re-install eight (8) screws.
5. Plug in unit.
Glastender, Inc. • 5400 North Michigan Road • Saginaw, MI • 48604-9780
800.748.0423 • 989.752.4275 • Fax 989.752.4444 • www.glastender.com
6
Page 8

Wiring Diagram
Glastender, Inc. • 5400 North Michigan Road • Saginaw, MI • 48604-9780
7
800.748.0423 • 989.752.4275 • Fax 989.752.4444 • www.glastender.com
Page 9

BDs parts list
10
13
4
3
16 13
14
6
11
15
part no. Description price
1. 00000041 Screw, 1/4-20 x 5/8", whiz lock, zinc (Qty. 4 required) .50 each
2. 01000623 Nut, 1/4"-20, large ange serrated nut (Qty. 8 required) .50 each
3. 00000257 Grommet, screw, plastic .50 each
4. 14000095 Chute assembly, short, BDS 118.00
5. 00000178 Pop rivet, stainless 1/8" steel 1.00
6. 14000066 Tube weldment, long, BDS 158.00
7. 14000062 Screw, 4 x 0.5 pan head, sms, ss .50 each
8. 01001428 Sensor, magnetic switch 11.00
9. 00000283 Screw, 1/4-20 x 7/8" whiz lock, zinc (Qty. 8 required) .50 each
10. 14000013 Chute, top ange 28.00
11. 14000081 Gasket, rubber, 1/8" thick, tube bottom 13.00
12. 14000012 Bracket, mag. sensor, chute 2.00
14000122 Bafe kit, consisting of part #14000020 (2), 14000022, 14000019 and 14000021) 67.00
13. 14000020 Bafe, rubber, 1/8" thick, star angled (Qty. 2 required) 13.00 each
14. 14000022 Bafe, plastic liner, star angled 8.00
15. 14000019 Baffle, Rubber, 1/4" thick star straight 25.00
16. 14000021 Bafe, plastic liner, star straight 8.00
Glastender, Inc. • 5400 North Michigan Road • Saginaw, MI • 48604-9780
800.748.0423 • 989.752.4275 • Fax 989.752.4444 • www.glastender.com
8
Page 10

BDs parts list
3
4
30
2
30
17
5
15
24
6
3
7
8
17
18
16
28
19
20
23
22
21
29
17
26
1
11
9
9
10
26
26
12
27
13
14
Glastender, Inc. • 5400 North Michigan Road • Saginaw, MI • 48604-9780
800.748.0423 • 989.752.4275 • Fax 989.752.4444 • www.glastender.com
25
32 31
Page 11

BDs parts list
part no. Description price
1. 14000128 Bucket seating bar 4.00
2. 14000034 Crusher bar cr bar hardened 100.00
3. 14000032 Drive shaft bar 96.00
4. 14000060 Nut, 5/8-11 hex jam stainless steel 3.00 each
5. 14000061 Washer, 5/8 lock stainless steel 1.00 each
6. 14000044 Rubber gasket, drum 99.00
7. 14000072 Drum assembly, BDS 546.00
8. 14000129 Limit switch, bucket presence 140.00
9. 00000039 Screw, 10-32 x 3/8", phillips, truss head, machine, stainless steel .50 each
10. 03003291 Grommet, 6", black 14.00
11. 14000068 Top cover assembly, BDS (magnetic actuator not included) 150.00
12. 01000591 Light, power, green, 240VAC 7.00
13. 07000171 Light, fault indicator, red, 125V 10.00
14. 01000549 Switch, on/off 18.00
15. 14000039 Motor, 1/3HP 60HZ, 115V 345.00
16. 14000092 Wire harness 78.00
17. 01001428 Sensor, magnetic switch (3 on unit - top locator, door closed, front cover to side cover) 11.00 each
18. 14000038 Belt (drive) 1/2" x 24" 15.00
19. 14000040 Drive shaft bar mount (pillow block, with bearing) 52.00
20. 14000043 Relay, controller, 120V, 20A, 8 pm 64.00
21. 09000615 Terminal strip, 4-pole 50 amp 300V 18-8 AWG 10.00
22. 06001445 Motor, cooling fan, 120V 45.00
23. 09000298 Cooling fan blade, 5 blade, black 5.00
24. 00000153 Screw, phillips pan head, #3 self drilling, 10 x 1/2, 410 stainless steel 2.00 each
25. 14000069 Door assembly, BDS (magnetic actuator and door bar not included) 266.00
26. 01001429 Actuator, magnetic (3 on unit - top locator, door closed, front cover to side cover) 11.00 each
27. 14000062 Screw, 4x.50, phillips, pan head,sms, ss .50 each
28. 14000063 Screw, 4 x .375 phillips pan head, sms, ss .50 each
29. 14000064 Screw, 4 x .75 phillips pan head, sms, ss .50 each
14000053 Bucket, 4-gallon, square 27.00
30. 14000120 Bulb seal, bucket 23.00
31. 14000211 Bucket seating bar side bracket 3.50
32. 00000073
Bolt, 1/4"-2 X 3/8"
.50 each
220V parts list
part no. Description price
01000591 Light, power, green, 240VAC 7.00
14000084 Motor, 1/3 HP 60 HZ, 115/208-230V 628.00
14000094 Motor, 1/3 HP 50 HZ, 110/208-220V 700.00
14000085 Contact Relay, 240 V, 20A, 8 pin, BDS 58.00
14000086 Light, red, 240V 12.00
06001448 Motor, Fan, 220V, 1300 RPM 57.00
Glastender, Inc. • 5400 North Michigan Road • Saginaw, MI • 48604-9780
800.748.0423 • 989.752.4275 • Fax 989.752.4444 • www.glastender.com
10
Page 12

trouBleshooting guiDe
proBlem cause remeDy
Unit does not run. 1. The door is open. 1. Close the door.
Unit is on but the bar
is not turning.
2. The bucket is not seated fully in the
unit.
3. The bucket handle is not facing out. 3. Remove the bucket and re-install
4. The top cover is not on the machine. 4. Install the top cover.
5. The chute is not installed correctly on
the unit.
6. The front cover is not on the machine. 6. Install the front cover.
7. The unit is unplugged. 7. Plug the unit into the appropriate
8. The ON/OFF switch is in the OFF
position.
9. The circuit breaker is tripped. 9. Reset the breaker.
1. A bottle or piece of glass or foreign
material is jammed in the chute or
drum.
2. Install the bucket fully into the unit.
with the handle facing out.
5. Install the chute as shown on page 8.
power source.
8. Toggle the ON/OFF switch to the
ON position.
1. While wearing protective gloves,
unplug unit, remove bucket, and
reach into drum. Grasp crusher bar
and rotate counter-clockwise. This
should dislodge any material.
Unit is on but the bar
is not turning and
there are no motor
sounds.
Unit is on, motor is
running, but bottles
are falling through
without being
crushed.
1. The motor has turned off on thermal
overload due to excessive heat which
is caused by inadequate ventilation or
high ambient temperature (i.e., room
temperature at 100°F or more).
1. The Crusher bar is jammed. 1. Un-jam the bar - While wearing
2. The drive belt has broken. 2. Obtain a new belt. Unplug the unit,
1. Turn unit off, wait approx. 30
minutes and turn on again. In all
cases, to minimize these events,
allow ventilation space on sides and
back of unit for adequate circulation
of air ow.
protective gloves, unplug unit,
remove bucket, and reach into
drum. Grasp crusher bar and rotate
counter-clockwise.
remove the top cover, replace belt.
Re-install top cover.
11
Glastender, Inc. • 5400 North Michigan Road • Saginaw, MI • 48604-9780
800.748.0423 • 989.752.4275 • Fax 989.752.4444 • www.glastender.com
Page 13

Warranty statement
APPLICABLE TO ALL PRODUCTS SOLD WITHIN THE UNITED STATES AND CANADA
LABOR: Glastender, Inc. warrants all products to be free of defects in
material and workmanship. In established areas, a start-up is included
with glasswasher models GT-24 and GT-30. A 1-year labor warranty
applies to all glasswashers. BDS model bottle disintegration systems
and self-contained refrigeration models, except beer line chillers,
include a 1-year labor warranty, for the duration of one year from date of
installation or up to 18 months from date of factory shipment, whichever
occurs sooner. For warranty labor claims beyond 15 months from the
date of factory shipment, proof of date of installation or occupancy must
be provided. Authorization for labor must be obtained from Glastender
within the warranty period and prior to the service being performed.
Labor warranty applies to the United States and Canada only.
PARTS: Within one year from date of installation or 18 months from
date of factory shipment, whichever occurs sooner, Glastender, Inc.
will replace any part or assembly found defective under normal use and
service. Field replacement parts include a warranty of 90 days from date
of installation.
FOUR YEAR ADDITIONAL COMPRESSOR WARRANTY:
Glastender will warrant to the original user the compressor for all selfcontained refrigeration models for an additional four years following the
regular one-year warranty period. This plan applies to the compressor
only.
A warranty claim form MUST accompany all returned defective parts or
assemblies. This form MUST be completed in full. Failure to do so may
result in delay or denial of credit. Any defective part or assembly must
be returned to Glastender, Inc., Saginaw, Michigan, with all transportation and delivery charges prepaid. Warranty repairs or replacements
will be shipped FOB factory in Saginaw, Michigan. Reimbursement for
applicable freight charges covers ground service only.
Glastender provides in-warranty repairs during a service company’s
regular working days and hours. There is no provision for payment
of a premium rate during “overtime” hours. When warranty service is
requested during other than normal working hours, the end user will be
charged the premium portion of the overtime rate.
The warranty covers substantiated travel expenses for up to 2 hours /
100 miles round trip and a maximum of $150. Any additional costs due
to installations that require extra work, time, or travel to gain access
for service are the sole responsibility of the equipment purchaser. Any
exceptions to these travel and access limitations must be pre-approved
by a factory representative.
The warranty does not cover equipment subjected to accidents, freight
damage, alterations from the original design, improper power and/or
plumbing hookups, improper chemical use, general misuse, or lack
of routine required maintenance as determined by Glastender, Inc.
Installation, normal control adjustments, general maintenance, correcting an installation error, or service calls that reveal the unit is functioning normally will not be reimbursed under warranty.
Condenser coils on self-contained refrigeration products must be
cleaned regularly. Failure to provide adequate air flow to a refrigeration
unit will void the warranty.
Glastender shall not be liable for loss of use, revenue, or profit, or for
any other indirect, incidental, special, or consequential damage including, but not limited to, product spoilage or loss.
This warranty is conditioned upon Glastender receiving notice of any
defect subject to this warranty within sixty (60) days of its discovery
by the end user or dealer. All products are warranted only for the initial
place of installation. Removal of a product automatically terminates
this warranty.
SECOND YEAR EXTENDED PARTS & LABOR WARRANTY:
Glastender’s one-year parts and labor warranty on self-contained refrigeration units, excluding beer line chillers, can be extended to two years
with the purchase of a two year parts and labor warranty. Specify part
number EWR2 ($150 net price) when ordering.
EXPORT WARRANTY - One year parts only.
EXCLUSION OF WARRANTIES
EXCEPT AS PROVIDED ABOVE, GLASTENDER MAKES
NO WARRANTIES, EXPRESS OR IMPLIED, INCLUDING,
BUT NOT LIMITED TO, ANY IMPLIED WARRANTY OF
MERCHANTABILITY, FITNESS FOR A PARTICULAR PURPOSE
OR NON-INFRINGEMENT.
LIMITATION OF REMEDIES AND DAMAGES
If Buyer makes a valid and timely claim as outlined above, Glastender’s
liability and Buyer’s remedies under this agreement will be limited solely
to labor charges authorized and/or replacement or credit, at Glastender’s
option, with respect to Products returned at Buyer’s expense within thirty (30) days after warranty repair. GLASTENDER’S LIABILITY WILL
IN NO EVENT BE GREATER IN AMOUNT THAN THE PURCHASE
PRICE OF THE RETURNED PRODUCTS. GLASTENDER
WILL NOT BE LIABLE UNDER ANY CIRCUMSTANCE FOR
CONSEQUENTIAL OR INCIDENTAL DAMAGES, INCLUDING,
BUT NOT LIMITED TO, LABOR COSTS EXCEPT AS COVERED
UNDER OUR WARRANTY, LOST PROFITS OR THE LOSS OF
PERISHABLE PRODUCTS RESULTING FROM THE USE OF OR
INABILITY TO USE OUR PRODUCTS OR FROM OUR PRODUCTS’
INCORPORATION INTO OR BECOMING A COMPONENT OF
ANY OTHER PRODUCT. NEITHER PARTY WILL HAVE ANY
NEGLIGENCE OR OTHER TORT LIABILITY TO THE OTHER, OR
TO ANY THIRD PARTY, ARISING FROM ANY BREACH OF THIS
AGREEMENT.
GOVERNING LAW - JURISDICTION
The terms and conditions of an order are to be governed and construed
according to the laws of the State of Michigan, without regard to conflict
of laws principles. Buyer hereby consents to the jurisdiction and venue
of the courts located in Saginaw County, Michigan.
No representative, distributor, dealer, or any other person is authorized
to modify this warranty. This warranty replaces all other written or
verbal warranties.
NOTE: Glastender, Inc.’s policy of constant quality improvement
means that prices, specifications, and policies are subject to change
without notice. Questions regarding this warranty should be directed to
Glastender’s Customer Service Representative.
03-21-14
IMPORTANT!!
Attention Refrigeration Service Companies
Please review the important warranty information on this page. If you
believe a service call should be covered by the factory, please call
the factory for authorization between 8AM and 5PM EST, Monday
through Friday.
Glastender, Inc. • 5400 North Michigan Road • Saginaw, MI • 48604-9780
800.748.0423 • 989.752.4275 • Fax 989.752.4444 • www.glastender.com
12
 Loading...