

giulio lighting RC-001 QualColor Touch User Manual
QualColor™ Touch
User Manual
QualColor Touch
D
M
X
F
i
x
t
u
r
e
s
G
i
u
l
i
o
F
i
x
t
u
r
e
s
O
E
M
A
r
r
a
y
s
Model RC-001
Introduction
Controlling a world of LED lighting
1

The Model RC-001 QualColor Touch handheld remote control provides unprecedented control
Feature
Benefit
Two dimensional color control
Selecting the exact color you want has
never been easier. Simply slide your
finger up and down to select the hue
and left and right to select the
saturation level. The lighting fixture
follows in real-time.
Separate intensity control
Adjust the fixture brightness without
affecting the selected color.
Completely off to full-on.
Programmable memory presets
Quickly recall a favorite setting.
Found a color that you love? Easily
store it for use later. Pleasantly fade
from the current setting to the
memory preset.
Automatic mode
Command the lighting system to
automatically fade between colors for
a never ending light show.
LEDlink digital radio interface
Makes installation a breeze. Works
without having to point the control at
a fixture. Allows one control to
simultaneously control multiple
fixtures in a completely synchronized
fashion.
USB interface
Connect to a Microsoft Windowsbased PC or Apple Macintosh to
configure advanced features in the
remote control or to allow computer
control of the lighting system.
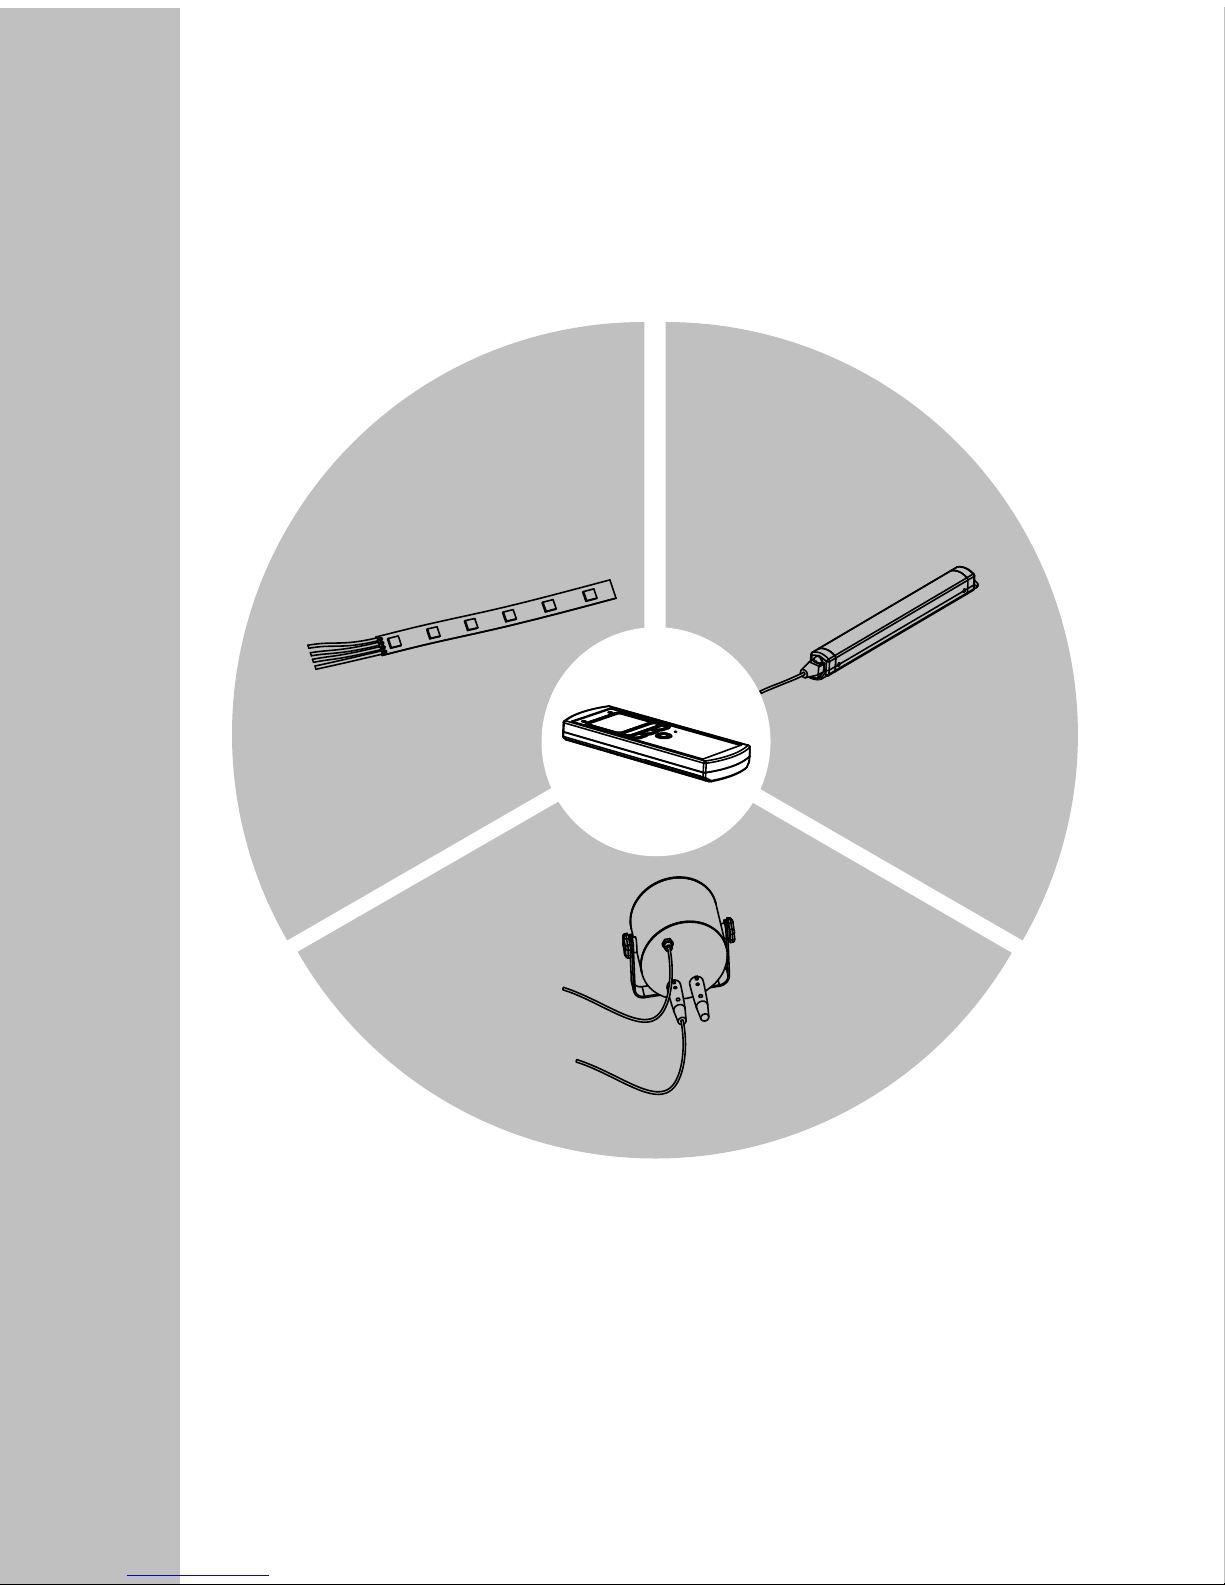
of color-capable lighting systems. Integrating an easy-to-use touch sensitive surface and
capable wireless interface, the RC-001 allows full control over a lighting system’s color and
intensity. The RC-001 can control all Giulio Lighting wireless fixtures and fixture controllers
using the LEDlink wireless interface.
2
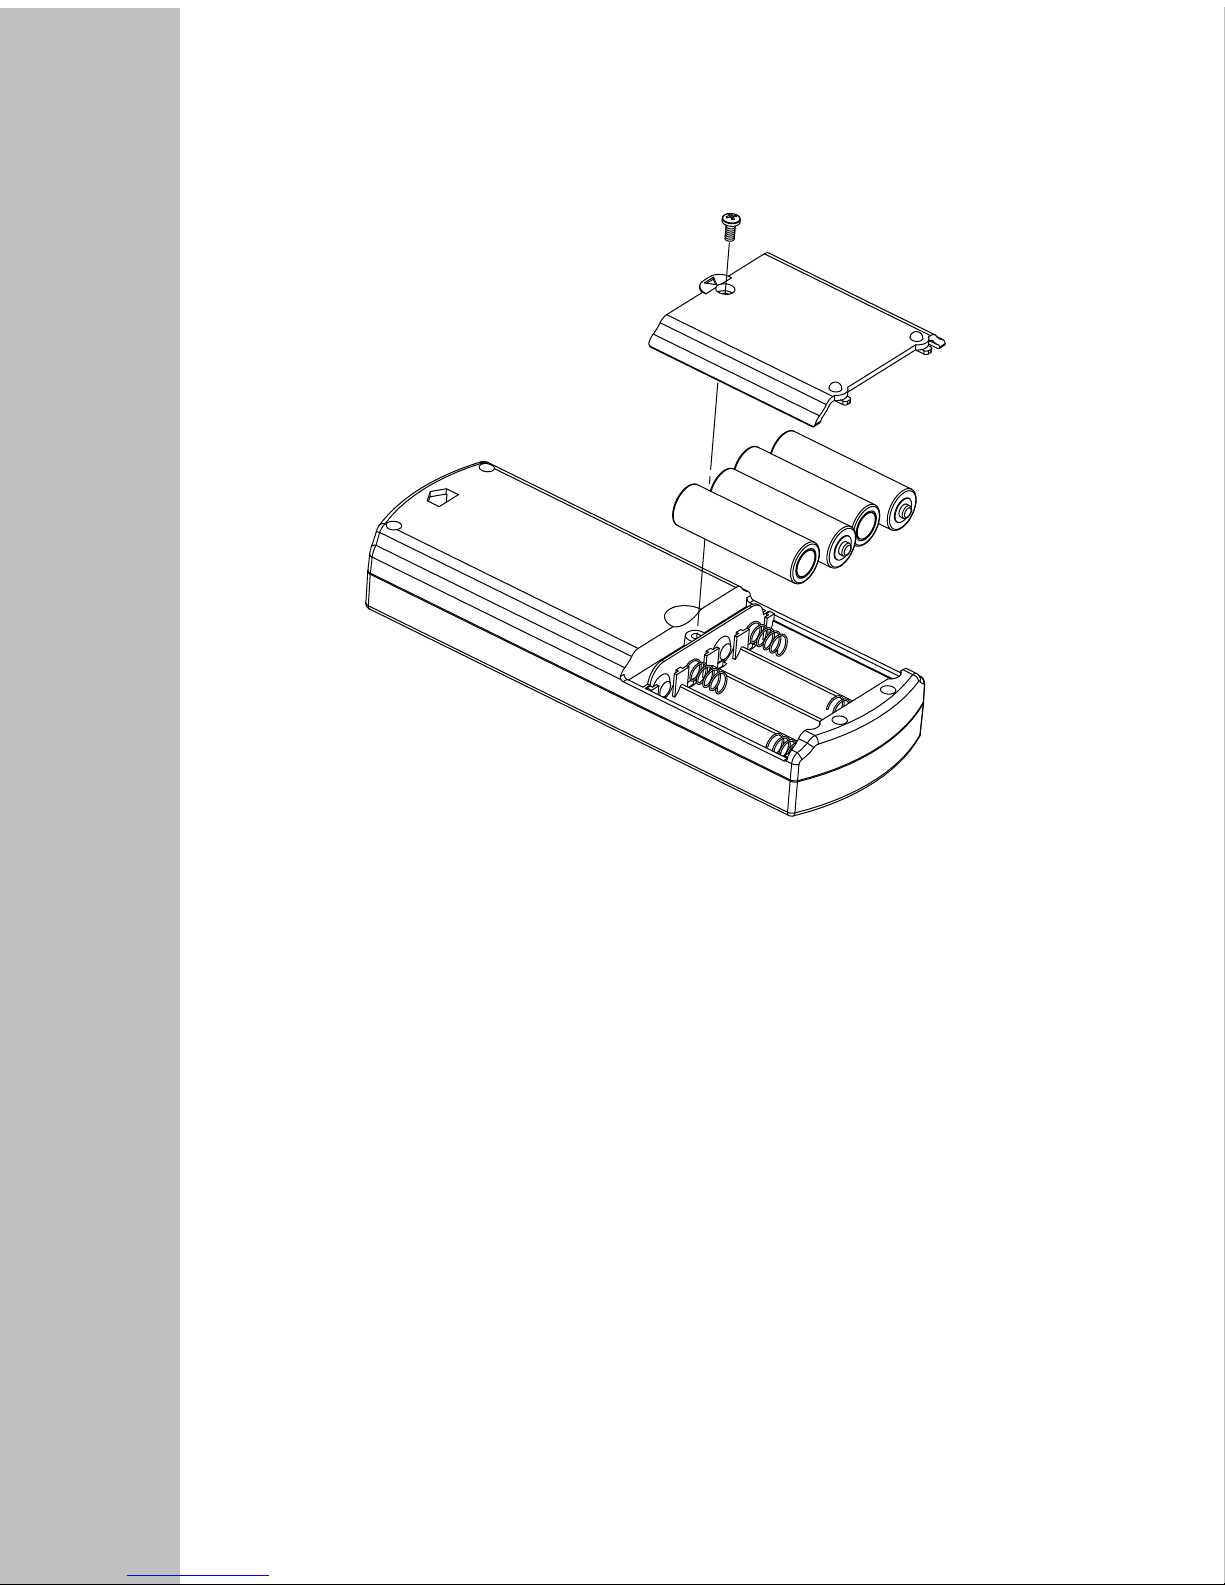
Install Batteries
Getting Started
Four AA batteries should be installed as shown above. Note that the battery cover is
held in place using a screw. Use Alkaline batteries for best results. A fresh set of
batteries should provide years of normal service. An indicator light on the front of the
remote blinks when the batteries should be replaced. The remote will not become
active when the batteries are too low for correct operation.
Batteries should be removed if the remote is to be stored for a period in excess of a
few months.
Care
Keep the RC-001 out of direct sunlight.
The front surface may be cleaned with a damp cloth. Do not use commercial cleaners.
3
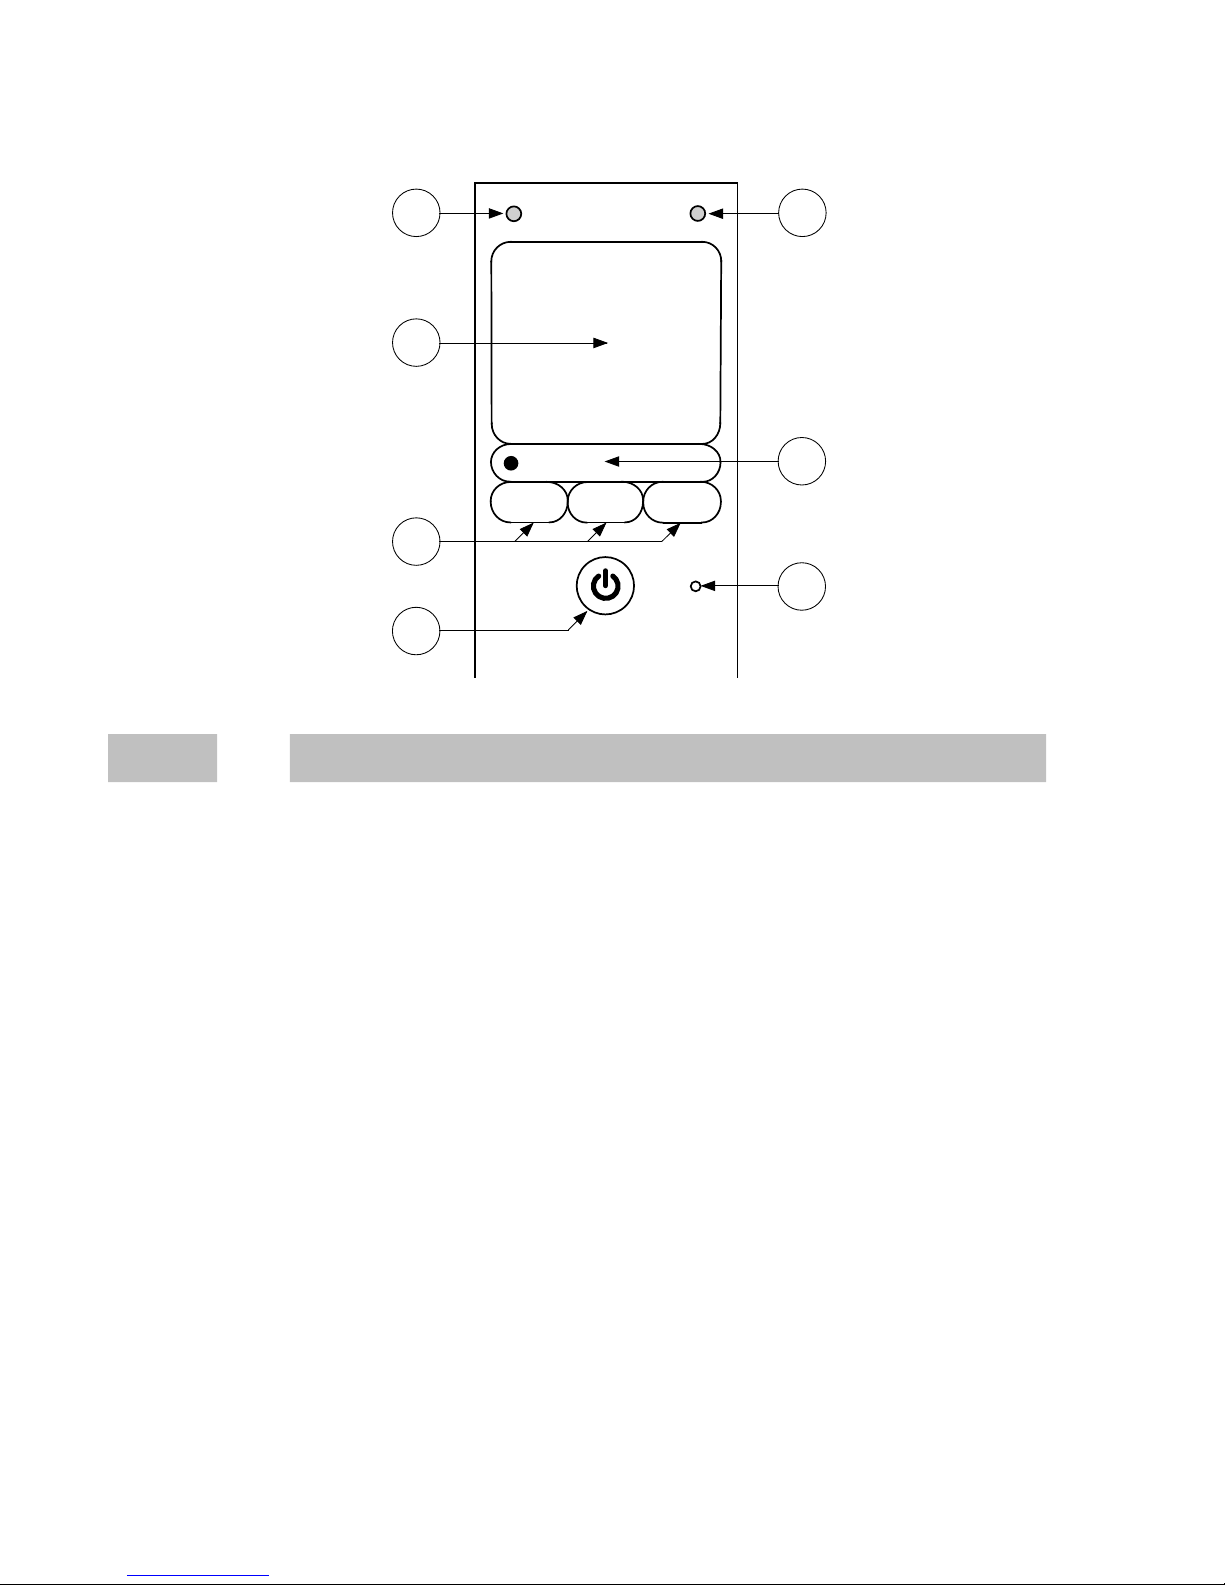
Control Description
Item
Description
1
Remote Active indicator. This indicator is lit whenever the RC-001 is
active and touching the controls will change the lighting.
2
Program/Low Battery indicator. This indicator is lit or flashes to
indicate special conditions.
1. Very slow blink (every two seconds) : Low battery
condition. The batteries should be replaced.
2. Blinking (every one second) : Link mode. Described
further in the chapter “Working with Multiple Devices”.
3. Solid (lit continuously): Computer control. An external
computer is operating the remote.
4. One second flash: Memory preset stored.
3
Color touch area. Touching this area with a finger tip selects the hue
and saturation of the fixture. Hue is selected along the vertical axis
and saturation is selected along the horizontal axis. Fully saturated
colors may be selected on the left side of the area. The right side sets
the fixture to fully white. Sliding the finger around in this area
causes dynamic lighting changes in the fixture(s).
M1 M2 AUTO
1 2
3
4
5
6
7
4

Item
Description
4
Intensity touch area. Touching this area with a finger tip selects the
intensity of the fixture. Touch the black dot at the left side to set
intensity to zero (off). Touch the right side to set the fixture intensity
to 100% (full on). Slide to dynamically change the fixture intensity.
5
Function touch buttons. Touching these areas with a finger tip
selects a function associated with the label.
1. M1 : Memory Preset 1. Transmits or stores a color (hue
and saturation) and intensity level. Factory default is
fixture off.
2. M2 : Memory Preset 2. Transmits or stores a second color
(hue and saturation) and intensity level. Factory default is
white at full brightness.
3. Auto : Automatic mode. Sets the fixture into an
automatically changing mode.
Touching and quickly releasing one of the memory presets transmits
a command to fade the fixture to the stored values. Touching and
holding one of the memory presets until the Program indicator
flashes on and then off stores the last combination of color and
intensity selected in the Color and Intensity touch areas.
Touching and releasing the Auto button transmits a command
switching the fixture into one of eight automatic modes. Only one is
assigned to the Auto button at a time. A utility program running on
a computer can be used to change the assignment. A fixture set into
an automatic mode will remain in that mode until the color or
intensity is manually changed by touching either the Color or
Intensity areas or one of the memory presets.
The default automatic mode, assigned at the factory, commands the
fixture to fade between randomly selected colors with each change
taking between 10 and 60 seconds. All fixtures will fade between the
same colors over the same periods (operate identically) when the
RC-001 is used to control multiple fixtures at the same time.
6
Remote On/Off. Switch the remote on by pressing this button in
order to make the touch sensitive controls active. The remote will
automatically switch off after 60 seconds of inactivity. Pressing this
button does not affect the operation of the fixture itself.
5
 Loading...