

Gill Audio Lissa integrated amplifier, Lissa Installation And Operating Manual
INST ALLATION AND OPERATING MANUAL
4 GR E A T V I EW AV E N UE NO RT H. PROV I D E NC E , RI 0 2 90 4 4 0 1 . 22 6 .5 29 9

We appreciate your choosing the Lissa integrated amplifier. It is an excellent,
designed, and built piece of audio equipment. It will provide you with
well
ny years of listening enjoyment. We take great pride in our work.
ma
Please
be sure to read this manual prior to installation and use.
OPERATION INSTRUCTIONS:
UNPACKING:
When removing the Lissafrom the shipping carton, care must be taken.
a sharp knife to carefully open the box, being careful not to extend the
Use
fe into the box. Once the box is opened, the packing material may be
kni
removed. The Lissa integrated amplifier may then be carefully removed from
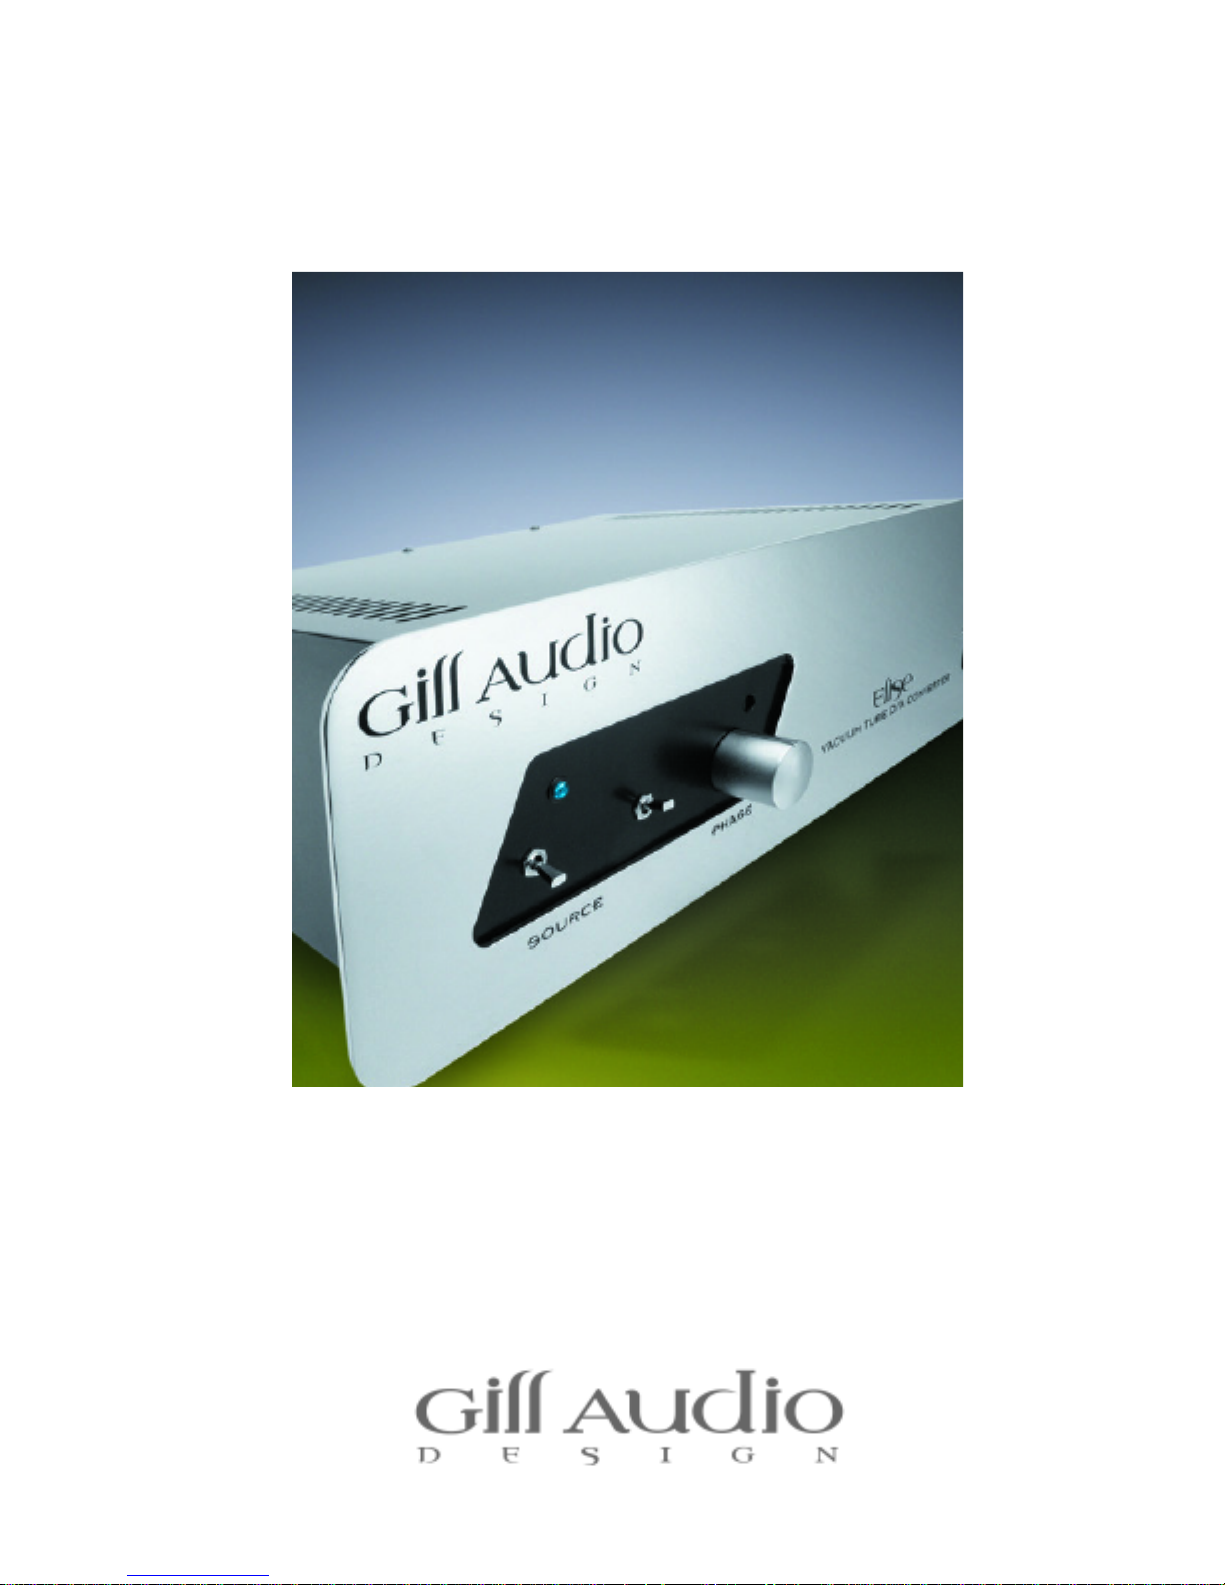
the box. Please pay attention to the faceplate. Do not contact the faceplate
or the switches with other objects. The switches may break.
The Lissa is
4 GREAT VIEW AVENUE NORTH. PROVIDENCE, RI 02904 401.226.5299
when
WARNING:
heavy. Care must be used
lifting and positioning it.

OPERATION INSTRUCTIONS:
CARE:
The Lissa is made from heavy gage powder coated steel with an anodized or
chrome plated faceplate. The unit is best cleaned with a damp cloth, but the
faceplate may be polished with an appropriate metal polish and the main chassis
polished
ishing
with an automotive wax. Care must be take not to allow either pol-
dust or particles to enter into the unit through the vent holes.
Opperation:
Once the Lissa is properly connected to power, source, and your speakers, it may
be turned on using the “POWER” switch. To avoid source turn on noise, it is best
to turn the Lissa on after the source is powered and off before the source is turned
off. The LED above the switch will light when the power is on. The volume should
not be turned up until it has had a couple minutes to warm up and stabilize.
The “VOLUME” switch is located in the middle of the faceplate. The remote control
reciever is located just above it. The “SOURCE” switch is on the far left and is used
to select between different input sources.
When first powered on, the display will show “15”. This corresponds to the volume
setting. Pressing “UP” on the remote or on the volume switch will increase the
volume and “DOWN” decreases it. The Maximum setting is “94” and the minimum
setting is “00”.
If “LEFT” or “RIGHT” is pressed on the remote, that channels volume setting will be
displayed for one second and then the display will return to the current volume
setting. To reset the balance, adjust the balance until there is no change in the
display setting after the one second, reduce both channels to “00”, or turn power
off.
If the source is pressing on the remote, or the source switch is pressed up, the
Input source will increment from one to four. The corresponding input on the
back will be selected. The current source will be displayed for one second, then the
new source will be displayed for one second. The display will then return to the
voume setting.
Pressing “MUTE” on the remote or down on the “SOURCE” switch will toggle
between the current volume setting and “00”.
4 GREAT VIEW AVENUE NORTH. PROVIDENCE, RI 02904 401.226.5299
 Loading...