

INST ALLATION AND OPERATING MANUAL
4 GR E A T V I EW AV E N UE NO RT H. PROV I D E NC E , RI 0 2 90 4 4 0 1 . 22 6 .5 29 9

We appreciate your choosing the Lissa integrated amplifier. It is an excellent,
designed, and built piece of audio equipment. It will provide you with
well
ny years of listening enjoyment. We take great pride in our work.
ma
Please
be sure to read this manual prior to installation and use.
OPERATION INSTRUCTIONS:
UNPACKING:
When removing the Lissafrom the shipping carton, care must be taken.
a sharp knife to carefully open the box, being careful not to extend the
Use
fe into the box. Once the box is opened, the packing material may be
kni
removed. The Lissa integrated amplifier may then be carefully removed from
the box. Please pay attention to the faceplate. Do not contact the faceplate
or the switches with other objects. The switches may break.
The Lissa is
4 GREAT VIEW AVENUE NORTH. PROVIDENCE, RI 02904 401.226.5299
when
WARNING:
heavy. Care must be used
lifting and positioning it.

OPERATION INSTRUCTIONS:
CARE:
The Lissa is made from heavy gage powder coated steel with an anodized or
chrome plated faceplate. The unit is best cleaned with a damp cloth, but the
faceplate may be polished with an appropriate metal polish and the main chassis
polished
ishing
with an automotive wax. Care must be take not to allow either pol-
dust or particles to enter into the unit through the vent holes.
Opperation:
Once the Lissa is properly connected to power, source, and your speakers, it may
be turned on using the “POWER” switch. To avoid source turn on noise, it is best
to turn the Lissa on after the source is powered and off before the source is turned
off. The LED above the switch will light when the power is on. The volume should
not be turned up until it has had a couple minutes to warm up and stabilize.
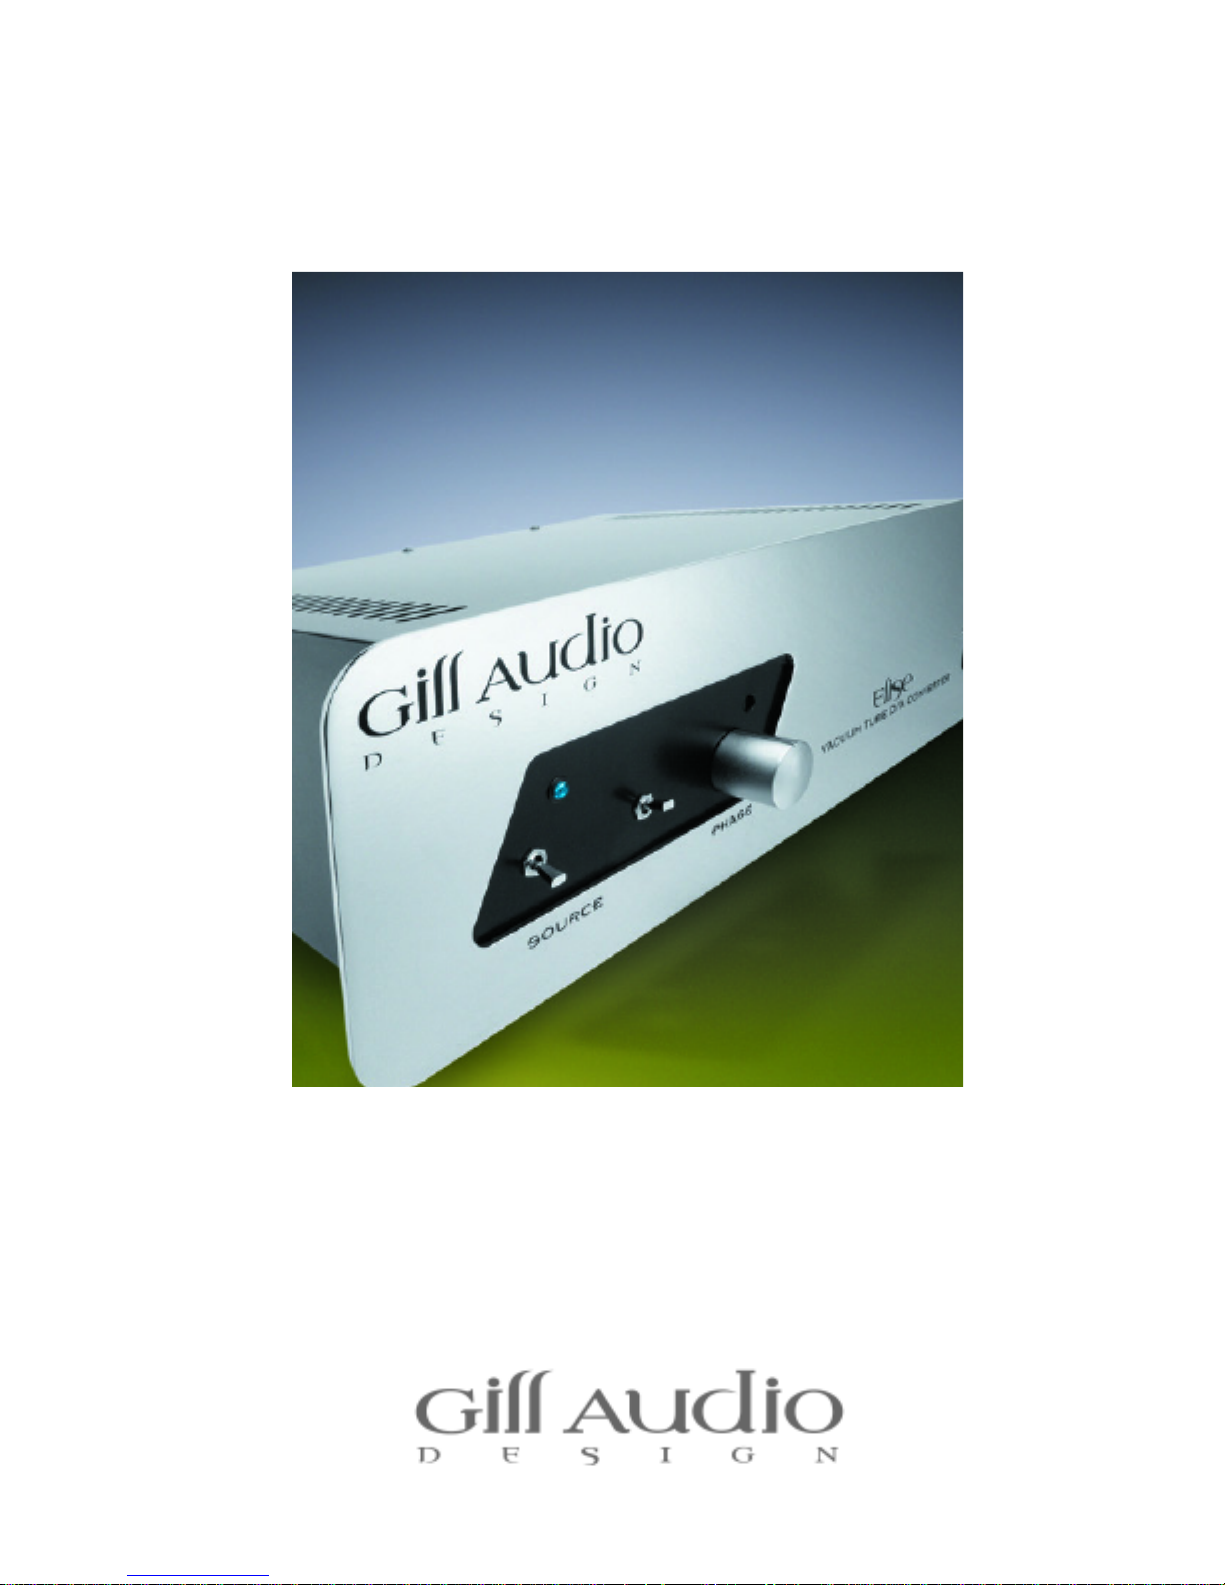
The “VOLUME” switch is located in the middle of the faceplate. The remote control
reciever is located just above it. The “SOURCE” switch is on the far left and is used
to select between different input sources.
When first powered on, the display will show “15”. This corresponds to the volume
setting. Pressing “UP” on the remote or on the volume switch will increase the
volume and “DOWN” decreases it. The Maximum setting is “94” and the minimum
setting is “00”.
If “LEFT” or “RIGHT” is pressed on the remote, that channels volume setting will be
displayed for one second and then the display will return to the current volume
setting. To reset the balance, adjust the balance until there is no change in the
display setting after the one second, reduce both channels to “00”, or turn power
off.
If the source is pressing on the remote, or the source switch is pressed up, the
Input source will increment from one to four. The corresponding input on the
back will be selected. The current source will be displayed for one second, then the
new source will be displayed for one second. The display will then return to the
voume setting.
Pressing “MUTE” on the remote or down on the “SOURCE” switch will toggle
between the current volume setting and “00”.
4 GREAT VIEW AVENUE NORTH. PROVIDENCE, RI 02904 401.226.5299

The Lissa is heavy and should be placed on a sturdy support. A lot of heat is
generated
unit.
unit should be placed close to the digital source, but far away from any
The
noise
the back of the unit there is an IEC power input, Fuse (3 amp Slow Blow),
One
inputs and the left and right outputs. The outputs are locat-
Four
farthest from the power input. The digital inputs are individually isolated and
ed
selectable
and there should be several inches of ventilation room around the
Excessive heat build up will decrease the life of the components inside.
generating components like large transformers and motors.
from the front panel selector.
Designed and manufactured in the USA
by Gill Audio Design, N. Providence RI
Model: Alana
Serial Number:__________
REPLACE FUSE WITH
SAME TYPE 2A, 250VAC
WARNING
SHOCK HAZARD
DO NOT OPEN
input output
one two three four one two
RIght
Output
Left
Output
4 GREAT VIEW AVENUE NORTH. PROVIDENCE, RI 02904 401.226.5299

BREAK-IN PERIOD:
While the Lissa is ready to be enjoyed when shipped from the factory, it
will benefit from a few hours of break-in. Over the first 100 hours, the per-
formance will continue to improve. After this time, serious listening can begin.
is also recommended that at least 30 minutes warm up time be given prior to
It
y serious listening. This allows all the internal components to fully heat up
an
stabilize.
and
4 GREAT VIEW AVENUE NORTH. PROVIDENCE, RI 02904 401.226.5299

TWO YEAR WARRANTY:
Gill Audio Design warrants that all products have been carefully tested, inspected,
and warranted for two (2) years from the date of original purchase. This includes
parts and labor for all internal components. Vacuum tubes are covered for 90
days. Failures due to misuse, damage, neglect, or unauthorized repair or modifications are not covered. Replacing the tubes with different type tubes or replacing the fuse with one of a higher rating voids all warrantees. If you have a problem with a Gill product and it is under warrantee, return it to the factory (postage
paid). Once the defect is found, you will be contacted. Gill Audio Design shall be
the sole judge of such defects. The liability of Gill Audio Design shall be limited
to the repair or replacement at its sole option of any defective product.
For Service, Upgrades, and Technical Support contact:
Gill Audio Design
4 Great View Ave.
N. Providence, RI 02904
For Sales and Distribution contact:
Art Audio USA
34 Briarwood Rd.
Cranston, RI 02920
(401) 826-8286 Tel.
(401) 826 3903 Fax.
4 GREAT VIEW AVENUE NORTH. PROVIDENCE, RI 02904 401.226.5299

SPECIFICATIONS:
Type: Solid state Integrated Amplifier
Power
Disto
Output
: 45 Watts Per Channel
rtion: 0.05%
Impedance: 4 to 8 ohms
Frequency Response: 20Hz - 20kHz
output
Input
S/N
Dimensions
Impedance 10 kohms
Ratio: 90dB.
: 16.5" x 15" x 4.5" [ W x D x H ]
full
Weight:: 35 lbs. (standard version )
40
For Sales and Distribution contact:
lbs. ( dual transformer version )
Art Audio USA
Briarwood Rd.
34
Cranston,
(401)
(401)
RI 02920
826-8286 Tel.
826 3903 Fax.
4 GREAT VIEW AVENUE NORTH. PROVIDENCE, RI 02904 401.226.5299

4 GREAT VIEW AVENUE NORTH. PROVIDENCE, RI 02904 401.226.5299
 Loading...