

Giles & Posner Mini Party User Manual
MINI PARTY
DESSERT FOUNTAIN

Thank you for choosing a Table Fountain from Giles & Posner.
This short Guide is here to help you enjoy a great new eating and
entertaining experience, to inspire you with delicious dipping
ideas and to show you how easy it is to care for your Fountain.
To start, here’s what you’ll nd in the box and how they t
together.
Introducing your Fountain
Bowl
1
Auger
FRONT
BACK
Adjustable feet
ON/OFF
Tiers
Tower
Adaptor
connector
Mains
Adaptor
A B C
D E F
Specications:
• Height: 320mm
• Width: 180mm
• Weight: 1.36kg
• Capacity: 500g melted
chocolate
• Electrical:
Volts: AC12V-50Hz
Amps: 1600mA
Watts: 19w
• Compact
Assembling parts:
A: Top tier
B: Middle tier
C: Bottom Tier
D: Auger
E: Tower
F: Motor base
First things rst:
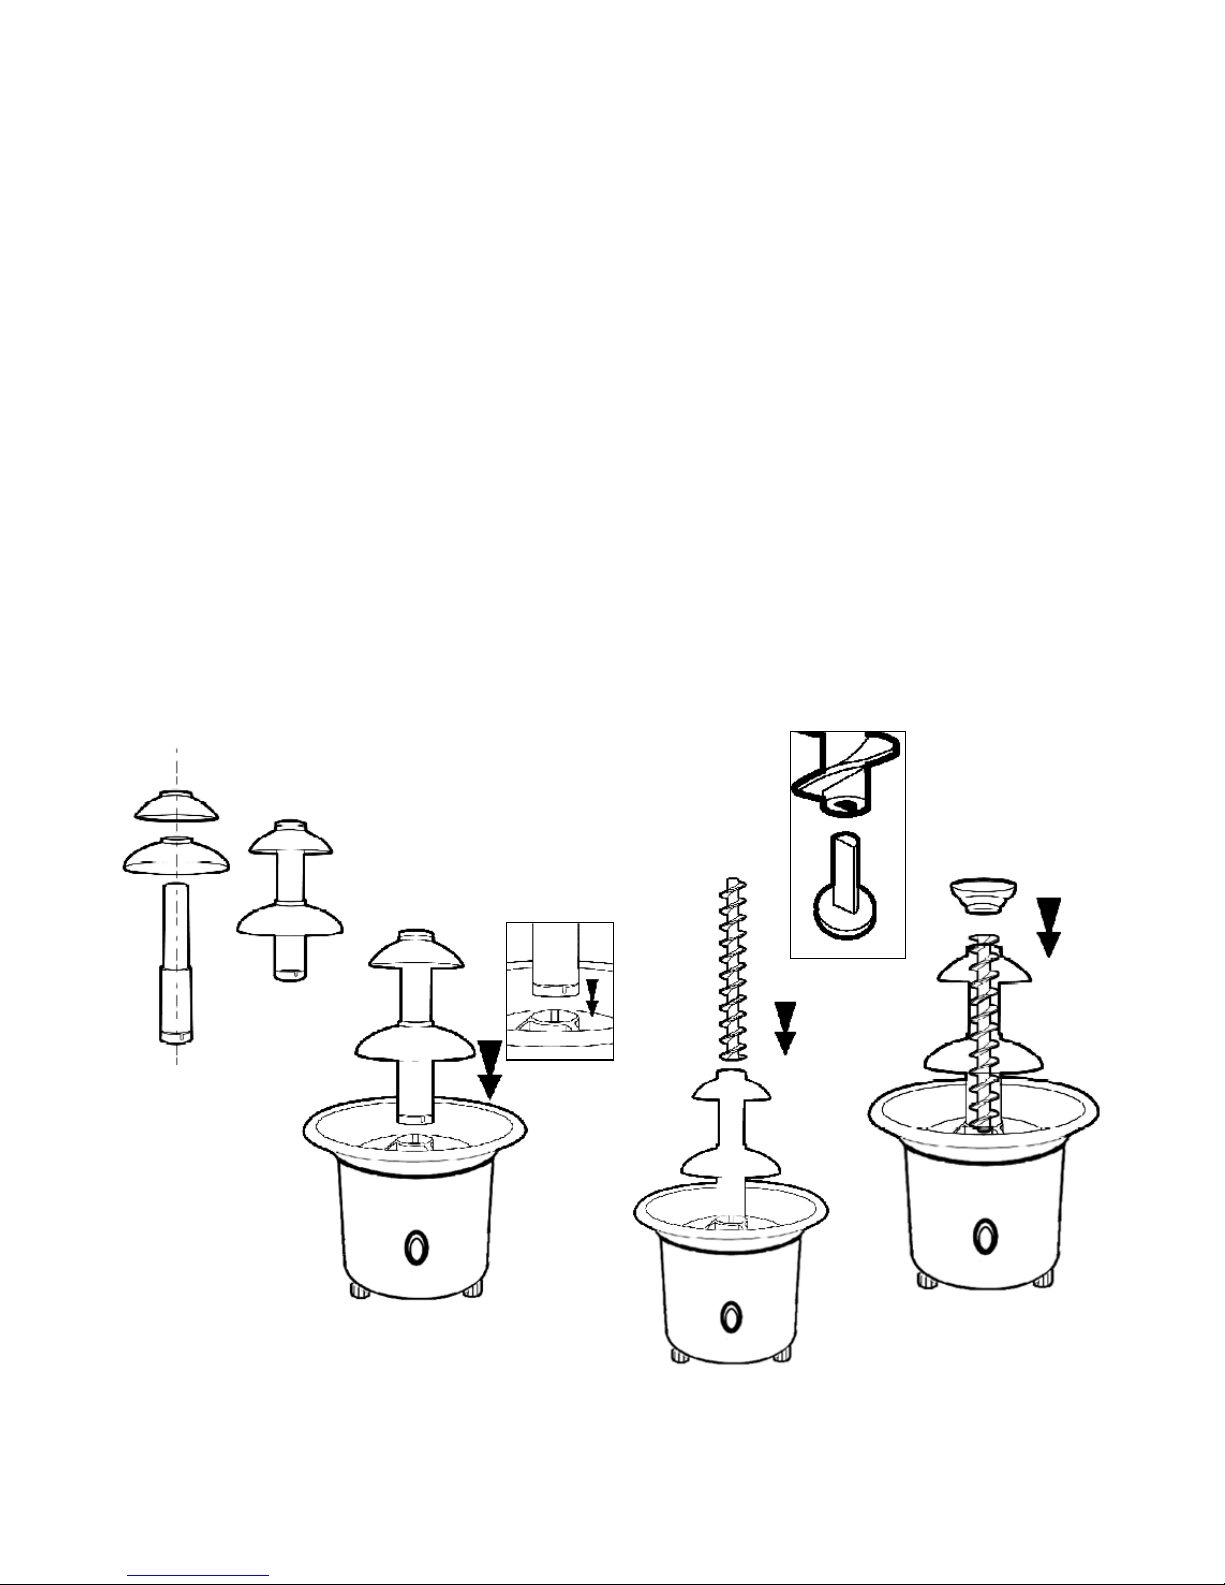
Assembling your Fountain
Your Fountain is easy to assemble.
Step1: Place the two tiers on the tower. The Bottom Tier should be in the lowest position,
followed by the Middle Tier.
Step 2: Insert the tower onto the connector on top of the main base unit
Step 3: When placing the Auger on the main base, make sure the Auger ts into the
semi-circle notched spot.
Step 4: The Top Tier should be tted last. Your chocolate fountain is now ready for use.
2
Step 1
Step 2
Step 3
Step 4
3
Getting ready to eat
Place the Fountain on a at and stable surface within reach of a mains supply or extension
lead. The Fountain must be completely level to work properly so adjust the small feet on the
base as you need to.
PreParing the chocolate
Now it’s time to get the chocolate ready. It needs to be melted before you place it in the
Fountain bowl. The quickest and simplest way to do this is in a microwave but you can
also melt your chocolate on the hob. A maximum 800g and minimum 400g of chocolate is
recommended for use in the Mini Party fountain to produce the best cascading effects.
This is a generous serving for up to 6 people.
Microwave
If you’re using Giles & Posner Luxury Fondue Chocolate in microwaveable pouches, simply
follow the instructions on the pack.
If you’re using another brand of chocolate, break it into pieces and place it in a bowl in
the microwave. Heat it for 1 minute on Medium power (800W oven) and then stir. Return
it to the microwave for a further minute and then check again. The chocolate must be
completely melted and of a thin consistency that ows easily off a spoon. You will also need
to add some vegetable oil to your chosen chocolate to improve its owing quality. See page
4 for details.
hob
Place the chocolate in a heat-resistant bowl. Stand the bowl in a large saucepan of hot
water on the hob over a low heat. Stir the chocolate constantly until it’s completely melted,
taking care not to let it stick or burn.
Again, you’ll need to add some vegetable oil. Quantities are detailed on page 4.
It’s important not to add water or any water-based liquids to your chocolate as this will
make it harden and stop the ow.
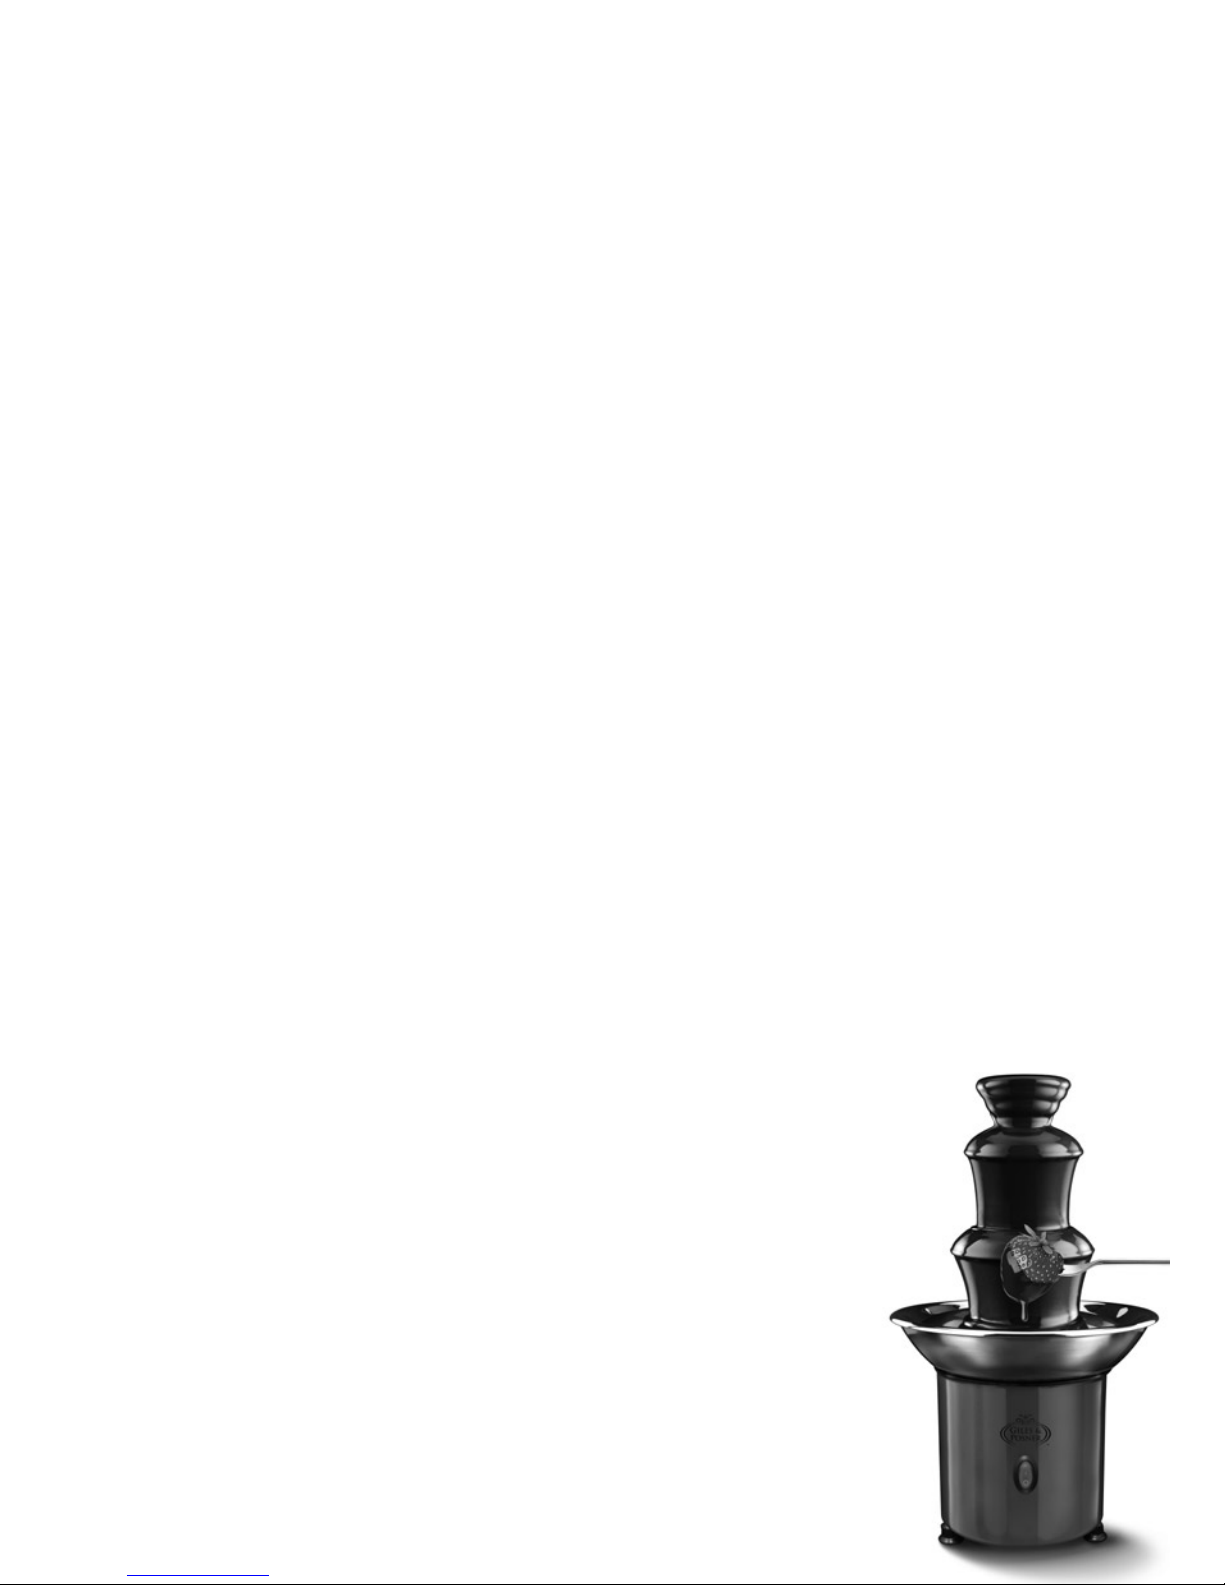
adding the chocolate to your Fountain
Connect the mains adaptor jet to the fountain base and adaptor to a
power source. Get your choice of dipping foods ready around the base.
Pour your melted chocolate into the centre of the Fountain bowl at
the bottom of the tier system. Switch ON the chocolate fountain.
The spiral drive inside will draw the chocolate up to the top –
and then the enticing cascade will start to ow over the tiers with
its irresistable warm chocolate aroma.
3
 Loading...