

Gigaset SL360 HS User Manual

SL360 HS

de en fr it 1
Template Go, Version 1, 01.07.2014 / ModuleVersion 1.0
Gigaset HS – the universal handset
With your Gigaset HS handset, you have purchased a high-quality, multifunctional and
future-proof device. Gigaset HS handsets are intended for distribution in Switzerland.
You can use your handset with several different DECT bases.
On the Swisscom internet box
Your Gigaset HS handset is certified in accordance with the DECT/CAT-iq 2.0 standard.
It
supports all functions of the Swisscom internet box e. g.:
• listening to messages on the COMBOX
• using the central directory and the directory integrated in the handset
• convenient calling and using of call lists,
• using several lines and call numbers
*)
,
• broadband calls in guaranteed/certified HD-Voice
™
quality.
On a Gigaset base
Connect your HS handset to a Gigaset base and use the many features with the quality you
would expect from Gigaset.
If your Gigaset base is IP-compatible, you can also make broadband calls using your HS handset
with the highest voice quality (HDSP).
In this guide, all functions that are available for your HS handset are detailed/described.
The
complete functionality with Gigaset bases is described in the guide relevant to your
Gigaset
system.
All Gigaset user guides can be found at www.gigaset.com/manuals
or online on your smartphone or tablet:
download the Gigaset Help app from or
Details regarding the functionality of the handset on various bases and routers can be found at
www.gigaset.com/compatibility
*) The relevant scope of the function is dependent on the subscription
2 de en fr it
Template Go, Version 1, 01.07.2014 / ModuleVersion 1.0
Contents
Contents
Overview . . . . . . . . . . . . . . . . . . . . . . . . . . . . . . . . . . . . . . . . . . . . . . . . . . . . . . . . . . . . . . . . . . . . . . . . . . . . . .3
Safety precautions . . . . . . . . . . . . . . . . . . . . . . . . . . . . . . . . . . . . . . . . . . . . . . . . . . . . . . . . . . . . . . . . . . . . .5
Getting started . . . . . . . . . . . . . . . . . . . . . . . . . . . . . . . . . . . . . . . . . . . . . . . . . . . . . . . . . . . . . . . . . . . . . . . .6
Functions . . . . . . . . . . . . . . . . . . . . . . . . . . . . . . . . . . . . . . . . . . . . . . . . . . . . . . . . . . . . . . . . . . . . . . . . . . . . .9
Using the telephone . . . . . . . . . . . . . . . . . . . . . . . . . . . . . . . . . . . . . . . . . . . . . . . . . . . . . . . . . . . . . . . . . . . 9
Making calls . . . . . . . . . . . . . . . . . . . . . . . . . . . . . . . . . . . . . . . . . . . . . . . . . . . . . . . . . . . . . . . . . . . . . . . . . . 10
Additional functions . . . . . . . . . . . . . . . . . . . . . . . . . . . . . . . . . . . . . . . . . . . . . . . . . . . . . . . . . . . . . . . . . . 11
Telephone settings . . . . . . . . . . . . . . . . . . . . . . . . . . . . . . . . . . . . . . . . . . . . . . . . . . . . . . . . . . . . . . . . . . . . 15
Appendix . . . . . . . . . . . . . . . . . . . . . . . . . . . . . . . . . . . . . . . . . . . . . . . . . . . . . . . . . . . . . . . . . . . . . . . . . . . 21
Customer service & assistance . . . . . . . . . . . . . . . . . . . . . . . . . . . . . . . . . . . . . . . . . . . . . . . . . . . . . . . . . 21
Manufacturer's advice . . . . . . . . . . . . . . . . . . . . . . . . . . . . . . . . . . . . . . . . . . . . . . . . . . . . . . . . . . . . . . . . . 21
Technical data . . . . . . . . . . . . . . . . . . . . . . . . . . . . . . . . . . . . . . . . . . . . . . . . . . . . . . . . . . . . . . . . . . . . . . . . 22
Index . . . . . . . . . . . . . . . . . . . . . . . . . . . . . . . . . . . . . . . . . . . . . . . . . . . . . . . . . . . . . . . . . . . . . . . . . . . . . . . . 23
Additional information
If the handset is connected to a Swisscom internet box:
Accompanying installation instructions and
If the handset is connected to a Gigaset base:
User guide for your Gigaset telephone
You can obtain all Gigaset user guides
in PDF format:
online:
www.gigaset.com/manuals
Gigaset Help app for your smartphone
or tablet
de en fr it 3
Template Go, Version 1, 01.07.2014 / ModuleVersion 1.0
Overview
Overview
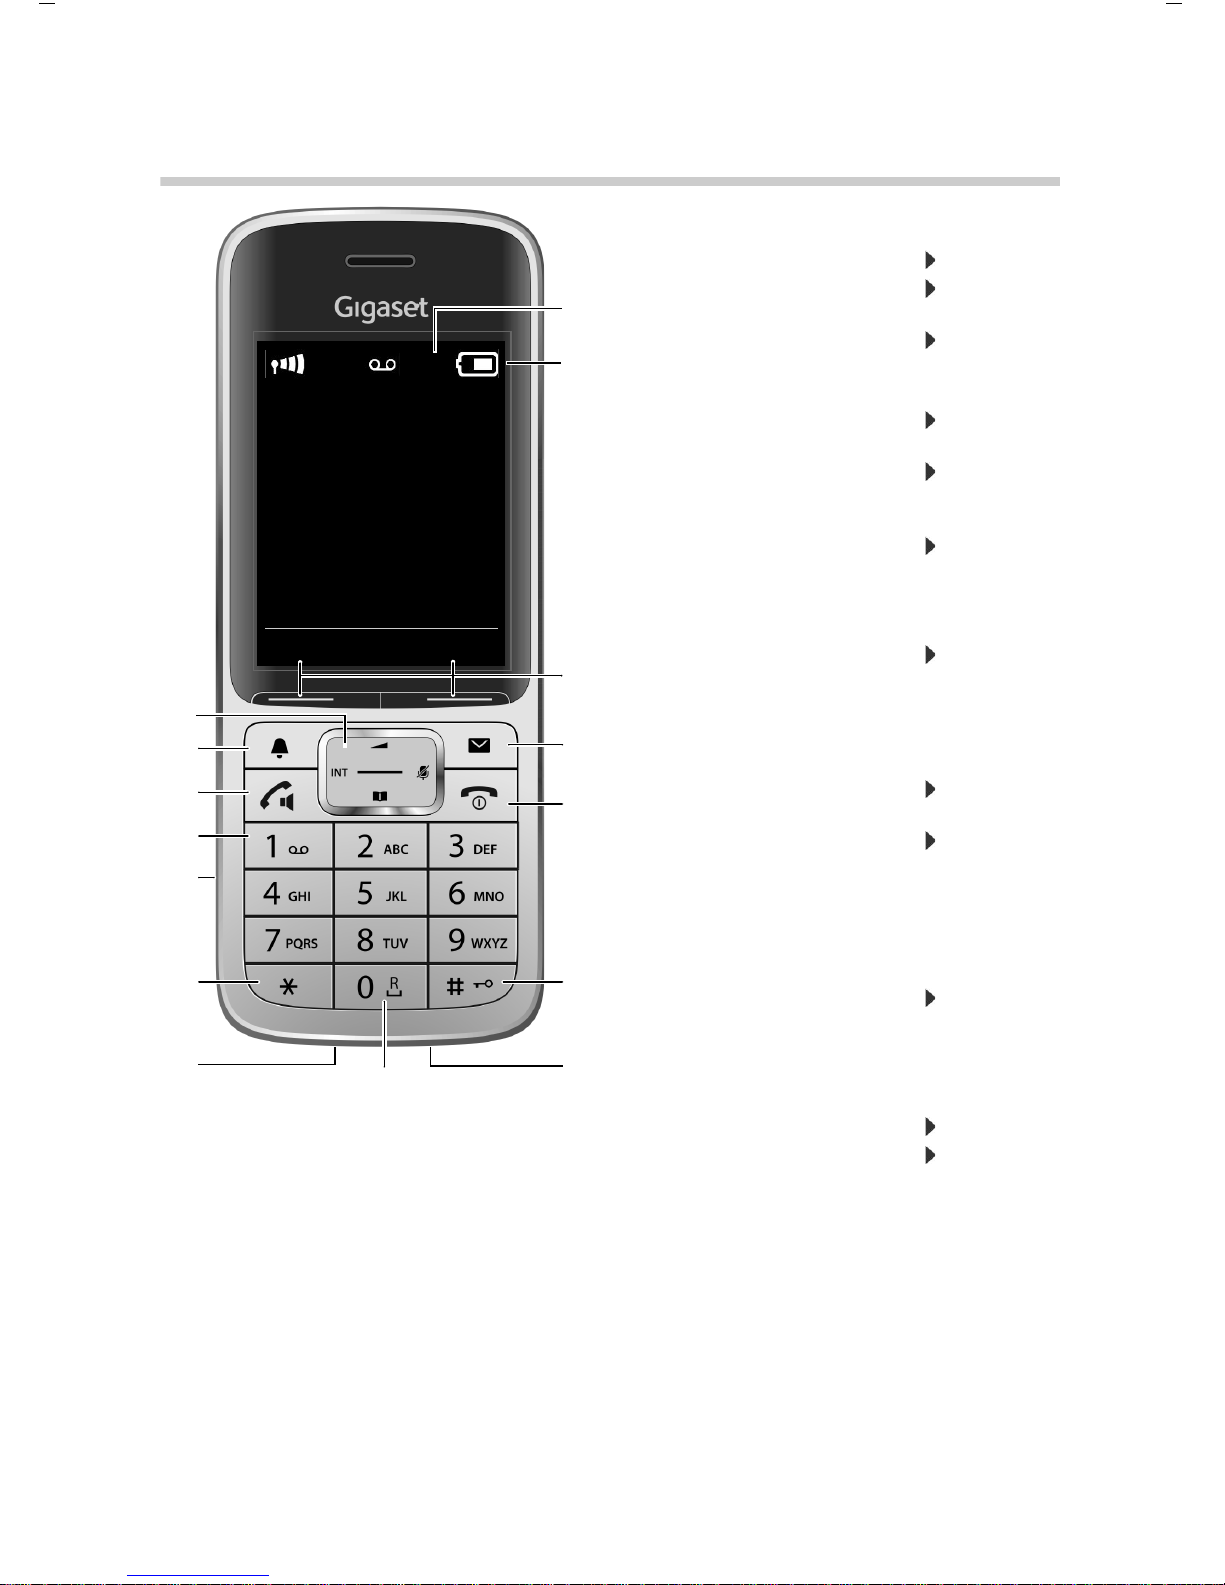
1Display
2 Status bar
Icons display current settings and operating
status of the telephone
3Display keys
Various functions, depending on the operating
situation
4Message key
Access to the call and message lists;
Flashes: new message or new call
2
3
5
12
1
INT 1
Calls Calendar
6
10
9
4
11
13
14
15
7
8
5 End call key, On/off key
End call; cancel function;
Go back one menu level Press briefly
Return to idle status Press and
hold
Switch the handset on/off
(in idle status)
Press and
hold
6 Hash key / Lock key
Lock/unlock the keypad
(in idle status)
Press and
hold
Toggle between upper/lower
case and digits
(when inputting text)
Press briefly
Insert a dialling pause Press and
hold
7Microphone
8 Recall key
Consultation call (flash) Press and
hold
9 USB connection socket
For data exchange between the handset and PC
10 Star key
Open special characters table
(when inputting text)
Press briefly
Switch from pulse dialling to
tone dialling
(for an existing connection)
Press briefly
11 Headset connection
(2.5 mm jack)
12 Key 1
Select answer machine/
network mailbox
Press
and hold
13 Talk key / Handsfree key
Accept call; dial number displayed; switch
between receiver and handsfree mode
Open the redial list Press briefly
Start dialling Press
and hold
14 Profile key
Switch between sound profiles
15 Control key / menu key
Open a menu; navigate in menus and entry
fields; access functions (depending on the
situation)
4 de en fr it
Template Go, Version 1, 01.07.2014 / ModuleVersion 1.0
Illustration in the user guide
Illustration in the user guide
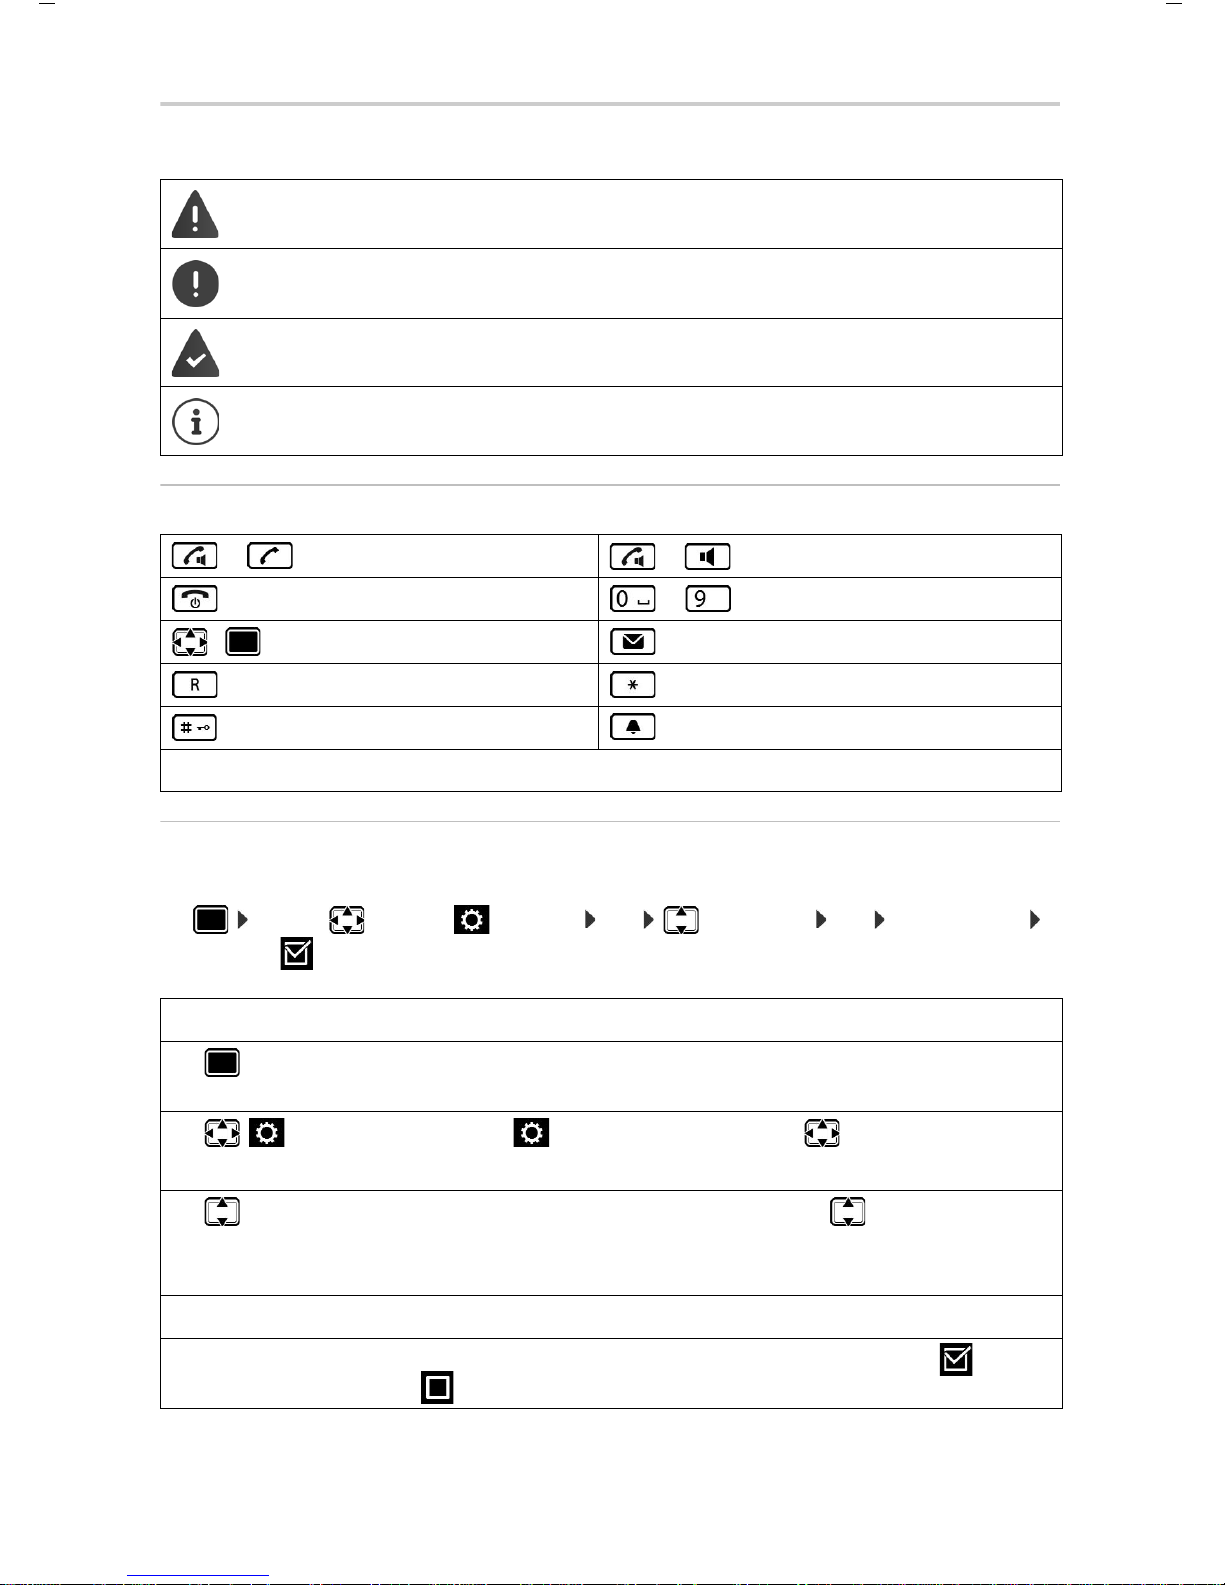
Keys
Procedures
Example: Switching Auto answer on/off
¤ . . . use to select Settings OK Telephony OK Auto Answer
Change ( = on)
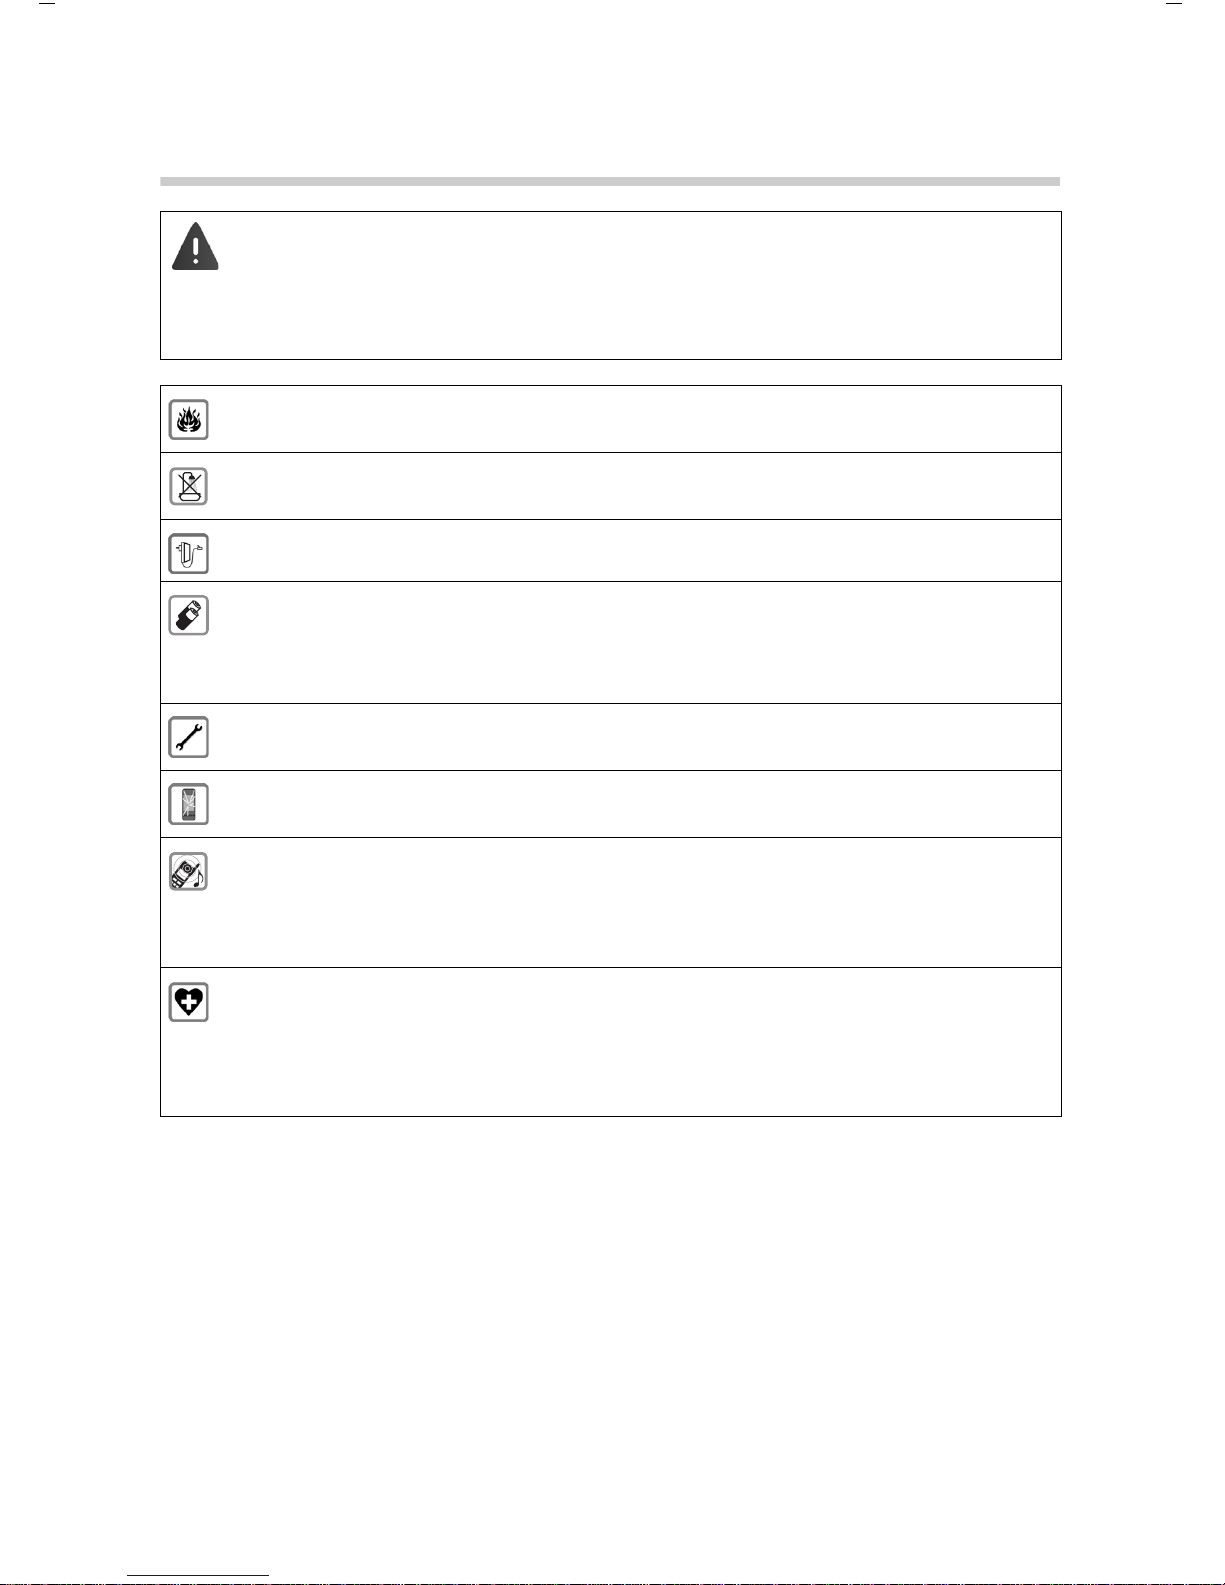
Warnings, which, if not heeded, can result in injury to persons or damage to devices.
Important information regarding function and appropriate handling or functions
that could generate costs.
Prerequisite for being able to carry out the following action.
Additional helpful information.
or Talk key or Handsfree key
End call key to Number / letter keys
/ Control key rim / centre Message key
Recall key Star key
Hash key Profile key
OK, Back, Select, Change, Save, . . . Display keys
Step Follow this procedure
¤ When in idle status press the centre of the control key.
The main menu opens.
¤
¤ OK
Navigate to the icon using the control key .
Select OK to confirm. The submenu Settings opens.
¤
Te le ph on y
¤ OK
Select the Te le ph on y entry using the control key .
Select OK to confirm. The submenu Te le p ho ny opens.
¤ Auto Answer The function to switch Auto answer on/off appears as the first menu item.
¤ Change Select Change to activate or deactivate. Function is activated /deacti-
vated .
de en fr it 5
Template Go, Version 1, 01.07.2014 / ModuleVersion 1.0
Safety precautions
Safety precautions
Read the safety precautions and the user guide before use.
The device cannot be used in the event of a power failure. In case of a power failure it
is also not possible to make emergency calls.
Emergency numbers cannot be dialled if the keypad/display lock is activated!
Do not use the devices in environments with a potential explosion hazard
(e.g. paint shops).
The devices are not splashproof. For this reason do not install them in a damp environment such as bathrooms or shower rooms.
Use only the power adapter indicated on the device.
Use only rechargeable batteries that correspond to the specification (see "Specifications"). Never use a conventional (non-rechargeable) battery or other battery types as
this could result in significant health risks and personal injury. Rechargeable batteries,
which are noticeably damaged, must be replaced.
Remove faulty devices from use or have them repaired by our Service team, as these
could interfere with other wireless services.
Do not use the device if the display is cracked or broken. Broken glass or plastic can cause
injury to hands and face. Send the device to our Service department to be repaired.
Do not hold the rear of the handset to your ear when it is ringing or when speaker mode
is activated. Otherwise you risk serious and permanent damage to your hearing.
The phone may cause interference in analogue hearing aids (humming or whistling) or
cause them to overload. If you require assistance, please contact the hearing aid supplier.
Using your telephone may affect nearby medical equipment. Be aware of the technical
conditions in your particular environment, e.g. doctor's surgery. If you use a medical
device (e.g. a pacemaker), please contact the device manufacturer. They will be able to
advise you regarding the susceptibility of the device to external sources of high frequency energy (for the specifications of your Gigaset product see "Specifications").
6 de en fr it
Template Go, Version 1, 01.07.2014 / ModuleVersion 1.0
Getting started
Getting started
Contents of the package
• One handset
• One battery cover (rear cover for the handset)
• One battery
• One charging cradle including power adapter
• One belt clip
• One operating guide and two copies of the installation instructions (DE/EN and IT/FR)
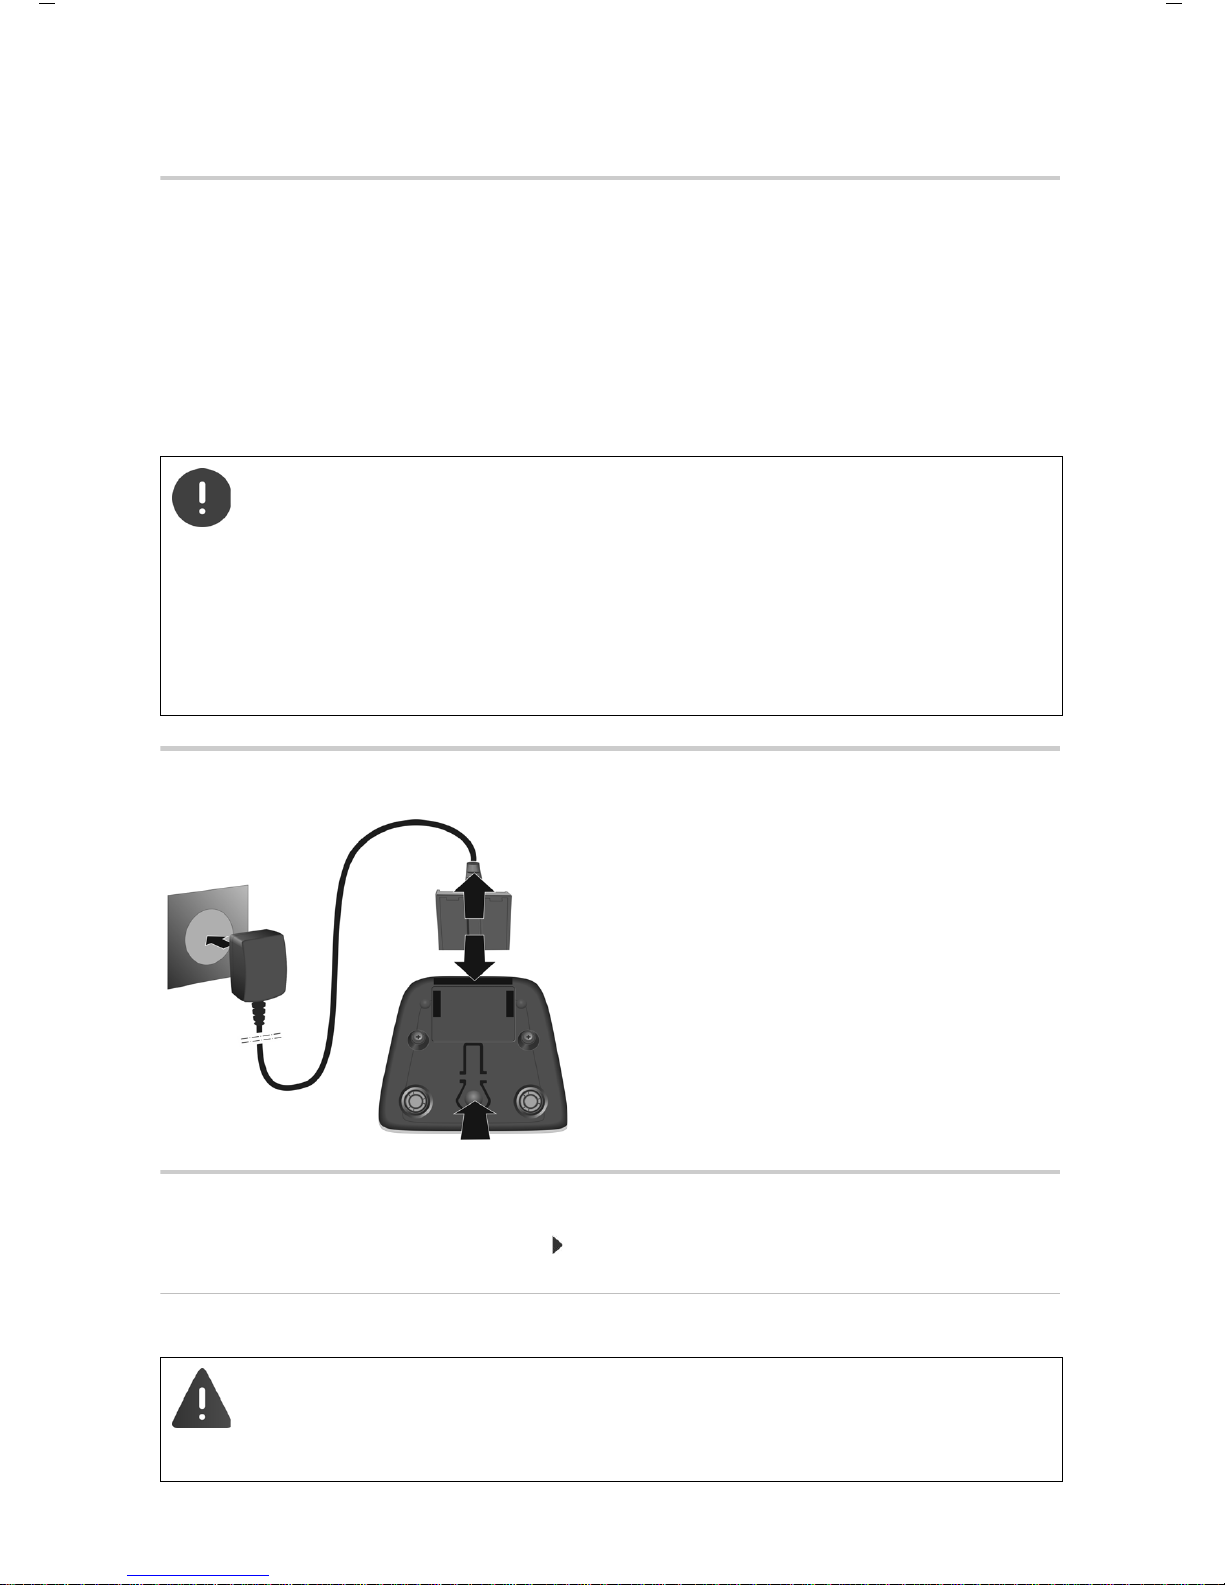
Connecting the charging cradle
Setting up the handset for use
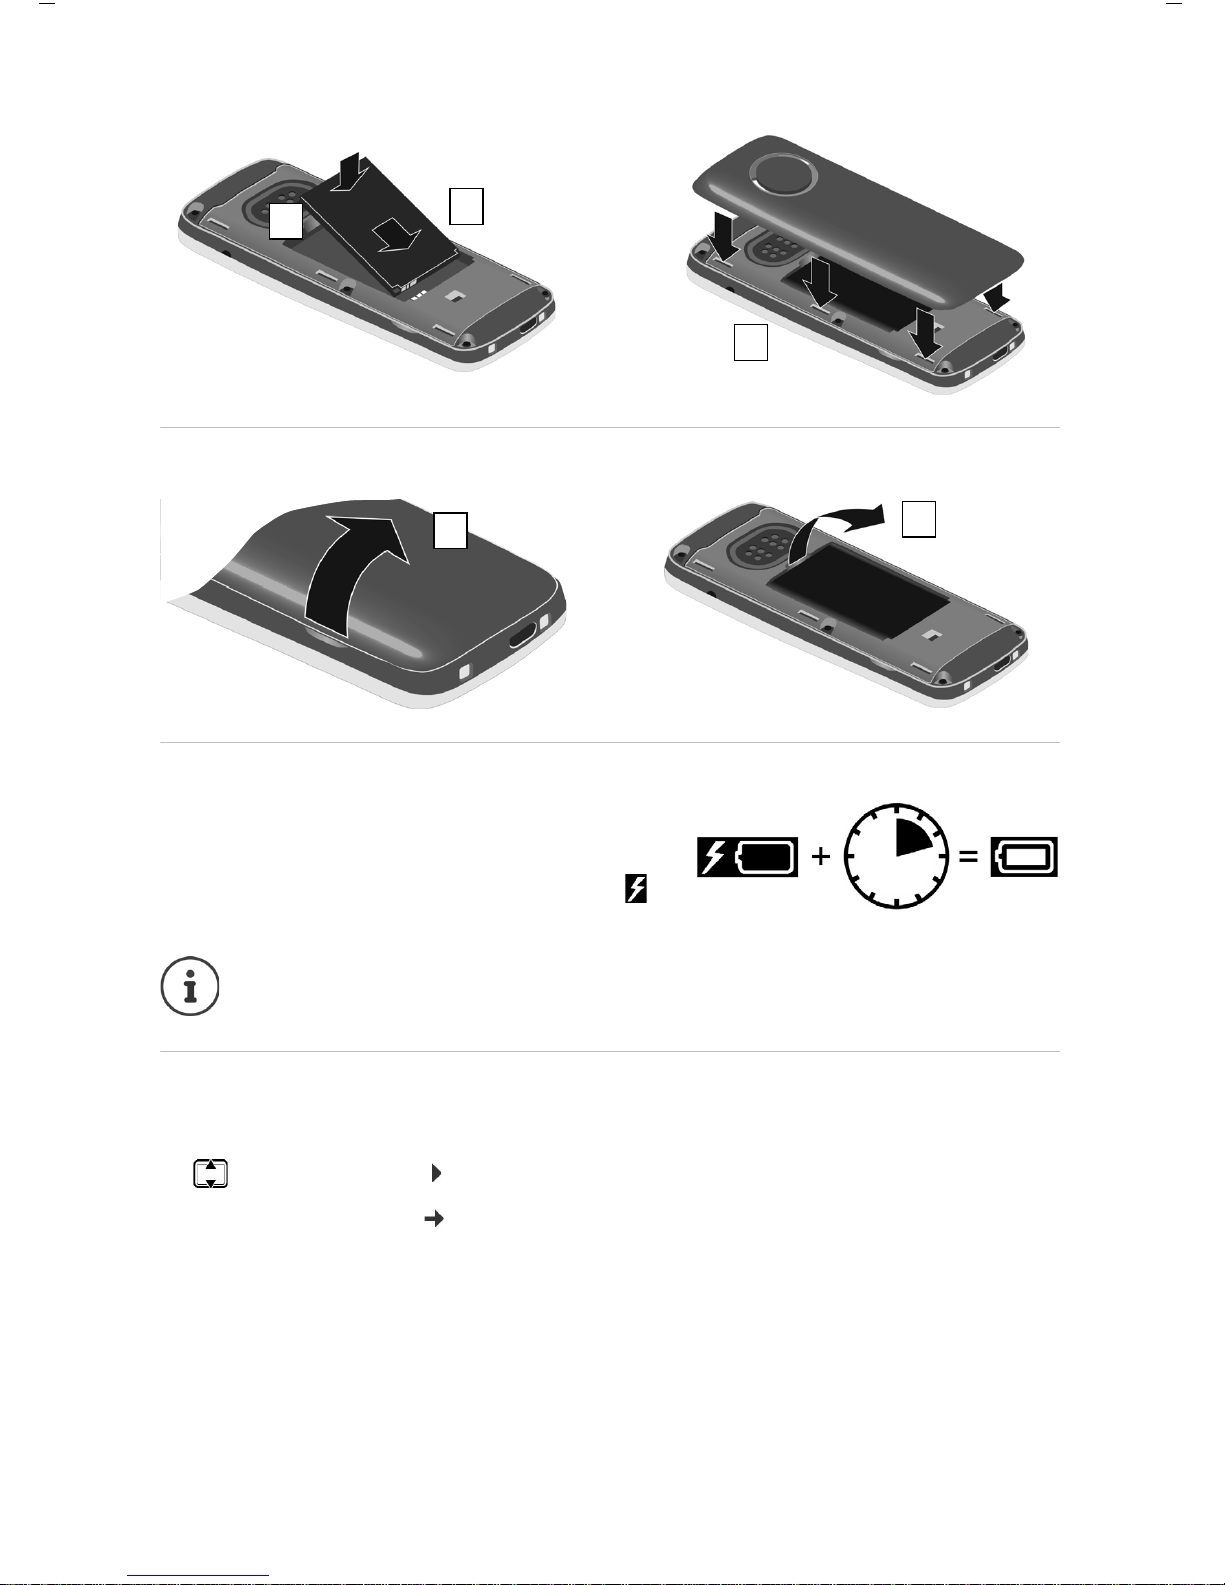
The display is protected by a plastic film. Please remove the protective film!
Inserting the battery
The charging cradle is designed for use in enclosed, dry rooms within a temperature
range of +5 °C to +45 °C.
The device's feet do not usually leave any marks on surfaces. However, due to the multitude of different varnishes and polishes used on furniture, contact marks on the surfaces cannot be completely ruled out.
Never expose the telephone to heat sources, direct sunlight or other electrical
devices.
Protect your telephone from moisture, dust, corrosive liquids and vapours.
Only use a rechargeable battery, as this could otherwise result in significant health
risks and personal injury. For example, the outer casing of the battery could be destroyed or the battery could explode. The device could also malfunction or be damaged as a result of using batteries that are not of the recommended type.
de en fr it 7
Template Go, Version 1, 01.07.2014 / ModuleVersion 1.0
Getting started
Removing the battery
Charge the battery
¤ Charge the battery fully prior to first use in the
charging cradle or using a standard USB mains
adapter.
The battery is fully charged when the power icon
disappears from the display.
Setting the language
A list of the possible display languages is shown when the handset is switched on for the
first
time.
¤ Select the language OK
Change the language later: S. 15
2
1
3
1
2
2.5h
The battery may heat up during charging. This is not dangerous.
After a time, the charge capacity of the battery will decrease for technical reasons.
 Loading...