

2
3
1
Congratulations on your purchase of the GIGABYTE Notebook P2542!
This Manual will help you to get started with setting up your notebook. For more detailed
information, please visit our website at http://www.gigabyte.com. All specications are
subject to the manufacturer's configuration at the time of shipping and may change
without prior notice, written or otherwise.
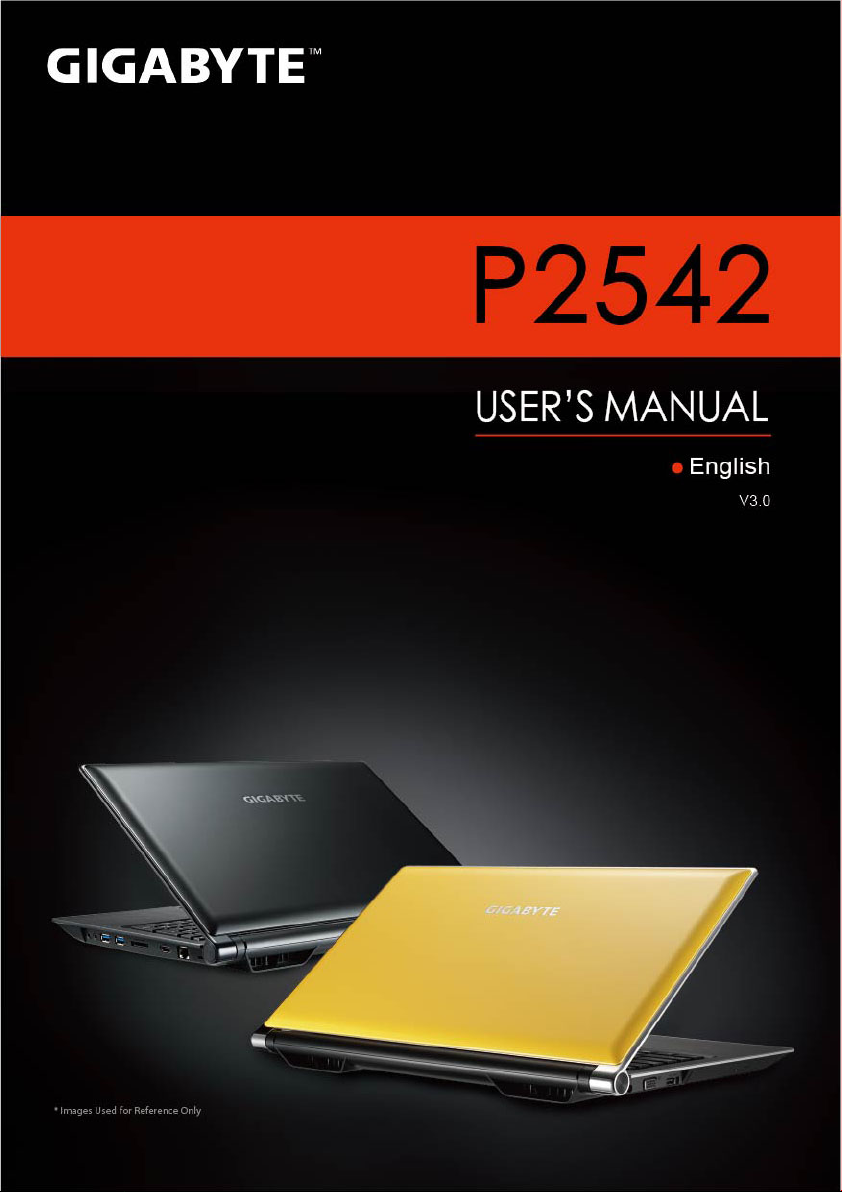
Check Supplied Items
AC Adapter Battery Pack Manual
Power Cord Driver CD Warranty Card
* The illustrations in this document may appear differently from your model.
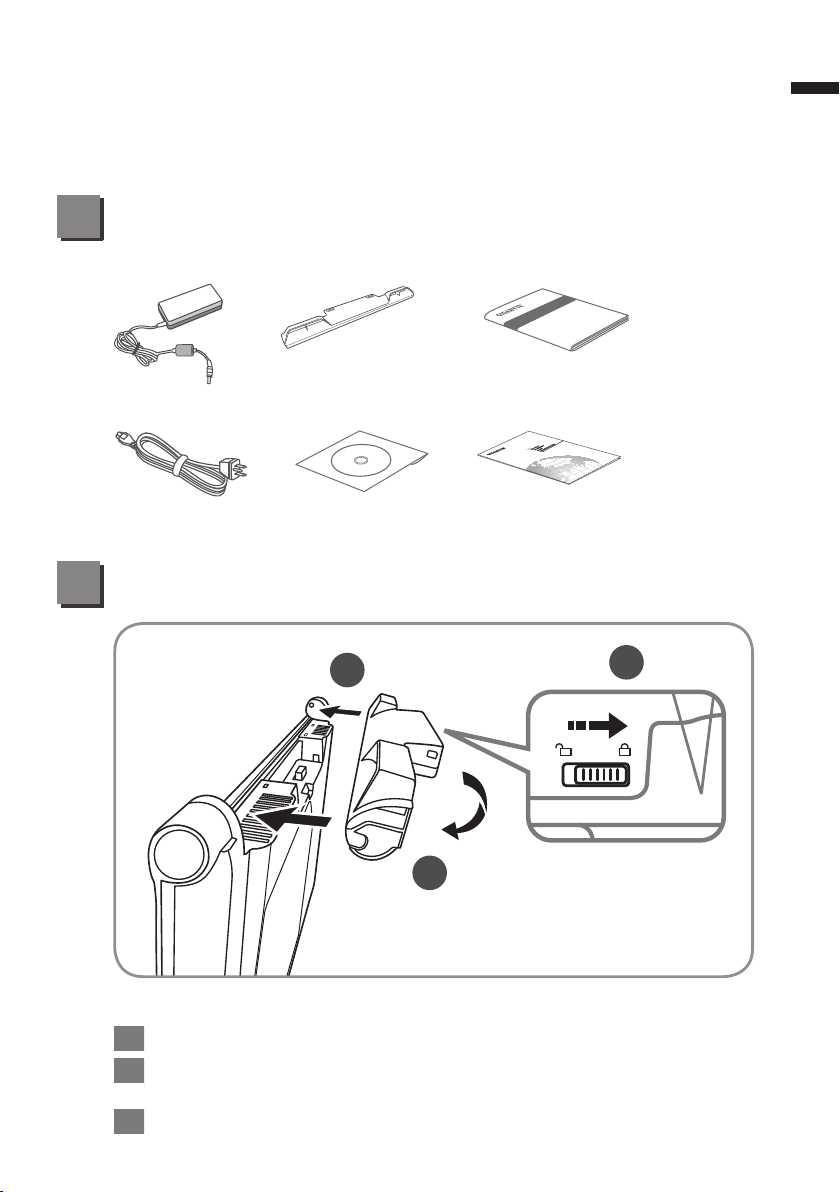
Using GIGABYTE Notebook for the First Time
1
English
To install the battery please follow these steps:
1
Target the battery’s direction into the tenon-mortise.
Circulate the battery downwards until hearing the "snap" sound to lock the
2
battery.
3
Remember to slide the switch to the "Lock" position.
2
English
2
1
3
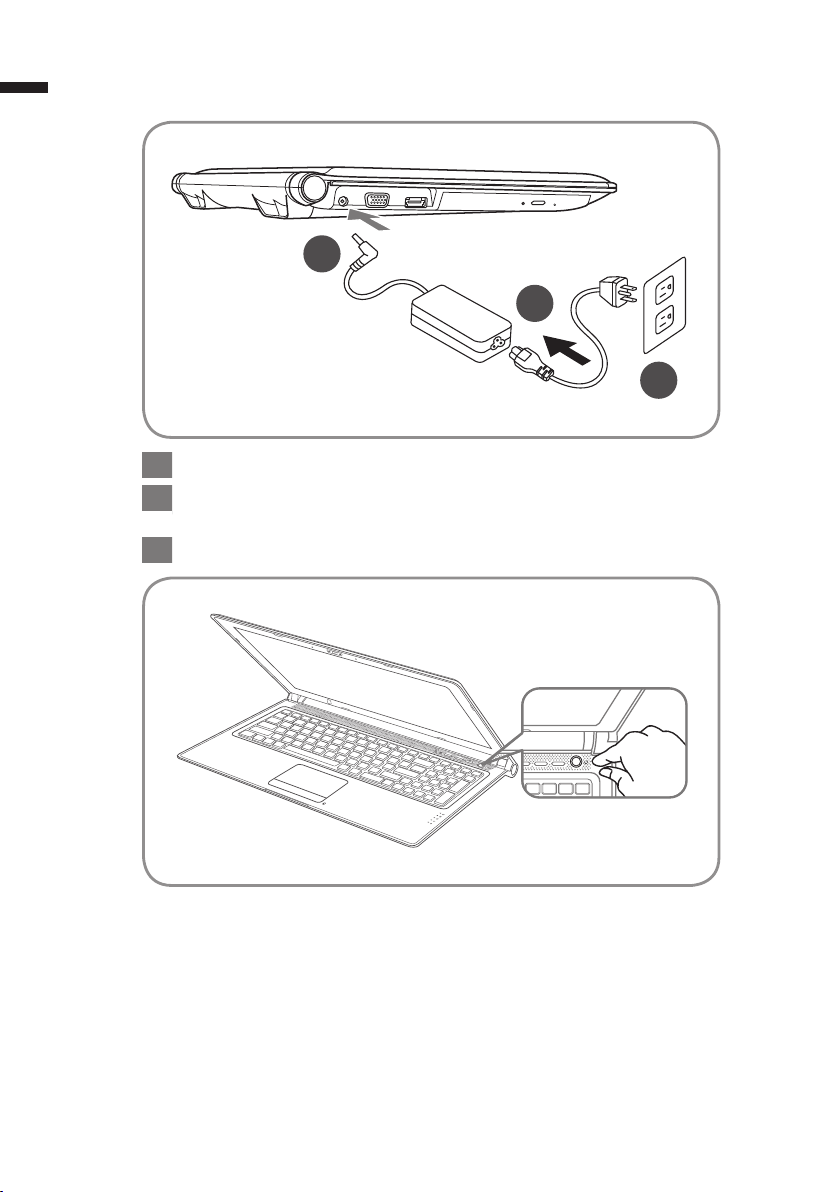
1 Connect the power cord to the AC adapter.
Connect the AC adapter to the DC-in jack on the left side of the
2
notebook.
3 Connect the power cord to the power outlet.
-
+
Switching on the Power :
After you turn on the P2542 for the very rst time, do not turn it off until
the operating system has been congured. Please note that the volume
for the audio will not function until Windows
®
Setup has completed.
Booting Up the P2542 for the First Time :
Depending on your conguration, the Microsoft® Windows® Boot Screen
will be the first screen that you will see as the notebook starts up.
Follow the on-screen prompts and instructions and enter your personal
information to complete the setup of the Windows
®
Operating System.

Your GIGABYTE Notebook Tour
Top View
2
31
12
11
9
10
+
-
5
6
7
8
1 Webcam Status LED indicator
2 Webcam
3 Light sensor (Optional)
4
4 Microphone x 2
5
Power Button
6 Smart
+
Button
7 Volume Setting
8 LED Indicators
9 Battery Indicator Button
10 TouchPad
11 Num Lock & Caps Lock Indicator
12 Stereo speakers
To call out smart manager function.
● Smart Setup:
Under off condition, Push "Smart
enter "Smart Setup" menu in off mode.
You can choose BIOS Setup Utility,
Smart Recovery in the setup menu.
● Smart Manager:
In Windows
button to initiate "Smart Manager".
Power Status LED
Battery Status LED
HDD Status LED
Wireless Lan Status LED
Bluetooth Status LED
The LED indicators will show the
battery capacity status when battery is
inserted in power off mode. 5 indicator
lights on indicates that the battery
capacity is 100%. Only 1 indicator light
on indicates that the remaining battery
capacity is 20%.
®
Mode Press "Smart+"
+
" to
3
English
Left View
1
2 3 4
1 DC-in Jack
2 External Display (VGA) Port
3 eSATA/USB Combo
4 Optical Disc Drive

4
Right View
English
Base View
4
3
1
2 4 5 6
1 Microphone Jack
2 Headphone Jack
3 USB Port x 2
4
Multi Card Reader
7
HDMI Port
5
6 Ethernet Port
7 Kensington Lock Slot
Memory Card Supports :
● Secure Digital (SD)
● Multi Media Card (MMC)
● Memory Stick (MS)
● Memory Stick PRO (MS PRO)
1
1 Battery Bay
2 Woofer Speaker
2
3 Stereo Speakers
4 Hard Disk Bay/Memory Bay
3

Hotkeys
The computer employs hotkeys or key combinations to access most of the
computer’s controls like screen brightness and volume output.To activate
hotkeys, press and hold the <Fn> key before pressing the other key in the
hotkey combination.
Hotkey Function Description
5
English
Fn+F1
Fn+F2
Fn+F3
Fn+F4
Fn+F5
Fn+F6
Fn+F7
Fn+F8
Fn+F9
Fn+F10 N/A There is no function for this model.
Fn+F11
Sleep Put the computer in Sleep mode.
Wireless LAN
Brightness Down Decrease the screen brightness.
Brightness Up Increase the screen brightness.
Display Toggle
Touchpad Toggle Turn the internal touchpad on and off.
Speaker Toggle Turn the speaker on and off.
Volume Down Decrease the sound volume.
Volume Up Increase the sound volume.
Bluetooth Enable/disable the Bluetooth function.
Enable/disable the Wireless LAN
function.
Switche display output between the
display screen, external monitor (if
connected) and both.
Fn+F12
Fn+▲ ▼ ◄ ►
Fn+~ Screen Toggle Turn the screen on and off.
Fn+Esc ODD Tray Quit To quit the ODD tray instantly.
Webcam Turn the internal webcam on and off.
Playback Media Playback control.

6
English
GIGABYTE Software Application
●
GIGABYTE Smart Manager :
You can activate GIGABYTE Smart Manager by double clicking on the
shortcut icon on the desktop if the machine you purchased has the operation
system built-in. GIGABYTE Smart Manager is an icon-based control interface,
enabling users to intuitionally access common system setup as well as
GIGABYTE exclusive utilities. Please be noted that the GIGABYTE Smart
Manager interface, icons, utilities and software versions may vary based on
the purchased models. Please operate GIGABYTE Smart Manager according
to the actual version built-in.
●
GIGABYTE Smart Recovery :
1.If the machine you purchase already has operating system built-in, you
can restore the system back to factory default by using GIGABYTE Smart
Recovery. Please be noted that the GIGABYTE Smart Recovery interface,
icons, utilities and software versions may vary based on the purchased
models.
2.Please operate GIGABYTE Smart Recovery according to the default builtin version. Please be noted that personal data will be lost after recovery, do
remember to backup any data before operating this function.
●
GIGABYTE Smart Setup:
During the off mode, press SMART button to enter "Smart Setup" menu. You
can choose BIOS Setup Utility, Smart Recovery, and other functions in this
setup menu.
Press"Continue to OS" button to enter operating system.
Press"BIOS Setup Utility" button to enter BIOS setup utility.
Press"Smart Recovery" button to enter GIGABYTE Smart Recovery.
Press"Shutdown" button to shutdown the system

Specication
SKU Type P2542
®
CPU 3rd Generation Intel
OS Genuine Windows
Display 15.6" Full HD 1920X1080 LED backlight
System Memory DDRIII 1600, 2 slots (Max 16GB)
®
Chipset Mobile Intel
● Intel
NVIDIA
Video Graphics
Supports NVIDIA
● Intel
NVIDIA
HM77 Express Chipset
®
HD Graphics 4000,
®
GeForce® GTX 660M GDDR5 2GB,
®
HD Graphics 4000,
®
GeForce® GT 650M 2GB,
Supports NVIDIA
● mSATA SSD
Storage
● mSATA SSD + 2.5" 9.5mm HDD 7200rpm
● 2.5" 9.5mm SSD
● 2.5" 9.5mm HDD 7200rpm
● Super-Multi DVD Drive
ODD
● Blu-Ray DVD Combo Drive
● Blu-Ray Rewritable Drive, BDXL Support
Audio 1.5 Watt Speaker*4, Woofer speaker*1, Microphone
USB(3.0)*2, eSATA/USB(2.0) Combo*1, HDMI, D-Sub,
I/O Port
RJ45, Mic-in, Earphone-out, 4-in-1 Card Reader (SD/MMC/
MS/MS Pro) and DC-in Jack
10/100/1000Mbps Ethernet
Communications
802.11b/g/n
Bluetooth V4.0
Webcam 1.3 Megapixel
Security Kensington Lock
Battery Li-ion 6-cell, 5400mAh, 60.75Wh
Dimensions 392(W) x 263(D) x 32.1-38.3(H) mm
Weight ~2.6kg (w/ODD and 6-cell battery)
* This specication is for users’ reference only. The nal conguration depends on the users' bought.
Core™ i7 Quad-Core Processor
®
7 / Windows® 8 Compatible
®
OptimusTM Technology
®
OptimusTM Technology
7
English

8
English
Appendix
■
Warranty & Service:
For Warranty, Service and related information, please refer to the warranty
card or GIGABYTE service website as the following link:
http://www.gigabyte.com/support-downloads/technical-support.aspx
■
FAQ :
For FAQ (Frequent Asked Questions), please refer to the following link:
http://www.gigabyte.com/support-downloads/faq.aspx
 Loading...