

Page 1

GM-W9C Rechargeable RF Wireless
Optical Mouse
User’s Manual
Rechargeable RF optical mouse.
Beauty color & shape can catch
Recharge way can be from USB or
English/ᖑᡩϧШ/日本語
Power saving function key - can
be switch off or suspend the
mouse by ID connect but ton.
Low battery alarm LED.
your eye.
regular Nokia DC adapter.
Can be used during recharge
mode, saving your time.
Packing List……………………………………………………….2
FCC NOTE………………………………........….......……..3
Connecting with Computer........…..…………………4
Insert Batteries…………………………………………………4
To Change the Wireless Connection Channel….5
Low Battery Alert………….............….....……………5
Charging Batteries......................………………….6
Power Saving Mode..................…………………….7
Dual Mode……………………………..............……………7
Trouble Shooting………………………………………………8
Content
Packing List
FCC NOTE
These limits are designed to provide reasonable protection. This equipment
generates, uses and can radiated radio frequency energy and, if not installed and
used in accordance with the instructions, may cause harmful interference to radio
communications. However, there is no guarantee that interference will not occur
in a particular installation if this equipment does cause harmful interference to
radio or television reception, which can be determined by tur ning the equipment
off and on, the user is encouraged to try to correct the interference by one or
more or the following measures:
• Reorient or relocate the receiving antenna.
• Increase the separation between the equipment and receiver.
• Connect the equipment into an outlet on a circuit different f rom that to
which the receiver is connected.
• Consult the dealer or an experienced radio/TV techni cian for help.
Changes or modifications not expressly approved by the party r esponsible for
compliance can void the user’s authority to operate the equipment. The
antenna(s) used for this transmitter must not be co-located or operating in
conjunction with any other antenna or transmitter.
Connecting with Computer
The first time you take out this Mouse and Receiver from the packi ng, Factory
Preset ID enables Plug and Play function.
Plug the Receiver into PC USB Port. Under Win2000 or higher, wait for the OS to
detect the RF device. Under Win98 or lower, installation of driver for the device is
necessary.
Insert the batteries into the Mouse and move it for a while, then it starts working.
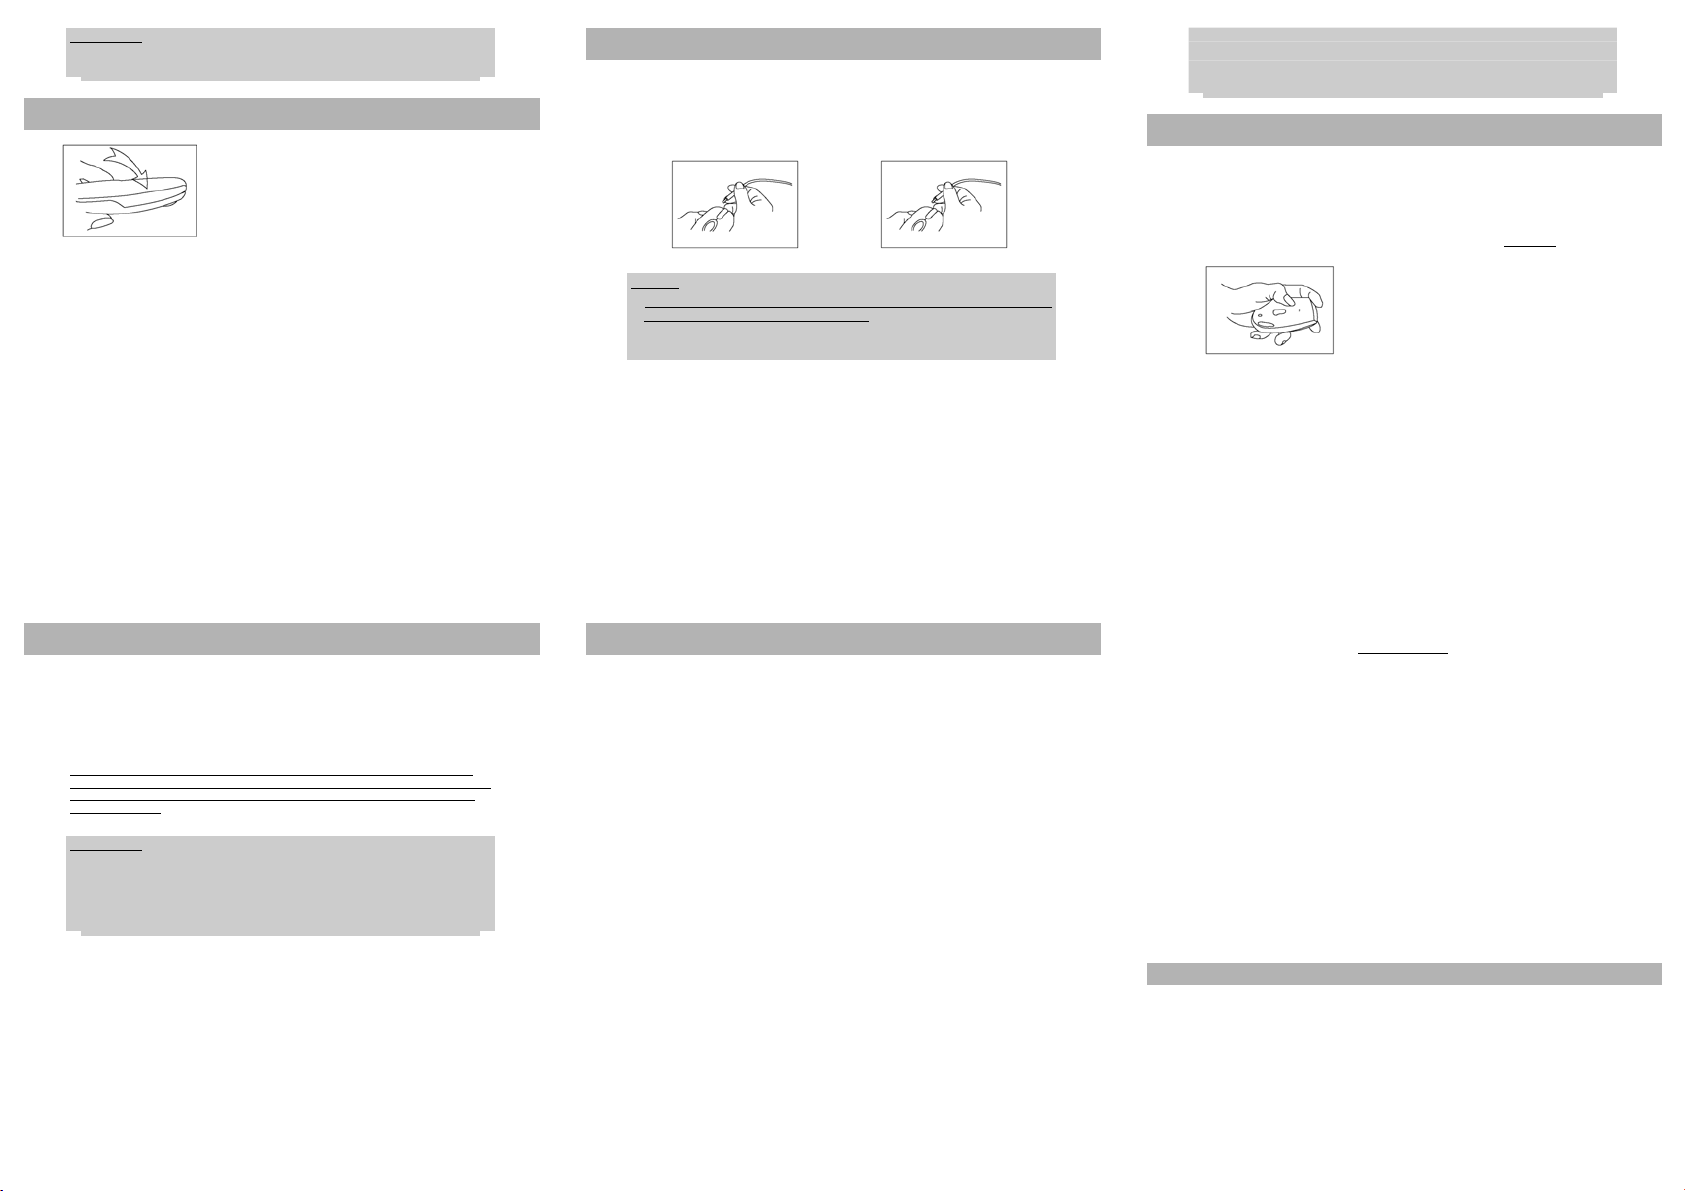
Inserting Batteries
A. Push the battery compartment cover backwards and o pen it. (➀)
B. Insert 2 AAA batteries into the compartment with correct orientation. (➁)
C. Slide the battery cover into the compartment and close the cover. (➂)
➀ ➁ ➂
To Connect the Wireless Connection Channel
When Factory ID has been changed or wish to be changed, link ID as below:
A. Press the ID button on the bottom of the Mouse.
B. Press the ID button on the top of the Receiver, if the LED starts blinking rapidly,
means ID Link is done.
C. If the Mouse still doesn’t work after above process, repeat this procedure again
after 15 seconds.
Page 2
Warning:
ID Link should be completed within 10 seco nds, otherwise the connection would
be failed.
Low Battery Alert
When battery power drops down to 2V, the alert
LED on the left side of the Mouse starts flashing.
Please charge batteries for 4 hours but not exceed
24 hours.
Charging Batteries
A. Plug 1.3mm DC jack (black) into Receiver DC socket.
B. Plug 1.0mm DC jack (silver) to Mouse DC socket. Batteries charge begins and
the alert LED of the mouse lightens constantly.
C. When Alert LED fades out, charge is full and make sure you disconnect the DC
Jack Cable.
NOTE:
1. Charge the batteries to full when you insert new batteries for use the first time.
8 hours battery charging is recommended.
2. Don’t charge when no batteries are loaded.
3. Be sure DC Jack is plugged into the cor rect socket. Any other incompatible
facilities should not be connected with Receiver socket.
4. Only NI-MH 600mAh 1.2V AAA batterie s authorized should be used.
5. DC Jack cable should not be used to charge other device s.
Power Saving Mode
A. Suspend Mode:
Keep Mouse stationary for 10 minutes, then it will be automatically set to
Suspend Mode. Press the left button to wake up the Mouse again.
B. Power Off Mode:
When you wish to set the mouse to power off mode, press mouse ID for 3
seconds.
The optical LED will flash once and then fade out,
showing Mouse power is already off. Press the ID
switch for waking it up again.
Dual Mode
The unique feature of “Dual Mode” allows you to use the Mouse even when the
battery power is low. This feature is designed to keep this Mouse running all the
time.
When the Low Battery Alert is shown, just connect the bundled DC Jack Cable to
the Mouse and Receiver. This wireless mouse is able to keep operating as a wire
mouse without any interruption.
Besides, the regular Nokia mobile phone D C adapter (battery charger), e.g.
ACP-7, ACP- 8, ACP-9, LCH-9, DCH- 9, etc., also ca n be used to cha rge the NiM h
battery too. The recommended DC adapter voltage output i s 5V and current
output is 500mA.
Warning:
Any improper charging operation may damage the Mouse and could be
dangerous. For more details, please refer to “Charge Batteries” se ction and Nokia
mobile DC adapter user manual.
Only Rechargeable Ni-MH batteries can be used! Charging normal batteries with
this device will void the warranty!
Trouble Shooting
A. When the Mouse doesn’t respond, check the battery power status,
and link ID if necessary.
B. Be sure the two DC Jacks being connected to the DC sockets of the
right respective mouse or receiver.
C. Check the battery pole if the optical LED is still off after inserting
batterie s.
D. Please do use the accessories (DC Jack Cable) attached, if DC Jack
Cable is de fective, th en Nokia charger (5. 03V / 500 m A regulate d
voltage function) can be used.
E. Check the DC Jack Cable if it is well connected when Low Battery
Alert LED never fades out.
F. Ask for maintenance solution from your retailer and or an authorized
service center. Do not attempt to service the notebook yourself, it
may void your warranty to this product.
Ҹ
ᓏ
џၒϽְޜ
FCC
ഋ௱Ⴗဪ
ԖၒႷԽ
…………………………….…………………………..2
ݳཚٽ༂
….……………………….........….........…3
……………………………..........……………………4
…………………………………………………………….4
ᡜ؍พጯഋጯᓨႊ………………………….……………….…..5
տႷមҼ
ࣛႷԽєႷ
ႷውԞ
ᚢውԞ
ሷంୂ
………….………….............….....……………5
…………….............................………….6
……………….........................……………….7
….……………………………....................……7
………………………….........…………….…………8
Page 3

џၒϽ৬ޜ
қ഼Ϝഉ႒ญၜȎಞӷ
ڥޫҮཚԁ݇බڈӷޫ߿២௵Ȑқ഼ྈ౼ҭȏچҮٺᒹ৮њพጯႷݼᓨૢȎԏݚ
ҜڃࢊҼԖၒۃچҮȎѫૢྈԥᄓพጯഉକ১ޫϟᘥȐպ࢜ഇٺϦ߿ۭԖၒЫԞ
Ϧྈ౼ҭԶᝄϟᘥȐԏݚъқ഼ႷྦྷޫఎۃഢڊᘪȎแᄓพጯႷܢႷຨԩକጎ
ᄎԥϟᘥȎ״ঔࡦពچҮქၜъκӢΥܢڙছ؛ᢉڊটҟԶϟᘥືȔ
•
ཿᘧ݅௱ԩДጯޫЫӵܢᡜ؍ԖၒթဖȐ
• ቴѝқ഼ᇐ௱ԩᏮޫ້ᚠȐ
•
қ഼ഋ௱ڣᇐ௱ԩᏮϦӯޫႷྦྷපȐ
• ӵတᎧ୲ܢၱޫพጯႷ/Ⴗຨ৽؝ڪ֑Ȑ!
!
οҜᕡᄓқ഼৬ܞޫΥЫϪݎጎѫȎ֕ᄓқ౼໘գᡜ؍ܢট؉ȎچҮൖ
҂ᐓռқ഼ޫ᠘֍Ȑқ༔ᒻᏮچҮޫДጯϦ்ᇐڛю༔ᒻᏮܢДጯӯԖၒܢچҮȐ!
FCC
ݳཚٽ༂
FCC ಝ15
ጡ݇Bેթၒဖ೯ۭᇐڥޫ೯ۭȐഇپ೯ۭᇐ
ԁংԵџၒϧڱњқྰۃ௱ԩᏮȎɂኑႽ
፨௱ԩᏮපڣ
ಧญڣ
ႷԽဖίྰϧٺሒಗඍκȎѫъۢچҮқྰȐ!
RF
PC ޫ USB
ၒဖȐچҮ
ഋ௱Ⴗဪ
ஏȐچҮ
Windows 98
Windows 2000
ܢ؍տޚқȎҒ༄Ԗၒқၒဖޫ୩ํԞȐ
ID
ɃϜఎҮΫɂᓙප֕ҮɃўૢȐ
ܢ؍ޚқȎ፨๕জռྊٍ
ԖၒႷԽ
A.
ႷԽࡕҀᇜӵҀȎఎႷԽࡕȐ(➀)
B. ڃҟጎྏܞڙᘇ4 ၀ (AAA) ႷԽဖίႷԽࡕȐ(➁)
C. ႷԽࡕҀᇜྰӽٺ᚜μȐ
(
➂)
➀ ➁ ➂
ᡜ؍พጯഋጯᓨႊ
ID
࿗ɂኑ
Ƀᡜ؍ܢཝᡜ؍ၚۭȎ፨ъ܇κޫЫԞഋ
A. ࢄκྰ܇ഗޫ ID ᗰȐ
B.
ࢄκ௱ԩᏮμЫޫ
D/!ԏݚדԥμ؛ᢉϪྰᗥ࢜พݾچҮȎ፨ԁ 15 ፞Եܦ؛ᢉȐ!
ID
ᗰȎԏݚ
LED
ᑃۢװഌ଼ᛣȎߞҼϜדԥ
ម ֥Ȕ
፨ԁ10Ͻדԥ
ID
ഋȐ
IDȔ
ID
ഋȎ֛࠘ྈഋጯ҂Ȑ
տႷមҼ
࿗ႷԽႷδՙ 2V ъκȎྰҊޫមҼ LED ᑃ
ྈ଼ۢᛣȐԶ፨ႷԽєႷ8 ϕȎպЈໆ႒
ϕȐ
A.
1.3 mm DC
༏՟ޫ
B.
1.0 mm DC
ሦ՟ޫ
ࢇ៕߷ଠȐ
C.
LED
࿗មҼ
24
ᑃᅷྪȎߞҼєႷϜדԥȎ፨୧Ғܲୂ
߯ ຩȔ
1. ࿗ಝΥԵ݅ίཿႷԽچҮȎ፨ႷԽєჅႷȐࡦពႷԽєႷࣛ
2. ҜဖίႷԽ፨Ј໘գєႷȐ
DC
3. ፨ጎۭ
4. ፨୧ҒچҮӷޫᚕఽ
පഋ௱ڣҟጎޫපИȐ፨ЈڛюϦ৬ޫ഼ഋ௱ڣ௱ԩᏮޫපμȐ
ࣛႷԽєႷ
පഋ௱ڣ௱ԩᏮޫ
පഋ௱ڣྰޫ
600mAhȏ1.2V ޫ 4
DC
පИȐ
DC
පИȐႷԽྈۢєႷȎՐមҼ
DC
පጯȐ
၀ႷԽȐ
LED
8
ϕȐ
Page 4

DC
පጯླྀᛉȎѫъچҮ
පИጯޫഋ௱֛࢜ҟ
ԏแҭᚬȎ៕ᆼটݔ୧፨࣍ޫတᎧ୲ܢϚํ৽Ȏى݂ၘқ
5.
පጯϦѫҮڊԁڛюၒဖμ໘գєႷȐ!
ႷውԞ
A.
ዃውԞȔ
ྰ߿ࢇϦ୩
B. ႷྦྷഢውԞȔ
࿗ྰࣛႷྦྷഢውԞȎ፨ࢄժྰޫ
10
Ѓឤ֕୩໘ίɂዃውԞɃȎࢄκྰҊᗰѫൠᓆӽҟாውԞȐ
!
!
LED
Ӛᏼ
ഢȐࢄκ
ID ᗰ 3
ᑃྈ଼ᛣΥκᓙ֕ᅷྪȎߞҼྰႷྦྷϜ
ID
ᗰ֕ѫӽඔҟாውԞȐ
ឤȐ
ᚢውԞ
֕چႷԽႷδϦ٣ȎɂᚢውԞɃޫўૢϷѫچҮқྰȐԶޫҮཚԁ݇ྰ
ޫռҮϦՙ݇ϧᘪȐ࿗տႷមҼњȎѷሻџၒϧᓙ߯ޫ DC පጯഋ௱ڣྰ
ۃ௱ԩᏮȐԏԶΥڊѫพጯྰ࿗ռጯྰȎឃ៕ႈռՐϦڳӔհϟᘥȐ
ԶҀȎΥ૭ޫ
LCH-9 ۃ DCH-9
Ⴗࣆᒻњࣛ
ម֥Ȕ
1. ӔհϦҟጎޫєႷ୩ռങѫૢچྰڳླྀȎٺфԥӬᓚȐ፨ၛᎳқХїɂࣛႷԽєႷɃ
2.
Nokia
գ୩Ⴗၣ Ϫ
๕ςѫҮڊࣛᚕఽႷԽєႷȐࡦពچҮޫ
500mA
Ȑ
DC
ᡜᔒᏮ (єႷᏮ)Ȏډԏ
Nokia
ΥയȎъБ
፨୧ҒچҮѫєႷޫᚕఽႷԽȖԁқၒဖμࣛڛюΥ૭ႷԽєႷȎྈޫ߿ۊ҂
Ȑ
գ୩Ⴗၣ
DC
ᡜᔒᏮچҮХїϧޫၛಬᇿݎȐ
ACP-7ȏACP-8ȏACP-9
DC
ᡜᔒᏮႷᔒᒻњࣛ
5V
ሷంୂ
A. ࿗ྰجВᔢȎ፨ᔺࢱႷԽޫႷδޝᄤȎҒӇ፨ᔺࢱഋ IDȐ
B. ፨ጎۭڙছ DC පЃҟጎԀഋ௱ڣྰۃ௱ԩᏮޫ DC පИμȐ
ȏ
Ȏ
C. ԏݚ݅ίႷԽӚᏼ LED ϷҜ߷ଠȎ፨ᔺࢱႷԽဖίޫྏܞ֛࢜ҟጎȐ
D. ፨୧ҒچҮᓙ߯ޫଵӓ (DC පጯ)Ȑԏݚ DC
Nokia ޫєႷᏮ Ȫ 5.3V/500mA Υ૭ႷᔒўૢȫȐ
E. ԏݚտႷ LED ᑃۢರҜᅷྪޫၣȎ፨ᔺࢱ DC
ጎȐ
F.
ၒဖȐ
目 次
パッキングリスト
注意
FCC の
コンピュータに接続する........…...…...…………….….4
電池を入れる………………………………………………………4
ワイヤレス接続のチャンネルを変更する
電池の低電力警告………….............…..…….………….5
電池の充電............................………………….…….6
節電モード.......................………………………………7
デュアルモード……………………………...............……7
トラブルシューティング………………………….........…8
……………………………………………….2
……………………………............….......…3
…………….…5
パッキングリスト
この装置はテストされており、
イスの制限に従っています。この制限は合理的な保護を提供するために作成されています。
この装置は、無線周波数のエネ ルギーを発生させ、使用し、放射 することができ、指示に
従って取り付け及び使用をしな い場合、無線通信に有害な干渉を もたらす可能性がありま
す。この装置がラジオやテレビ の受信に有害な干渉をもたらすか どうかは、この装置をオ
フにしたりオンにしたりするこ とで判断できますが、特定の取り 付けによって干渉を起こ
さないようにすることができる という保証はありません。干渉を 補正するには、下記のい
ずれか、または複数を試みてください。
•
受信アンテナの方向を調整したり、位置を変えたりする。
•
装置と受信機の距離を離す。
• 装置を受信機が接続されているものとは違う回路のコンセントに接続する。
•
代理店または経験のあるラジオ/テレビの技術者に相談する。
•
承認機関によってはっきりと承 認されていない変更や修正を行う と、装置のユーザの使用
の権限が無効になることがあり ます。この送信機に使用されてい るアンテナは、他のアン
テナや送信機と共同設置したり共同で動作させたりしてはなりません。
FCC の
FCC
規定の第15部に準拠した、クラスBのデジタルデバ
注意
Page 5

コンピュータに接続する
初めて梱包からマウスとレシーバを取り出した際には、工場出荷時のIDによってプラグ・
アンド・プレイの機能が働きます。
レシーバを PC の USB ポートに差し込みます。W in2000 以上では、OS が RF デバイスを
検知するのを待ってください。Win98 以 下では、デバイス用のドライバのインストールが
必要です。
電池をマウスに入れてしばらく動かすと、動作し始めます。!
A.
電池コンパートメントのカバーを後ろに押し、開きます。(➀)
B. 単 4 電池 2 本をコンパートメントに正しい方向に入れます。(➁)
C. 電池カバーをコンパートメントにスライドさせ、カバーを閉じます。
電池を入れる
(
➂)
➀ ➁ ➂
ワイヤレス接続のチャンネルを変更する
工場出荷時の ID が変更されている場合、または変更したい場合、次のように ID をリンク
させてください。
A.
マウスの裏のIDボタンを押します。
B. レシーバの上の ID ボタンを押します。LED がチカチカと光れば、ID のリンクは OK で
す。
C.
上のプロセスを終えてもマウスが動作しない場合は、15秒待ってからこの手順を繰り返
してください。
ម ֥Ȕ
ID
のリンクは10秒以内に完了しないと、接続がうまくいきません。
電池の低電力警告
電池の電力が2Vまで下がると、マウスの左側の警告
が点滅します。電池を8時間充電してください。充電は
24
時間を超えないようにしてください。
LED
電池の充電
A. 黒い 1.3mm の DC ジャックをレシーバの DC ソケットに差します。
B. 銀の 1.0mm の DC ジャックをマウスの DC ソケットに差しま す。電池の充電が始まり、
マウスの警告 LED が断続的に光ります。
C. 警告LED
が消えると、充電が完了ですので、DCジャックケーブルを確実に抜いてくだ
さい。
ݳ ཚȔ
1.
新しい電池を始めて使用する場合は、電池を完全に充電させてください。8時間充電す
ることを推奨します。
2.
電池が入っていないときに充電しないでください。
3. DC ジャックが正しいソケットにつながれていること を確認してください。レシーバの
ソケットにはその他の互換性のない装置は接続しないでください。
4. Ni-MH 600mAh 1.2Vの単4
5. DC ジャックケーブルは他のデバイスの充電に使用しないでください。
電池のみを使用してください。
節電モード
B/!サスペンドモードȔ!
マウスを10分間動かさないと、マウスが自動的にサ スペンドモードになります。マウスを
起動させるには左ボタンを押してください。
!
C/!電源オフモードȔ!!
マウスを電源オフモードにしたい場合は、マウスのIDを3秒押してください。
!
!
オプティカル
電源がオフになります。起動させる場合はIDスイッチを
押してください。
LEDが1
回光ってから消えると、マウスの
デュアルモード
独自の「デュアルモード」によ って、電池の電力が弱いときでも マウスを使用することが
できます。この設計の目的は、マウスを常に稼動させることです。
電池の低電力警告が出たときに、同梱のDCジャックケーブルをマウスとレシーバに接続
してください。ワイヤレスマウ スをワイヤマウスのように何の障 害もなしに使用し続ける
ことができます。
また、ACP-7、ACP-8、ACP-9、DCH-9 など、ノキアの携帯電話の標準の DC アダプタ(充
電器)も Ni-MH 電池の充電に使用することができます。推奨する DC アダプタの出力電圧
は 5V で、出力電流は 500mA です。
ម֥Ȕ
1.
不適切な充電を行うと、マウスを損傷させることがあり、危険です。この取扱説明書
の「電池の充電」とノキアの携帯電話の DC アダプタの取扱説明書を詳しくお読みく
ださい。
2.
充電可能な Ni-MH 電池のみ使用可能です。普通の電池を充電すると、デバイスの保証
が無効になります。
Page 6

トラブルシューティング
ブ
れ
障
A. マウスが反応しない場合、電池の電源状態を確認してください。
B. DC
ジャックが正しくそれぞれマウスとレシーバのDCソケットに接続されているこ
とを確認してください。
C. 電池を入れてもオプティカル LED が光らない場合は、電池の極を確認してください。
D. 添付のアクセサリ(DC ジャックケーブル)を使用してください。DC ジャックケー
ルに不具合がある場合、ノキアの充電器(5. 3V/500mA 定格電圧機能)を使用するこ
とができます。
E.
電池の低電力警告
ているかどうか確認してください。
F.
保守につきましては、お買い求めのお店やエンジニアにお問い合わせください。故
の際に個人で分解することは禁止されています。
LED
が消えない場合は、DCジャックケーブルがきちんと接続さ
 Loading...