

Page 1
2005 Trance SERIES
DUAL-SUSPENSION BIKE
TECHNIC MANUAL
1
Page 2

CONTENTS
PRODUCT FEATURE
SECTION 1. SIZING
SECTION 2. REAR SHOCK
SECTION 3. TORGUE SETTING
SECTION 4. EXPLOADE DRAWING
2
Page 3

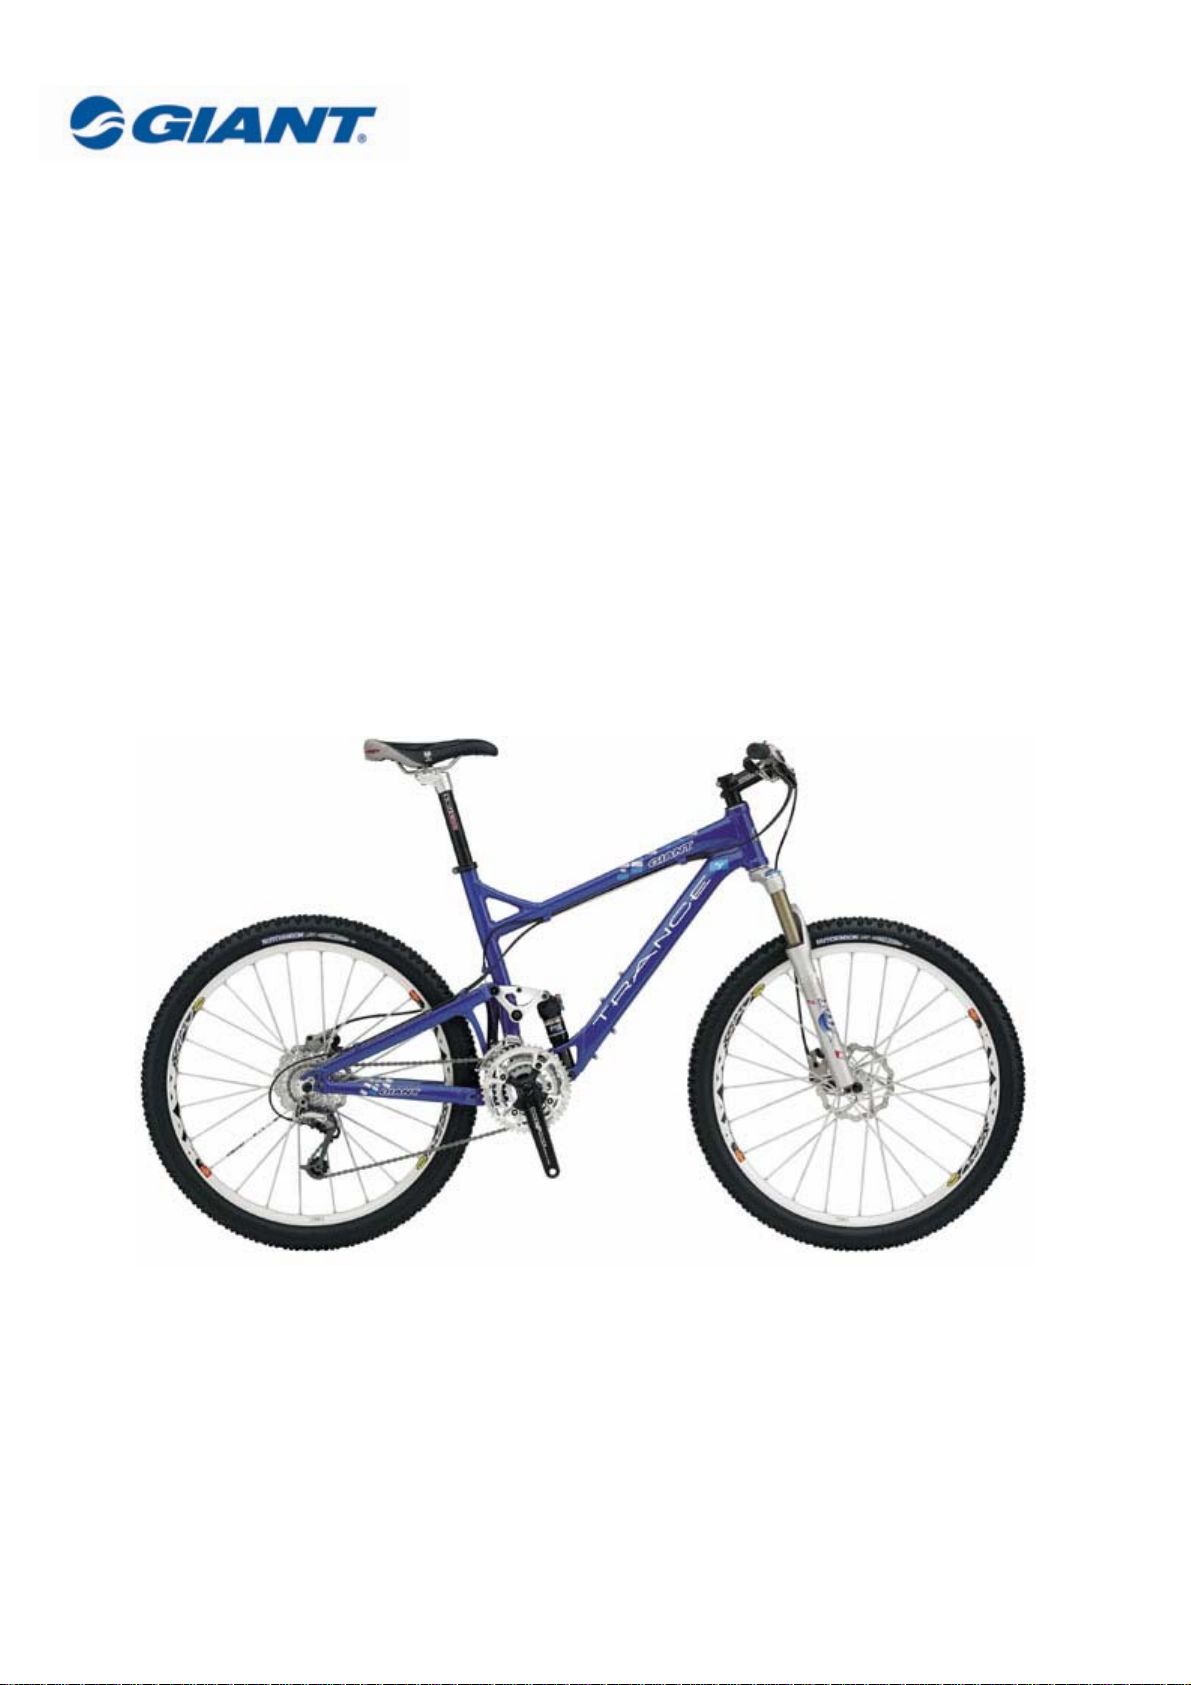
Trance Product feature
This bike falls between XC race-inspired NRS and XC super long travel VT . the category name is
Trail /Enduro .
The rear suspension system is a new design which is called maestro , this maestro feature is vpp
design and to get the overall suspension behavior to the best not only one point is the best .
1. Minimal power loss
2. Low kickback
3. Minimal brake lockout
4. Linear rising rate suspension design
5. Best traction
The trance is for trail using so some feature is design as below
1. 4.2” rear travel and 4” front fork
2. Full cartridge bearing design
3. Diamond shape frame design for light weight and better rigidity
4. Full seat post adjustment
5. Full range size (14”~22”)
6. Aluxx SL tube
3
Page 4

1. Sizing
The actual frame measurements and geometries are listed below.
Size
Top Tube (mm) 555 570 590 613 630
Seat Tube (mm) 369 406 457 508 559
Seat Angle
Head Angle
B.B. Drop (mm) 10 10 10 10 10
Rear Center (mm) 433 433 433 433 433
Wheel Base (mm) 1045 1062 1085 1110 1130.7
14.5〞
73.5° 73.5° 73.5° 73.5° 73.5°
70.5° 70.5° 70.5° 70.5° 70.5°
16”
18〞 20〞
22”
4
Page 5

2.Rear shock
The Trance series is all purpose dual suspension cross country bike. The Trance bike is capable of
climbing and descent the most technical of trails. Trance 1 offer three ProPedal damping setting to
reduces pedal induced suspension bob. You can find s setting that suits your riding style. Please
follow the guidelines below in setting up and maintaining your Giant Trance bike.
Shock spec:
eye to eye : 165.1mm(6.5”)
shock travel: 38.1mm(1.5”)
hard ware: 22.2x6mm/40x6mm
Setup for Trance 1 ( See Drawing #1 ):
1. Adjusting Air Pressure
The air pressure needed is determined by the rider’s weight and riding conditions. Increasing air
pressure will make the shock stiffer. Decreasing the air pressure will make the shock softer. The
shock should be set to sag 9mm or 1/4 of its stroke while the rider is seated on the bike in riding
gear. See table 1 for recommend air pressure:
TABLE 1:AIR PRESSURE CHART
Rider Weight Air pressure
lbs kg PSI
90-100 41-45 82-90
100-110 45-50 90-100
110-120 50-54 100-108
120-130 54-60 108-120
130-140 60-64 120-128
140-150 64-68 128-136
150-160 68-73 136-146
160-170 73-77 146-154
170-180 77-82 154-164
180-190 82-86 164-172
190-200 86-91 172-182
200-210 91-95 182-190
210-220 95-100 190-200
220-230 100-104 200-208
230-240 104-109 208-218
240-250 109-113 218-226
250-265 113-120 226-241
265-280 120-127 241-255
280-295 127-134 255-269
5
Page 6

2. Rebound Adjustment
Rebound damping controls the rate at which the shock returns after it has been com-pressed. The
red adjuster dial can be turned clockwise for slower rebound and counter-clockwise for faster
rebound. The proper rebound setting is a personal preference and varies depending on rider weight,
riding style and riding conditions.
3. ProPedal RP3 Damping Adjustment
ProPedal damping reduces pedal induced suspension bob. The three settings of the lever are full
ProPedal, light ProPedal and Plush. Use the different settings to tune the shock to different riding
conditions and situations. For example, use the full ProPedal position for riding to the top of the
mountain and then switch to the Plush position for the descent. Switch between positions and select
the one that reduces suspension movement most effectively while providing the desired amount of
bump absorption.
Rebound Adjustment
Adjusting Air Pressure
ProPedal RP3 Damping Adjustment
Drawing #1
6
Page 7

Setup for Trance 2 ~ Trance 4 ( See Drawing #2 )
1. Adjusting Air Pressure
Please refer to Adjusting Air Pressure and Sag for Trance 1.
2. Rebound Adjustment
Please refer to Rebound Adjustment for Trance 1.
Adjusting Air Pressure
Rebound Adjustment
Drawing #2
7
Page 8

3. Torque settings
The bolts used to attach the rear suspension unit are very high grade products factory installed to
specific torque specification. If it becomes necessary to remove or tighten the pivot bolts extreme care
should be taken when re-tightening them.
All bolts should be cleaned and re-set using LocTite Primer (﹟243)
All bolts location and tighten torque please refer to the illustration below.
4
1
3
5
2
6
Torque settings:
1. Main pivot 120 -150 Kgf/cm. or 104 -130 in-lbs.
2. Seatstay pivot 120 -150 Kgf/cm. or 104 -130 in-lbs.
3. Main linkage pivot 90 -110 Kgf/cm. or 78 - 95 in-lbs.
4. Upper shock mount 90 -110 Kgf/cm. or 78 - 95 in-lbs.
5. Lower shock mount 90 -110 Kgf/cm. or 78 - 95 in-lbs.
6. Chainstay pivot 120 -150 Kgf/cm. or 104 -130 in-lbs.
8
Page 9

4. Explode Drawing
THE DRAWING BELOW SHOWS RELATIONS OF EVERY PARTS AND FRAME
9
 Loading...