


InstructionManual
Model Reference: GCFS-8010B
IM-GCFS-8010B26022016
3 in 1 Snack Maker
Introduction
Thank you for choosing the Cucina by Giani 3 in 1 Snack Maker. Before use, please
read this manual. It gives important instructions about safety, use and maintenance
of your appliance. Please keep for future reference.
Index
Important Information................... .....................02
Before and First Time Use................................. 03
Making Omelettes/Waffles.................................04
Cleaning & Maintenance.....................................05
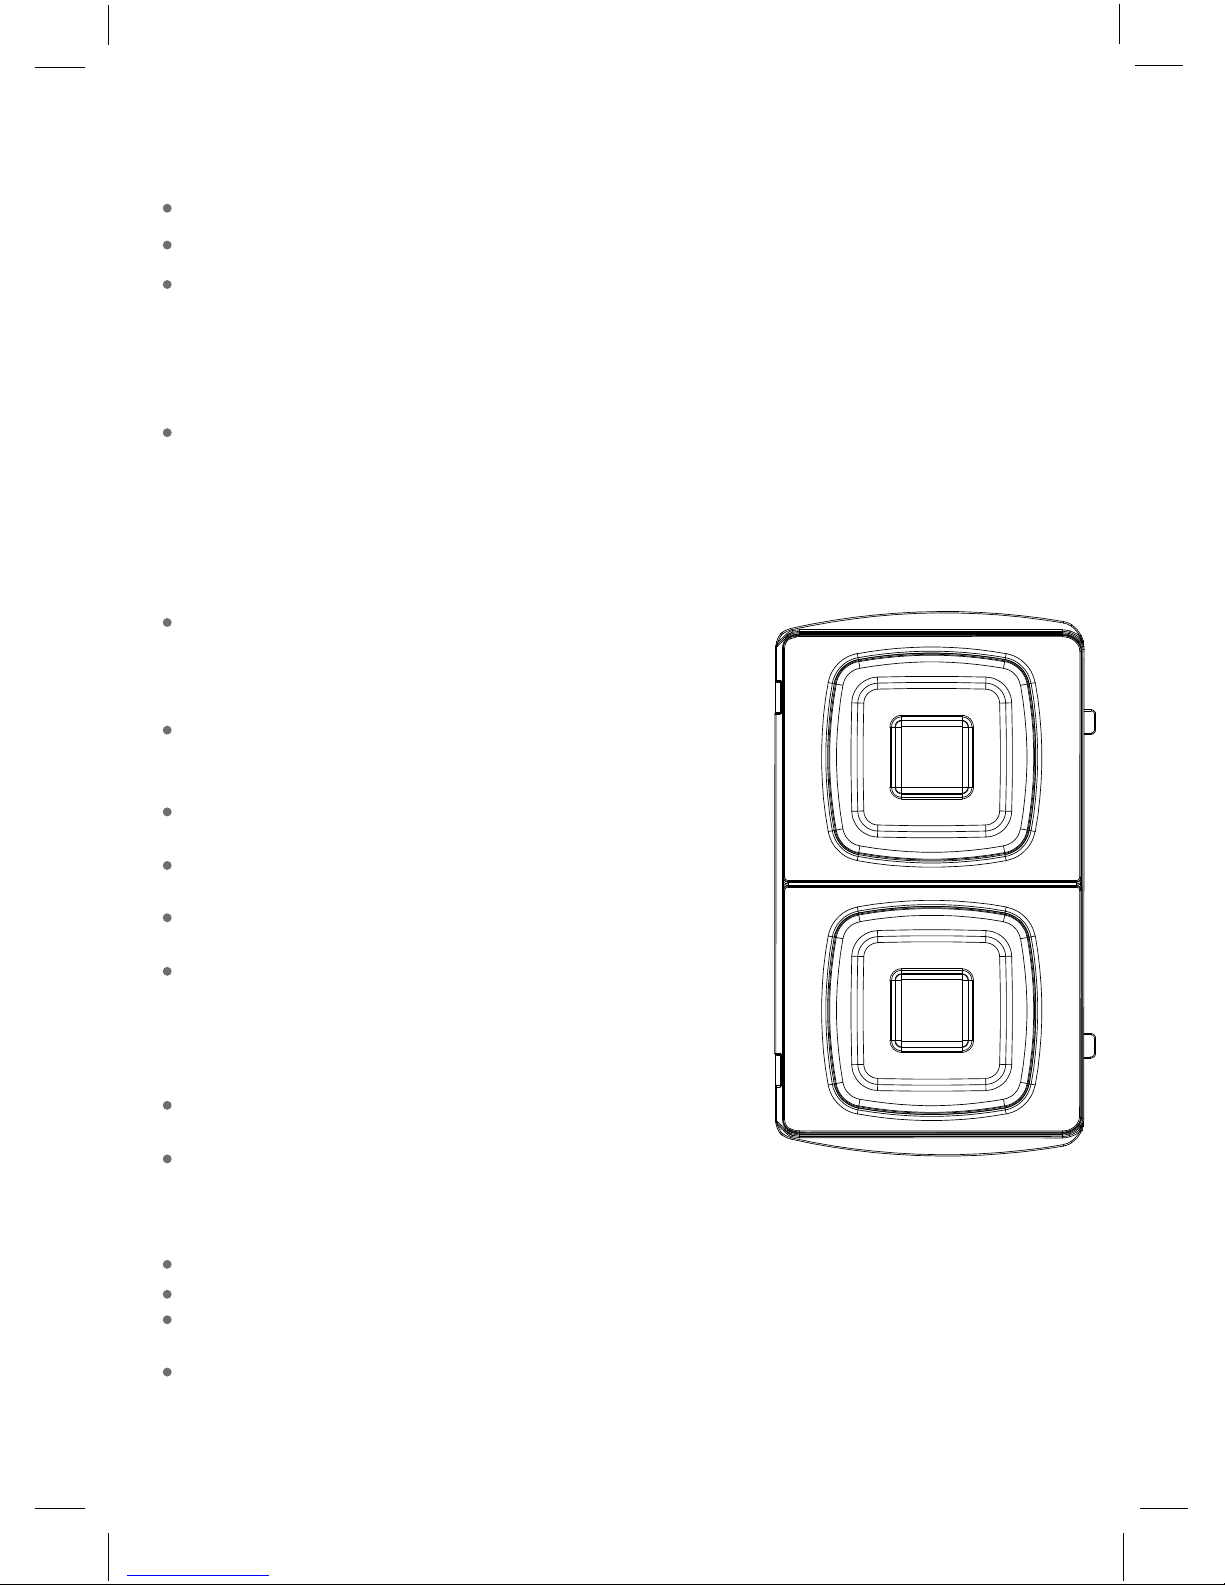
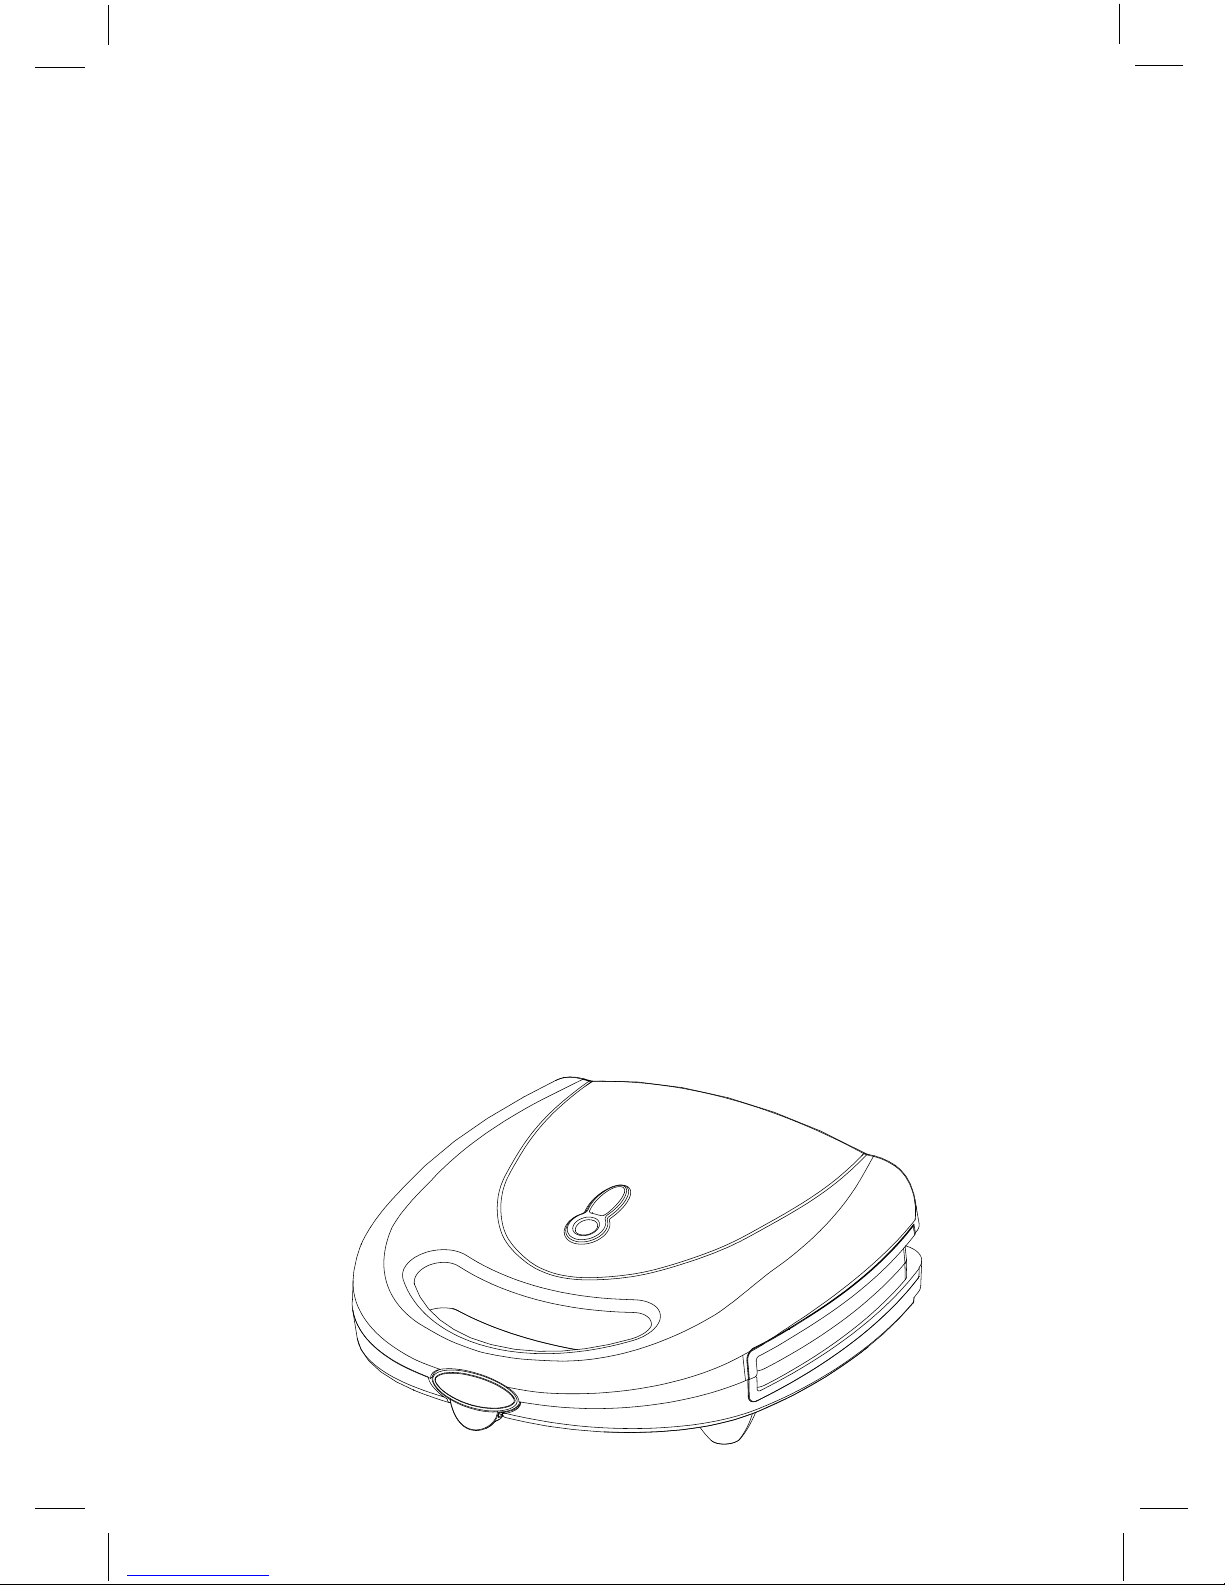
Snack Maker
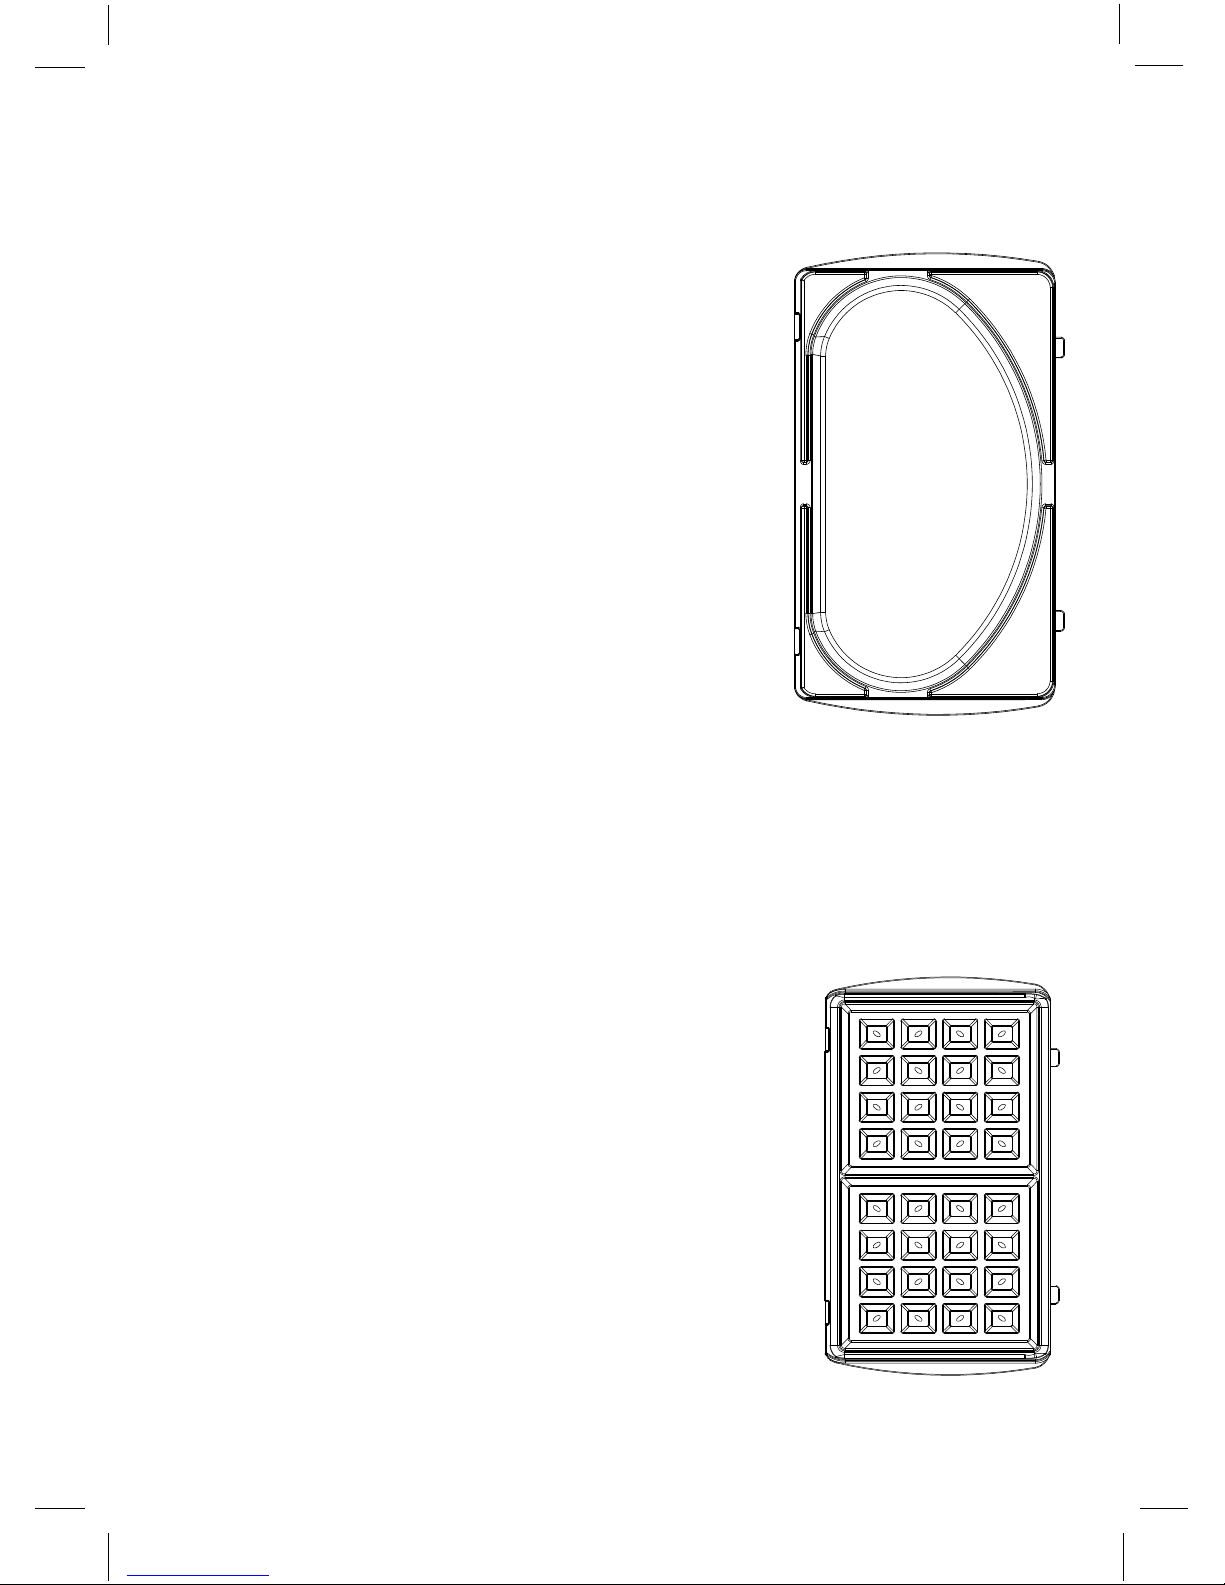
Set of full Sandwich Maker Plates
Set of Waffle Plates
Set of Omelette Plates
Instruction Manual
1
QTYWhat’s Included
1
1
1
1
1

Important Information
Read these directions for use carefully before using the
appliance and save them for future reference.
Before connecting the appliance ensure that the voltage
indication on the underside of the appliance corresponds
with the mains voltage in your home.
Connect the appliance to an earthed wall socket
Position the appliance so that:
1. The power cord is not hanging over the edge of the table
or a sink
2. It is standing on a flat surface with sufficient free space
around it.
Never put the power cord near to or in contact with the
hot surface of the appliance.
Always preheat the cooking plate before starting to cook.
Unplug the appliance after use.
Avoid touching the metal parts as they become very hot.
Never use sharp or abrasive items in contact with the
cooking plate as this will damage the nonstick surface.
Children should be supervised to ensure that they do not
play with the appliance.
Cleaning and user maintenance shall not be made by
children unless they are older than 8 and supervised.
Keep the appliance and its cord out of reach of children
less than 8 years.
Always clean the appliance after use. Firstly unplug and
allow the appliance to cool down. Never immerse the
appliance in water. Avoid water running into the appliance.
If the mains cord of this appliance is damaged, it must only
be replaced by a qualified Electrician.
The appliance is not intended to be operated by means of
an external timer or seperate remote control system.
Close adult supervision must be provided when this
appliance is used near children.
This appliance must only be used by responsible
adults.
Keep this appliance away from children.
2
Before and First Time Use
Clean the baking plates with a damp cloth or sponge.
Slightly grease the baking plates with a little butter or cooking oil.
Plug in the Snack Maker and heat up the plates until the green ready to cook
pilot light goes off. The snack maker is ready for use
Note: when using this snack maker for the first time, a slight smell may occur. This is
normal because of the initial heating of the internal components.
This snack maker incorporates detachable cooking plates. Choose your desired
cooking plate for the task to be performed.
Making toasted sandwiches
When inserting the plate, make sure the mountings of
the plate fits into the cavaties on the hinged side of the
device and press down on the plate until it clicks and is
locked into place.
Put the mains plug into the wall socket. The red power
light and green power light will both illuminate to show
that the snack maker is heating.
Prepare the bread and filling for your sandwich while the
snack maker is pre-heating.
Wait until the green light goes off. The sandwich maker is
then at the correct temperature for use.
To obtain an even golden brown result, you can slightly
butter the side of the bread in contact with the plates.
Lay the slices of bread with the buttered side on the lower
cooking plate, place your filling and cover with the second
slices of bread with buttered side up. You can toast only
one sandwich if you wish. For optimal result, fillings should
be placed well within the sandwich slices.
Lower the upper cooking plate carefully onto the bread until
the snack maker is tightly clamped.
Open the snack maker after 3-5 minutes and check whether
the toasted sandwich is sufficiently ‘brown’. The cooking
time required to obtain crisp brown sandwiches depends on the type of bread, fillings and
your personal taste.
Use a non-metallic utensil (e.g. Wooden spatula) to remove the toasted sandwich.
Do not use sharp or abrasive kitchen utensils.
Unplug the snack maker from the wall socket after use and allow to cool before
storage.
Do not attempt to remove or change the cooking plate until it has fully cooled down.
Note: During cooking, the green ready to cook pilot light cycles on and off to
maintain the appliance at the correct temperature.
3
Making Omelettes
When inserting the plate, make sure that the mountings of the plate fit into the cavities on the
hinged side of the device, Press down the plate until it click s and is locked into place.
• Put the mains plug into the wall socket. The red power
light and green power light will illuminate to show that
the snack maker is heating.
• Prepare the eggs and filling for your omelette while the
omelette plates are pre-heating.
• Wait until the green light goes off, the snack maker is
then at the correct temperature for use.
• Pour the filling in the lower side of the omelette plate.
For optimal result, fillings should be placed well within
the plate.
• Lower the upper cooking plate carefully until the plates
are tightly clamped.
• Open the snack maker after 2-3 minutes and check
whether the omelette is sufficiently cooked.
• Use a non-metallic utensil (e.g. wooden spatula) to remove
the omelette. Do not use sharp or abrasive kitchen utensils.
• Unplug the snack maker from the wall socket after use.
• Do not attempt to remove or change the cooking plate until it has fully cooled down.
Note: During cooking, the green ready to cook pilot light cycles on and off to maintain the
appliance at the correct temperature.
Making Waffels
When inserting the plate, make sure that the mountings of the plate fit into the cavities on the
hinged side of the device, Press down the plate until it click s and is locked into place.
• Put the mains plug into the wall socket. The red power light and
green power light will illuminate to show that the snack maker is
heating.
• Prepare the waffle mixture while the waffle plates are
pre-heating.
• Wait until the green light goes off, the snack maker is
then at the correct temperature for use.
• Pour the filling in the lower side of the waffle plate.
• Lower the upper cooking plate carefully until the plates
are tightly clamped.
• Open the snack maker after 2-3 minutes and check whether
the waffle is sufficiently cooked.
• Use a non-metallic utensil (e.g. wooden spatula) to remove
the waffle. Do not use sharp or abrasive kitchen utensils.
• Unplug the snack maker from the wall socket after use.
• Do not attempt to remove or change the cooking plate until it has fully cooled down.
Note: During cooking, the green ready to cook pilot light cycles on and off to maintain
the appliance at the correct temperature.
4
Cleaning and Maintenance
Never use aggressive or abrasive cleaning agents and materials, as this damages the
non-stick coating of the plates.
1. Unplug the appliance.
2. Let the appliance cool down properly in open position.
3. First remove excess oil from the plates with a piece of kitchen paper before you
clean them.
4. Use a wooden or plastic spatula to remove food residues (for example solidified
cheese) from the cooking plates.
5. Do not use metal, sharp or abrasive utensils.
6. Clean the cooking plates with a moist soft cloth or sponge and soapy water.
7. Clean the outside of the appliance with a moist cloth.
Never immerse the appliance into water or liquid.
The appliance can be stored in a vertical position.
Operating Voltage: 220-240V ~50Hz
Power: 640-760W
5

2011/65/EU
 Loading...