

Page 1
Easylon Router+ 2 Port Quick Start Guide
Gesytec GmbH, Pascalstr. 6, 52076 Aachen, Germany, www.gesytec.de
…/LVR2/UserDoc/Router/2P/Router+_2P_QuickStart EN-v1.0.docx, D.BZ000115, v1.0
The Router
IP ADDRESS SETUP
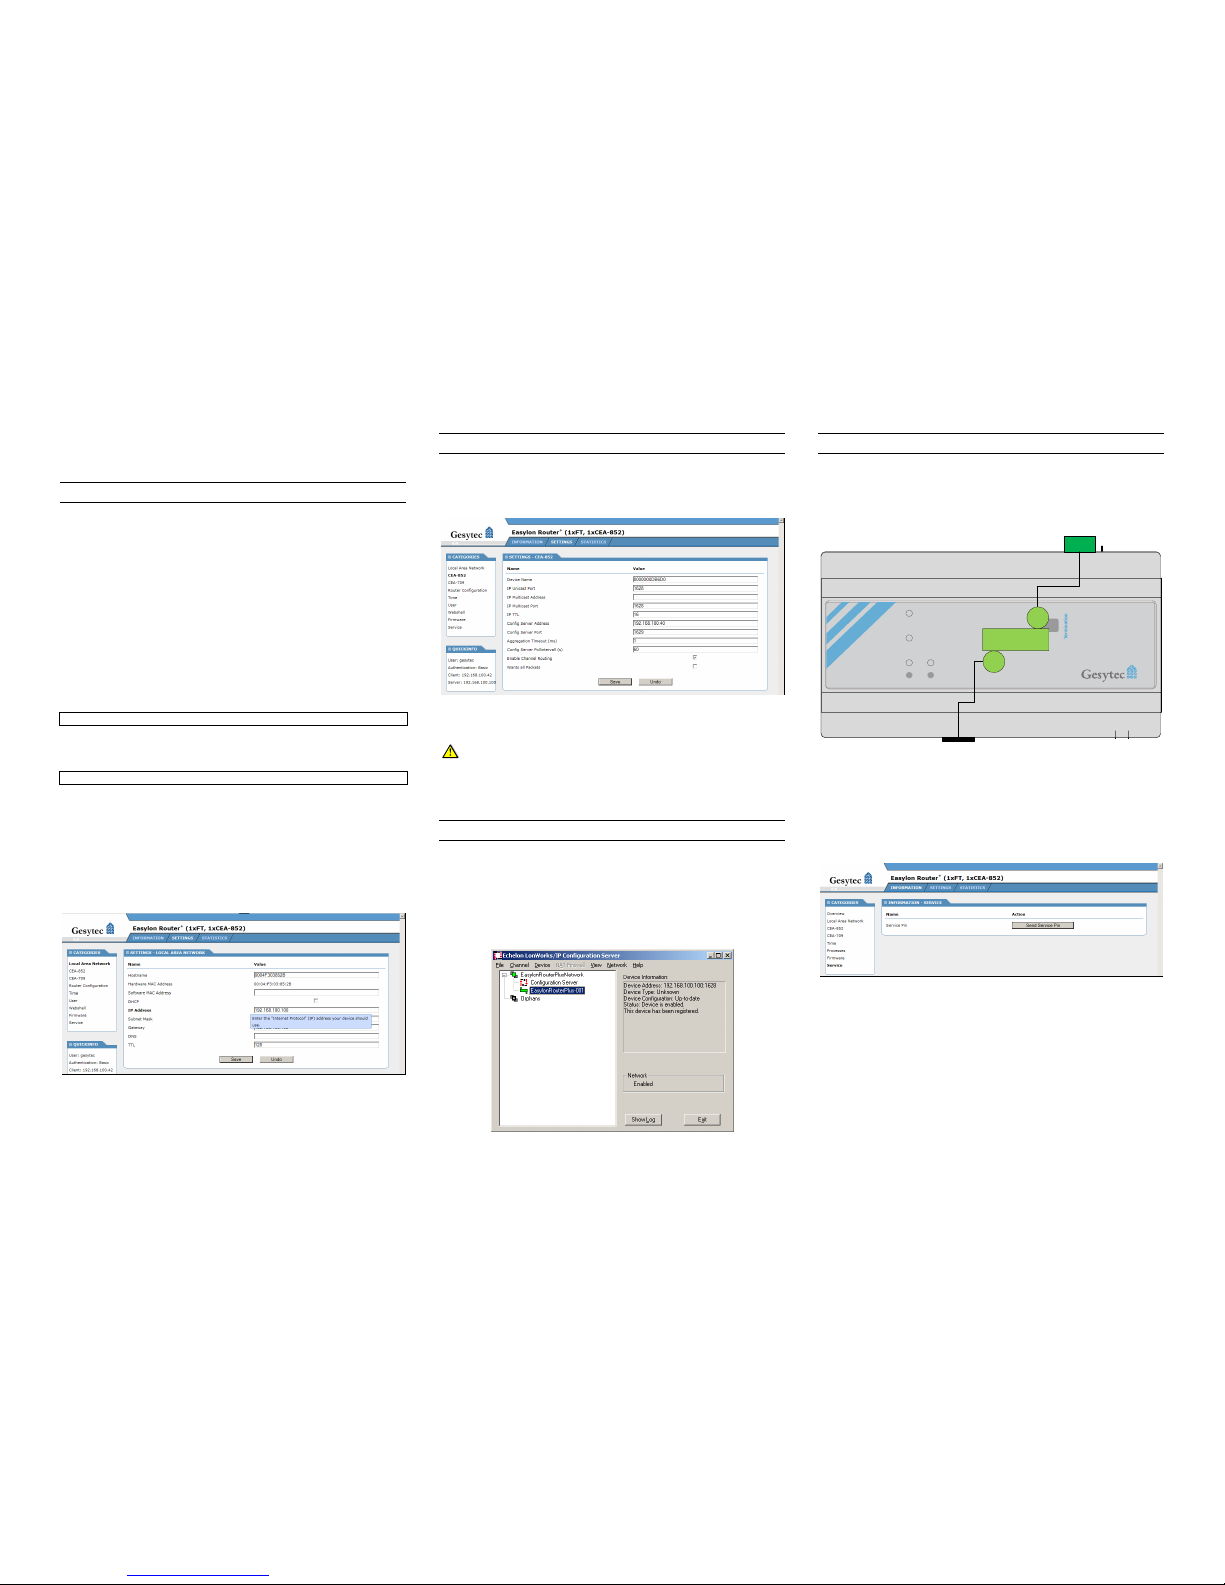
Establishing connection
The Easylon Router+ comes with the IP address 192.168.100.100 and subnet mask 255.255.255.0. At first establish a direct connection to your PC,
using an Ethernet cable.
If the PC is not in the same subnet as the Easylon Router+ you can use the
following procedure – provided the device is in its delivery status (or after
a factory reset):
Open the command prompt.
With Windows Vista or Windows 7 please select the command prompt by
right-clicking the start menu and selecting “run as administrator”.
Windows XP: please type
route add 192.168.100.100 mask 255.255.255.0 %COMPUTERNAME%
Windows Vista and Windows 7: at first please determine the IP address
of your PC, using the “ipconfig” command. Knowing this address enter
route add 192.168.100.100 mask 255.255.255.255 xxx.xxx.xxx
with xxx.xxx.xxx.xxx being the IP address of your PC.
Setting the IP Address
Open a browser and connect to the device by typing 192.168.100.100 as
URL. The user interface will be displayed. Select the SETTINGS tab and
Local Area Network from CATEGORIES to the left. In order to access the
SETTINGS user name “gesytec” and password “admin” are required.
Now enter the TCP/IP parameters. It is not recommended to use DHCP but
static IP addresses. Having entered the parameters click the Save button.
The device will immediately change to the new IP address settings. Therefore you must reconnect using the new IP address parameters.
SETTING UP THE LON/IP PARAMETERS
Connect to the Easylon Router+ through a browser by using the IP address
of the device as URL. Select the SETTINGS tab and CEA-852 from the
CATEGORIES (login required, see above).
Enter a Device Name for the Router (default: Basic Node ID) and the IP
address of the machine, running the Configuration Server.
The Device Name must be unique in the 852 channel!
Then click the Save button. The Easylon Router+ will now periodically try
to connect to the Configuration Server.
SETTING UP THE LON/IP CHANNEL
Start the LonWorks IP Configuration Server. Add a new LON IP device
by right clicking on New Channel in the device tree and select New Device.
Enter a name for your Easylon Router+. After a double click on the new
entry you can enter the IP address of the Easylon Router+. Repeat these
steps for each Easylon Router+ in your network. At last enable the network
using the Enable command from the Network menu.
USE THE EASYLON ROUTER
+
IN A NETWORK
Placing the Router Shapes
The Easylon Router+ with two ports is configured in the LonMaker as any
LonWorks Router. Just place a Router Shape between the LON IP and the
LON FT channel.
24 V DC
– +Ethernet
Easylon® Router
+
Status
LON
LON IP
Service
Start / Reset
Factory Reset
ON Free
OFF Bus
A B PE
LON
shield
LON / IP
Commissioning
The easiest way for commissioning is to press the Service Pin of the router
using the device’s web interface. Connect to the Easylon Router+ with a
browser and select Service in the INFORMATION tab. Click the Service
Pin button to release a service pin message.
Page 2
Easylon Router+ 2 Port Quick Start Guide
Gesytec GmbH, Pascalstr. 6, 52076 Aachen, Germany, www.gesytec.de
…/LVR2/UserDoc/Router/2P/Router+_2P_QuickStart EN-v1.0.docx, D.BZ000115, v1.0
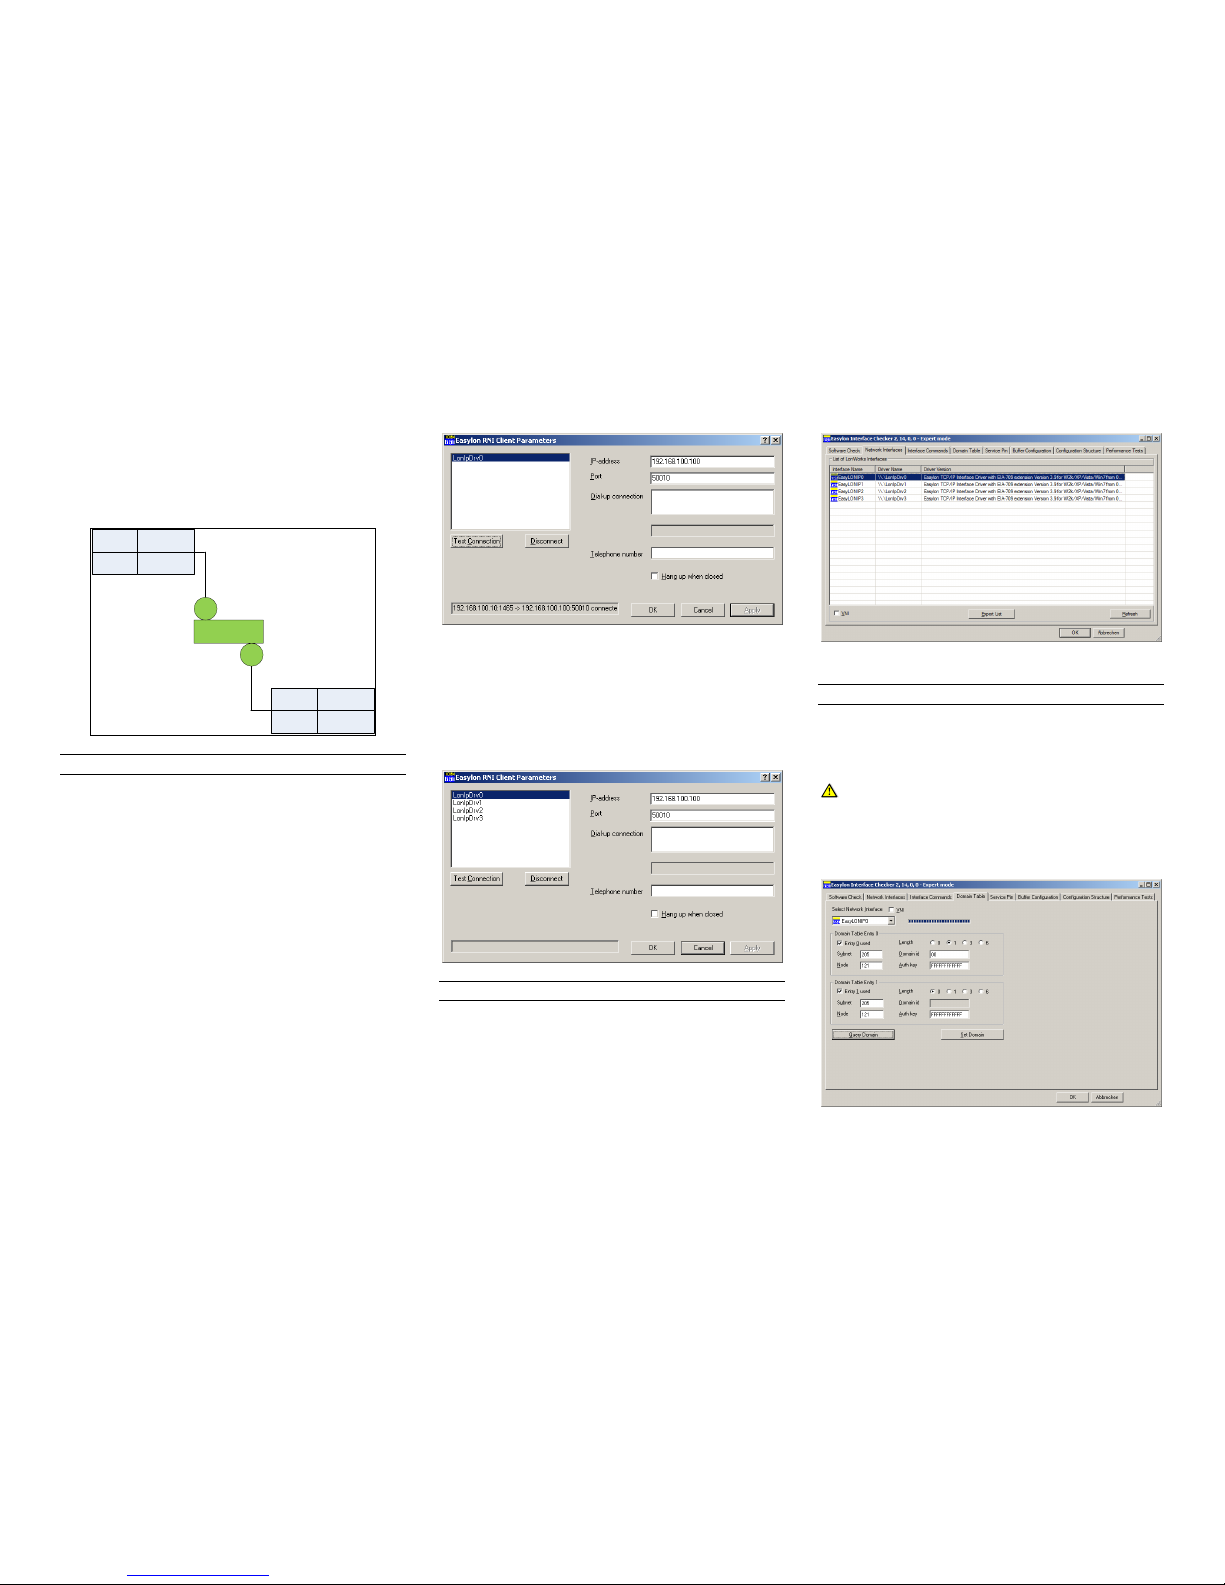
Remote Network Interface
For each channel the Easylon Router+ provides one remote network interface (RNI) in MIP and a second one in VNI mode. VNI mode can be used
to attach the Easylon Analyzer to monitor the whole traffic on a channel.
Router
VNI
MIP
50000
50010
VNI
MIP
50001
50011
LON
LON IP
INSTALLATION OF THE SOFTWARE
To install the client software for the remote network interfaces please run
the Easylon-WDM_Vx.x.xxxx.exe file from the \RemoteNetworInterface
directory on the data storage medium delivered with the Easylon Router+.
Define the path to the location where the extracted files are to be stored;
recommended: c:\Easylon\Install\RniLonCl. After extraction is completed,
move to the location and run FastInst.exe.
After the setup has installed the RNI client software on your PC, an Easylon icon will appear in the system tray. Right click it and select Settings.
Now you are able to enter the IP address of the Easylon Router+ and the
port of that remote network interface on the device, you want to connect to.
Enter the IP port given in the figure above and press Apply. Using Test
Connection the communication with remote network interface can be
checked.
The settings shown above will connect to the LON IP channel in MIP
mode. If you want to connect to another channel open the dialog again and
change the port settings. Press Apply to confirm the settings.
If you need access to more than one channel at a time, run the RNI client
installation as many times as connections are needed. This will add the
respective number of remote network interface drivers. Apply to each RNI
driver the port number of the channel you want to connect with. Of course
you can as well connect to different Easylon Routers+ at the same time.
VERIFICATION
You may use the EasyCheck utility to test the installation of the software.
Run Setup.exe from c:\Easylon\Install\EasyCheck or from the location to
which you extracted the installation files and install EasyCheck on your
PC. Afterwards start EasyCheck from the K entry in the Start menu.
EasyCheck will give access to basic diagnostic functions for interfaces.
List of installed interfaces
USING THE DRIVERS
The Easylon RNI drivers integrate seamlessly into your system and appear
in the same manner, as drivers for any other interface connected directly to
your PC. The remote network interfaces will appear in every dialog to select a network interface for your LonWorks application.
Please apply a valid domain, subnet and node ID for the remote network interface. The subnet ID must match with the
subnet ID of the channel, the interface is attached to. The
node ID must be unique in the subnet. You may use
EasyCheck to perform the domain settings.
Domain settings of an interface
 Loading...