

Gestetner P7675, DataOverwriteSecurity Unit Type E, DataOverwriteSecurity Unit Type G Operating Instructions Manual
Page 1

DataOverwriteSecurity Unit Type E
DataOverwriteSecurity Unit Type G
Operating Instructions
For security, please read this manual carefully before you use this product and keep it handy for future reference.
Page 2

Introduction
This manual contains detailed instructions and notes on the operation and use of this product. For your
safety and benefit, read this manual carefully before using the product. Keep this manual in a handy
place for quick reference.
Important
Contents of this manual are subject to change without prior notice. In no event will the company be liable for direct, indirect, special, incidental, or consequential damages as a result of handling or operating the machine.
Some illustrations in this manual might be slightly different from the machine.
Depending on your machine, the panel display may differ slightly.
Page 3
Conditions for Use
To function effectively, this option requires the following conditions.
Operating Environment
• The machine is operating normally and is not damaged, modified, or lacking
components.
• The machine is managed by a administrator who has carefully read and understood the manual for this option, and can ensure its safe and effective usage by general users.
Note
❒ Customer engineers dispatched from the supplier or its affiliated companies
are trained in the maintenance of this option.
Precautions When Using the DataOverwriteSecurity Unit
The procedures in this manual should be performed by the machine administrator. For details, see Security Guide or Note to Administrator.
• If Data Erase Status is not displayed, first check the optional DataOverwriteSecurity
Unit is installed. If the optional DataOverwriteSecurity Unit is installed but Data Erase
Status still does not appear, contact your service representative.
• If you turn off the machine’s main power switch before overwriting is completed, tem-
porary data will remain on the hard disk until the main power switch is next turned on
and overwriting is resumed.
*1
For details on the Data Erase Status, see p.10 “Data Erase Status”.
*1
• If the printer enters Energy Saver mode when overwriting is in progress,
press the any key to revive the display in order to check the [Memory Erase Sta-
tus] or [Mem. Erase Info] menu.
•If Data Erase Status shows “
Data to erase remaining.”even after you
have checked there is no temporary data, turn off the machine’s main power
switch. Wait a few moments, turn it back on, and then check if Data Erase Status shows “
Currently no data to erase.”. If it does not, contact your sales
or service representative.
1
Page 4
Description for the Specified Model
This manual uses the following items to explain about the printer according to
the specified model.
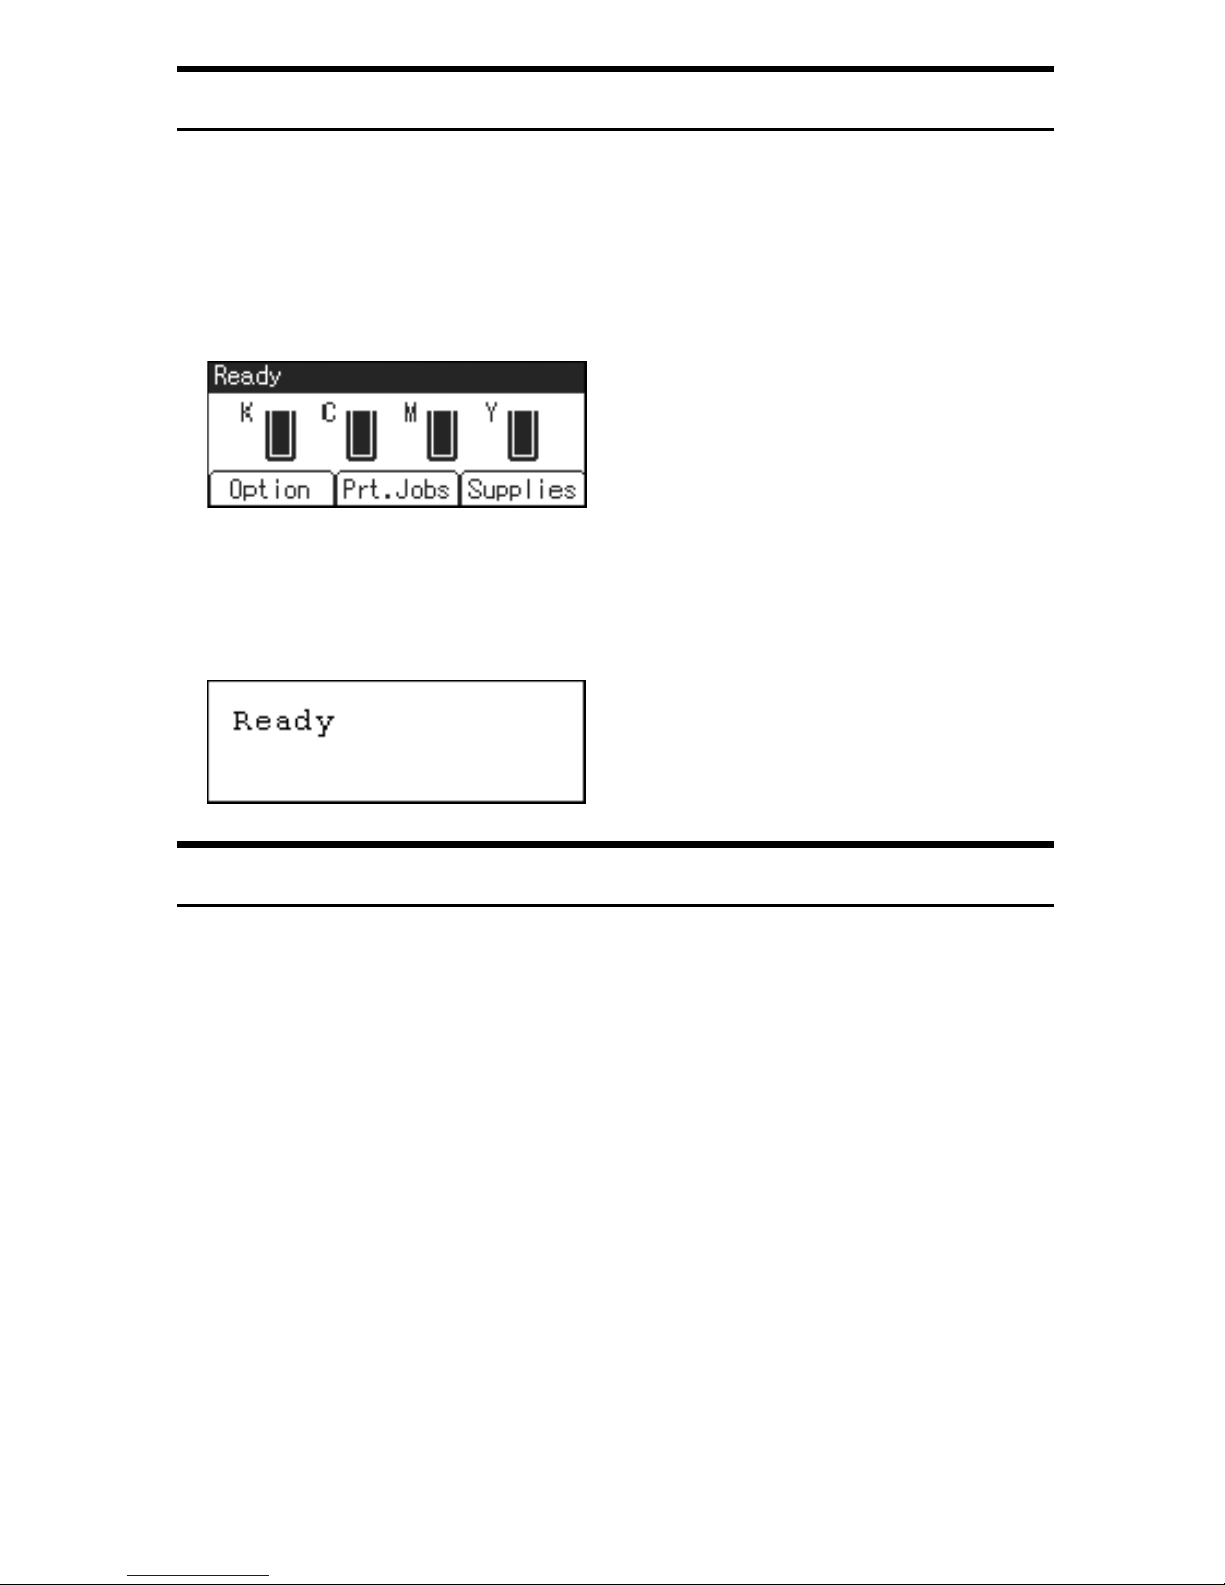
For 4 line display model:
This explains about the 4 line display model. You can identify your model using
the following display on the printer.
Read this if you have this model.
For 2 line display model:
This explains about the 2 line display model printer. You can identify your model using the following display on the printer.
Read this if you have this model.
Displaying administrator menus
For 2 line display model, you can display the administrator menus by using specific key combinations on the control panel of the printer.
This section describes how to display the administrator menus.
A Check the printer is online.
B Press the {q Enter} key, press the {Escape} key, and then press the {Menu} key.
The menu screen appears.
C Press the {U} or {T} key to display [Maintenance], and then press the {q En-
ter} key.
D Press the {U} or {T} key to check the administrator menus including [Mem-
ory Erase] and [Erase All Mem.] are displayed.
You can now display the administrator menus and make any necessary
changes to the settings.
E Press the {Online} key after completing all the required settings.
The initial screen appears, preventing you from displaying the administrator
menus. To display the administrator menus again, repeat the procedures
from the start.
2
Page 5
Deleting Data on the Hard Disk
To use this function, the optional DataOverwriteSecurity Unit must be installed.
To prevent data on the hard disk being leaked before disposing of the printer,
you can overwrite all data stored on the hard disk. You can also automatically
overwrite temporarily-stored data.
❖ Auto Erase Memory Setting
To erase selected data on the hard disk, specify [Auto Erase Memory Setting].
❖ Erase All Memory
To erase all the data on the hard disk, using [Erase All Memory].
❖ Methods of Erasing the Data
You can select the method of erasing the data from the following:
The default is “NSA”.
NSA
*1
DoD
*2
Random Numbers Overwrites the data with random numbers the specified number of
*1
National Security Agency
*2
Department of Defense
Overwrites the data on the hard disk twice with random numbers
and once with zeros.
Overwrites the data with a number, its complement, and random
numbers, and then checks the result.
times.
You can specify between 1 and 9 as the number of times the data is
overwritten with random numbers. The default is 3 times.
Note
❒ Depending on the hard disk capacity and the method of erasing the data, this
action may take a few hours. Once you start the Erase All Memory function,
no other printer operation is possible until the function completes or you quit
the function.
❒ The printer’s hard disk lets you store data under the printer.
3
Page 6

Auto Erase Memory Setting
This can be specified by the machine administrator.
A print data sent from a printer driver is temporarily stored on the printer's hard
disk.
Even after the job is completed, it remains in the hard disk as temporary data.
Auto Erase Memory erases the temporary data on the hard disk by writing over it.
Overwriting starts automatically once the job is completed.
The Printer functions take priority over the Auto Erase Memory function. If a
print job is in progress, overwriting will only be done after the job is completed.
Preparation
If you have the 2 line display model, make sure that the administrator menus
are displayed before performing the operation. See p.2 “Displaying administrator menus”.
For details about logging on and logging off with administrator authentication, see Security Guide or Note to Administrator.
For 4 line display model:
A Press the {Menu} key.
B Select [Security Options] using the {U} or {T} key, and then press the {OK} key.
C Select [Auto Erase Memory Setting] using the {U} or {T} key, and then press
the {OK} key.
D Select [On] using the {U} or {T} key, and then press [HD Erase].
Select the method of erasing the data from [NSA], [DoD], or [Random Numbers].
If you select [Random Numbers], proceed to step
If you select [NSA] proceed to step
If you select [DoD], proceed to step
G
H
.
.
E
.
E Select [Random Numbers] using the {U} or {T} key, and then press the {OK} key.
F Enter the number of times that you want to overwrite using the {U} or {T}
keys, and then press the {OK} key.
Auto Erase Memory is set.
G Select [NSA] using the {U} or {T} key, and then press the {OK} key.
Auto Erase Memory is set.
H Select [DoD] using the {U} or {T} key, and then press the {OK} key.
Auto Erase Memory is set.
4
Page 7
For 2 line display model:
A Press the {Menu} key.
B Select [Maintenance] using the {U} or {T} key, and then press the {q Enter} key.
C Select [Memory Erase] using the {U} or {T} key, and then press the {q Enter} key.
D Select [Auto Erase] using the {U} or {T} key, and then press the {q Enter} key.
E Select [On] using the {U} or {T} key, and then press the {q Enter} key.
After the settings are made, about two seconds later, the screen return to the
Memory Erase setup menu.
F Select [Erase Method] using the {U} or {T} key, and then press the {q Enter} key.
G Select the method of erasing the data.
Select the method of erasing the data from [NSA], [DoD], or [Random].
K
.
H
.
.
If you select [Random], proceed to step
If you select [NSA] proceed to step
If you select [DoD], proceed to step
J
H Select [Random] using the {U} or {T} key, and then press the {q Enter} key.
I Enter the number of times that you want to overwrite using the {U} or {T}
keys, and then press the {q Enter} key.
Auto Erase Memory is set.
J Select [NSA] using the {U} or {T} key, and then press the {q Enter} key.
Auto Erase Memory is set.
K Select [DoD] using the {U} or {T} key, and then press the {q Enter} key.
Auto Erase Memory is set.
Important
❒ When Auto Erase Memory is set to [On], temporary data that remained on the
hard disk when Auto Erase Memory was [Off] might not be overwritten.
Note
❒ Should the main power switch of the printer be turned off before overwriting
is completed, the temporary data will remain on the hard disk until the main
power switch is next turned on and overwriting is resumed.
❒ If the overwriting method is changed while overwriting is in progress, the re-
mainder of the temporary data will be overwritten using the method set originally.
5
Page 8

Canceling Auto Erase Memory
For 4 line display model:
A Follow steps
to C in “Auto Erase Memory Setting”.
A
B Select [Off] using the {U} or {T} key, and then press the {OK} key.
Auto Erase Memory is disabled.
For 2 line display model:
A Follow steps
to D in “Auto Erase Memory Setting”.
A
B Select [Off] using the {U} or {T} key, and then press the {q Enter} key.
Auto Erase Memory is disabled.
Note
❒ To set Auto Erase Memory to [On] again, repeat the procedure in “Auto Erase
Memory Setting”.
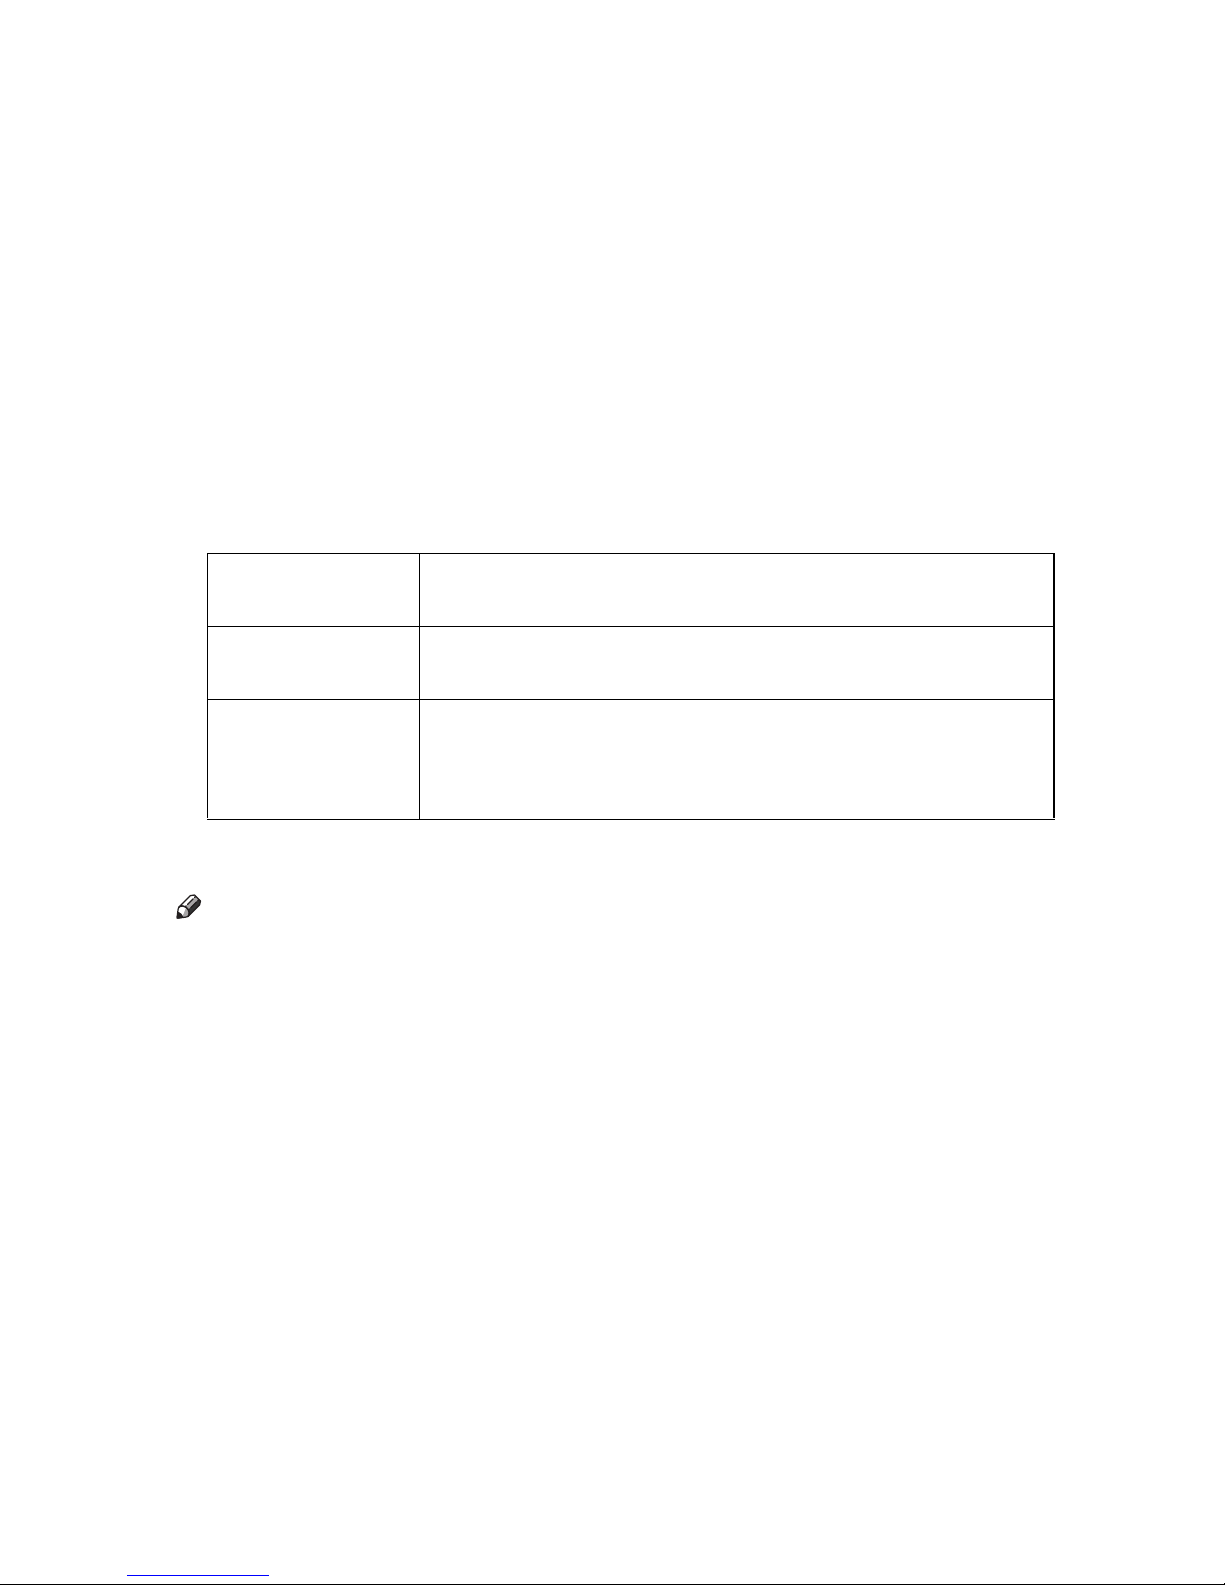
Types of Data that Can or Cannot Be Overwritten
The following table shows the types of data that can or cannot be overwritten by
Auto Erase Memory.
Data overwritten by Auto
Erase Memory
Data not overwritten by Auto
Erase Memory
*1
A Sample Print, Locked Print, or Hold Print job can only be overwritten after it has
been executed. Stored print jobs can be overwritten by Auto Erase Memory only if
they have been deleted in advance.
*2
Image overlay data can be overwritten by Auto Erase Memory only if it is deleted in
advance.
Printer • Print Jobs
• Sample Print/Locked
Print/Hold Print/Stored
Print Jobs
• Spool Printing jobs
• PDF Direct Print data
Counters stored under each user code
Image overlay data
*2
*1
6
Page 9
Erase All Memory
This can be specified by the machine administrator.
You can erase all the data on the hard disk by writing over it. This is useful if you
relocate or dispose of your printer.
Important
❒ If you select Erase All Memory, the following are also deleted: user codes,
counters under each user code, user stamps, printer fonts downloaded by users, applications using Embedded Software Architecture, SSL server certificates, and the printer’s network settings.
❒ Should the power switch of the printer be turned off before Erase All Memory
is completed, overwriting is canceled.
❒ Make sure the power switch is not turned off during overwriting.
For 4 line display model:
A Disconnect communication cables connected to the printer.
B Press the {Menu} key.
C Select [Security Options] using the {U} or {T} key, and then press the {OK} key.
D Select [Erase All Memory] using the {U} or {T} key, and then press the {OK} key.
E Select the method of erasing the data.
Select the method of erasing the data from [NSA], [DoD], or [Random Numbers].
If you select [Random Numbers], proceed to step
If you select [NSA] proceed to step
If you select [DoD], proceed to step
H
I
.
.
F
.
F Select [Random Numbers] using the {U} or {T} key, and then press the {OK} key.
G Enter the number of times that you want to overwrite using the {U} or {T}
key, and then press the {OK} key.
H Select [NSA] using the {U} or {T} key, and then press the {OK} key.
I Select [DoD] using the {U} or {T} key, and then press the {OK} key.
J When overwriting is completed, press [Exit], and then turn off the power.
7
Page 10

For 2 line display model:
A Disconnect communication cables connected to the printer.
B Press the {Menu} key.
C
Select [Maintenance] using the
D
Select [Erase All Mem.] using the
E
Select [Erase Method] using the
{U}
{U}
{U}
or
or
or
{T}
key, and then press the {q
{T}
key, and then press the {q
{T}
key, and then press the {q
F Select the method of erasing the data.
Select the method of erasing the data from [NSA], [DoD], or [Random].
Enter} key.
Enter} key.
Enter} key.
J
.
G
.
.
If you select [Random], proceed to step
If you select [NSA] proceed to step
If you select [DoD], proceed to step
I
G Select [Random] using the {U} or {T} key, and then press the {q Enter} key.
H Enter the number of times that you want to overwrite using the {U} or {T}
key, and then press the {q Enter} key.
After the settings are made, about two seconds later, the screen return to the
Erase All Memory setup menu.
I Select [NSA] using the {U} or {T} key, and then press the{q Enter} key.
After the settings are made, about two seconds later, the screen return to the
Erase All Memory setup menu.
J Select [DoD] using the {U} or {T} key, and then press the {q Enter} key.
After the settings are made, about two seconds later, the screen return to the
Erase All Memory setup menu.
K Start overwriting all memory. Select [Start Erase] using the {U} or {T} key,
and then press the {q Enter} key.
L When overwriting is completed, press the {q Enter} key, and then turn off
the power.
Note
❒ Before erasing the hard disk, you can back up user codes, and counters for
each user code data using SmartDeviceMonitor for Admin. For details, see
SmartDeviceMonitor for Admin Help.
❒ If the power is turned off when Erase All Memory is in progress, overwriting
will start again when you next turn on the power.
❒ If an error occurs before overwriting is completed, turn off the main power.
Turn it on again, and then repeat from the start of the procedure.
Reference
For details about logging on and logging off with administrator authentica-
8
tion, see Security Guide or Note to Administrator.
Page 11

Canceling Erase All Memory
For 4 line display model:
A Press [Stop] while Erase All Memory is in progress.
B Press [Yes].
Erase All Memory is canceled.
If you stop this before completion, the data is not fully erased. Execute [Erase
All Memory] again to erase the data.
C Turn off the power.
For 2 line display model:
A Press the {Job Reset} while Erase All Memory is in progress.
Erase All Memory is canceled.
If you stop this before completion, the data is not fully erased. Execute [Erase
All Mem.] again to erase the data.
B Turn off the power.
Note
❒ To resume overwriting after power off, turn on the power of the printer, and
then repeat the procedure in “Erase All Memory”.
9
Page 12

Data Erase Status
Displays the status of data inside the memory.
❖ Data to erase remaining.
There is data remaining in memory.
❖ Currently no data to erase.
There is no data in memory.
❖ Erasing data...
The data is being deleted.
The following procedure explains how to check Data Erase Status.
For 4 line display model:
A Press the {Menu} key.
B Select [Memory Erase Status] using the {U} or {T} key, and then press the
{OK} key.
C Displays the Data Erase Status.
For 2 line display model:
A Press the {Menu} key.
B Select [Mem. Erase Info] using the {U} or {T} key, and then press the {q En-
ter} key.
C Displays the Data Erase Status.
10 GB GB EN USA AE AE G874-8600
Page 13

Copyright © 2006
Page 14

GB GB
EN USA
AE AE G874-8600
 Loading...