

Page 1
1. Basics
How to Make a Copy........................................................................
2. Area Editing Example (Only for Edit type)
Filling a Background Area with a Color ............................................
3. Area Editing Summary (Only for Edit type)
Other Area Editing Functions ...........................................................
4. Color Balance Adjustment
Adjusting the Color Balance.............................................................
5. Image Overlay (Only for Edit type)
Making a Leaflet...............................................................................
6. Front & Back Cover
Copying Front and Back Covers ......................................................
7. Summary
Features at a Glance........................................................................
Some limitations may apply to functions—for details please refer to the Operating Instructions.
The copy samples in this guide differ somewhat from actual copies due to printing effects.
page.2
page.4
page.6
page.8
page.10
page.12
page.14
This machine comes in two models which are referred to in this manual as Basic type and Edit
type.
Check the inside front cover of the Operating Instructions for the model you have before
reading this guide.
Page 2

Basics
How to Make a Copy
In this situation... Use this function...
You wish to make a copy in the same color
and the same size as your original.
This machine has the following functions:
• Auto Color Select
• Auto Original Type Select
• Auto Paper Select
*Auto Color Select and Auto Original Type Select
Set the
original.
Selects a suitable color automatically.
Selects a suitable original image type au-
tomatically.
Selects a suitable paper size automatically .
cannot be set together.
Make sure that
following functions
are selected:
• [Auto Color Select]
• [Text / Photo]
• [Auto Paper Select]
• [Full Size]
2
Page 3
Tip
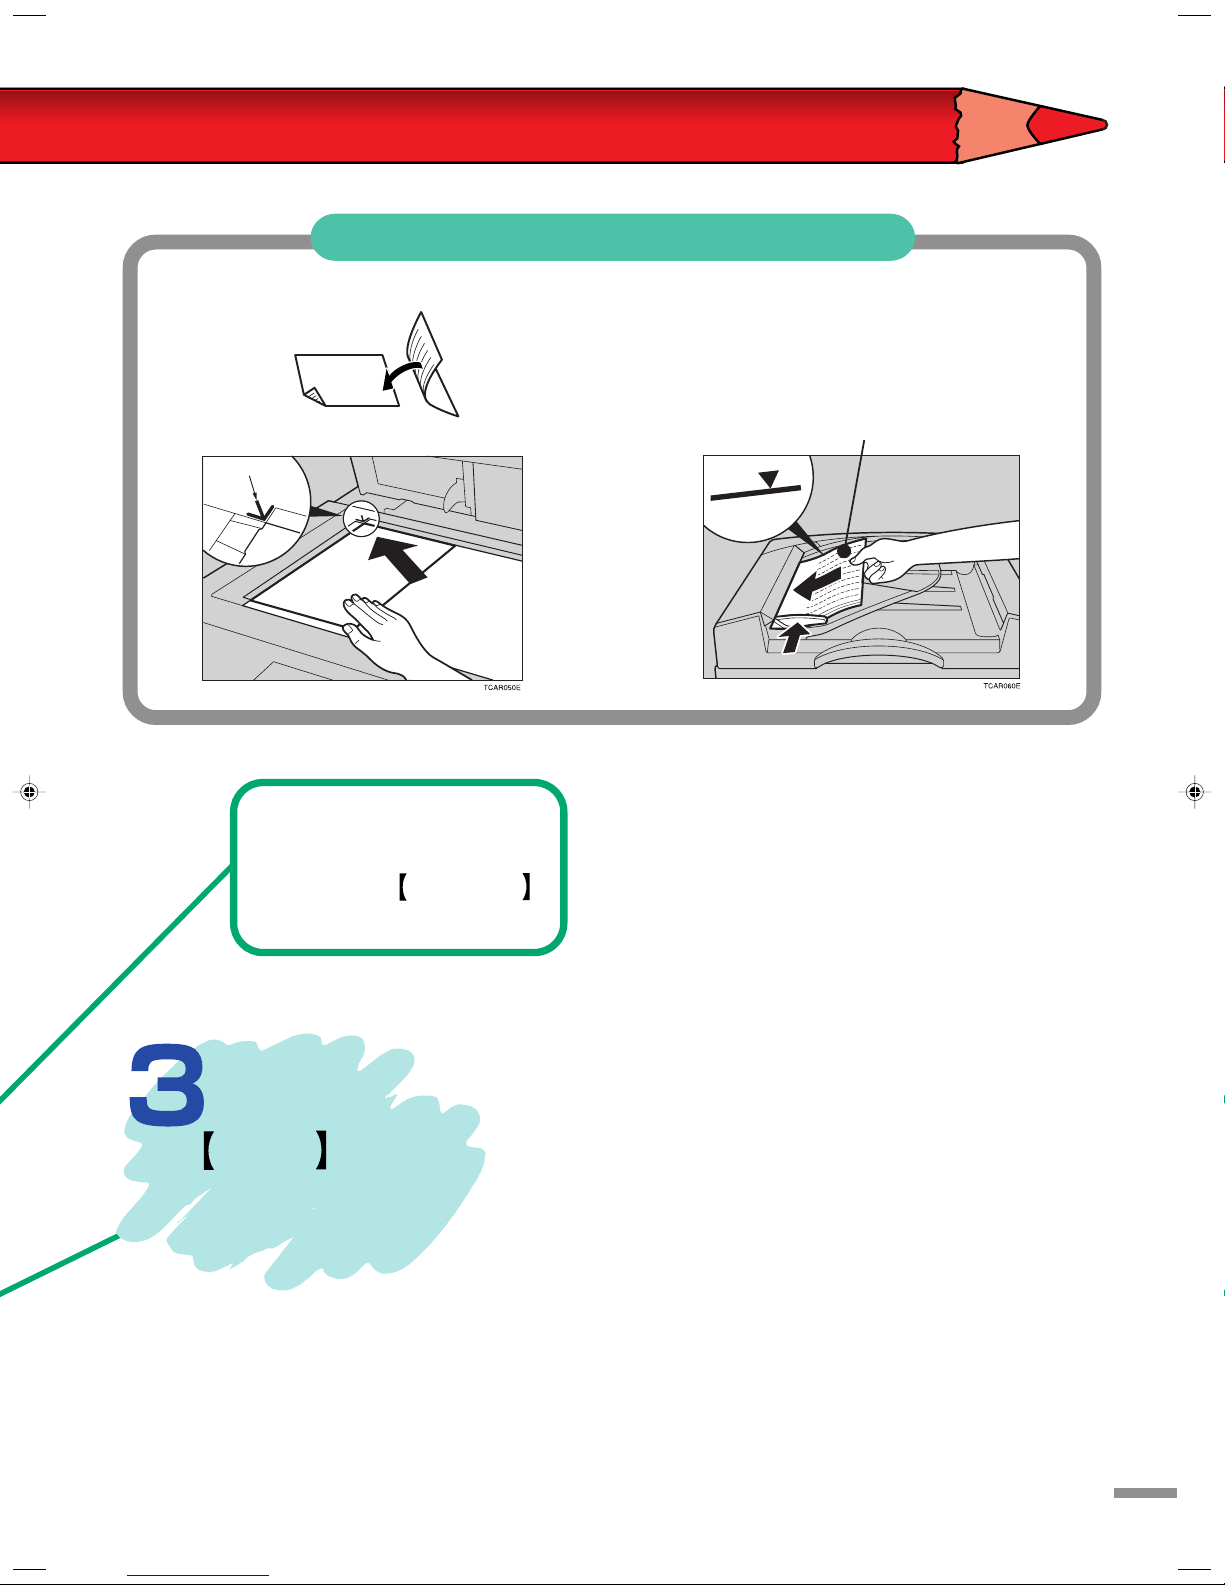
On the exposure glass(platen glass) In the document feeder
Face down
Face up
To check the number
of copies made so far ,
press the Counter
key .
Press the
Start key.
3
Page 4
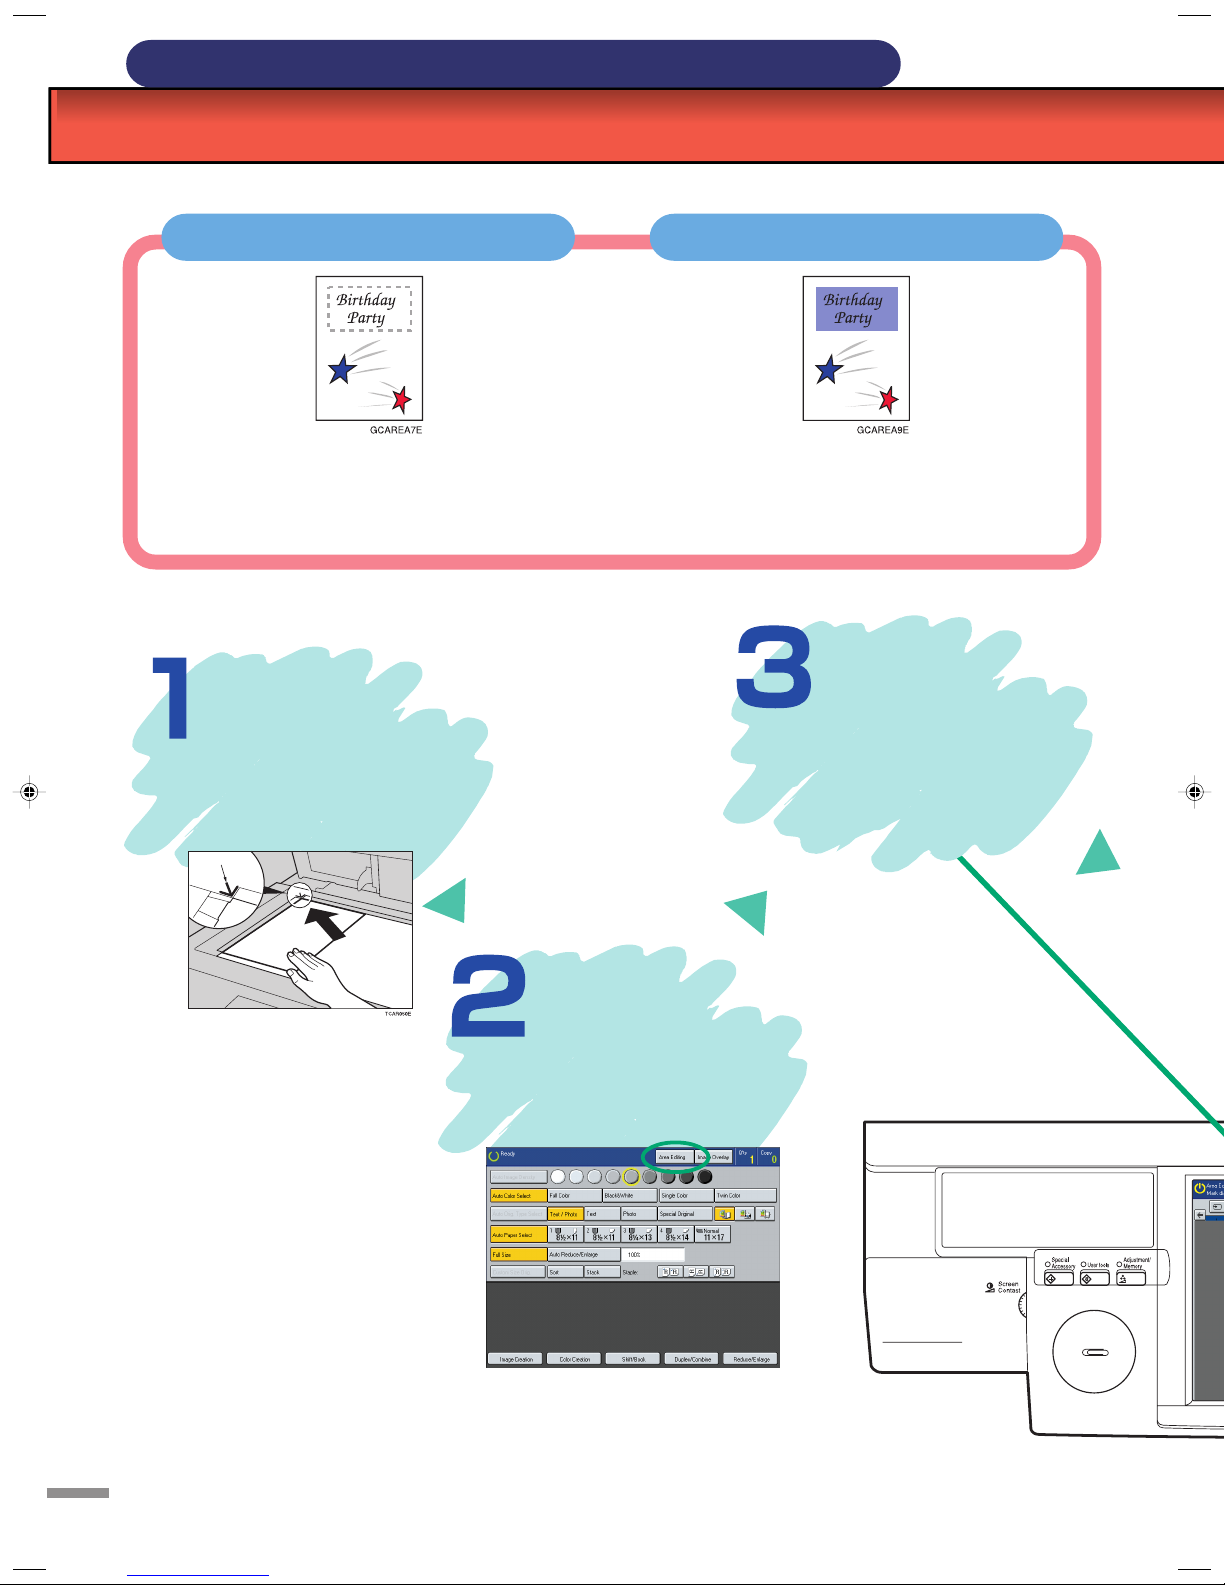
Area Editing Example (Only for Edit type)
Filling a Background Area with a Col
In this situation... Use this function...
You wish to fill the specified background of
your original with a selected color.
*For information on other Area Editing features, see page 6 and 7.
The Color Background function in Area Editing makes copies with the designated area
filled in a selected color.
Select the
Set the original
on the exposure glass
(platen glass).
area shape,
then designate
the area.
Press the
4
[Area Editing]
key.
Page 5
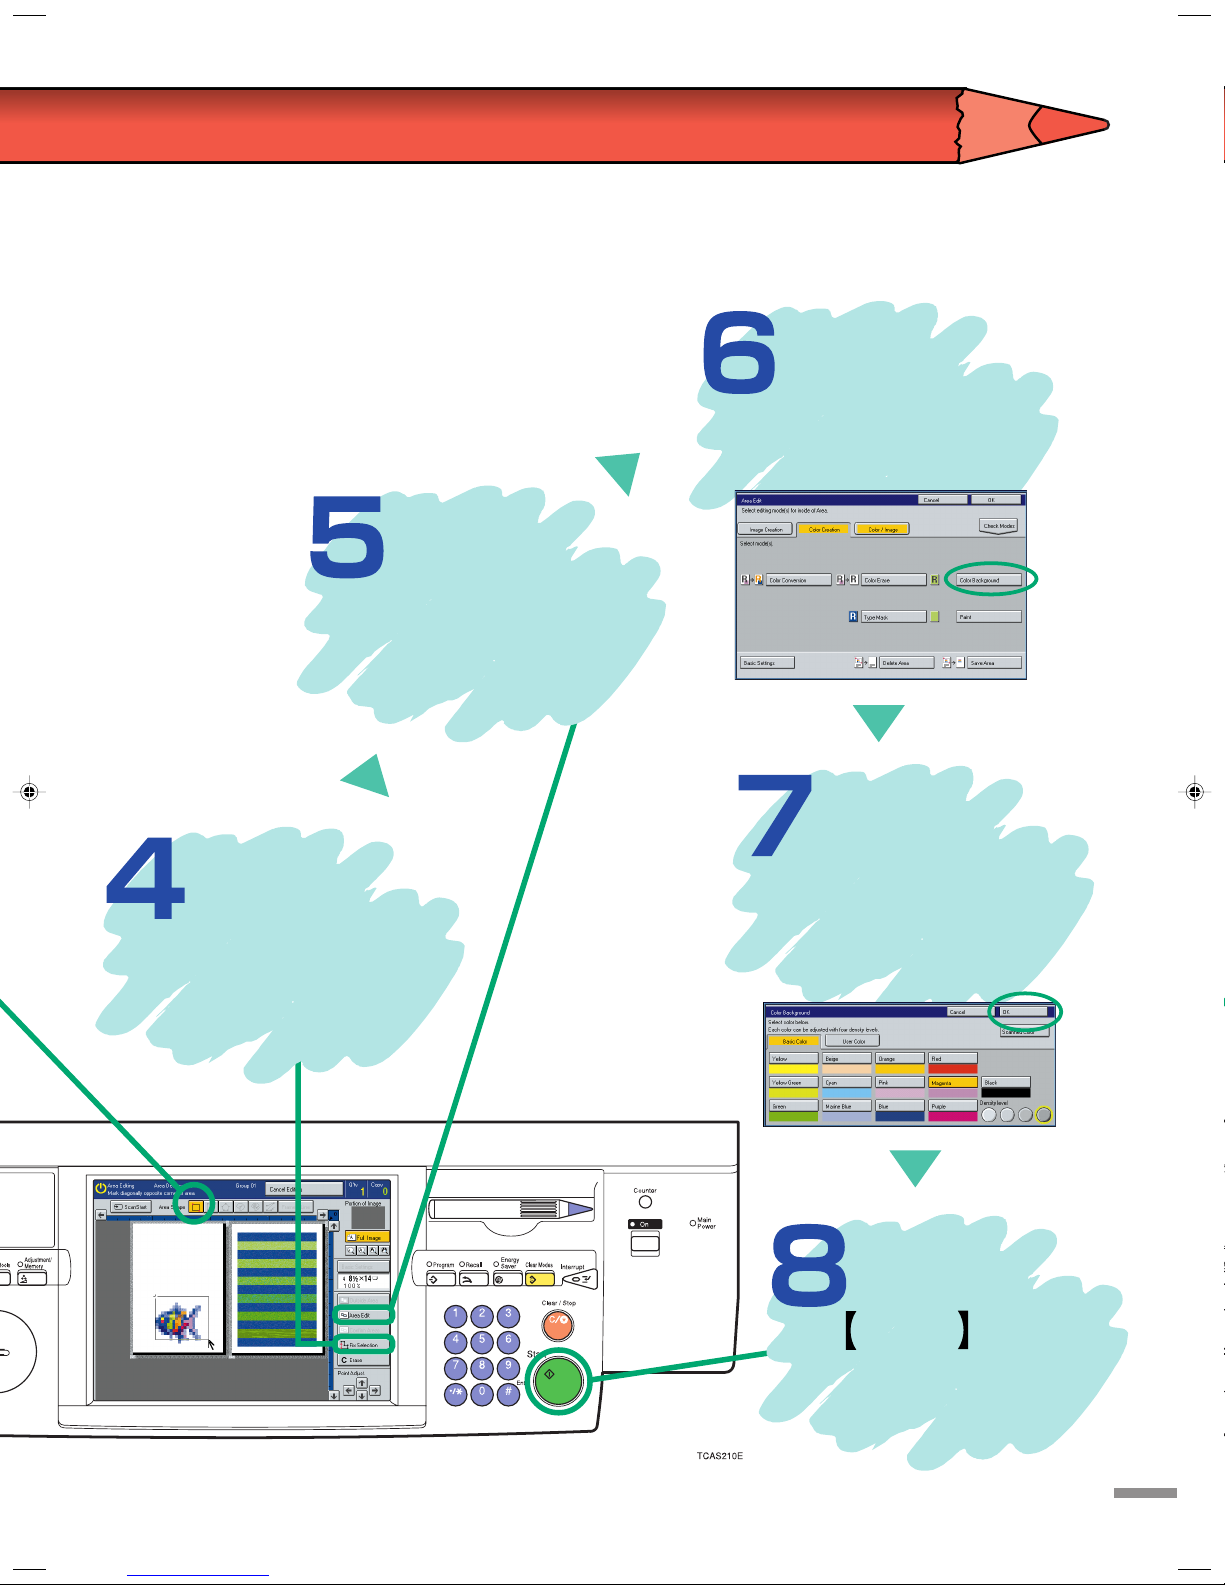
Press the
[Area Edit] key.
Press the
[Confirm Selection]
key.
Select [Color
Creation] , then press the
[Color Background] key.
Select the
desired color,
then press the
[OK] key twice.
Press the
Start key.
5
Page 6

Area Editing Summary (Only for Edit type)
Other Area Editing Functions
Objective Area Selection Edit the Area Copy Result
Color Conversion
I wish to change the
color of an area.
GCARE10E
Delete Area
I wish to delete an area.
햲Select Rectangle .
햳Mark the first point with the editor
pen or your finger.
햴Mark the diagonally opposite cor-
ner of the area you wish to select.
햲Select R.A.Polygon .
햳Mark the first point with the editor
pen or your finger.
햴Mark the points.
햵Press the [Area Edit] key.
햶Press the [Color Creation] key.
햷Press the [Color Conversion] key .
햸Press the color you wish to change.
햹Press the color you wish to use.
햺Press the [OK] key.
햻Press the [OK] key.
햵Press the [Area Edit] key.
햶Press the [Delete Area] key.
햷Press the [OK] key.
Color Erase
I wish to remove color
from an area.
Save Area
I wish to blank out all areas except the selected
area.
햲Select Polygon .
햳Mark the first point with the editor
pen or your finger.
햴Mark the points.
햲Select R.A.Polygon .
햳Mark the first point with the editor
pen or your finger.
햴Mark the points.
햵Press the [Area Edit] key.
햶Press the [Color Creation] key.
햷Press the [Color Erase] key.
햸Press the color you want to erase.
햹Press the [OK] key.
햺Press the [OK] key.
햵Press the [Area Edit] key.
햶Press the [Save Area] key.
햷Press the [OK] key.
6
Page 7

Objective Area Selection Edit the Area Copy Result
Paint
I wish to fill an area with
a selected color.
Multi-Closed Loop
I wish to fill an area but
leave an internal part left
unfilled.
햲Select Closed Loop .
햳Touch on a point inside a closed
loop.
햲Select Multi-Closed Loop .
햳Touch on a point inside a closed
loop.
햴T ouch on a point that you don’t want
to paint.
햴Press the [Area Edit] key.
햵Press the [Color Creation] key.
햶Press the [Paint] key.
햷Select the color you want to use.
햸Press the [OK] key.
햹Press the [OK] key.
햵Press the [Area Edit] key.
햶Press the [Color Creation] key.
햷Press the [Paint] key.
햸Select the color you want to use.
햹Press the [OK] key.
햺Press the [OK] key.
Line
I wish to add a line.
햲Select Frame/Line, then select Line
.
햳Mark the first point with the editor
pen or your finger.
햴Mark the last point.
햵Press the [Area Edit] key.
햶Select the color you want to use.
햷Select the line width.
햸Press the [OK] key.
7
Page 8

Color Balance Adjustment
Adjusting the Color Balance
In this situation... Use this function...
Copies are too yellow.
Set the
original.
The Color Balance function allows you to
control the overall color tone of copies.
Press the
Adjustment/Memory
key.
Adjust the
color tone.
8
Page 9

Tip
You can alter up to three single colors by mixing them with adjacent
colors in the color circle.
1. Press the Adjustment/Memory key.
2. Press the [Color Adjustment] key.
3. Select the color that you want to adjust from the color circle.
4. Adjust the color with the [ ] or [ ] key.
5. Press the [OK] key.
Press the
[OK] key.
Press the
Start key.
9
Page 10

Image Overlay
Making a Leaflet
In this situation... Use this function...
1: Foreground image original
2: Background image original
You wish to superimpose one original image over another e.g. to make a leaflet.
Press the
[Image Overlay]
key.
Set the
original on the
exposure glass.
The Image Overlay function makes copies
with a portion of one original image (the image original) overlayed onto another original image (the background original).
Press the
Area Image Overlay
[Image] key.
* Select the [Overlay Opacity
Yes] or [Overlay Opacity No]
key.
1: Background original
2: Image original
10
Page 11

Tip
When you mark first point in step 5, a rectangle and
leading diagonal appear to show the full size and
scale of the image.
For Proportional scaling
Mark second point on the
leading diagonal.
Select the
area of the
foreground
image original.
Then press the
For Squeeze or strech
Mark second point off the
leading diagonal.
Select the
area of the
background
image original.
Then press the
[Confirm Selection] key.
[Confirm Selection] key.
* To select the area
Mark two diagonally opposite
corners of a rectangle.
* You can select the scale of the
image. For details, see Tip.
Press the
Start key.
11
Page 12

Front & Back Cover
The optional document feeder is required to use this function.
Copying Front and Back Covers
In this situation... Use this function...
You wish to copy the front and back covers
onto different type (e.g. different color) paper.
Use the Front & Back Cover function to have
the first and last pages copied onto a different kind of paper (e.g. colored) than that
used for the remaining pages.
Select the
[Front & Back Cover]
[Shift/Book] key.
Set the
originals in the
document feeder.
key.
Press the
12
Page 13

Select the
Set cover
sheets into the
bypass tray.
[Copy] or [Blank]
key.
* The covers are copied in
Thick mode.
Press the
Start key.
13
Page 14

Summary
Features at a Glance
For details, please see the following pages in the Operating Instructions.
• Color Mode Page 40
• Full Color Copy
• Black & White Copy
• Single Color Copy
• Twin Color Copy
• Shift
• Center Erase
*1 Optional 20-bin sorter stapler required.
*2 Optional document feeder required.
*3 Only for Edit type.
•
Auto Original Type Select
Page 44
• Auto Paper Select
• Auto Reduce/Enlarge
Page 77 • Cover Sheet
Page 81
Page 47
Page 54
• Margin Adjustment
Page 78
• Border Erase
Page 81
Page 82 *2
• Center/Border Erase
Page 81
14
• Outline Image
Page 91
• Shadow Image
Page 92
• Slanted Image
Page 95
• Mirror Image
Page 96
• Positive/Negative
Page 101
• Repeat Image
Page 97
• Color Conversion
Page 85
• Color Background
Page 88
• Color Erase
Page 87
• T ype Mask
Page 89
UE USA A257
Page 15

• Area Editing Page 139
• Color Conversion
Page 152 *3
•
Color Erase
Page 152
• Color Background
Page 152 *3
• Paint
*3
• Delete Area
Page 153 *3
Page 152 *3 •
• Full Image Overlay
Save Area
*3
Page 154
• Area Image Overlay
Page 111 *3
Page 115 *3
• Sort
Page 102
• Preset R/E
*1
• Stack
*1
• Staple
*1
• 1 Sided
Page 103
Page 104
2 Sided
Page 68
• Zoom
• Size Magnification
• 2 Sided
Page 70
Page 59
Page 60
2 Sided
Page 62
• Book
1 Sided
Page 73
•
Directional Magnification(%)
•
Directional Size Magnification(inch) Page 64
Page 63
• Poster Mode Page 65
• 2 Sided
Page 74
1 Sided
• Book
2 Sided
Page 71
• Multi
Page 72
2 Sided
• Combine 2 Originals
Page 75 *2
• Combine 4 Originals
Page 76 *2
15
Page 16

Make copies of this manual and
stick them on the wall.
Stick the copies on the
wall.
Set this manual
face down on the
exposure glass.
NDCS51EE
Press the [Start] key.
A257-8657
UE USA
Printed in Japan
(S1092/G1096)
 Loading...