

GE Security 60-906-95 Installation
Water Resistant Personal Help Button Installation
J
Instructions
Introduction
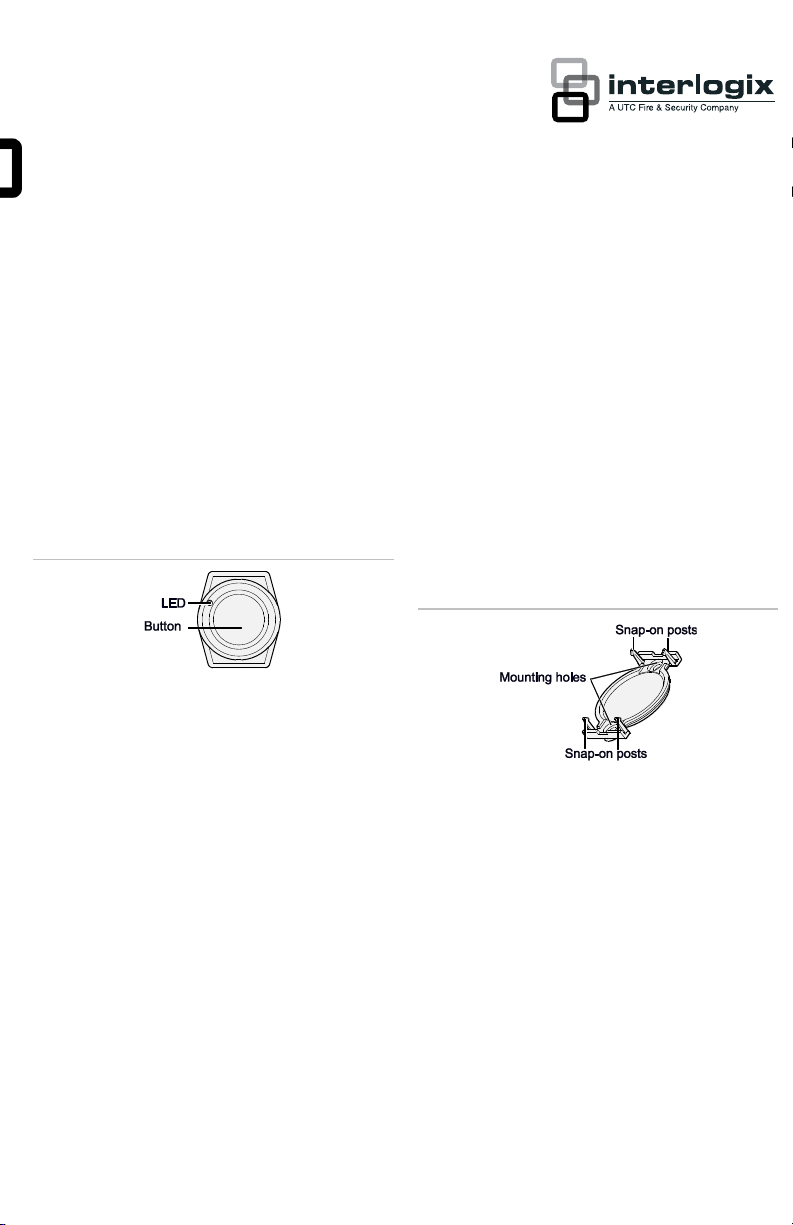
This is the Water Resistant Personal Help
Button Installation Instructions for model 60906-95. Use this w ireless device to activate
police or auxiliary alarms throughout the
premises. When you press the help button, the
LED (Figure 1 below) blinks and an alarm
signal is transmitted. In addition, the status of
the field-replaceable battery is sent in every
transmission.
Figure 1: Sensor
Application guidelines
Follow these application guidelines:
• Learn the button into supervised groups
for life safety applications.
• The button transmitter has an open-air
range of at least 375 ft. (114 m), how ever,
installation environments may affect this
range.
• Ensure your customer can activate the
sensor by pressing the button w ith their
thumb or finger.
• When w orn as a pendant, instruct your
customer not to activate the button by
pressing it against their chest w hich could
reduce the signal’s effective range.
Installation
The four adapters provided attach easily to the
back of the sensor and allow you to mount the
help button on a w all or wear it on a belt clip,
w rist band, or pendant.
Wall mount
To wall-mount the help button, do the
follow ing:
1. Place the wall-mount adapter (Figure 2
below) at the desired location and mark
the mounting holes.
Figure 2: Wall-mount adapter
2. Drill the mounting holes and secure the
adapter w ith #4 screw s. Use w all anchors
w here studs are not present.
3. Attach the help button to the snap-on
posts on the adapter.
Belt clip
To use the belt-clip adapter, attach the help
button to the snap-on posts on the adapter
(Figure 3 on page 2).
P/N 466-1815 • REV • Model No. 60-906-95 • 31Oct12 1 / 4
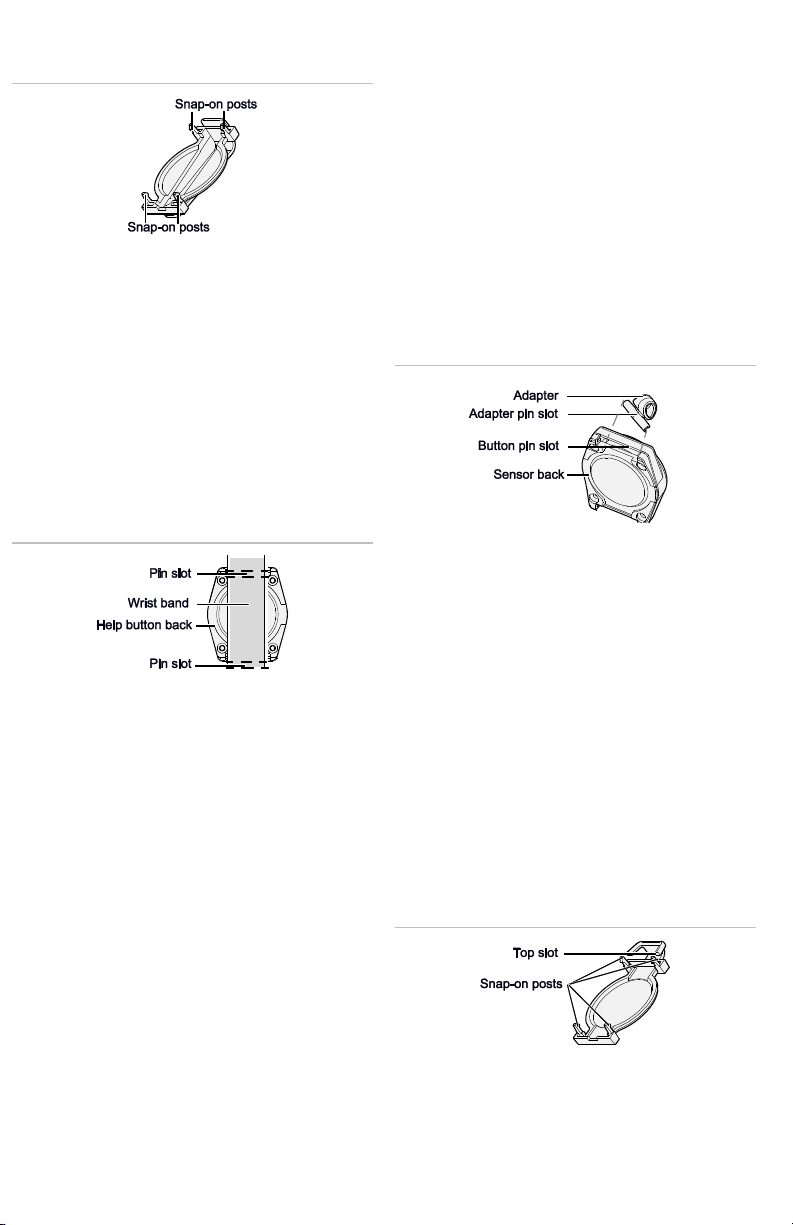
Figure 3: Belt clip adapter
Pendant
You can w ear the help button as a pendant on
a necklace with a pin-mounted adapter or on a
small rope with a snap-on adapter.
Wrist band
You can w ear the help button on the w rist w ith
a hook and latch or plastic w rist band.
To use the hook and latch wrist band, do
the following:
1. Place the hook and latch w rist band
across the back of the help button
(Figure 4 below).
Figure 4: Hook and latch wristband
2. Compress the spring-loaded pins w ith a
small screw driver.
3. Slip the pins over the w rist band and into
the pin slots on the back of the help
button. The pins click as they slide into
place.
To use the plastic wrist band, do the
follow ing:
1. Insert the spring-loaded pins through the
ends of the plastic w rist band.
2. Compress the pins w ith a small
screw driver.
3. Slip the pins into the pin slots on the help
button’s back.
To use the pin-mounted pendant adapter,
do the following:
1. Ensure the necklace or chain fits through
the large hole in the pin-mounted adapter
(Figure 5 below).
Figure 5: Pin-mounted pendant adapter
2. Remove one of the spring-loaded pins
from the plastic w rist band and insert the
pin into the smaller hole on the pinmounted pendant adapter.
3. Compress the pin w ith a small
screw driver.
4. Slip the pin into a slot on the back of the
help button.
To use the snap-on pendant adapter, do the
follow ing:
1. Slide the rope necklace into the adapter’s
top slot (Figure 6 below) and hook the
plastic ends together.
Figure 6: Snap-on pendant adapter
2. Attach the help button onto the adapter’s
snap-on posts.
2 / 4 Water Resistant Personal Help Button Installation Instructions
 Loading...