

Page 1

1
GEOS SD 580 2D
Setting Manual
Catalog
................................................................................................................................
1
I、Default Setting
...............................................................................................................
4
1. Set Custom Defaults
.............................................................................................
4
2. Recall default
..........................................................................................................
4
II、Interface setting
............................................................................................................
4
1. introduce
.................................................................................................................
4
2. USB interface setting
.............................................................................................
4
3. RS232 Baud rate
...................................................................................................
6
III、Keyboard setting
.........................................................................................................
8
1. Keyboard language setting
...................................................................................
8
2. Keyboard combination configuration
................................................................
12
3. Character Shift
.....................................................................................................
13
IV、input/output configuration
........................................................................................
14
1. Power Up Beeper
................................................................................................
14
2. Power On BELCharacter
....................................................................................
14
3. Trigger Click
..........................................................................................................
14
4. Good read
.............................................................................................................
15
5. LED
........................................................................................................................
16
6. Power Save mode
...............................................................................................
16
7. Read delay
...........................................................................................................
17
8. Trigger Modes
......................................................................................................
18
9. Continue Scanning Mode
...................................................................................
19
10. Cell Phone Mode
...............................................................................................
19
11. Presentation Time-Out
.....................................................................................
19
13. Reread Delay
.....................................................................................................
20
15. Aimer light
...........................................................................................................
21
Catalog
geostm.com
Page 2

Catalog
2
17. Reverse Barcode mode
....................................................................................
22
V、Data Editing
................................................................................................................
23
1. Prefix & Suffix
.......................................................................................................
23
2. Prefix Setting
........................................................................................................
24
3. Suffix setting
.........................................................................................................
25
4. Intercharacter and Intermessage Delays
.........................................................
26
VI、Symbologies Configuration
.....................................................................................
27
1. All Symbologies
....................................................................................................
27
2. Codabar
................................................................................................................
27
3. Code39
..................................................................................................................
29
4. Interleaved 2 of 5
.................................................................................................
31
7. Straight 2 of 5 Industrial
......................................................................................
34
8. Straight 2 of 5 IATA
.............................................................................................
35
9. Matrix 2 of 5
..........................................................................................................
36
10. Code 11
..............................................................................................................
37
11. Code 128
............................................................................................................
38
12. GS1-128
.............................................................................................................
39
13. Telepen
...............................................................................................................
40
14. UPC-A
.................................................................................................................
41
15. UPC-E0
...............................................................................................................
43
16. UPC-E1
...............................................................................................................
45
17. EAN/JAN-13
.......................................................................................................
46
18. EAN/JAN-8
.........................................................................................................
48
19. MSI
......................................................................................................................
50
20. GS1 DataBar Omnidirectional
.........................................................................
53
21. GS1 DataBar Limited
........................................................................................
53
22. GS1 DataBar Expanded
...................................................................................
54
23. PDF417
...............................................................................................................
55
24. MicroPDF417
.....................................................................................................
56
25. GS1 Composite Codes
.....................................................................................
57
26. TCIF Linked Code 39 (TLC39)
........................................................................
58
27. QR Code
.............................................................................................................
58
28. Data Matrix Code
...............................................................................................
59
29. MaxiCode
...........................................................................................................
60
geostm.com
Page 3

Catalog
3
30. Aztec Code
.........................................................................................................
61
31. Han Xin Code
.....................................................................................................
62
32. Postal Codes
......................................................................................................
63
4.1Add Prefix
....................................................................................................................
64
4.2Add Sufix
.....................................................................................................................
65
Appendix 1:Programming Digit Chart
.........................................................................
67
Appendix 2:ASCII Chart
...............................................................................................
68
Appendix 3:Symbologies Chart
...................................................................................
73
geostm.com
Page 4
GEOS SD 580 2D
4
I、Default Setting
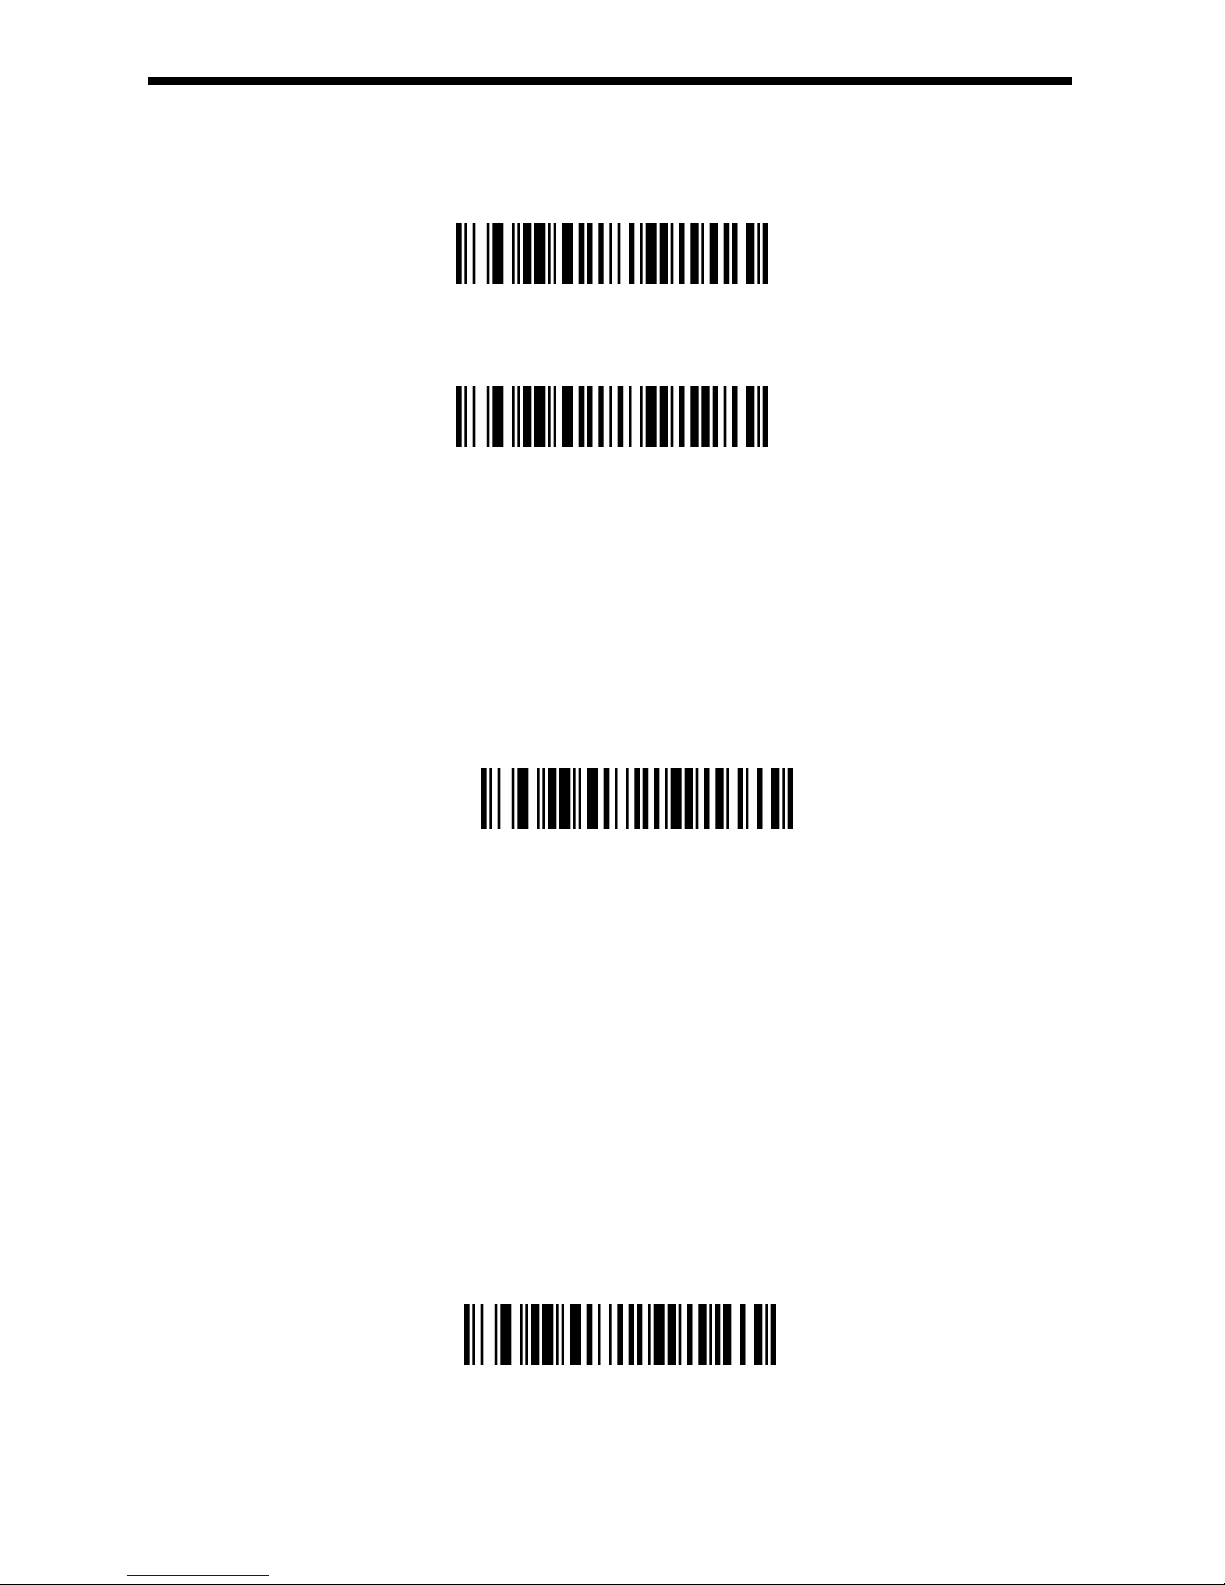
1. Set Custom Defaults
Set Custom Defaults
2. Recall default
Recall Defualt
II、Interface setting
1. introduce
The RS232 Interface bar code is used when connecting to the serial port of a PC or
terminal. The following RS232 Interface bar code also programs a carriage return (CR)
and a line feed (LF) suffix, baud rate, and data format as indicated below. It also
changes the trigger mode to manual.
RS232 interface default
2. USB interface setting
After connecting the USB interface, USB device could be enumerated to virtual
keyboard, HID POS, USB com, IBM SurePos interface. The default is USB com
interface, if you need to set the scanner as other interfaces, please set as
following steps:
(1)USB PC
Connecting the WINDOWS PC and Scan the “USB PC Keyboard” setting
code, the scanner could be setting as the USB keyboard mode. This setting
will add return and line break after the scanned information, if you don’t want
the suffix, please refer to the suffix setting chapter.
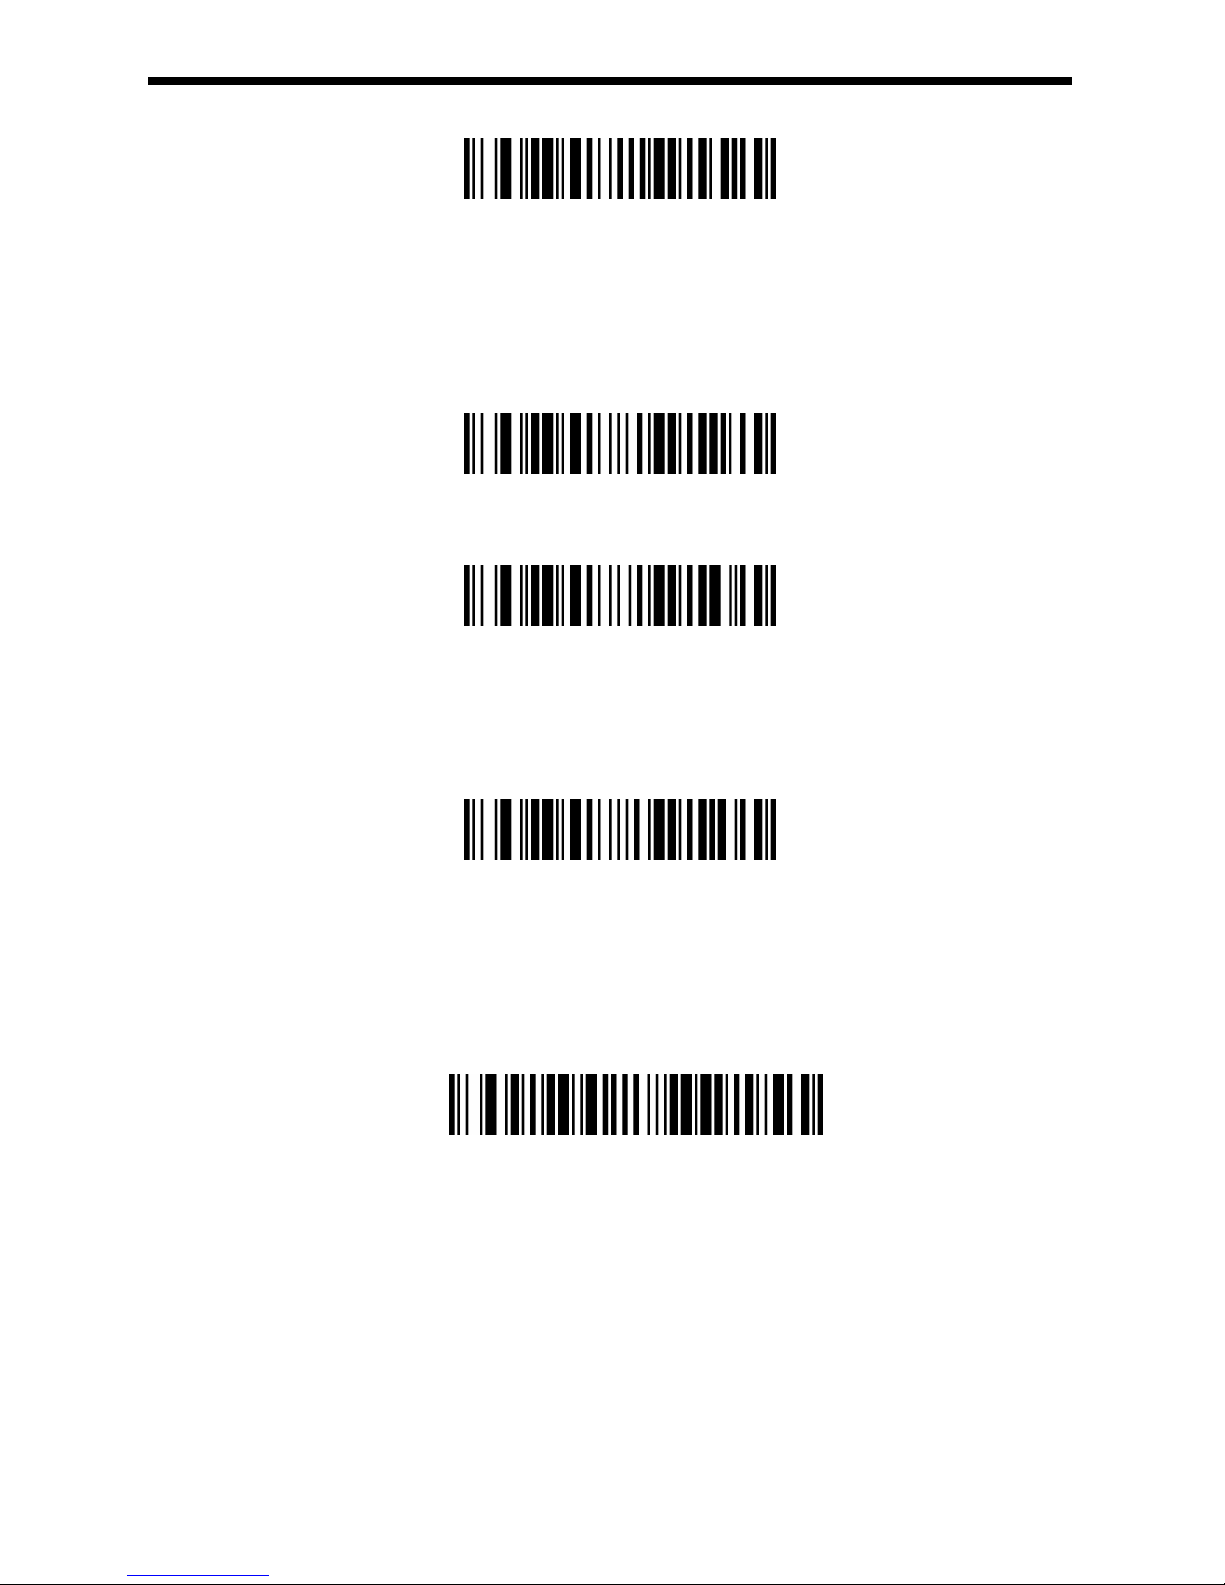
USB PC Keyboard Setting
(2)USB APPLE Keyboard
If the scanner connect to the APPLE computer, please scan the USB APPLE
Page 5
5
keyboard setting barcode.
USB APPLE Keyboard Setting
(3)
USB IBM Handheld
When connecting the IBM POS system, please scan the “USB IBM Handheld
Setting” barcode, the engine will be recognized as handheld device.
Note: after the scanning, the POS machine need to be restart.
USB IBM Handheld Setting
(4)USB IBM
USB IBM
(5)USB HID POS
If the scanner need to be recognized as HID POS device, please scan the
“USB HID POS” barcode.
USB HID POS
(6)
USB COM
When the application software requires the serial environment, the USB
device could be recognized as USB COM device,and it needs to install the USB
COM driver. Please refer the USB COM related files.
USB COM
GEOS SD 580 2D
Page 6
6
3. RS232 Baud rate
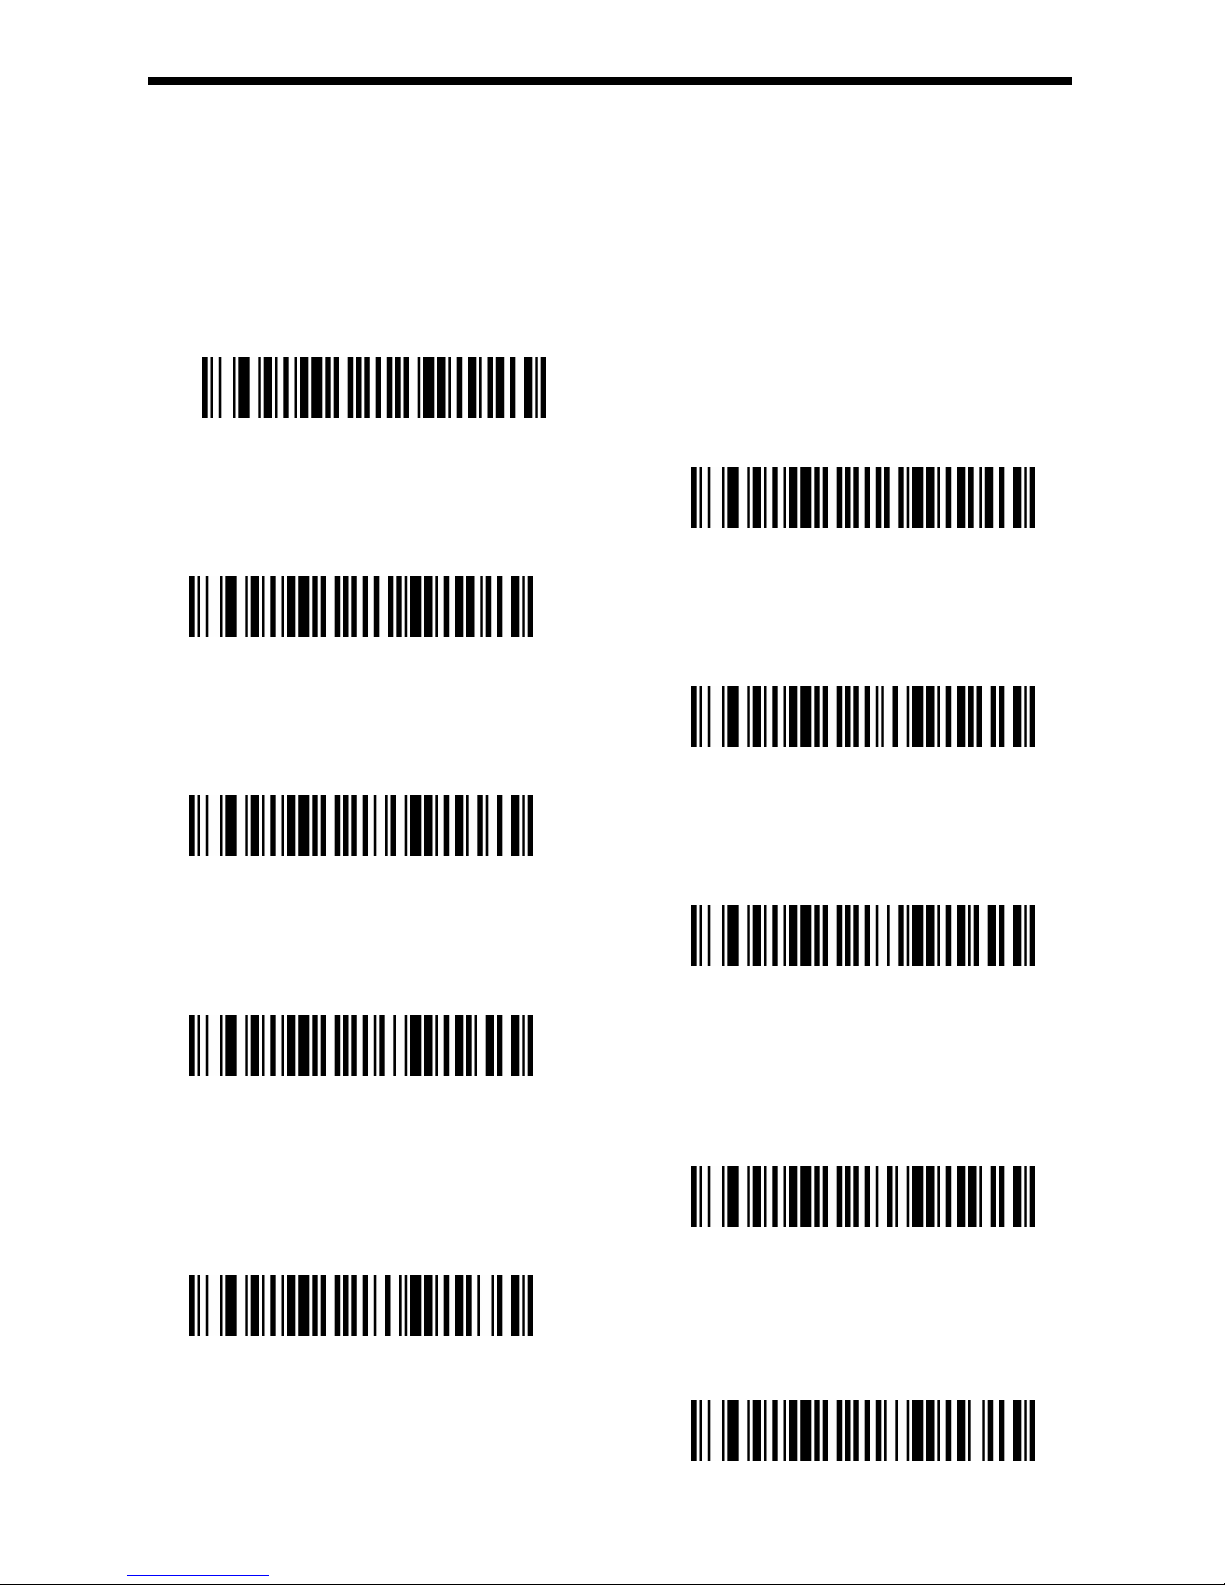
When the engine connect the terminal through TTL/RS232, should setting the
same baud rate in engine and terminal, including the transmission speed, check
bit and control flow, etc. The transmission speed is the baud rate, the default
value is 115200.
300bps
600bps
1200bps
2400bps
4800bps
9600bps
19200bps
38400bps
57600bps
*115200bps
GEOS SD 580 2D
Page 7
7
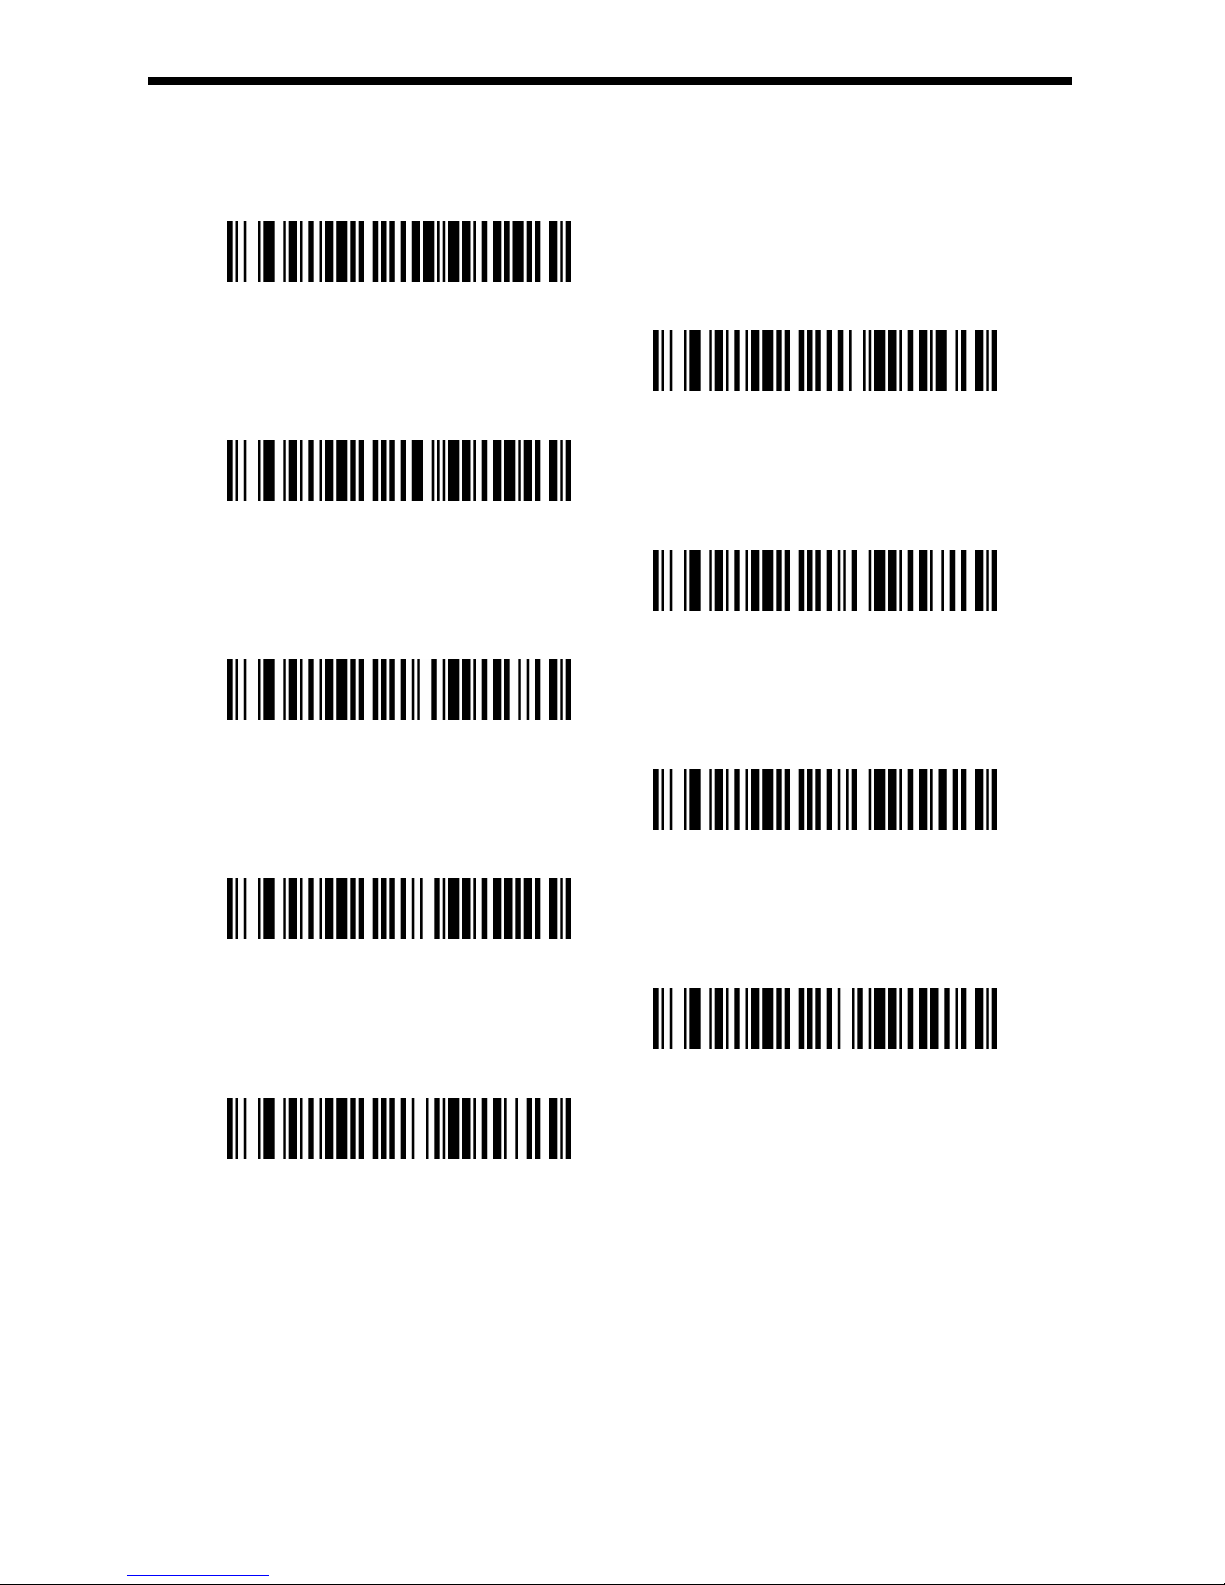
4. RS232 data length
RS232 data length including the data bit, stop bit, check bit. The default is 8
data bit, 1 stop bit and no check bit.
7 data bit, 1 stop bit, no check bit
7 data bit, 2 stop bit, no check bit
*8 data bit, 1 stop bit, no check bit
7 data bit, 1 stop bit, even check bit
7 data bit, 2 stop bit, even check bit
8 data bit, 1 stop bit, even check bit
7 data bit, 1 stop bit, odd check bit
7 data bit, 2 stop bit, odd check bit
8 data bit, 1 stop bit, odd check bit
GEOS SD 580 2D
Page 8
8
III、Keyboard setting
1. Keyboard language setting
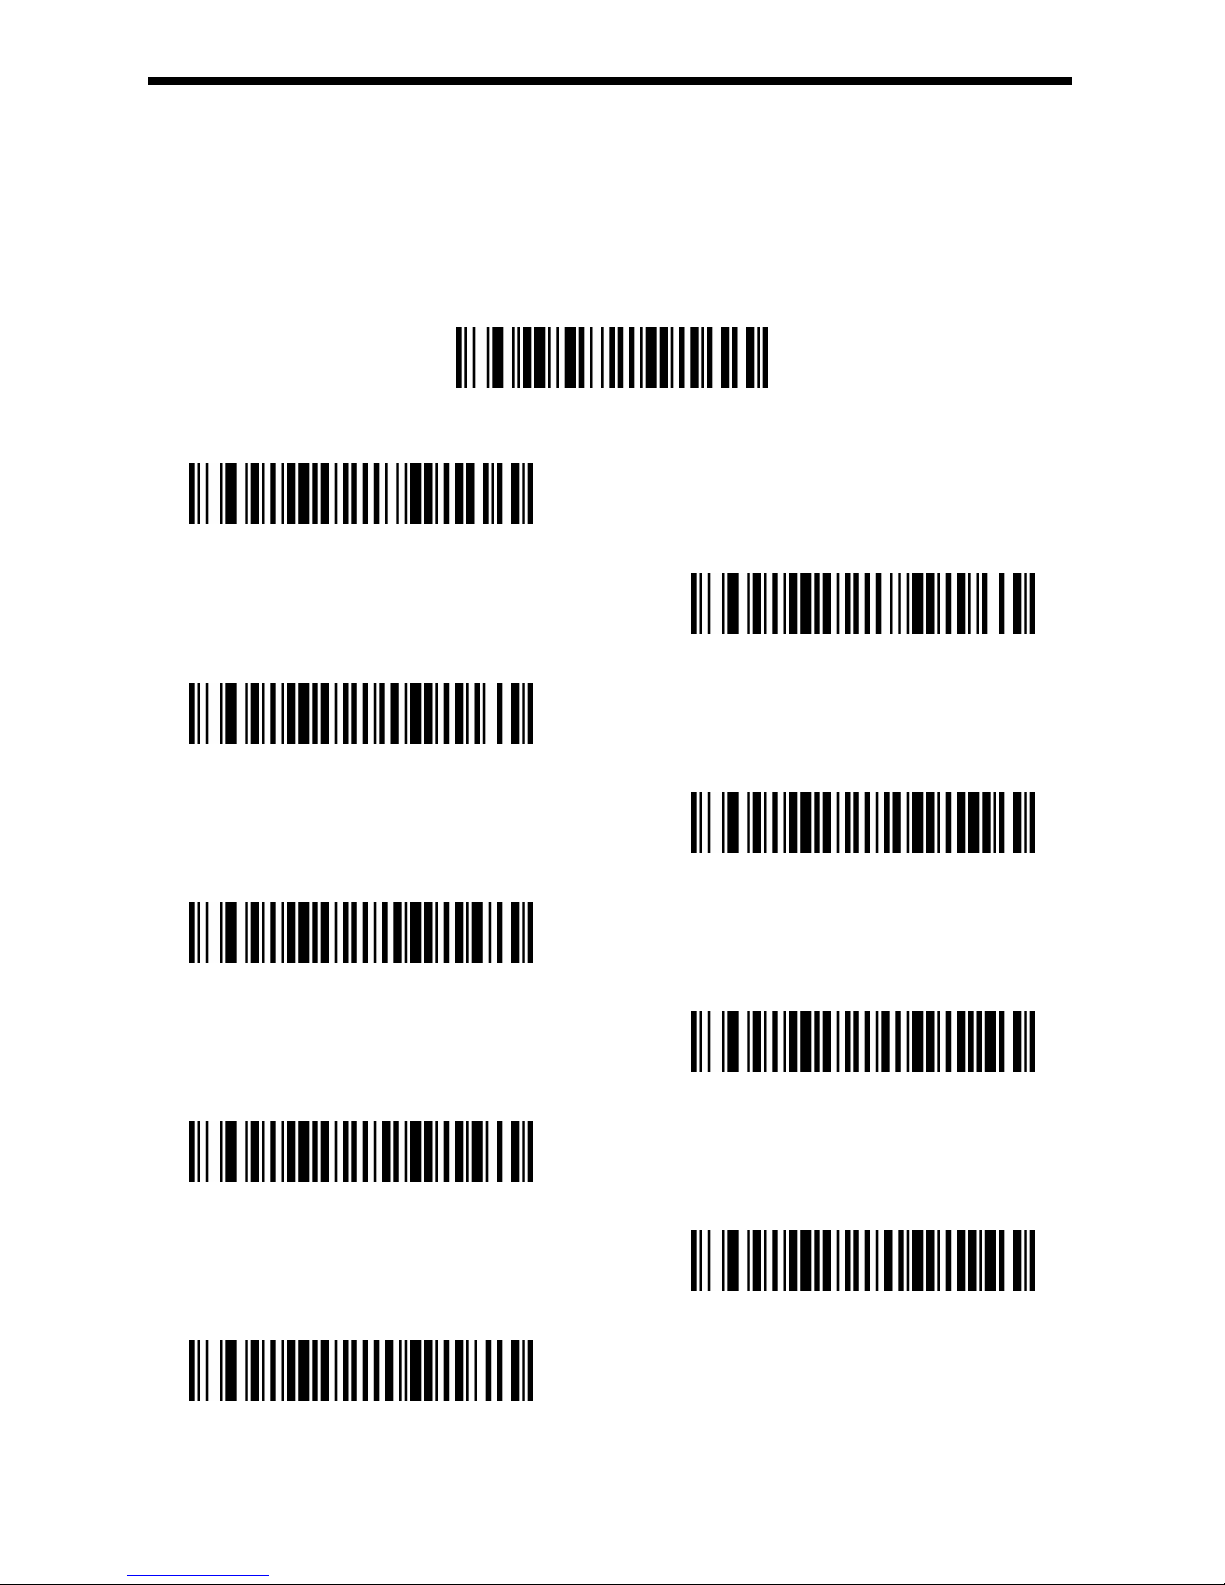
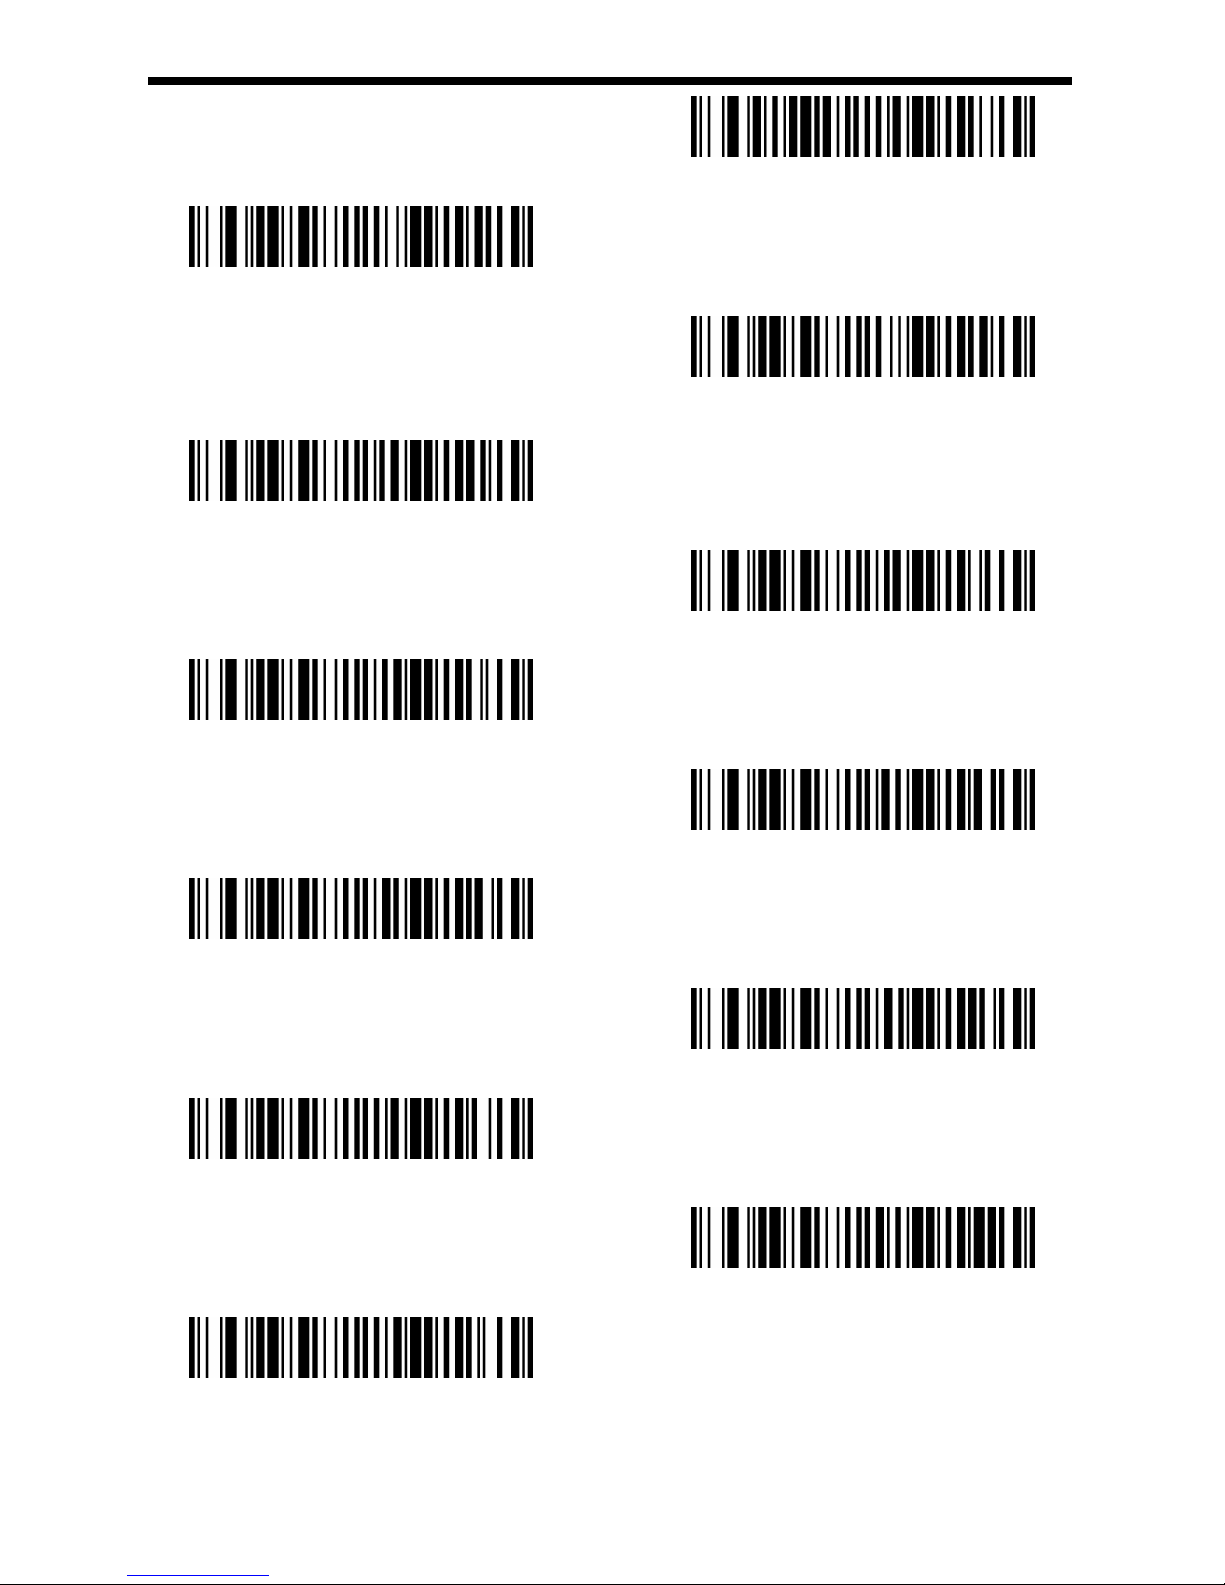
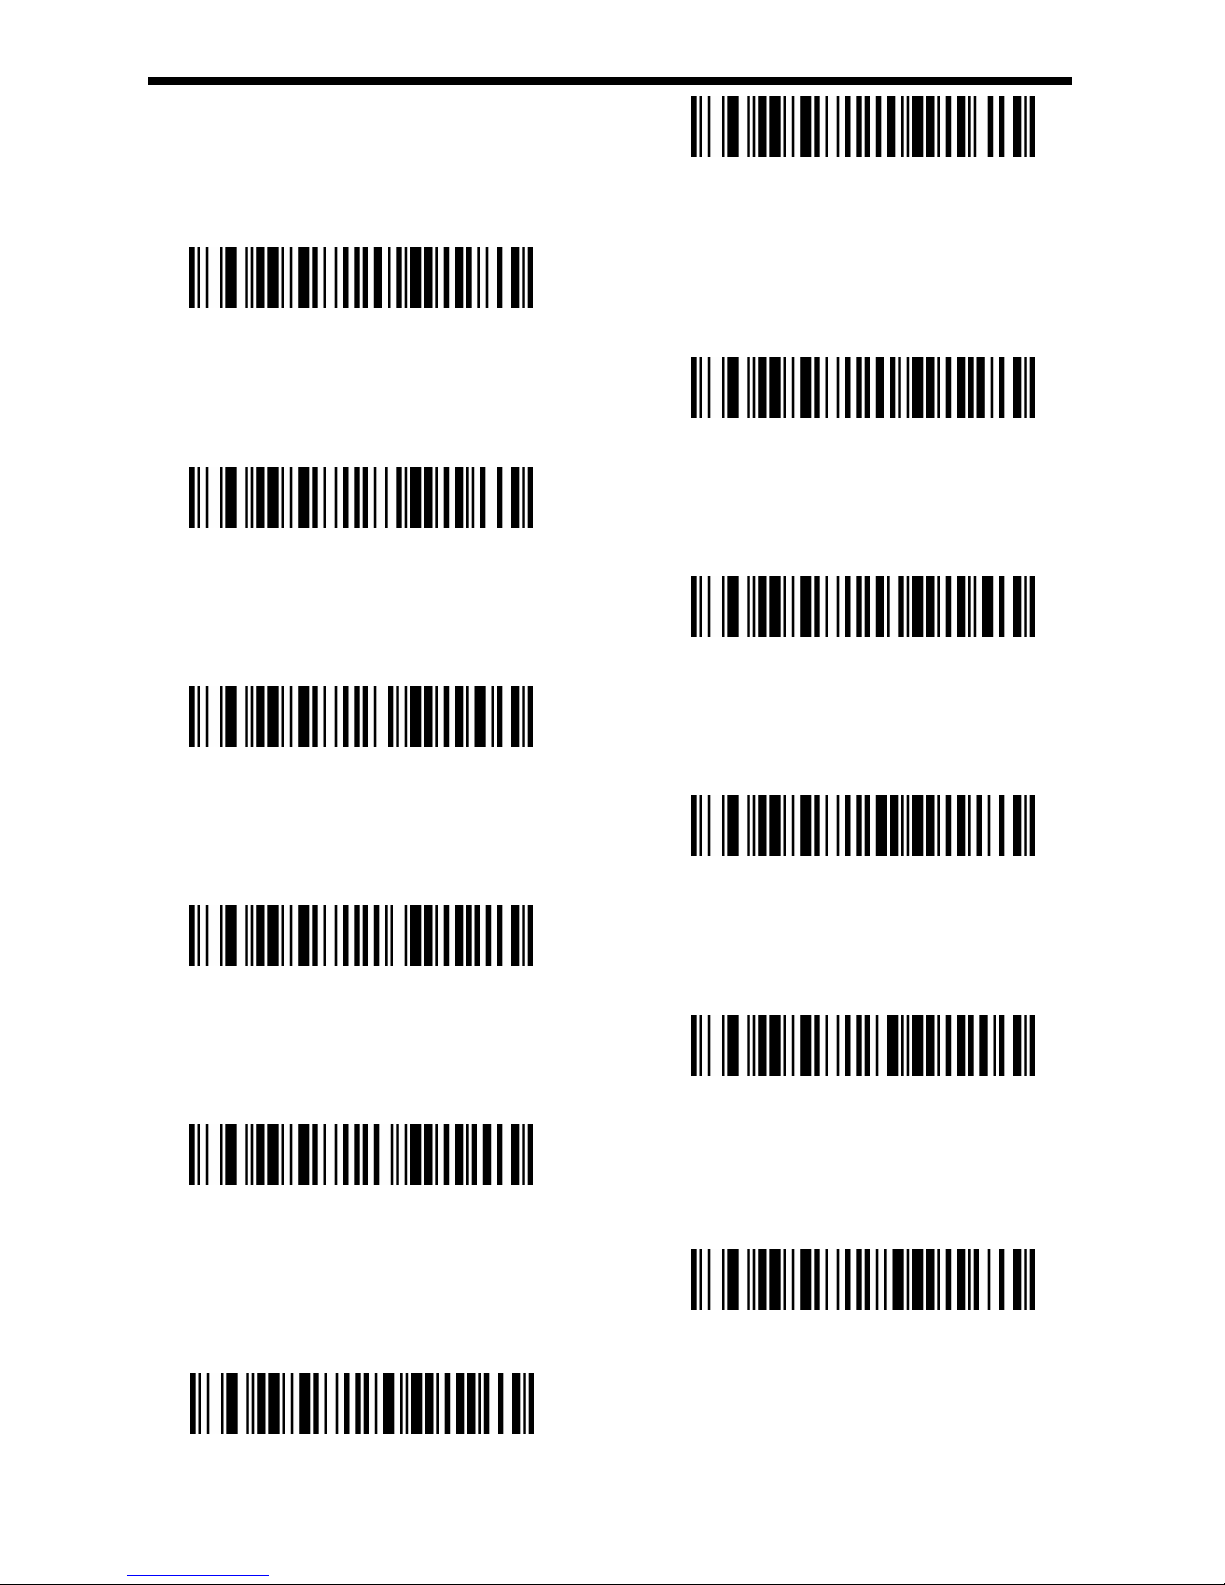
When the engine be recognized as a keyboard input device, you need to
set the different language in different country. The default language is US
English.
Keyboard Defualt
*English (US)
Belgium
Finland
France
German
Italy
Switzerland - German
England
Danmark
GEOS SD 580 2D
Page 9
9
Norway
Spain
Holland
Hebrew
Portugal
Latin America
Czech
Brazil
Greek
Hungray
Turkey
Poland
GEOS SD 580 2D
Page 10
10
Canada(French)
Russia
Japan ASSIC
Albania
Canada(Multilingual)
Ireland
Uzbekistan(cyrillic)
Ukraine
Kyrgyzstan (Cyrillic)
Kazakhstan
Belarus
Tartar
GEOS SD 580 2D
Page 11

11
Mongolia(Cyrillic)
GEOS SD 580 2D
Page 12
12
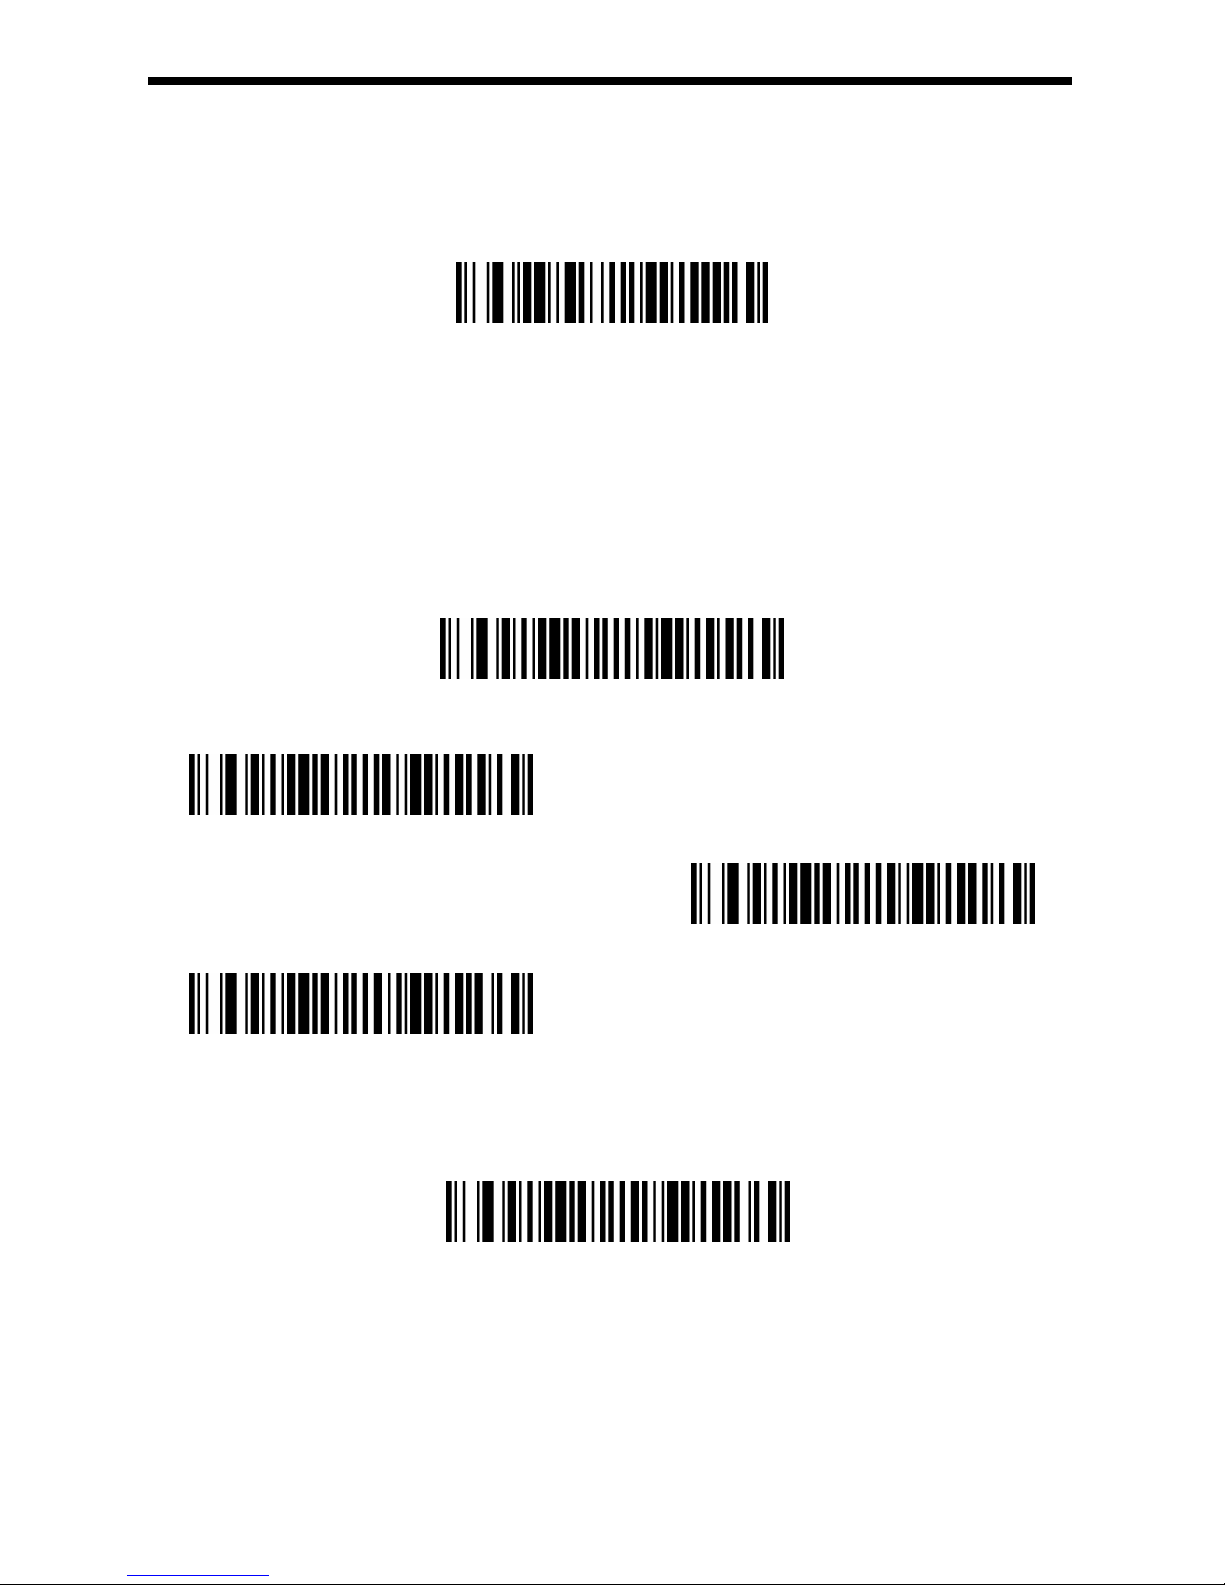
If want to allocate state type is not in the above the bar code, can be the following
steps: 1: sweep "keyboard national language configuration” code; 2: sweep the
appendix of numeric values in bar code (select the desired digital number decimal
countries value); 3:" save "barcode scanning.
Keyboard national language configuration
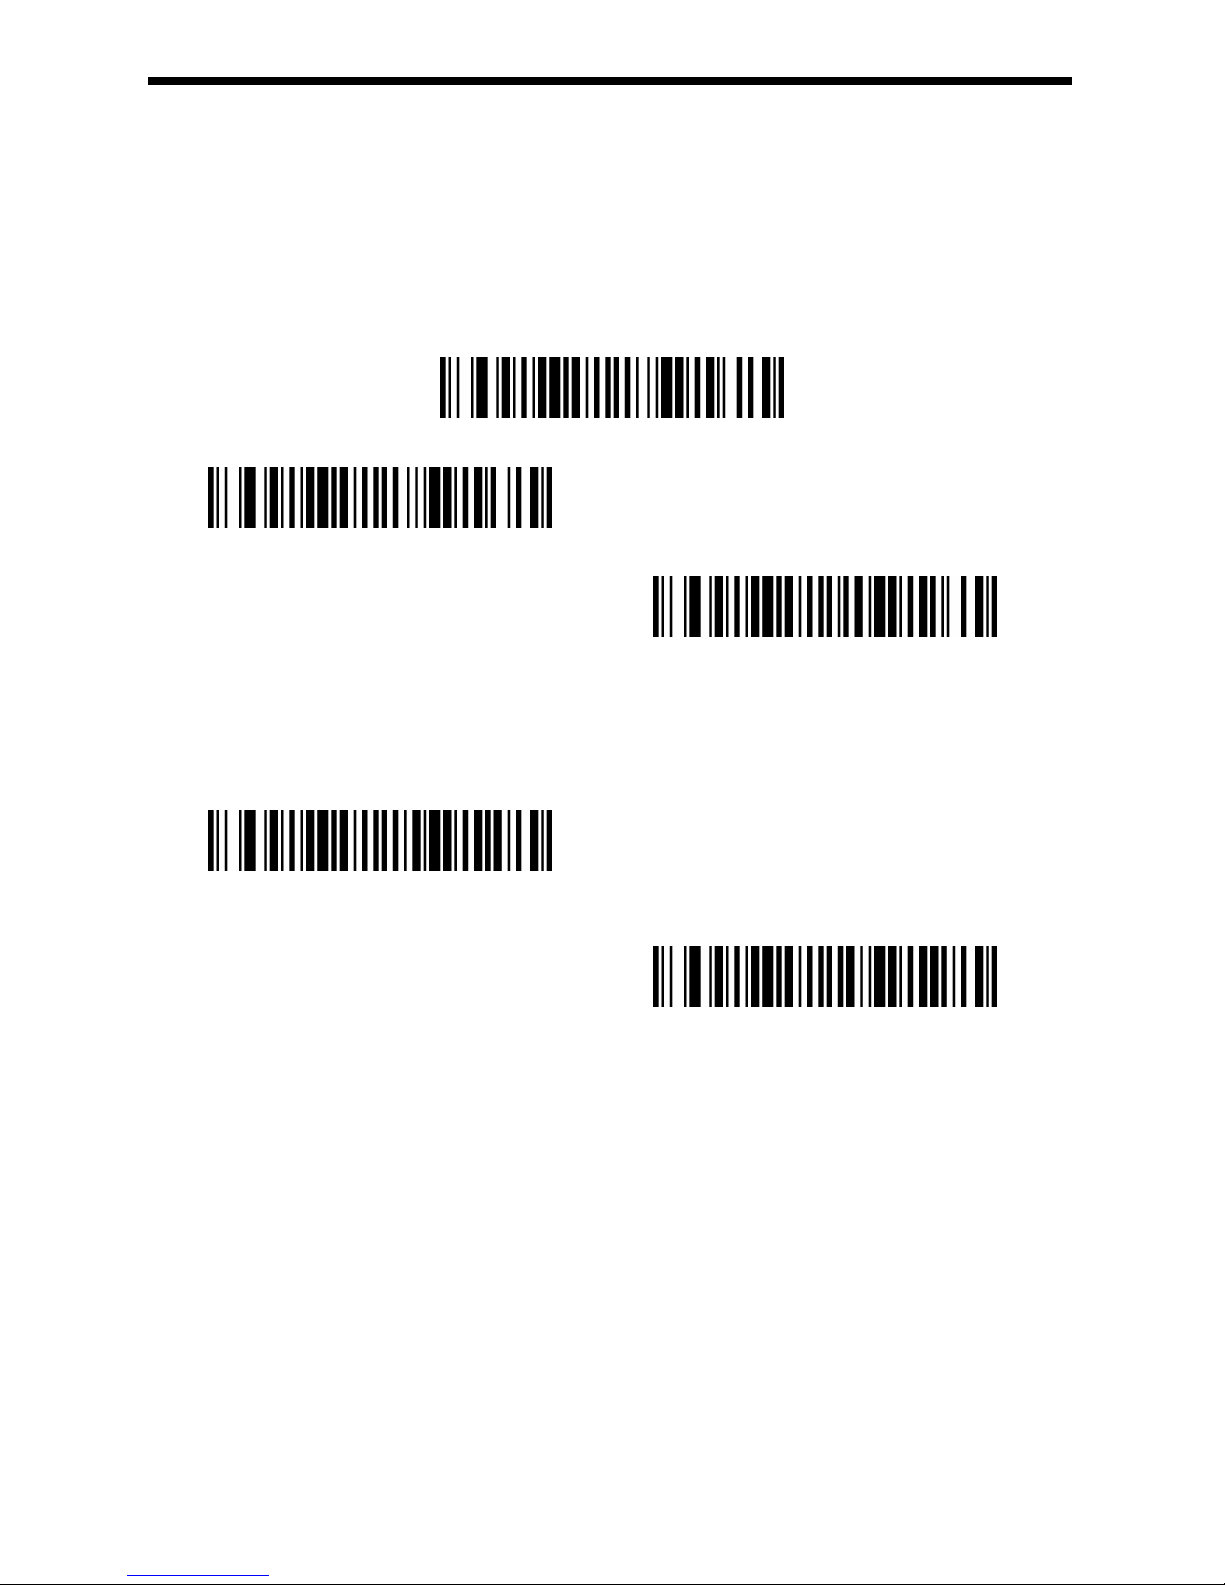
2. Keyboard combination configuration
Keyboard common methods such as size and write CAPS LOCK key, the SHIFT
key will affect the character information output, by setting the keyboard key
combination function, you can change the output character. The normal mode for
the caps lock off.
*Normal mode(CAPS LOCK off)
CAPS LOCK on
Shift Lock off
Auto check Caps Lock
In Germany, France and other countries the keyboard can be had for NumLock to
achieve CAPS LOCK function
Autocaps via NumLock
GEOS SD 580 2D
Page 13
13
3. Character Shift
Keyboard conversion, have the letter content in the output of the bar code, can be
configured to output the results to all uppercase or lowercase. For example, if the
code contents: ab123dE, if sweep "converted to uppercase" barcode, output the
result: AB123DE; if the sweep "converted to lowercase" bar code, the output result
is: abc123de; default keyboard case conversion.
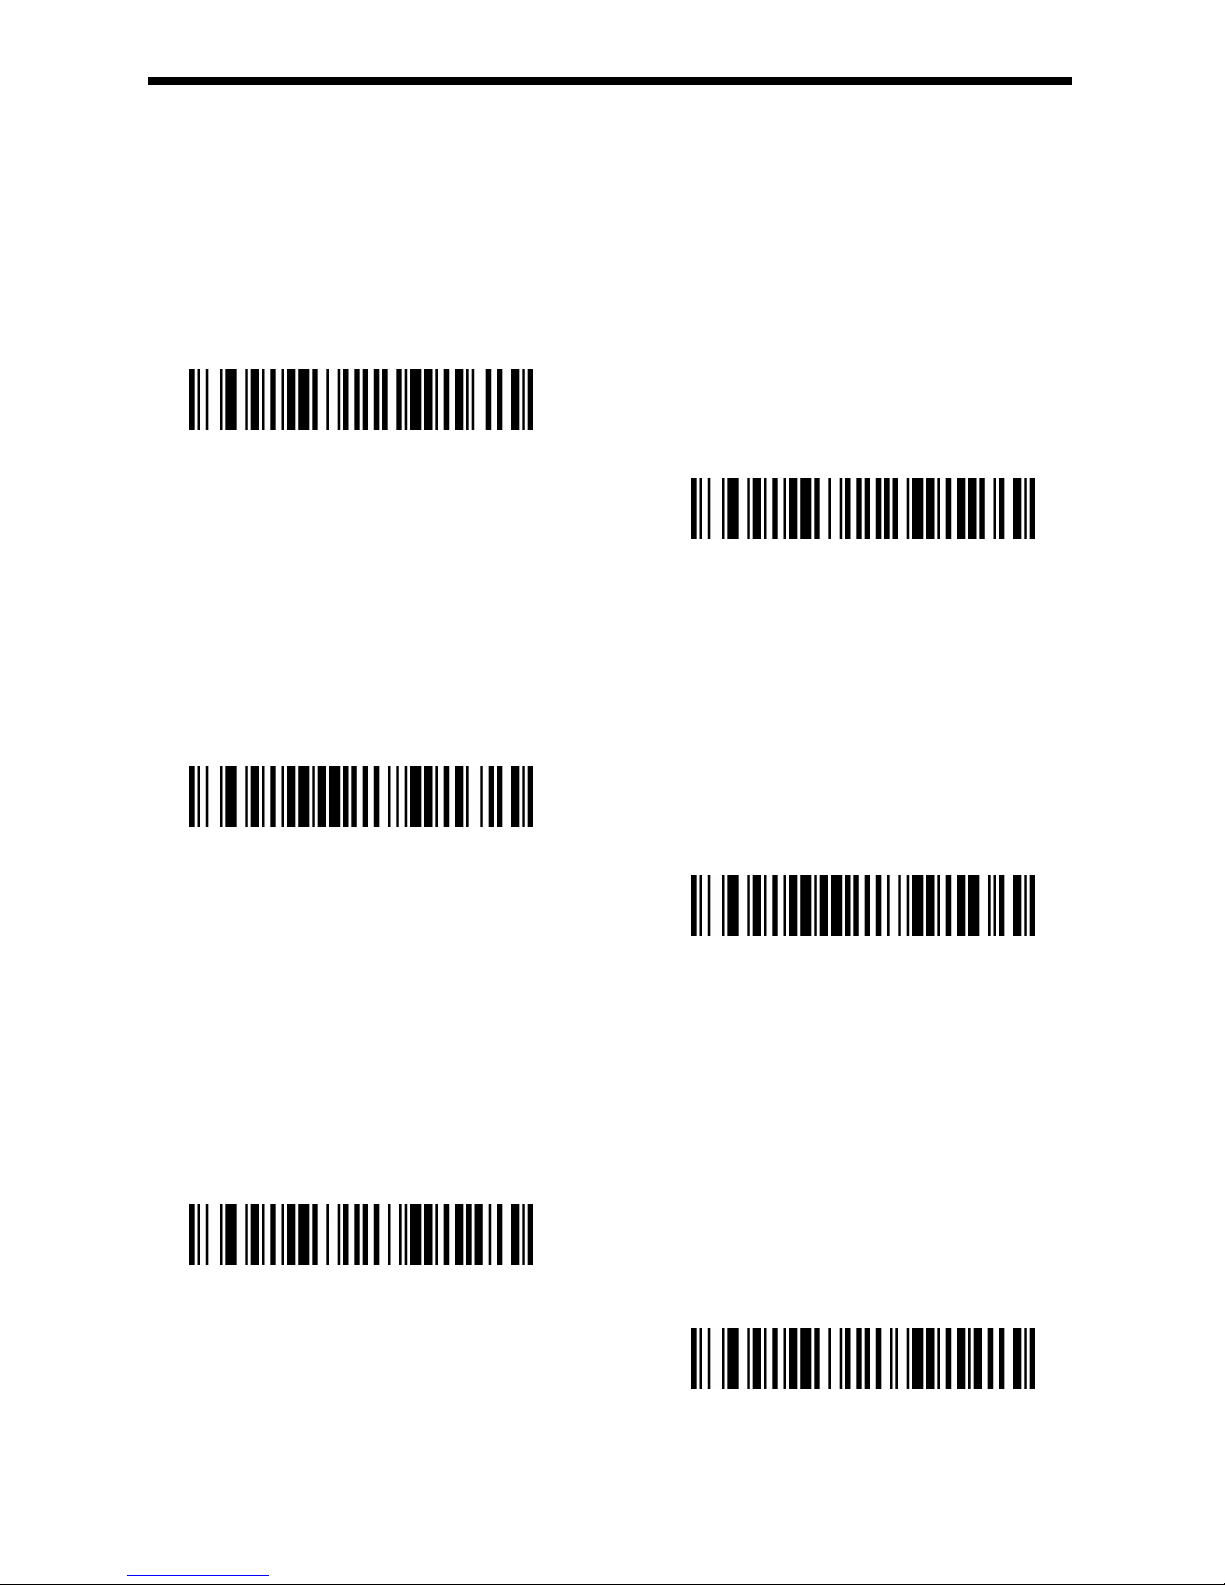
*No Keyboard case conversion
All Capital
All Lower case
Simulation of the input control character set, for example, to display the enter [CR],
and not display ASCII characters 0D, refer to ASCII conversion table. 00-1F energy
conversion, is turned off by default.
* Simulation of the input control character off
Simulation of the input control character on
GEOS SD 580 2D
Page 14
14
IV、input/output configuration
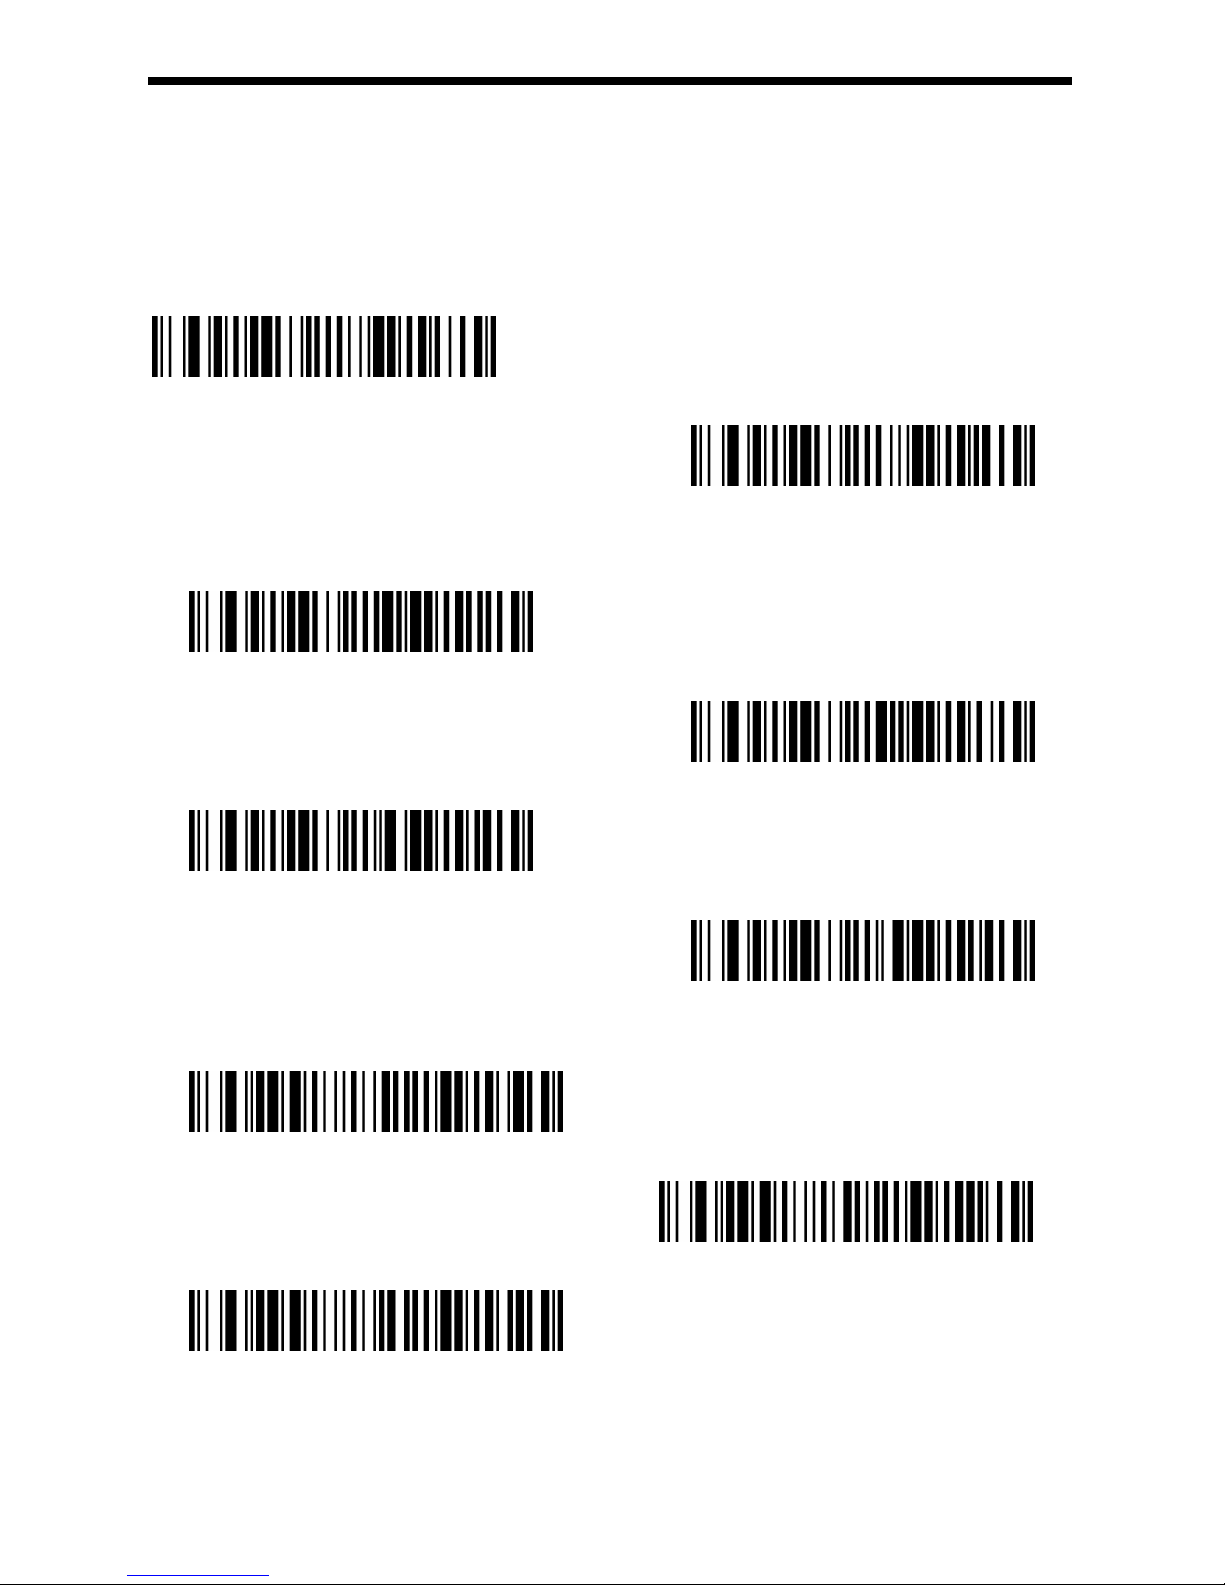
1. Power Up Beeper
The scanner can be programmed to beep when it’s powered up. If you are using a
cordless system, the base can also be programmed to beep when it is powered up.
Scan the Off bar code(s) if you don’t want a power up beep. Default = Power Up Beeper
On - Scanner.
*Power Up Beeper On
Power Up Beeper Off
2. Power On BELCharacter
You may wish to force the scanner to beep upon a command sent from the host. If you
scan the Beep on BEL On bar code below, the scanner will beep every time a BEL
character is received from the host. Default = Beep on BEL Off.
Beep On BEL On
*Beep On BELOff
3. Trigger Click
To hear an audible click every time the scanner trigger is pressed, scan the Trigger
Click On bar code below. Scan the Trigger Click Off code if you don’t wish to hear the
click. (This feature has no effect on serial or automatic triggering.) Default = Trigger
Click Off.。
Trigger Click On
*Trigger Click Off
GEOS SD 580 2D
Page 15
15
4. Good read
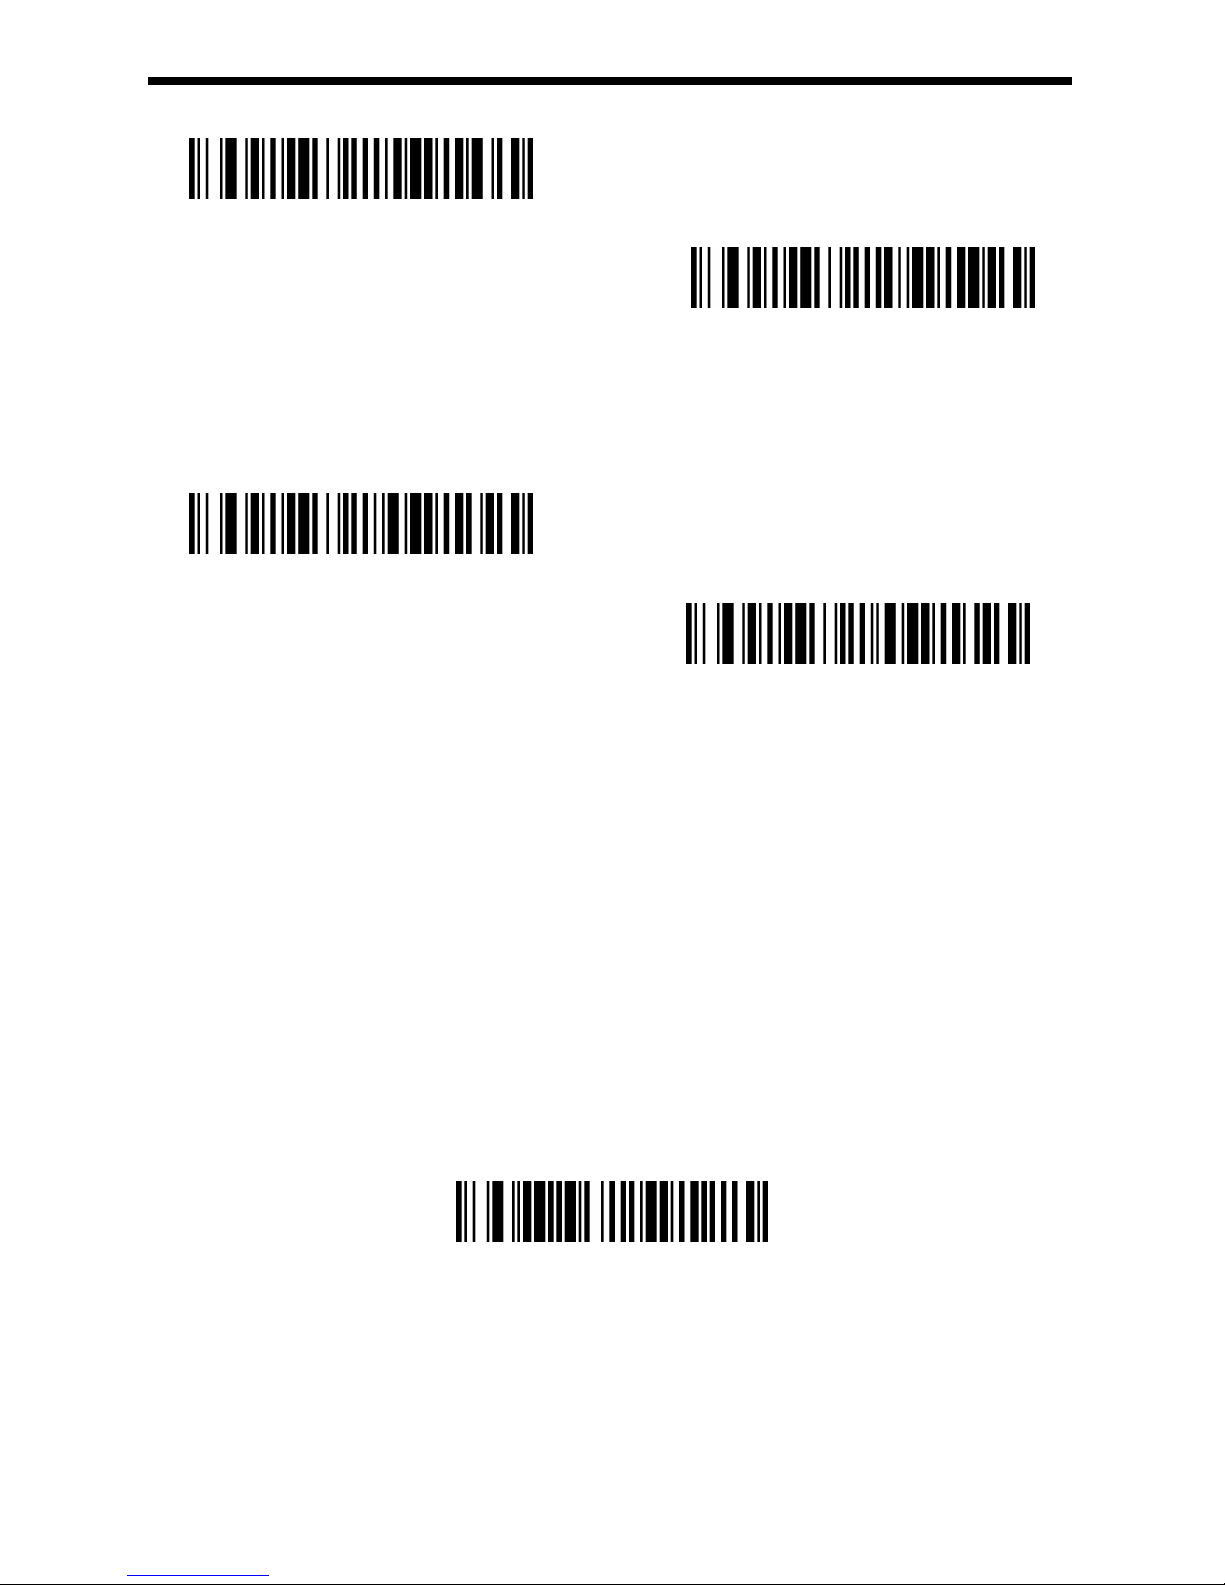
(1)Beeper – Good Read
The beeper may be programmed On or Off in response to a good read. Turning this
option off only turns off the beeperresponse to a good read indication. All error and
menu beeps are still audible. Default = Beeper - Good Read On.
Beeper Good Read Off
Beeper Good Read On
(2)Beeper Volumn
Off
Low
Medium
*High
(3)
Beeper Pitch
Low
*Medium
High
GEOS SD 580 2D
Page 16
16
(4)Beep duration
* Beep 50ms
Beep 20ms
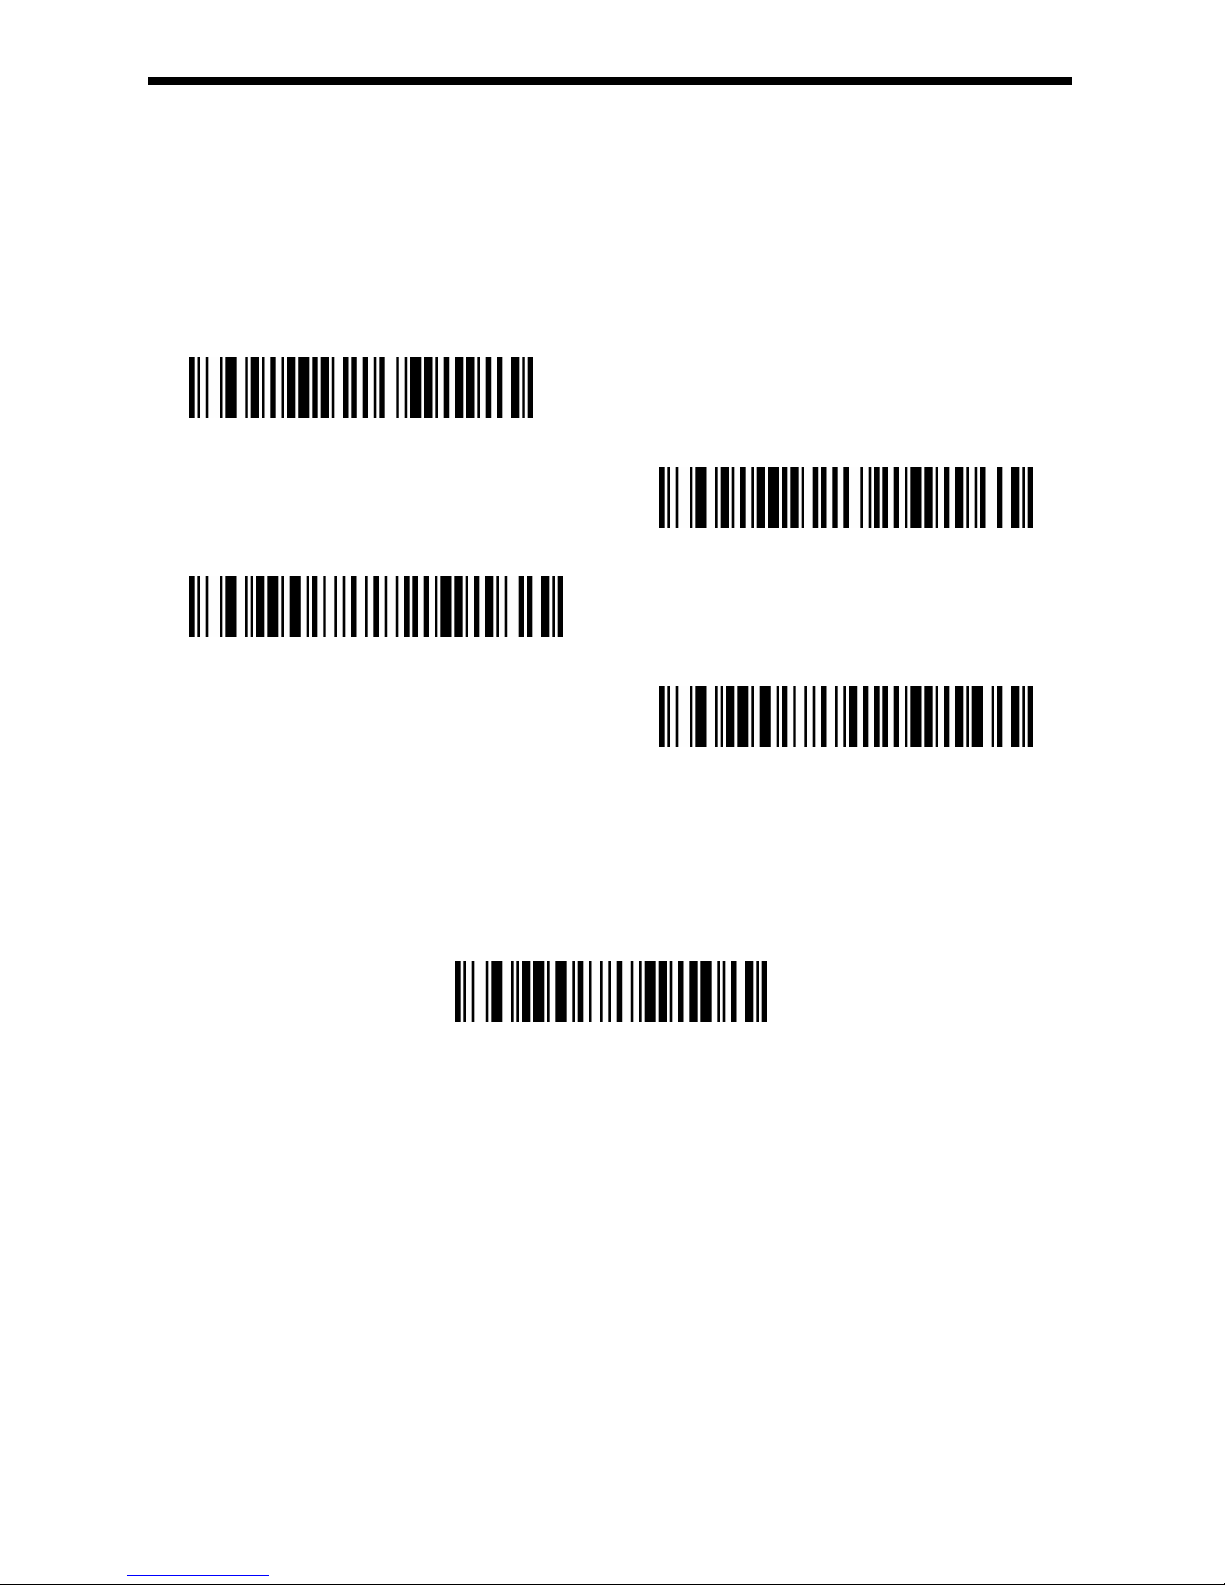
5. LED
The LED indicator can be programmed On or Off in response to a good read.
Default = On.
* LED Good read On
LED Good read Off
The number of good read beep and LED blink could be several times, and the
default is once. If you want to set more than once beep or LED blink, please
contact the distributor.。
6. Power Save mode
Engine power saving mode timeout. The scan engine will power saving mode
in idle after a certain period of time, if you do not let the engine for the power saving
mode can be set to "time out period" for 0ms. The default time is 120000ms. user
specified time. Specific operation is as follows: 1 sweep "time-out duration settings"
bar code; 2 sweep accessories digital value bar code (decimal length); 3 sweep
"save"
。
Time-out duration setting
GEOS SD 580 2D
Page 17
17
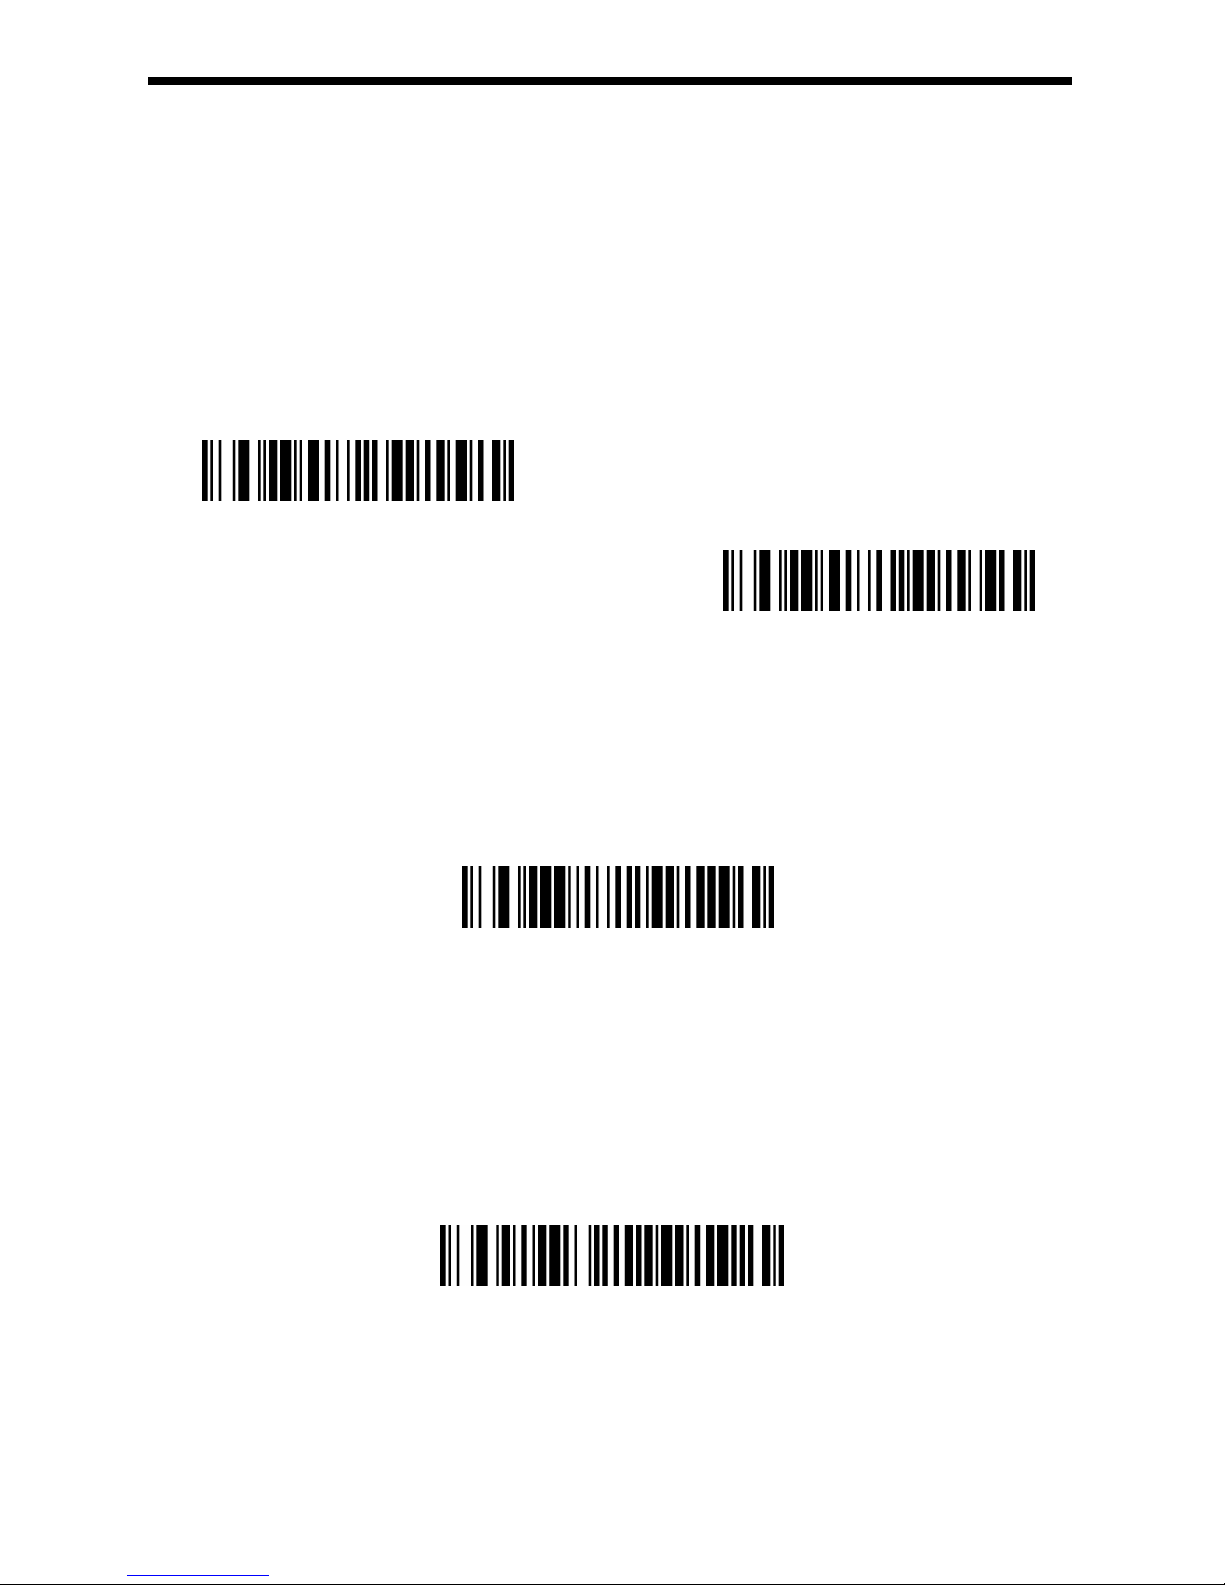
7. Read delay
(1)Read delay duration setting
This sets the time period before the scanner can read the same bar code a second time.
Setting a reread delay protects against accidental rereads of the same bar code. Longer
delays are effective in minimizing accidental rereads. Use shorter delays in applications
where repetitive bar code scanning is required.
。
*No Delay
500ms Delay
1000ms Delay
1500ms Delay
(2)User Specified Reread Delay
If you want to set your own length for the reread delay, scan the bar code below, then
set the delay (from 0-30,000 milliseconds)by scanning digits from the inside back cover,
then scanning Save.
User Specified Reread Delay
GEOS SD 580 2D
Page 18
18
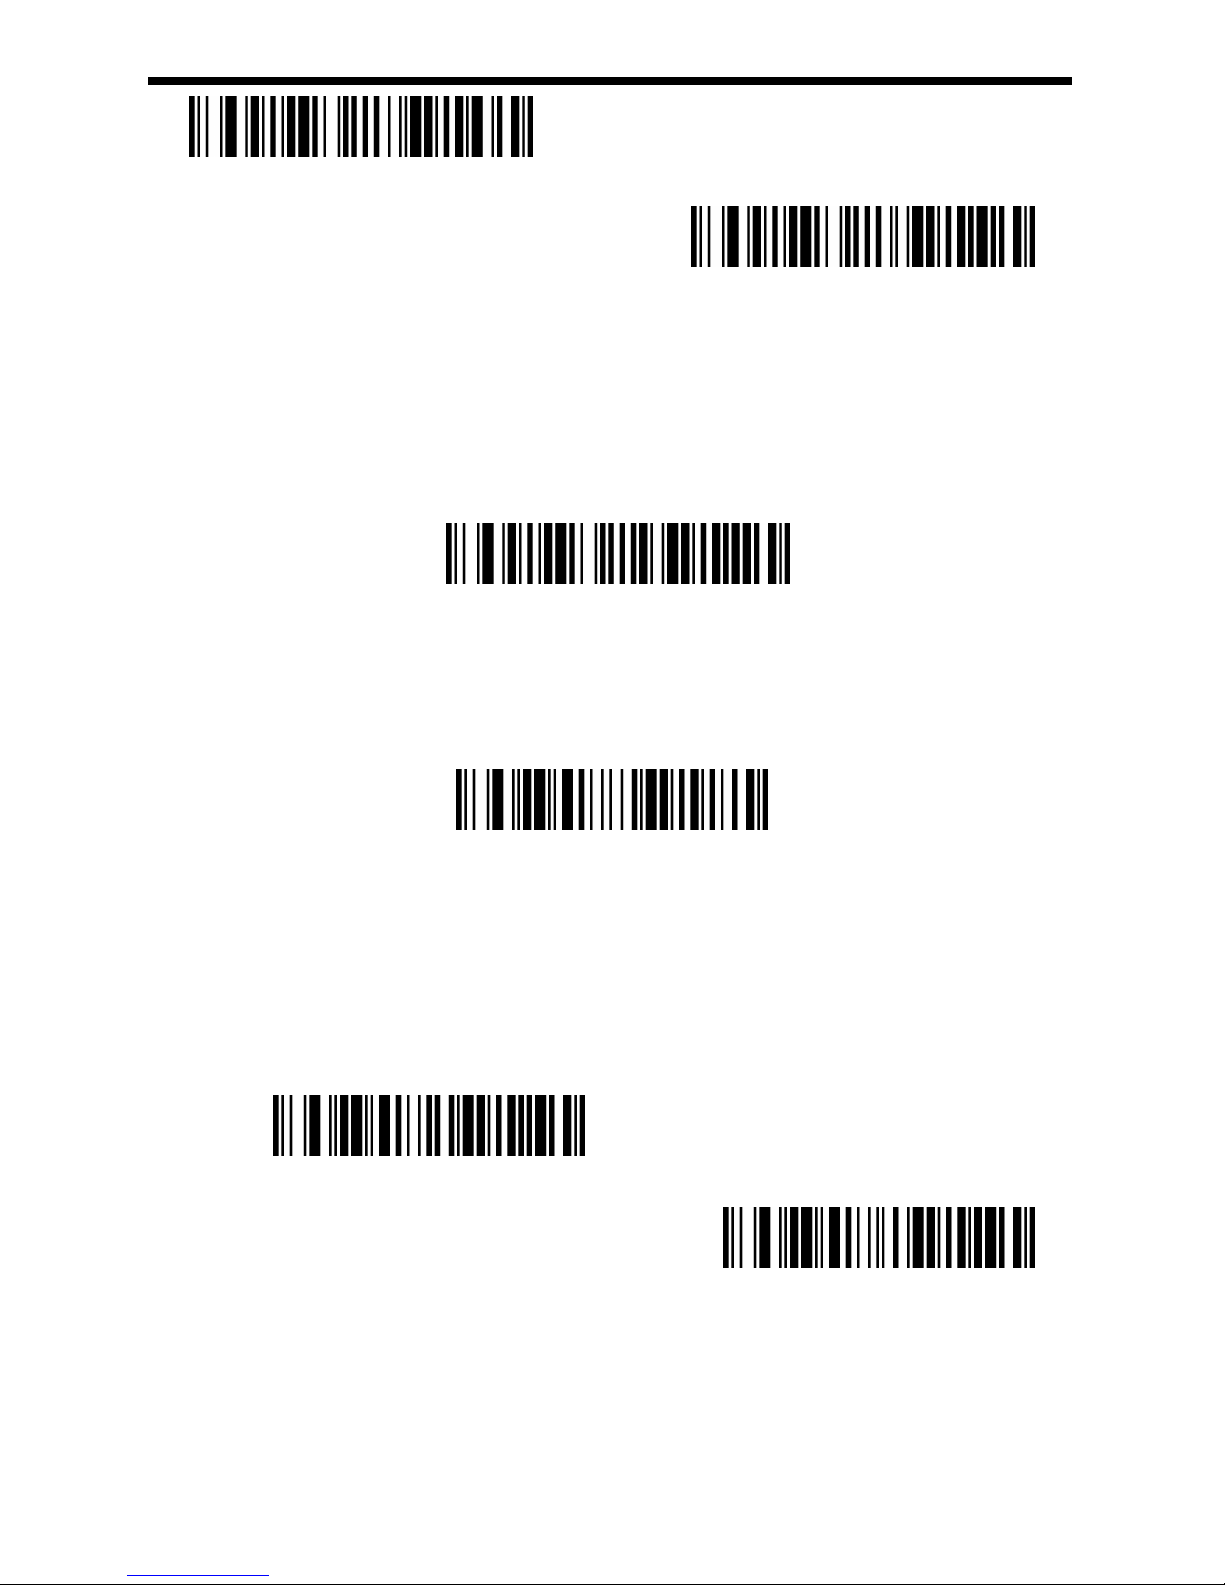
8. Trigger Modes
(1)Manual Trigger modes
When in manual trigger mode, the scanner scans until a bar code is read, or until the
trigger is released. Two modes are available, Normal and Enhanced. Normal mode
offers good scan speed and the longest working ranges (depth of field). Enhanced
mode will give you the highest possible scan speed but slightly less range than Normal
mode. Enhanced mode is best used when you require a very fast scan speed and don’t
require a long working range. Default = Manual Trigger-Normal.
* Manual Trigger Modes-Normal
Manual Trigger Modes-Enhanced
(2)Serial Trigger Mode
You can activate the scanner either by pressing the trigger, or using a serial trigger
command. When in serial mode, the scanner scans until a bar code has been read or
until the deactivate command is sent. The scanner can also be set to turn itself off after
a specified time has elapsed (see Read Time-Out, which follows).
Read Time-Out
(3)Presentation Mode
Presentation Mode uses ambient light and scanner illumination to detect bar codes.
When in Presentation Mode, the LEDs remain dim until a bar code is presented to the
scanner, then the aimer turns on and the LEDs turn up to read the code. If the light level
in the room is not high enough, Presentation Mode may not work properly. Scan the
following bar code to program your scanner for Presentation Mode.
Presentation Mode
①LED Illumination – Presentation Mode
If you wish to set the illumination LED brightness, scan one of the bar codes below. This
sets the LED illumination for the scanner when it is in Presentation Mode.
GEOS SD 580 2D
Page 19
19
*LED Illumination On
LED Illumination Off
②Presentation Sensitivity
Presentation Sensitivity is a numeric range that increases or decreases the scanner's
reaction time to bar code presentation. To set the sensitivity, scan the Sensitivity bar
code, then scan the degree of sensitivity (from 0-20) from the inside back cover, and
Save. 0 is the most sensitive setting, and 20 is the least sensitive. Default = 1.
Presentation Sensitivity
9. Continue Scanning Mode
When in Continue Scanning Mode, the scanner’s aimer goes out after a short time, but
the scan illumination remains on all the time to continuously search for bar codes.
Continue Scanning Mode
10. Cell Phone Mode
When this mode is selected, your scanner is optimized to read bar codes from mobile
phone or other LED displays. However, the speed of scanning printed bar codes may
be slightly lower when this mode is enabled. You can enable Cell Phone Reading for
either a hand held device, or for a hands-free (presentation)
application.
Cell phone Mode- Hand Held
Cell Phone Mode – Hands free
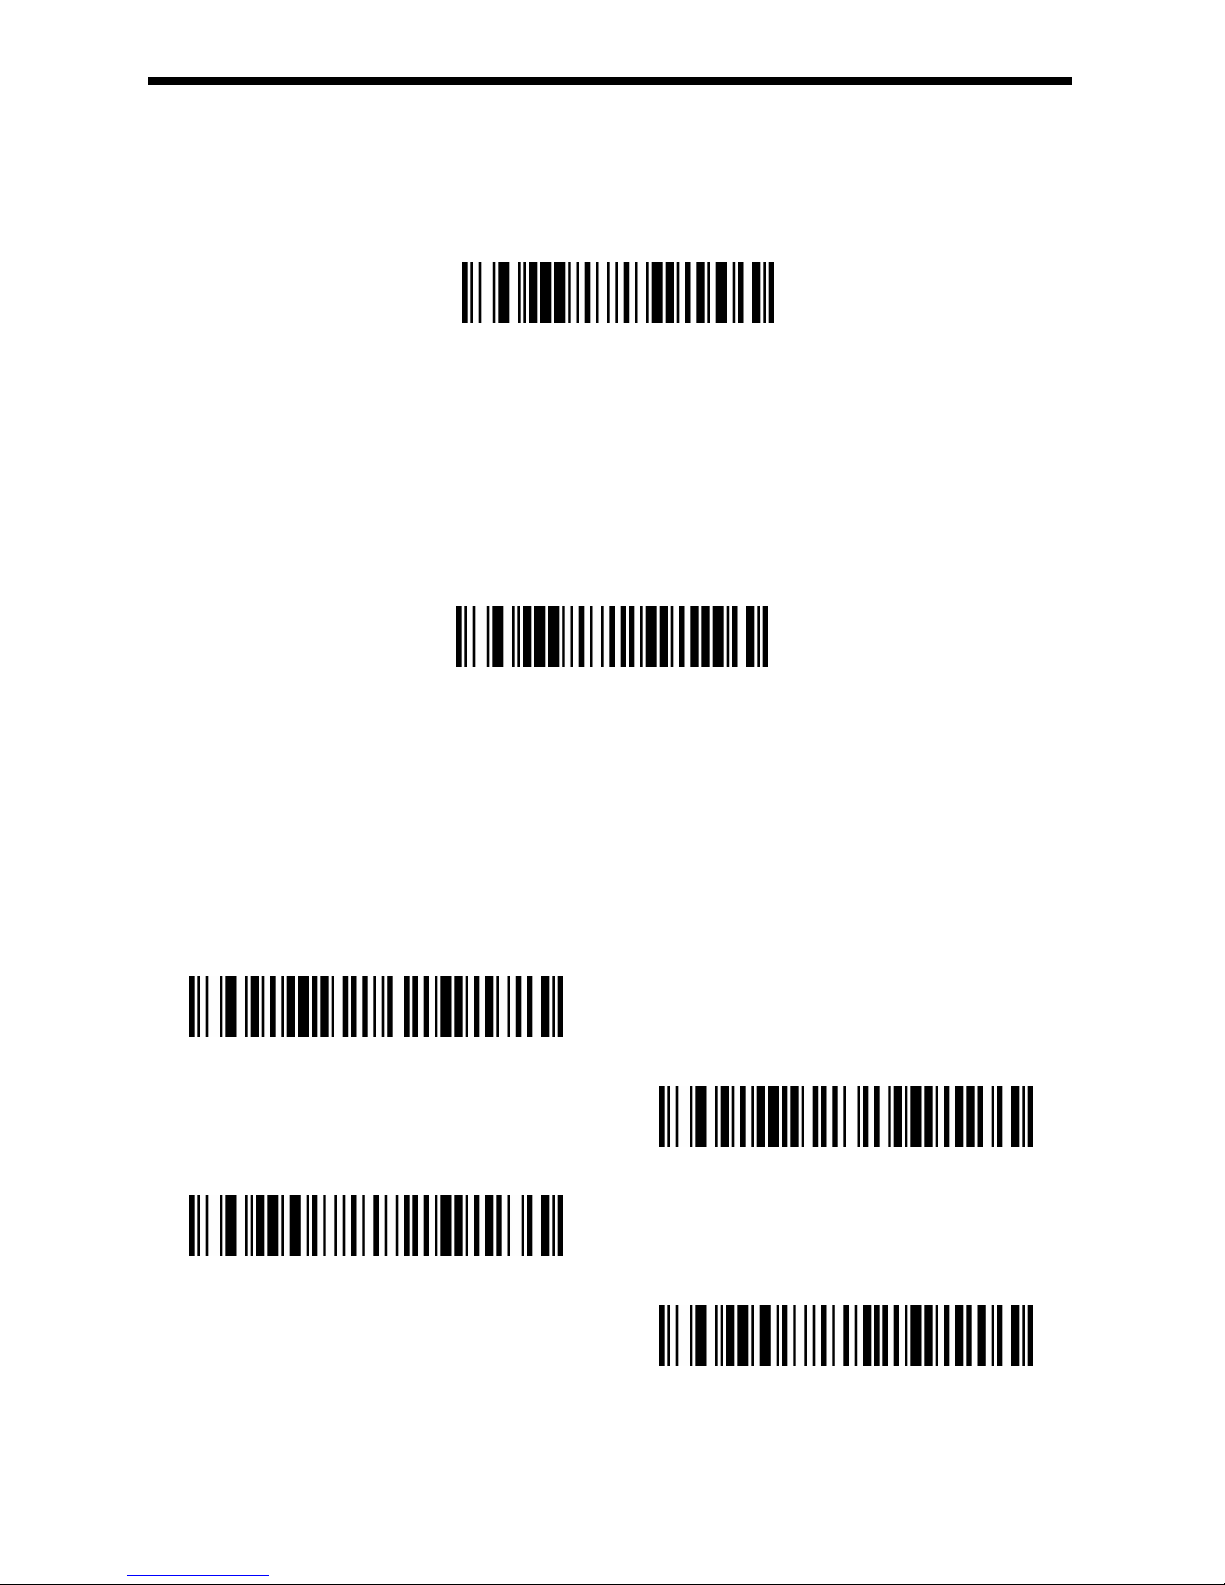
11. Presentation Time-Out
If the scanner’s trigger is pulled when using a presentation mode, the scanner changes
to manual trigger mode. You can set the time the scanner should remain in manual
trigger mode by setting the Presentation Time-Out. Once the time-out value is reached,
GEOS SD 580 2D
Page 20
20
(if there have been no further trigger pulls) the scanner reverts to the original
presentation mode. Scan the Presentation Time-Out bar code, then scan the time-out
duration (from 0-300,000 milliseconds) from the inside back cover, and Save. Default =
5,000 ms.
Presentation Time-Out
12. Read Time-Out
When the scanner is in manual trigger mode, if the scanner could not decode the
pictures, it will continue decode it until reach the decode time-out. The default decode
time-out is 30,000ms. Scan the Read Time-Out bar code, then scan the time-out
duration (from 0-300,000 milliseconds) from the inside back cover, and Save.
Read Time-out
13. Reread Delay
This sets the time period before the scanner can read the same bar code a second time.
Setting a reread delay protects against accidental rereads of the same bar code. Longer
delays are effective in minimizing accidental rereads. Use shorter delays in applications
where repetitive bar code scanning is required. Reread Delay only works when in a
Presentation Mode. Default = 750ms.
500ms
750ms
1000ms
2000ms
If you want to set your own length for the reread delay, scan the bar code below, then
set the delay (from 0-30,000 milliseconds) by scanning digits from the inside back cover,
GEOS SD 580 2D
Page 21
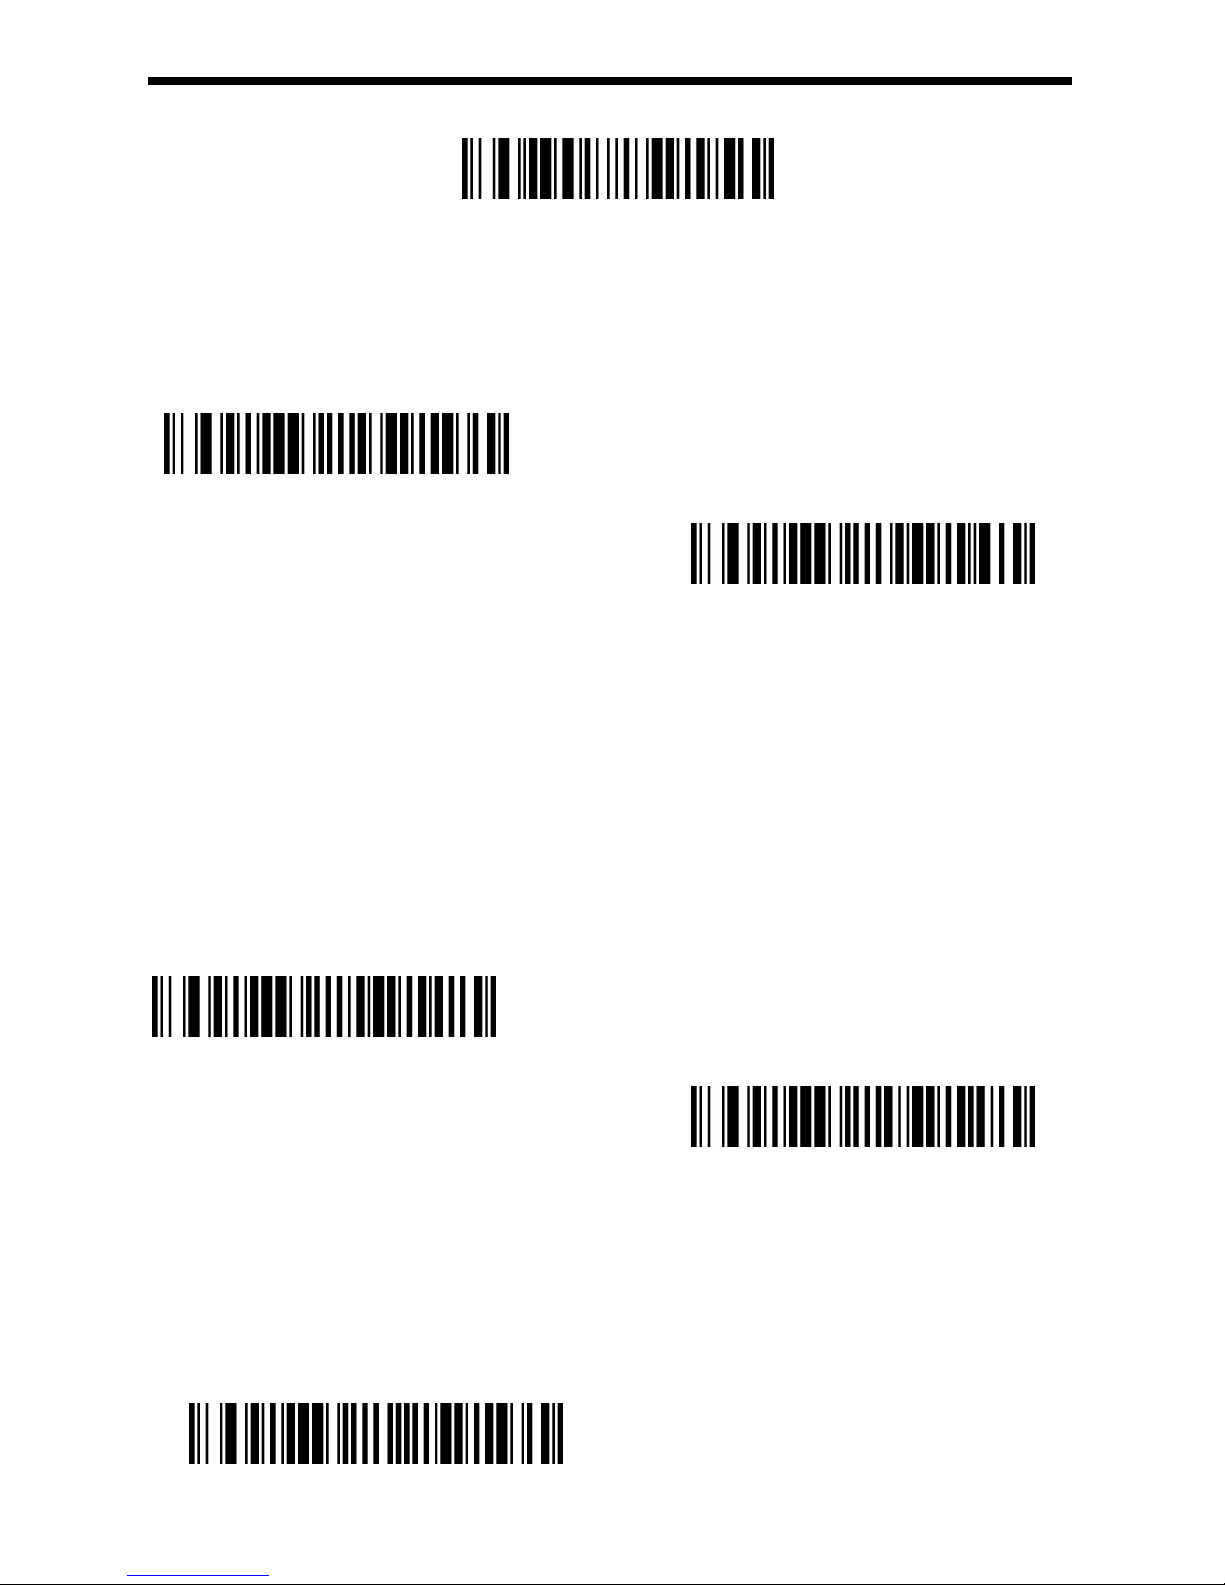
21
then scanning Save.
Reread Delay
14. Illumination Light
If you want the illumination lights on while reading a bar code, scan the Illumination
Lights On bar code, below. However, if you want to turn just the lights off, scan the
Illumination Lights Off bar code. Default =Illumination Lights On.
*Illumination Light On
Illumination Light Off
15. Aimer light
If you want the aimer lights on while reading a bar code, scan the Aimer Lights On bar
code, below. However, if you want to turn just the lights off, scan the Aimer Lights Off
bar code. Default = Aimer Lights On.
The aimer delay allows a delay time for the operator to aim the scanner before the
picture is taken. Use these codes to set the time between when the trigger is pulled and
when the picture is taken. During the delay time, the aiming light will appear, but the
LEDs won’t turn on until the delay time is over. Default = Off.
Aimer lights Off
*Aimer light On
Aimer delay
The aimer delay allows a delay time for the operator to aim the scanner before the
picture is taken. Use these codes to set the time between when the trigger is pulled and
when the picture is taken. During the delay time, the aiming light will appear, but the
LEDs won’t turn on until the delay time is over. Default = Off
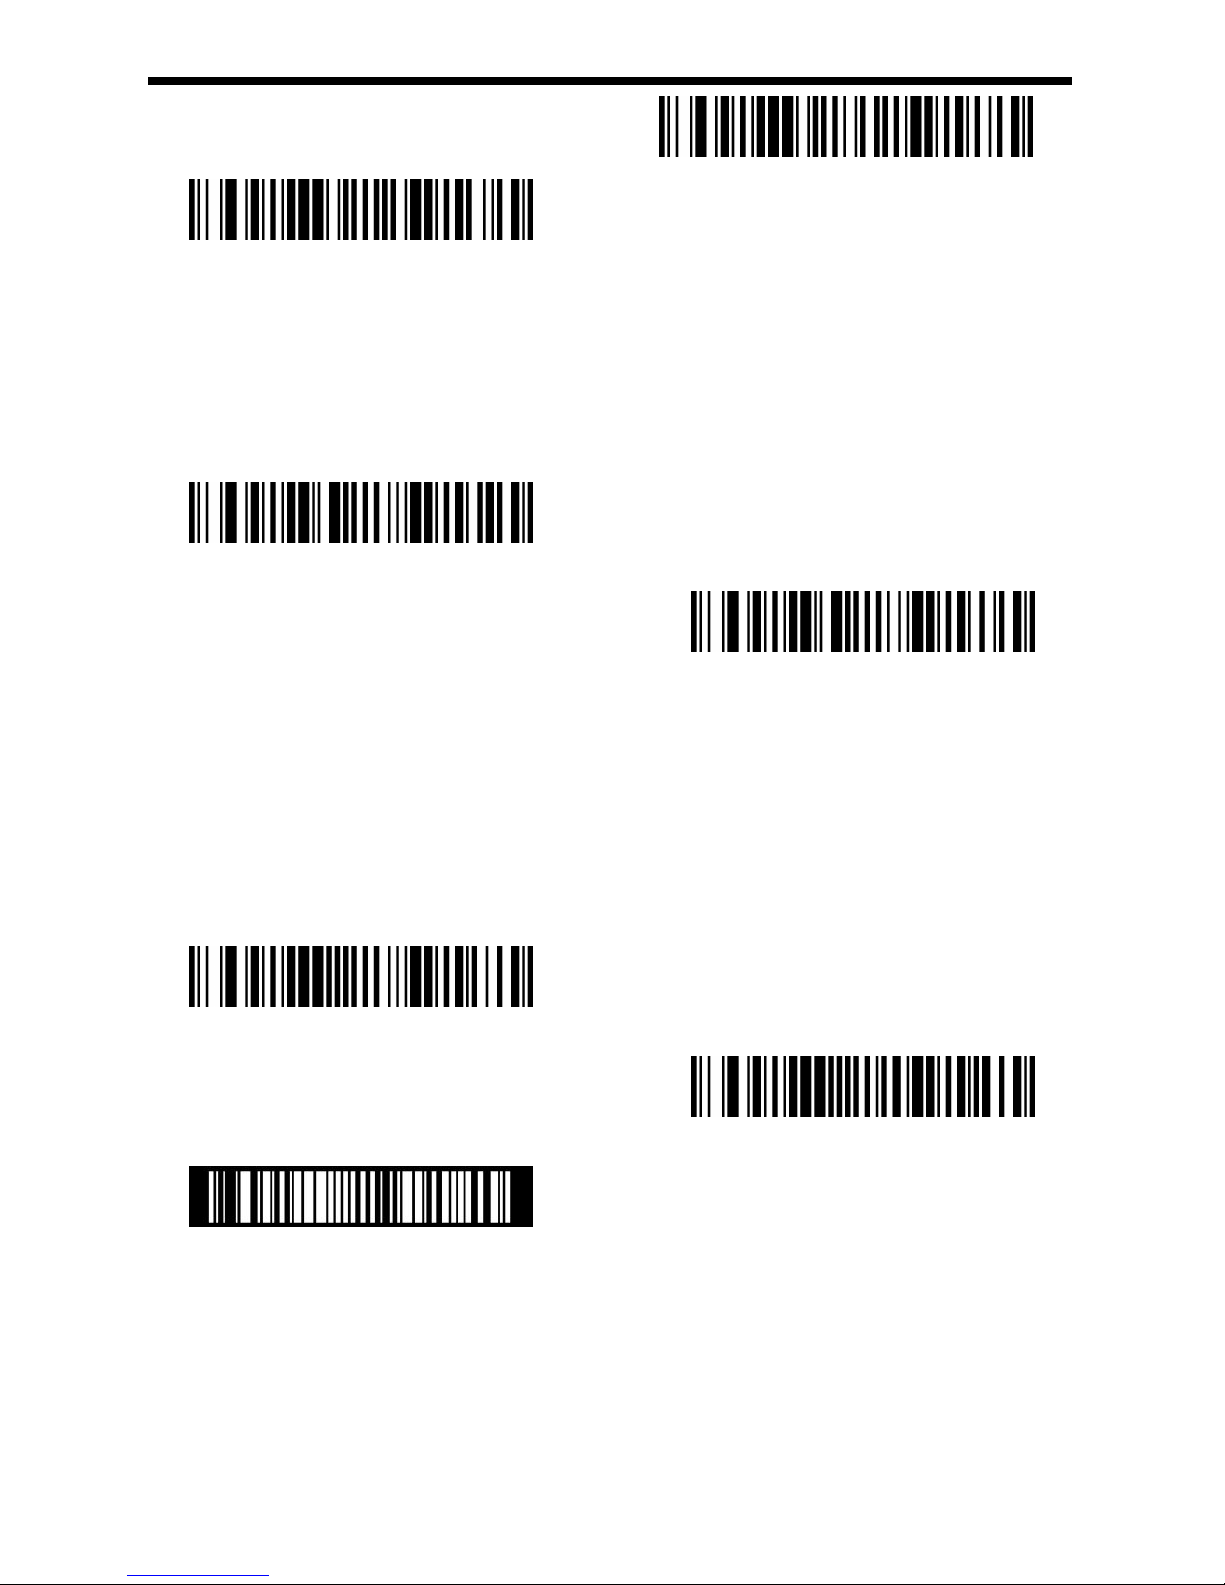
200ms
GEOS SD 580 2D
Page 22
22
* Off
16. Total Read Mode
If there are several different barcodes in the scan area, in Total ReadMode,
the scanner will try to decode all the barcodes in scan area and out put it. The
default is off.
Total Read Mode-On
*Total Read Mode-Off
17. Reverse Barcode mode
The reverse barcode is the barcode which space is black and bar is white. In
reverse only mode, the scanner could read the reverse barcode. In normal &
reverse mode, the scanner could read both normal and reverse barcode, but
the scan speed will be a little slow when the barcode print quality is bad.
Reverse Barcode Only
Normal & Reverse barcode
* Normal Barcode Only
GEOS SD 580 2D
Page 23

23
V、Data Editing
1. Prefix & Suffix
When a bar code is scanned, additional information is sent to the host computer along
with the bar code data. This group of bar code data and additional, user-defined data is
called a “message string.” The selections in this section are used to build the
user-defined data into the message string.
(1)
To add a Prefix or Suffix
Step 1. Scan the Add Prefix or Add Suffix symbol (page 5-2).
Step 2. Determine the 2 digit Hex value from the Symbology Chart (included in the
Symbology Charts, beginning on page A-1) for the symbology to which you want to
apply the prefix or suffix. For example, for Code 128, Code ID is “j” and Hex ID is “6A”.
Step 3. Scan the 2 hex digits from the Programming Chart inside the back cover of this
manual or scan 9, 9 for all symbologies.
Step 4. Determine the hex value from the ASCII Conversion Chart (Code Page 1252),
beginning on page A-3, for the prefix or suffix you wish to enter.
Step 5. Scan the 2 digit hex value from the Programming Chart inside the back cover of
this manual.
Step 6. Repeat Steps 4 and 5 for every prefix or suffix character.
Step 7. To add the Code I.D., scan 5, C, 8, 0. To add AIM I.D., scan 5, C, 8, 1.To add a
backslash (\), scan 5, C, 5, C.
Note: To add a backslash (\) as in Step 7, you must scan 5C twice – once to create the
leading backslash and then to create the backslash itself.
Step 8. Scan Save to exit and save, or scan Discard to exit without saving.
Repeat Steps 1-6 to add a prefix or suffix for another symbology.
(2)
To Clear one or all prefix or suffix
You can clear a single prefix or suffix, or clear all prefixes/suffixes for a symbology. If
you have been entering prefixes and suffixes for single symbologies, you can use Clear
One Prefix (Suffix) to delete a specific character from a symbology. When you Clear
All Prefixes (Suffixes), all the prefixes or suffixes for a symbology are deleted.
Step 1. Scan the Clear One Prefix or Clear One Suffix symbol.
Step 2. Determine the 2 digit Hex value from the Symbology Chart (included in the
Symbology Charts, beginning on page A-1) for the symbology from which you want to
GEOS SD 580 2D
Page 24
24
clear the prefix or suffix.
Step 3. Scan the 2 digit hex value from the Programming Chart inside the back cover of
this manual or scan 9, 9 for all symbologies.
Your change is automatically saved.
(3)To Add a Carriage Return Suffix to All Symbologies
Scan the following bar code if you wish to add a carriage return suffix to all symbologies
at once. This action first clears all current suffixes, then programs a carriage return
suffix for all symbologies.
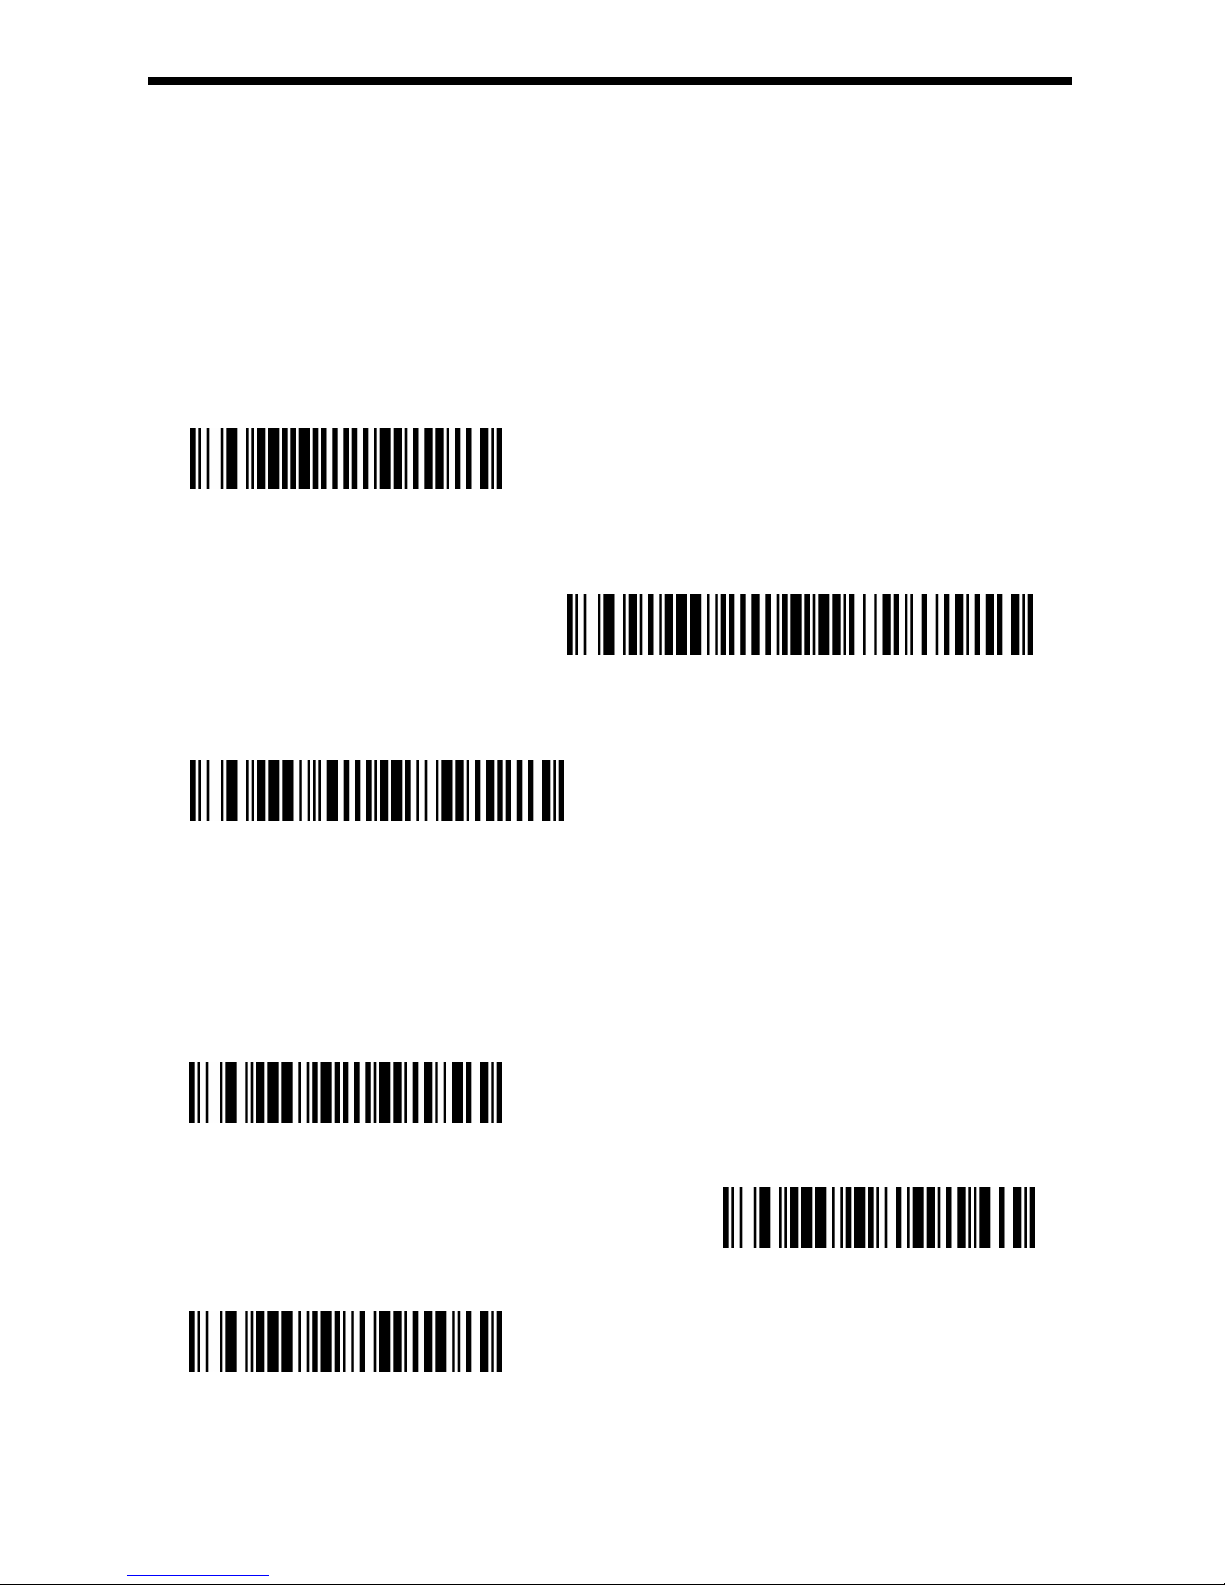
Add CR Suffix
All Symbologies
Add CR & LF Suffix
All Symbologies
Add Tab Suffix
All Symbologies
2. Prefix Setting
The default is no Prefix.
Add Prefix
Clear On Prefix
Clear All Prefix
GEOS SD 580 2D
Page 25
25
3. Suffix setting
后缀默认值为无后缀。
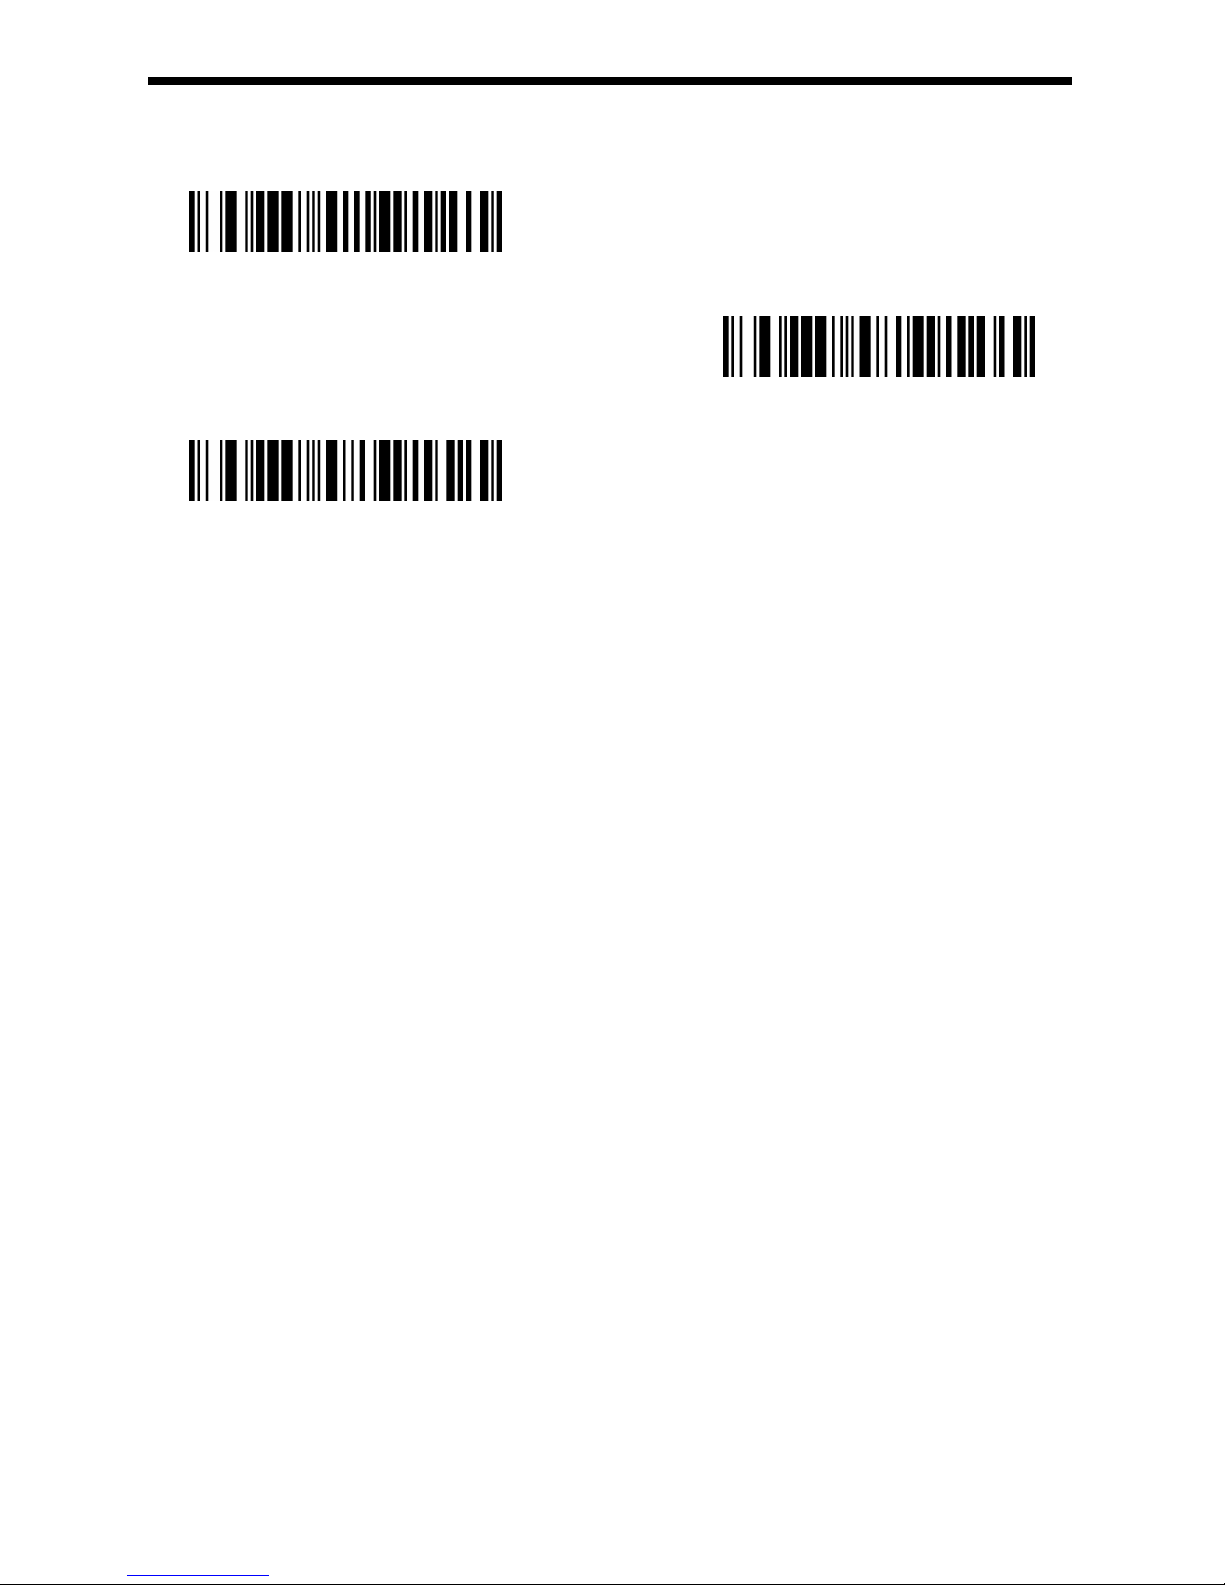
Add Suffix
Clear One Suffix
Clear All Suffix
GEOS SD 580 2D
Page 26
26
4. Intercharacter and Intermessage Delays
(1)Intercharacter Delay
An intercharacter delay of up to 5000 milliseconds (in 5ms increments) may be placed
between the transmission of each character of scanned data. Scan the Intercharacter
Delay bar code below, then scan the number of 5ms delays, and the Save bar code
using the Programming Chart inside the back cover of this manual.
Intercharacter Delay
To remove this delay, scan the Intercharacter Delay bar code, then set the number of
delays to 0. Scan the Save bar code using the Programming Chart inside the back
cover of this manual.
Note: Intercharacter delays are not supported in USB serial emulation.
(2)Intermessage Delay
An intermessage delay of up to 5000 milliseconds (in 5ms increments) may be placed
between each scan transmission. Scan the Intermessage Delay bar code below, then
scan the number of 5ms delays, and the Save bar code using the Programming Chart
inside the back cover of this manual.
Intermessage Delay
To remove this delay, scan the Intermessage Delay bar code, then set the number of
delays to 0. Scan the Save bar code using the Programming Chart inside the back
cover of this manual.
GEOS SD 580 2D
Page 27
27
VI、Symbologies Configuration
1. All Symbologies
All Symbologies On(except Post Code)
All Symbologies Off
2. Codabar
Recall Default
Codabar On/Off
*On
Off
Codabar Start/Stop Characters
Start/Stop characters identify the leading and trailing ends of the bar code. You may
either transmit, or not transmit Start/Stop characters. Default = Don’t Transmit.
Transmit
Don’t Transmit
Codabar Message Length
Scan the bar codes below to change the message length. Minimum and Maximum
lengths = 2-60. Minimum Default = 4, Maximum Default = 60.
GEOS SD 580 2D
Page 28

28
Maximum Message length
Minimum Message length
GEOS SD 580 2D
Page 29
29
3. Code39
Recall Default
Code39 On/Off
* On
Off
Code39 Start/Stop Characters
Start/Stop characters identify the leading and trailing ends of the bar code.
You may either transmit, or not transmit Start/Stop characters. Default = Don’t
Transmit.
Transmit
* Don’t Transmit
Code39 Check Character
No Check Character indicates that the scanner reads and transmits bar code data with
or without a check character. When Check Character is set to Validate, but Don’t
Transmit, the unit only reads Code 39 bar codes printed with a check character, but will
not transmit the check character with the scanned data. When Check Character is set to
Validate and Transmit, the scanner only reads Code 39 bar codes printed with a check
character, and will transmit this character at the end of the scanned data. Default = No
Check Character.
*No Check Character
GEOS SD 580 2D
Page 30
30
Validate, but Don’t Transmit
Validate and Transmit
Code39 Message Length
Scan the bar codes below to change the message length. Minimum and Maximum
lengths = 0-48. Minimum Default = 0, Maximum Default = 48.
Maximum Message length
Minimum Message length
Full ASCII On/Off
Full ASCII On
* Full ASCII Off
This function allows the scanner to append the data from several Code 39 bar codes
together before transmitting them to the host computer. When the scanner encounters a
Code 39 bar code with the append trigger character(s), it buffers Code 39 bar codes
until it reads a Code 39 bar code that does not have the append trigger. The data is then
transmitted in the order in which the bar codes were read (FIFO). Default = Off.
Code 39 Append On
*Code 39 Append Off
GEOS SD 580 2D
Page 31
31
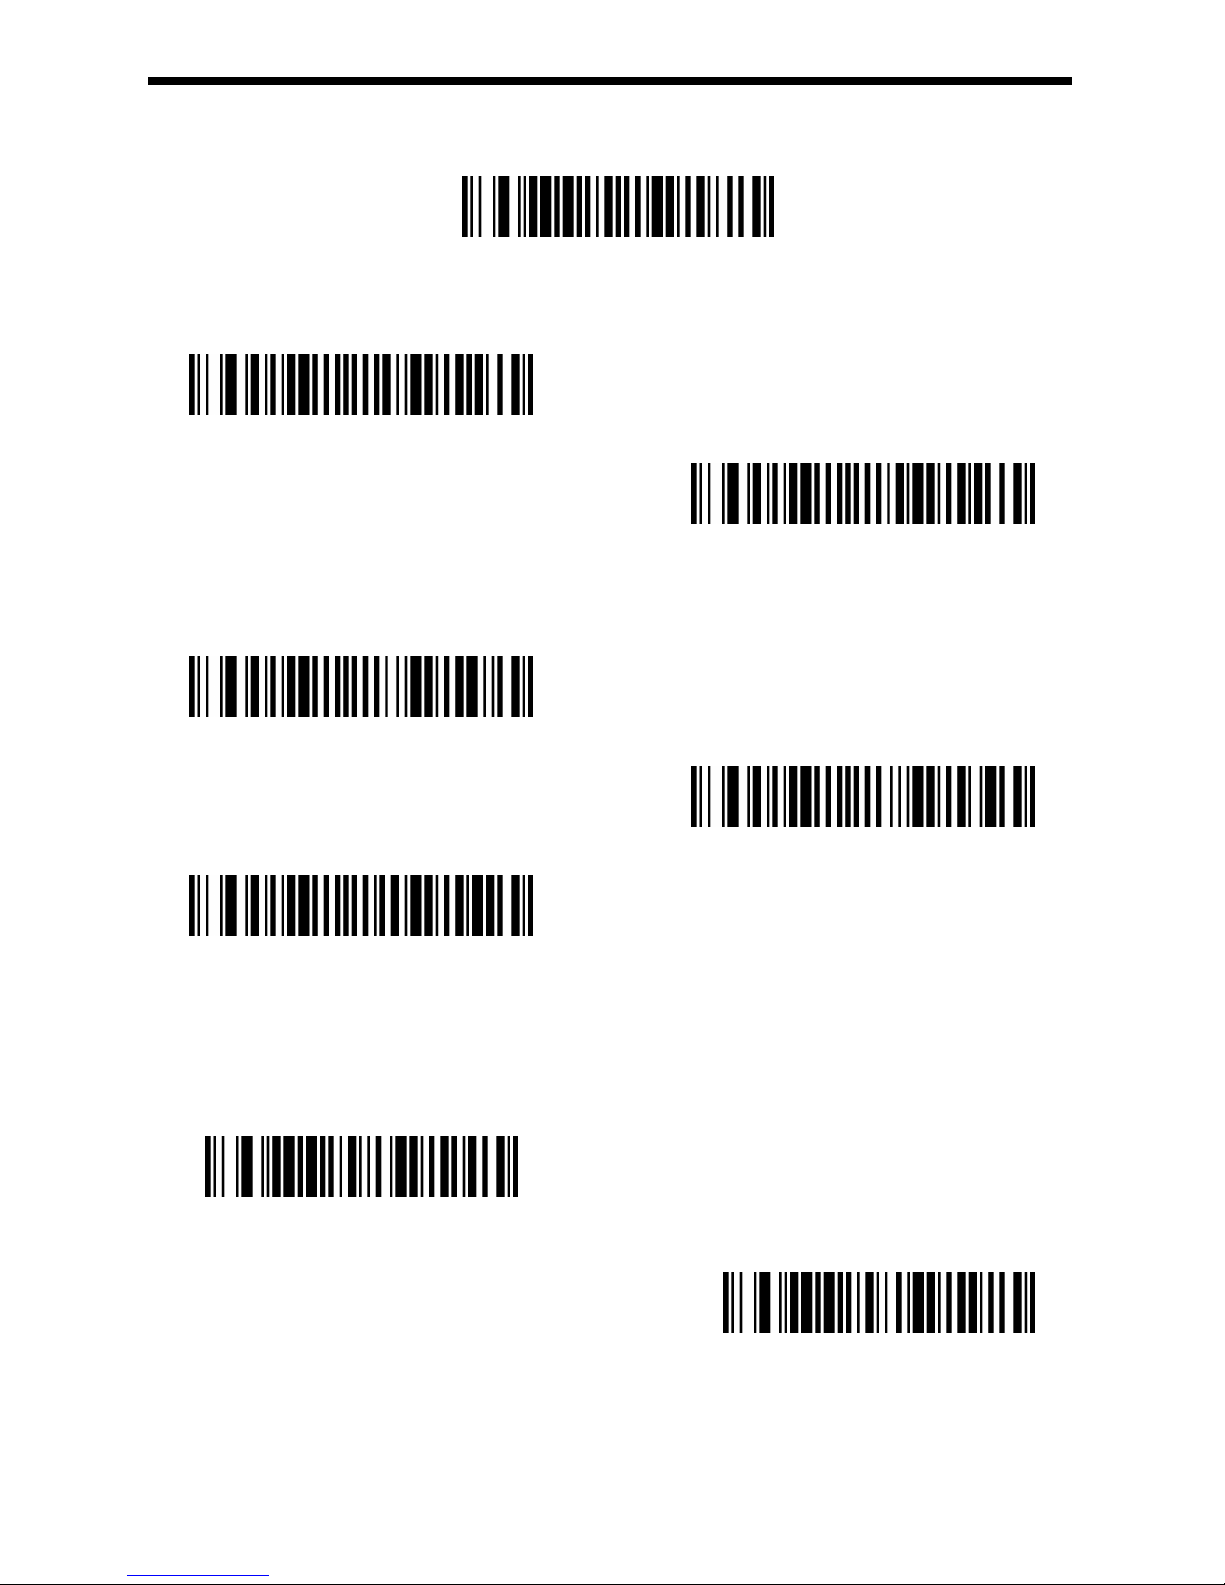
4. Interleaved 2 of 5
Recall Default
Interleaved 2 of 5 On/Off
*On
Off
Interleaved 2 of 5 Check Character
* No Check Character
Validate, but Don’t Transmit
Validate and Transmit
Interleaved 2 of 5 Message Length
Scan the bar codes below to change the message length. Minimum and Maximum
lengths = 2-80. Minimum Default =2, Maximum Default = 80.
Maximum Message length
Minimum Message length
GEOS SD 580 2D
Page 32
32
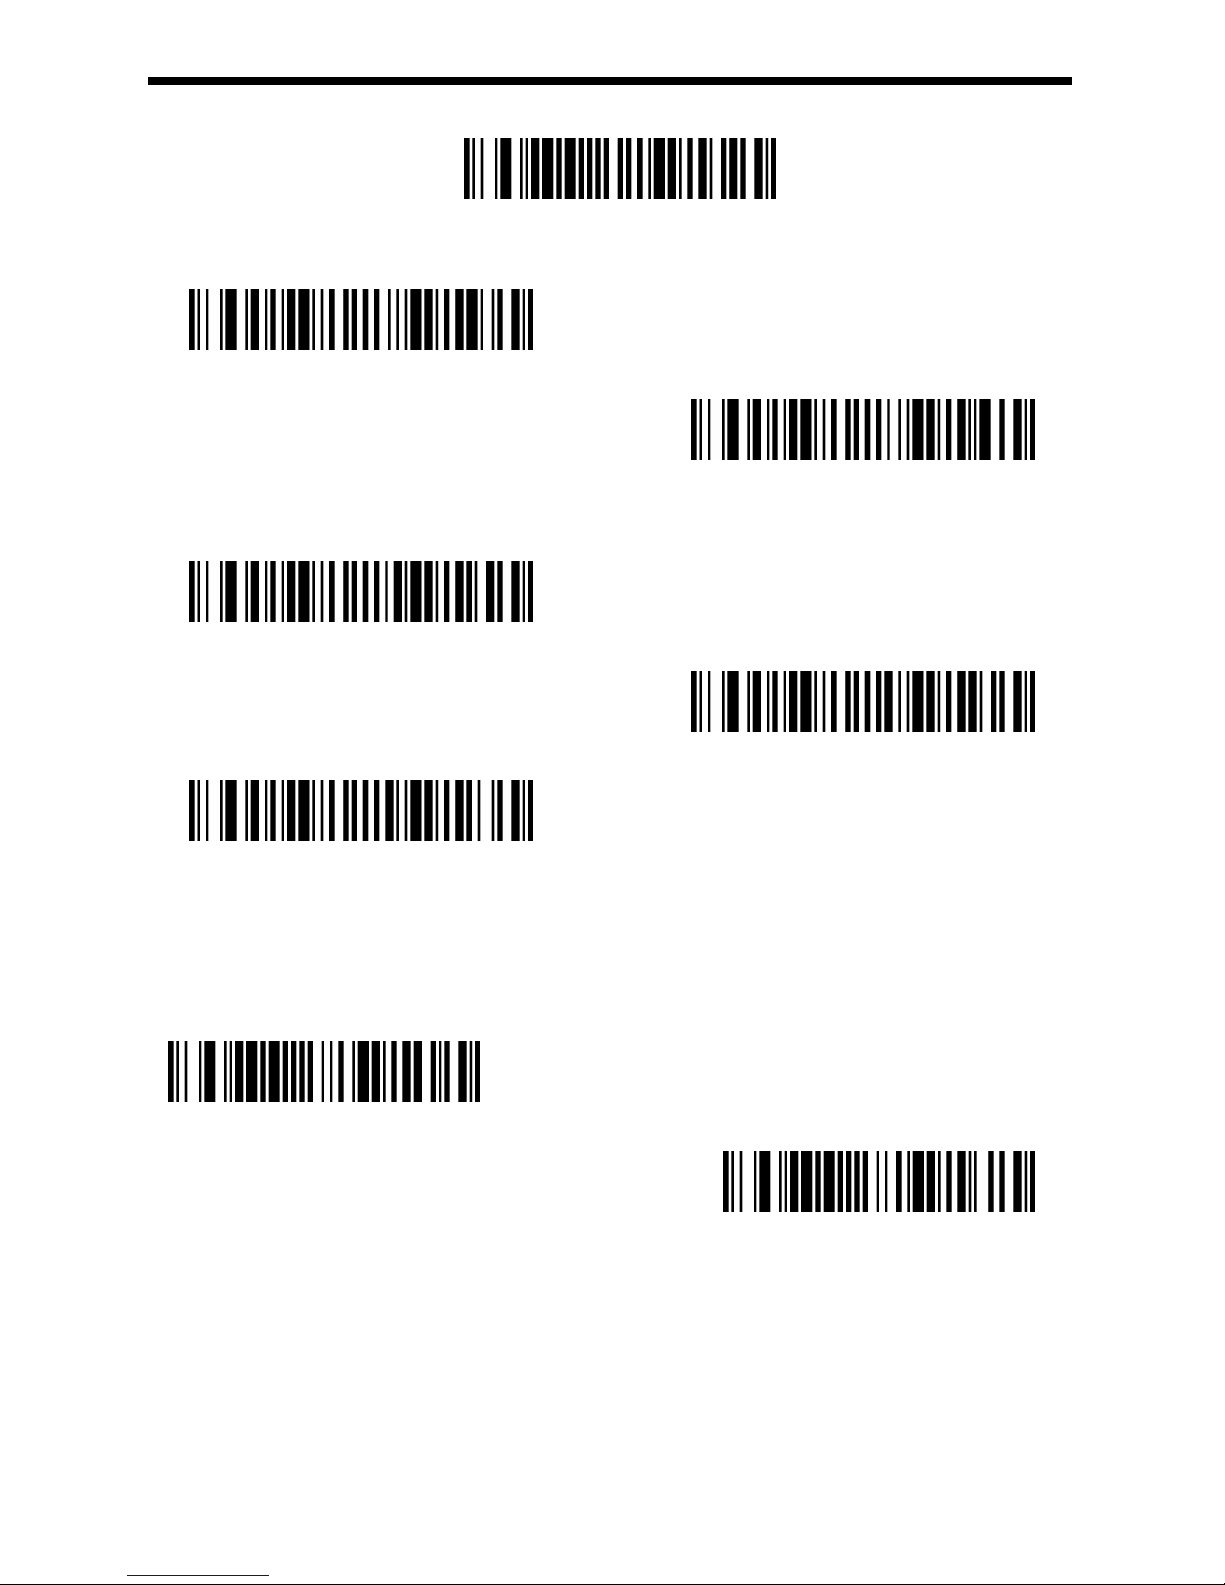
5. NEC 2 of 5
Default NEC 2 of 5 setting
NEC 2 of 5 On/Off
* On
Off
NEC 2 of 5 Check Character
* No Check Character
Validate, but Don’t Transmit
Validate and Transmit
NEC 2 of 5 Message Length
Scan the bar codes below to change the message length. Minimum and Maximum
lengths = 2-80. Minimum Default = 2, Maximum Default = 80.
Maximum Message length
Minimum Message length
GEOS SD 580 2D
Page 33
33
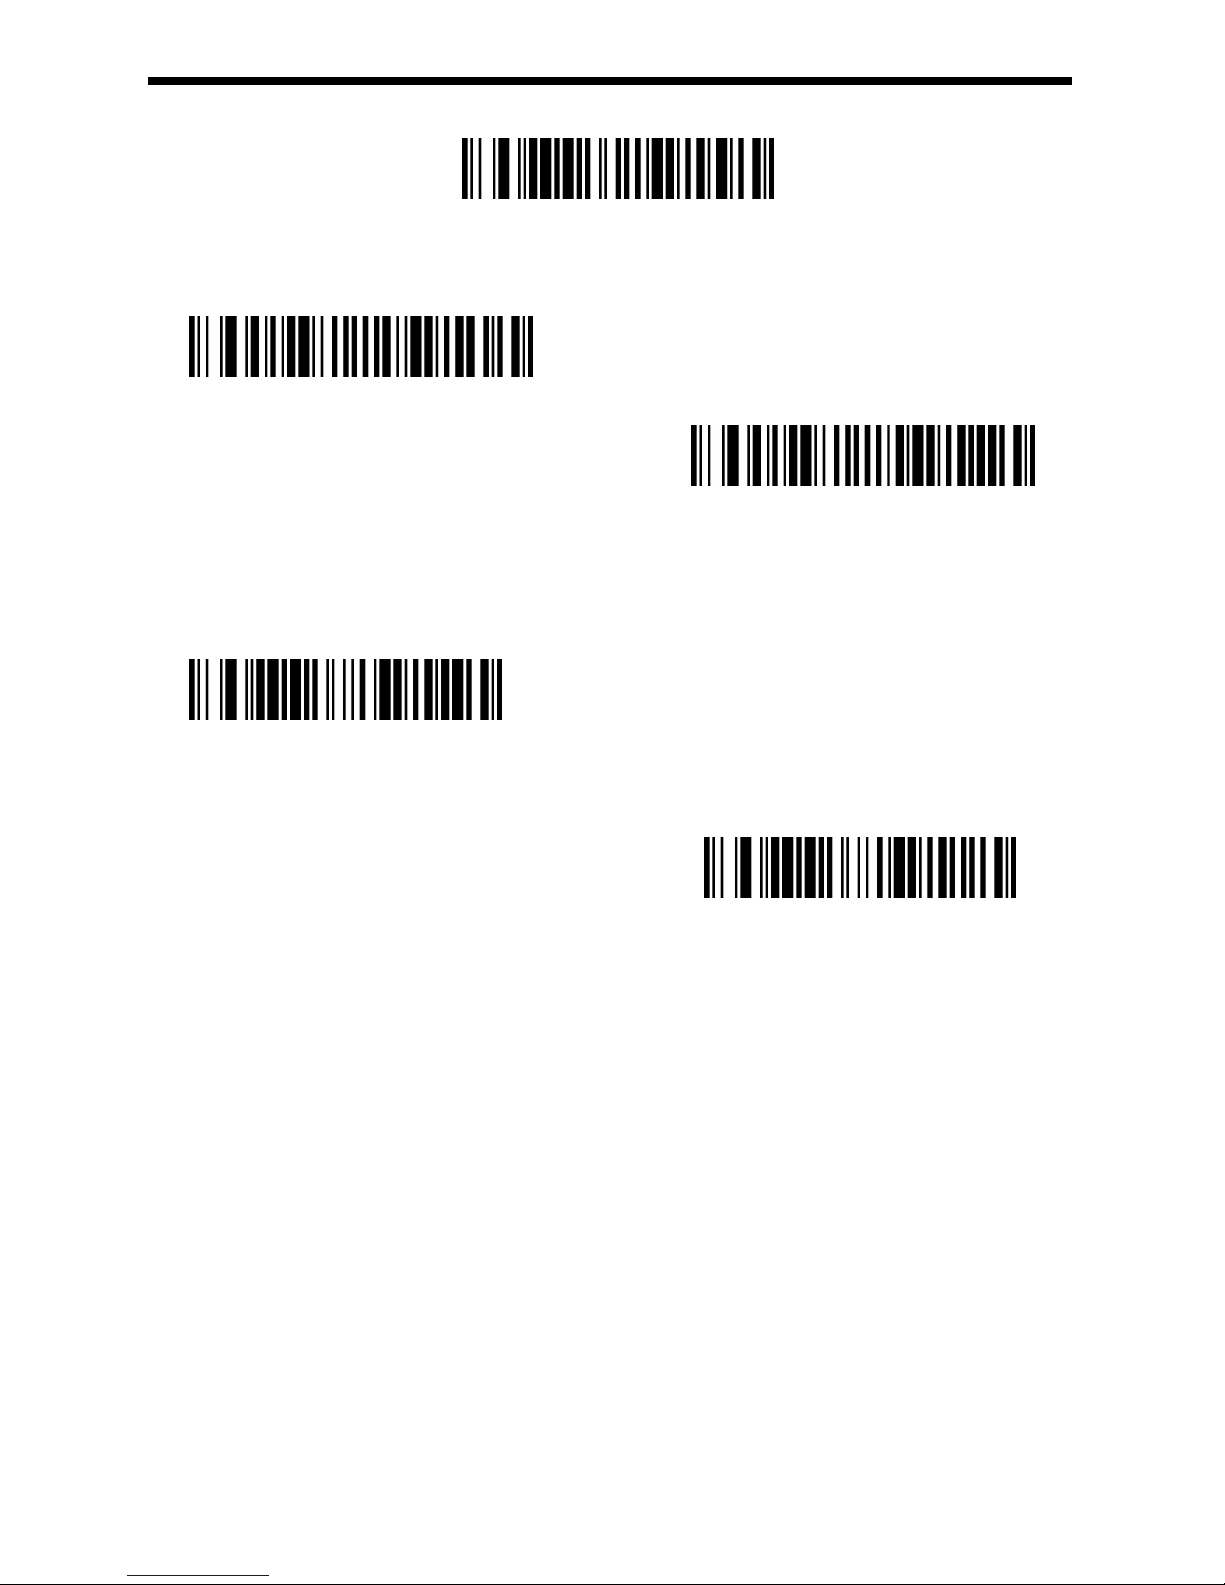
6. Code93
Default Code93 setting
Code93 On/Off
*On
Off
Code93 Message Length
Scan the bar codes below to change the message length. Minimum and Maximum
lengths = 0-80. Minimum Default = 0, Maximum Default = 80.
Maximum Message length
Minimum Message length
GEOS SD 580 2D
Page 34
34
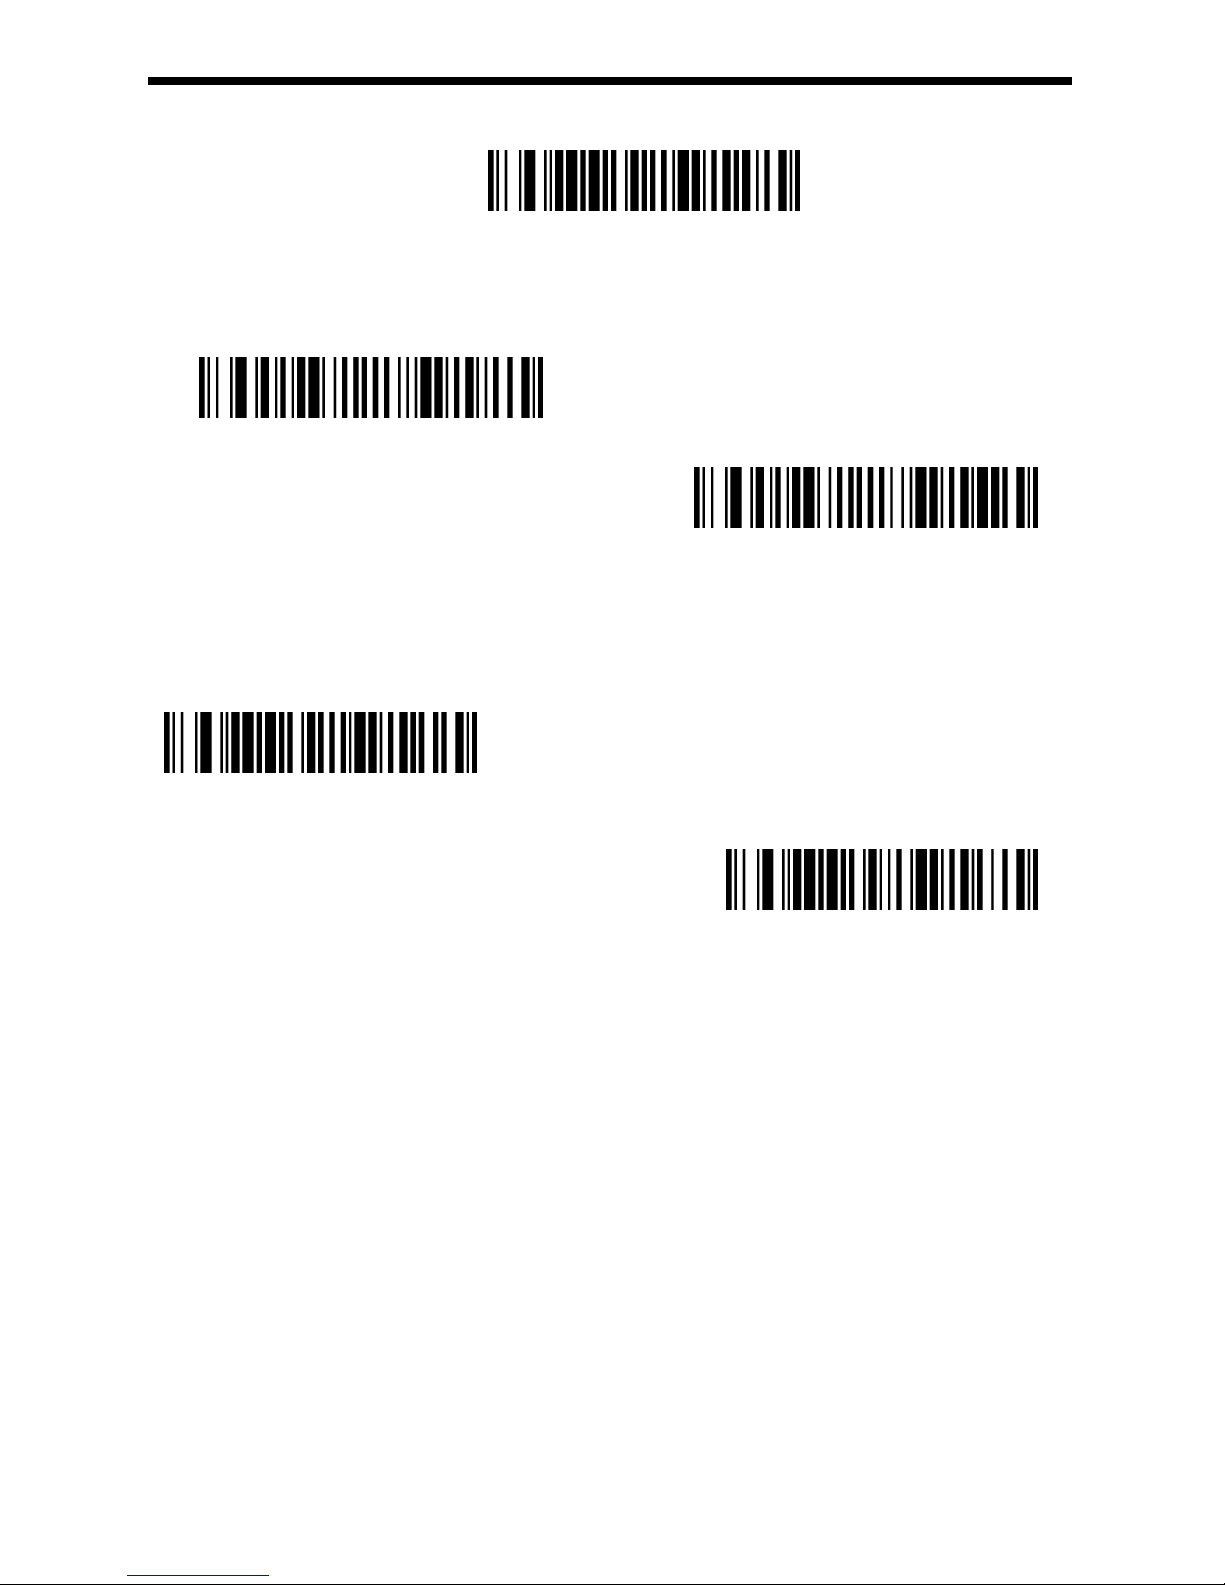
7. Straight 2 of 5 Industrial
Default Straight 2 of 5 setting
Straight 2 of 5 Industrial On/Off
On
*Off
Straight 2 of 5 Industrial Message length 信息长度
Scan the bar codes below to change the message length. Minimum and Maximum
lengths = 4-48. Minimum Default = 4, Maximum Default = 48.
Maximum Message length
Minimum Message length
GEOS SD 580 2D
Page 35
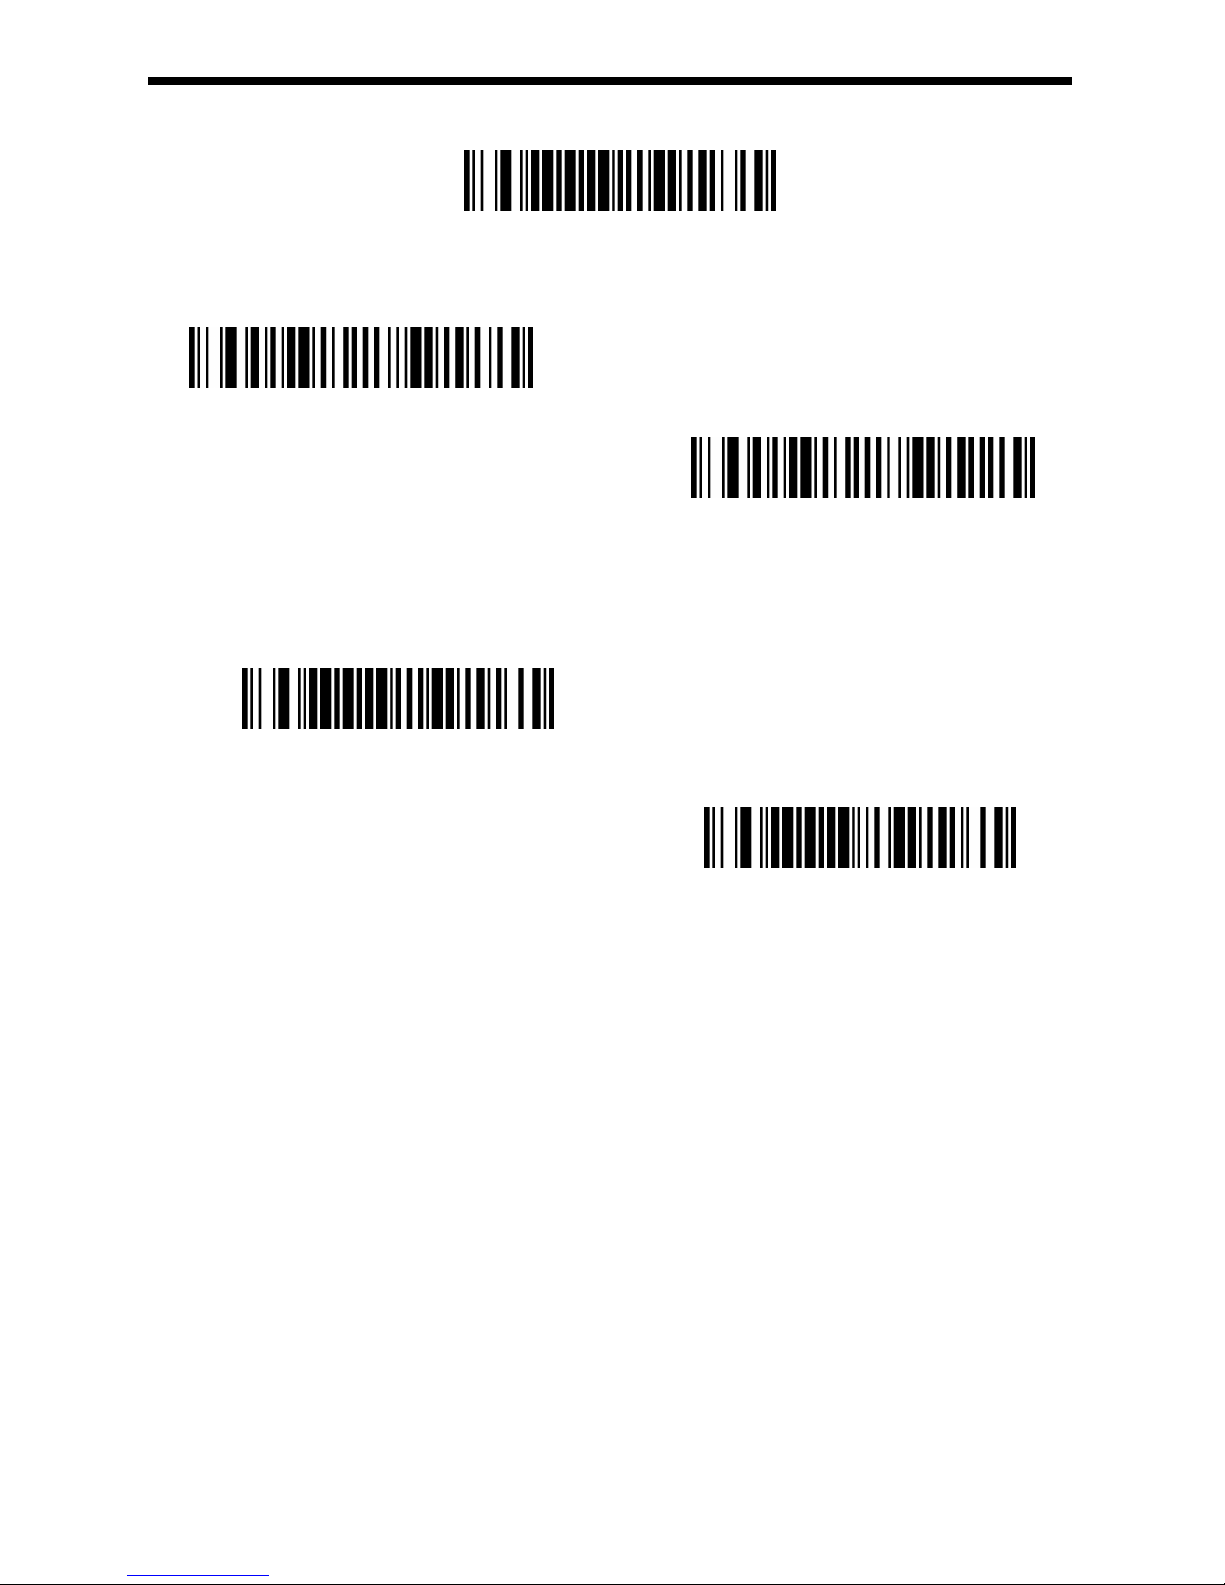
35
8. Straight 2 of 5 IATA
Default Straight 2 of 5 IATA setting
Straight 2 of 5 IATA On/Off
On
*Off
Straight 2 of 5 IATA Message length
Scan the bar codes below to change the message length. Minimum and Maximum
lengths = 4-80. Minimum Default = 4, Maximum Default =
48.
Maximum Message length
Minimum Message length
GEOS SD 580 2D
Page 36
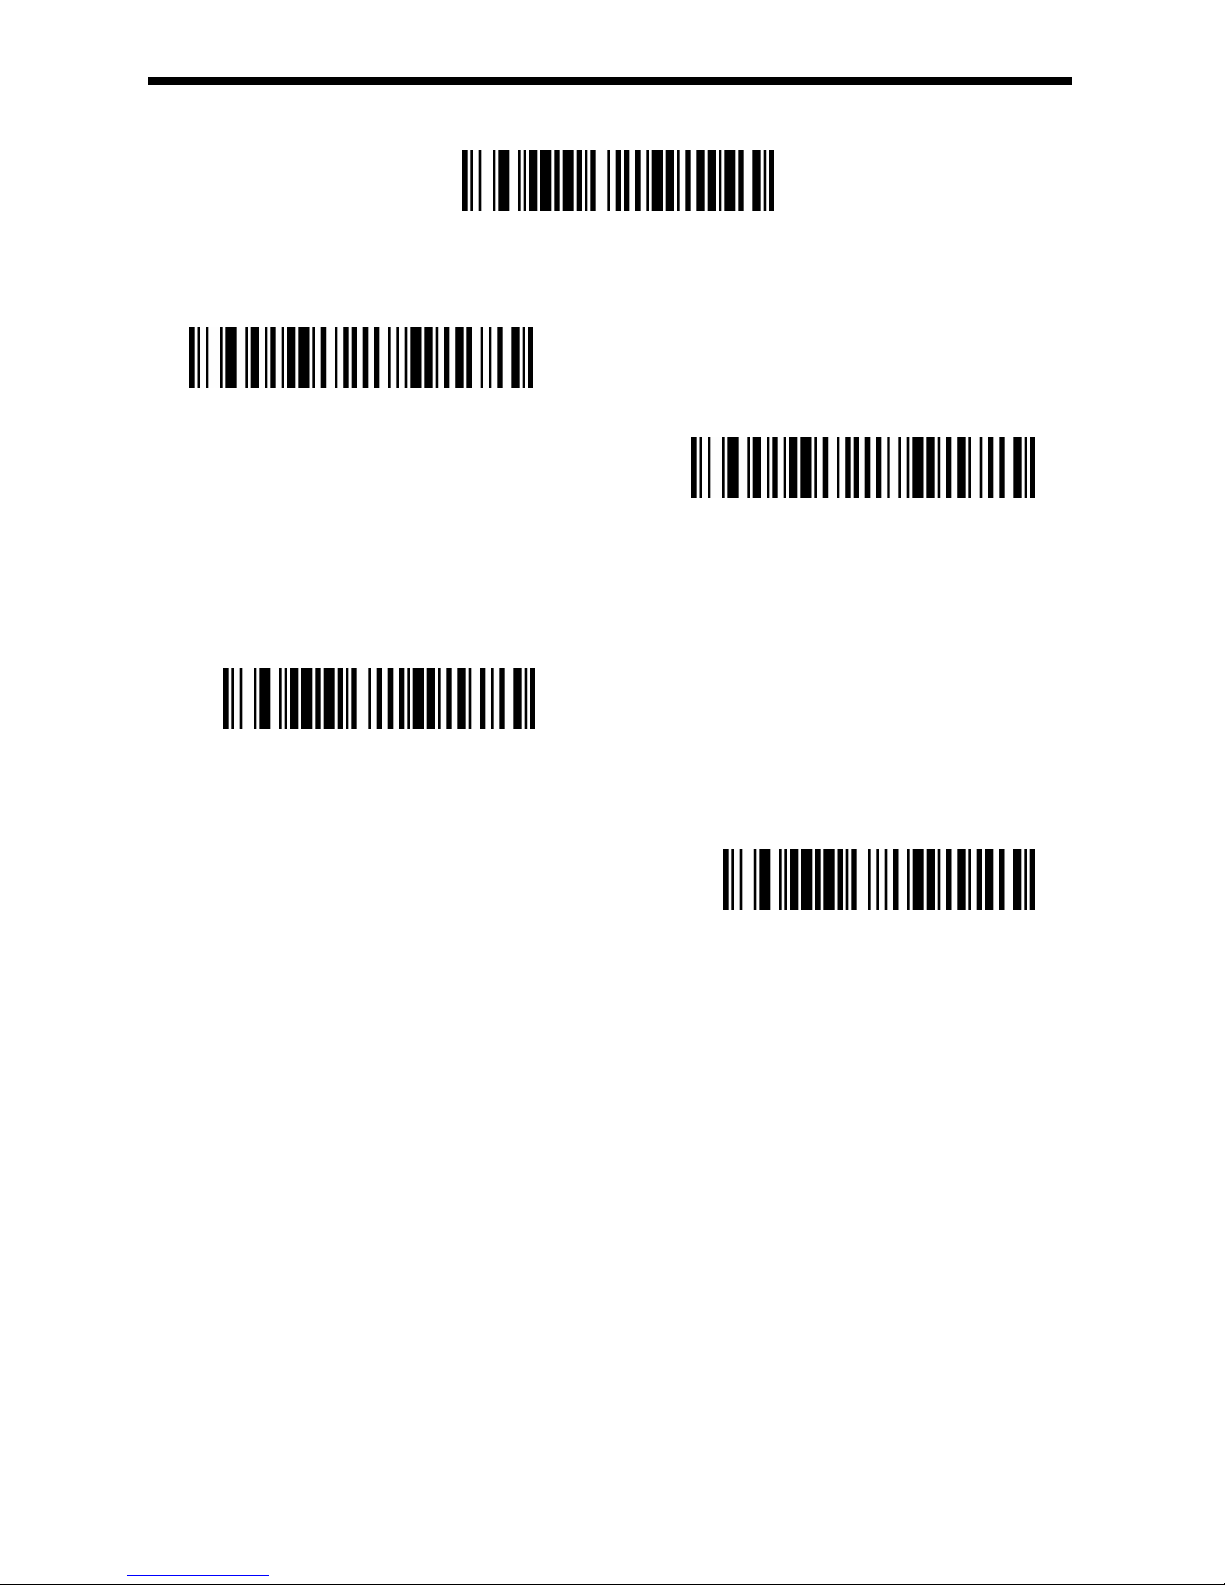
36
9. Matrix 2 of 5
Default Matrix 2 of 5 setting
Matrix 2 of 5 On/Off
On
*Off
Matrix 2 of 5 Message length
Scan the bar codes below to change the message length. Minimum and Maximum
lengths = 4-80. Minimum Default = 4, Maximum Default =
80.
Maximum Message length
Minimum Message length
GEOS SD 580 2D
Page 37
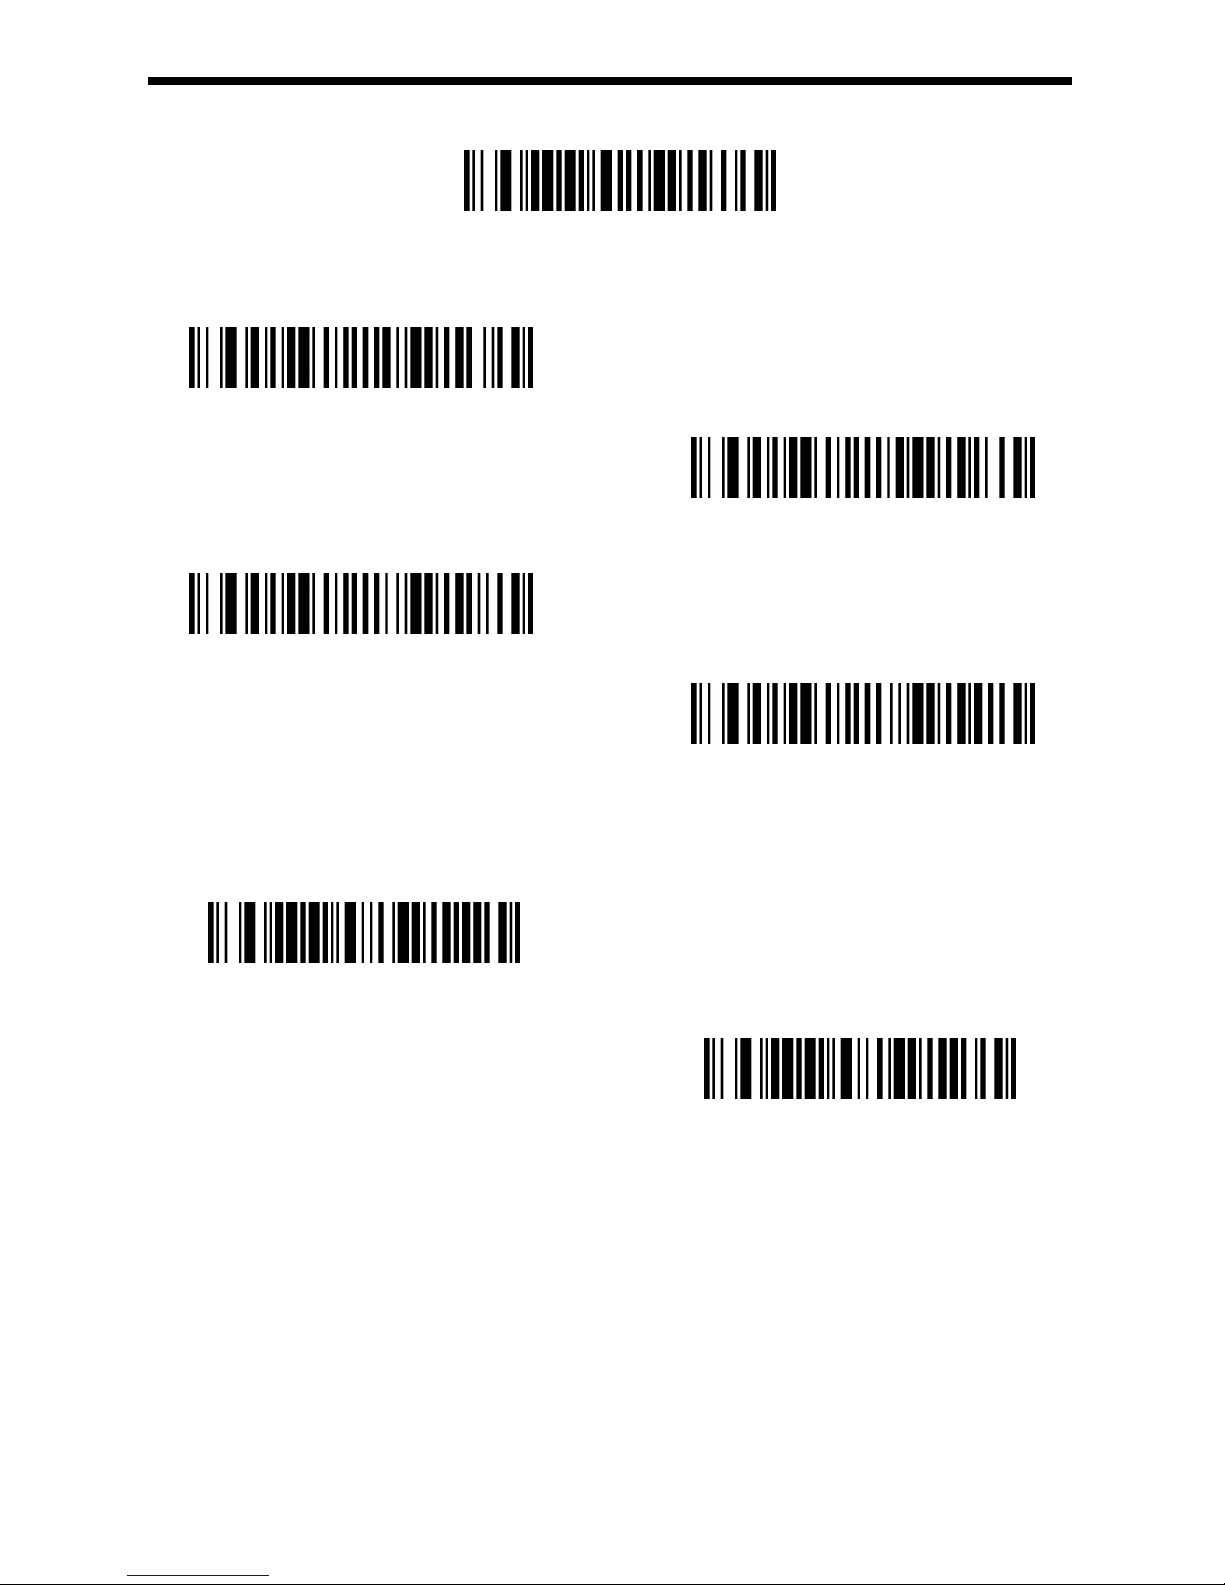
37
10. Code 11
Default Code 11 setting
Code 11 On/Off
On
*Off
Code 11 Check Digit
One Check Digit
Two Check Digits
Code 11 Message length
Scan the bar codes below to change the message length. Minimum and
Maximum lengths = 1-80. Minimum Default = 1, Maximum Default = 80.
Maximum Message length
Minimum Message length
GEOS SD 580 2D
Page 38
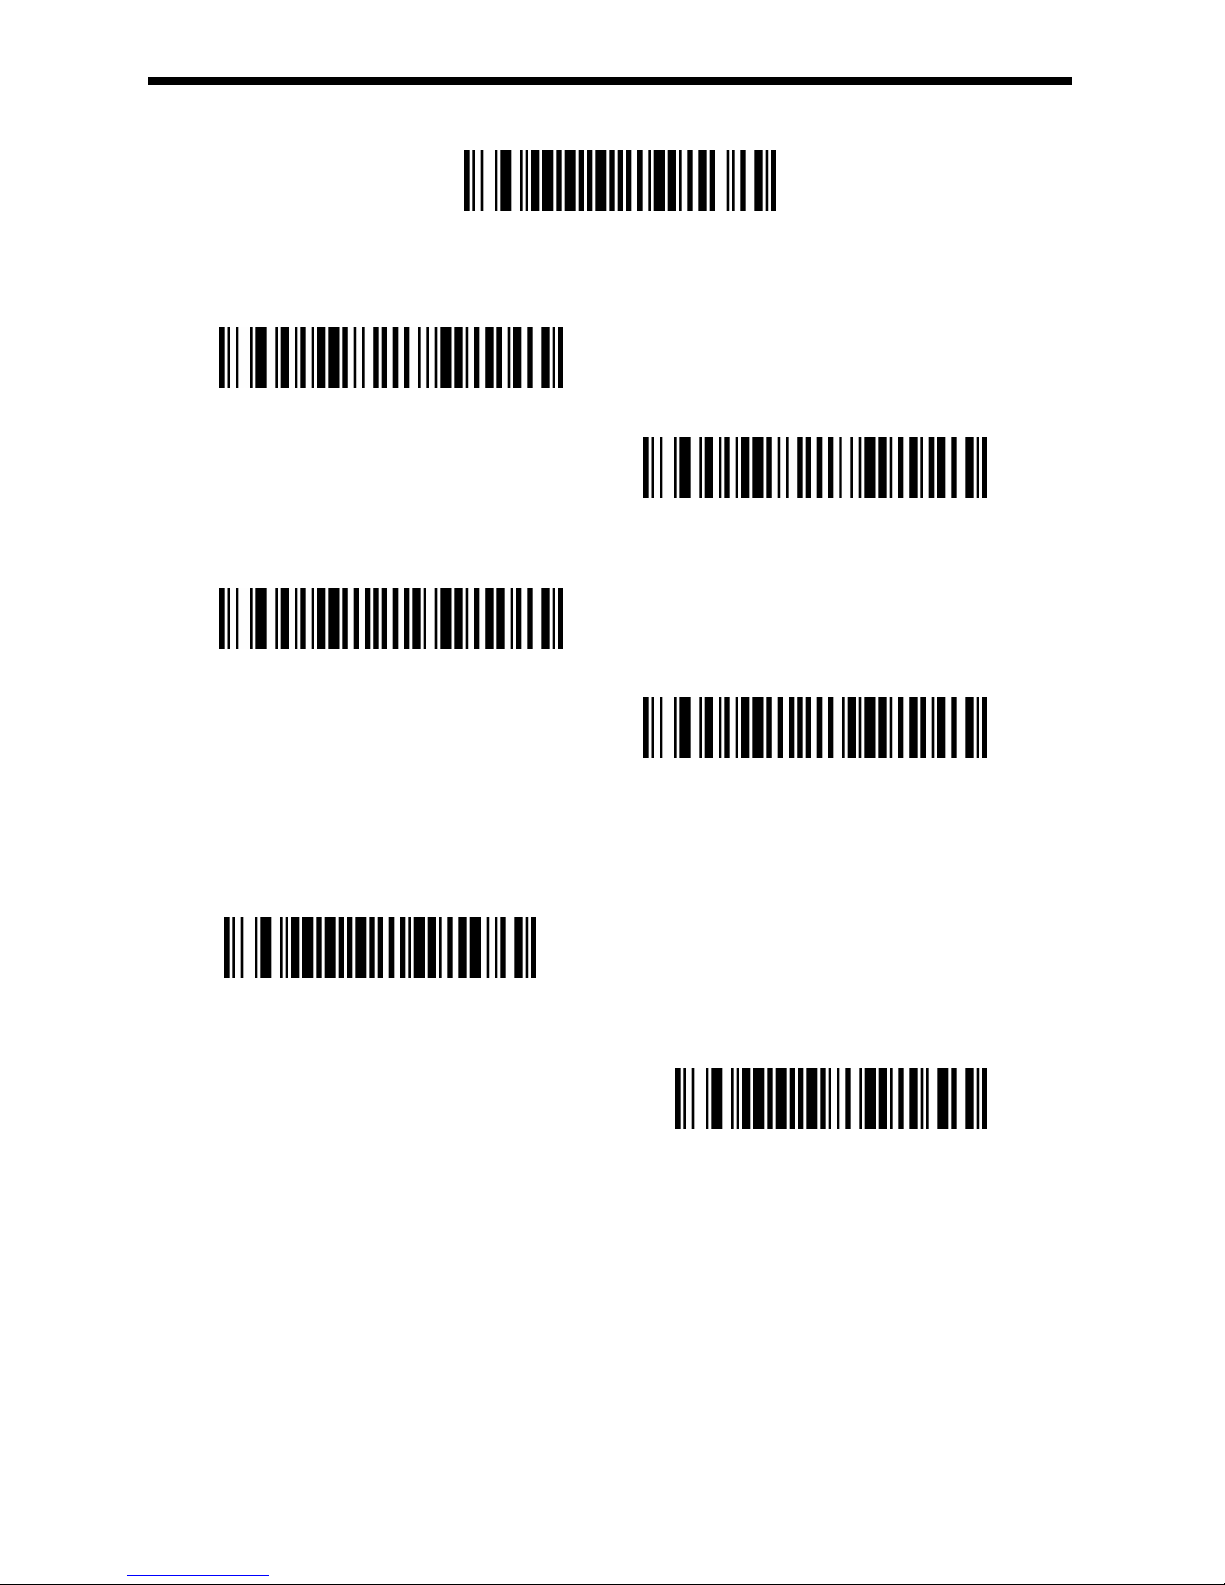
38
11. Code 128
Default Code 128 setting
Code 128 On/Off
*On
Off
ISBT Code On/Off
ISBT Code On
*ISBT Code Off
Code 128 Message length
Scan the bar codes below to change the message length. Minimum and
Maximum lengths = 1-48. Minimum Default = 1, Maximum Default = 48.
Maximum Message Length
Minimum Message Length
GEOS SD 580 2D
Page 39
39
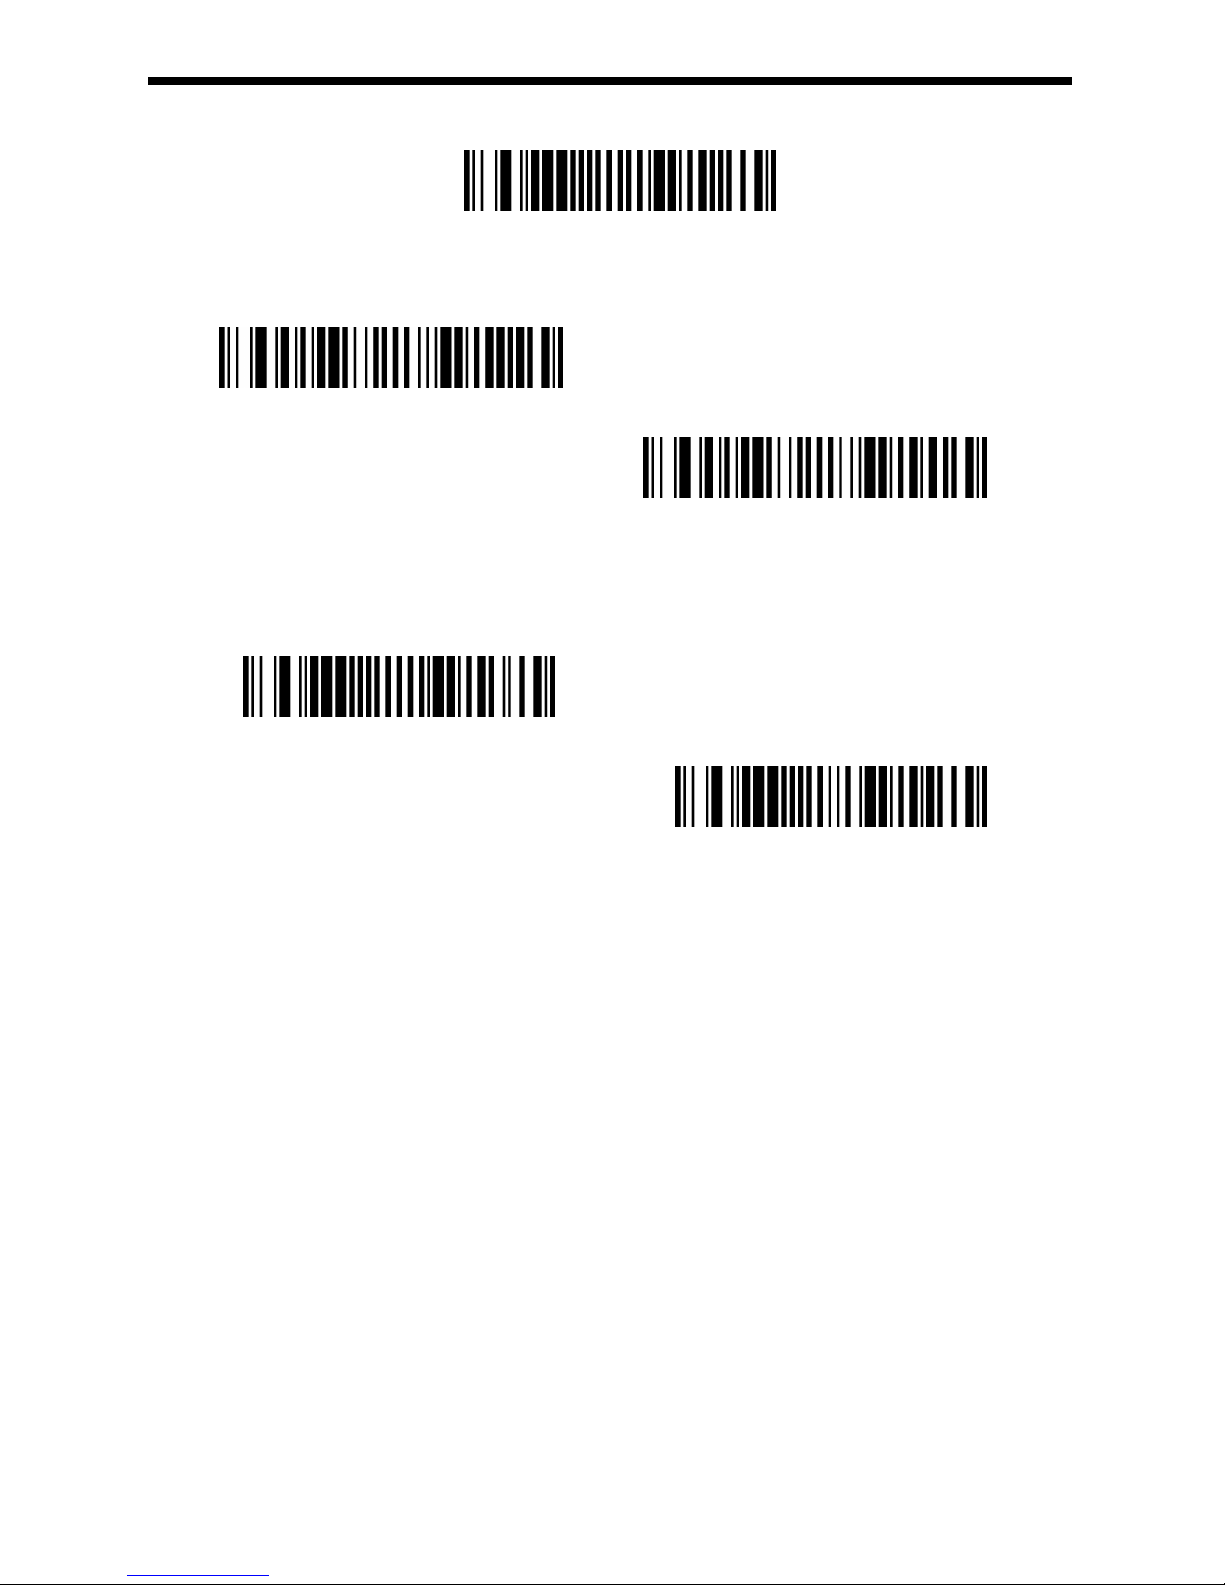
12. GS1-128
Default GS1-128 setting
GS1-128 On/Off
*On
Off
GS1-128 Message Length
Scan the bar codes below to change the message length. Minimum and
Maximum lengths = 1-80. Minimum Default = 1, Maximum Default = 80.
Maximum Message Length
Minimum Message Length
GEOS SD 580 2D
Page 40
40
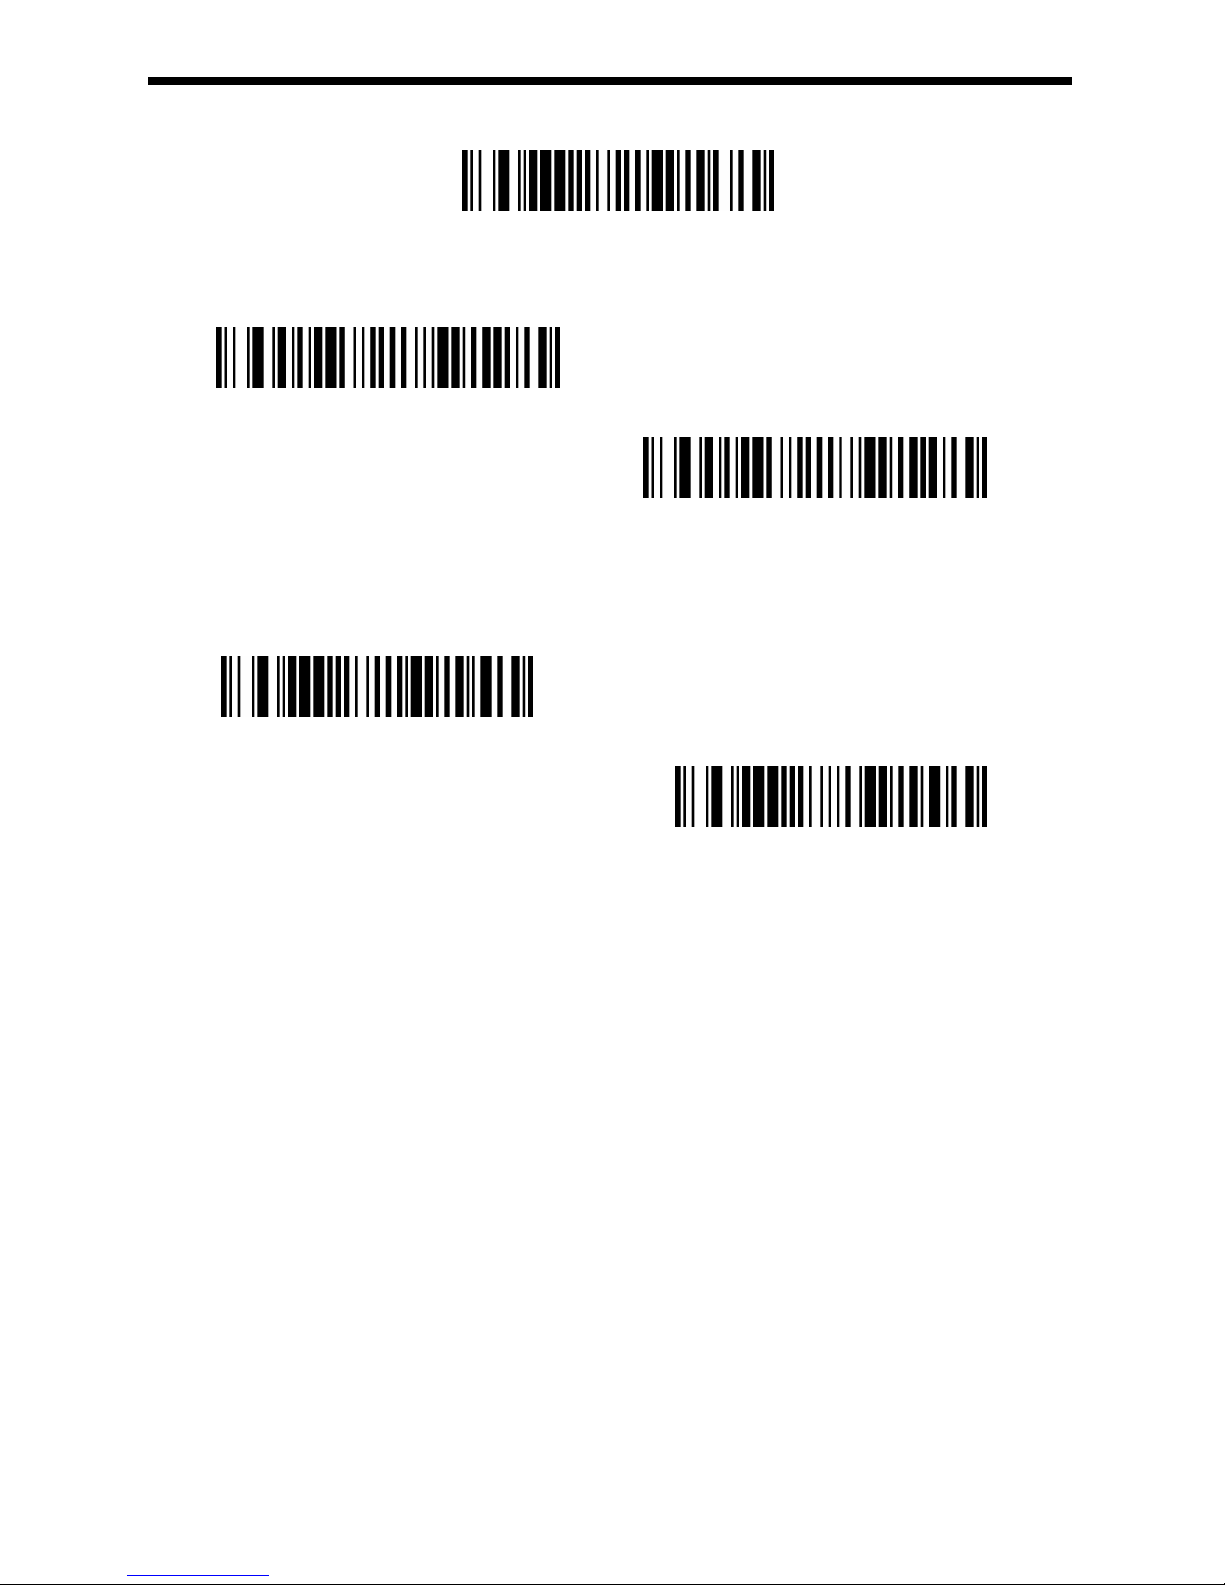
13. Telepen
Default Telepen setting
Telepen On/Off
On
*Off
Telepen Message Length
Scan the bar codes below to change the message length. Minimum and
Maximum lengths = 1-60. Minimum Default = 1, Maximum Default = 60.
Maximum Message Length
Minimum Message Length
GEOS SD 580 2D
Page 41
41
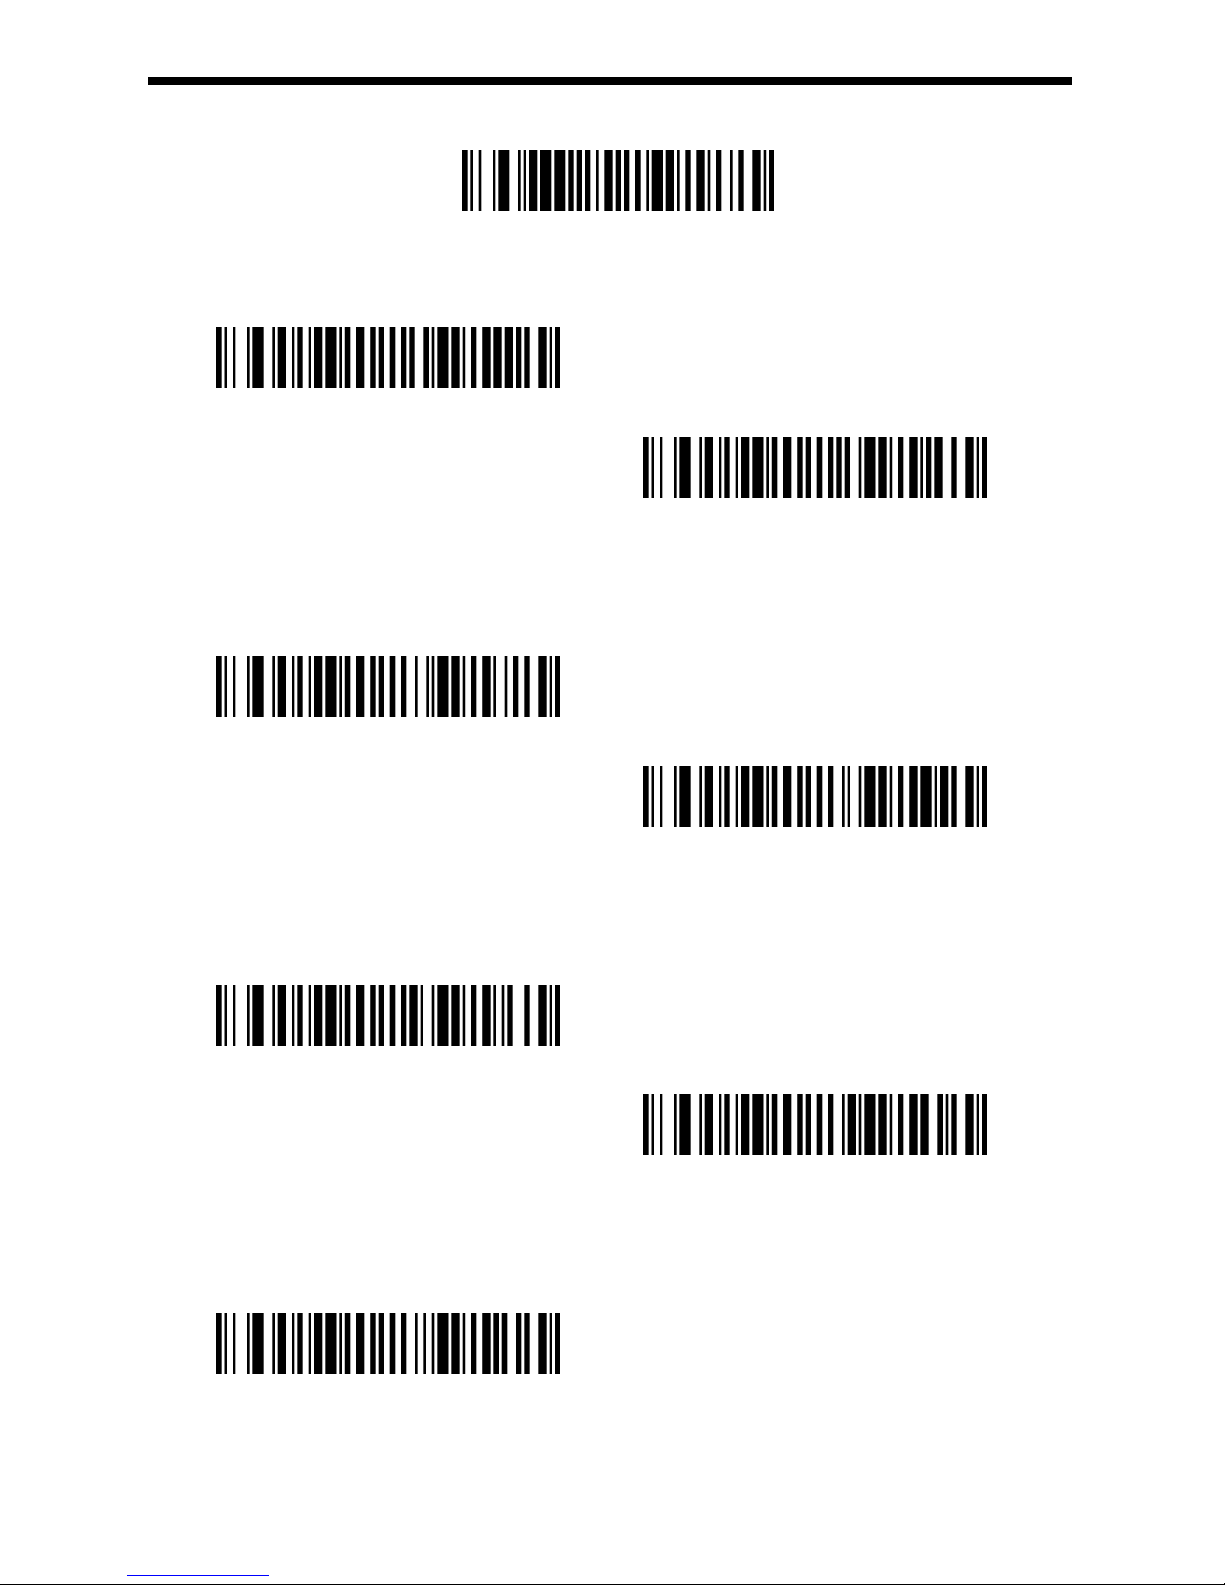
14. UPC-A
Default UPC-A setting
UPC-A On/Off
*On
Off
UPC-A Check Digit
This selection allows you to specify whether the check digit should be transmitted at the
end of the scanned data or not. Default = On.
* On
Off
UPC-A Number System
The numeric system digit of a U.P.C. symbol is normally transmitted at the beginning of
the scanned data, but the unit can be programmed so it will not transmit it. Default = On.
*On
Off
UPC-A Addenda
This selection adds 2 or 5 digits to the end of all scanned UPC-A data. Default = Off for
both 2 Digit and 5 Digit Addenda.
2 Digit Addenda On
GEOS SD 580 2D
Page 42
42
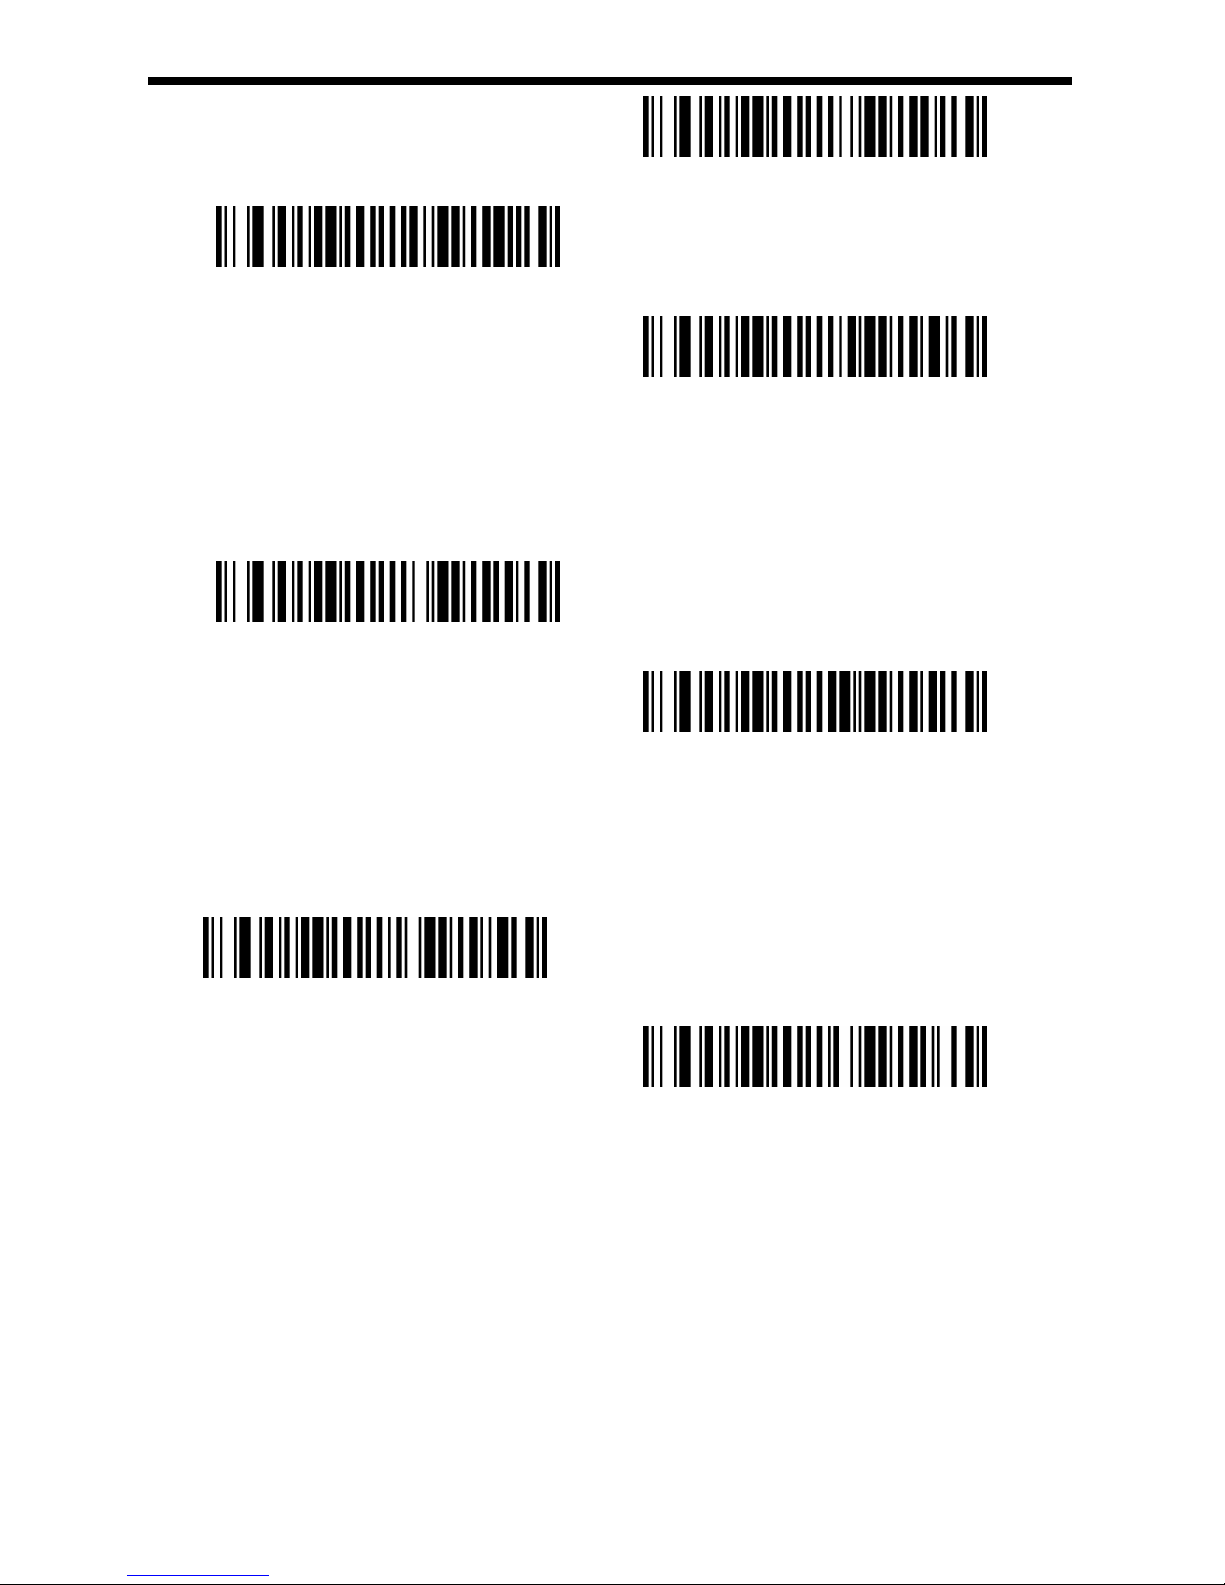
* 2 Digit Addenda Off
5 Digit Addenda On
*5 Digit Addenda Off
UPC-A Addenda Required
When Required is scanned, the scanner will only read UPC-A bar codes that have
addenda. You must then turn on a 2 or 5 digit addenda listed. Default = Not Required.
Required
*Not Required
UPC-A Addenda Separator
When this feature is on, there is a space between the data from the bar code and the
data from the addenda. When turned off, there is no space. Default = On.
*On
Off
GEOS SD 580 2D
Page 43
43
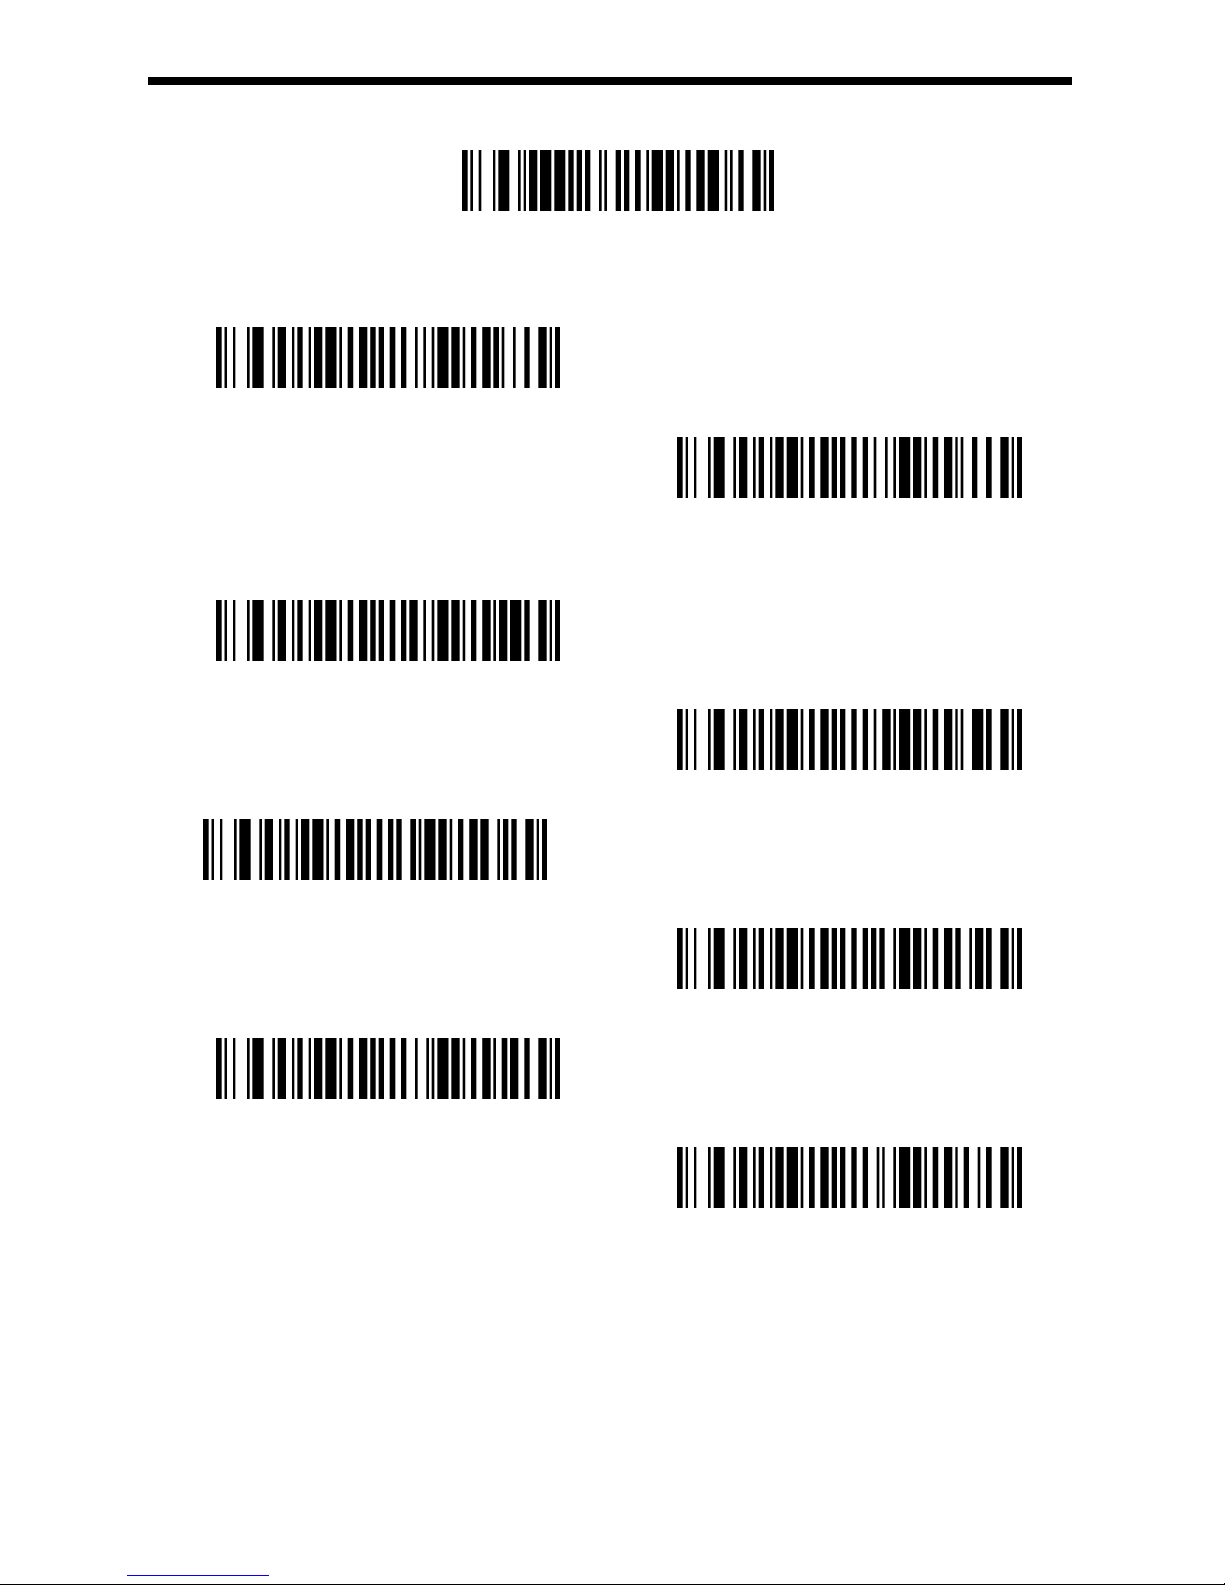
15. UPC-E0
Default UPC-E0 setting
UPC-E0 On/Off
*On
Off
UPC-E0 Expand On/Off
On
* Off
UPC-E0 Addenda Required
UPC-E0 Addenda Not Required
* UPC-E0 Addenda Separator On
UPC-E0 Addenda Separator Off
GEOS SD 580 2D
Page 44
44
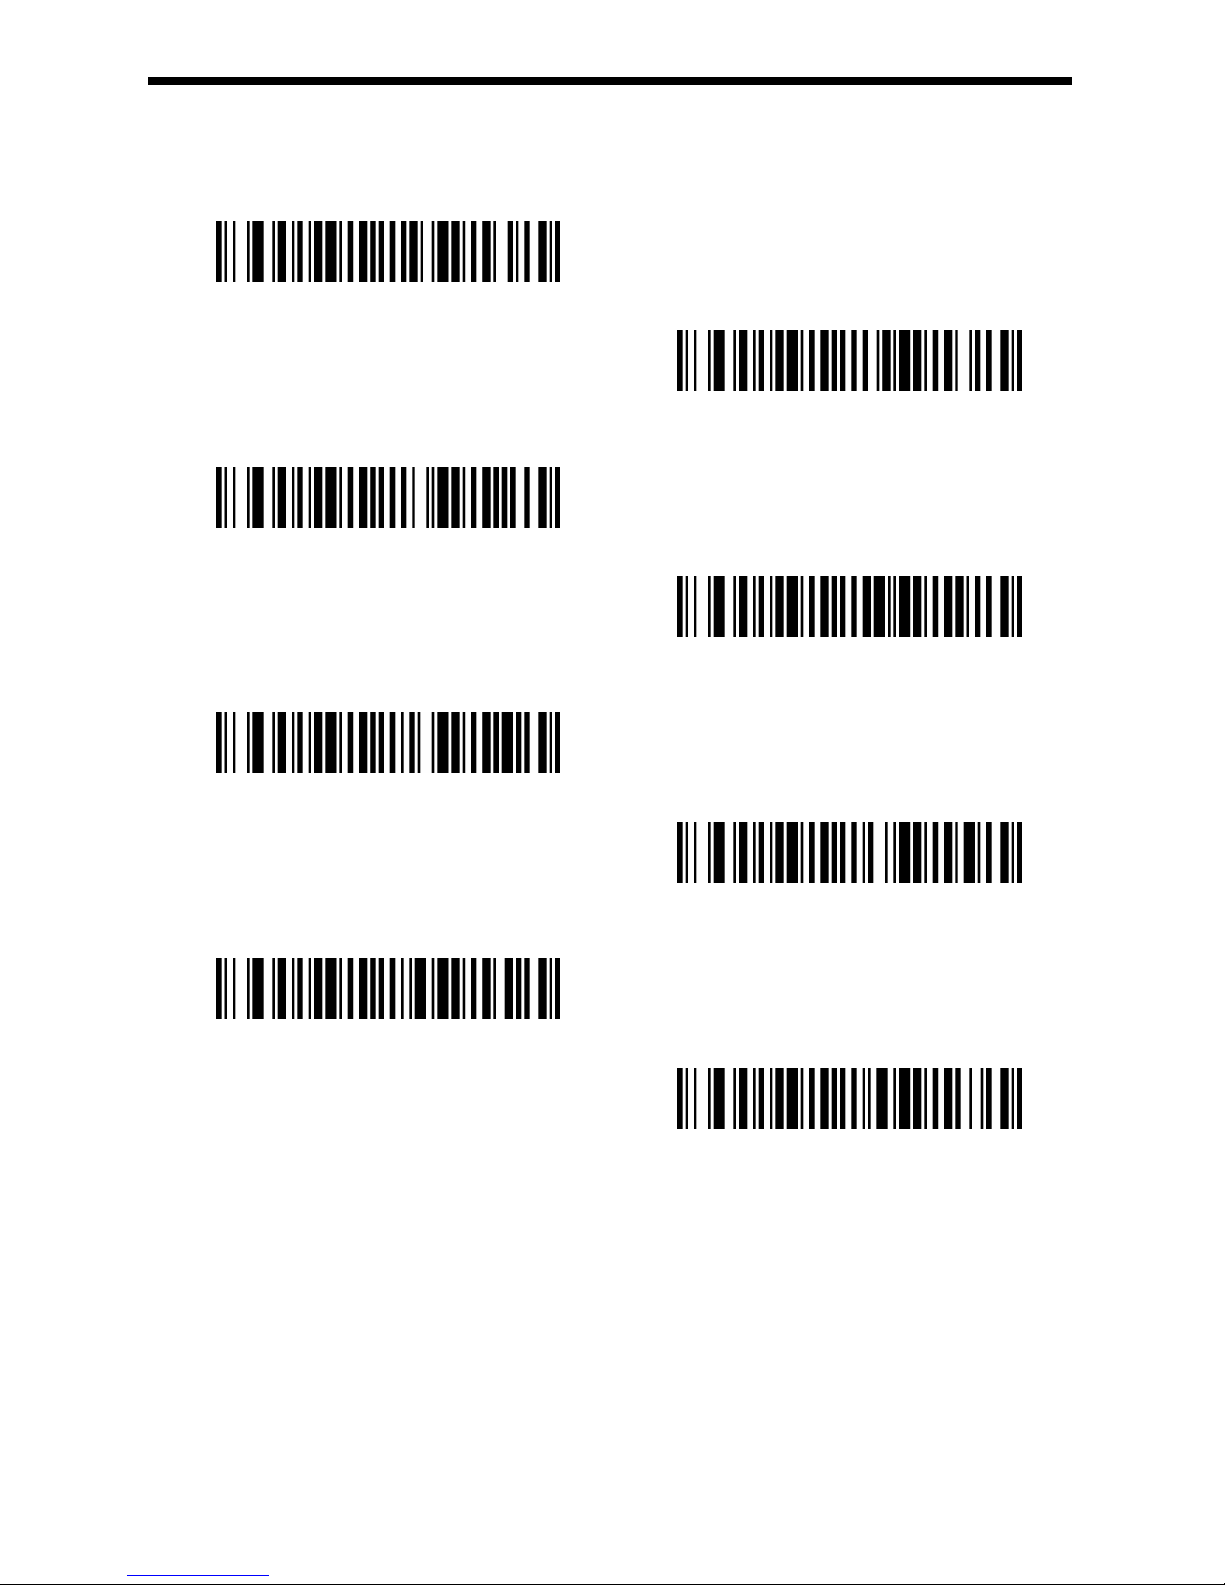
UPC-E0 Check Digit
Check Digit specifies whether the check digit should be transmitted at the end of
the scanned data or not. Default = On.
* On
Off
*UPC-E0 Leading Zero On
UPC-E0 Leading Zero Off
2 Digit Addenda On
*2 Digit Addenda Off
5 Digit Addenda On
*5 Digit Addenda Off
GEOS SD 580 2D
Page 45
45
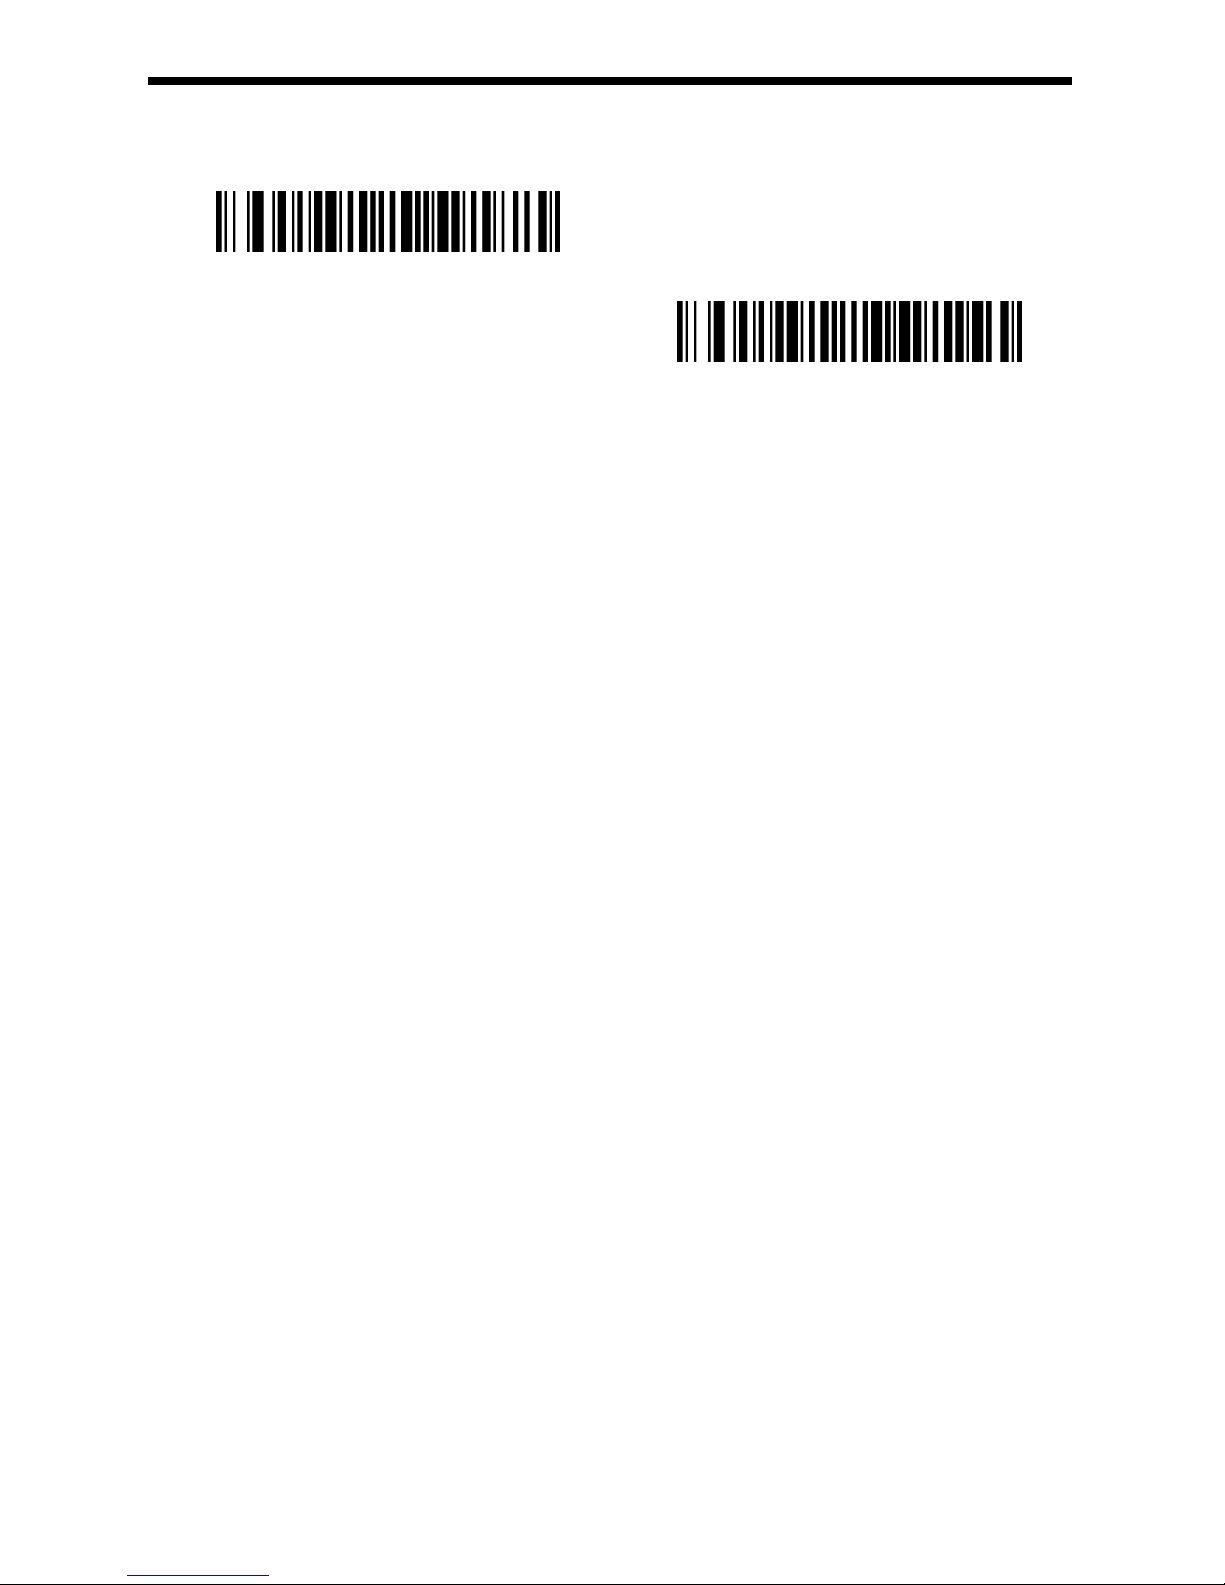
16. UPC-E1
UPC-E1 On/Off
On
*Off
GEOS SD 580 2D
Page 46
46
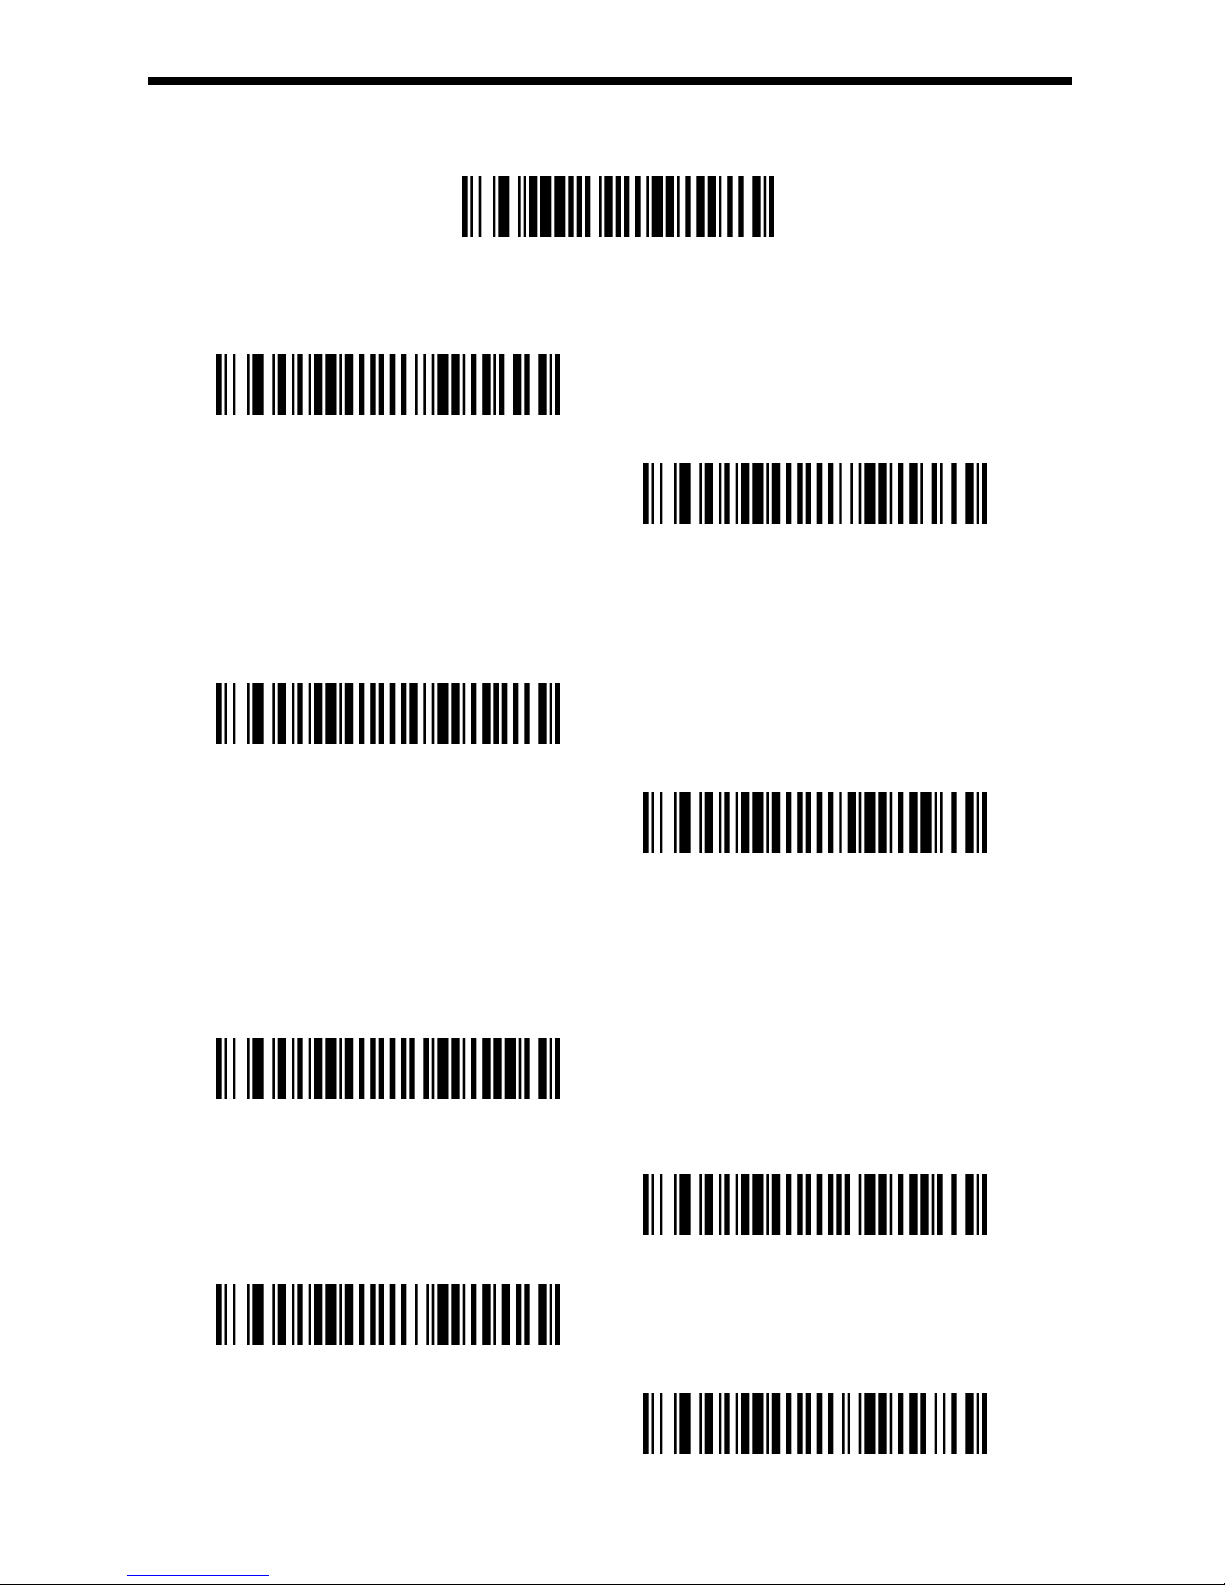
17. EAN/JAN-13
Default EAN/JAN-13 setting
EAN/JAN-13 On/Off
*On
Off
EAN/JAN-13 Check Digit
This selection allows you to specify whether the check digit should be transmitted at the
end of the scanned data or not. Default = On.
*On
Off
EAN/JAN-13 Addenda
This selection adds 2 or 5 digits to the end of all scanned EAN/JAN-13 data. Default =
Off for both 2 Digit and 5 Digit Addenda.
2 Digit Addenda On
* 2 Digit Addenda Off
5 Digit Addenda On
*5 Digit Addenda Off
GEOS SD 580 2D
Page 47
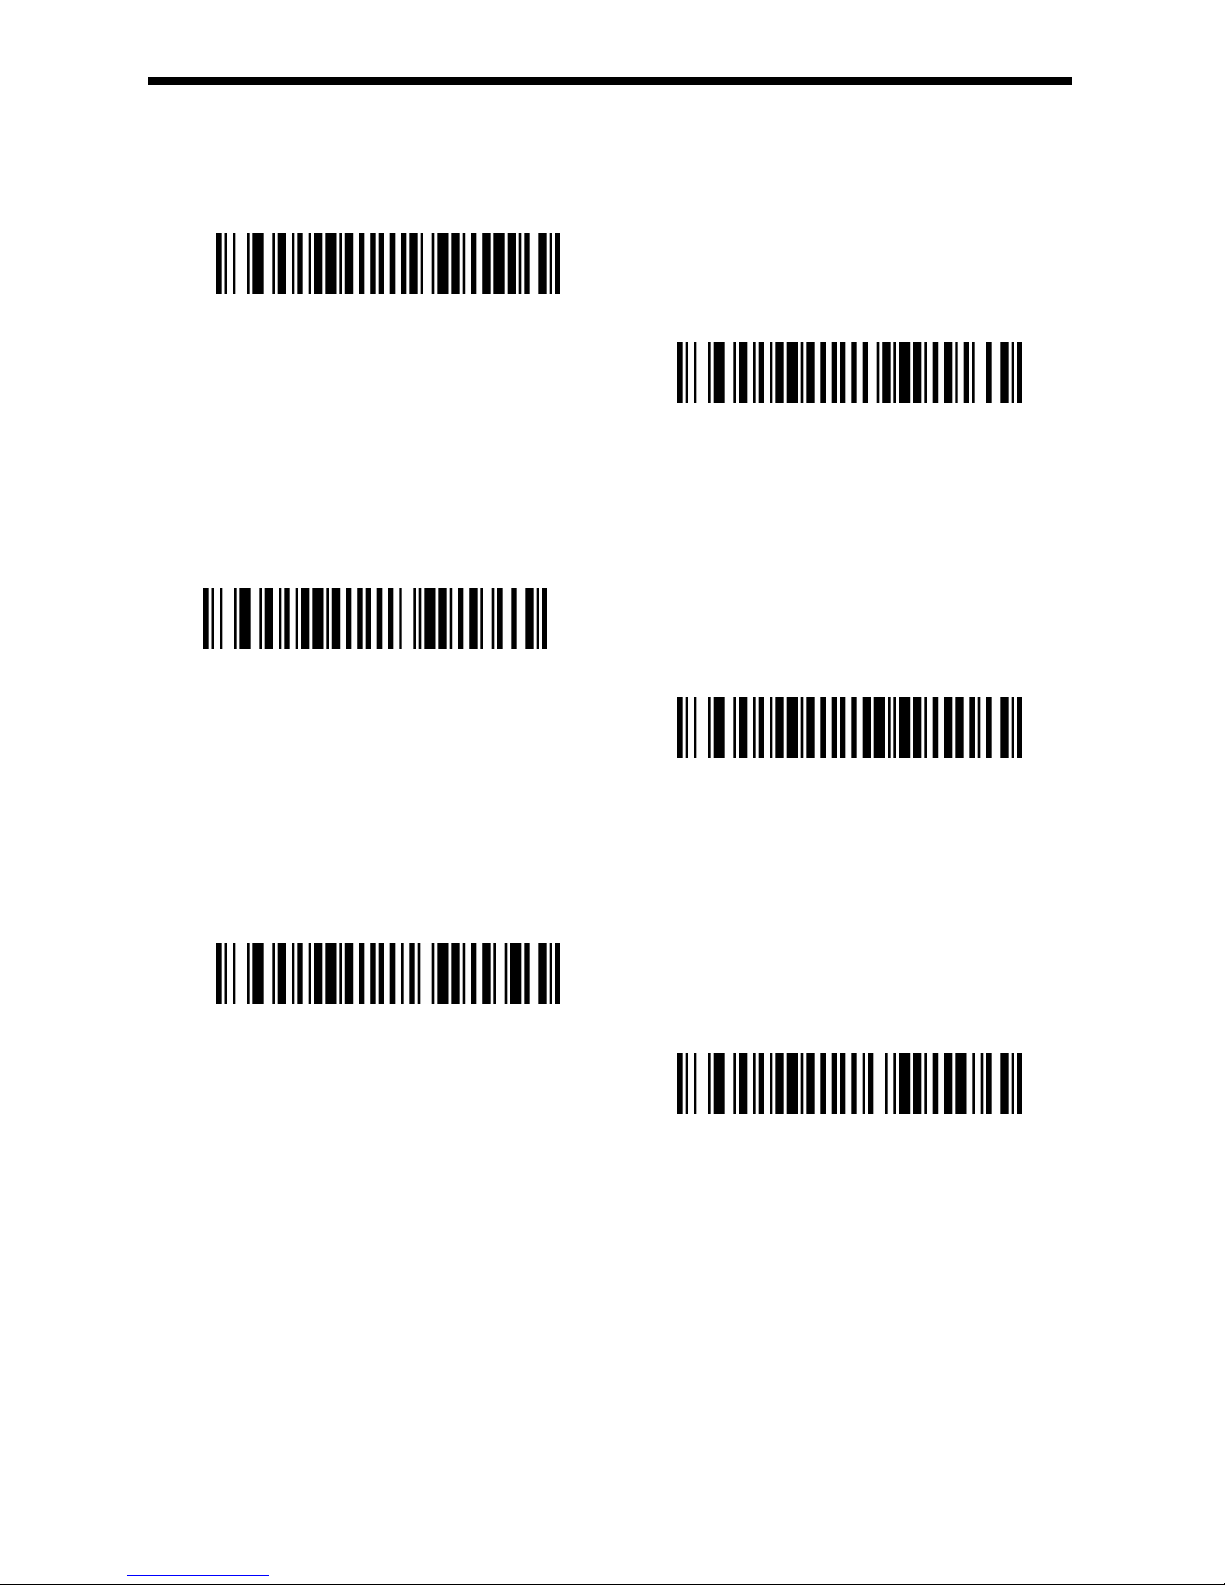
47
EAN/JAN-13 Addenda Required
When Required is scanned, the scanner will only read EAN/JAN-13 bar
codes that have addenda. Default = Not Required.
Required
*Not Required
EAN/JAN-13 Addenda Separator
When this feature is On, there is a space between the data from the bar code and the
data from the addenda. When turned Off, there is no space. Default = On.
*On
Off
ISBN Translate
When On is scanned, EAN-13 Bookland symbols are translated into their
equivalent ISBN number format. Default = Off.
On
*Off
GEOS SD 580 2D
Page 48
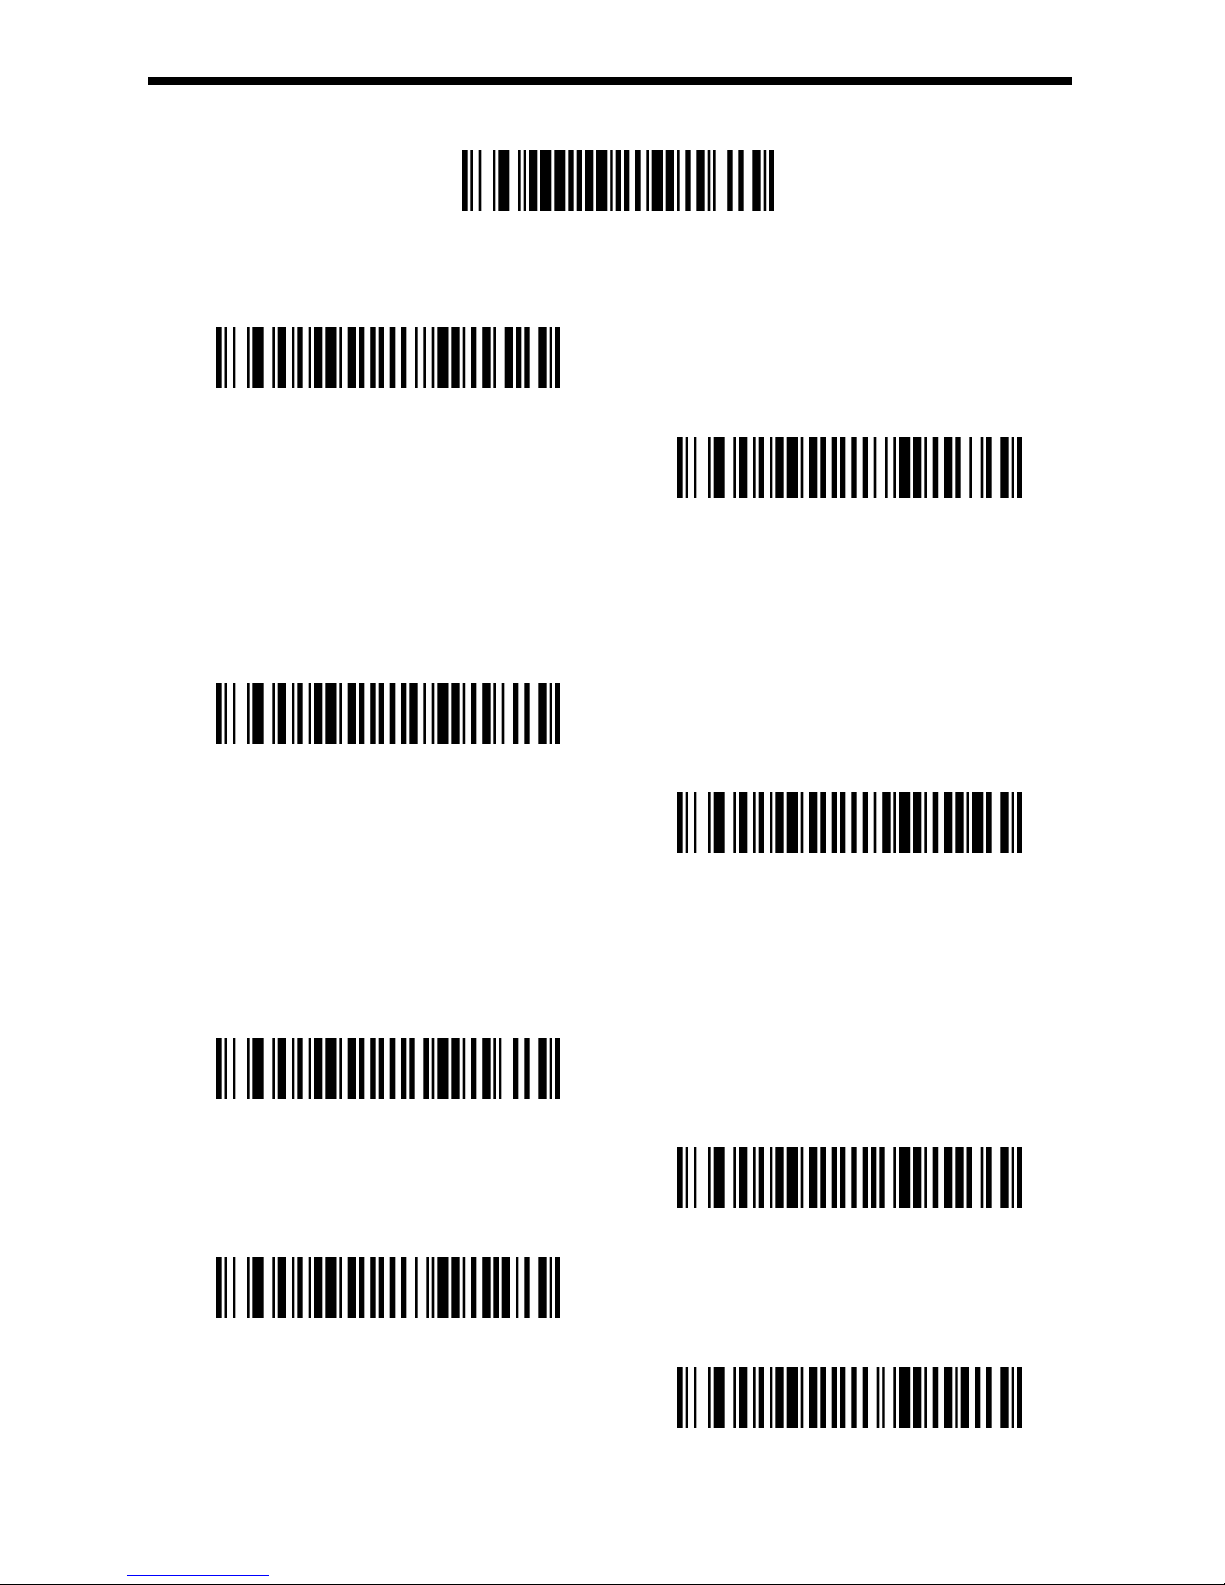
48
18. EAN/JAN-8
Default EAN/JAN-8 setting
EAN/JAN-8 On/Off
*On
Off
EAN/JAN-8 Check digit
This selection allows you to specify whether the check digit should be transmitted at the
end of the scanned data or not. Default = On.
*On
Off
EAN/JAN-8 Addenda
This selection adds 2 or 5 digits to the end of all scanned EAN/JAN-8 data. Default = Off
for both 2 Digit and 5 Digit Addenda.
2 Digit Addenda On
* 2 Digit Addenda Off
5 Digit Addenda On
*5 Digit Addenda Off
GEOS SD 580 2D
Page 49
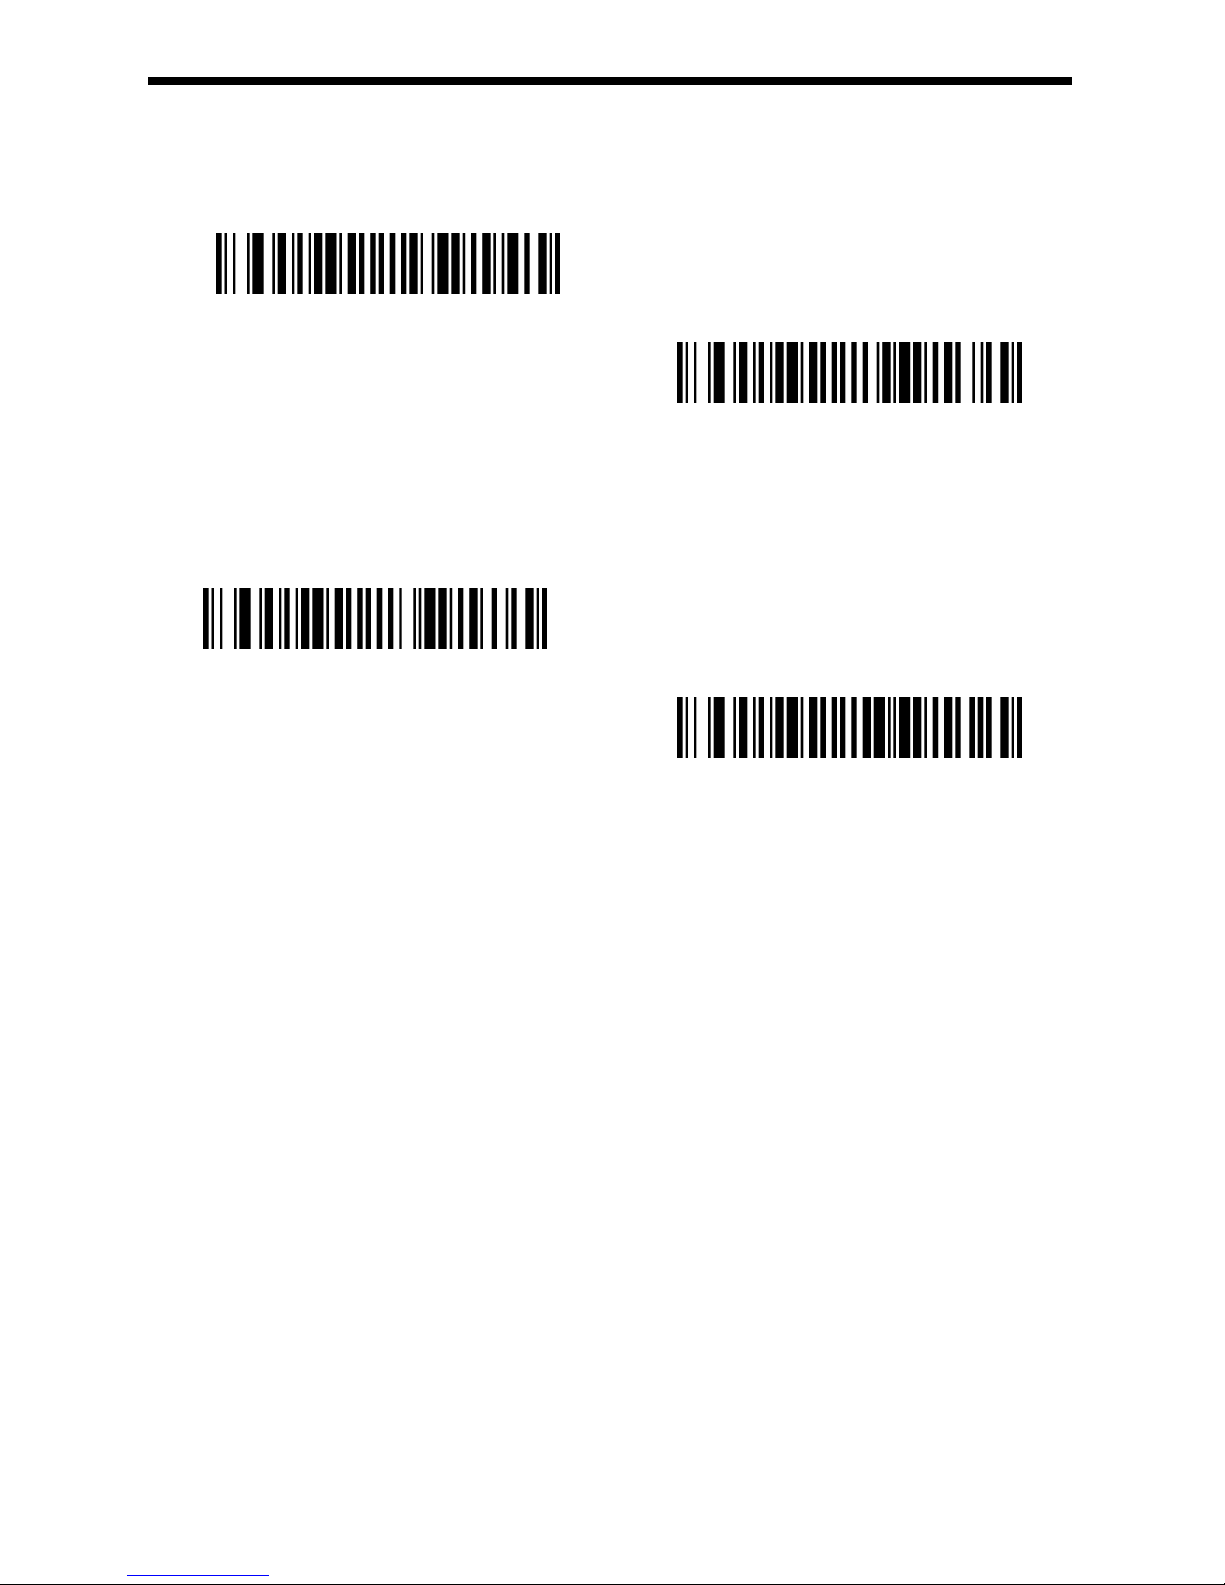
49
EAN/JAN-8 Addenda Required
When Required is scanned, the scanner will only read EAN/JAN-8 bar
codes that have addenda. Default = Not Required.
Required
*Not Required
EAN/JAN-8 Addenda Separator
When this feature is On, there is a space between the data from the bar code and the
data from the addenda. When turned Off, there is no space. Default = On.
* On
Off
GEOS SD 580 2D
Page 50
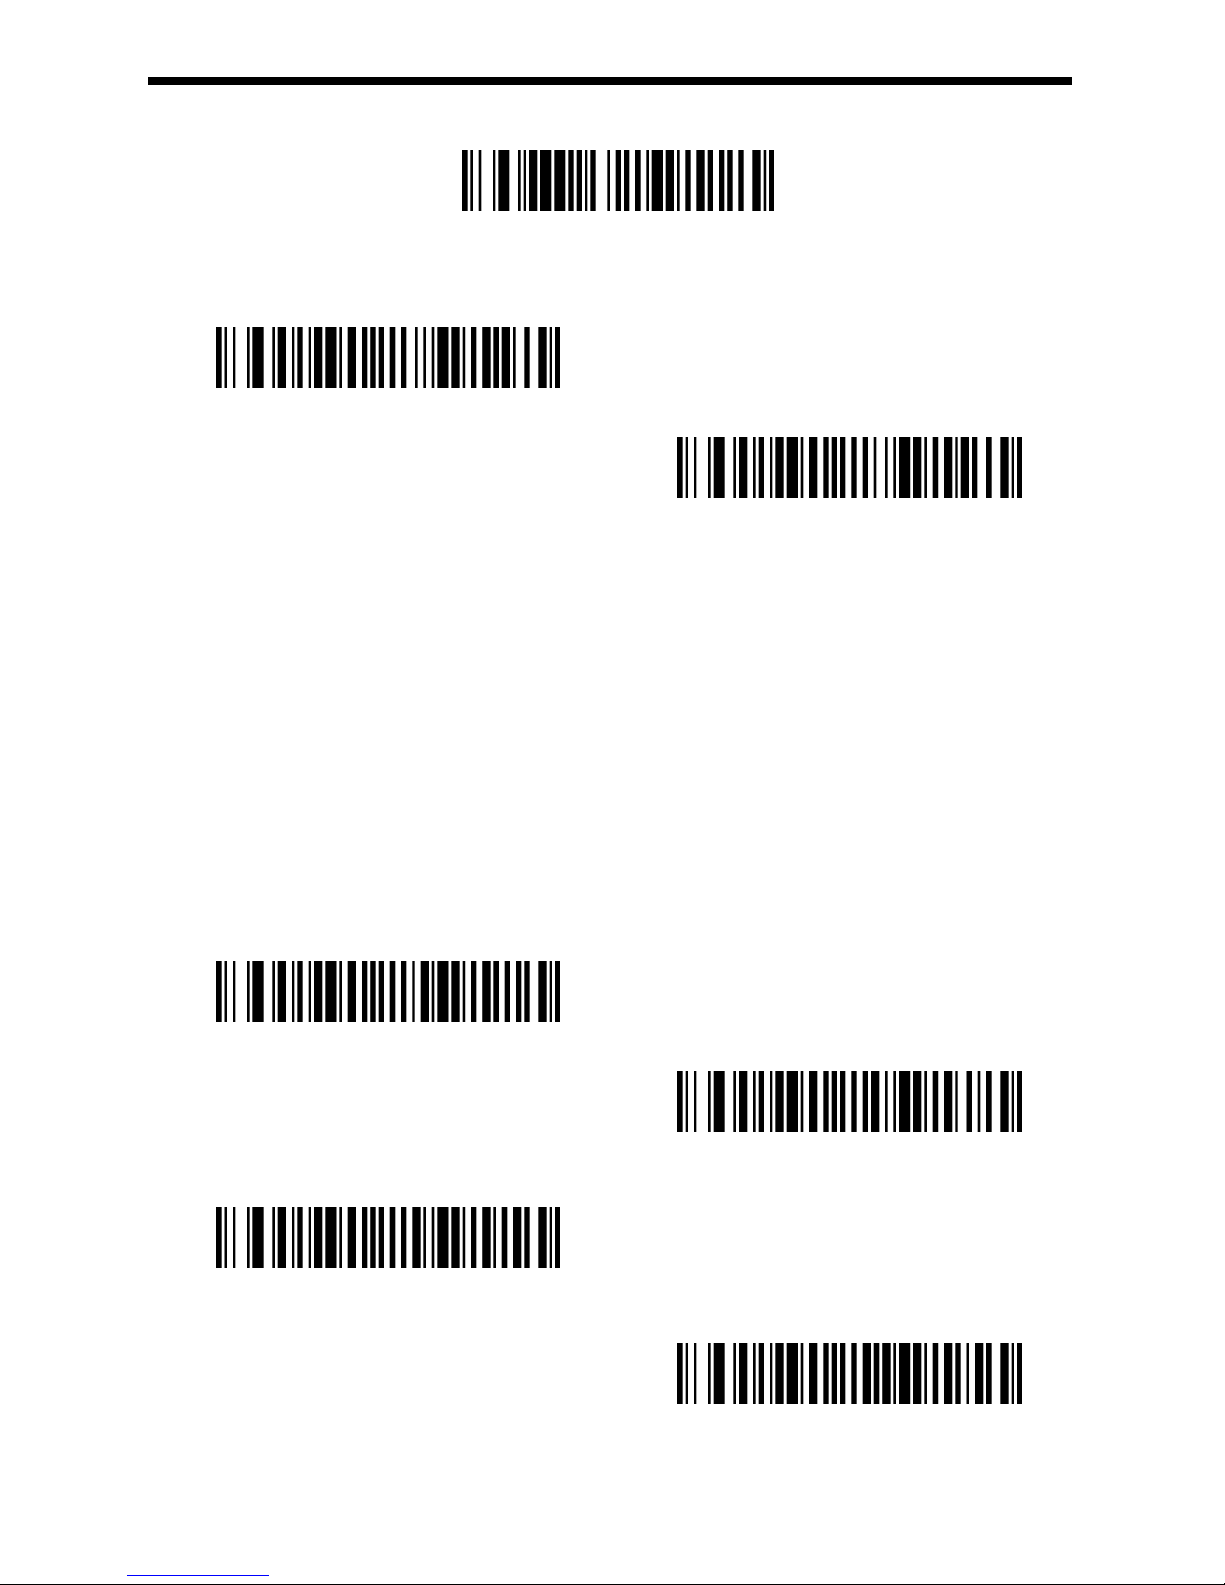
50
19. MSI
Default MSI setting
MSI On/Off
On
*Off
MSI Check Character
Different types of check characters are used with MSI bar codes. You can program the
scanner to read MSI bar codes with Type 10 check characters. Default = Validate Type
10, but Don’t Transmit.
When Check Character is set to Validate Type 10/11 and Transmit, the scanner will
only read MSI bar codes printed with the specified type check character(s), and will
transmit the character(s) at the end of the scanned data.
When Check Character is set to Validate Type 10/11, but Don’t Transmit, the unit will
only read MSI bar codes printed with the specified type check character(s), but will not
transmit the check character(s) with the scanned data.
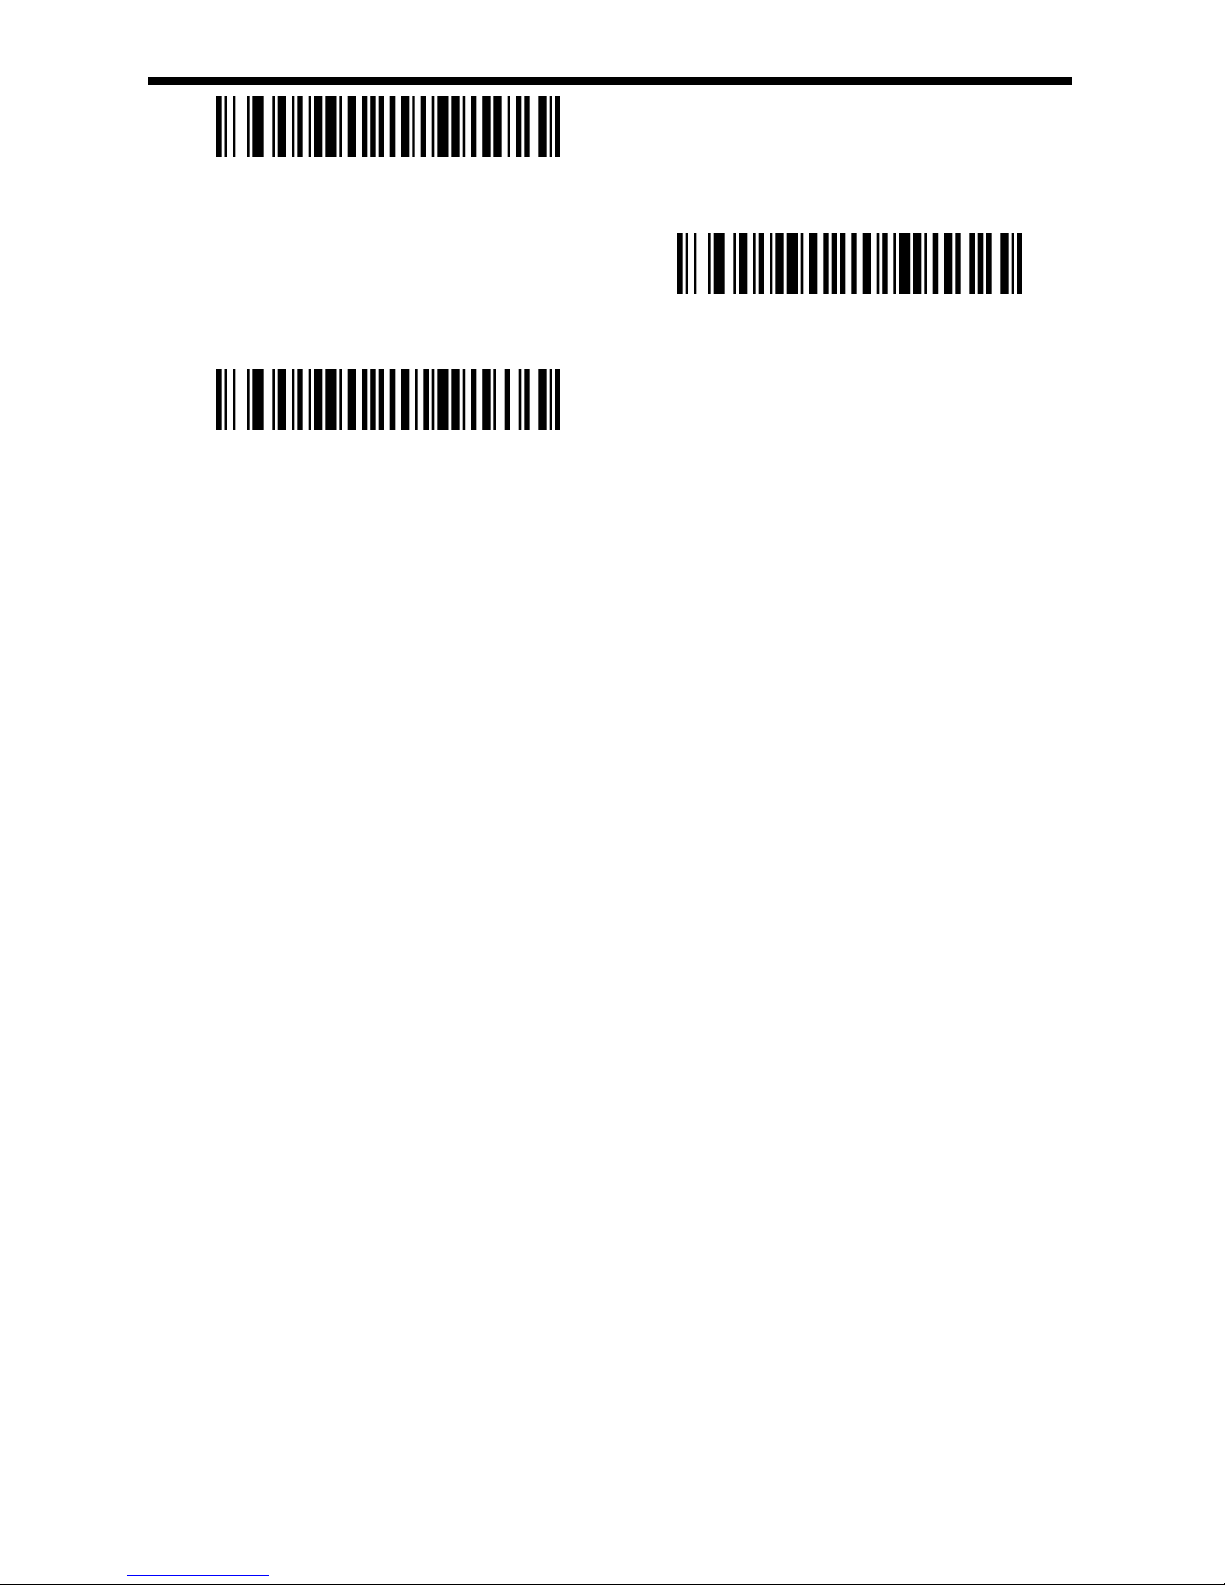
* Validate Type 10, but Don’t Transmit
Validate Type 10 and Transmit
Validate 2 Type 10 Characters, but Don’t Transmit
Validate 2 Type 10 Characters and Transmit
GEOS SD 580 2D
Page 51
51
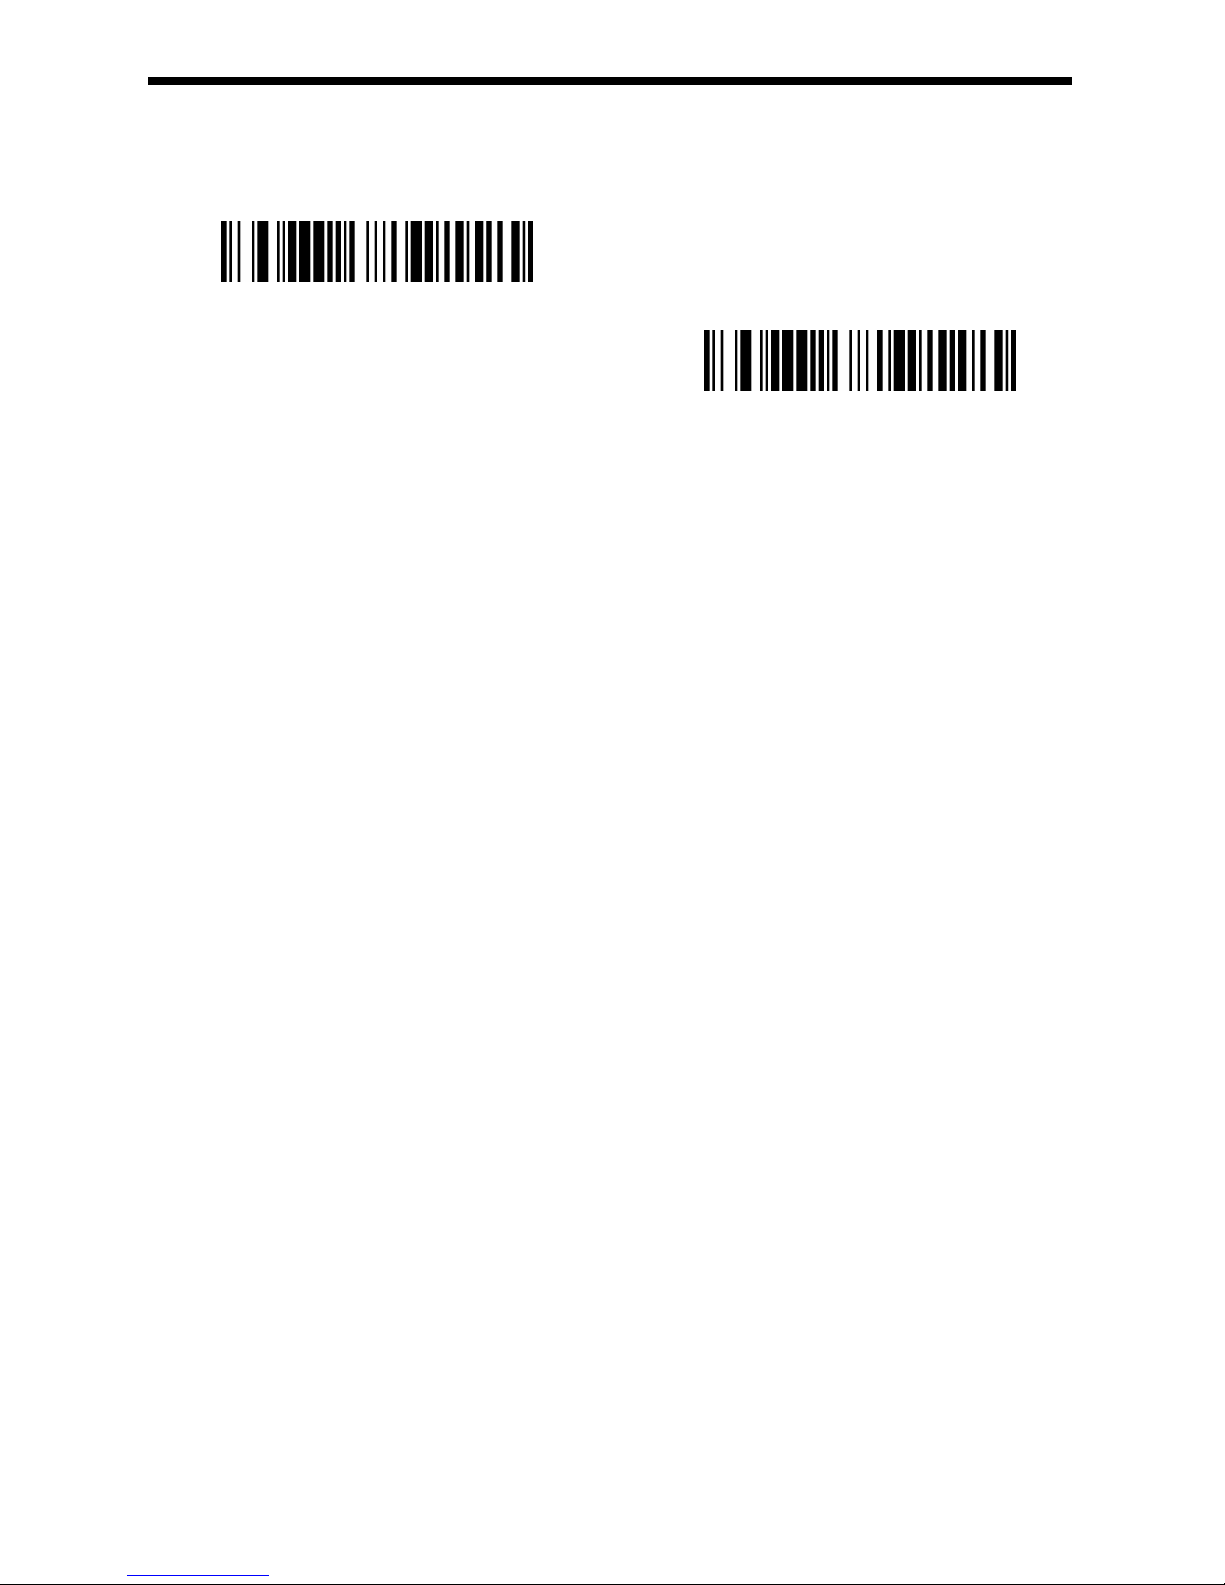
Validate Type 10 then Type 11
Character, but Don’t Transmit
Validate Type 10 then Type 11
Character and Transmit
Disable MSI Check Characters
GEOS SD 580 2D
Page 52
52
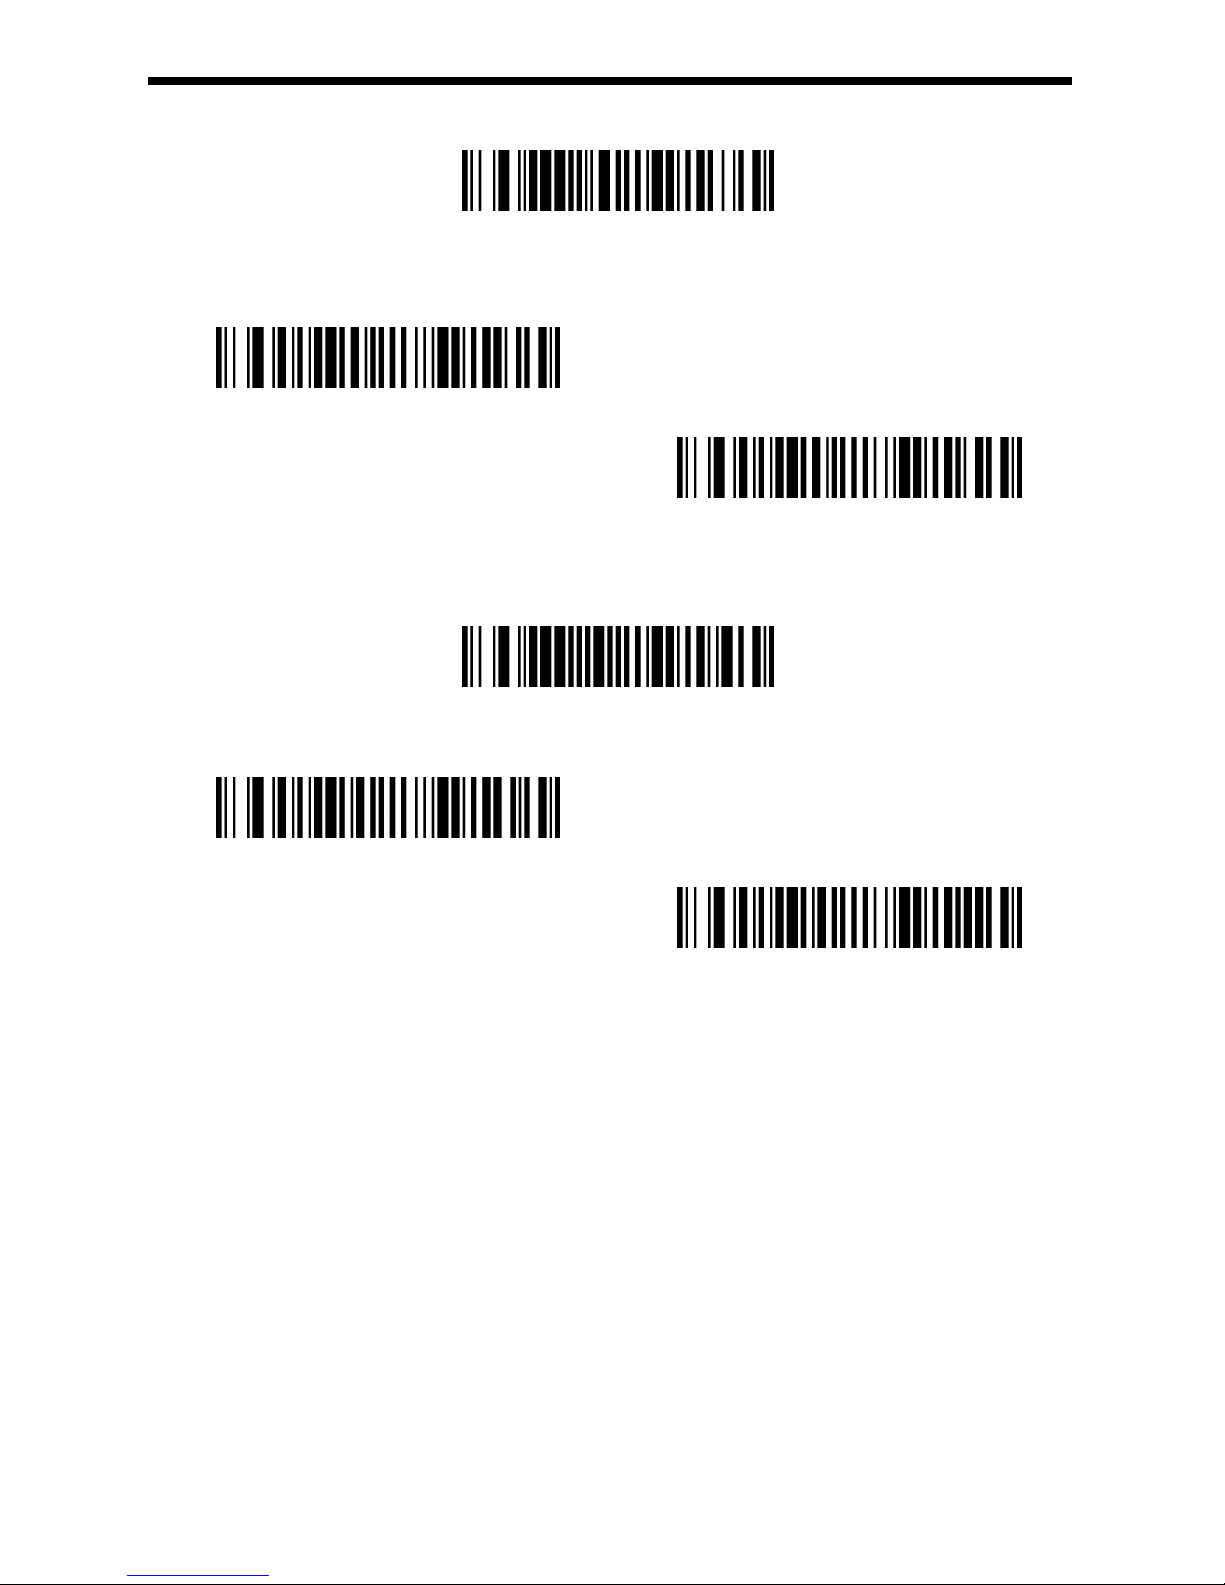
MSI Message Length
Scan the bar codes below to change the message length. Minimum and Maximum
lengths = 4-48. Minimum Default = 4, Maximum Default = 48.
Maximum Message Length
Minimum Message Length
GEOS SD 580 2D
Page 53
53
20. GS1 DataBar Omnidirectional
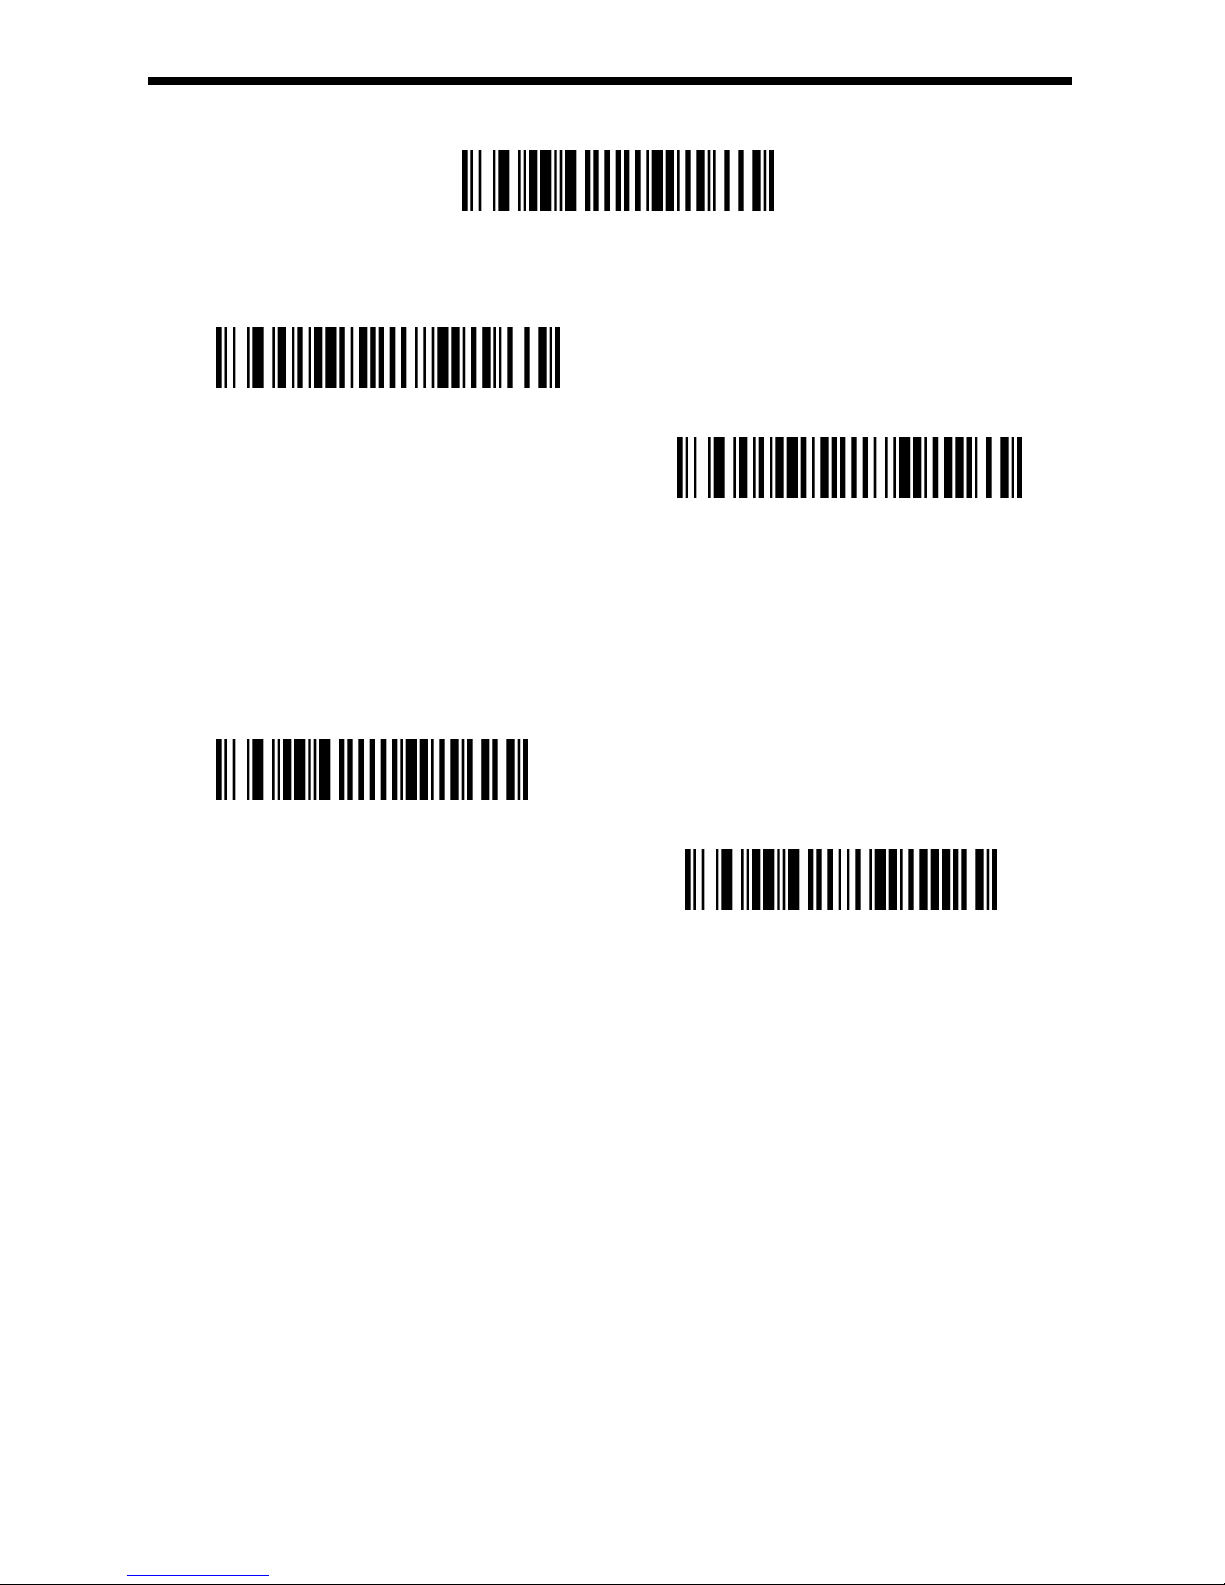
Default GSI DataBar Omnidirectional setting
GS1 DataBar Omnidirectional On/Off
*On
Off
21. GS1 DataBar Limited
默认配置(919000.)
GS1 DataBar Limited On/Off
*使能(9190011.)
Off(9190010.)
GEOS SD 580 2D
Page 54
54
22. GS1 DataBar Expanded
Default GSI DataBar Expanded setting
GS1 DataBar Expanded On/Off
*On
Off
GS1 DataBar Expanded Message Length
Scan the bar codes below to change the message length. Refer to Message Length
Description (page 7-1) for additional information. Minimum and Maximum lengths =
4-74. Minimum Default = 4, Maximum Default = 74.
Maximum Message Length
Minimum Message Length
GEOS SD 580 2D
Page 55
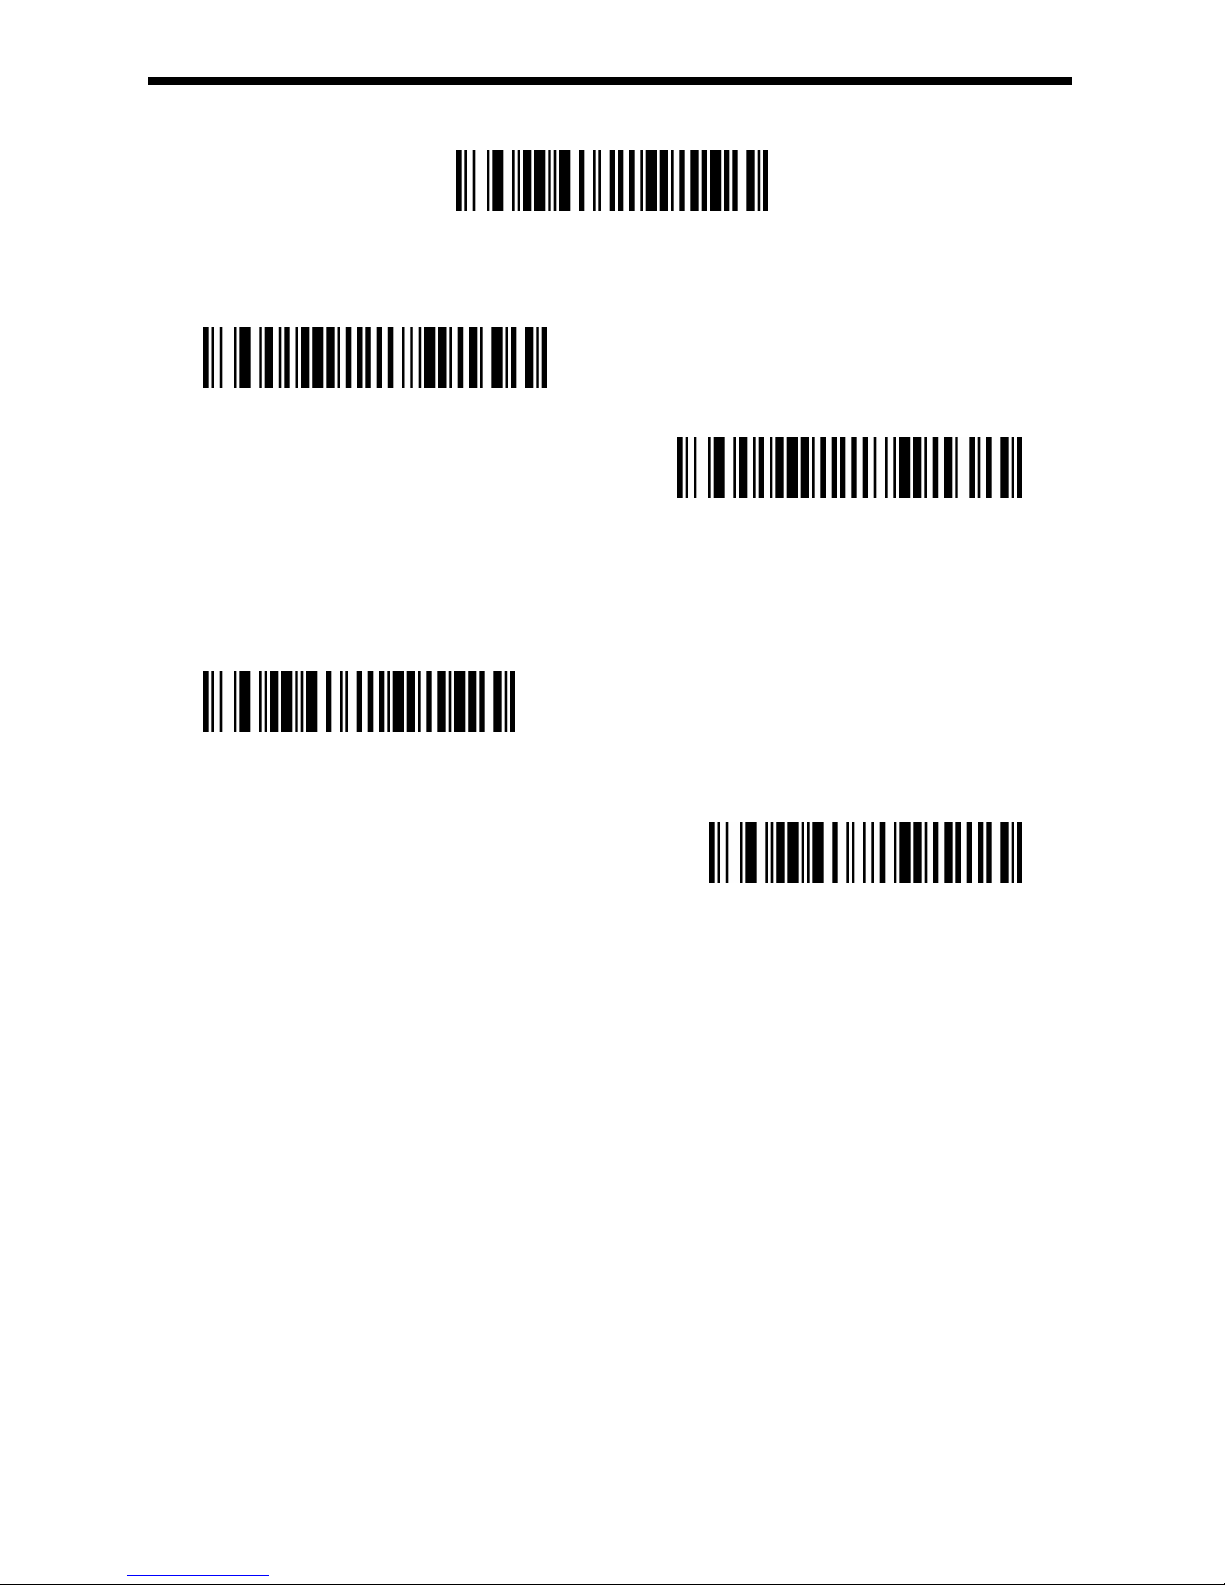
55
23. PDF417
Default PDF417 setting
PDF417 On/Off
*On
Off
PDF417 Message Length
Scan the bar codes below to change the message length. Minimum and Maximum
lengths = 1-2750. Minimum Default = 1, Maximum Default = 2750.
Maximum Message Length
Minimum Message Length
GEOS SD 580 2D
Page 56
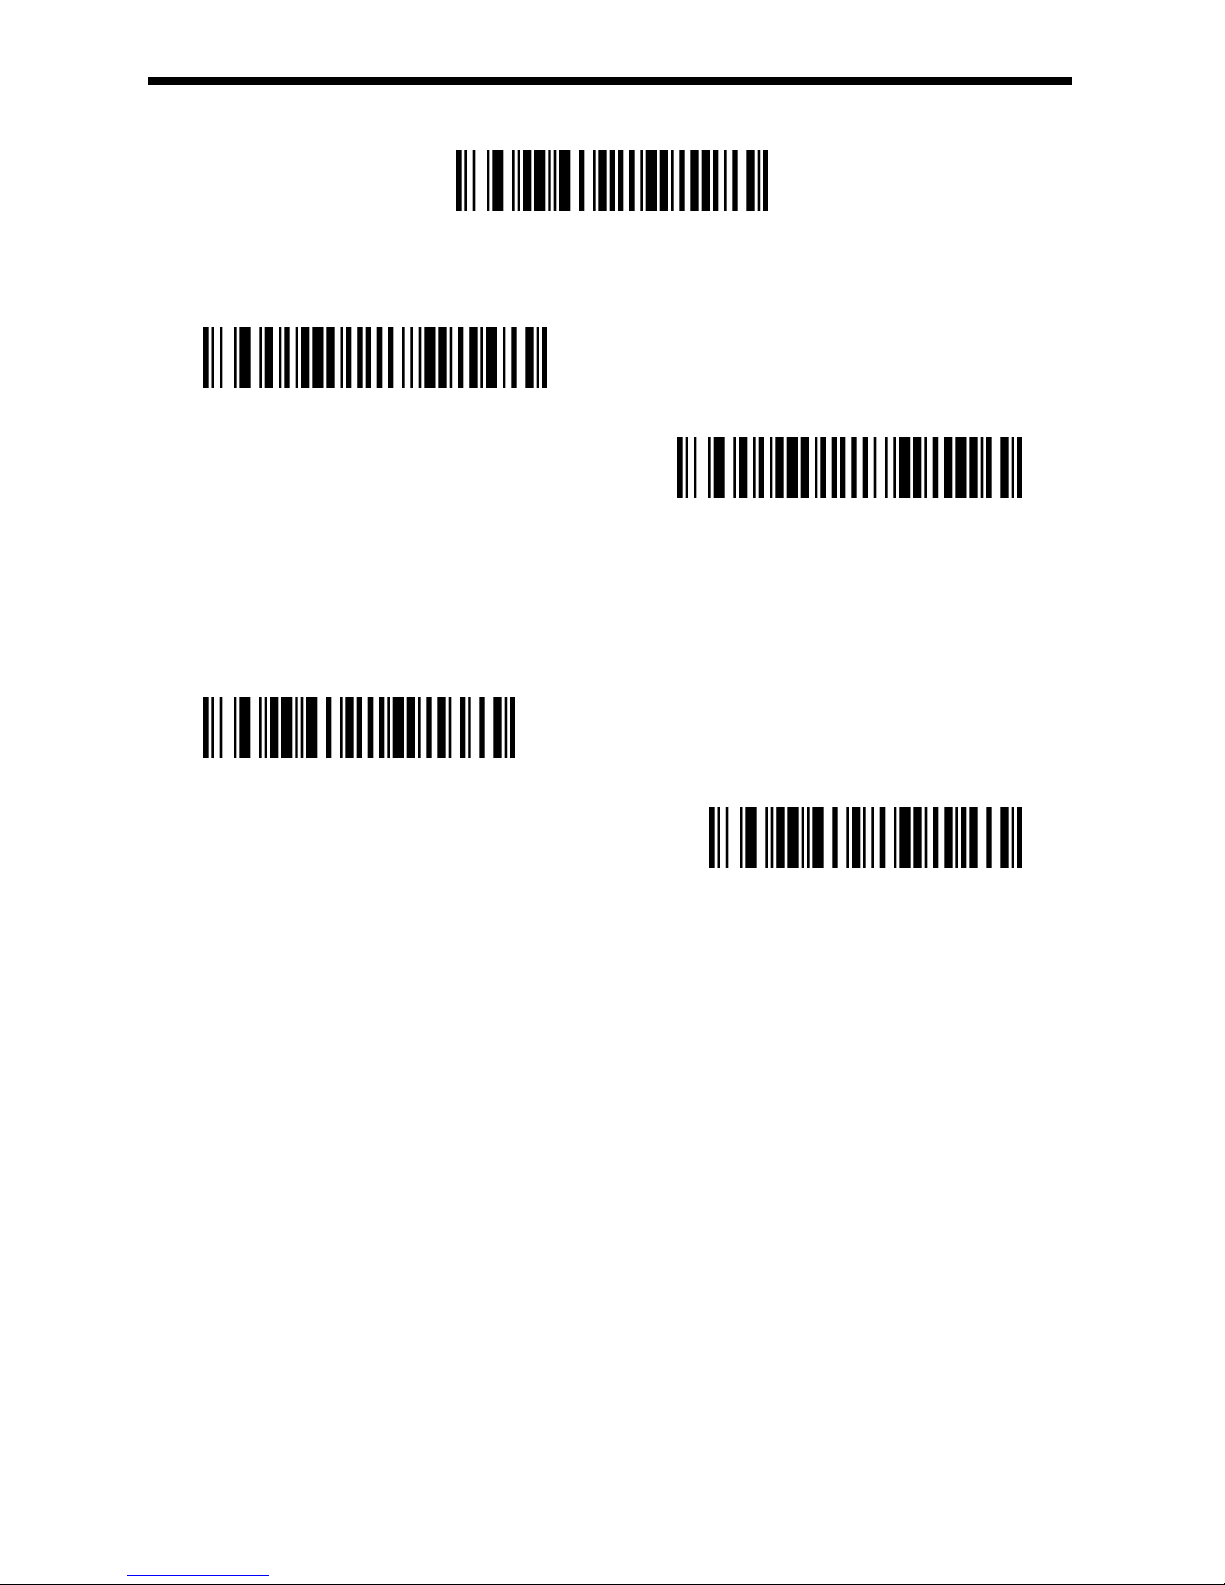
56
24. MicroPDF417
Default Micro PDF417 setting
MicroPDF417 On/Off
On
*Off
MicroPDF417 Message Length
Scan the bar codes below to change the message length. Minimum and Maximum
lengths = 1-366. Minimum Default = 1, Maximum Default = 366.
Maximum Message Length
Minimum Message Length
GEOS SD 580 2D
Page 57
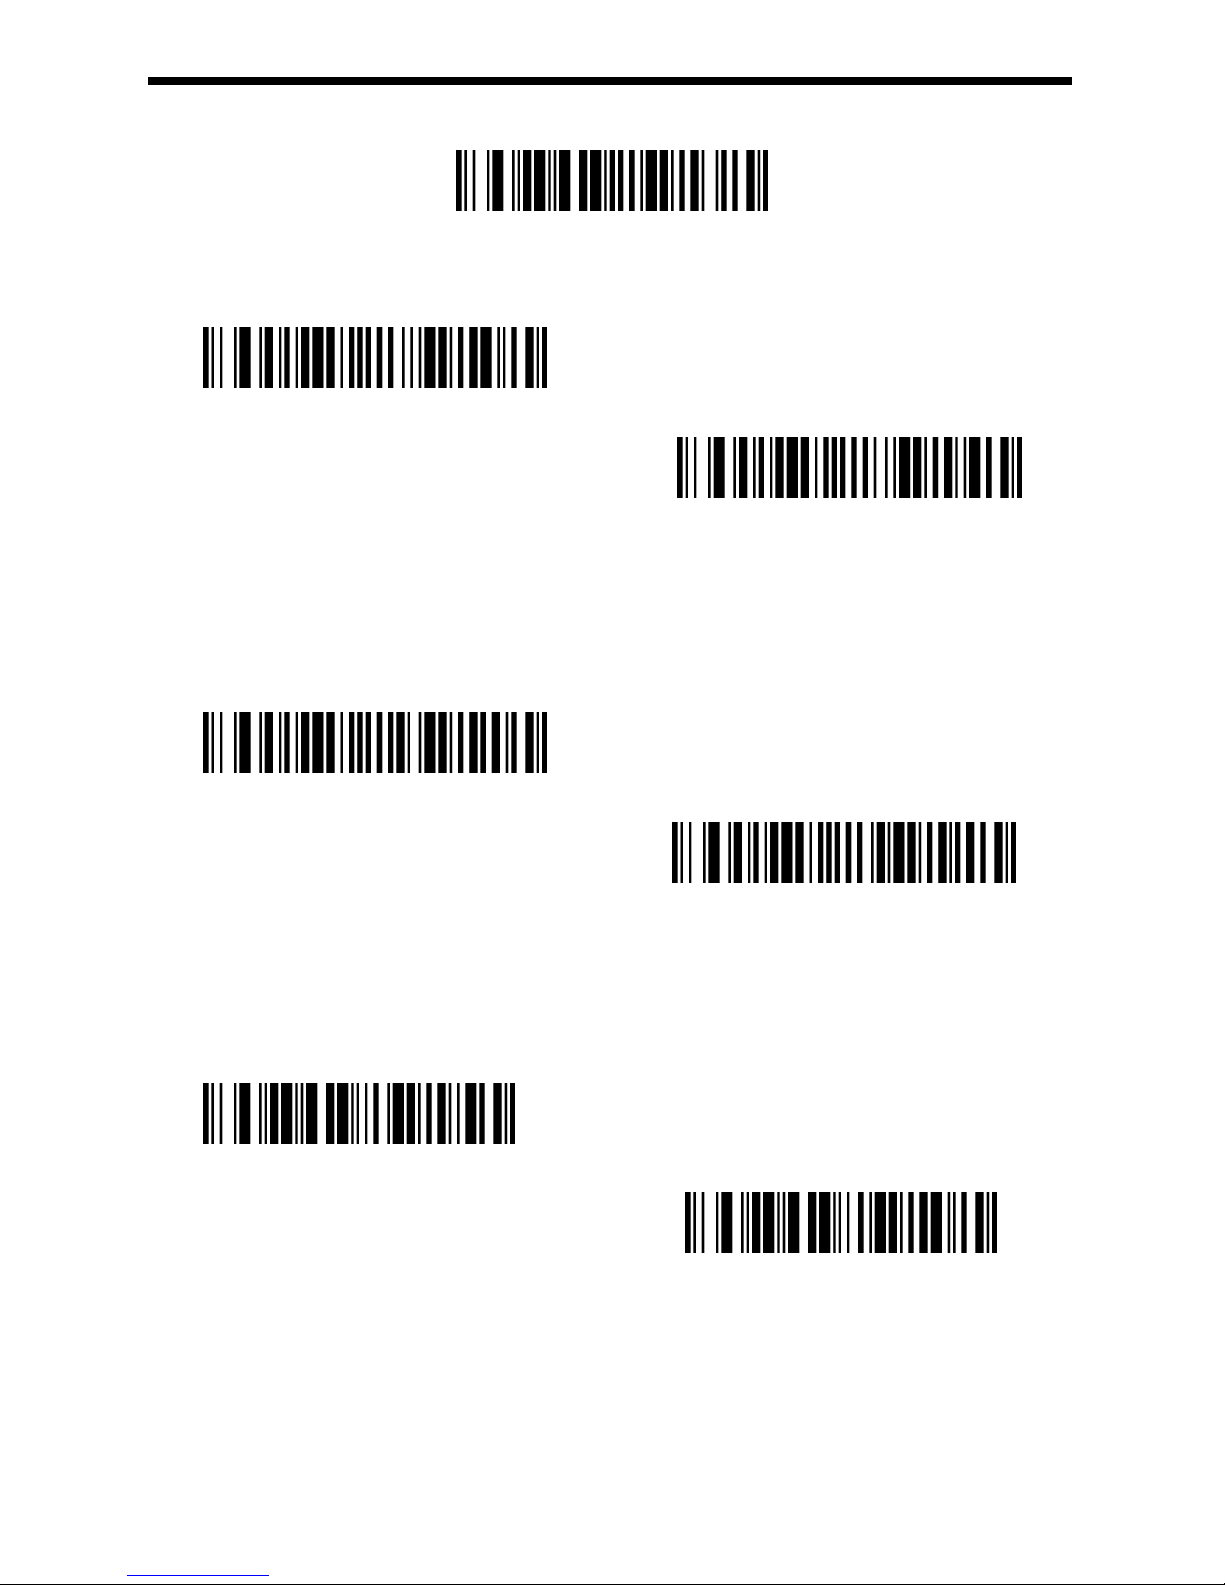
57
25. GS1 Composite Codes
Default GS1 Composite setting
GS1 Composite Codes On/Off
On
*Off
UPC/EAN Version
Scan the UPC/EAN Version On bar code to decode GS1 Composite symbols that have
a U.P.C. or an EAN linear component. (This does not affect GS1 Composite symbols
with a GS1-128 or GS1 linear component.) Default = UPC/EAN Version Off.
On
* Off
GS1 Composite Codes Message Length
Scan the bar codes below to change the message length. Minimum and Maximum
lengths = 1-2435. Minimum Default = 1, Maximum Default = 2435.
Maximum Message Length
Minimum Message Length
GEOS SD 580 2D
Page 58
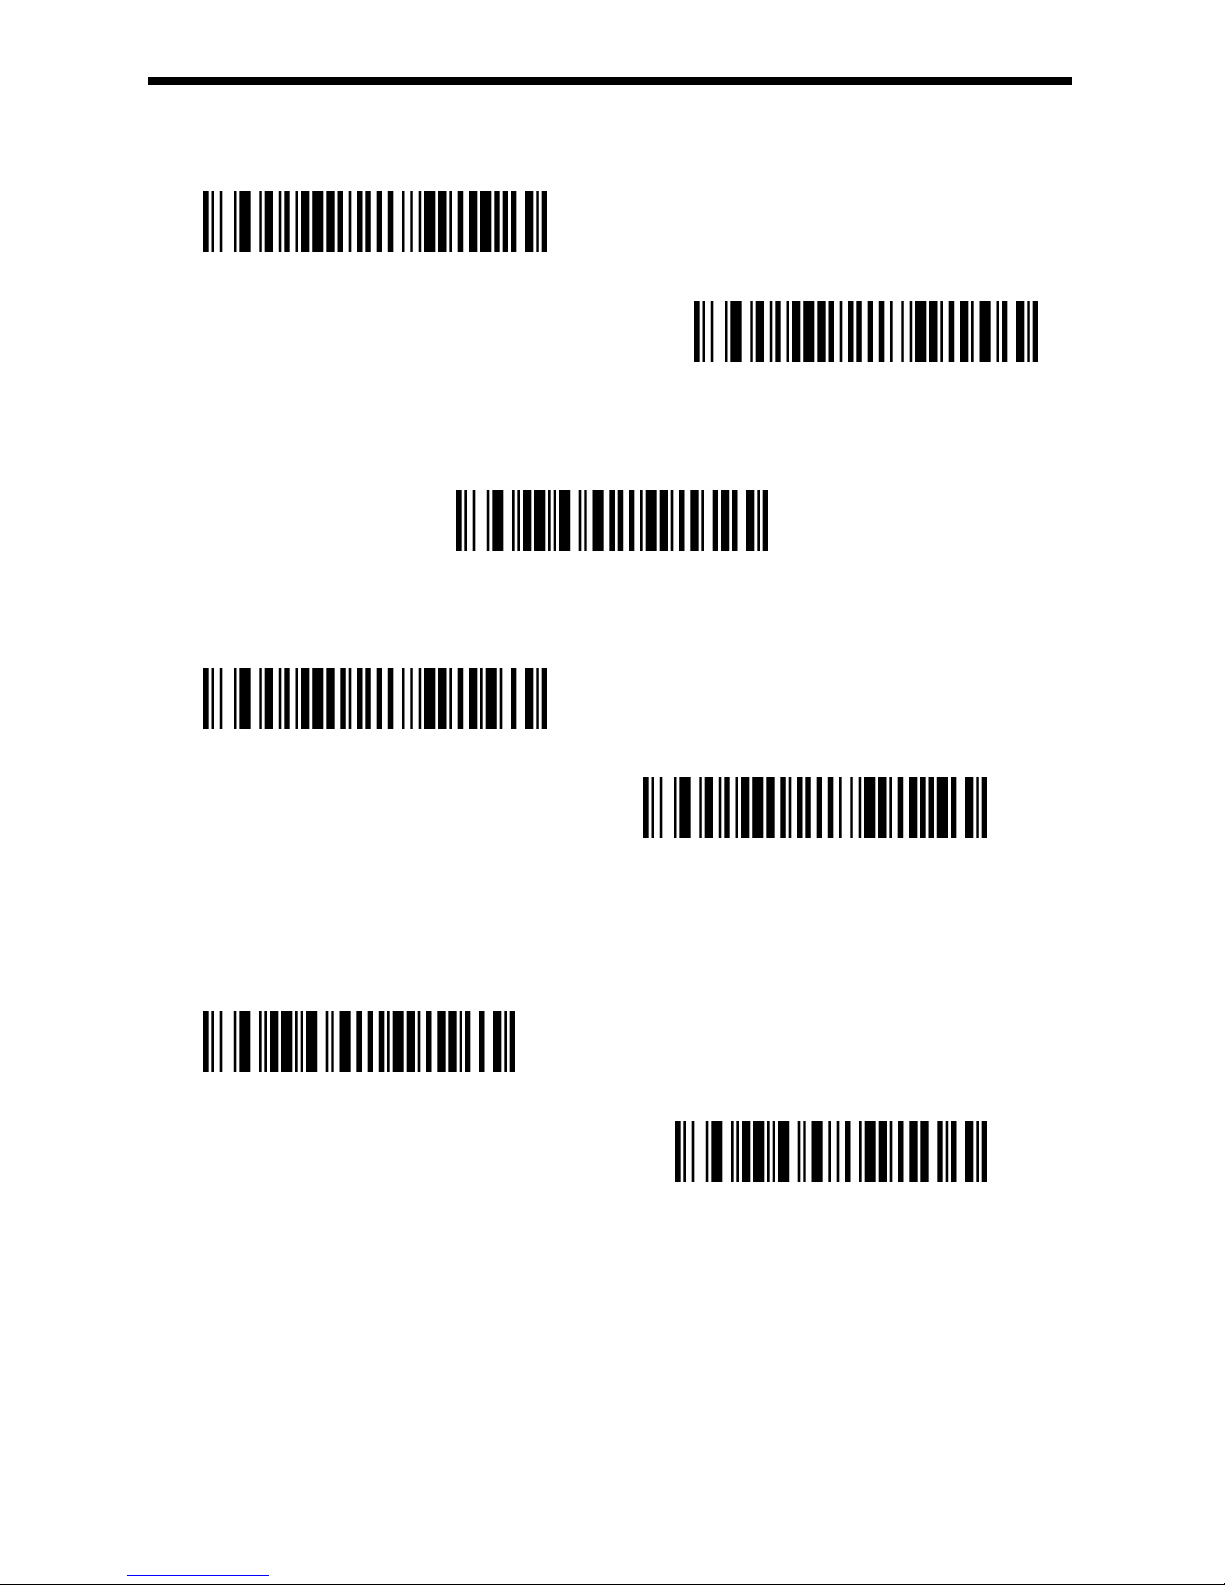
58
26. TCIF Linked Code 39 (TLC39)
TCIF Linked Code 39 On/Off
On)
Off
27. QR Code
Default QR setting
QR Code On/Off
*On
Off
QR Code Message Length
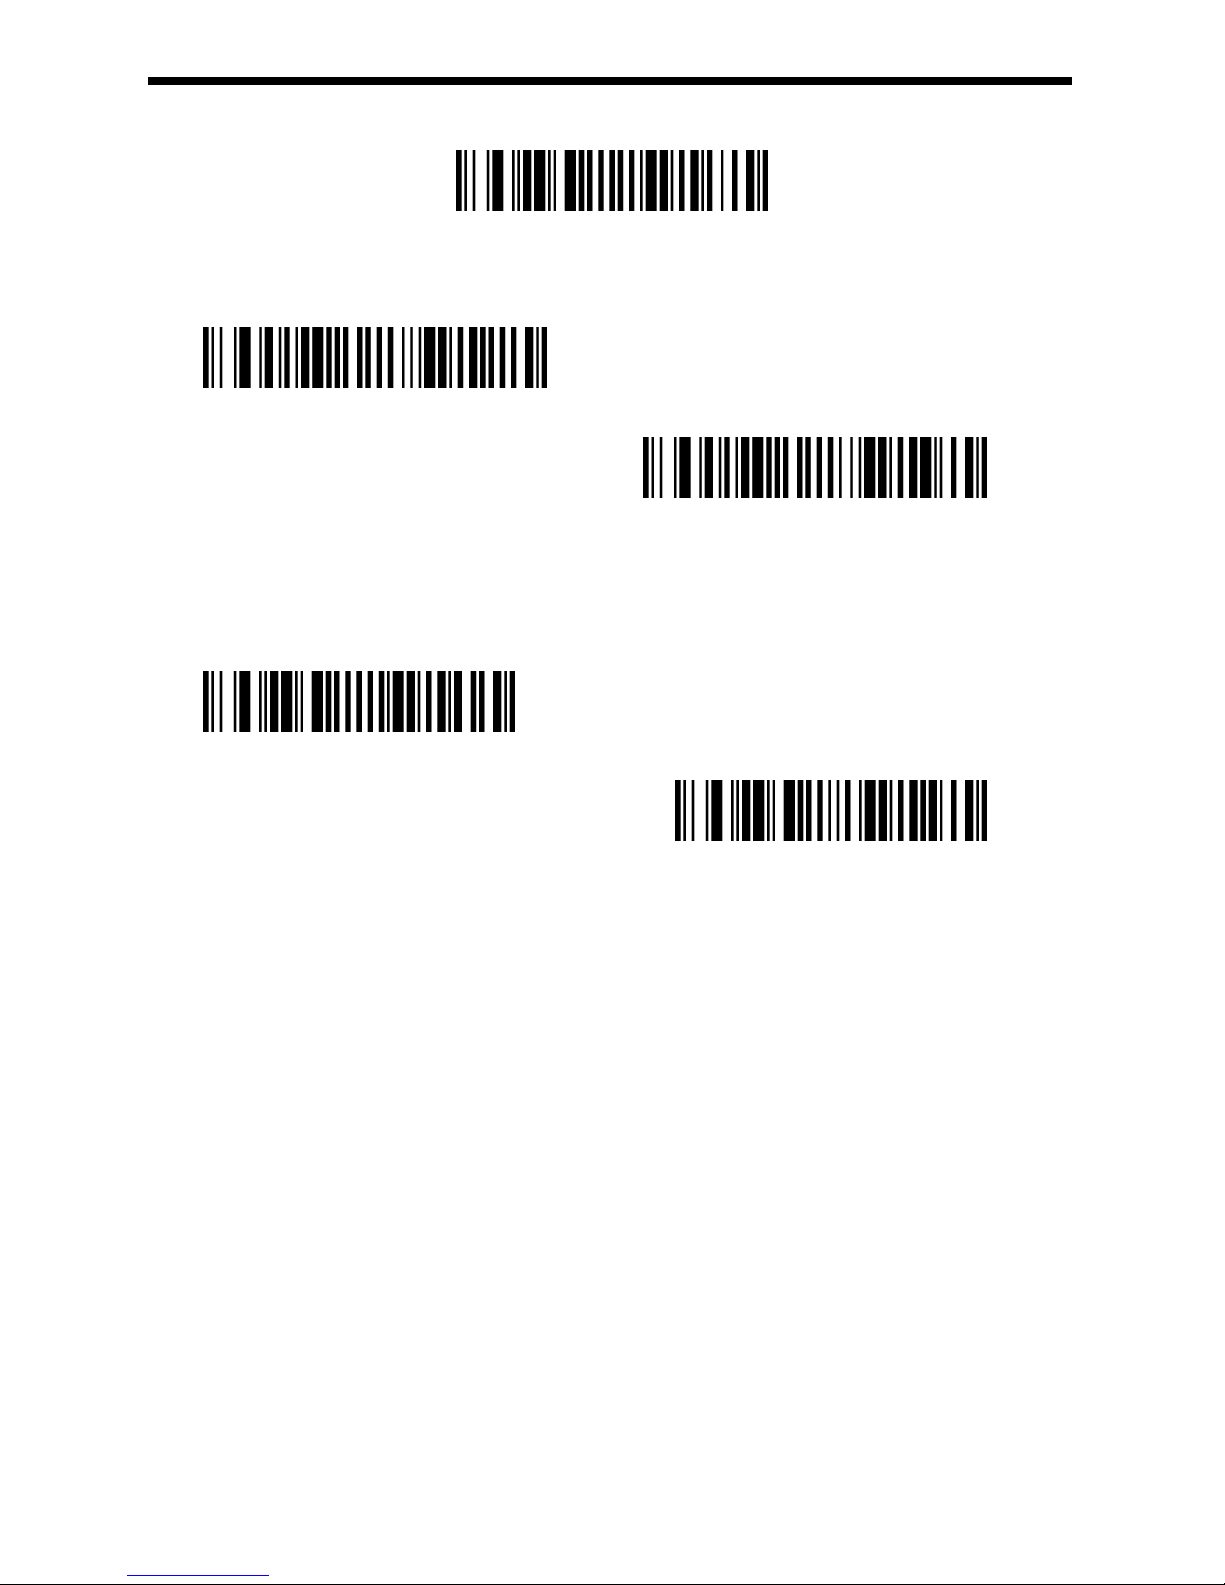
Scan the bar codes below to change the message length. Minimum and Maximum
lengths = 1-7089. Minimum Default = 1, Maximum Default = 7089.
Maximum Message Length
Minimum Message Length
GEOS SD 580 2D
Page 59
59
28. Data Matrix Code
Default Data Matrix setting
Data Matrix CodeOn.Off
*On
Of
Data Matrix Code Message Length
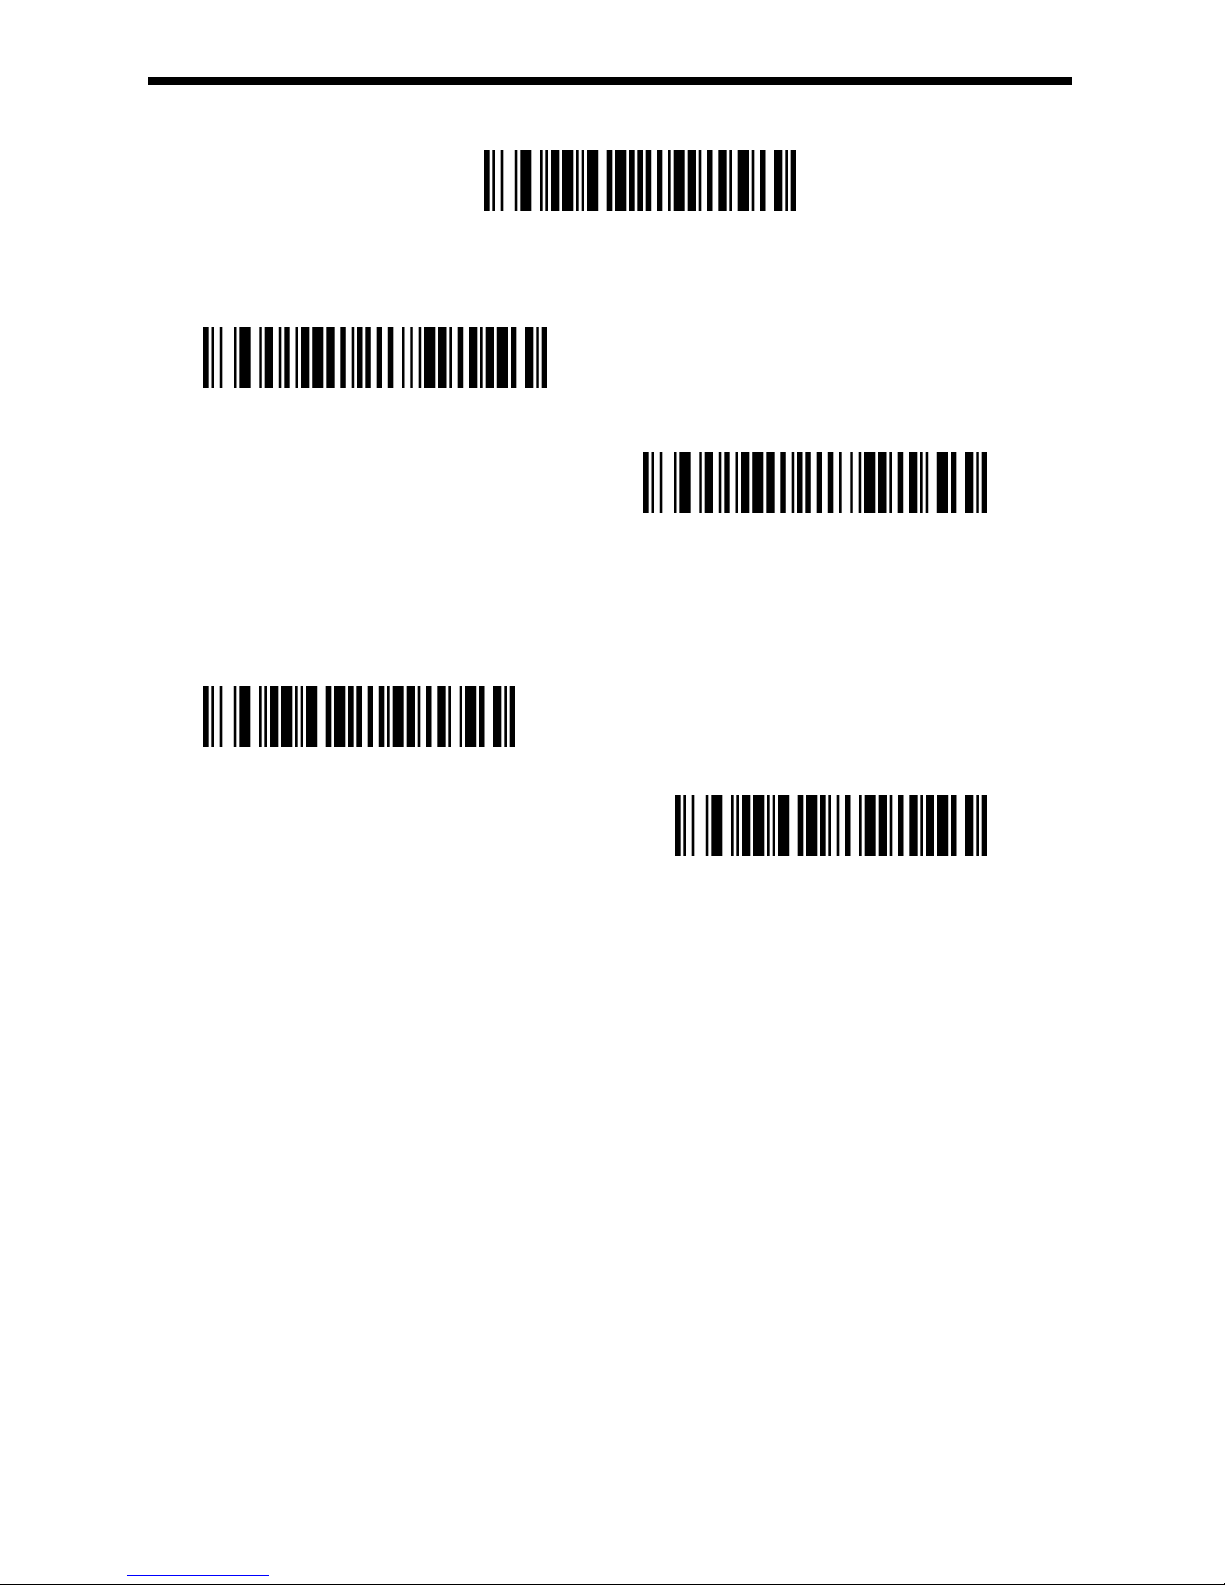
Scan the bar codes below to change the message length. Minimum and Maximum
lengths = 1-3116. Minimum Default = 1, Maximum Default = 3116.
Maximum Message Length
Minimum Message Length
GEOS SD 580 2D
Page 60
60
29. MaxiCode
Default MaxiCode setting
MaxiCode On/Off
On
*Off
MaxiCode Message Length
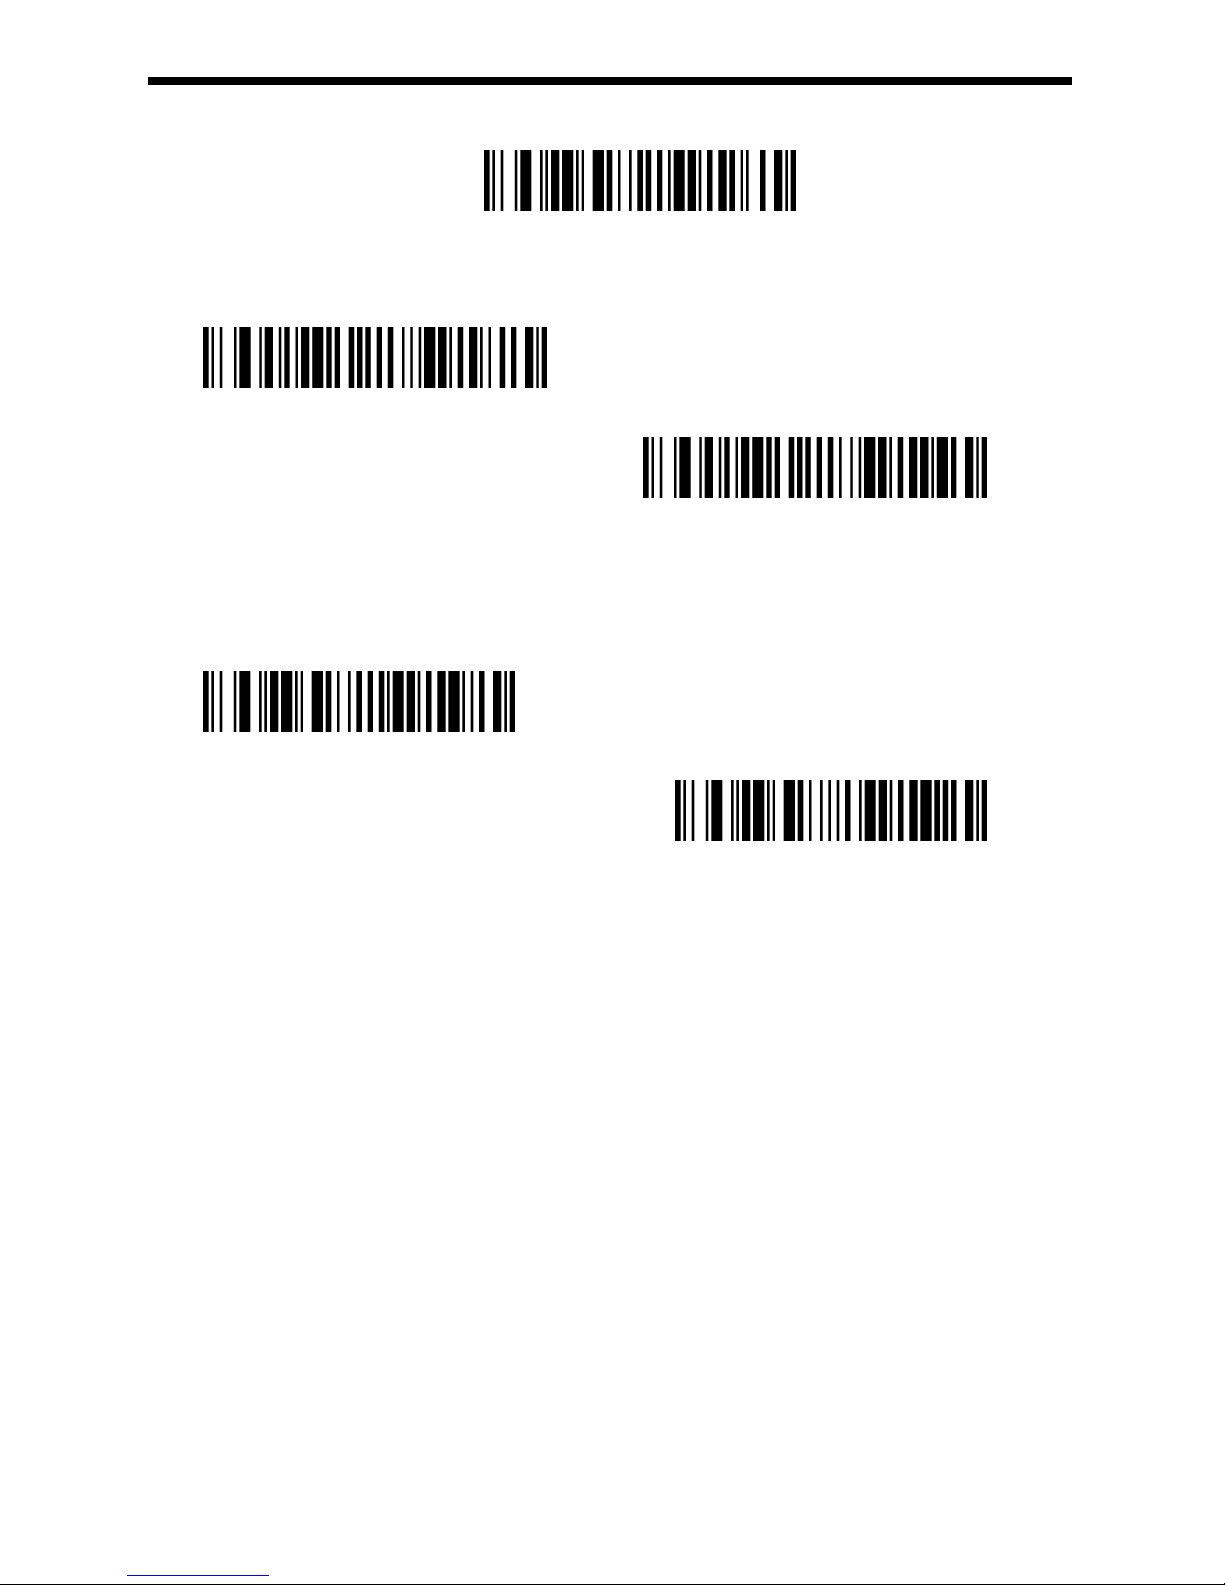
Scan the bar codes below to change the message length. Minimum and Maximum
lengths = 1-150. Minimum Default = 1, Maximum Default = 150.
Maximum Message Length
Minimum Message Length
GEOS SD 580 2D
Page 61
61
30. Aztec Code
Default Aztec Code setting
Aztec Code On/Off
*On
Off
Aztec Code Message Length
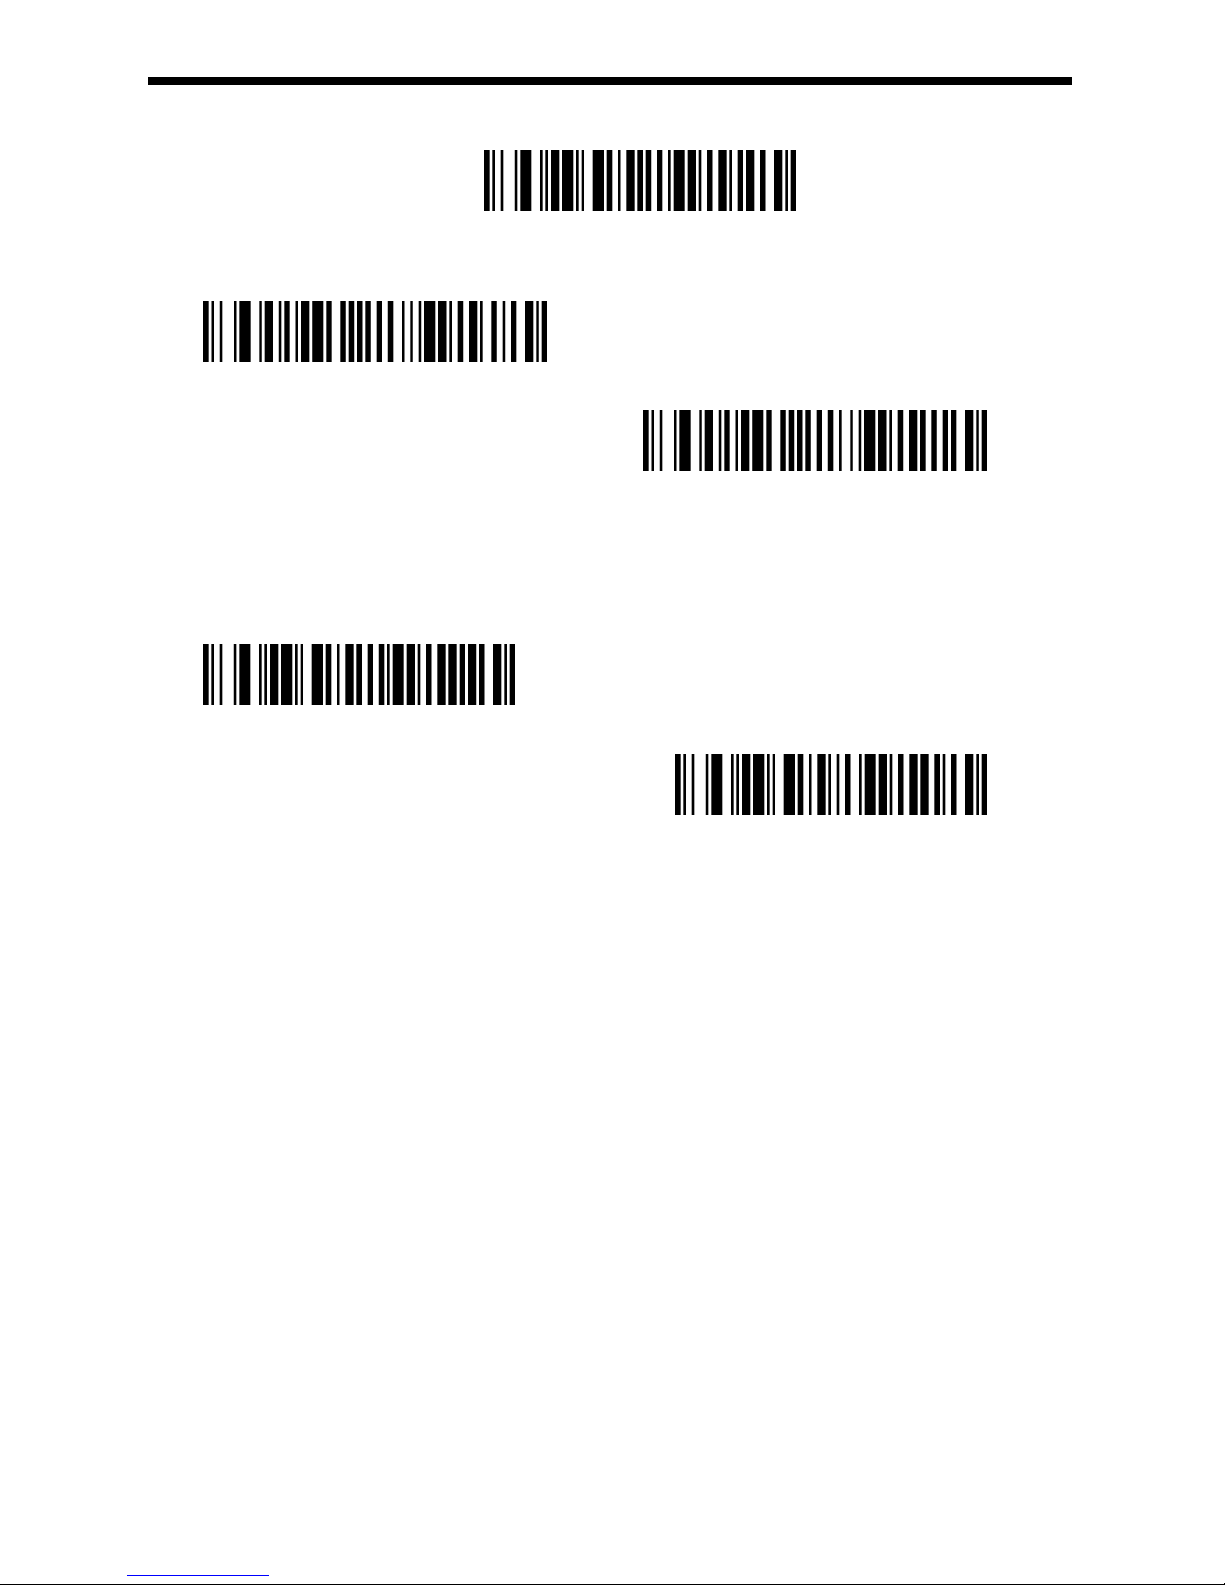
Scan the bar codes below to change the message length. Minimum and Maximum
lengths = 1-3832. Minimum Default = 1, Maximum Default = 3832.
Maximum Message Length)
Minimum Message Length
GEOS SD 580 2D
Page 62
62
31. Han Xin Code
Default Han Xin Code setting
Han Xin Code On/Off
On
*Off
Han Xin Code Message Length
。
Scan the bar codes below to change the message length. Minimum and Maximum
lengths = 1-7833. Minimum Default = 1, Maximum Default = 7833.
Maximum Message Length
Minimum Message Length
GEOS SD 580 2D
Page 63
63
32. Postal Codes
T
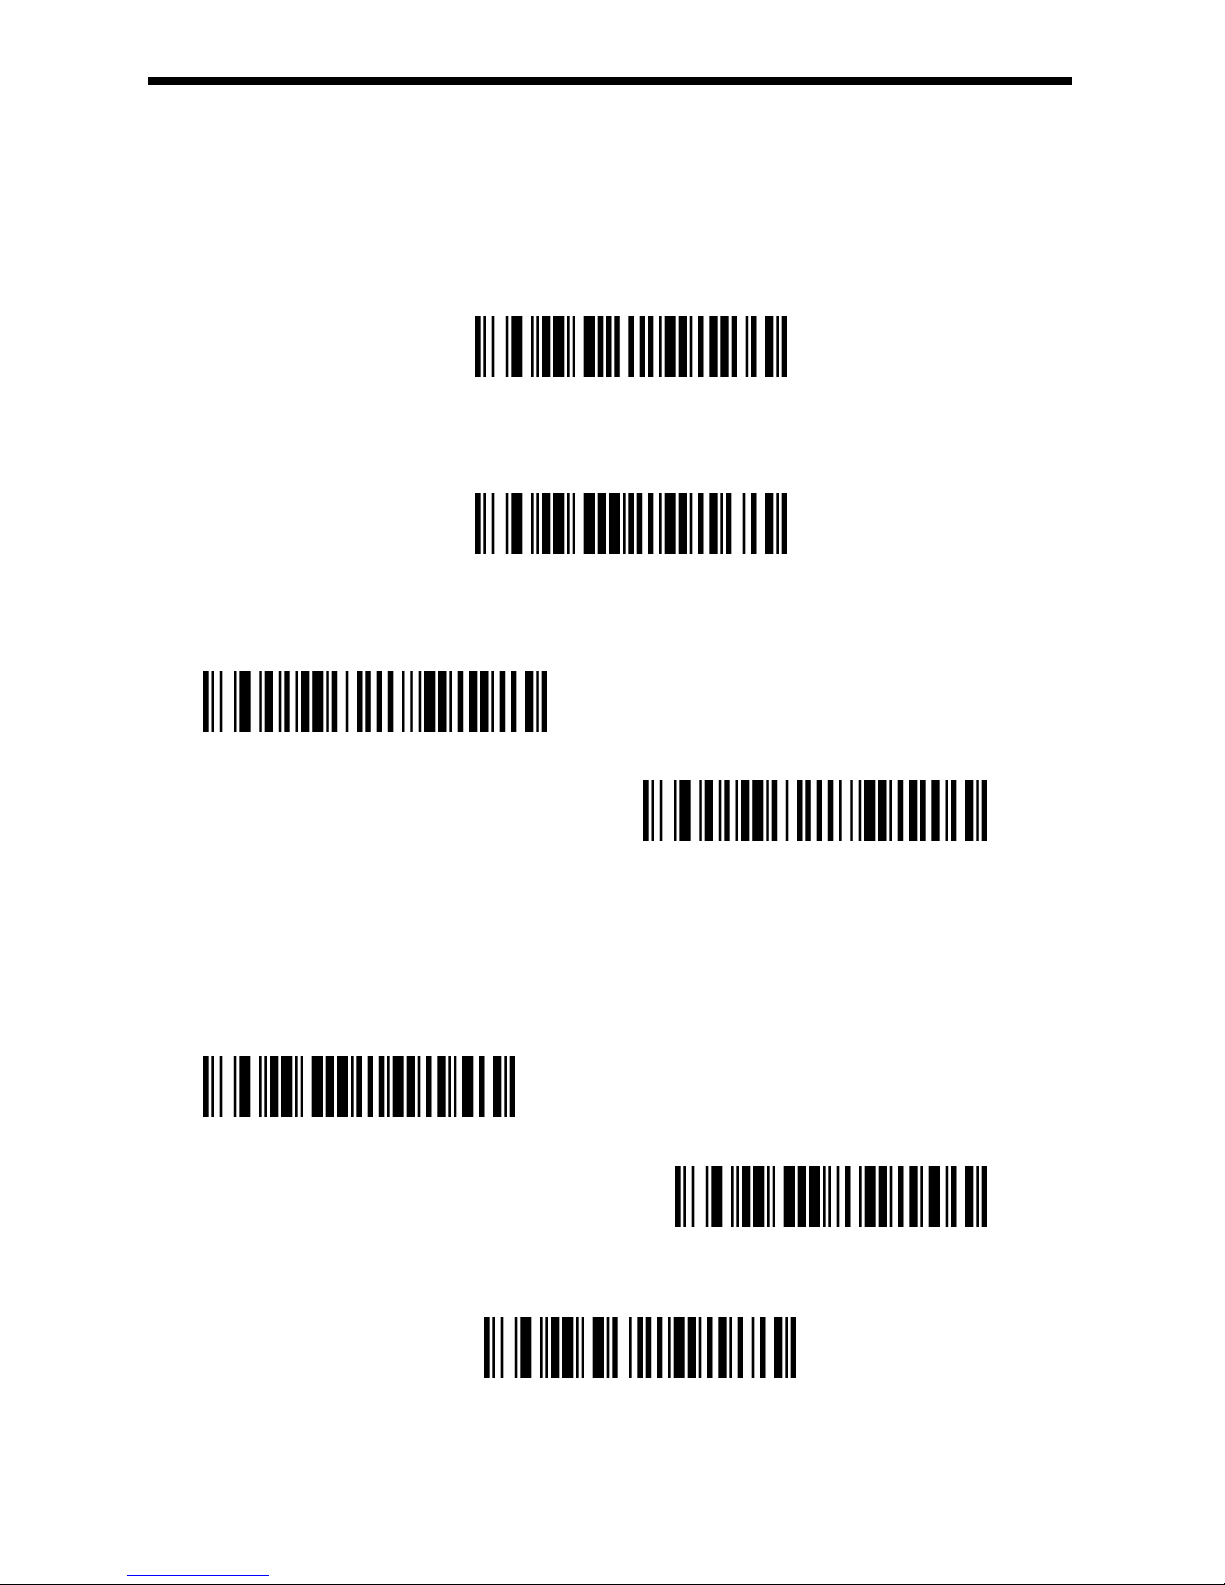
he following lists the possible 2D postal codes, and 2D postal code combinations that
are allowed. Only one 2D postal code election can be active at a time. If you scan a
second 2D postal code selection, the first selection is overwritten. Default = 2D Postal
Codes Off.
* 2D Postal Codes Off
(1)
China Post (Hong Kong 2 of 5)
Default China Post setting
China Post (Hong Kong 2 of 5) On/Off
On
*Off
China Post (Hong Kong 2 of 5) Message Length
Scan the bar codes below to change the message length. Minimum and Maximum
lengths = 2-80. Minimum Default = 4, Maximum Default = 80.
Maximum Message Length
Minimum Message Length
(2)
Korea Post
Default Korea Post setting
GEOS SD 580 2D
Page 64
64
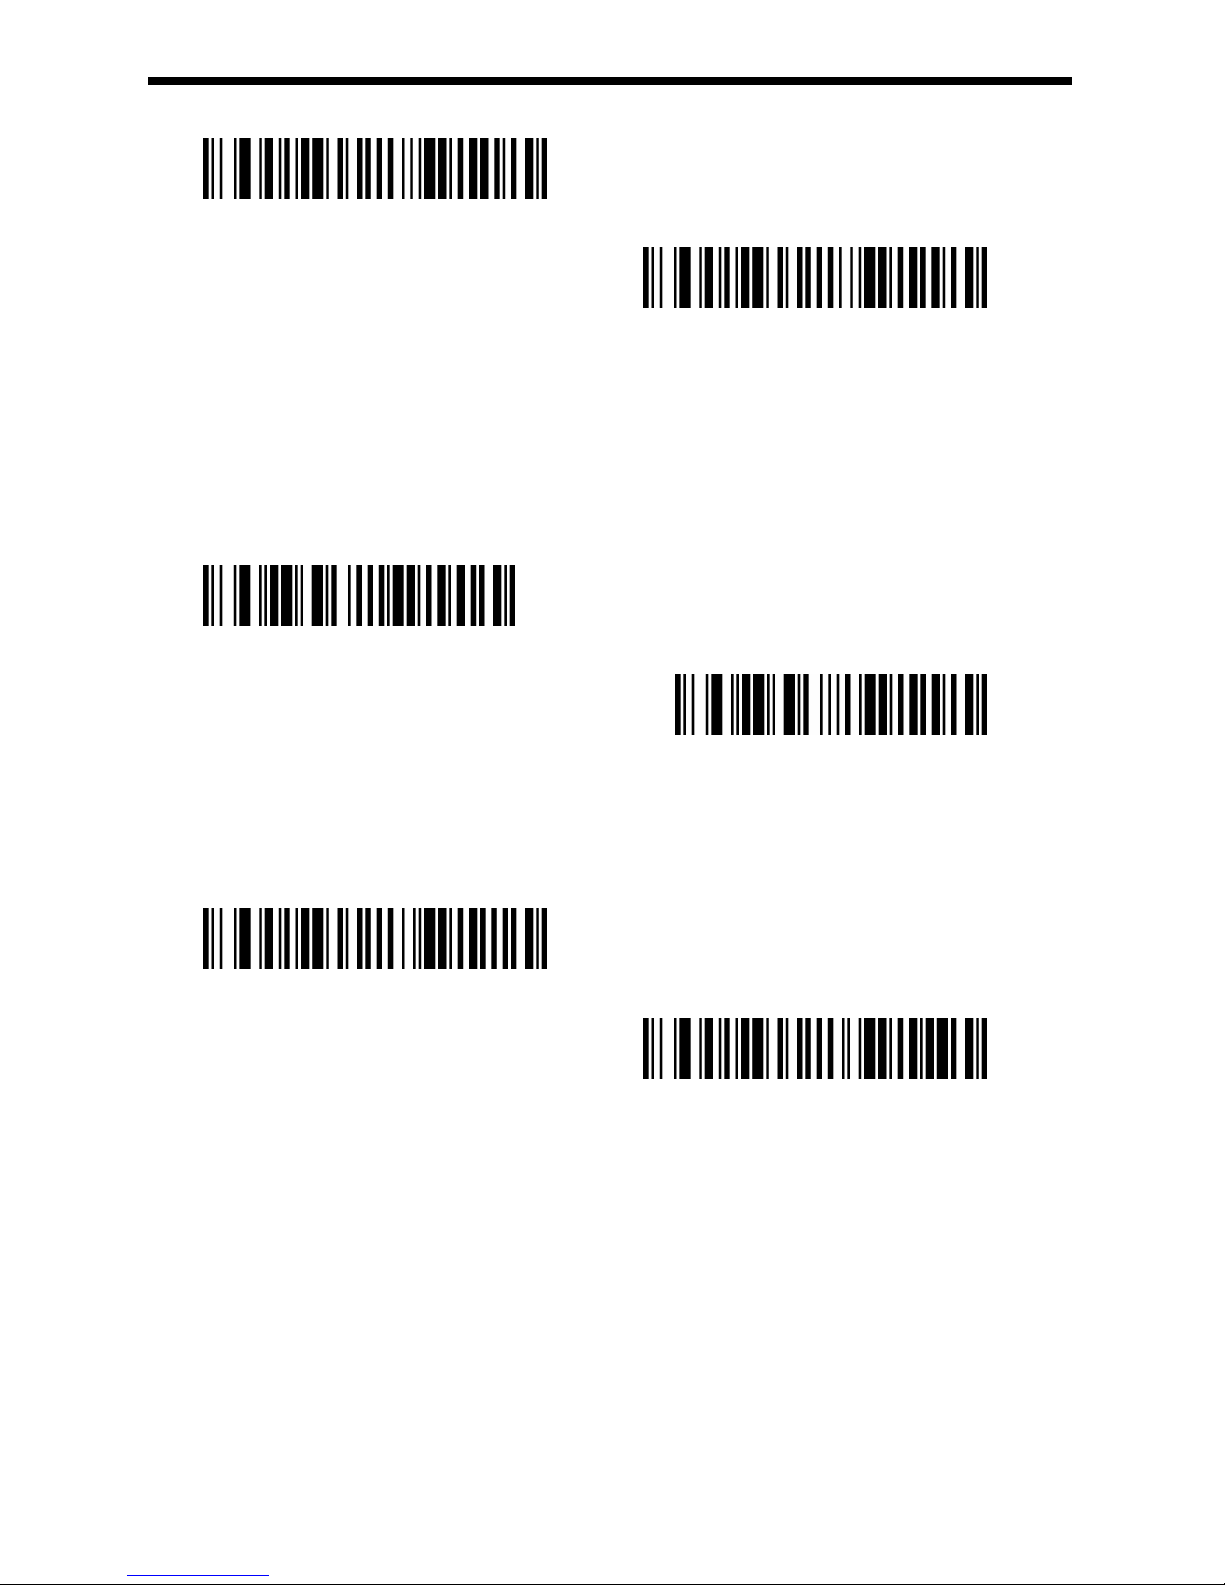
Korea Post On/Off
On
*Off
Korea Post Message Length
Scan the bar codes below to change the message length. Minimum and Maximum
lengths = 2-80. Minimum Default = 4, Maximum Default = 48.
Maximum Message Length
Maximum Message Length
Korea Post Check Digit
This selection allows you to specify whether the check digit should be transmitted at the
end of the scanned data. Default = Don’t Transmit.
Transmit Check Digit
*Don’t Transmit Check Digit
4.1Add Prefix
Generate Configurtion Barcode
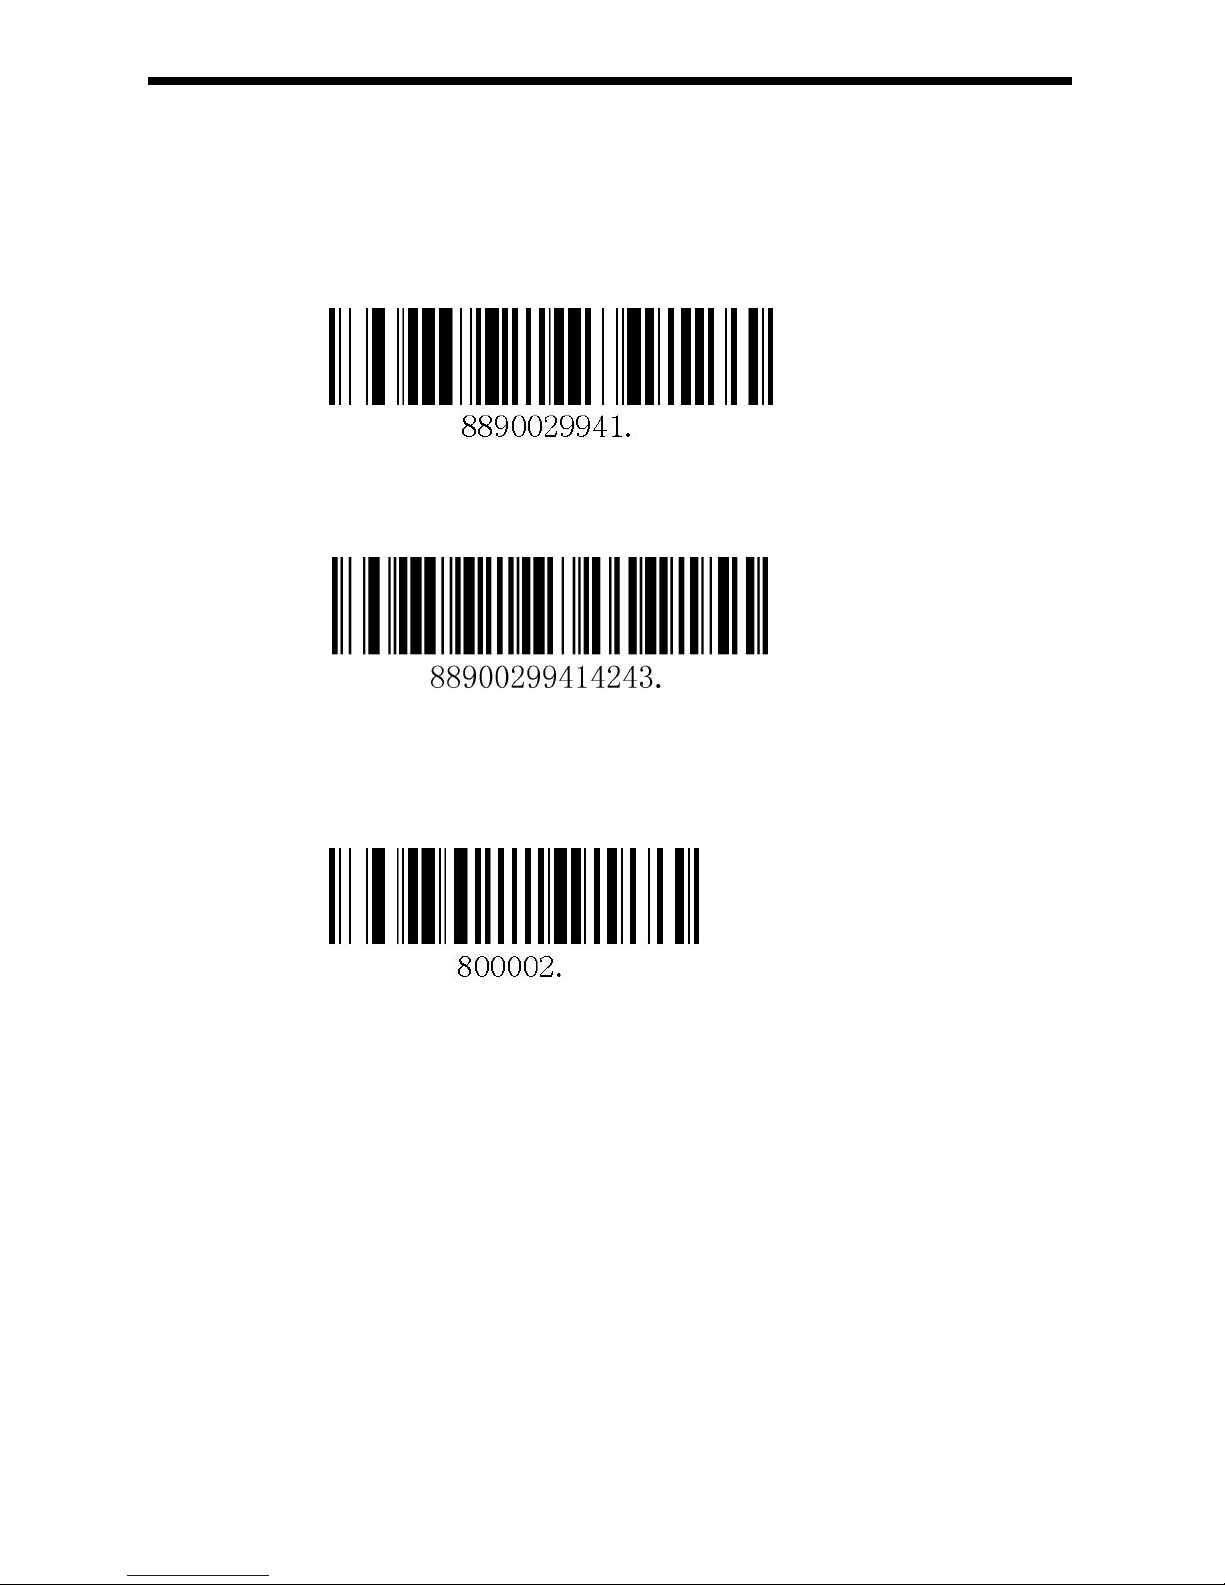
1. Tool: A barcode gerneartion tool is needed, such as bartender or other
tools which can be found on the internet.
2. Type: Configuration barcde is a Code128 barcode.
3. Command:
^388900299 + ASCII Code(s).
^388900299 the fix part of the command
GEOS SD 580 2D
Page 65
65
ASCII Code(s). ASCII codes(s) of prefix(s) that will be
added, plase note that punctuation mark .
is requried.
For examaple, if prefix A is going to be added, following is the commad
^38890029941.
If prefixs ABC are going to be added, command will be following:
^388900299414243
Scan the barcde generated in the step 3, then scan 800002. The commad will work.
Enjoy!
4.2Add Sufix
Generate Configurtion Barcode
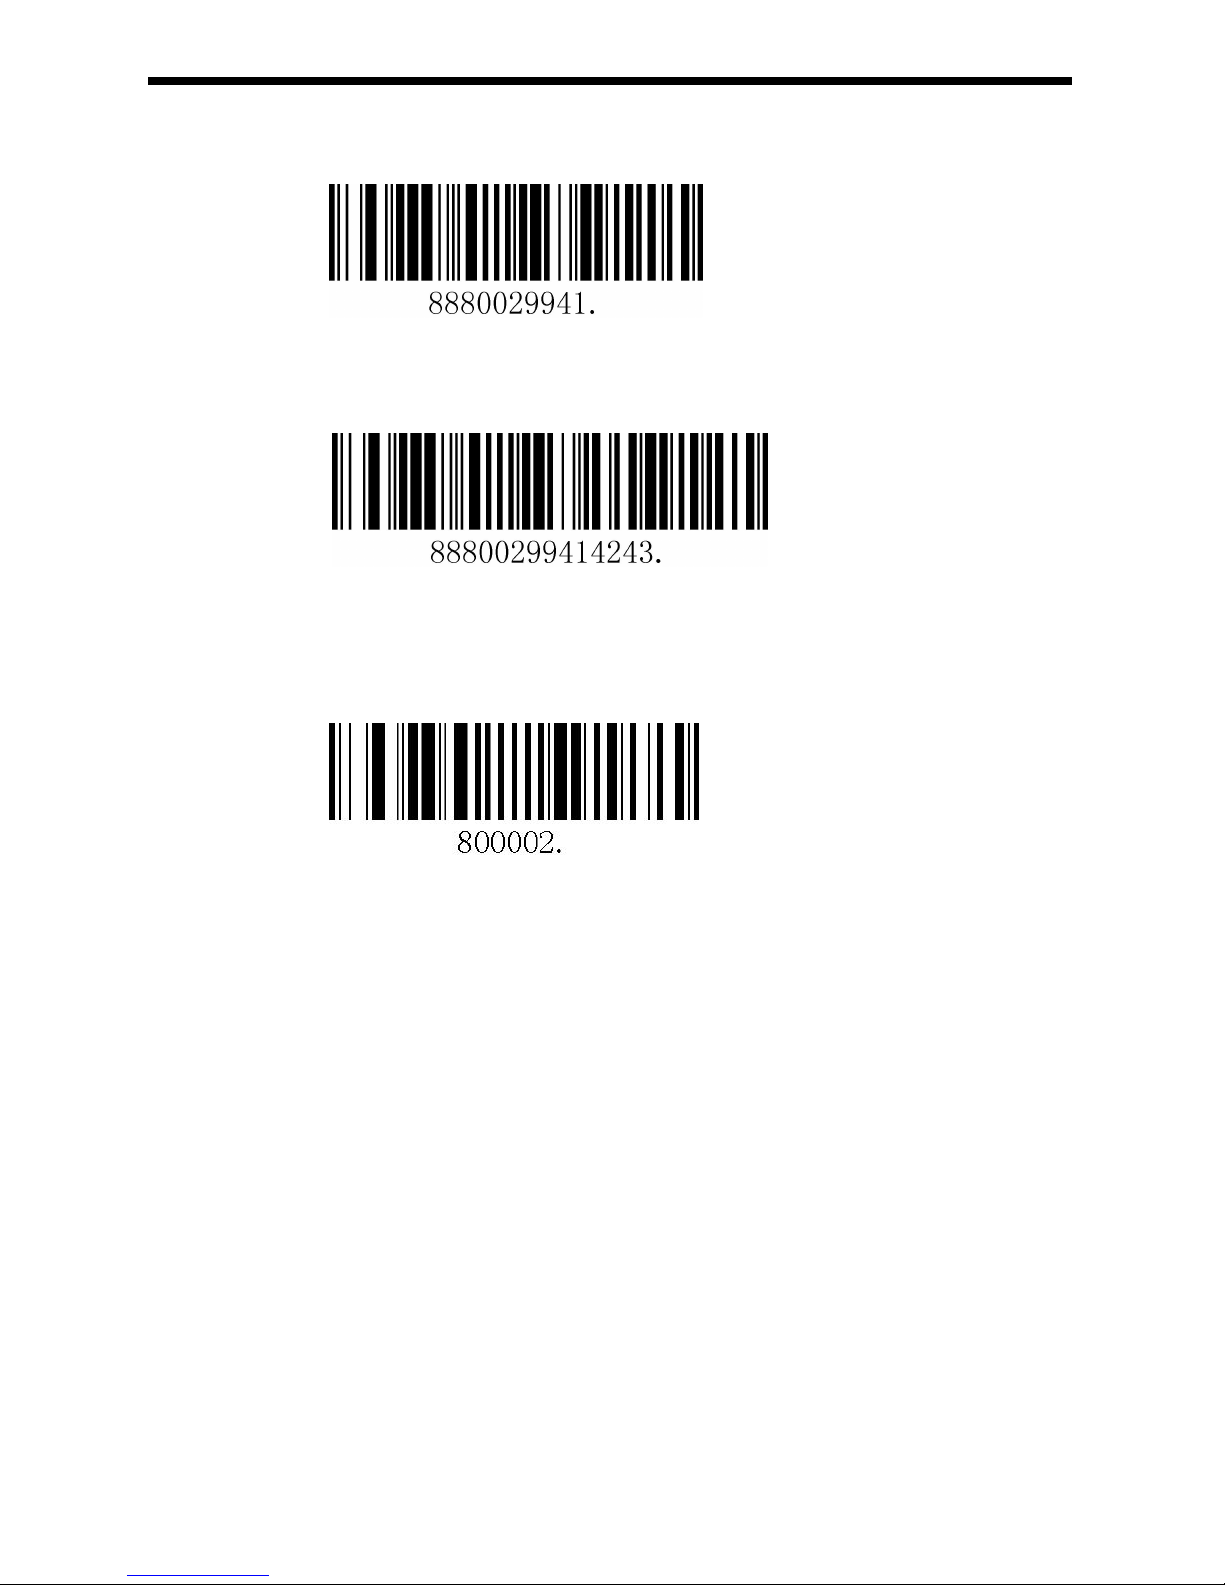
1. Tool: A barcode gerneartion tool is needed, such as bartender or other
tools which can be found on the internet.
2. Type: Configuration barcde is a Code128 barcode.
3. Command:
^388800299 + ASCII Code(s).
^388800299 the fix part of the command
ASCII Code(s). ASCII codes(s) of prefix(s) that will be
added, plase note that punctuation mark .
is requried.
GEOS SD 580 2D
Page 66
66
For examaple, if prefix A is going to be added, following is the commad
^38880029941.
If prefixs ABC are going to be added, command will be following:
^388800299414243
Scan the barcde generated in the step 3, then scan 800002. The commad will work.
Enjoy!
GEOS SD 580 2D
Page 67
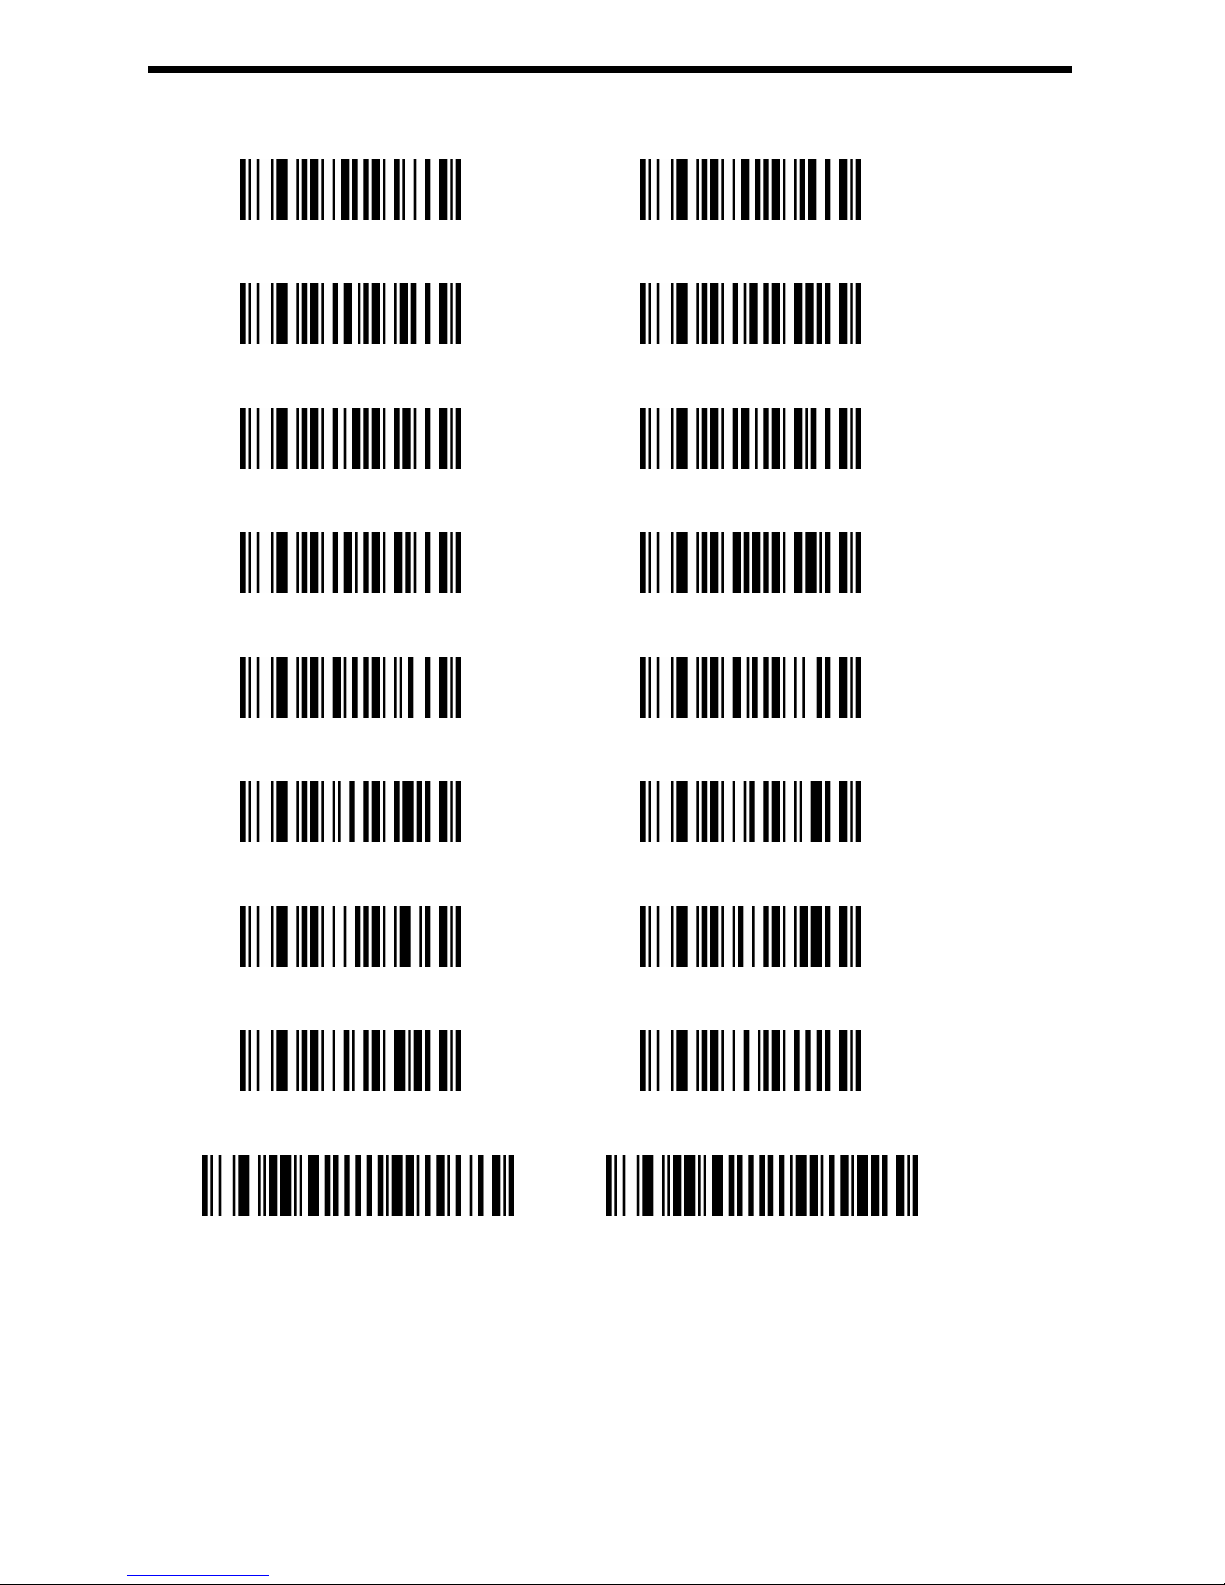
Appendix 1: Programming Digit Chart
67
Appendix 1:Programming Digit Chart
0 1
2 3
4 5
6 7
8 9
A B
C D
E F
Save Cancel
Page 68
Appendix 2: ASCII Chart
68
Appendix 2:ASCII Chart
Decimal
Dexadecimal
Character
0
0
NULL
1
1
START OF HEADING (SOH)
2
2
START OF TEXT (STX)
3
3
END OF TEXT (ETX)
4
4
END OF TRANSMISSION (EOT)
5
5
END OF QUERY (ENQ)
6
6
ACKNOWLEDGE (ACK)
7
7
BEEP (BEL)
8
8
BACKSPACE (BS)
9
9
HORIZONTAL TAB (HT)
10
A
LINE FEED (LF)
11
B
VERTICAL TAB (VT)
12
C
FF (FORM FEED)
13
D
CR (CARRIAGE RETURN)
14
E
SO (SHIFT OUT)
15
F
SI (SHIFT IN)
16
10
DATA LINK ESCAPE (DLE)
17
11
DEVICE CONTROL 1 (DC1)
18
12
DEVICE CONTROL 2 (DC2)
19
13
DEVICE CONTROL 3 (DC3)
20
14
DEVICE CONTROL 4 (DC4)
21
15
NEGATIVE ACKNOWLEDGE-MENT (NAK)
22
16
SYNCHRONIZE (SYN)
23
17
END OF TRANSMISSION BLOCK (ETB)
25
19
END OF MEDIUM (EM)
26
1A
SUBSTITUTE (SUB)
27
1B
ESCAPE (ESC)
28
1C
FILE SEPARATOR (FS) RIGHT ARROW
29
1D
GROUP SEPARATOR (GS) LEFT ARROW
Decimal
Dexadecimal
Character
Page 69
Appendix 2: ASCII Chart
69
30
1E
RECORD SEPARATOR (RS) UP ARROW
31
1F
UNIT SEPARATOR (US) DOWN ARROW
32
20
<SPACE>
33
21
!
34
22
"
35
23
#
36
24
$
37
25
%
38
26
&
39
27
'
40
28
(
41
29
)
42
2A
*
43
2B
+
44
2C
,
45
2D
-
46
2E
.
47
2F
/
48
30
0
49
31
1
50
32
2
52
34
4
53
35
5
54
36
6
55
37
7
56
38
8
57
39
9
58
3A
:
59
3B
;
60
3C
<
61
3D
=
Decimal
Dexadecimal
Character
Page 70
Appendix 2: ASCII Chart
70
62
3E
>
63
3F
?
64
40
@
65
41
A
66
42
B
67
43
C
68
44
D
69
45
E
70
46
F
71
47
G
72
48
H
73
49
I
74
4A
J
75
4B
K
76
4C
L
77
4D
M
79
4F
O
80
50
P
81
51
Q
82
52
R
83
53
S
84
54
T
85
55
U
86
56
V
87
57
W
88
58
X
89
59
Y
90
5A
Z
91
5B
[
92
5C
\
93
5D
]
Decimal
Dexadecimal
Character
Page 71

Appendix 2: ASCII Chart
71
94
5E
^
95
5F
_
96
60
`
97
61
a
98
62
b
99
63
c
100
64
d
101
65
e
102
66
f
103
67
g
104
68
h
106
6A
j
107
6B
k
108
6C
l
109
6D
m
110
6E
n
111
6F
o
112
70
p
113
71
q
114
72
r
115
73
s
116
74
t
117
75
u
118
76
v
119
77
w
120
78
x
121
79
y
122
7A
z
123
7B
{
124
7C
|
125
7D
}
Decimal
Dexadecimal
Character
Page 72

Appendix 2: ASCII Chart
72
126
7E
~
127
7F
<DEL>
128
Page 73
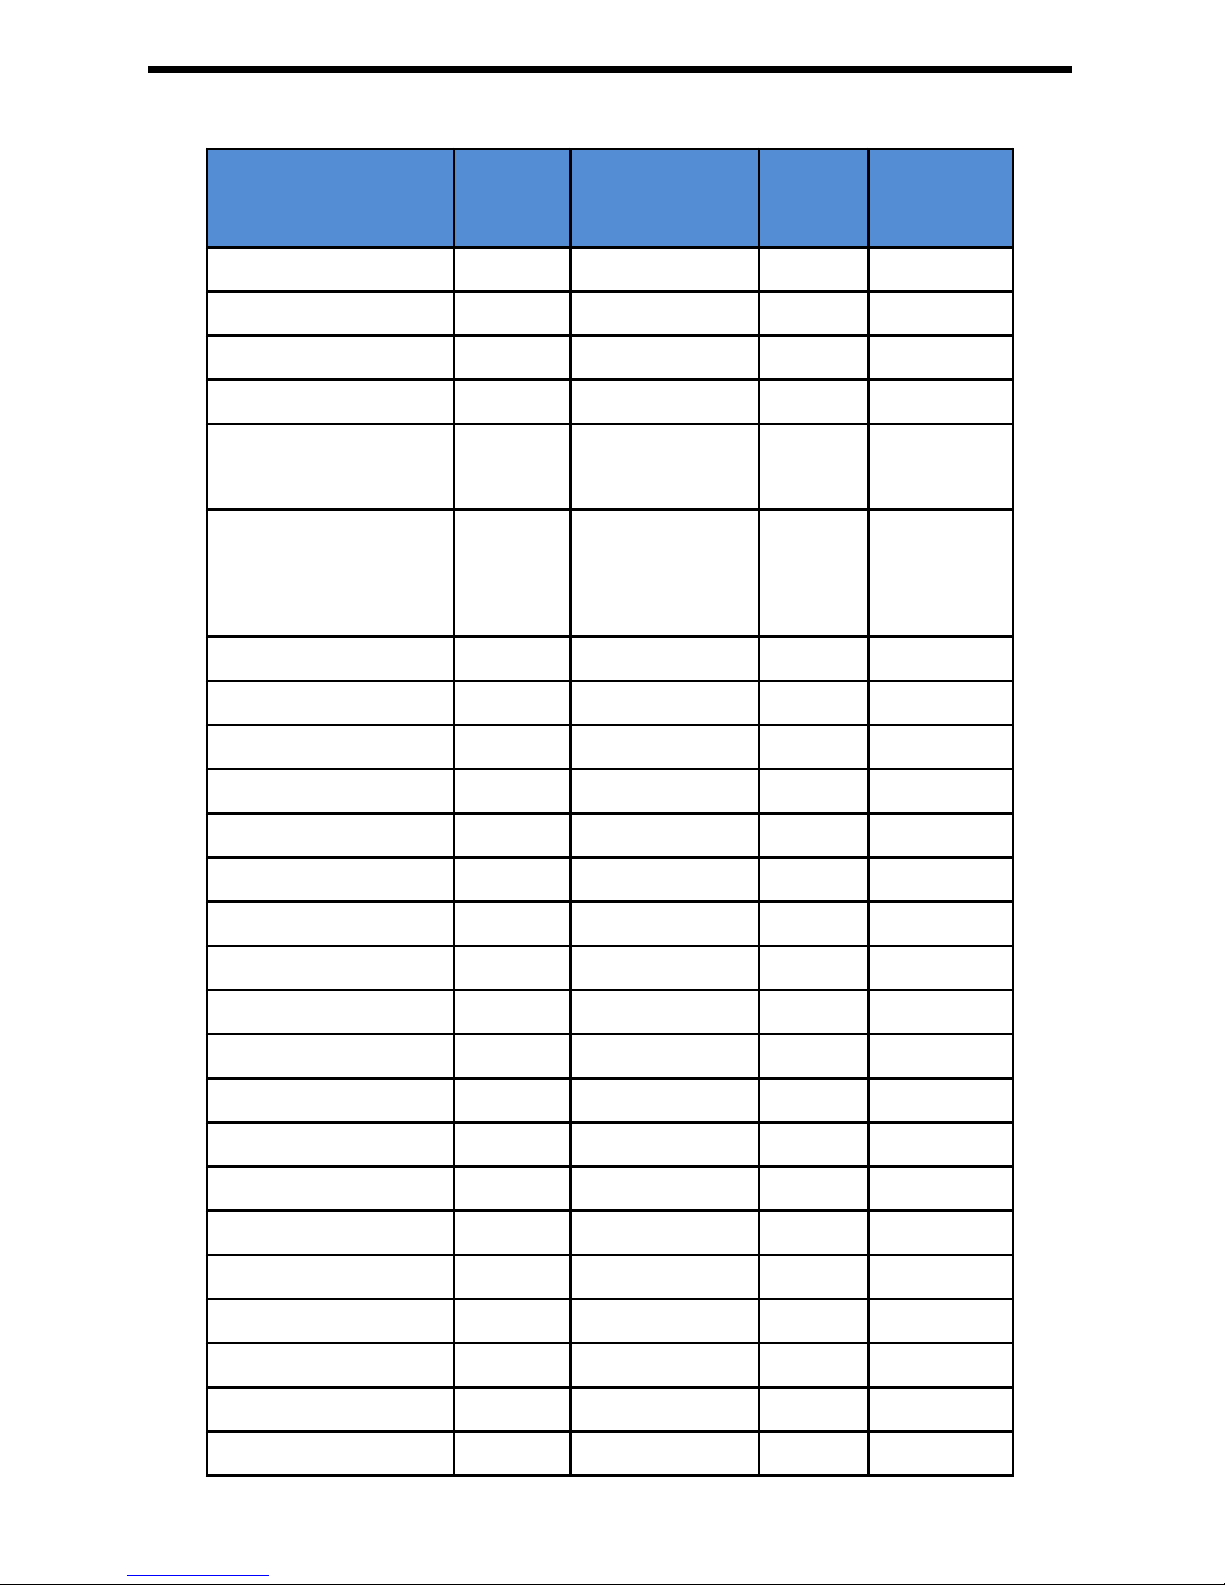
Appendix 3: Symbologies Chart
73
Appendix 3:Symbologies Chart
Symbologies
AIM ID
AIM ID
Setting
CODE
ID
CODE
IDHex
All Symbologies
99
Code128
]Cm
0,1,2,4
j
6A
GS1-128
]C1
49
EAN-13
]E0d64
EAN-13 with
Add-On
]E3d64
EAN-13 with
Extended Coupon
Code
]E3d64
EAN-8
]E4D44
EAN-8 with Add-On
]E3D44
Matrix 2 of 5
]X0m6D
Code49
]Tm
0,1,2,4
I
6C
Code 32
]X0
<3C
Code 39
]Am
0,1,3,4,5,7
b
62
Britsh Post
]X0B42
Canadian Post
]X0C43
China Post
]X0Q51
Han Xin
]X0H48
Codebar
]Fm
0-1
a
61
Codablock A
]O6
0,1,4,5,6
V
56
Codablock F
]Om
0,1,4,5,6
q
71
Code 11
]H3h68
Data Matrix
]dm
0-6
w
77
Australian Post
]X0A41
Aztec Code
]zm
0-9,A-C
z
7A
GS1 Composite
]em
0-3
y
79
GS1 DataBar
]em0y
79
Page 74
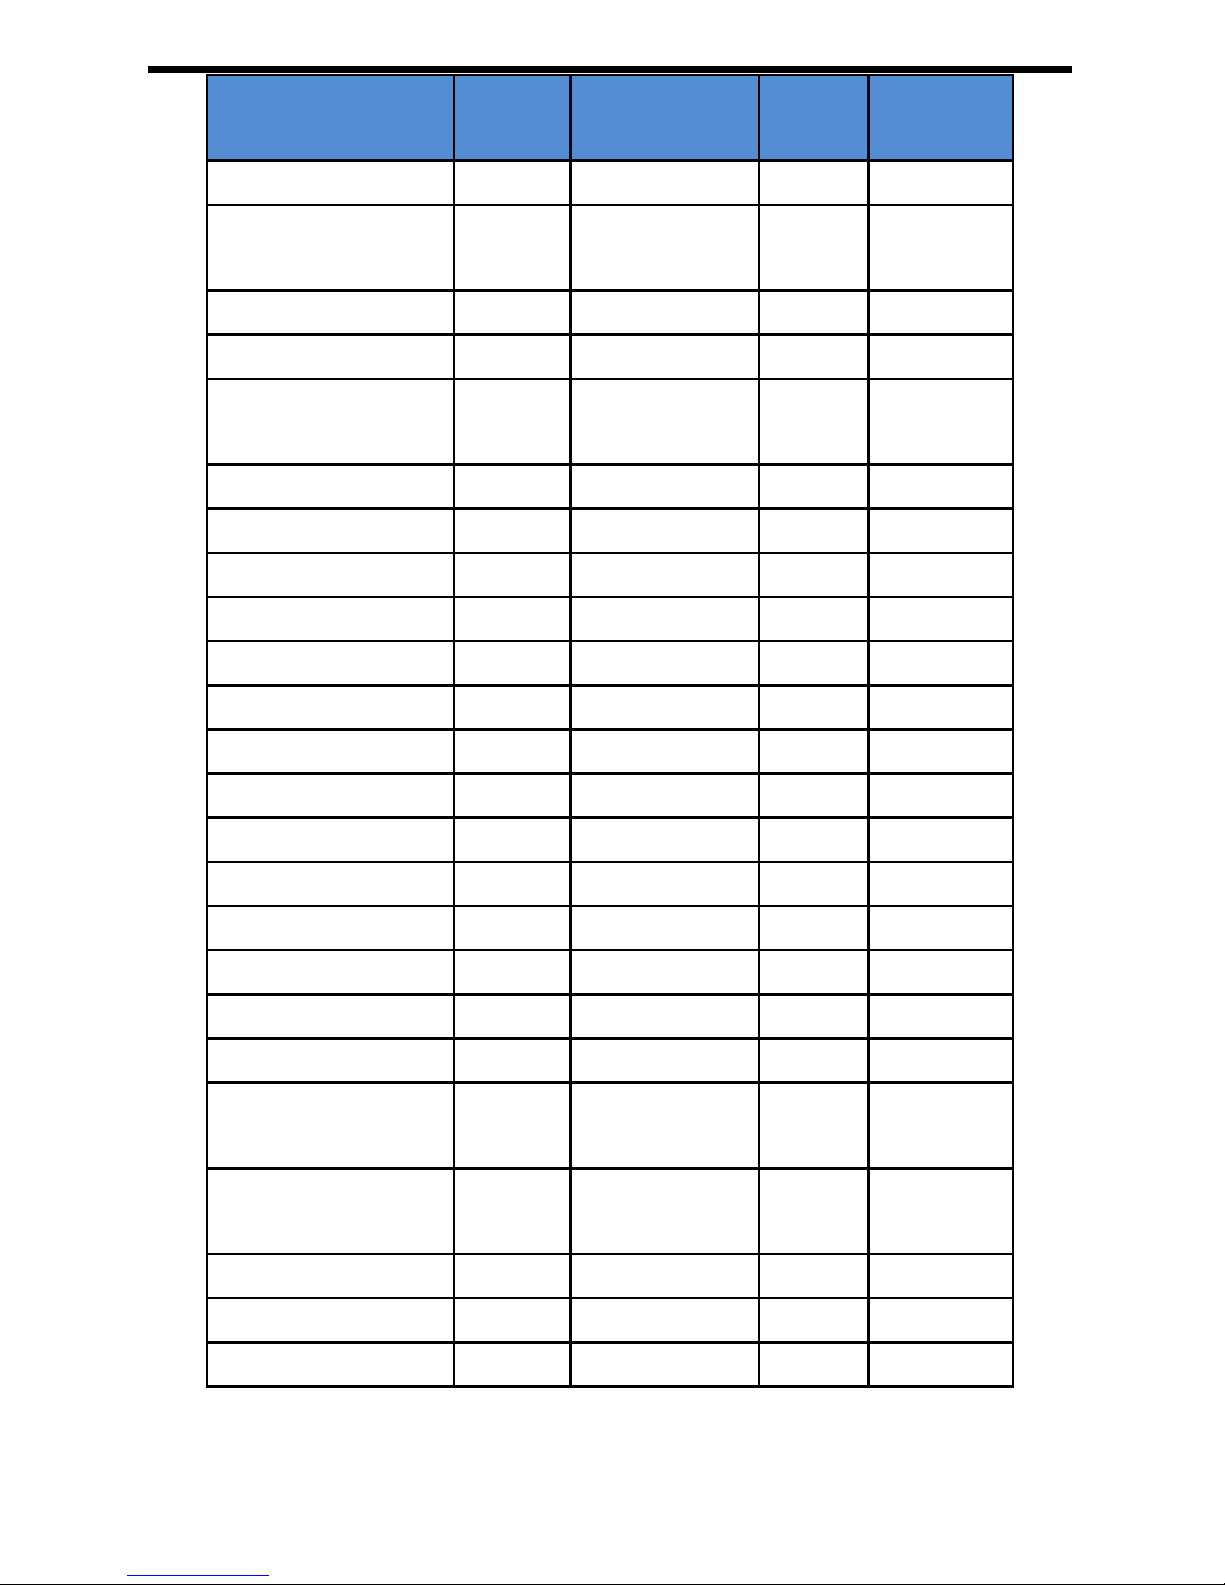
Appendix 3: Symbologies Chart
74
Symbologies
AIM ID
AIM ID
Setting
CODE
ID
CODE
IDHex
InfoMail
]X0,2c
Intelligent Mail
Barcode
]X0M4D
Interleaved 2 of 5
]Im
0,1,3
e
65
Japanese Post
]X0
4A
KIX (Netherlands)
Post
]X0K4B
Korea Post
]X0?3F
MaxiCode
]Um
0-3
x
7 8
MicroPDF417
]Lm
3-5
R
52
MSI
]Mm0g
67
NEC 2 of 5
]X0Y59
OCR MICR (E 13 B)
]o3O4F
OCR SEMI Font
]o3O4F
OCR-A
]o1O4F
OCR-B
]o2O4F
PDF417
]Lm
0-2
r
72
Planet Code
]X0L4C
Postal-4i
]X0N4E
Postnet
]X0P50
Straight 2 of 5 IATA
]Rm
0,1,3
f
66
Straight 2 of 5
Industrial
]S0f66
TCIF Linked Code
39 (TLC39)
]L2T54
Telepen
]Bmt54
UPC-A
]E0c63
UPC-A with Add-On
]E3c63
Page 75
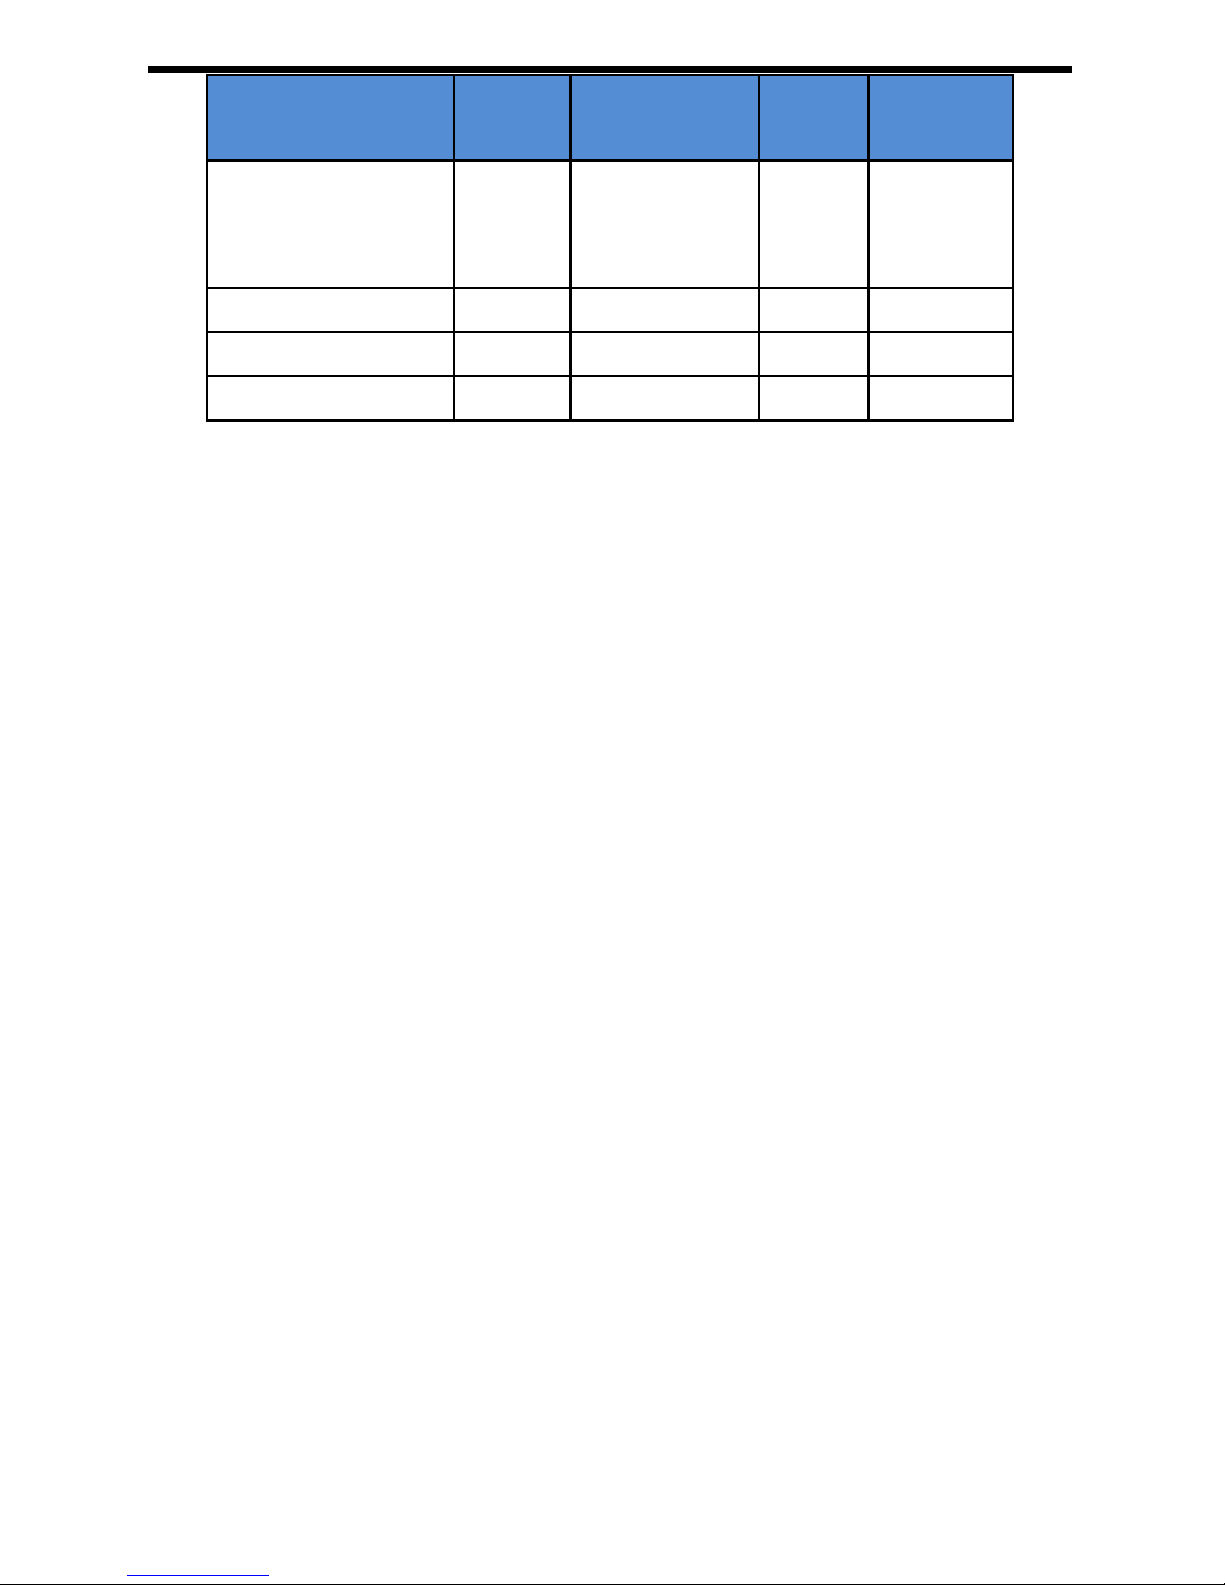
Appendix 3: Symbologies Chart
75
Symbologies
AIM ID
AIM ID
Setting
CODE
ID
CODE
IDHex
UPC-A with
Extended Coupon
Code
]E3c63
UPC-E
]E0E45
UPC-E with Add-On
]E3E45
UPC-E1
]X0E45
 Loading...