

Geophysical Survey Systems D50300800 Users Manual

UtilityScanTM DF
Quick Start Guide
A Fast Check List For Field Operation
Section 1: Getting Started.................................................................................................................................... 2
Keyboard Capability ............................................................................................................................................... 2
ToughBook Information ....................................................................................................................................... 3
Standard Icons ......................................................................................................................................................... 4
Display Channel (Frequency) Icons .................................................................................................................. 4
Powering and Booting Up ................................................................................................................................... 5
Powering Down ....................................................................................................................................................... 7
Section 2: Playback Only, New Project, and Last Project Modes ............................................................ 8
Playback Only Mode .............................................................................................................................................. 8
New Project Mode and Last Project Mode ................................................................................................. 20
Collecting Data ..................................................................................................................................................... 32
Appendix A: Cart and Antenna Assembly Instructions............................................................................ 35
Appendix B: Battery Charger Information .................................................................................................... 42
Appendix C: Dielectrics of Common Materials (Soil Conditions) ......................................................... 43
Appendix D: Examples of Some Common Objects ................................................................................... 44
Appendix E: Glossary of Terms ......................................................................................................................... 49
Copyright © 2012 Geophysical Survey Systems, Inc. MN72-489 Rev All Rights Reserved

Limited Warranty, Limitations Of Liability And Restrictions
Geophysical Survey Systems, Inc. hereinafter referred to as GSSI, warrants that for a period of 24 months from the
delivery date to the original purchaser this product will be free from defects in materials and workmanship. EXCEPT
FOR THE FOREGOING LIMITED WARRANTY, GSSI DISCLAIMS ALL WARRANTIES, EXPRESS OR IMPLIED,
INCLUDING ANY WARRANTY OF MERCHANTABILITY OR FITNESS FOR A PARTICULAR PURPOSE. GSSI's
obligation is limited to repair ing or rep lacing parts or equipment which are returned to GSSI, transportation and insurance
pre-paid, without alteration or further damage, and which in GSSI's judgment, were defective or became defective during
normal use.
GSSI ASSUMES NO LIABILITY FOR ANY DIRECT, INDIRECT, SPECIAL, INCIDENTAL OR CONSEQUENTIAL
DAMAGES OR INJURIES CAUSED BY PROPER OR IMPROPER OPERATION OF ITS EQUIPMENT, WHETHER
OR NOT DEFECTIVE.
Before returning any equipment to GSSI, a Return Material Authorization (RMA) number must be obtained. Please call
the GSSI Customer Service Manager who will assign an RMA number. Be sure to have the serial number of the unit
available
Regulatory Information
Please see the GSSI Manual CD or our website, www.geophysical.com/regulatoryinformation.htm, for current
information and FCC Registration Form, including:
• FCC Notice for U.S. Customer
• Canadian Requirements for RSS-220
• Declaration of CE Conformance
Quick Start Guide UtilityScan DF
2
1
Capsule
4
UtilityScan
TM
DF
Control Unit (ToughBook H2)
2 2.0 m Control Cable
3 4 Wheel Cart
4 Foam Insert and Dual Frequency
Antenna with battery inside the
Copyright © 2012 Geophysical Survey Systems, Inc. 1
All Rights Reserved

Quick Start Guide UtilityScan DF
Small Keyboard
Section 1: Getting Started
Keyboard Capability
The Panasonic CF-H2 ToughBook is designed to be used as a touch screen. You may use your
fingers to tap on an icon or menu option, or you may use the attached stylus pen.
There is also keyboard capability on the screen of the ToughBook. A keyboard “Tab” is located
at the top left side of the screen. You may tap on the tab and a full keyboard will slide to the
middle of the screen.
At times, when data input (typing) is needed, you may simply tap on the white area of the screen
where text and/or numbers may be input. A small keyboard will appear on the screen. Tap on
the small keyboard and a large keyboard is displayed. Simply tap on the appropriate keys and
tap Return when you are done.
You may exit the keyboard by tapping on the “X” located on the upper right hand corner of the keyboard.
Copyright © 2012 Geophysical Survey Systems, Inc. 2
All Rights Reserved

Quick Start Guide UtilityScan DF
ToughBook Information
• The lights under the battery (1 and 2) indicate how much power is left in each battery. The lights will be green,
yellow and red.
• A battery may be replaced while the system is on. The system will run off of one battery while the other one is
being replaced.
Copyright © 2012 Geophysical Survey Systems, Inc. 3
All Rights Reserved

Quick Start Guide UtilityScan DF
Standard Icons
There are icons that will perform the same function throughout the system. They are as follows:
• Change values up or down, or highlight menu options or files.
• Accept the value.
• Test the value.
• Cancel.
The icons will display as red or white, depending upon whether or not it was the most recent selected
option.
Display Channel (Frequency) Icons
These icons will indicate what type of display is on the screen. Also, by tapping on them, will change the display
accordingly
• High Frequency (800 mhz)
• Low Frequency (300 mhz)
• Blend
• All Three
Copyright © 2012 Geophysical Survey Systems, Inc. 4
All Rights Reserved

Quick Start Guide UtilityScan DF
Powering and Booting Up
1 Assemble the cart as shown in Appendix A: Cart Assembly Instructions.
Important: Antenna battery must be attached to the antenna before continuing to Step 2.
2 To power up the system:
a) Press and hold the power button on the ToughBook for
about 2 seconds until a green light illuminates above the
power button. A green light will blink on the antenna
during the system boot up. It will be off when the boot up
process is complete. This green light will illuminate when
communication is re-established.
b) After a few seconds, when the system boot up is complete,
the UtilityScan DF Start S c reen is disp lay ed.
c) Tap either:
• A1 Icon or press the A1 button to start.
• A5 Icon or press the A5 button to update system
software.
Copyright © 2012 Geophysical Survey Systems, Inc. 5
All Rights Reserved
Quick Start Guide UtilityScan DF
3 Select (by tapping) one of three Modes:
• Playback Only: To playback data previously collected and saved.
• New Project: To configure and collect data for a new project.
• Last Project: Collect data using the same configuration as the last project.
Note: If there is no communication between the ToughBook and the antenna, or there is no antenna attached to
the ToughBook, “New Project” and “Last Project” will display as “No Antenna Found”. The green light on the
antenna will illuminate if communication is established.
Communication Established with Antenna
Copyright © 2012 Geophysical Survey Systems, Inc. 6
All Rights Reserved
No Communication Established with Antenna

Quick Start Guide UtilityScan DF
Powering Down
It is essential that these steps are followed in order when powering down the system.
Failure to do so may result in boot-up issues*.
1 Tap on System Options.
2 Tap on System Shutdown.
3 Tap either:
• Exit: Close Application to return to start screen. At this point,
press and hold the power button for about 3 seconds.
The system will shut down properly.
• Power Off: Close Application and turn OFF System power.
The system will automatically shut down. (Recommended)
* If the system was not powered down properly and before the next time you
power up, you must remove and disconnect the battery on the antenna, the reconnect it. This will turn the antenna off, then back on. You can now power
up normally.
Copyright © 2012 Geophysical Survey Systems, Inc. 7
All Rights Reserved

Quick Start Guide UtilityScan DF
Section 2: Playback Only, New Project, and Last Project Modes
Playback Only Mode
The Playback Only mode allows you to view and edit data previously collected and
saved.
After selecting Playback Only, select which file you would like to review:
a) Tap on the arrows to highlight a file.
b) Tap on the Select Icon to select or de-select a file.
c) Tap on the Accept Icon.
You will see the data in the O-Scope view change as if the data is
scrolling across the screen. You may stop the scrolling by tapping on
the Stop Icon (This will toggle between Stop Icon and Preview File
Icon. The Preview File Icon will continue the scrolling).
The Screen is divided into three sections: Data View (O-Scope), Main
Menu located at the right pane of the screen, and the Sub-Menu located
at the bottom of the screen.
Copyright © 2012 Geophysical Survey Systems, Inc. 8
All Rights Reserved

Quick Start Guide UtilityScan DF
A Status screen located at the lower left corner of the screen. They indicate:
• GPS Status.
• Disk Space Used (storage space).
• Battery Power remaining for the antenna.
• Battery Power remaining for the ToughBook.
The Data View screen will display data in any one of the follow views:
• High Frequency
• Low Frequency
• Blend
• All Three (Default)
You may display just one frequency at a time by tapping the icon at the top of the O-Scope. Tapping the same icon will
display all three modes again.
When changing displays, you must tap the Preview File icon to re-display the O-Scope data.
Copyright © 2012 Geophysical Survey Systems, Inc. 9
All Rights Reserved
Quick Start Guide UtilityScan DF
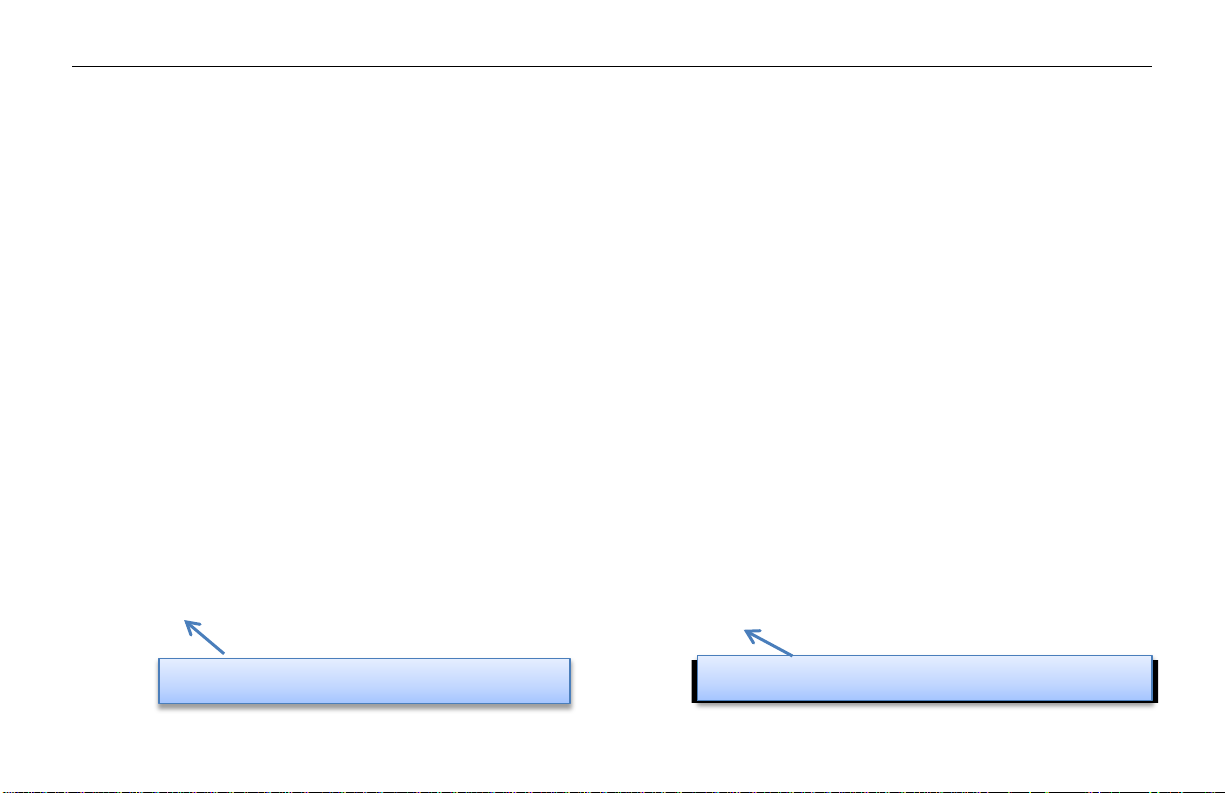
High Frequency
Low Frequency
Blend
Active Display
High, Low, Blend, and Active Frequency Symbols
Copyright © 2012 Geophysical Survey Systems, Inc. 10
All Rights Reserved
Quick Start Guide UtilityScan DF
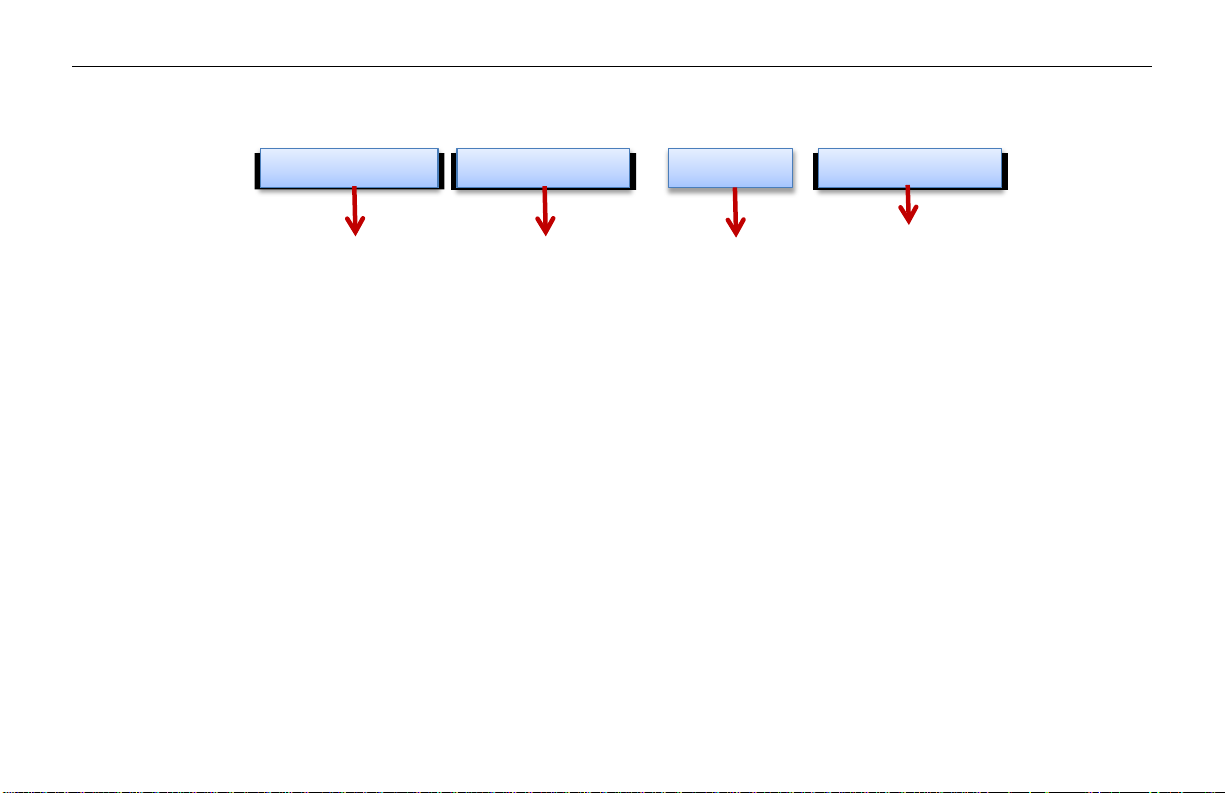
Low Frequency Display
High Frequency Display
Blend Display
Both Frequencies plus Blend
Copyright © 2012 Geophysical Survey Systems, Inc. 11
All Rights Reserved

Quick Start Guide UtilityScan DF
Main Menu Options (Right Pane of the Screen)
Scan Process Icon
• Scan
• Dielectric Constant: Enter the Dielectric of the soil (See Appendix C for more Dielectric information).
• Soil Type: Determine the soil conditions. This will change the Dielectric Value.
• Gain Settings
• Gain Mode
• Auto allows the system to configure the Gain.
• Manual allows the user to configure the Gain.
• Number of Points (Only if Gain Mode is set to Manual)
• Number of points or “Individual Sections” to adjust the Gain.
• Ranges for 1 point to 8 points.
• GP1: 8 (Only if Gain Mode is set to Manual)
• Depending upon number of Gain Points, adjust each section accordingly.
• Values range from -42 to 126.
Note: Tap on the double arrows (up or down) to display the appropriate gain points.
Copyright © 2012 Geophysical Survey Systems, Inc. 12
All Rights Reserved
Quick Start Guide UtilityScan DF
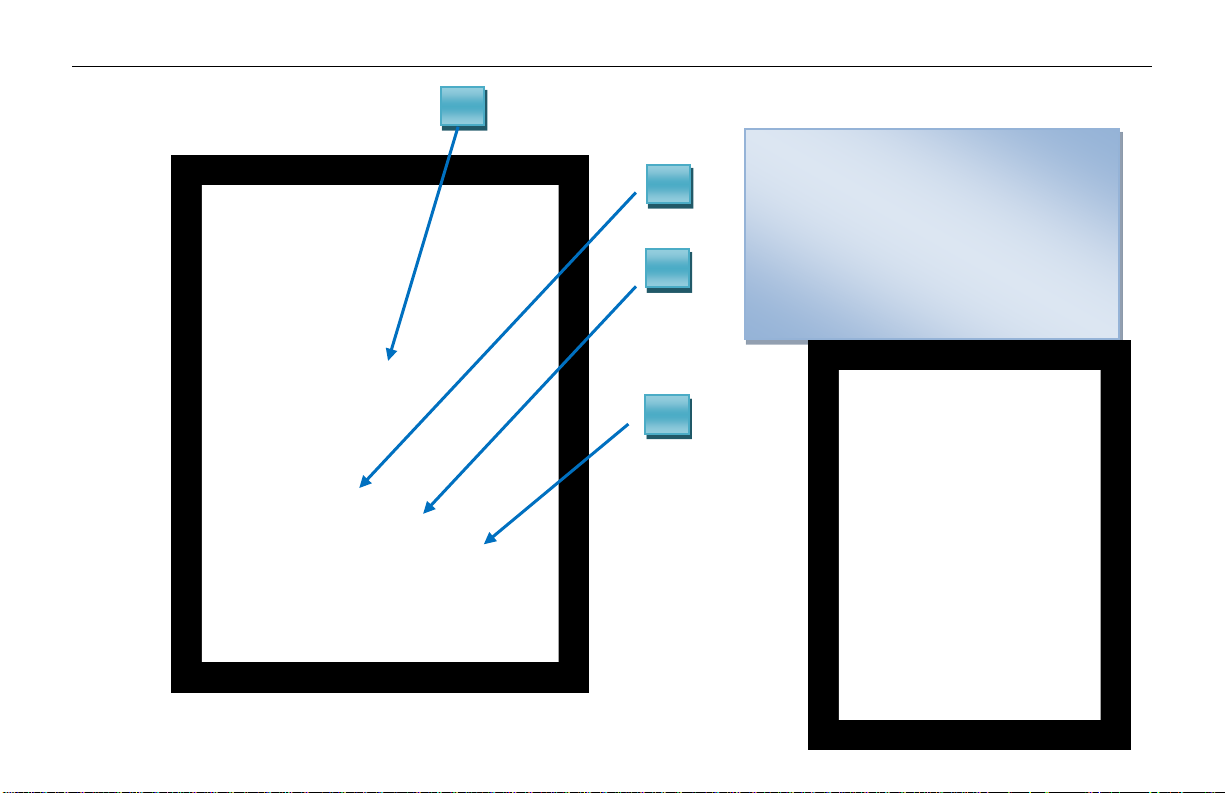
High Frequency Noise (Fuzziness) Example
Horizontal Banding Example
Noise Indicator Example
• Filters (See Appendix E for more information)
• Stacking: To reduce random or high frequency noise in your data.
• Background Removal: Remove horizontal banding in your data.
• Noise Indicator
• On: Display approximately the depth where data becomes too weak.
• Off: Turn off display.
Copyright © 2012 Geophysical Survey Systems, Inc. 13
All Rights Reserved

Quick Start Guide UtilityScan DF
Output Options Icon
• Display:
• Color Table: Select a color scheme.
• Color Xform: Select how to distribute the color scheme throughout the scale (bar is negative to positive).
• Dual Channel
• Split: both channels to be displayed separately.
• Blend: both channels are blended together.
• Vertical Scale
• Equal: Scales are equal.
• Real: Scales are set to scale as per antenna depth range.
Copyright © 2012 Geophysical Survey Systems, Inc. 14
All Rights Reserved

Quick Start Guide UtilityScan DF
• Manage Files:
• Data Path: Change the Data Path where you would like the data to be written or opened from.
• Copy to USB Device: Copies the data from the Data Path to the USB device.
• Move to USB Device: Copies the data from the Data Path AND DELETES those files from the ToughBook.
• Delete Files: Delete files fr om the ToughBook.
• Units/Scale:
• Depth Scale
• Depth: Display the Sca le in distanc e units.
• Time: Display the Scale in time units.
• Depth Units: Select the unit of measurement for depth or the vertical scale.
• Ticks per Unit: Number of ticks for marking the data (short line).
• Ticks per Major Unit: Number of ticks for each major unit (long line).
Copyright © 2012 Geophysical Survey Systems, Inc. 15
All Rights Reserved

Quick Start Guide UtilityScan DF
System Options Icon
• System Shut Down
• Exit: Close Application and Return to Start Screen.
• Power Off: Close Application and Shut Down the System (power off) .
• Return to Application: Discard Shutdown Request and Return to Setup Screen.
• Versions: Displays Version Numbers of the software and firmware
• User Interface
• Language: Set Language.
• Button Design
• Label: Text Icons.
• Symbol: Pictured Icons.
• Brightness Up or Down: Set contrast up or down.
Copyright © 2012 Geophysical Survey Systems, Inc. 16
All Rights Reserved
 Loading...