

1. Backlighting / snooze alarm SNOOZE
EN
2. Weather trends
3. Temperature and humidity display
4. Time and alarm display
5. Phases of the moon
ALARM button: alarm display and setting
6.
MIN/MAX button: high and low temperatures and humidity display
7.
MODEbutton: Change display mode
8.
9. + and -: increase or decrease the parameter
10.Provision for cord
11. “ ”: Alarm indicator
12. “ ”: Locking the keys
13. Table stand, belt clip
14. Battery compartment
15. °C/°F switch
16. Re-initialization
RESET
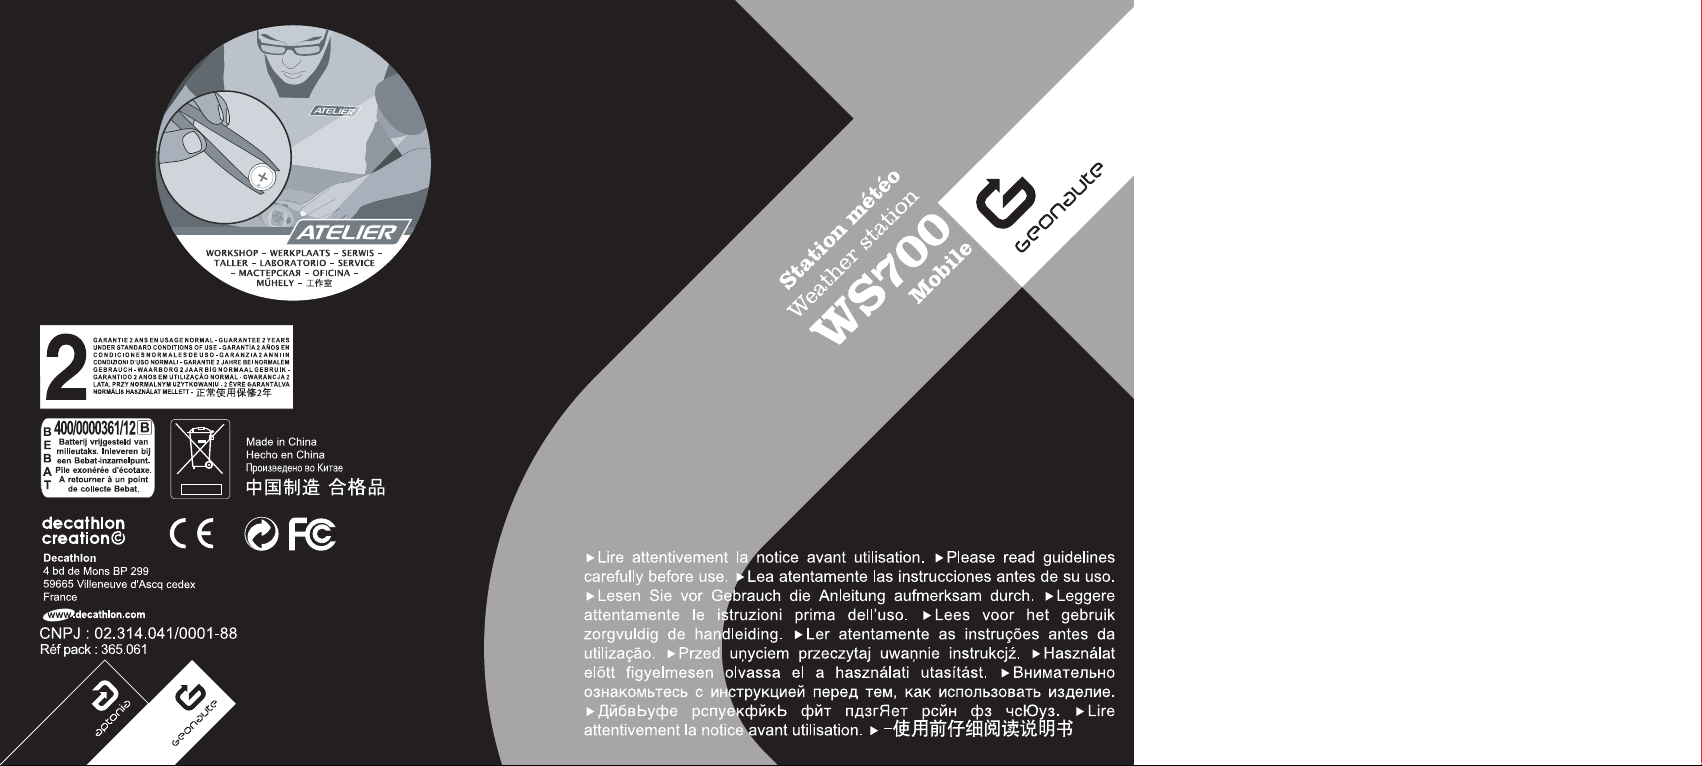
Congratulations on your purchase of a Geonaute WS700
mobile unit, a portable weather station! By knowing the
EN
temperature, humidity, and weather forecast you can outfit
yourself for a session of athletics and practice in greater
comfort and security. Carefully read the pamphlet before use
and retain it for the entire life of the product.
LIMITED WARRANTY
Geonaute guarantees the initial purchaser of this weather station that it is free from
any defects of materials or manufacture for a period of two years from the date of
purchase.
•
•
•
•
•
Please keep your receipt as proof of purchase.
This guarantee does not cover damage resulting from misuse, from a failure to
observe the precautions for use, nor from accidents; neither does this guarantee
cover damage resulting from improper maintenance or from use of the device for
commercial purposes.
This warranty does not cover damage resulting from repairs carried out by persons not authorized by Geonaute.
The guarantees contained herein explicitly replace all other guarantees including
the implicit guarantee of fair and trade quality and/or suitability for use. Geonaute
cannot under any circumstances be held responsible for any damage, whether
direct or indirect, general or specific, caused by or related to these directions for
use or the products they describe.
During the warranty period, the item will either be repaired free of charge by an
authorized repair service or replaced free of charge (at the discretion of the distributor).
The guarantee does not cover batteries or cracked or broken casings where
signs of impact are evident.
NORMAL CONDITIONS OF USE
The weather station is designed to measure temperature and humidity during local
moves and to provide a general idea of future weather conditions. The station also
includes a clock and an alarm.
PRECAUTIONS FOR USE
Handle the device with care; do not drop it or subject it to significant impact.
•
Do not dismantle the device. Doing so would void the Geonaute warranty and
•
could damage the device. This does not apply to changing the batteries, as described under the heading "Changing the Batteries."
EN
1312

Please read instructions carefully before use and use the device under normal
•
operating conditions.
The receiver is not watertight. It is designed for indoor use. Place it on a flat, sta-
•
ble surface or fasten it to the wall in a well-ventilated, clean room, away from
direct sunlight.
The wireless sensor is resistant to splashes, but it should never be immersed in water
•
or exposed to heavy rain. Avoid prolonged exposure to direct sunlight and wind.
RECYCLING
The "crossed-out trash can" symbol means that this product, as well
as the batteries it contains, is made of recyclable materials.
should not be disposed of with municipal waste.
When the batteries and electronic product are worn out, return them
to a recycling or collection facility.
This treatment of your electronic waste will protect the environment and
your health.
FIRST USE
It is very simple to start up this portable weather station.
1. Unscrew the cover for the battery compartment with a precision Phillipshead screwdriver.
2. Insert 2 CR2032 3V batteries with the terminals oriented as shown on the
inside.
3. Close the cover without pinching the seal.
4. Thoroughly re-tighten.
5. Install the table stand or belt clip, depending on required usage :
Table stand
No further startup procedure is necessary.
Note:
The first temperature and pressure measurements will be valid approximately 15
•
minutes after battery installation.
The first meteorological trends will be valid only 24 hours after startup of the
•
device.
Belt clip
They
BATTERIES
Installing batteries in the station
1. Unclip the table stand or belt clip.
2. Unscrew the cover of the battery compartment with a precision Phillips-head
screwdriver.
3. Insert the batteries (2 CR2032, 3V) in strict accordance with the orientation
indicated in the battery compartment.
4. Put the battery compartment cover back on and re-tighten.
Note:
Replace the batteries as soon as signs of weakness appear.
•
An incoherent, weak, or flickering display may be a sign of premature battery
depletion.
NAVIGATION SYSTEM
This device features 3 display lines to facilitate reading.
Each line has a precise function:
Weather forecasts and barometric trends
•
Temperature and humidity level
•
Time, alarm, calendar.
•
EXPLANATION OF EACH MODE
Time
Hour display
This device displays local time as well as the day of the week in several languages:
French, English, German, Italian, and Spanish.
Press
MODE to display alternately seconds or day of the week.
EN
1514

Setting the time:
1. Press MODE for 2 seconds. The number for the time flashes to indicate
entry into the set mode.
2. Press + or – to increase or decrease the value.
3. Press
MODE to change to setting minutes. The number for minutes flashes.
4. Press + or – to increase or decrease the value.
Proceed in the same way to set the year, month, day of the month, and the
language in which the day of the week is displayed.
The possible languages are English (E), German (D), French (F), Italian (I), and
Spanish (S).
Alarm
Setting the alarm:
Press ALARM to display the alarm time instead of the local time. The ((.)) symbol
is displayed.
Setting/turning off the alarm :
Press the “ ” button (button 11) to activate or turn off the alarm. The “ ” symbol
appears or disappears depending on whether or not the function is activated.
Alarm:
If no key is pressed, when the hour set for the alarm is reached, the station progressively sounds the alarm for 2 minutes, and then automatically sounds again
after 8 minutes.
The alarm can also be stopped immediately by pressing the
1). In this case, it automatically sounds again after 8 minutes.
To shut off the alarm for good, press the “ ” key at any time. The alarm is then
deactivated for the next 24 hours.
SNOOZE key (button
Barometric trends and weather forecasts
This station records changes in atmospheric conditions over the preceding 24
hours and provides weather forecasts by means of icons.
EN
Setting the alarm:
1. Display the alarm time by pressing the ALARMbutton, if necessary.
2. Press the
indicate entry into the setting mode.
3. Press + or – to increase or decrease the value.
4. Press
tes flashes.
5. Press + or – to increase or decrease the value.
6. Press
ALARM button for 2 seconds. The number for the hour flashes to
ALARM to change to setting the minutes. The number for the minu-
ALARM to exit the set mode.
Pressure trends:
: Barometric pressure is increasing, and the weather will improve.
: Pressure is remaining fairly constant, and the present weather conditions will
continue.
: Atmospheric pressure is falling, and the weather will deteriorate.
Trend Description
Improvement
Constant
Worsening
1716

Display of weather forecasts :
The station displays icons that give a general idea of local weather trends for the
next several hours. The calculation is based on barometric readings for the preceding 24 hours.
There are 5 possible icons for indicating trends :
Sunny with
Cloudy
Sunny
cloudy periods
Rainy Storm
High and low temperatures
The high and low temperatures are recorded automatically as soon as they are
measured.
To display the high temperature, press the Min/Max button once.
•
Press the Min/Max button again. to check the low temperature. Repeat the same
•
procedure to return to the current temperature display.
To erase the memory, press the Min/Max button and hold it down for three
•
seconds. An audible
peratures are erased. Then if you press the
temperatures will be the same as the current temperature.
beep confirms that the data were erased. The recorded tem-
MIN/MAX button, the high and low
EN
IMPORTANT:
Meteorological forecasts are not an exact science! No professional institute in the
world is capable of 100% accuracy. The station's forecasts should be considered
an indication only. If you must embark on an extended or dangerous outing (sea,
mountains), confirm the forecasts of the WS700 mobile unit by contacting your
local meteorological institute.
Also, on the sea or in the mountains, weather conditions can change extremely
creating a risk to life. Be vigilant and extremely careful.
rapidly,
IMPORTANT:
Weather forecasts are reliable only if the station has been functioning properly for
at least the last 12 hours.
Temperature and humidity level
The station measures the local temperature and the humidity rate in the ambient
air (hygrometry). The current, low, and high values (since the last reset to 0) can
be displayed.
Changing the temperature units
Toggle the °C/ °F switch (button 15) located in the battery compartment (on the
back of the device) to the desired units.
Displaying the phases of the moon
IMPORTANT:
To activate this function, the calendar must be set properly (see the paragraph on
setting the time).
On the screen, an icon indicates the current moon phase. A full cycle of the moon
lasts 29.5 days. The phases will be indicated in accordance with the following chart :
New moon
Waxing
crescent
First quarter
Gibbous moon
waxing
In time mode, it is possible to press + and – to see the phases of the moon for the
following or preceding days (holding the + or – button down allows
scrolling through the years).
Full moon
Waning
gibbous moon
Last quarter
Waning
crescent
Backlighting
The display backlighting can be activated for 6 seconds by pressing the SNOOZE
button (button 1).
1918

Locking the keys
The “ ” key allows locking the station keys to avoid
settings.
Press “”for 2 seconds to lock or unlock the keys. An icon appears or disappears,
depending on whether or not the function is engaged.
accidentally changing the -
SPECIFICATIONS
Temperature:
Units: Centigrade (°C) or Fahrenheit (°F) degrees
Range of usage: -20°C to +60°C (-4°F to +140°F)
Accuracy: +/-1°C (+/- 1.8°F) in the range of 0°C to 40°C (32°F to 104°F), and +/2°C (+/- 3.6°F) outdoors
Display resolution: 0.1°C (0.18 °F)
MAINTENANCE
Here are a few tips for the maintaining your weather station:
1. Never submerge this device. If the unit comes into contact with water, dry it
immediately with a soft, lint-free cloth.
2. Never use an abrasive or corrosive cleaner on this device. Abrasive cleaners may scratch the plastic parts and corrode the electronic circuit.
3. Do not expose this unit to excessive pressure, impact, dust, extreme temperatures or dampness. Such treatment would cause malfunctioning, reduce
the lifetime of the electronic circuit, damage the batteries, and deform the product.
4. Do not dismantle the device and do not touch the internal components.
Doing so could void the warranty and damage components that cannot be repaired by the user.
5. Use only brand new batteries. Do not mix brand new batteries with old batteries, since the old ones could leak.
EN
Hygrometry:
Range of usage: 25% to 95%
Display resolution: 1%
Barometer:
Range of usage for best accuracy: 0°C to 60°C (32°F to 140°F)
Batteries:
2 CR2032 3V lithium batteries
Re-initializing/RESET
Use this button if the device is not working satisfactorily or if it malfunctions. Use a stylus
to hold the button down. All the settings return to their initial default values. You must now
repeat the procedures for manual settings and customizing the display.
CONTACT
As we strive to continually improve the products we develop, we are interested in
your feedback regarding the quality, the functionality, and the usage of our products.
In France, please call the customer service center at :
•
0810 08 08 08 (local call)
For any other country, please leave a message under the relevant heading on our
•
We promise to answer you promptly.
www.decathlon.com
website:
2120
 Loading...