

Page 1
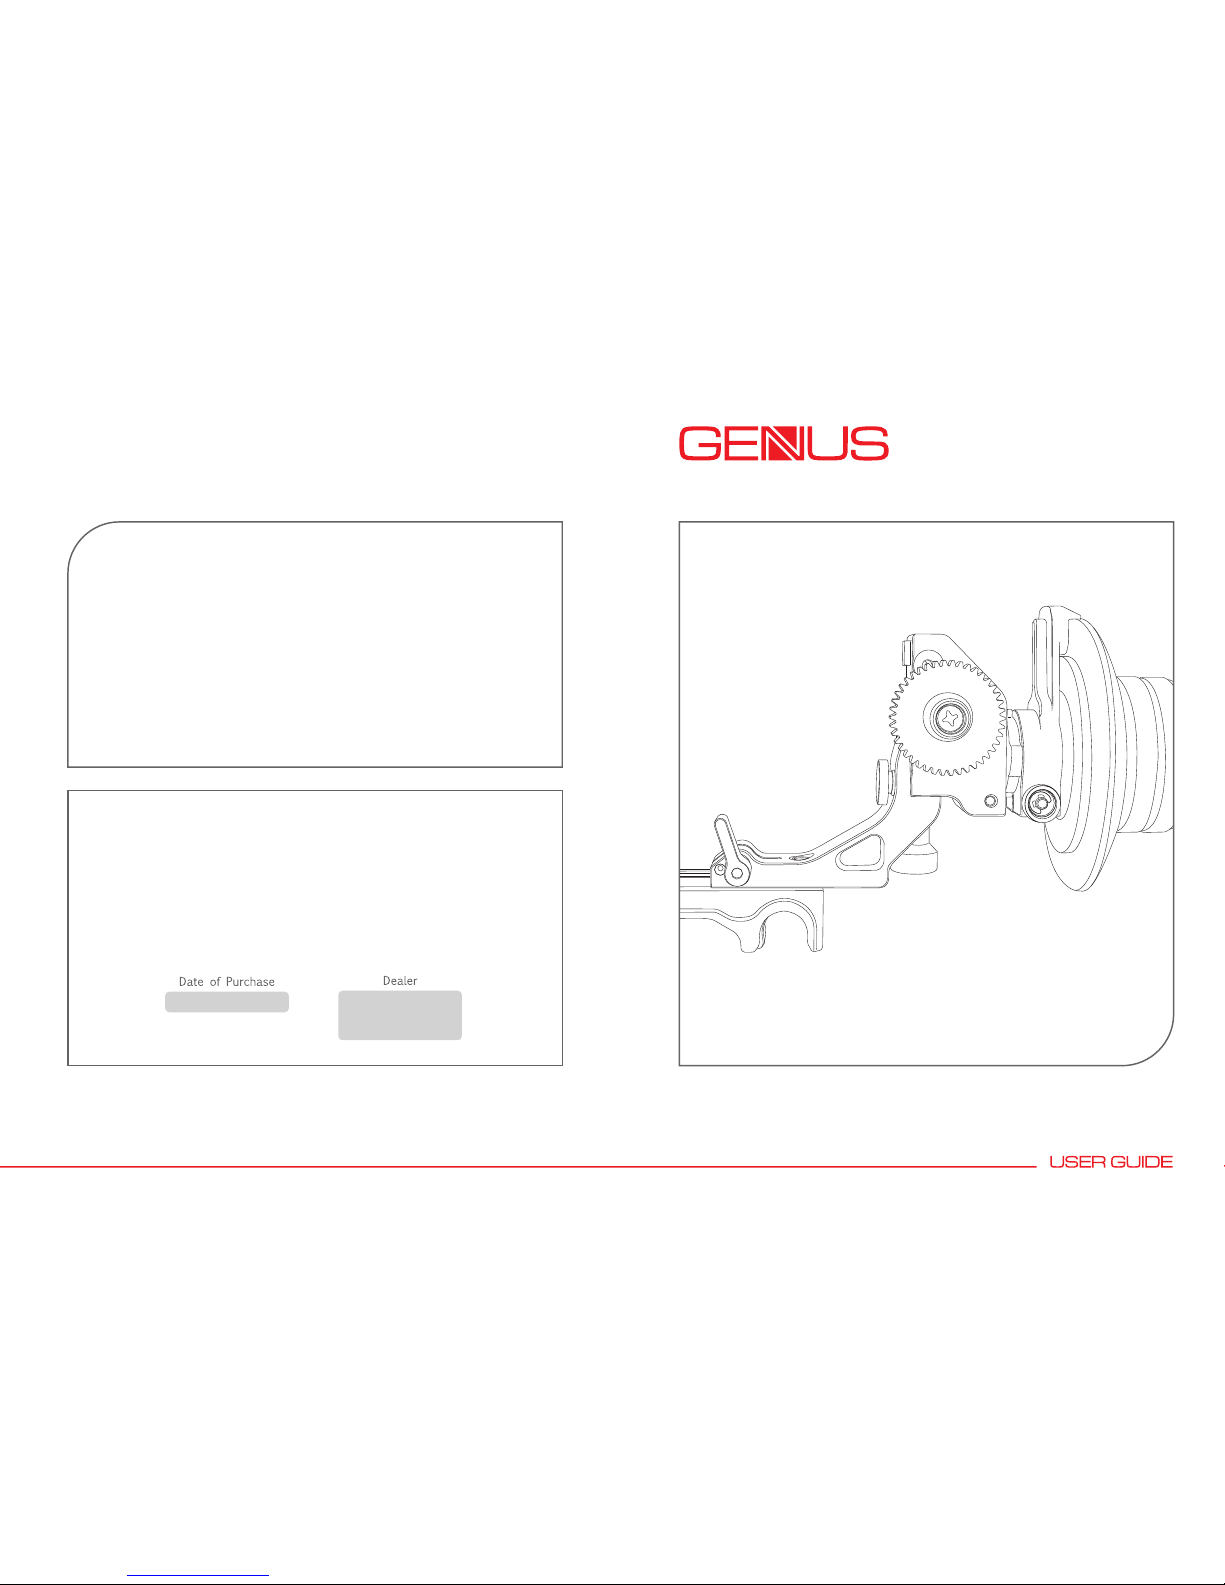
GFOC - Superior Follow Focus
© 2010 Genus Limited. All rights reserved.
Reproduction in whole or in part without permission is prohibited. Features and offers are subject to change
without further notice.
WARRANTY
Your Genus Superior Follow Focus is covered by a
one year warranty from the date of purchase.
Full terms and conditions of warranty can be found on our website
www.genustech.tv
GENUS PRODUCTS
Matte Boxes
Support Bar Systems
Adaptor Plates
Adaptor Rings & Donuts
French Flags
DSLR Camera Accessories
and more
Page 2
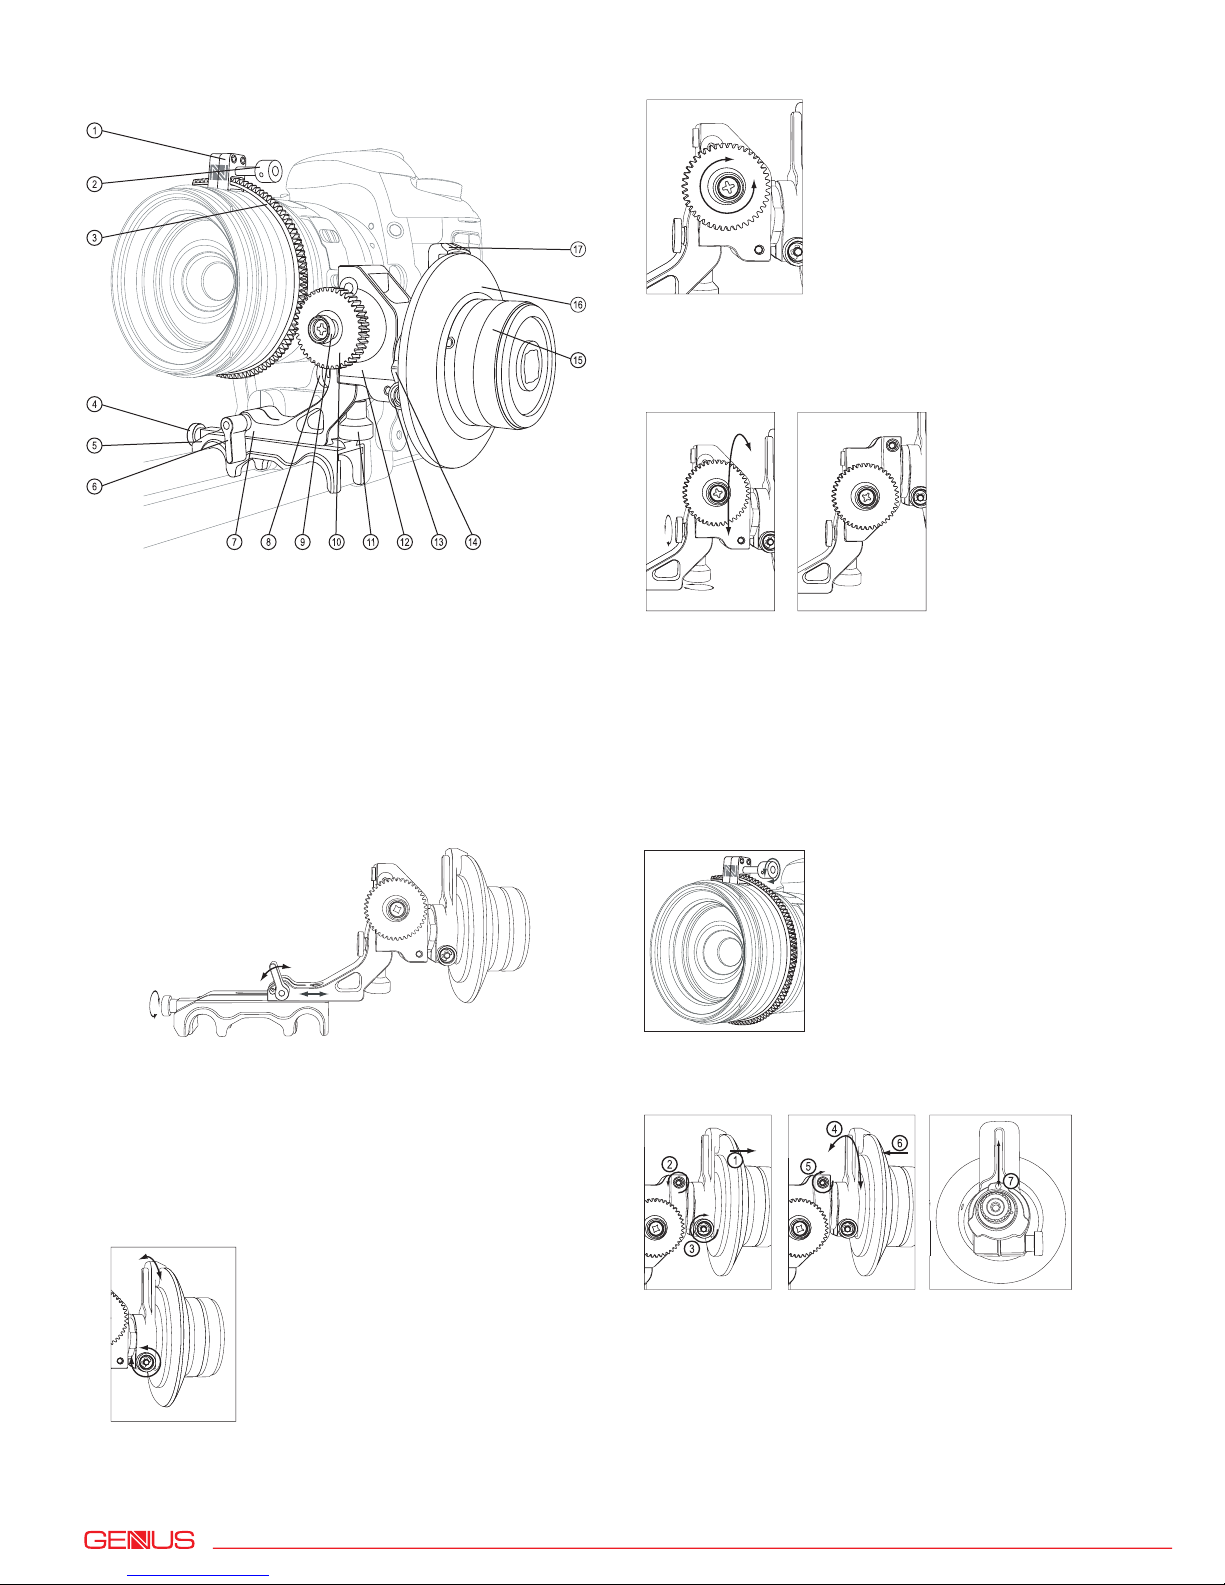
Instructions
1 Flexible Gear Clip (optional item for DSLR cameras)
2 Flexible Gear Tension Knob
(optional item for DSLR cameras)
3 Flexible Gear (optional item for DSLR cameras)
4 Clip-On Bar Adaptor Lock Off Knob
5 Clip-On Bar Adaptor
6 Sliding Bracket Lock Off Knob
7 Sliding Bracket
8 Gearbox Housing Side Lock Off Knob
9 Pitch Gear Knob
10 Pitch Gear
11 Gearbox Assembly Housing Knob
12 Gearbox Assembly
13 Marking Disc Indicator Lock Off Knob
14 Focus Gear Drive
15 Focus Gear Drive Control Knob
16 Bevelled Marking Disc
17 Marking Disc Indicator
The G-SFOC superior follow focus
Fitting the Lens Gear Ring (optional accessory for DLSR camera lenses)
1
2
3
Loosen the Flexible Gear Ring by turning the Tension Knob anti-clockwise so it will fit around the barrel of your lens.
Thread the Flexible Gear Ring so it centrally aligns around the focus barrel of your lens.
Tighten the Flexible Gear Ring by turning the Tension Knob clockwise so it fits snugly around the focus barrel.
Fitting the Pitch Gear (0.5mm for Canon Lenses, 0.6mm for Fujinon Lenses, 0.8mm for DSLR Lenses)
1
2
3
Unscrew the Pitch Gear Knob.
Align the back of the pitch gear with the drive shaft of the Gearbox and push in until it stops.
Screw back the Pitch Gear Knob and tighten.
Note: For short barrelled lenses, you may have to fit the Pitch Gear on the other side of the Gearbox.
Mounting the Follow Focus to Bars / Rods
1
2
3
4
5
6
7
8
Your camera should have already been mounted on to an adaptor bar system.
Loosen the Clip-On Bar Adaptor Lock Off Knob on the Follow Focus.
Loosen the Sliding Bracket Lock Off Knob and pull out the Sliding Bracket.
With your camera front facing you, position the Clip-On Bar Adaptor under your lens on the right side and align with
the bars. Push down.
Adjust the position of the Bar Adaptor so that the Pitch Gear aligns with either the grooves on the focus barrel of your
lens or with the teeth of the Lens Gear Ring (if using).
Tighten the Bar Adaptor Lock Off Knob.
Push in the Sliding Bracket until the Pitch Gear sits flush with the focus barrel or Lens Gear Ring and the teeth
engage with each other. Minor positioning adjustments may have to be made with your adaptor bar system to ensure
perfect engagement.
Lock off the Sliding Bracket Lock Off Knob.
Flipping the Gearbox Assembly
1
2
3
4
Undo the Gearbox Housing Side Lock Off Knob.
Undo the Gearbox Assembly Housing Knob.
Flip the Gearbox Assembly 180° and align back onto the Sliding Bracket.
Fasten the Gearbox Housing Side Lock Off Knob and Gearbox Assembly Housing Knob back in the screw holes.
Note: If your Pitch Gear is attached to the Gearbox Assembly, it will be on the other side of the Assembly. To switch
back to the original position, follow instructions for “Fitting the Pitch Gear” above.
Why Flip? Different makes of lens focus drives may rotate in opposite directions. You may be used to rotating the
focus drive in a certain direction and therefore, flipping the Gearbox Assembly around allows you to rotate in your usual
direction with minimum confusion.
The Marking Disc
1
2
Align the groove on the marking disc to that of the Marking Disc Plate with bevelled side out. Push in to place.
To adjust the Marking Disc Indicator: loosen the Marking Disc Indicator Lock Off Knob, turn the Marking Disc Indicator
to the desired position. Tighten the Lock Off Knob.
Note: The Marking Disc assists you when adjusting the focus to arrive at the correct point. The mark can be made with
a pencil or a NON-permanent marker.
Intermeshing Gear Adjustment
1
2
3
4
5
6
Remove the Bevelled Marking Disc.
Using a 3mm Allen Key, loosen the hexagon socket screw on the Gearbox Assembly
(fig. 1).
Make sure that the Marking Disc Indicator Lock Off Knob is fully tightened.
Using the Marking Disc Indicator as a lever, rotate the Focus Gear Drive either clockwise or anti-clockwise to achieve the
desired 'feel' or backlash elimination. Do not over engage (over tighten) or under engage (over loosen) the gears
as this may promote wear or backlash respectively and cause damage to the internals over time. Test smooth
ness and friction by turning the Focus Gear Drive Control Knob (fig. 2).
Retighten the hexagon socket screw on the Gearbox Assembly.
Replace the Beveled Marking Disc.
Your Follow Focus comes with pre-set friction and intermeshing of gears to ensure optimum smoothness. Please note the
tension of the focus drive may naturally increase when the pitch gears are engaged onto the gearing of the lens focus drive
(in the case of Broadcast lenses) or the flexible gear (DSLR lenses). The following allows you to adjust the gears if this
happens (best done with the Follow Focus mounted on an adaptor bar system for added stability).
180°
fig. 1 fig. 2 fig. 3
Warning: Removal of the Focus Drive Assembly from the Gearbox Assembly is
not recommended as the preset gear
orientation could be lost on re-assembly resulting in uneven performance of the Follow Focus unit. If both assemblies are
inadvertently drawn apart, realign the index mark dot with the Marking Disc Indicator in a straight line (fig. 3). Reset the
engagement following the instructions in Intermeshing Gear Adjustment section above.
 Loading...