

Page 1
UserManual
Rapid Fire | Burst Fire | Akimbo | Jitter | Quick Scope |
Mimic | Drop Shot | Jump Shot | GOW Perfect Reloads |
Auto Aim | Quick Reload | Auto Spotting| Auto Run|
Sniper Breath |10 Programmable Modes
Reflex Remapping buttons (optional)
WWW.GENIUSMODS.COM
Page 2
CONTENTS
Page 1: Introduction, Feature access
Page 2: Sub Modes, Rapid Fire, Burst Fire, Akimbo, Mimic
Page 3: Default Modes, Changing Modes, Adjustable Fast Reload
Page 4: Jitter Fire, Drop Shot, Jump Shot, Automatic Sniper Breath
Page 5: Quick Scope, Auto Run, Auto Aim, Battlefield Auto Spotting
Page 6: GOW Perfect Reloads, Reflex Remapping Buttons (optional)
Page 7: Adjusting and Programming modes
Page 8: Programmable speed settings table
Page 9: Advanced Feature management
Back Cover: Controller feature quick reference
Introduction
The MaxFire Fusion v4 controller offers many features, more than you will find on
any other mod available. While there are many features on this controller, we have
developed a method of accessing them which makes it quick and easy.
On the following pages you will find information about each feature and how to
access it. Many features can be used in combination allowing greater flexibility and a
greater enhancement to your gaming experience. Only features which conflict with
each other, such as jump shot and drop shot, cannot be used at the same time.
Feature access
The MaxFire Fusion v4 controller uses the “LEFT” direction on the D-pad and the
controllers “BACK” button for accessing all of the controllers features. We also offer
the option of a “MOD” button on the back of the controller. The mod button can be
used instead of “LEFT” on the D-pad to allow faster access to features since you
would not need to remove your thumb from the left thumbstick .
When enabling/disabling a feature, unless otherwise noted, you will see the player 3
LED flash 1 time for enabled and 2 times for disabled.
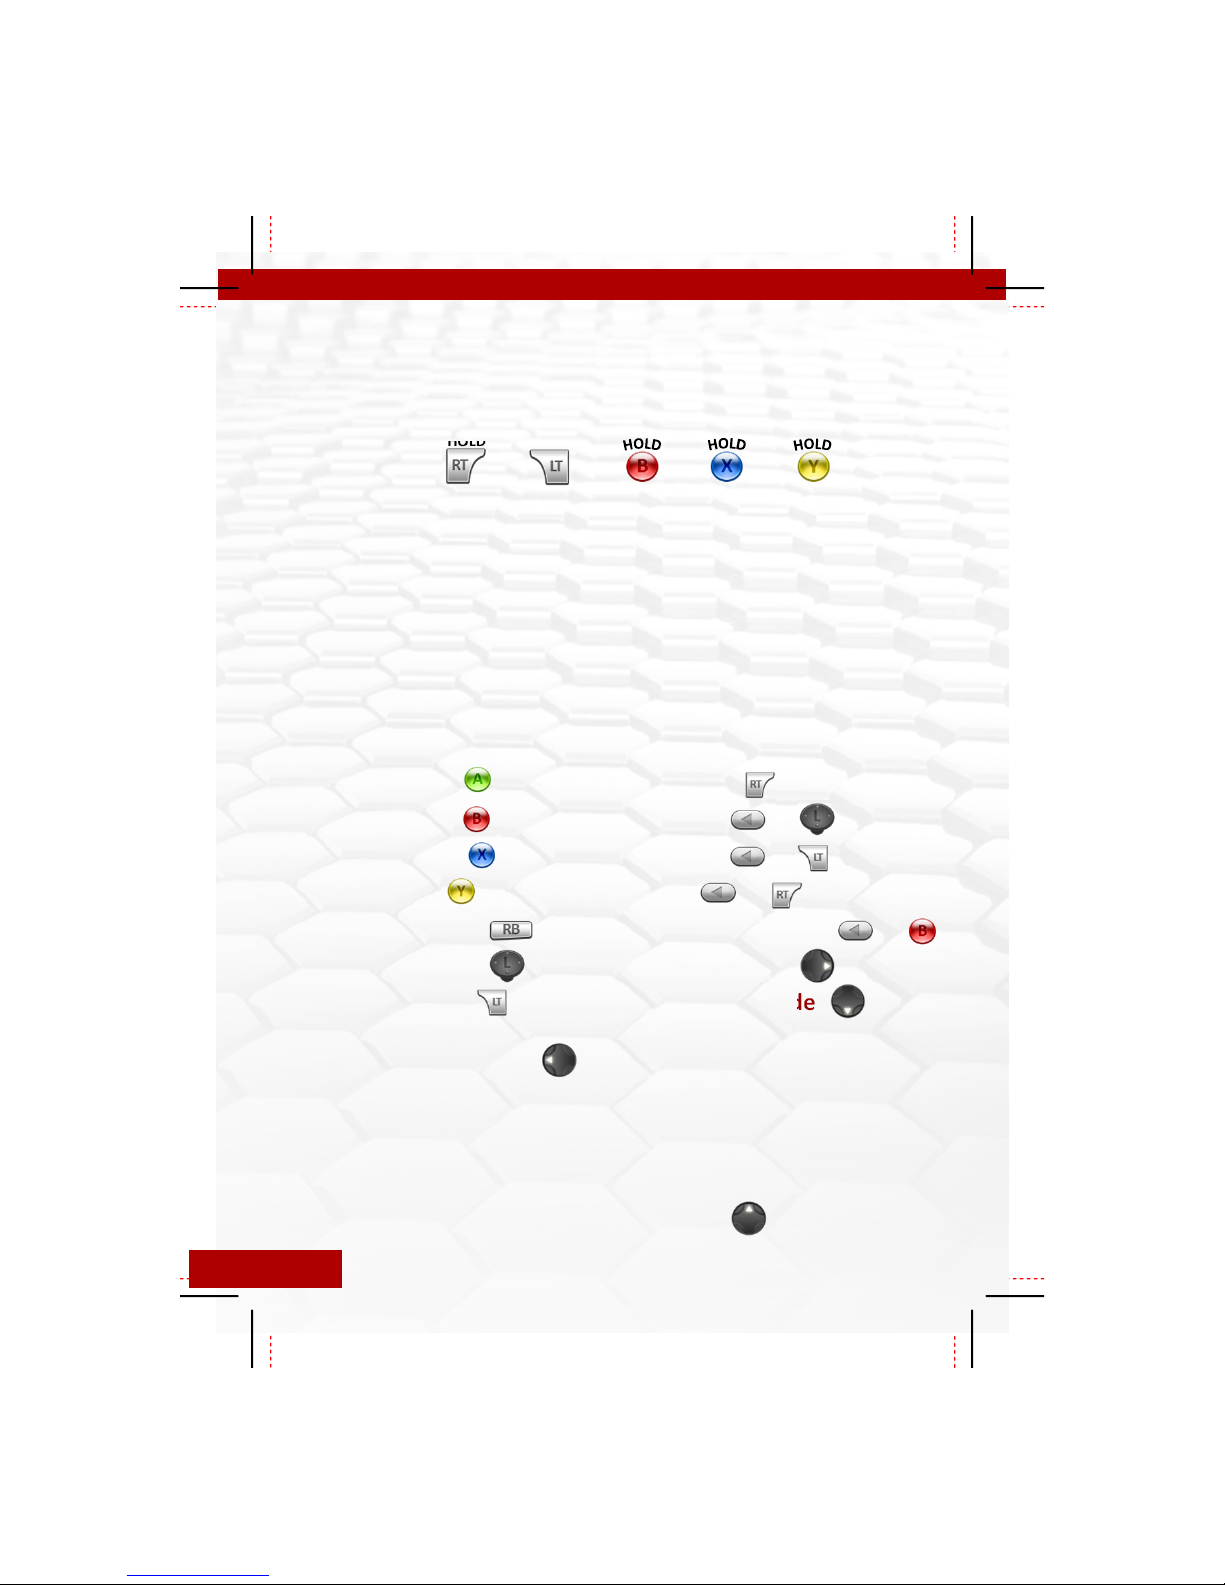
D-PAD LEFT MOD BUTTON BACK BUTTON
Pg. 1
Page 3
HOLD
Sub Modes
Several of the following controller features have sub modes. Sub modes are
modifications to the main feature. These will be explained in the description of each
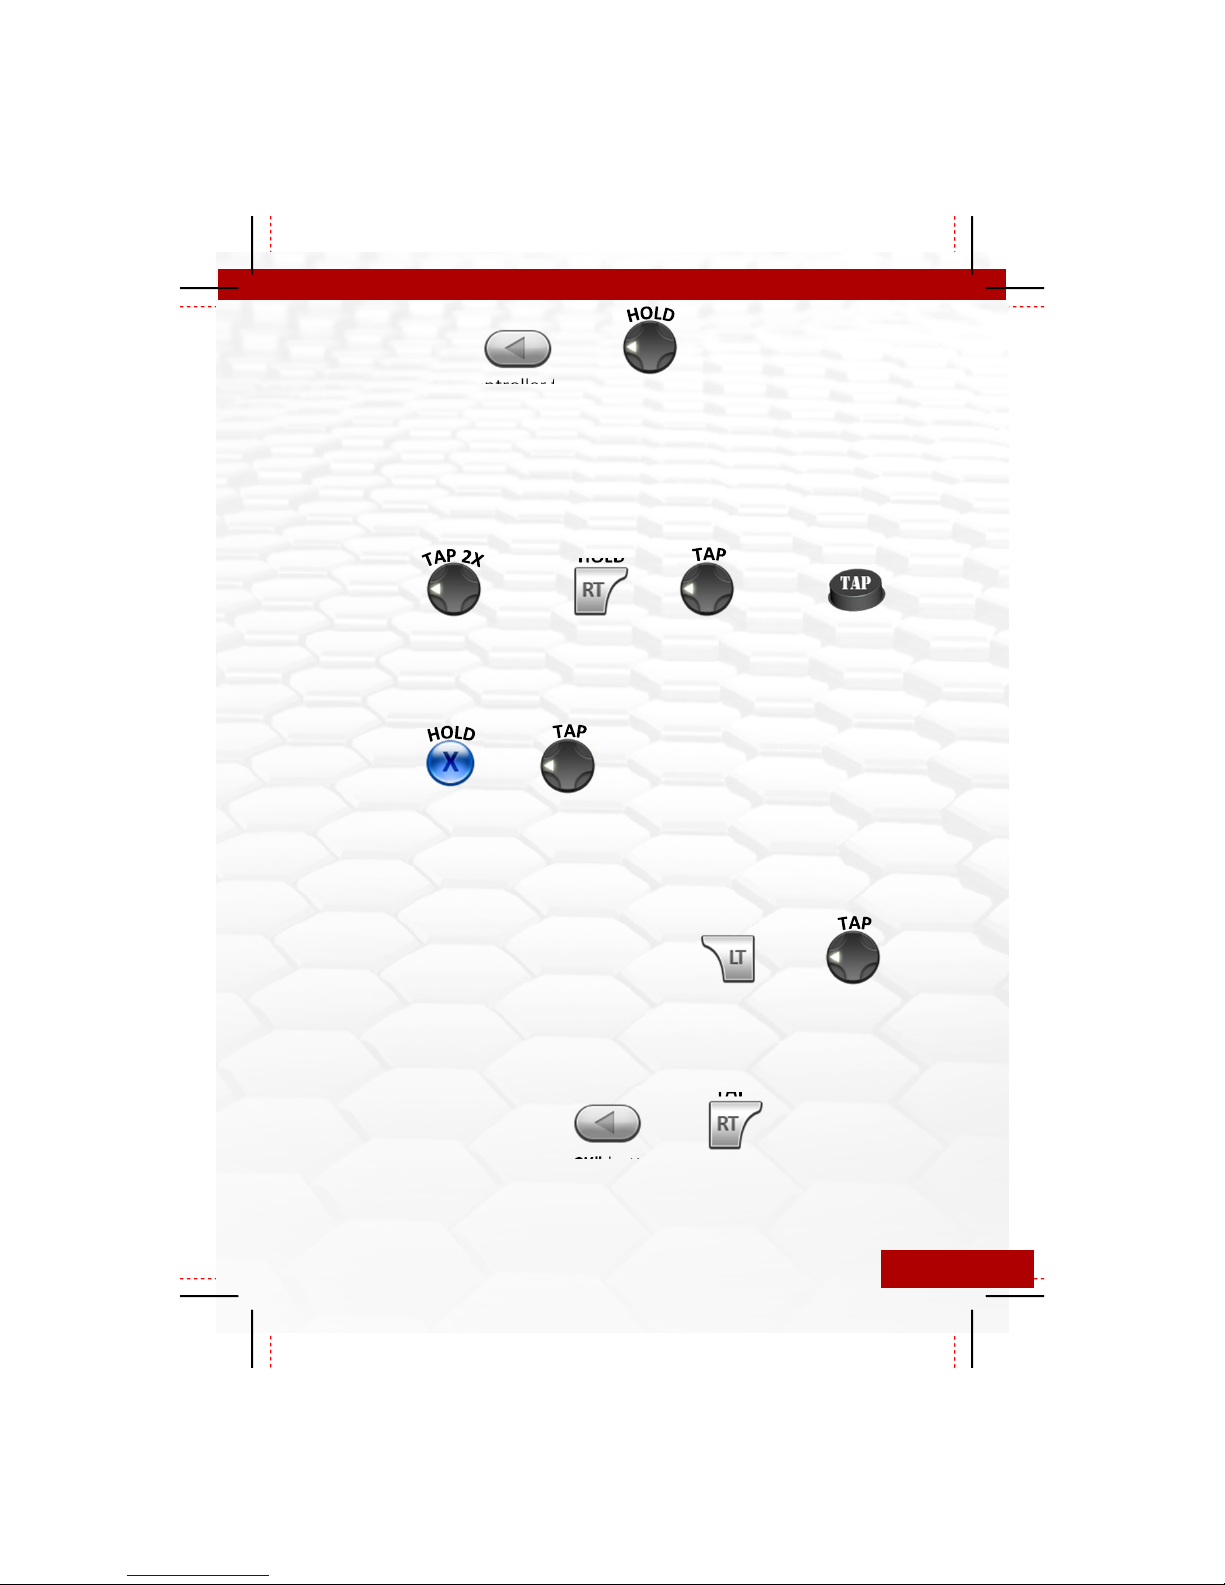
feature. To change a features sub mode HOLD the “BACK” button + “LEFT” on the Dpad, while holding both, tap the corresponding features button to change the SubMode. For example, to change the Jitter sub mode you would HOLD “BACK” +
“LEFT”, then TAP ”Y”, the player 3 LED will flash to indicate which sub mode you are
currently in. If using the optional “MOD” button you would HOLD “BACK” + “MOD”
+
HOLD
Rapid Fire
To activate/deactivate rapid fire you can either TAP “LEFT” two times very quickly
or HOLD the “RIGHT TRIGGER” and TAP “LEFT”. You will see the player 4 LED start
flashing indicating Rapid Fire is now activated. Repeat either of these to turn off
Rapid fire. With the Optional “MOD” button you need only to TAP the button once.
Burst Fire
To activate/deactivate burst fire HOLD the “X” button and then TAP “LEFT”. The
player 4 LED will turn on solid to indicate that burst fire is activated. The burst fire
will fire at the current speed/burst settings which can be adjusted within
programming mode. Once activated burst fire can be turned on/off using the same
process as rapid fire. To deactivate again hold “X “and tap “LEFT”.
or
+
+
Akimbo (Dual Trigger Rapid Fire)
To activate/deactivate akimbo HOLD the “LEFT TRIGGER” and TAP “LEFT. With
akimbo activated you will have rapid fire on both the left and right triggers
(independently), this is great for akimbo or dual weapons in Call of Duty and other
FPS games. While active the player 3 LED will remain lit.
HOLD
Mimic (Auto Akimbo)
To activate/deactivate HOLD the “BACK” button and TAP the “RIGHT TRIGGER”.
When using mimic , the right trigger controls both the left trigger and the right
trigger at the same time. If the akimbo is activated and rapid fire is turned ON than
the left trigger will also rapid fire, otherwise it works as normal allowing you to
scope automatically when firing.
+
or
HOLD
+
TAP
Pg. 2
Page 4
Mode and Default Speed Chart
MODE SPEED COMPATIBLE GAMES
Mode 1:
Mode 2:
Mode 3:
Mode 4:
Mode 5: 20sps Halo series
Mode 6: 6.85sps Gears of War - Hammerburst
Mode 7: 8sps Gears of War – Pistols
Mode 8: 8.33sps COD - Word at War Only - Riffles
Mode 9: 10sps COD - Word at War Only - Pistols
Mode 10: 20sps Open Mode – Default 20 SPS
Changing Modes
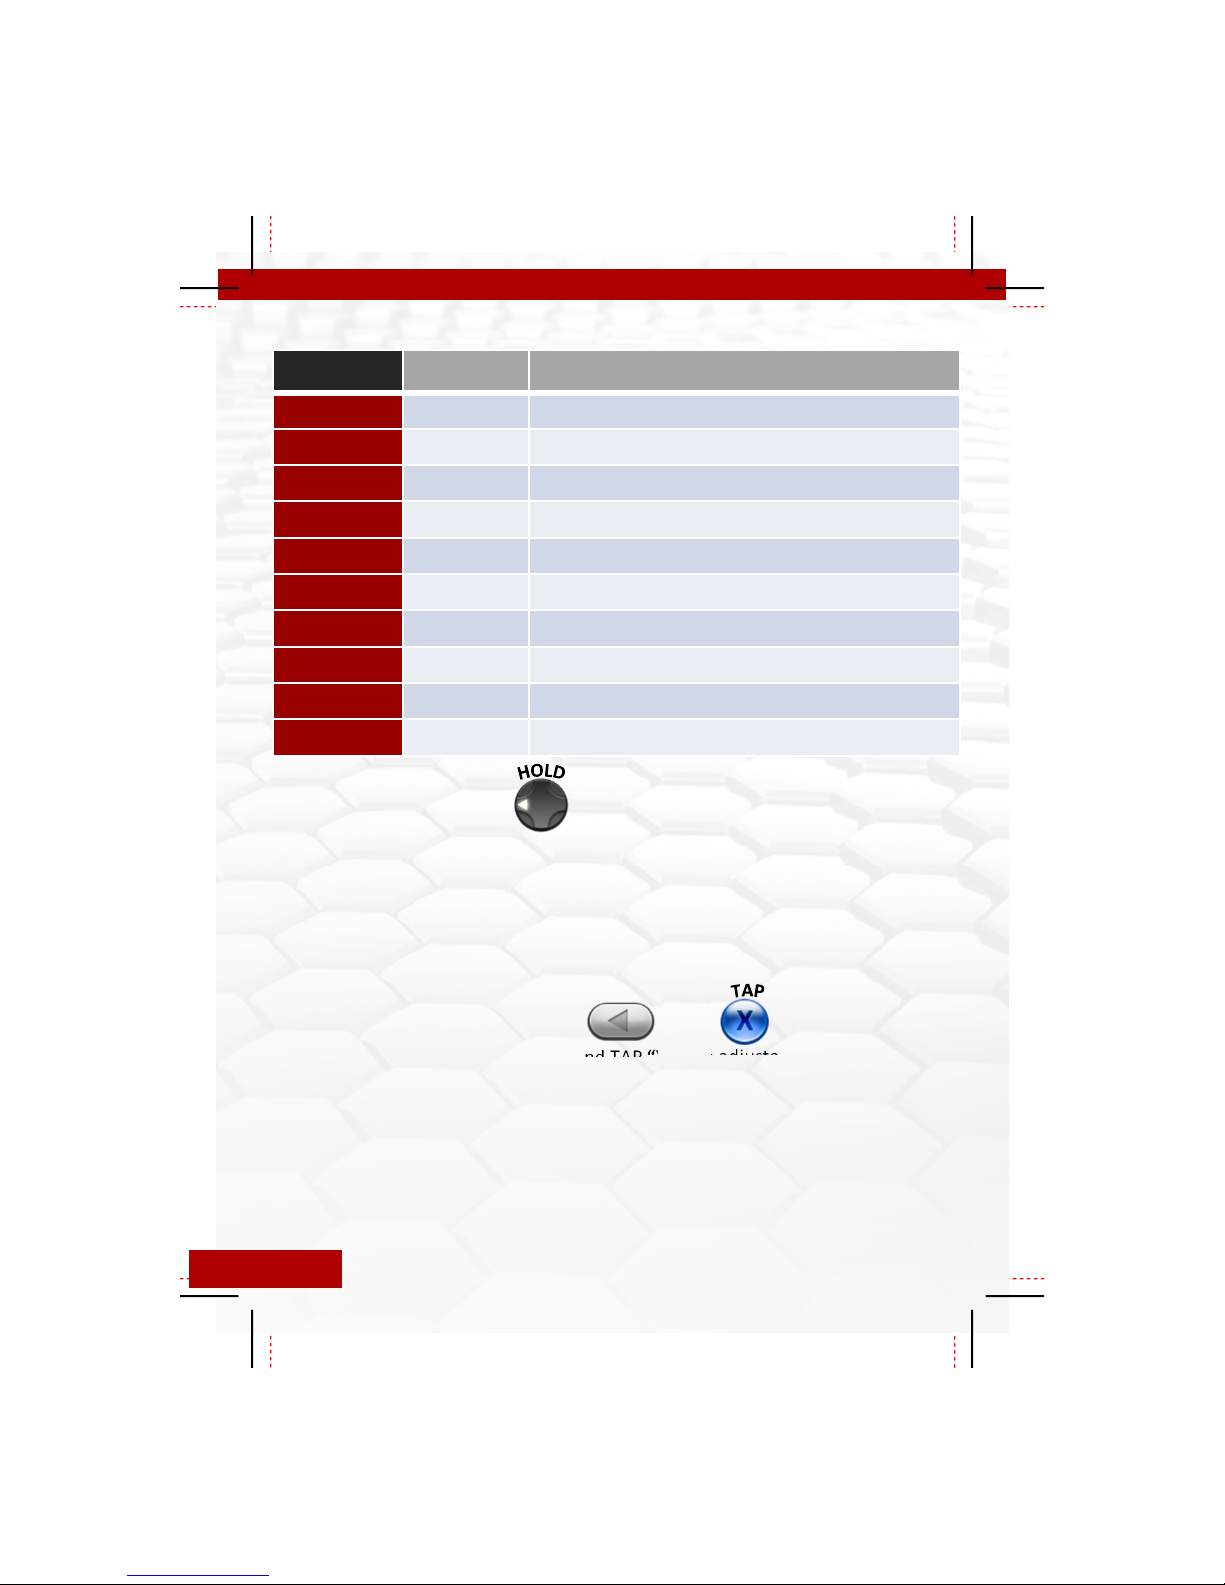
There are 10 modes to select from. Each is pre-programed with a specific speed, but
can be independently programmed to an new speed (See page 6). To change to the
next mode you must HOLD “LEFT” for 4 seconds. You will see the player 3 & 4 LEDs
flash together, count the number of flashes of the LEDs. This will indicate which
mode you are currently in. (2 flashes = Mode 2, 3 flashes = Mode 3, etc…). You can
also go back to the previous mode by HOLDING “LB” along with “LEFT”.
Adjustable Fast Reload
To activate/deactivate HOLD “BACK” and TAP “X”. The adjustable fast reload allows
you to shave precious milliseconds off your reload time. This works by cancelling the
last part of the reload animation after the ammo has been added to your weapon.
The fast reload must be set for the weapon you are using, as all weapons have
different reload times. To set the reload timing you must HOLD “X” until you see
your ammo indicator at the bottom of the screen show that you have full ammo
(this will happen before the reloading animation completes), when you see this
RELEASE “X”. This sets the timing and the next time you reload as normal
Pg. 3
by hitting “X” the last part of the reload animation will be cancelled
allowing you to begin firing again sooner than normal.
7.7sps COD MW2/MW3/Black Ops: Semi-Auto Rifles
11.35sps Call of Duty (ALL): Pistols/Snipers
14.28sps COD Black OPS 2: Semi-Auto Riffles
16.67sps GTA 4, RDR, COD: Autos, Left 4 Dead
(4 sec)
HOLD
+
Page 5
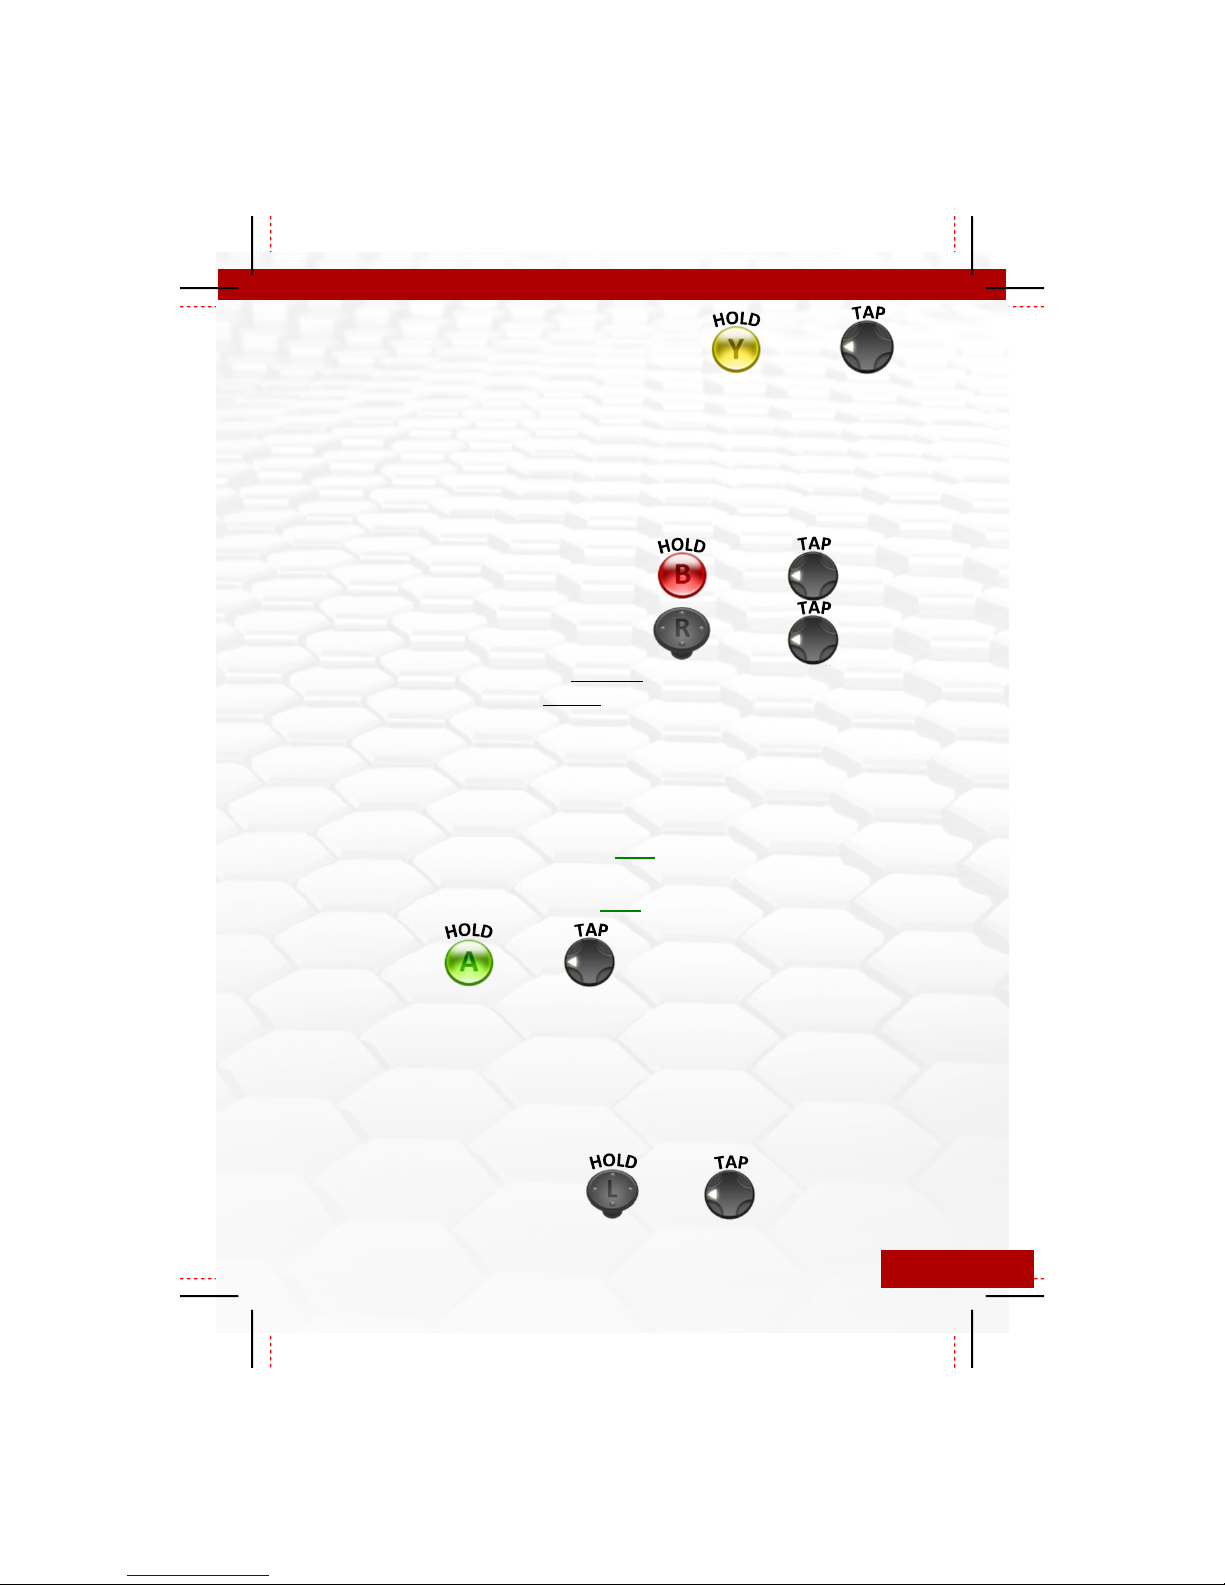
Jitter Fire (All COD Except MW3)
To activate/deactivate jitter fire HOLD the “Y” button and TAP “LEFT”. Jitter takes
advantage of a glitch in most COD games allowing for faster firing of just about all
weapons including shotguns and 3-Round burst weapons. Jitter has 3 sub modes.
Sub Mode 1 = XYY Jitter
Sub Mode 2 = XYY Jitter (Black Ops 2 Compatible)
Sub Mode 3 = YY Jitter (World at War)
+
Drop Shot (standard Layout)
Drop Shot (Tactical Layout)
+
+
To activate/deactivate drop shot for standard button layouts HOLD “B” and TAP
“LEFT”. To activate drop shot for tactical button layouts HOLD in the “RIGHT
THUMBSTICK CLICK” and TAP “LEFT”. Drop shot allows you to automatically drop to
prone as soon as you start firing and stand up when you stop. The MaxFire Fusion
V4 supports both standard button layouts and tactical button layouts. Drop shot has
4 sub modes and you must always use “B” when changing the sub mode.
Sub Mode 1 = Always Drop/Stand automatically
Sub Mode 2 = Drop/Stand, if NOT Aiming Down Sights
Sub Mode 3 = Drop Only
Sub Mode 4 = Drop Only, if NOT Aiming Down Sights
Jump Shot
To activate/deactivate jump shot HOLD “A” and TAP “LEFT”. With jump shot you will
jump automatically as soon as you start to fire. Jump shot has 4 sub modes.
Sub Mode 1 = Jump only once
Sub Mode 2 = Continuous Jumping (Slow Jump Speed)
Sub Mode 3 = Continuous Jumping (Medium Jump Speed)
Sub Mode 4 = Continuous Jumping (Fast Jump Speed)
+
Automatic Sniper Breath
To activate/deactivate auto sniper breath HOLD in the “LEFT THUMBSTICK CLICK” and
TAP “LEFT”. With Auto sniper breath activated the mod will press and
hold the left thumstick automatically when you aim down the sights.
+
Pg. 4
Page 6
HOLD
TAP
Quick Scope
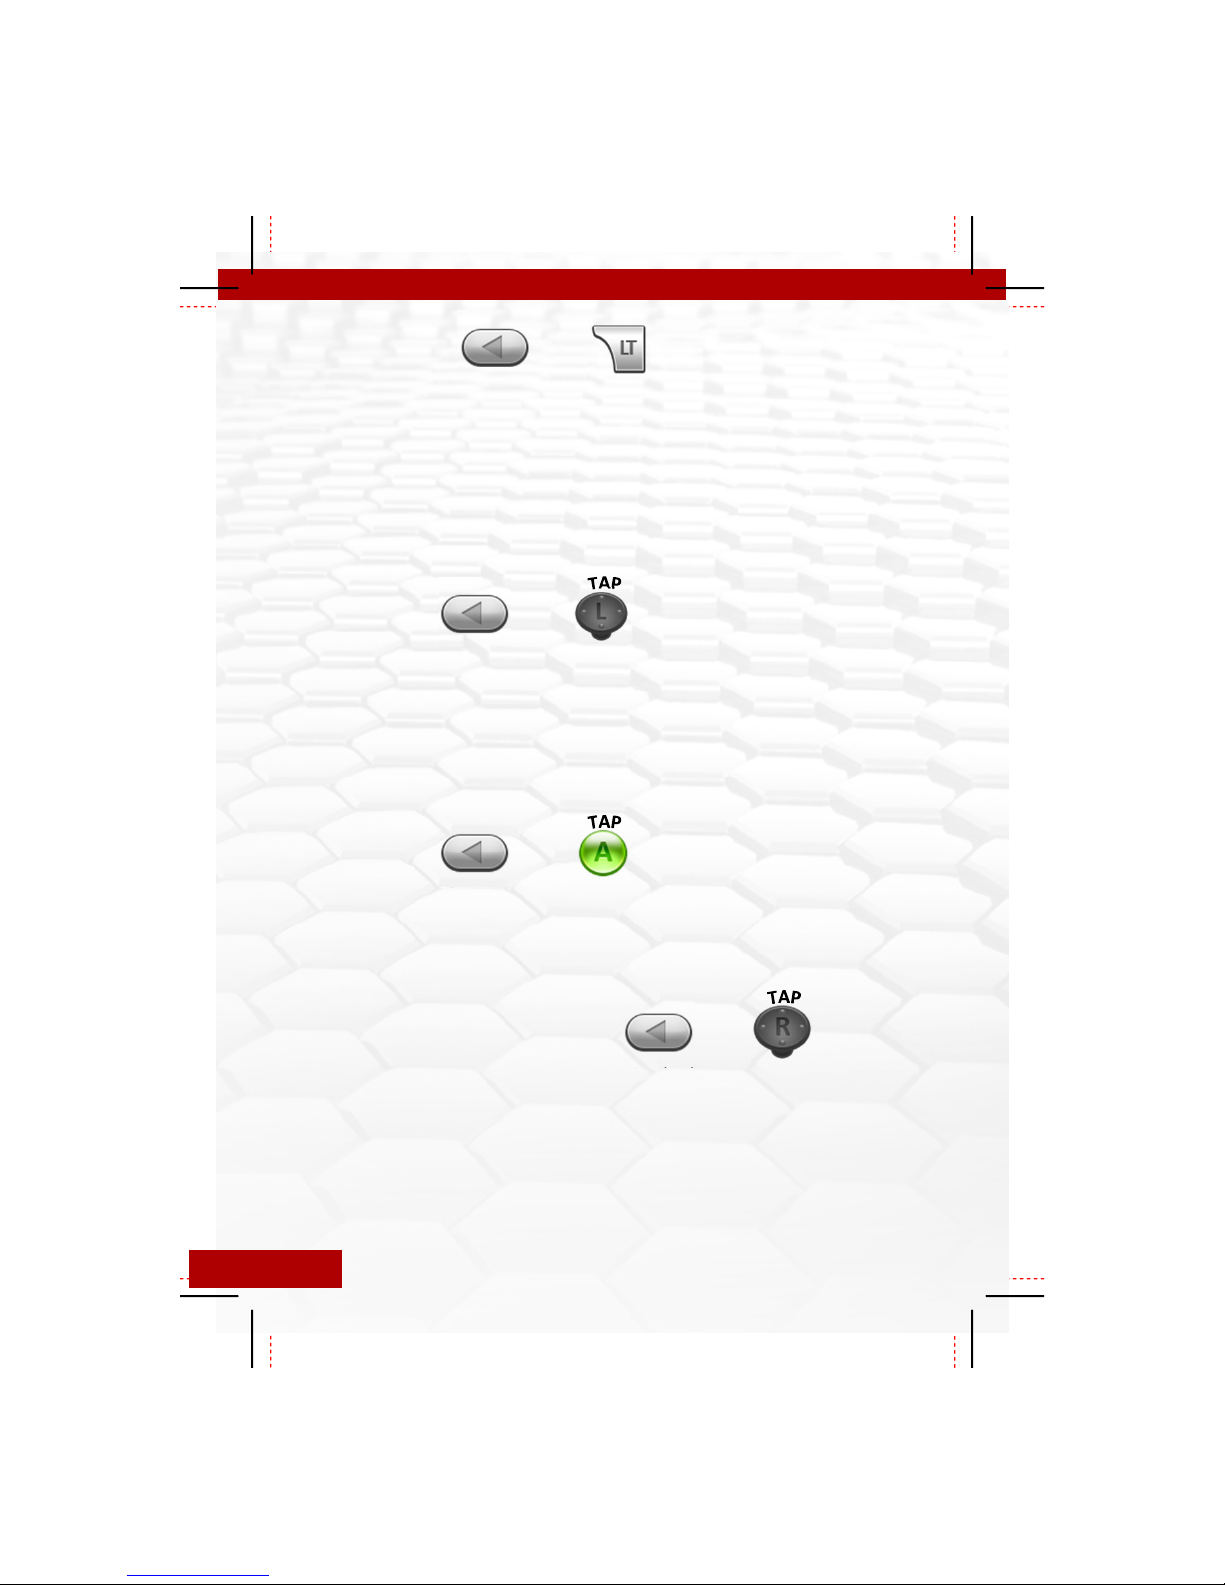
To activate/deactivate HOLD “BACK” and TAP the “LEFT TRIGGER”. With quick scope
active just hold the left trigger and you will scope and automatically fire at the exact
moment the accuracy of being scoped kicks in. Quick scope has 2 sub modes.
Sub Mode 1 = Quick Scope for Sniper Rifles
Sub Mode 2 = Quick Scope for Sniper Rifles + Rapid Fire
Sub Mode 3 = Quick Scope for Rifles with QuickDraw attachment
Sub Mode 4 = Quick Scope for Rifles w/QuickDraw + Rapid Fire
HOLD
Auto Run
To activate/deactivate auto run HOLD “BACK” and CLICK the “LEFT THUMBSTICK”.
With auto run active you no longer have to click the left thumbstick to start running,
it is done automatically.
Sub Mode 1 = Always runs
Sub Mode 2 = Run suspended when prone/crouch with “B”
Sub Mode 3 = Run suspended when prone/crouch with “R3”
HOLD
Auto Aim
The auto aim feature ONLY WORKS WITH ZOMBIES & CAMPAIGN GAMES AND
DOES NOT WORK WITH ONLINE MATCHMAKING GAMES. To activate/deactivate
auto aim HOLD “BACK” and TAP the “A” button. With auto aim active, when you
press the left trigger, you will automatically lock on and track the closest target.
+
+
+
Battlefield Auto Spotting
To activate/deactivate HOLD “BACK” and CLICK the “RIGHT THUMBSTICK”. With
auto spotting active the controller will automatically press the “BACK” button once
every second (the max rate allowed by the game). When you are aiming at an
opponent they will be marked with an indicator above their head for you and your
team to see, giving your team a significant advantage.
Sub Mode 1 = BF3 On only when Aiming down sights
Sub Mode 2 = BF3 On all the time
Pg. 5
Sub Mode 3 = BF4 On only when Aiming down sights
Sub Mode 4 = BF4 On all the time
HOLD
+
Page 7
HOLD
GOW Perfect Active Reloads
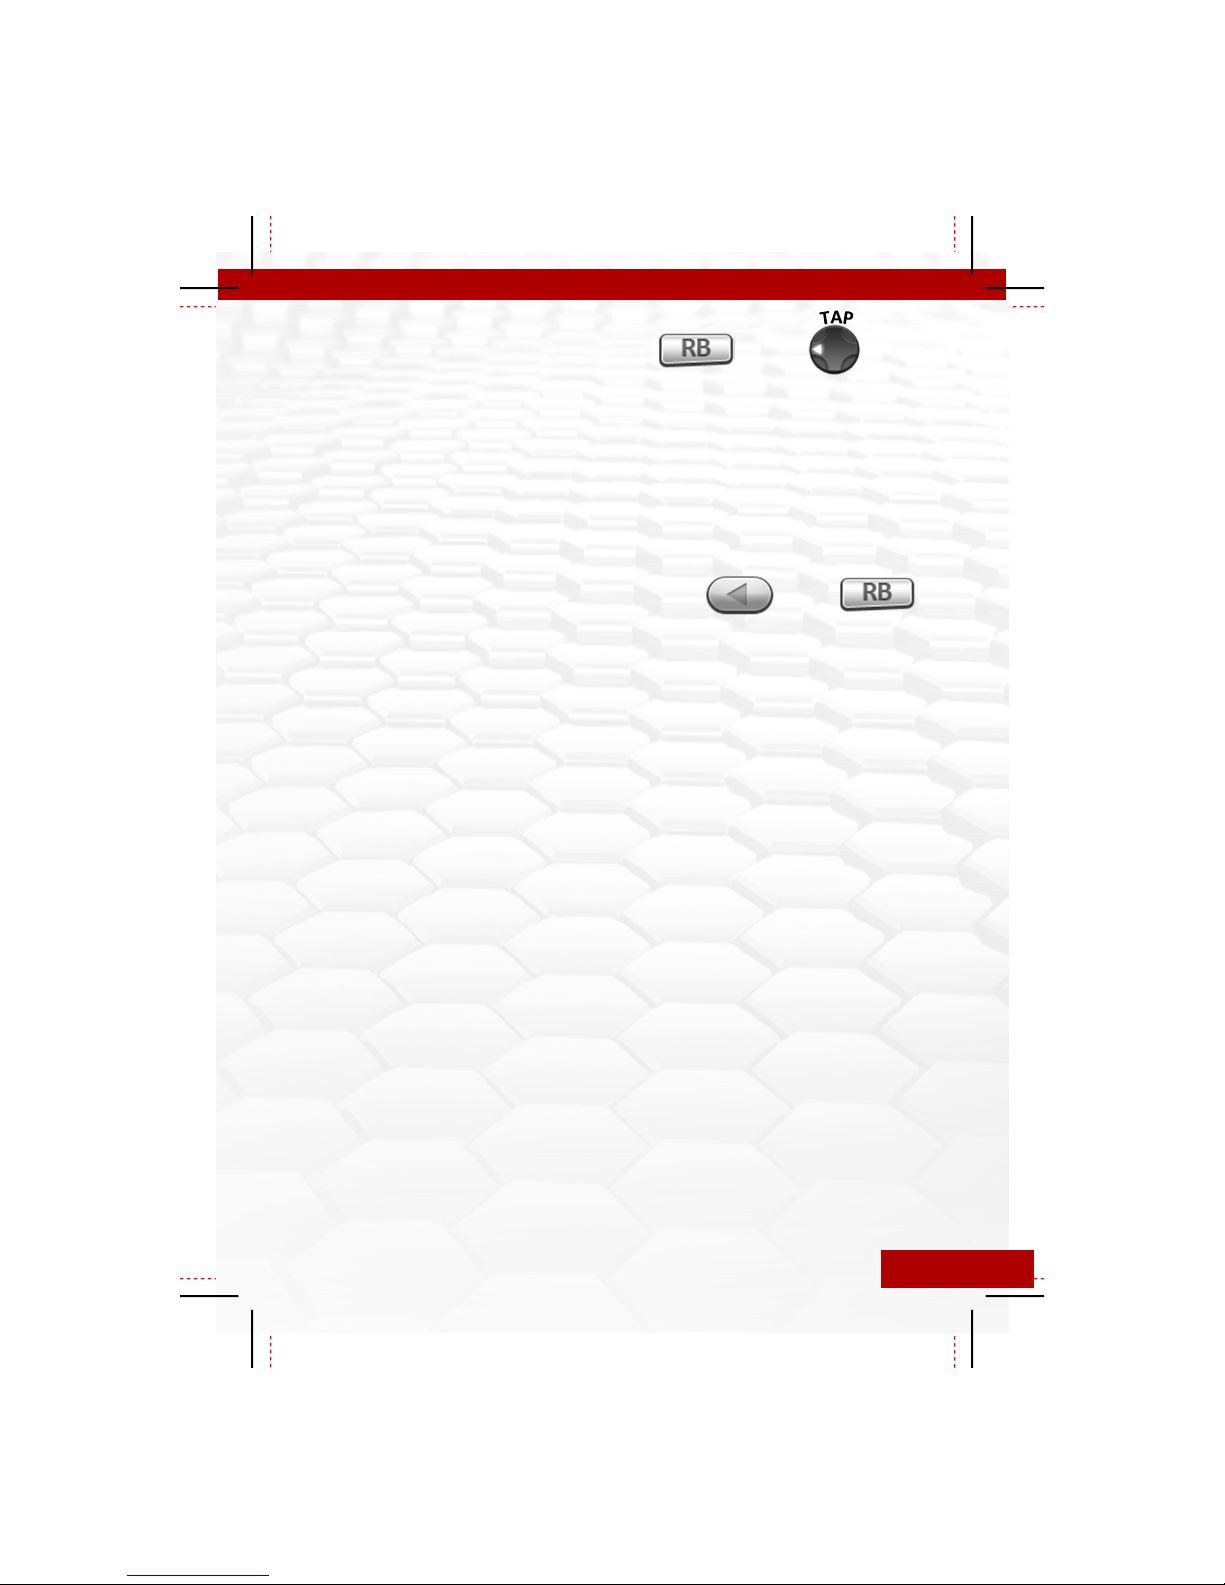
To activate/deactivate HOLD “RB” and TAP “LEFT”. While active the player 3 LED
will remain Lit. Have perfectly timed active reloads for the most popular weapons
in Gears of War, automatically. When using this mod you select the weapon you are
using by following the process below. Once selected you reload as normal by
pressing “RB” and the second press of “RB” will be timed automatically.
Sub Mode 1 = Gears of War 2
Sub Mode 2 = Gears of War 3
Set GOW Active Reload Weapon
To set the weapon you want to perfect active reload you must HOLD the “BACK”
button and TAP “RB”. You will TAP “RB” 1-6 times depending on the weapon you
want to select from the list below. When you release “BACK” the player 3 LED will
quickly flash 1-6 times to confirm your selection.
Gears of War 2 Weapons
1. Lancer/Hammerburst
2. Pistols
3. Shotgun
4. Sniper/BoomShot
Gears of War 3 Weapons
1. Lancer
2. Hammerburst
3. Pistols
4. Sniper/BoomShot
5. Shotgun
6. Retro Lancer
HOLD
+
TAP
+
Reflex Remapping Buttons (Optional feature not found on all controllers)
Reflex buttons are additional buttons which can be added to your controller at the
time of purchase. Reflex buttons can replicate any of these standard controller
buttons: A, B, X, Y, RB, LB, Back, Right/Left Triggers, Right/Left Thumbstick Clicks.
These Buttons are set by default to replicate A or B. However they can be changed
to any of the above mentioned buttons within the controllers programming mode.
See page 7 for information on accessing the programming mode. Once in the
programming mode just HOLD one of the Reflex buttons and TAP the button you
want to assign to it. Both the player 3 and 4 LED lights will flash 3 times to confirm
your change. If you tap the controller button which is already assigned to the reflex
button, this will disable the button and both player 3 and 4 LEDs will fade out.
The MaxFire-Fusion V4 also has a competition mode (see AFM on page 9) which can
be enabled to make your controller competition legal. This option disables all Mods
except for the reflex buttons which are legal for all pro competitions.
Pg. 6
Page 8
Programming the Adjustable Rapid/Burst Fire Settings
Each rapid fire mode can be programmed to one of 55 different speed between 4 and 50
shots per second. You can also set the burst fire for each mode from 2 – 10 shots per burst.
Enter the Programming Mode:
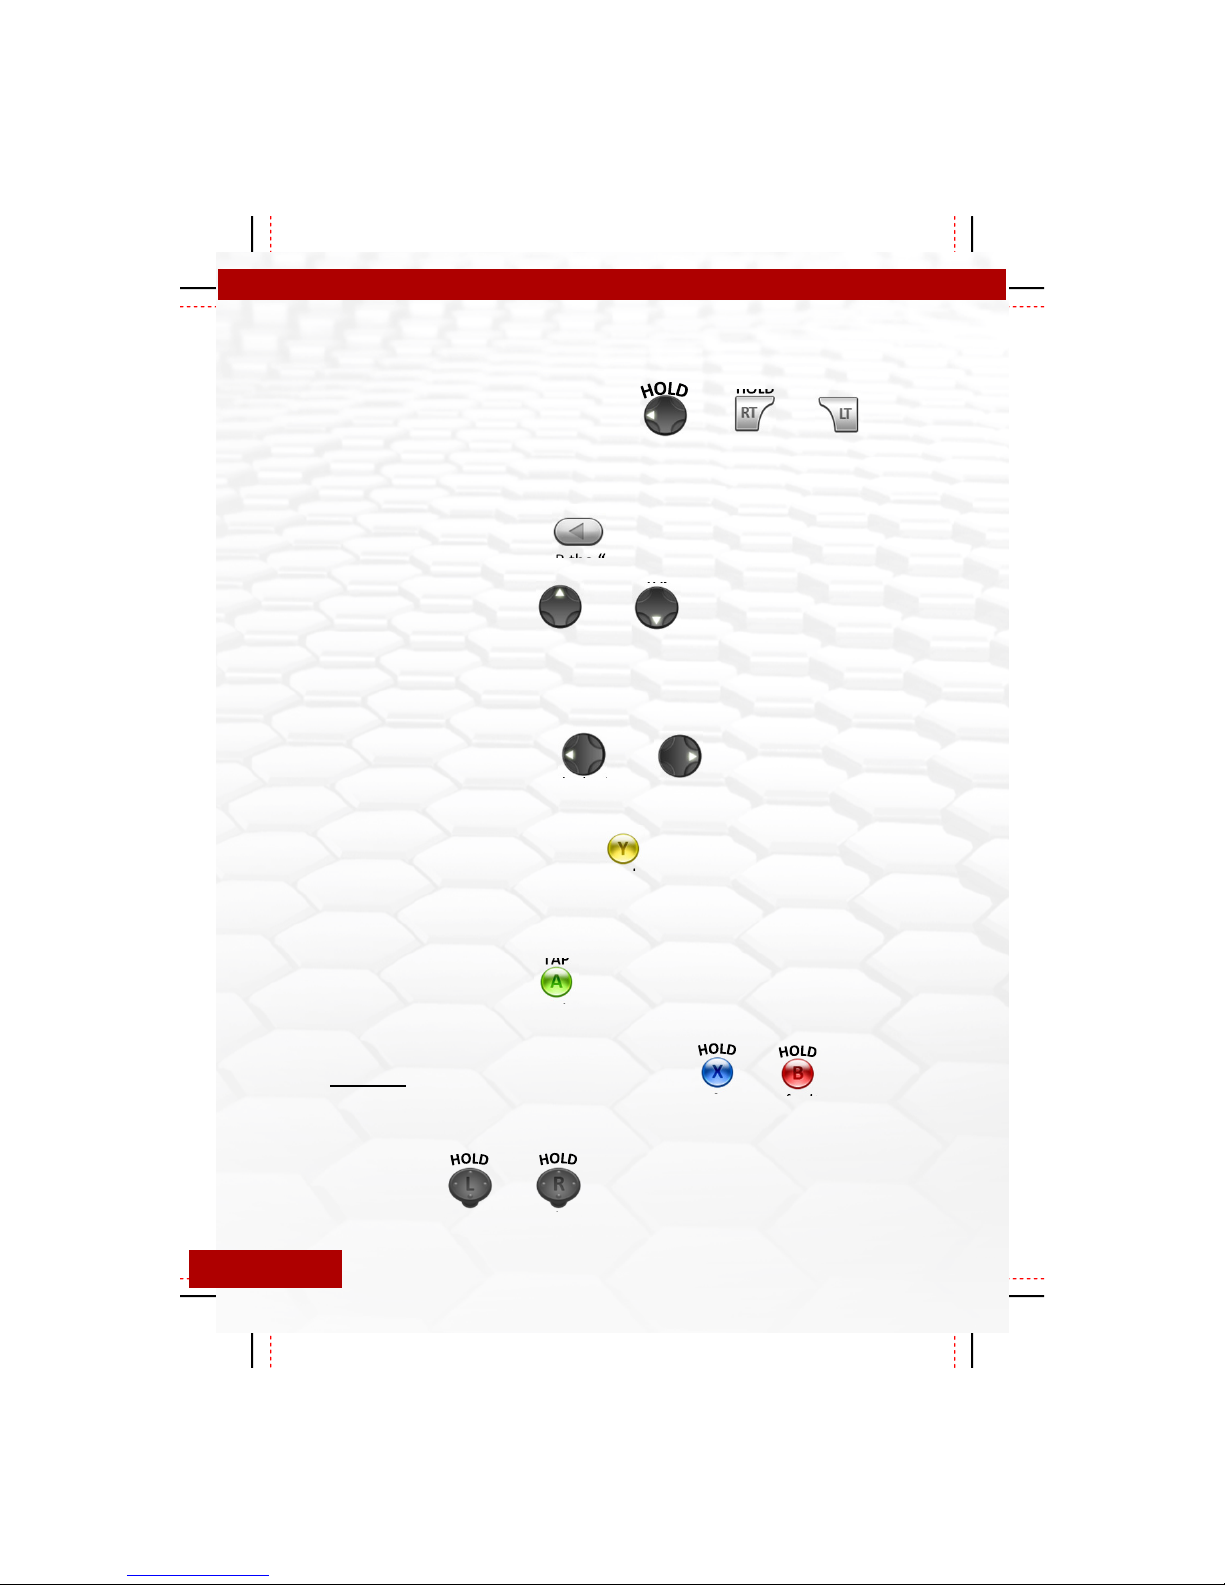
To enter the programming mode you must first HOLD “BOTH TRIGGERS” then within 2
seconds HOLD “LEFT”. Continue to hold all three for 5 seconds. You will see the player 4 LED
flash on for 2 seconds then go out.
TAP
Exit Programming Mode:
To exit the programming mode just TAP the “BACK” button.
TAP
TAP
+
HOLD
+
HOLD
(5 sec)
Change Rapid Fire Speed:
To change the rapid fire speed you only need to TAP “UP” or “DOWN” on the D-pad. “UP” to
make the speed faster and “DOWN” to make it slower. The player 4 LED will flash when
increasing the speed and the player 3 will flash when decreasing. Once you have reached the
MIN or MAX speed the LED will no longer flash.
Change Burst Fire Quantity:
To change the number of shots fired with the burst fire you must TAP “LEFT” or “RIGHT” on
the D-pad. Left for fewer shots and Right for More shots.
TAP
or
TAP
or
TAP
Check Rapid Fire Speed Setting:
To check the currently set rapid fire speed you only need to TAP “Y”. The player 3 LED will
flash the “tens” and position and the player 4 will then flash the single digit. (example. Player
3 flashes 3 times, followed by the player 4 flashing 6 times, you are now at speed setting 36)
Refer to the table on the next page for all of the speed settings.
TAP
Check Burst Fire Setting:
To check the currently set burst fire setting just TAP “A”. The player 4 LED will flash 2-10
times to indicate the number of shots set for the burst fire.
Reset Current Mode to Default Settings:
To reset the rapid fire mode you are currently editing to the factory default you must HOLD
“X” and “B” together for 7 seconds. After 7 seconds the player 3 and 4 LED’s will both flash
very fast for 2 seconds to indicate the Mode has ben reset.
MASTER RESET:
Resets ALL modes, speeds and sub modes to their default settings. HOLD “BOTH
THUMBSTICK CLICKS” for 7 seconds. You will see the player 3 LED flash then the player 4
Pg. 7
LED, then both. All settings will be set to default and the programming mode will
be exited.
+
(7 sec)
+
(7 sec)
Page 9
Rapid Fire speed settings table
Rapid Fire Setting Shots Per Second Rapid Fire Setting Shots Per Second
1 50 29 13.16
2 45.5 30 12.5
3 41.7 31 12.2
4 38.4 32 11.91
5 35.7 33 11.63
6 33.3 34 11.42
7 31.25 35 11.11
8 29.4 36 10.64
9 27.8 37 10.3
10 26.3 38 10
11 25 39 9.8
12 23.91 40 9.62
13 22.73 41 9.36
14 21.74 42 9.09
15 20.83 43 8.62
16 20 44 8.33
17 19.23 45 8.2
18 18.52 46 8
19 17.86 47 7.7
20 17.24 48 7.35
21 16.67 49 7
22 16.13
23 15.63
24 15.15
25 14.71
26 14.28
27 13.89
28 13.51
50
51
52
53 5.5
54 5
55 4
6.67
6.33
6
Important Rapid Fire Speed Information!
The Maxfire Fusion rapid fire mod allows you to set rapid fire speeds up to 50 shots
per second, but you must be aware that setting the rapid fire to the maximum will
NOT work for most games. All games have limitations on the rates at which
weapons can fire. Our default mode settings are already optimized to the fastest
possible speeds for the games/weapons listed on page 2.
The possibility to change these settings are available for you to experiment with
and find settings that best compliment your playing style and to be able to create
modes for current and future games which are not part of the default setup.
If you have questions regarding rapid fire or any feature please
contact us at Support@geniusmods.com
Pg. 8
Page 10
Advanced Feature Management
All features of the MaxFire Fusion V4 have an advanced management option that
allows you to disable them. This is especially useful if you find there are features you
do not use and do not want the possibility to accidentally activate the feature.
HOLD
Enter (AFM)
To enter the advanced feature management you must have the controller ON and
the rapid fire must be turned OFF. Then HOLD the “RIGHT TRIGGER + LEFT TRIGGER
+ B + Y + X” together all at the same time for 7 seconds. After 7 seconds you will see
both player 3 and 4 LEDs flash 10 times very fast. After this you can release all of the
buttons.
+
HOLD
+
+
+
(7 sec)
Managing features
Now that you are in the AFM you can enable or disable any of the features listed
below by just tapping the corresponding button. When you tap one of the buttons
you will see the player 4 LED flash either 1 or 2 times.
1 flash = Feature is now ENABLED, 2 flashes = Feature is now DISABLED.
• Jump Shot
• Drop Shot
• Fast Reload
• Jitter Fire
• GOW Reloads
• Sniper Breath
• Quick Scope
• Feature Activation
This option changes which buttons will be used to activate features. There
are 3 options, left only, mod button only or both. The default setting is
both. When changing you will see the player 3 LED flash for left only, the
player 4 LED flash for mod button only or both LEDs flash for Both buttons.
• Rapid Fire
• Auto Run
• Auto Aim
• Mimic
• Battlefield Spotting
• LED Notification
• Competition Mode
Exit Advanced Feature Management
To exit AFM TAP “UP” on the D-pad. You will again see the player 4 LED
Pg. 9
flash 10 times very quickly.
+
+
+
+
Page 11
1 Year Limited Warranty
1 Year Limited Warranty
1 Year Limited Warranty1 Year Limited Warranty
This offer applies only to new Rapid fire controllers modified and sold by
Console Customs. Mod chips installed into customer controllers by console
customs or mod kits installed by customers into their own controllers are not
covered by this warranty.
Console Customs limited warranty covers manufacturer or modification defects
of the rapid fire mod chip and the controller itself for a term of 1 year from the
date of purchase.
This warranty does NOT cover conditions related to abuse, neglect, wear and
tear or natural disasters. This includes, but is not limited to, worn or broken
thumbsticks, loss of calibration, pushed in or broken buttons, damaged caused
by exposure to liquids or any other conditions which are not a result of a
manufacturing defect.
Patches or updates are NOT covered under warranty. All controllers are sold to
function with the current state of games as noted in the description. Any
changes to these games which prevent the controller from working are NOT
covered under warranty.
Removal or tampering with any security seal, Internal or external, will void the
warranty of the controller.
For question regarding warranty coverage or to open a claim please contact our
support team at support@geniusmods.com or visit our website
www.geniusmods.com and click the “contact us” link at the top.
Page 12
Left or Mod Button Functions
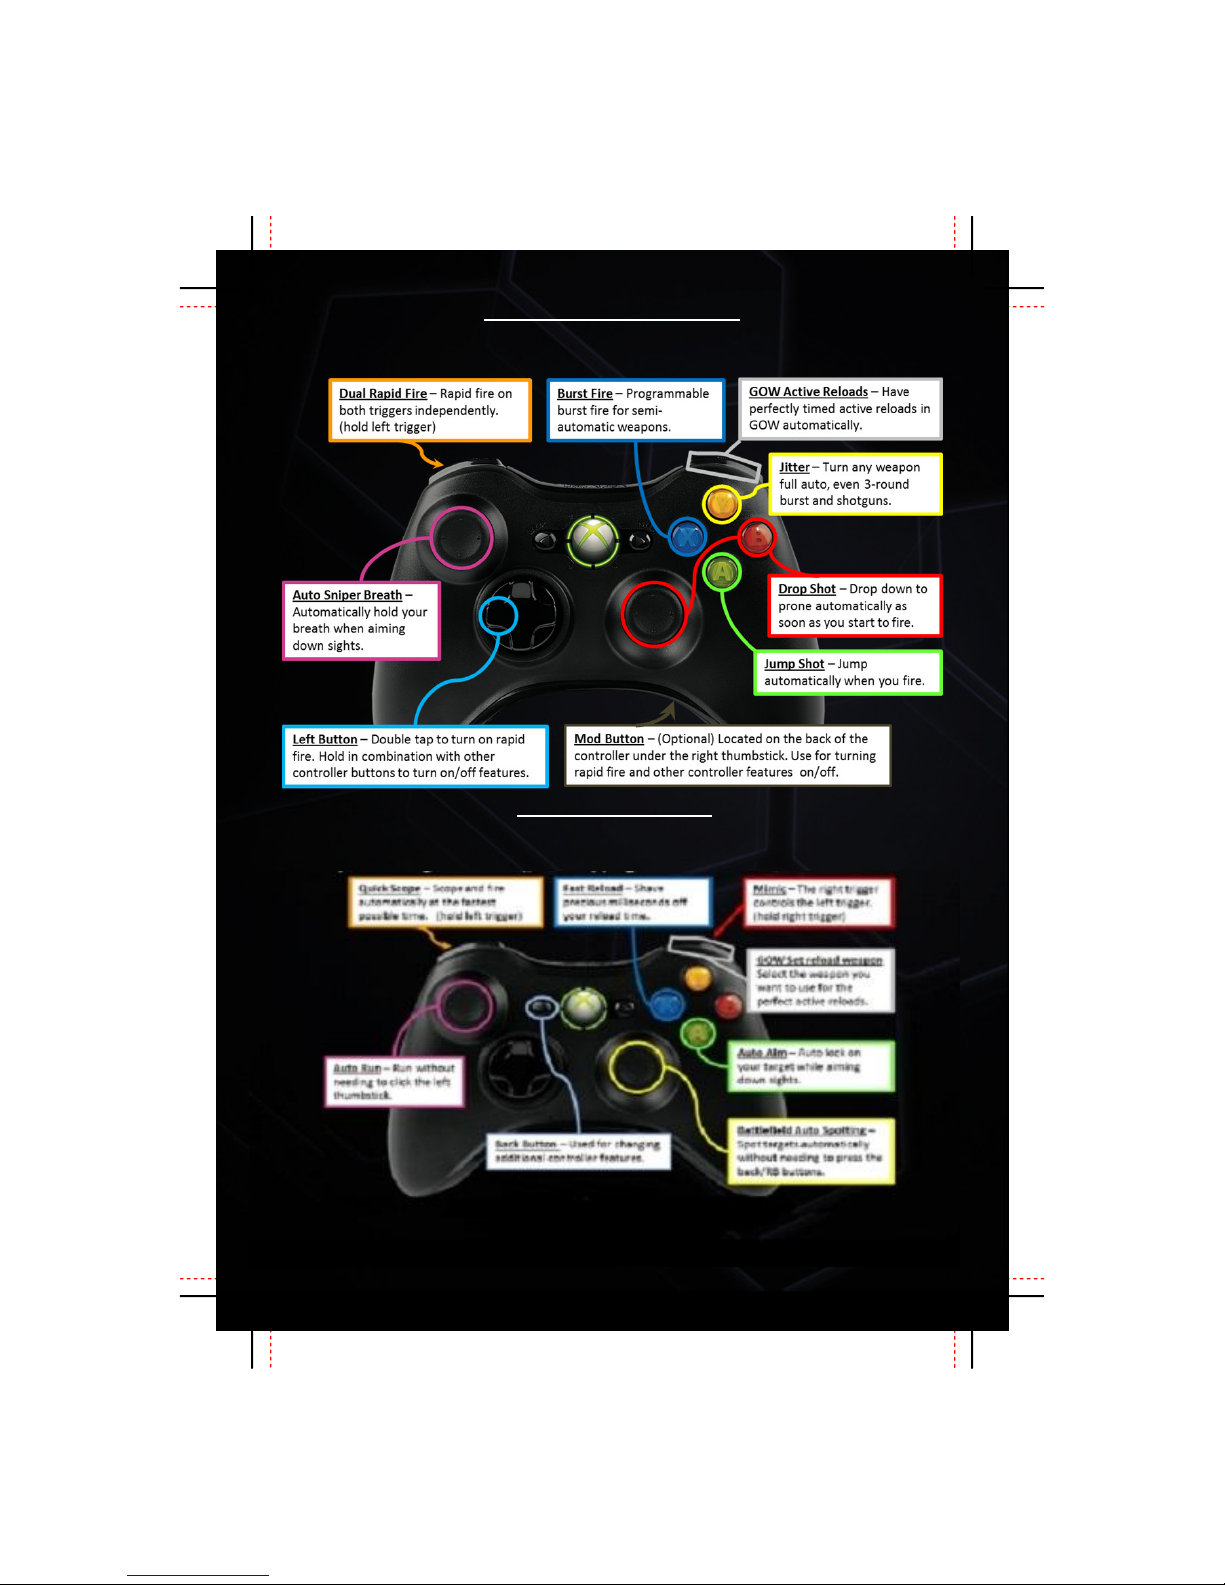
The following functions are controlled by holding the indicated controller button
and then tapping the mod button on the back of the controller.
Back Button Functions
The following functions are controlled by holding the controllers “Back” button
(left of the guide button), then tapping the indicated controller button
www.GENIUSMODS.COM
 Loading...