

Page 1
USER MANUAL
215 RUTGERS ST ! FLOOR 2 ! MAPLEWOOD, NJ 07040
RAPID FIRE | DUAL RAPID FIRE | BURST FIRE | 10 MODE
Page 2

PAGE 1
CONTENTS
RAPID FIRE
Turning on/off rapid fire is very easy to do. This controller is
capable of rapid fire on both the right trigger and the left trigger.
To turn on/off rapid fire on the right trigger, first hold the right
trigger in all the way. Then, tap the sync button while still holding
the right trigger in. You will see the Player 4 LED blink to indicate
that rapid fire on the right trigger has been enabled. To turn rapid
fire off, repeat the process used to turn it on. To turn on rapid fire
on the left trigger, follow the same steps except hold the left
trigger instead of the right trigger. When left trigger rapid fire is
enabled, you will see the Player 3 LED light remain lit.
BURST FIRE
When rapid fire is enabled (the Player 4 LED is flashing), you can
switch to burst fire. To do so, hold the right thumbstick to the
RIGHT, and tap the sync button. The Player 4 LED will remain solid
to indicate burst fire is enabled. To switch back to rapid fire, hold
the right thumbstick to the LEFT. The Player 4 LED will flash to
indicate raid fire is enabled.
PAGE 1: Rapid Fire, Dual Rapid Fire, and Burst Fire
PAGE 2: How to Change Modes
PAGE 3: Programming the Rapid Fire
PAGE 4: Programming the Rapid Fire Cont.
PAGE 5: 2012 – 2012 Selection
Page 3
PAGE 2
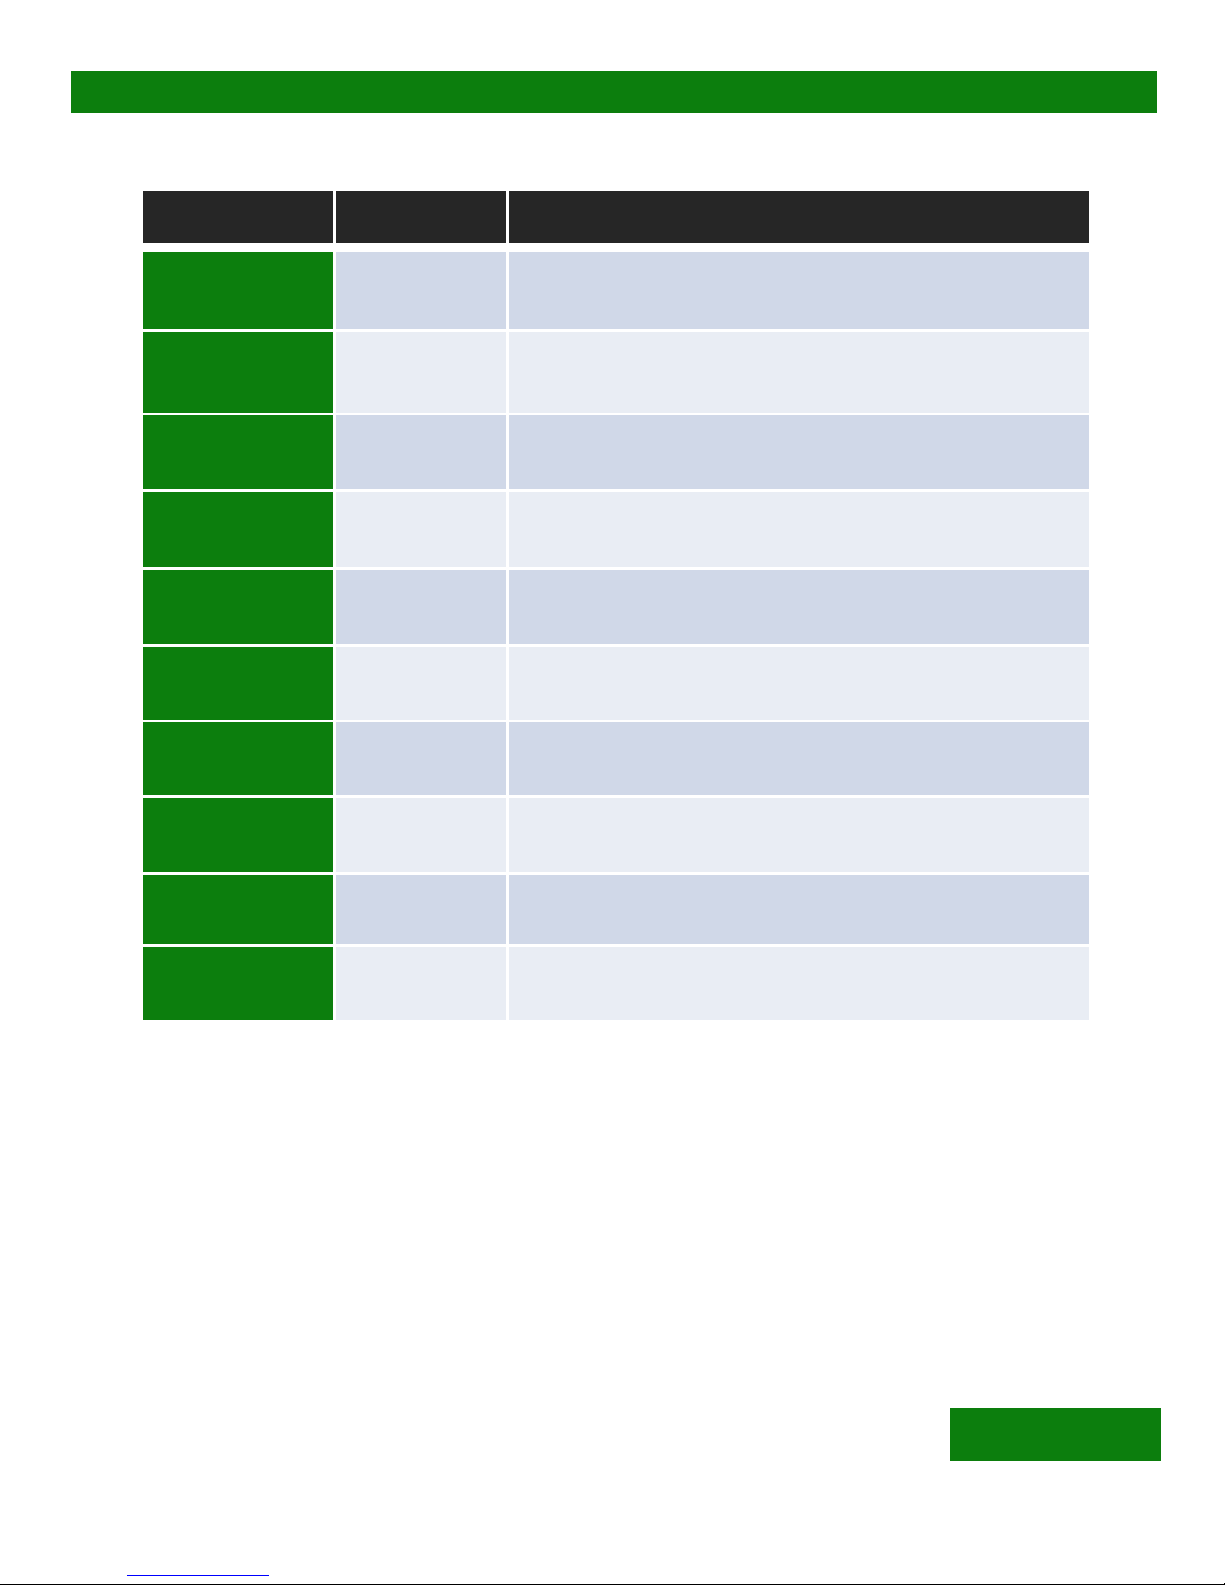
MODE SPEED COMPATIBLE GAMES
MODE 1:
8.33sps
Call of Duty (rifles), COD MW2, MW3, Black
Ops, COD 4
MODE 2:
11.35sps
Call of Duty (pistols), COD MW2, MW3,
Black Ops, COD 4
MODE 3:
20sps
All Halo series
MODE 4:
6.85sps
GOW 2/3 (hammerburst)
MODE 5:
8sps
GOW 2/3 (Pistols)
MODE 6:
16.67sps
Black Ops II, GTA 4
MODE 7:
10sps
COD World at War (Fast)
MODE 8:
15sps
Black Ops II, COD World at War (slow)
MODE 9:
20sps
General (20sps)
MODE 10:
25sps
General (25sps)
MODE AND DEFAULT SPEED CHART
CHANGING MODES
When using this controller, it is important to set the proper mode
of rapid fire. If you are not in the correct mode, rapid fire will not
function properly. This controller features 10 modes of rapid fire.
To cycle through the modes, simply tap the sync button. Upon
tapping the sync button, you will see the Player 3 & Player 4 LEDs
blink. The number of times the LEDs blink is equal to the mode you
are in (i.e. – if the LEDs blink 3 times, you are in Mode 3, for Halo).
Page 4

NOTE: Most users will not have any need to program the controller. This
can be a difficult task, and is not recommended for casual users.
ENTER/EXIT THE PROGRAMMING MODE
To enter or exit the programming mode, hold the right trigger, left
trigger, and sync button at the same time. Keep holding all three
buttons for 5 seconds. You will see the Player 3 and 4 LEDs stay
lit for 2 seconds then turn off. This indicates that you have
entered/exited the programmable mode.
!
CHANGE RAPID FIRE SPEED
To adjust the rapid fire, you will need to move the right thumbstick
to the left and right. Moving the right thumbstick to the left
decreases the speed, and moving it to the right increases the
speed. The player 4 LED will flash every time you press the right
rigger and the player 3 LED will flash every time you press the left
trigger to indicate you have made a change. Once you have
reached the MIN or MAX speed the LED will no longer flash.
!
CHECK RAPID FIRE SPEED SETTING
To check the currently set rapid fire speed, tap the sync button.
The player 3 Led will flash the “tens” and position and the player 4
will then flash the single digit. (example. Player 3 flashes 3 times,
followed by the player 4 flashing 6 times, you are now at speed
setting 36) Refer to the table on the next page for all of the speed
settings.
PAGE 3
PROGRAMMING THE RAPID FIRE
Each Rapid fire Mode can be Programmed to one of 50 different speed inbetween 4 shots per second and 50 shots per second. You can also set
the Burst fire for each mode from 2 – 10 shots per burst.
!
Page 5
CHANGE BURST FIRE QUANTITY
To change the number of shots fired with burst fire, follow the
same steps as “Change Rapid Fire Speed”, except keep the right
trigger held in throughout the entire process
!
CHECK BURST FIRE SETTING
To check the currently set burst fire setting you must HOLD the
right trigger and tap the sync button The player 4 Led will flash
2-10 times to indicate the number of shots set for the burst fire.
RESET CURRENT MODE TO DEFAULT SETTINGS
To reset the Rapid fire mode you are currently editing to the
factory default you must hold the left trigger for 7 seconds. After
7 seconds the player 3 and 4 LED’s will both flash very fast for 2
seconds and the Programming mode will automatically be exited
with the default settings saved. This will set the default speed and
burst fire setting for the current mode only.
PAGE 4
PROGRAMMING THE RAPID FIRE Cont.
Page 6
PAGE 5
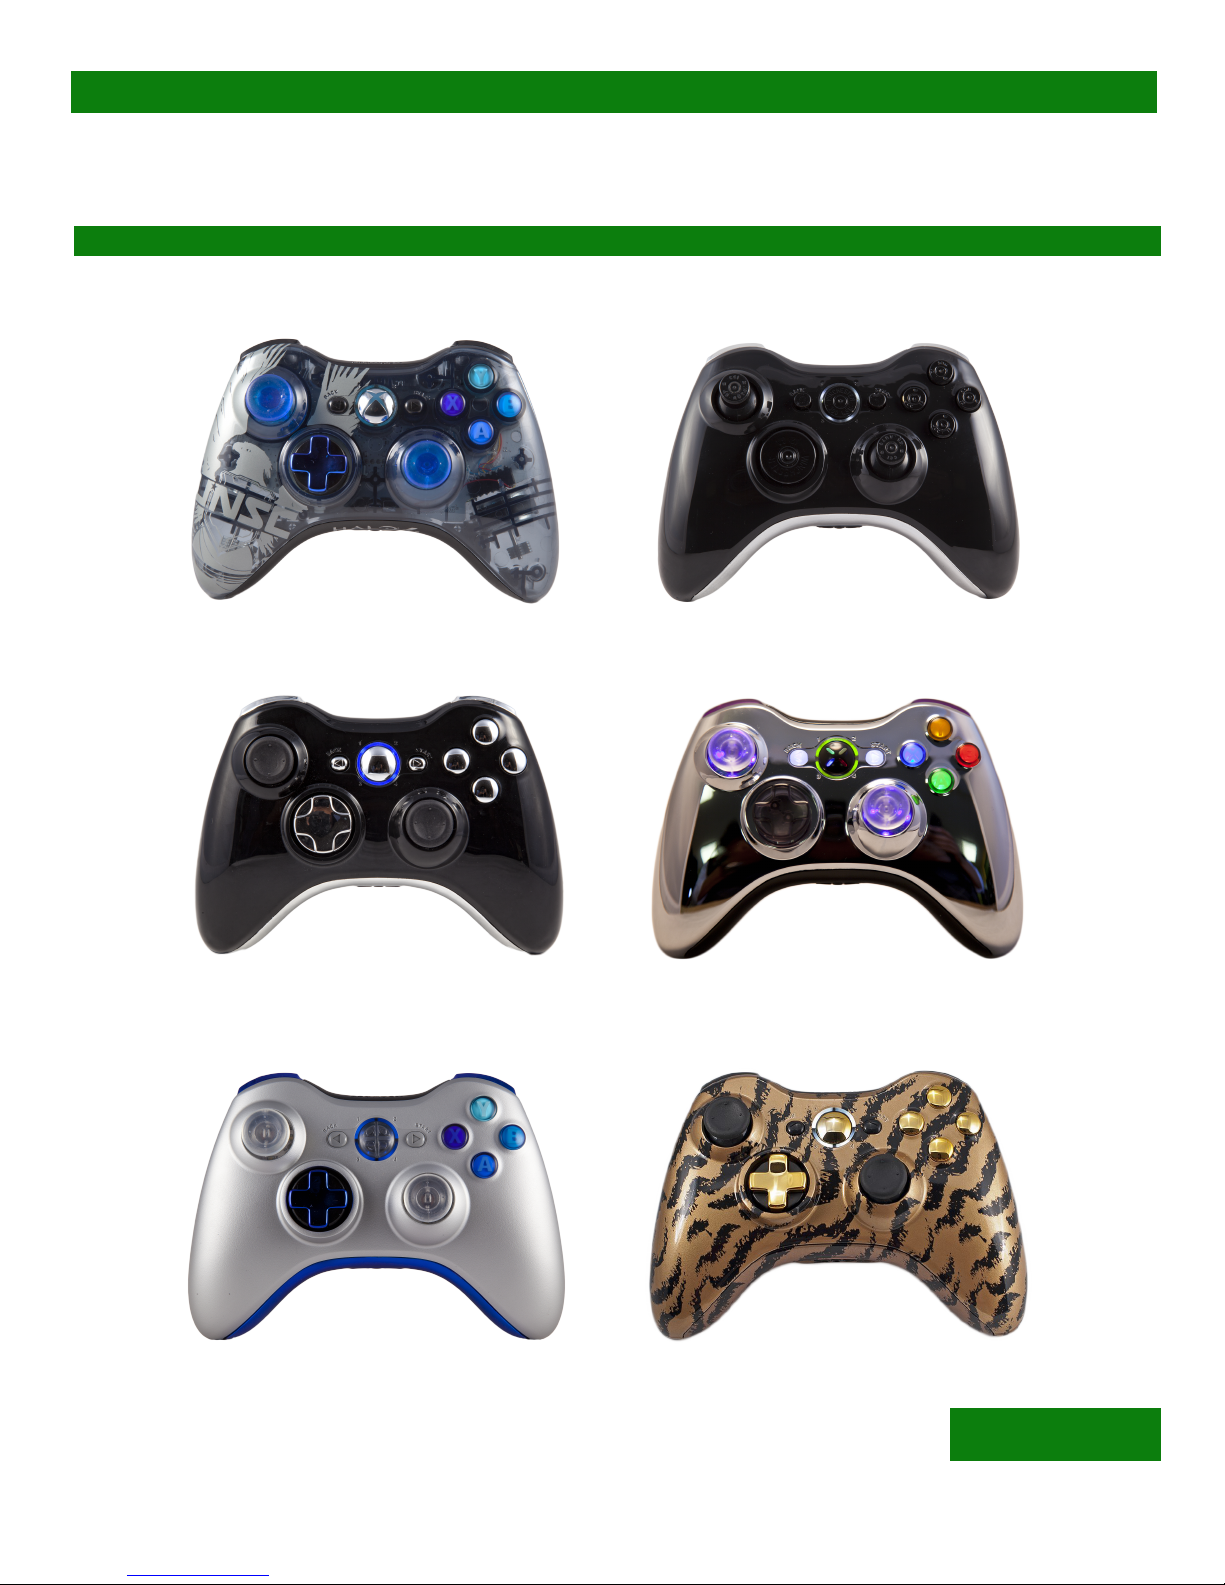
2012 - 2013 SELECTIONS
Page 7

PAGE 6
THANK YOU
Thank you for purchasing one of our custom Xbox 360 GM - PRO
controllers. We appreciate your business and work hard to
provide excellent customer experience. If you have any questions
about your new controller please contact us at
[email protected], and by phone at 1-800-280-4032.
SOCIAL MEDIA
Like us FACEBOOK [facebook.com/GENIUSMODS], and follow us
on TWITTER [@GENIUSMODS] for updates on monthly contests
and giveaways.
TUTORIALS
For video tutorials and FAQs, visit our website at
www.GENIUSMODS.com
www.youtube.com/GENIUSMODS360
Page 8
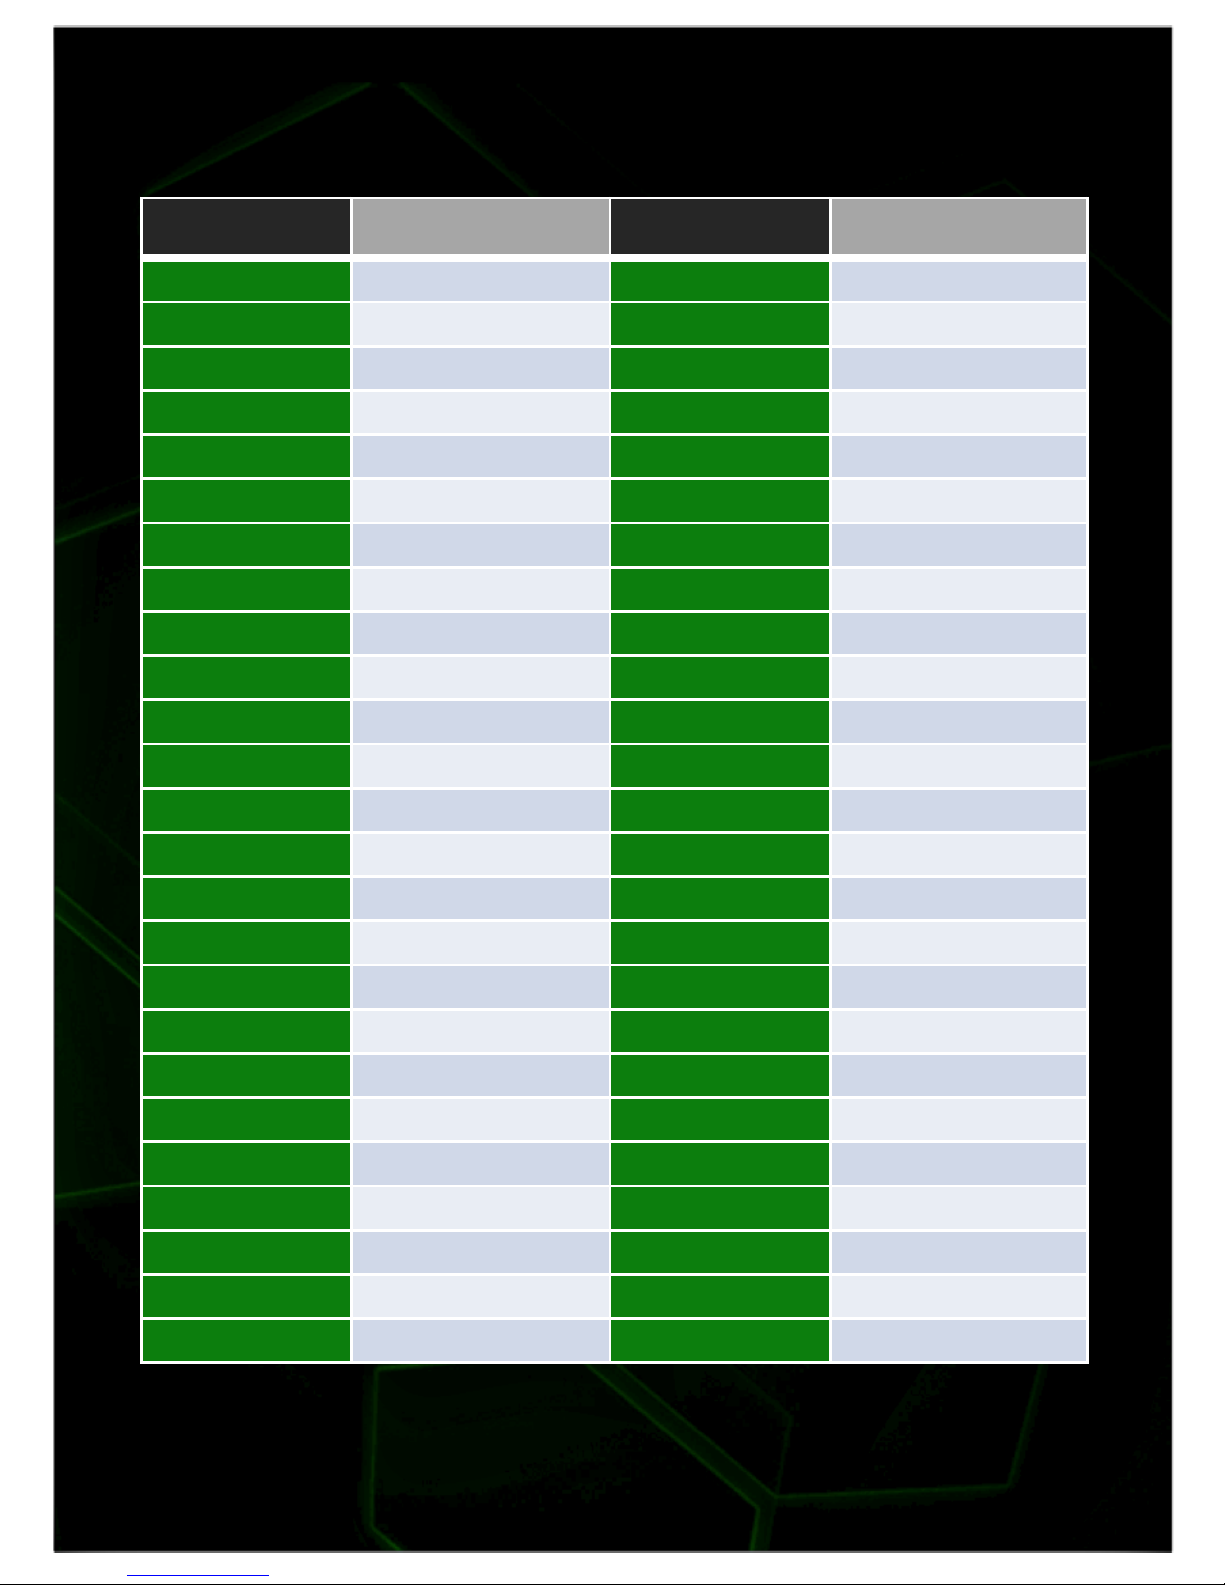
RAPID FIRE SPEED SETTINGS TABLE
WWW.GENIUSMODS.COM
SPEED SETTING SHOTS PER SECOND SPEED SETTING SHOTS PER SECOND
1 50 26 13.89
2 45.5 27 13.51
3 41.7 28 13.16
4 38.4 29 12.5
5 35.7 30 12.2
6 33.3 31 11.91
7 31.25 32 11.63
8 29.4 33 11.42
9 27.8 34 11.11
10 26.3 35 10.64
11 25 36 10.3
12 23.91 37 10
13 22.73 38 9.8
14 21.74 39 9.62
15 20.83 40 9.36
16 20 41 9.09
17 19.23 42 8.62
18 18.52 43 8.33
19 17.86 44 8.2
20 17.24 45 8
21 16.67 46 7
22 16.13 47 6.67
23 15.63 48 6
24 15.15 49 5
25 14.71 50 4
 Loading...