

Page 1
Media Pointer E540
User’s Manual
Page 2

ENGLISH
INDEX
1. Introduction……………………………………………...……………3
2. Features…………..…………………………………………………...4
3. Package contents………………………………………………...……5
4. System Requirements.....…………………………...…………………5
5. Mode Feature………….………….………………………………..…5
6. Installation and Operation……..…...………………………..…….….6
7. Light Signal………………………………………………….………20
8. Function Description………...……………….……………………...21
9. Functions in Microsoft® Office……….….………….……….……..24
10. Functions in OpenOffice………...........….…………..……….……..26
11. Troubleshooting………………………..…………….…..…….…….28
1
Page 3
ENGLISH
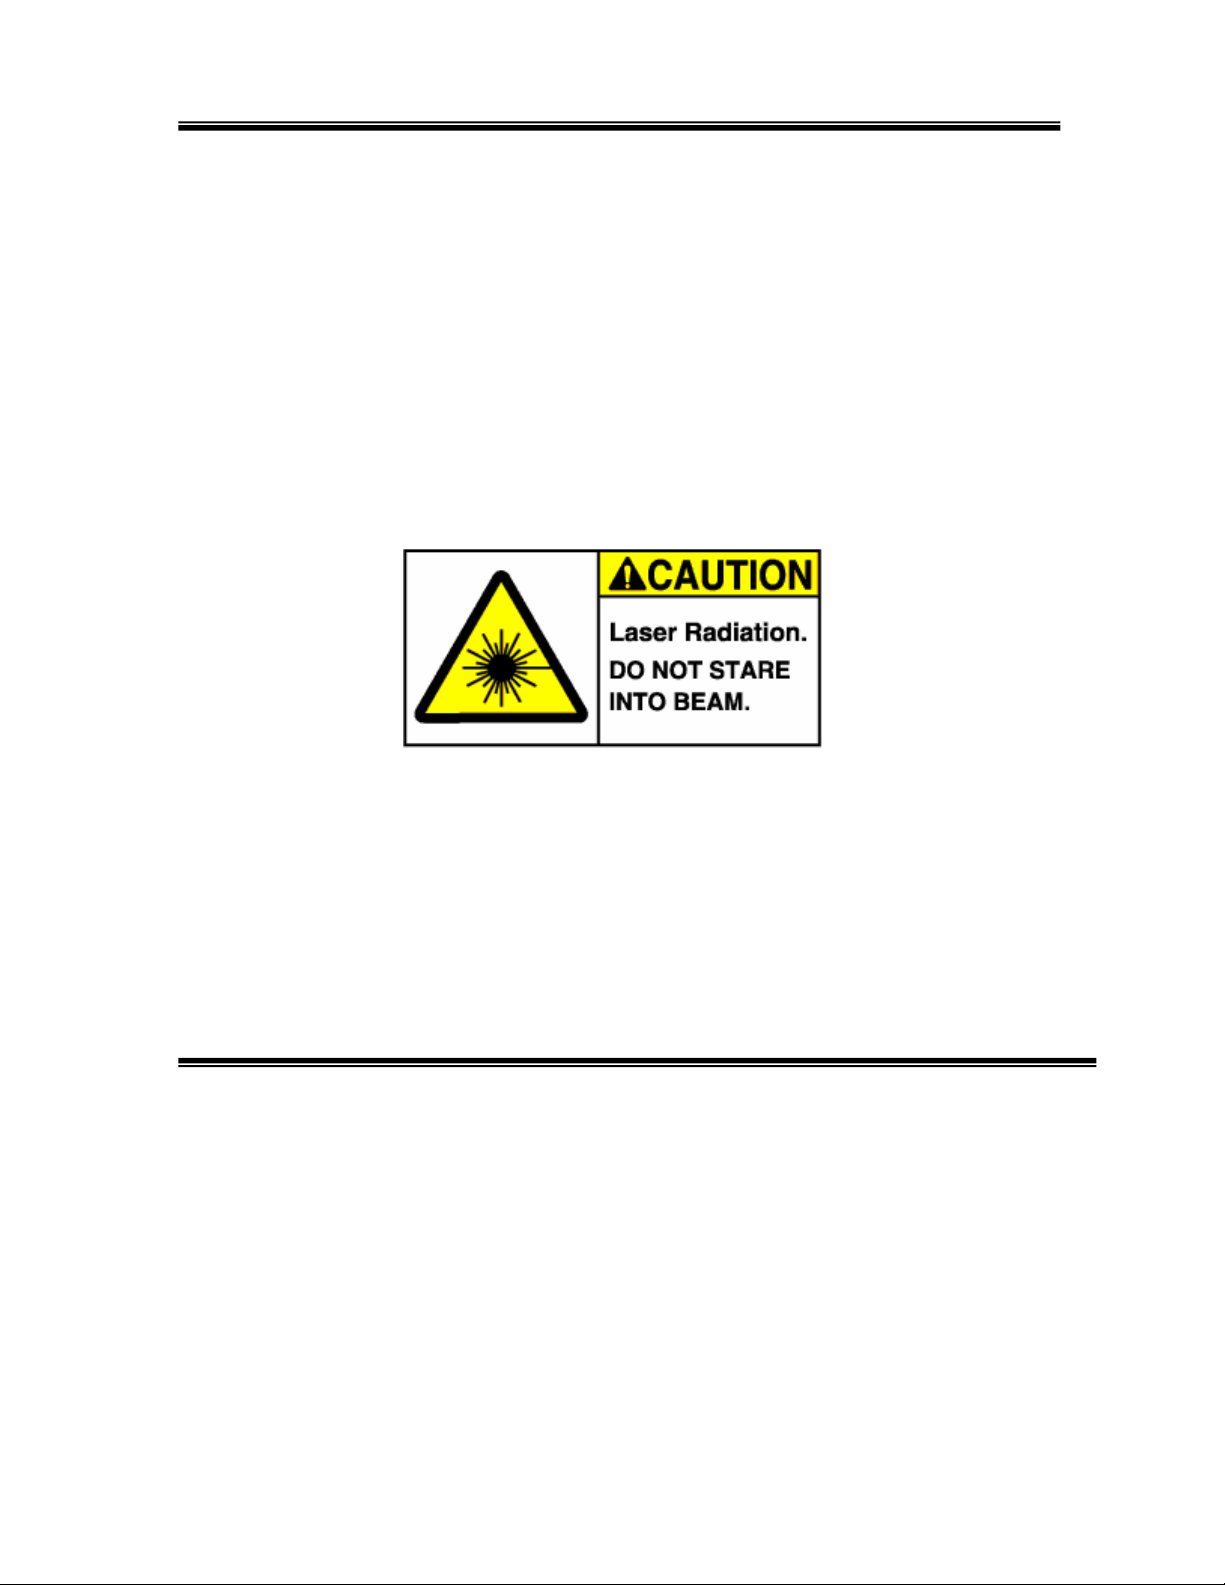
!!! Attention!!!
Do not allow minors to use the laser pointer unsupervised. Laser
pointers are not toys.
Avoid direct eye exposure.
Never shine the laser pointer at anyone. The laser pointer is
designed to illustrate inanimate objects.
Do not point the laser pointer at mirror-like surfaces. A reflected
beam can act like a direct beam on the eye.
2
Page 4

ENGLISH
Introduction:
This Presenter is more than an ordinary presenter. Its stylish shape
makes it more like an art piece to enhance your experience and
enjoyment.
RF wireless technology makes this Presenter transmit data up to 60 feet
(20 meters). Conveniently placed page up and page down buttons help
you page through slides effortlessly.
With its omni-directional feature, you can confidently conduct business
meetings, hold conference meetings, and give teaching lessons.
The Presentation hotkey is conveniently placed so you can open
PPT/PPS/PDF/OPD/ABW files. The Laser pointer keeps your audience’s
attention.
3
Page 5

ENGLISH
Features:
1. Innovative design and omni-directional Presenter for delivering perfect
presentations
2. Simple pairing design
3. Presentation hotkey allows you to open PPT/PPS/PDF/OPD/ABW
files conveniently
4. Laser pointer helps you keep your audience’s attention.
5. Works with bundled software
6. User-friendly interface is easy to use
4
Page 6

Package contents: System Requirements:
ENGLISH
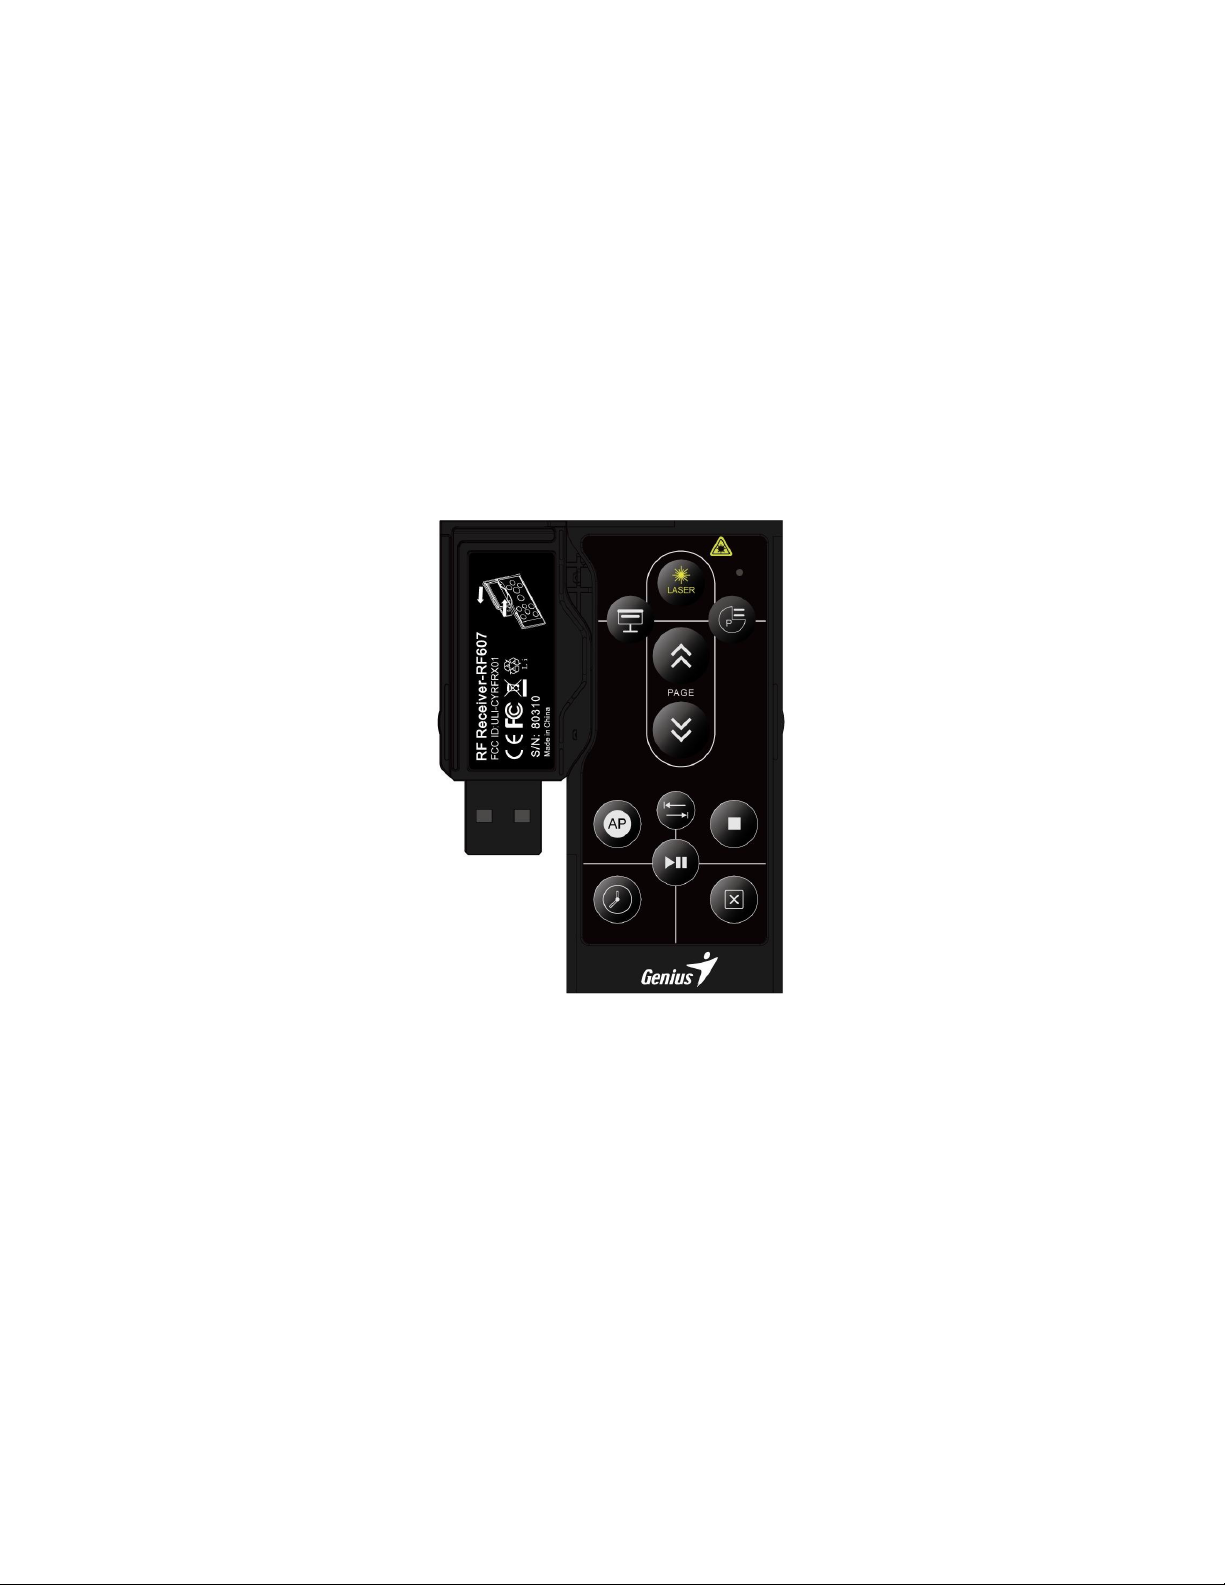
Presenter
USB type RF Dongle
Value Software CD-ROM
CR2032 battery
Multi-language user’s
manual on CD
Microsoft® Windows® Win2000, XP,
Vista.
512MB RAM recommended.
CD-ROM drive or DVD-ROM drive.
USB Port; PC platform
Mode Feature:
11 button Presenter
Use Cypress wireless solution.
RX side conforms to USB Specification Version 2.0
RX side conforms to USB HID Specification Version 1.1
TX side supports one LED indicator
RX side supports one LED indicator
Supports Laser pointer function
Use DC 3V power operation: CR 2032
Receiver with USB Port is easy to connect with your computer
RX side supports one low speed USB device
5
Page 7

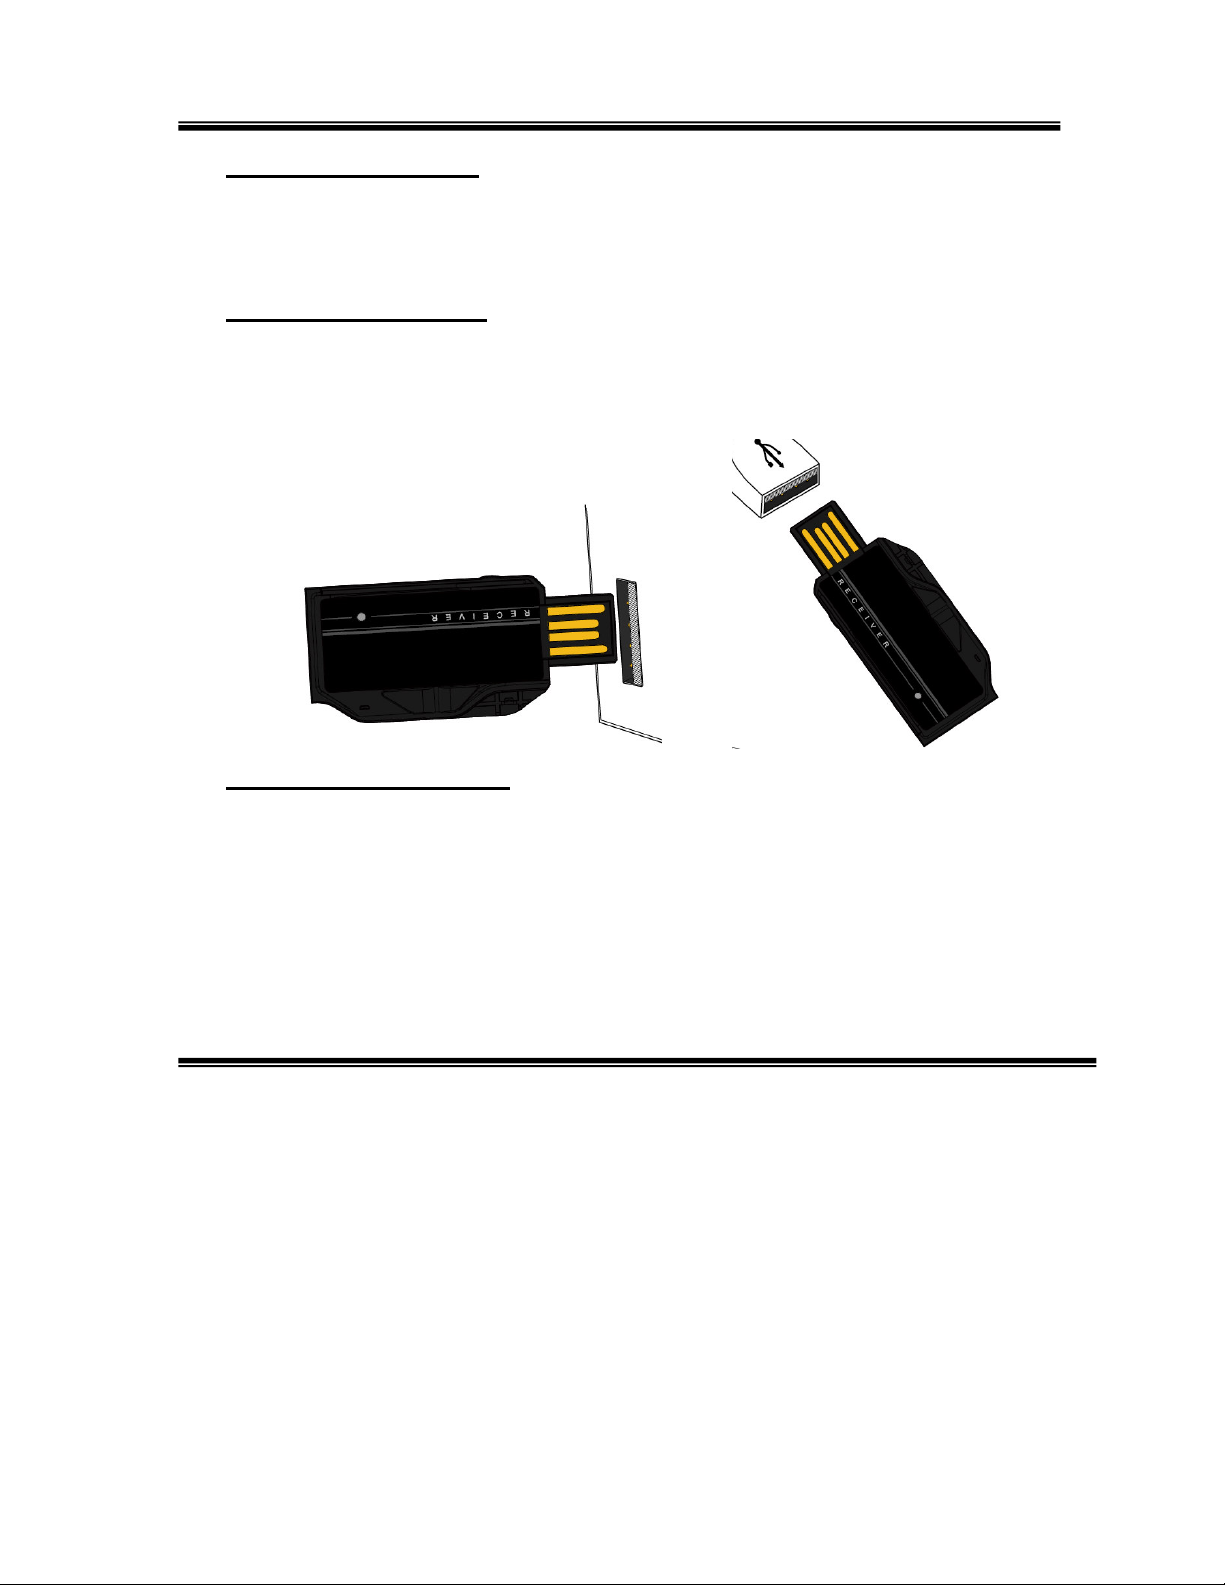
Installation and operation:
1. Separate presenter and receiver
Rotate the presenter and receiver
according to the arrow.
ENGLISH
Pull receiver away from presenter.
6
Separate presenter and receiver.
Page 8
ENGLISH
2. Installing the battery
Open the battery cover of the presenter and put in the coin type lithium
battery (CR2032).
3. Installing the receiver
Plug the receiver into the USB port of your computer with the golden
pins on top. The blue indicator on the Presenter will flash if you press a
key and the receiver is inserted in the correct direction.
4. Installing the CD-ROM
Insert the autorun CD-ROM and the “Media Pointer E540 Remote
Master” installation will start automatically.
7
Page 9
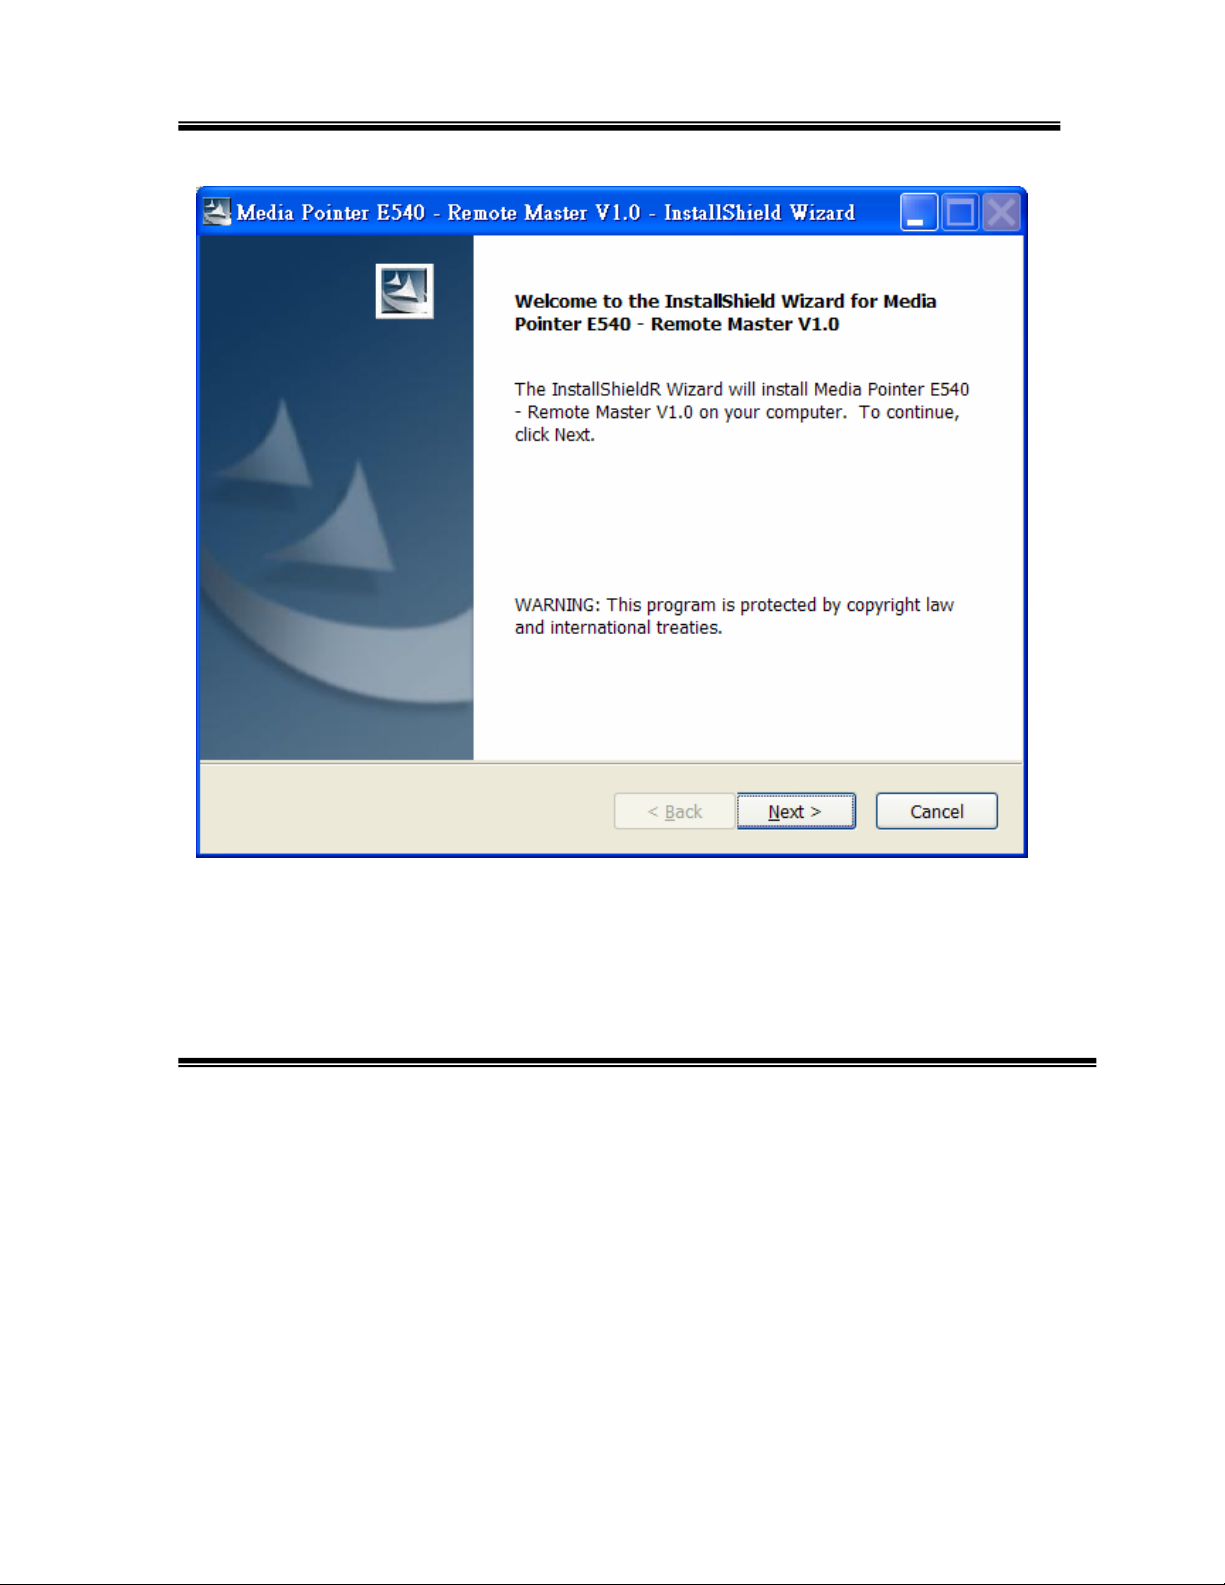
XP Installation
ENGLISH
8
Page 10

ENGLISH
9
Page 11

ENGLISH
10
Page 12

ENGLISH
11
Page 13

Vista Installation
ENGLISH
12
Page 14

ENGLISH
13
Page 15

ENGLISH
14
Page 16

ENGLISH
15
Page 17

ENGLISH
After installation, “Media Pointer E540 Remote Master” icon will appear
in the system tray of Windows in the default setting. When the USB
dongle is plugged-in, it shows a green icon . Otherwise, it shows a
red icon . Always execute the Launch Manager first before you use
Presenter for a presentation.
16
Page 18

ENGLISH
If you want to cancel the autorun setting of “Media Pointer E540 Remote
Master” in Windows startup, right-click on the “Media Pointer E540 Remote Master” icon in the system tray and switch to “Enable autorun on
startup” to “Disable autorun on startup”.
5. Other settings
5-1 Open the “Media Pointer E540 Remote Master” editor by
double-clicking on the icon of “Media Pointer E540 Remote Master”
in the system tray. Click “Browse” button to select the file that you
want to present (maximum three files), and press OK button. Or click
“Clear” button to reset the file link set previously.
17
Page 19

ENGLISH
5-2 Right-click on the icon of “Media Pointer E540 Remote Master” in
the system tray, then you select these functions: “Open Editor”,
“Autorun on startup”, “Clock”, “Press Stop Button to Stop Timer”,
“Start Timer” and “Exit” operation.
6. Open your presentation file
Press to open the file(s) which you selected using the “Remote
Maser”. If you can open the file(s) successfully, the receiver and presenter
are paired.
Ps. If you select three files using “Media Pointer E540 Remote Master”,
pressing will open the three files at the same time.
18
Page 20

ENGLISH
7. How to re-pair the presenter
If you cannot perform the previous step successfully, you need to
re-pair the presenter. Keep pressing and for about three
seconds and the blue indicator will flash. Then release the buttons
when you see the indicator flashing.
8. Operation without installing “Media Pointer E540 Remote
Master”
After installing the receiver, there are six buttons that work normally:
Laser Pointer
Page Up
Page Down
Start Presentation/Blank Screen (See “Function Description”
point 3)
Tap
Shut Down
19
Page 21

ENGLISH
LED Signal:
− Pairing
− -If the pairing is successful, the indicated LED of the presenter and
receiver will both light and then turn off.
− -If the pairing has failed, the indicated LED of the presenter would be
turned on for about three seconds and then off but the indicated LED
of the receiver is always off.
In use
- The indicated LED of presenter and receiver will both flash
slowly.
- The indicated LED of the presenter flashes quickly when
continuously pressing.
Re-pairing
− The indicated LED of the presenter and receiver will light for
about three seconds then flash quickly.
20
Page 22

Items
keep
N/A
N/A
screen mode, keep pressing
Note:
the selected page.
first page.
1
2
Function Description:
Icon Key Remark
Laser pointer
Start
PowerPoint
ENGLISH
Laser is locked in default. If you
pressing for about three
seconds, the laser would be unlocked
and it will lock if the idle longer than
30 minutes.
Open or close the selected (PPT/PDF,
etc., file.
A. Open the selected file.
B. In full-screen mode, pressing it
will leave full-screen mode
C. If you open the selected file not in
full-screen mode, press it to close
the file.
A. If you open the PPT/PDF file,
= Keyboard
F5 or B
Play
PowerPoint
3
21
press to be in full-screen
mode.
B. In full-
for about three seconds to
enter/exit the blank-screen.
If the PPT version is later than 2003,
it will be in full-screen for
Otherwise, it will be in full-screen for the
Page 23

4
the
N/A
file when you insert
and then
When pressing , the clock will
Clock
start to count and be displayed on
screen. You can click to hide
OSD or click it again to display it.
Page up Move forward your slides.
ENGLISH
Pg UP
5
6
7
8
Page down Move backward your slides
It works in a PPT
audio, video or a website link. Press
Tab
to select the inserted file
press to play it.
1. It can Play or Pause a media file
when the active window is Media
Player.
Play/Pause
Pg Dn
Tab
Ctrl + P
22
Page 24

2. It becomes the OK key when
using
to
application
PowerPoint or when using
switch to a different application.
Stop Stop the media file.
ENGLISH
Ctrl + S
9
10
11
Switch AP
Shut Down
You can switch the current
to another if it is opened already.
Click to go to the application
you selected.
1. Shut down the current application.
2. Shut down the clock
Alt + Tab
Alt + F4
23
Page 25

Functions in Microsoft® Office:
ENGLISH
Items
1
2
3
4
Icon Key Word Excel PowerPoint
Laser
Laser
Laser
Laser pointer
pointer
pointer
pointer
Start
PowerPoint
Start
PowerPoint
Start
PowerPoint
Start
PowerPoint
No
No
Play
Play PowerPoint
full-screen
full-screen
PowerPoint
mode
mode
Clock Clock Clock Clock
Page up Page up Page up Page up
5
Page down Page down Page down Page down
6
24
Page 26

ENGLISH
Tab Input Tab Select grid Select item
10
11
7
8
9999
Play/Pause Input Enter Input Enter Input Enter
Stop _ _ _
Switch AP Switch AP Switch AP Switch AP
Shut Down Shut Down Shut Down Shut Down
25
Page 27

Functions in OpenOffice:
ENGLISH
Item
1
2
3
4
Icon Key Writer Calc Impress
Laser
Laser
Laser
Laser pointer
pointer
pointer
pointer
Start
PowerPoint
Start
PowerPoint
Start
PowerPoint
Start
PowerPoint
No
No
Play
Play PowerPoint
full-screen
full-screen
PowerPoint
mode
mode
Clock Clock Clock Clock
Page up Page up Page up Page up
5
Page down Page down Page down Page down
6
26
Page 28

ENGLISH
Tab Input Tab Select grid Select item
10
11
7
8
9999
Play/Pause Input Enter Input Enter Input Enter
Stop _ _ _
Switch AP Switch AP Switch AP Switch AP
Shut Down Shut Down Shut Down Shut Down
27
Page 29

Troubleshooting:
Problem Analysis Solution
The Presenter
doesn’t work.
No battery, battery died, or
incorrect battery installation.
Check battery and its installation.
(The rechargeable battery is not
acceptable)
The pairing failed.
Incorrect Presenter
Repair by following the fifth point
of “Installation and operation”.
installation.
Uninstall and re-install by
following the second point of
“Installation and operation”
The Presenter
acts irregularly.
The application isn’t active.
Activate the Presenter application
by following the fourth point of
The computer can’t research
“Installation and operation”.
the Presenter device
Anti-virus/anti-spy software
interference.
Repair the Presenter device by
following the fourth point of
“Installation and operation”.
Modify the setting of the
anti-virus/anti-spy software.
ENGLISH
Notes:
1. Activate the software before using the Presenter.
2. Do not use rechargeable batteries on this product.
28
 Loading...