

Page 1
Genus GEO -1
DAB Stereo Alarm Clock Radio
USER GUIDE
All rights Reserved
© 2005 Genus Digital
Genius Consultancy and Marketing Limited
Page 1/14
Page 2

Contents
1 Introduction to Genus GEO-1......................................................... 3
2 Safety Instructions – PLEASE READ CAREFULLY ............................... 4
2.1 Cleaning ..............................................................................................................4
2.2 Servicing..............................................................................................................4
3 Product Diagrams ........................................................................ 5
4 Getting Started ........................................................................... 6
4.1 Switching On for the First Time...............................................................................6
4.2 Auto Scan / Full Scan ............................................................................................6
4.3 No Stations Available.............................................................................................7
5 Using DAB Radio.......................................................................... 7
5.1 Finding & Selecting a Station..................................................................................7
5.2 Using Presets........................................................................................................7
5.3 Changing the Information on the Display .................................................................8
6 Menu Options.............................................................................. 9
6.1 Station Order........................................................................................................9
6.2 Manual Tune.......................................................................................................10
6.3 Dynamic Range Control........................................................................................10
6.4 Software Version.................................................................................................10
7 Clock & Alarm Functions ..............................................................11
7.1 Setting the Clock.................................................................................................11
7.2 Setting the Alarms ..............................................................................................11
7.3 To enable or disable a PRESET ALARM: ..................................................................12
7.4 To turn an ALARM OFF: ........................................................................................12
7.5 SNOOZE Function: ..............................................................................................12
7.6 SLEEP Function:..................................................................................................13
8 Performing a RESET ....................................................................13
9 Display......................................................................................14
9.1 Brightness Control...............................................................................................14
10 Technical Specification.................................................................14
11 Headphone Output......................................................................14
Page 2/14
Page 3
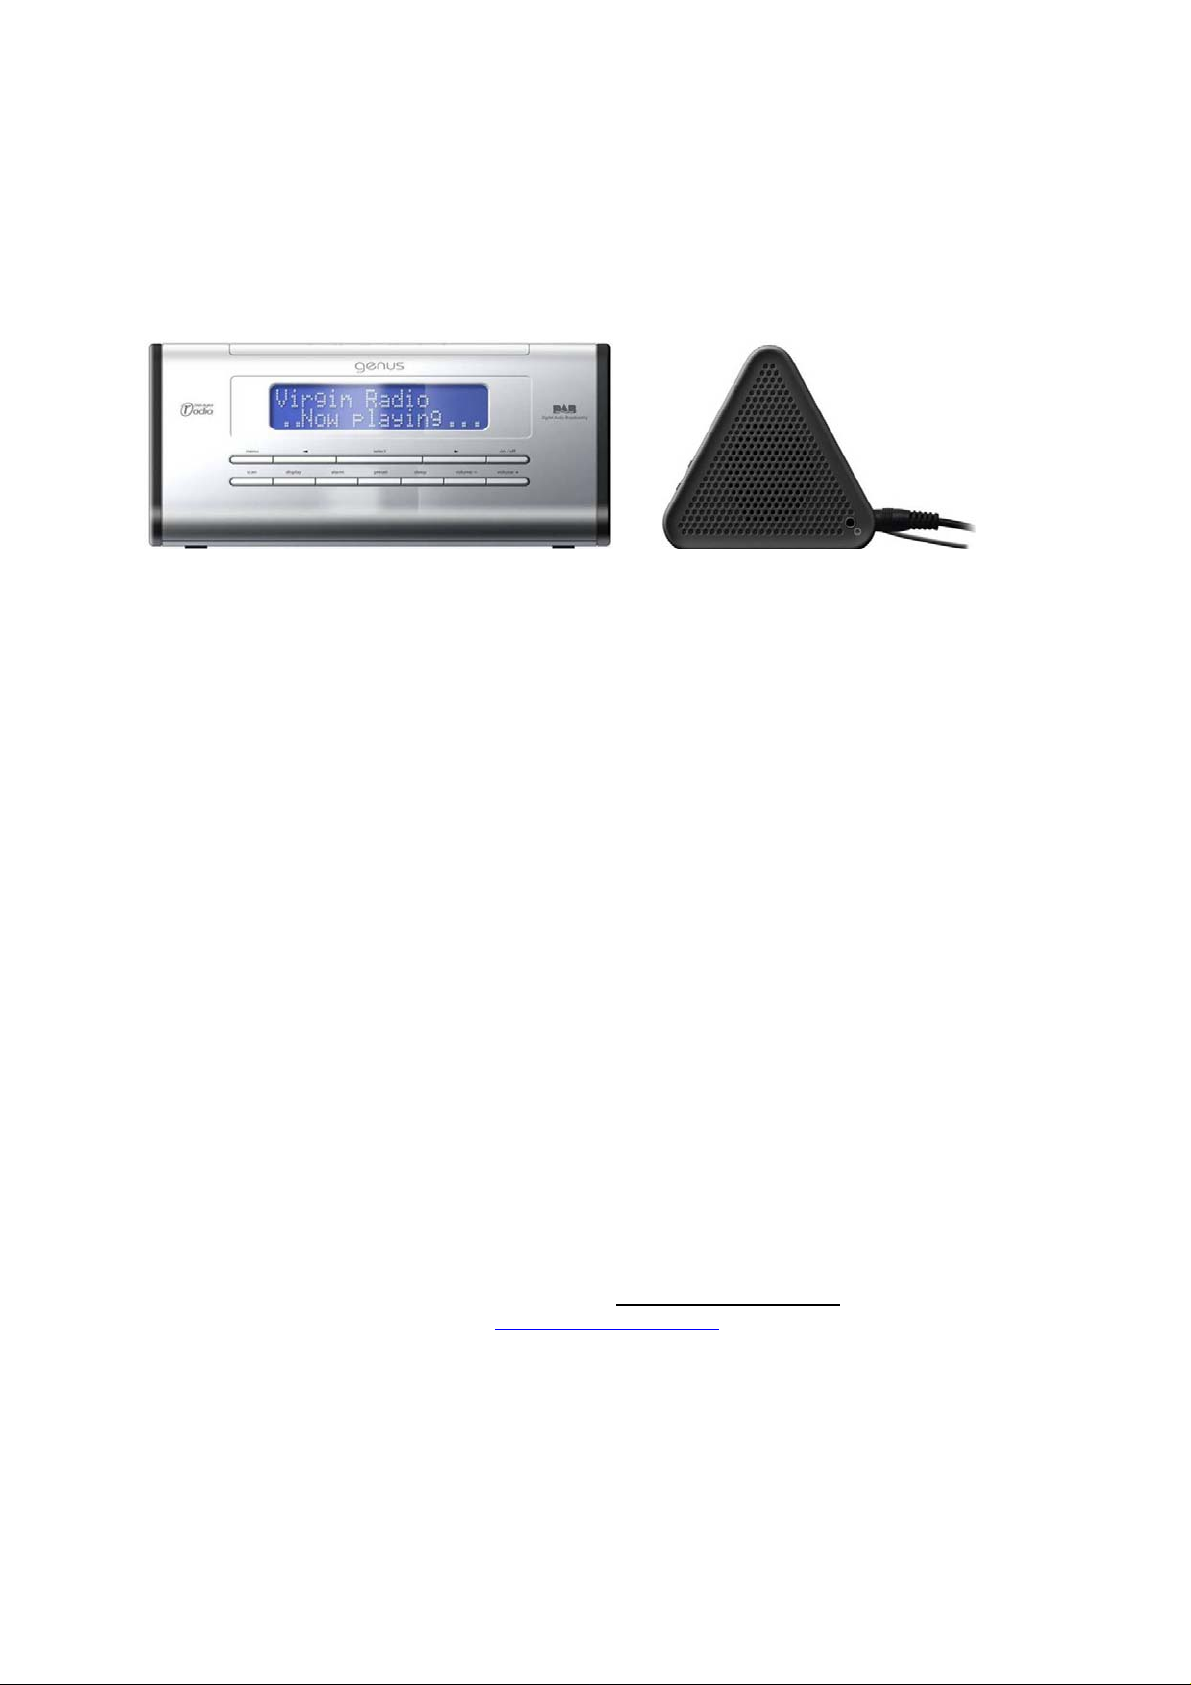
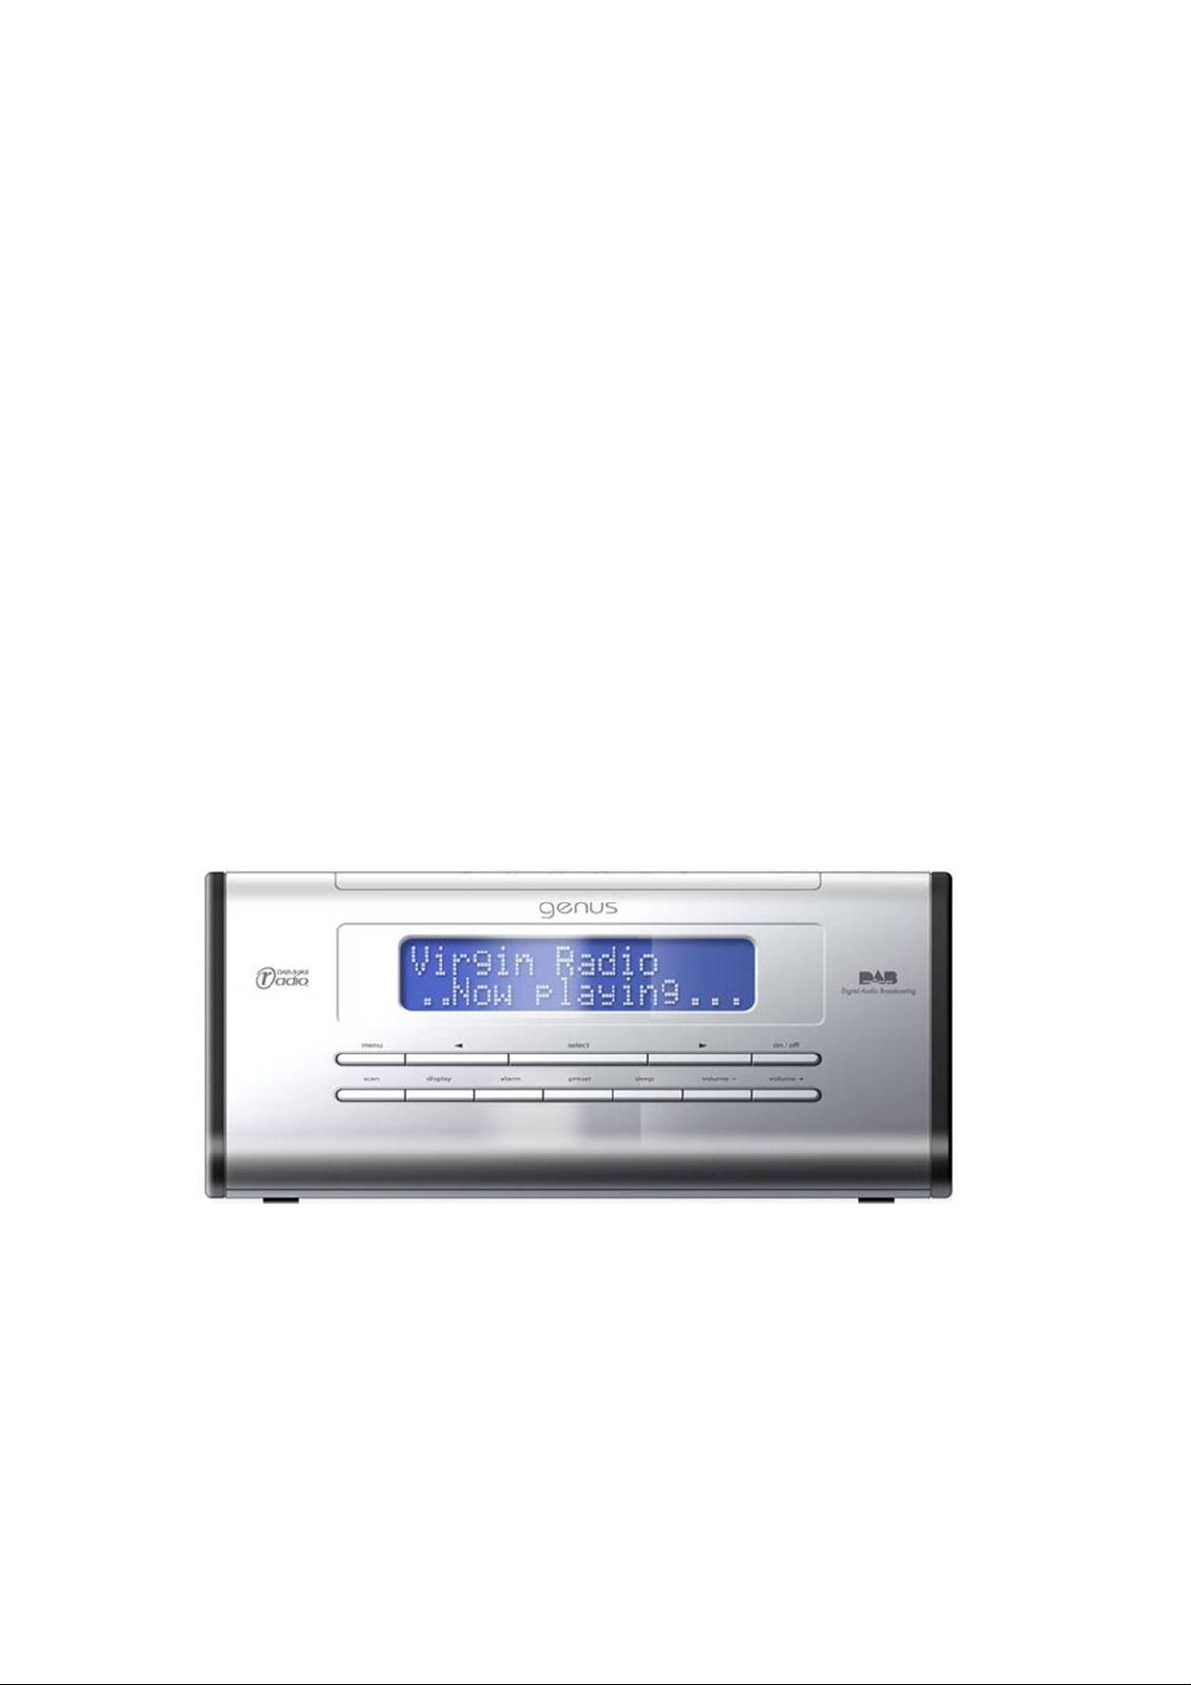
1 Introduction to Genus GEO-1
Thank you for choosing the Genus GEO-1 DAB Stereo Alarm Clock Radio.
The GEO 1 offers everything you would expect from an alarm clock radio plus
some useful extras such as setting the time and date automatically via the DAB
signal
.
Hand finished in machined aluminium, the stunning GEO is the perfect bedside
companion.
The GEO-1 offers the choice of waking up each morning to crystal clear DAB
radio in stereo sound or if you prefer, an alarm buzzer. The GEO 1 includes ‘once
only’ or ‘daily’ alarm settings and will store up to four different alarm times for
complete ease of use.
Genus aim to provid e our c ustom ers wit h well design ed, qua lit y product s th at you
will enjoy for many years to come but to achieve this we need your valued
feedback. Please feel free to contact us via our website with your comments
PLEASE READ THIS USER GUIDE IN FULL TO GET THE BEST OUT OF THE GEO-1. The user
guide contains all the information you require to use the product in the manner it
was intended. PLEASE RETAIN THIS USER GUIDE FOR FUTURE REFERENCE.
For any technical issues not covered by the user guide - full product support is
available at the end of a phone Monday – Friday (9.00am – 5.00pm) or at the
‘Frequently asked questions’ page of
about cus tomer supp o rt visit
www.genusdigital.com
www.genusdigital.com . For more info
Page 3/14
Page 4

2 Safety Instructions – PLEASE READ CAREFULLY
• DO NOT use your GEO-1 near water
• DO NOT allow your GEO-1 to get wet
• DO NOT use the GEO-1 near heat sources
• Ensure that cables are NOT positioned in a manner in which they may suffer
abrasion, be walked on or trapped.
• DO NOT remove any screws or open the casing of the product
• ONLY use the supplied power adapter
• DO NOT cover the ventilation slots on the GEO-1
• DO NOT place anything in the ventilation slots of the GEO-1
2.1 Cleaning
• UNPLUG your GEO-1 before you clean it
• DO NOT use a liquid or aerosol cleaner
• DO NOT use an abrasive cleaning product
• Clean your GEO-1 ONLY using a soft damp (not wet) cloth
2.2 Servicing
• DO NOT attempt to repair any part of your GEO-1
• Contact your dealer if you have any doubt or questions regarding the
installation or operation of your GEO-1
Page 4/14
Page 5
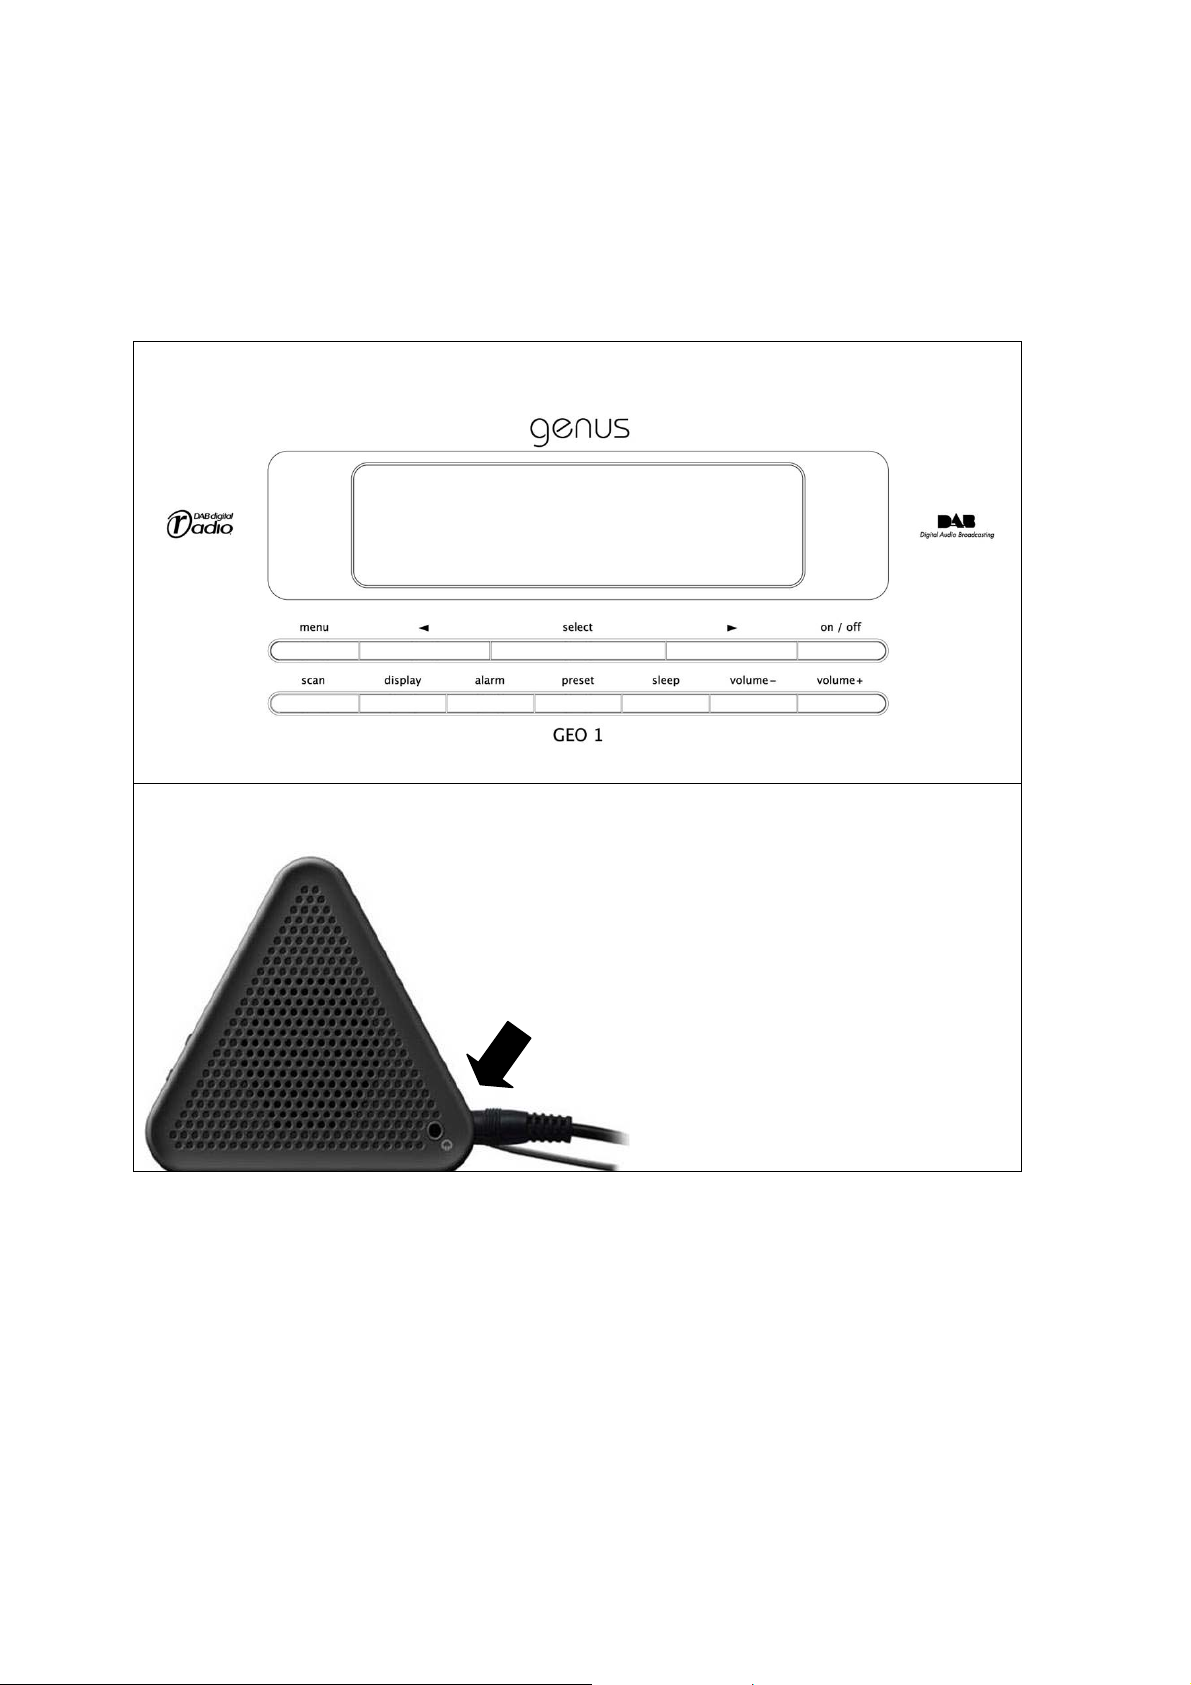
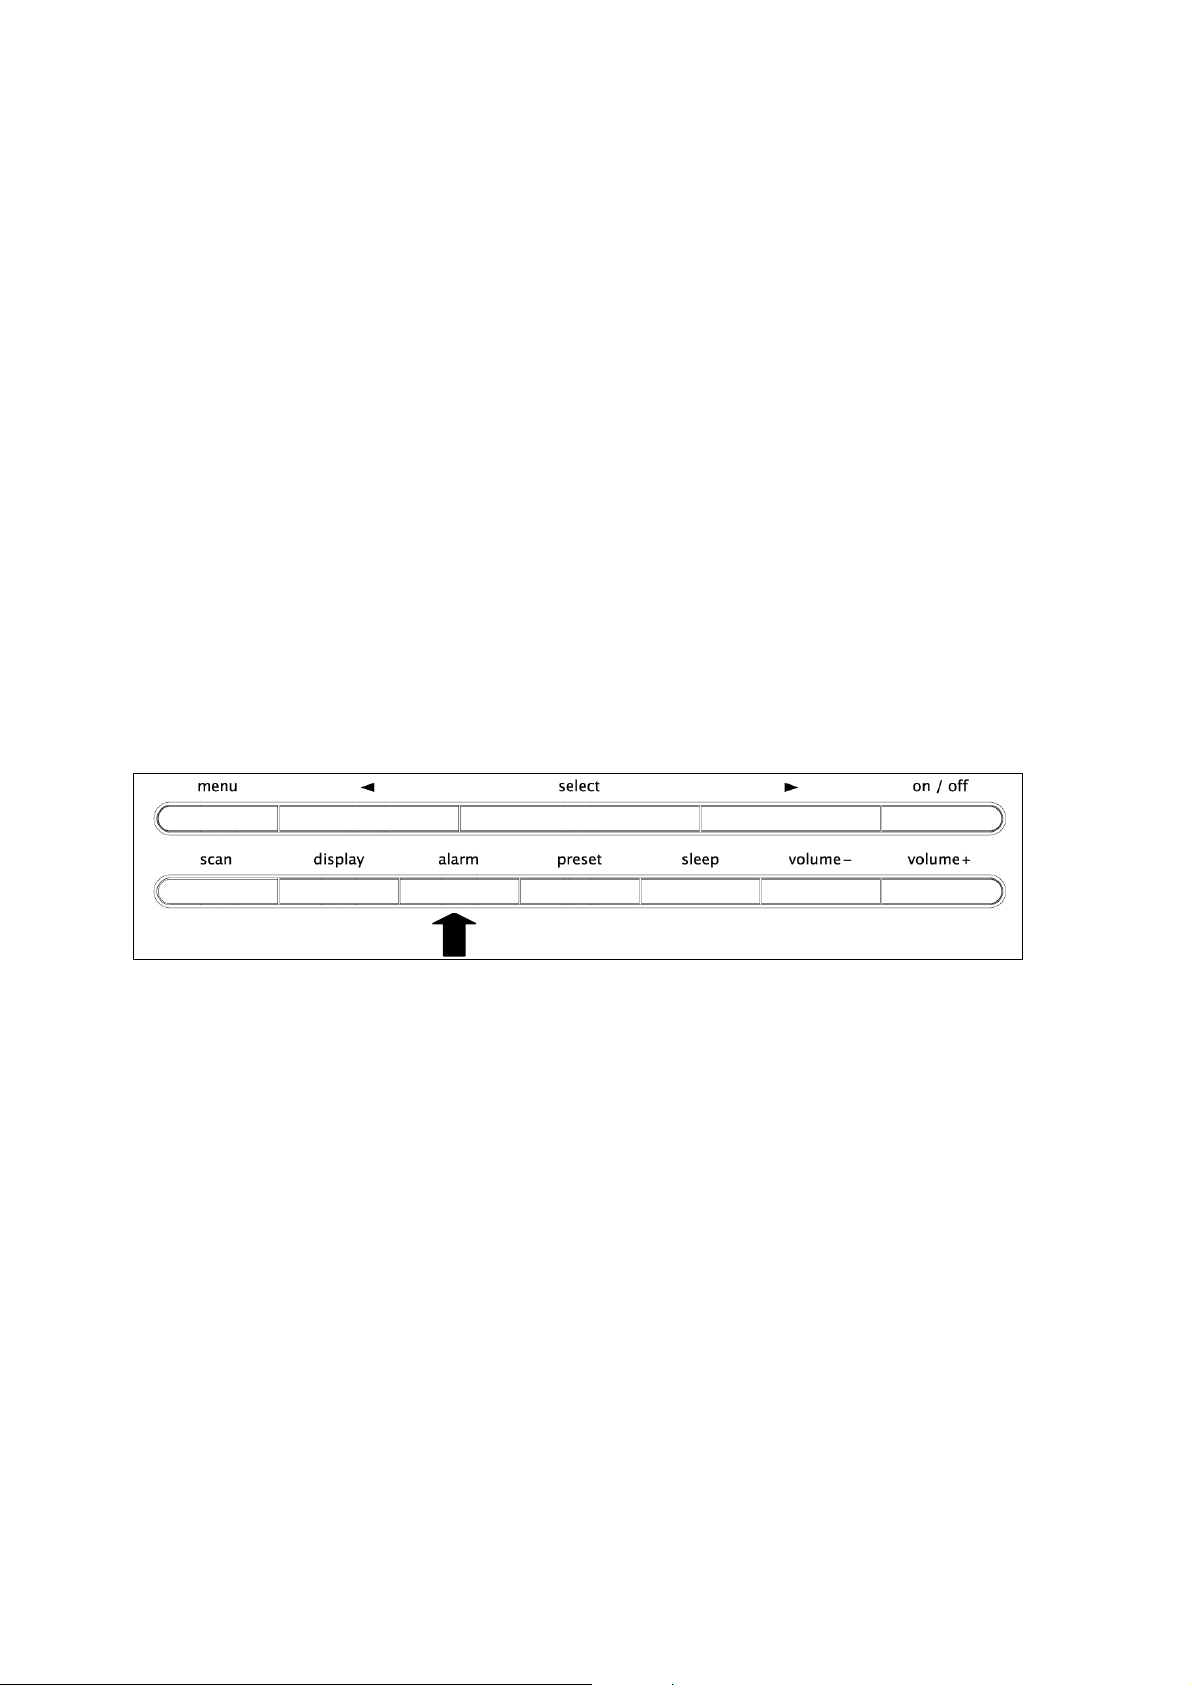
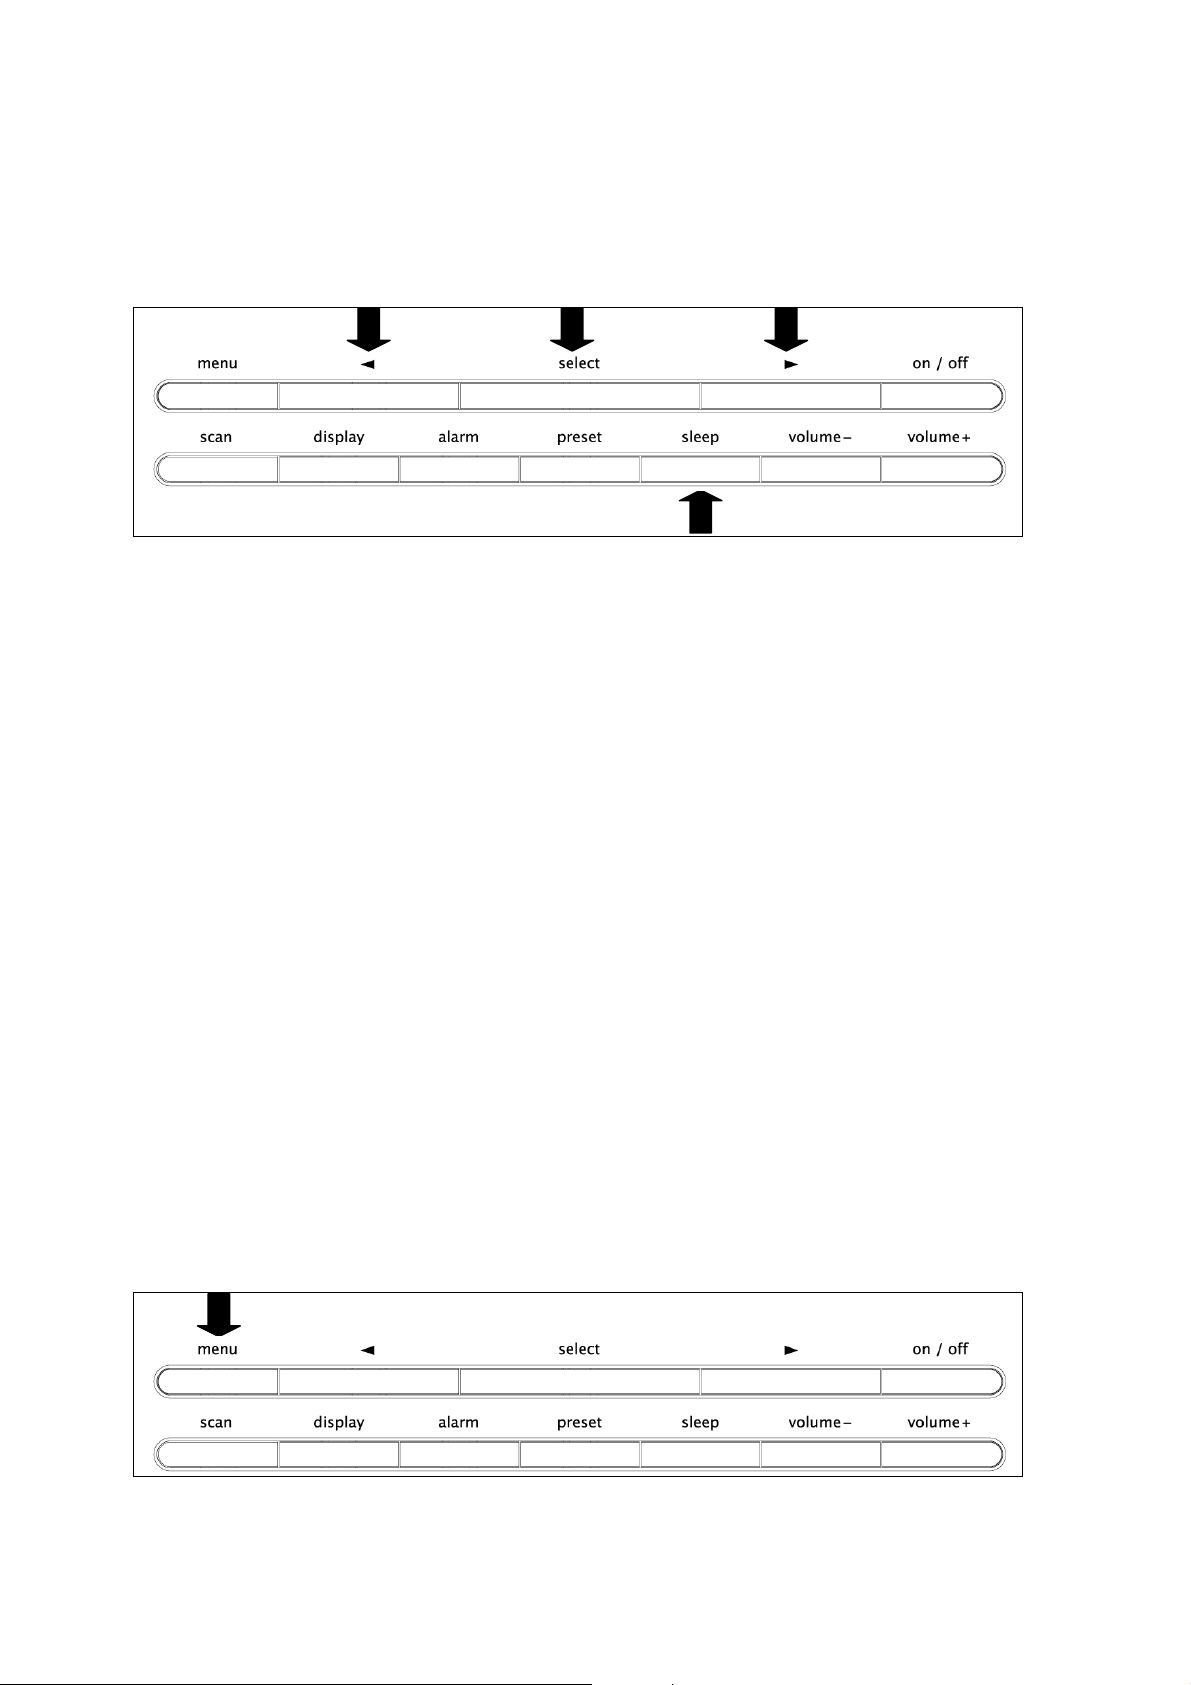
3 Product Diagrams
CONTROL PANEL
HEADPHONE SOCKET
Page 5/14
Page 6

4 Getting Started
4.1 Switching On for the First Time
• For best reception position the antenna above the GEO-1.
• Connect the power adapter provided to the GEO-1. Now plug into the mains
socket and switch mains on.
• The display will now say ‘Setting Clock’. Allow the device to perform this
function - this may take up to thirty seconds.
• The correct time, day, month and year will appear on the display
• Press the ON/OFF button to turn the device on.
• The GEO-1 will now search for available stations. Allow the device to perform
this function. This may take up to one minute (depending on number of
stations available locally).
• The GEO-1 will automatically tune into the first available station
• If required, reposition the antenna in order to achieve the best reception
quality.
• The optimum reception on any DAB product is normally achieved if the
product is positioned as close as possible to a window.
NB It is advisable to perform a ‘full scan’ to benefit from all the DAB channels
available in your area (see Full Scan below)
4.2 Auto Scan / Full Scan
Your GEO-1 will perform a fast auto scan the first time you switch it on as
detailed above – you can repeat this at any time by pressing the scan button.
But to ensure that you are receiving all of the chan nels available to you it is
advised that you perform a Full Scan. To perform a Full Scan:
• Press the MENU button
• Use the LEFT/RIGHT ARROW Keys to select ‘AUTOSCAN FULL’
• Press the SELECT key. The device will perform a Full Scan and
automatically tune into the first available station
Page 6/14
Page 7

4.3 No Stations Available
If no stations are found:
• Try adjusting the antenna or relocating the radio in the room (e.g. closer
to a window)
• Your GEO-1 will provide you with menu options to repeat the scanning
process or to allow you to tune manually
• If you still fail to find stations please check th at you have DAB coverage in
your area by visiting www.digitalradionow.com
5 Using DAB Radio
5.1 Finding & Selecting a Station
Stations will be listed alphabetically unless selected otherwise (see Menu
Options – changing station order)
• To find a station use the LEFT/RIGHT ARROW Keys to move up or down the
station list alphabetically
• When you have found the station you would like to listen to press ‘SELECT’.
• If new stations have become available in your area you will need to perform a
Full Scan (see Getting Started – Auto Scan / Full Scan). Any new stations will
then automatically be added to the station list.
5.2 Using Presets
Your GEO-1 can store up to 10 stations as presets allowing you to move
between your favourite stations quickly and easily
Page 7/14
Page 8
To store a station as a preset:
• Tune the radio to the station you wish to store.
• Press and release the PRESET button. The message ‘Preset 1 Empty’ will
appear.
• To store the station, press and hold down the PRESET button until you see the
message ‘preset 1 saved’. The station you were tuned into is now stored.
• To store the station under a different preset number – press and release the
PRESET button then use the LEFT/RIGHT ARROW keys to select the preset
number of your choice (1 – 10).
• Having selected the preset number of choice press and hold the PRESET
button until the message ‘preset x saved’. The station you w ere tuned into will
now be saved under that preset
• To store other stations – tune into the station required and repeat as above
• To overwrite a preset – tune into the station you wish to store, press and
release the PRESET button, use the LEFT/RIGHT ARROW Keys to select any
preset (1-10). Press the PRESET button and hold. If another station was
already stored on this preset it will now have been overwritten with the new
station.
• To select a stored preset. When the radio is turned ON press the PRESET
button then use the LEFT/RIGHT ARROW keys to select the chosen preset.
Press SELECT. The radio will tune into the selected preset.
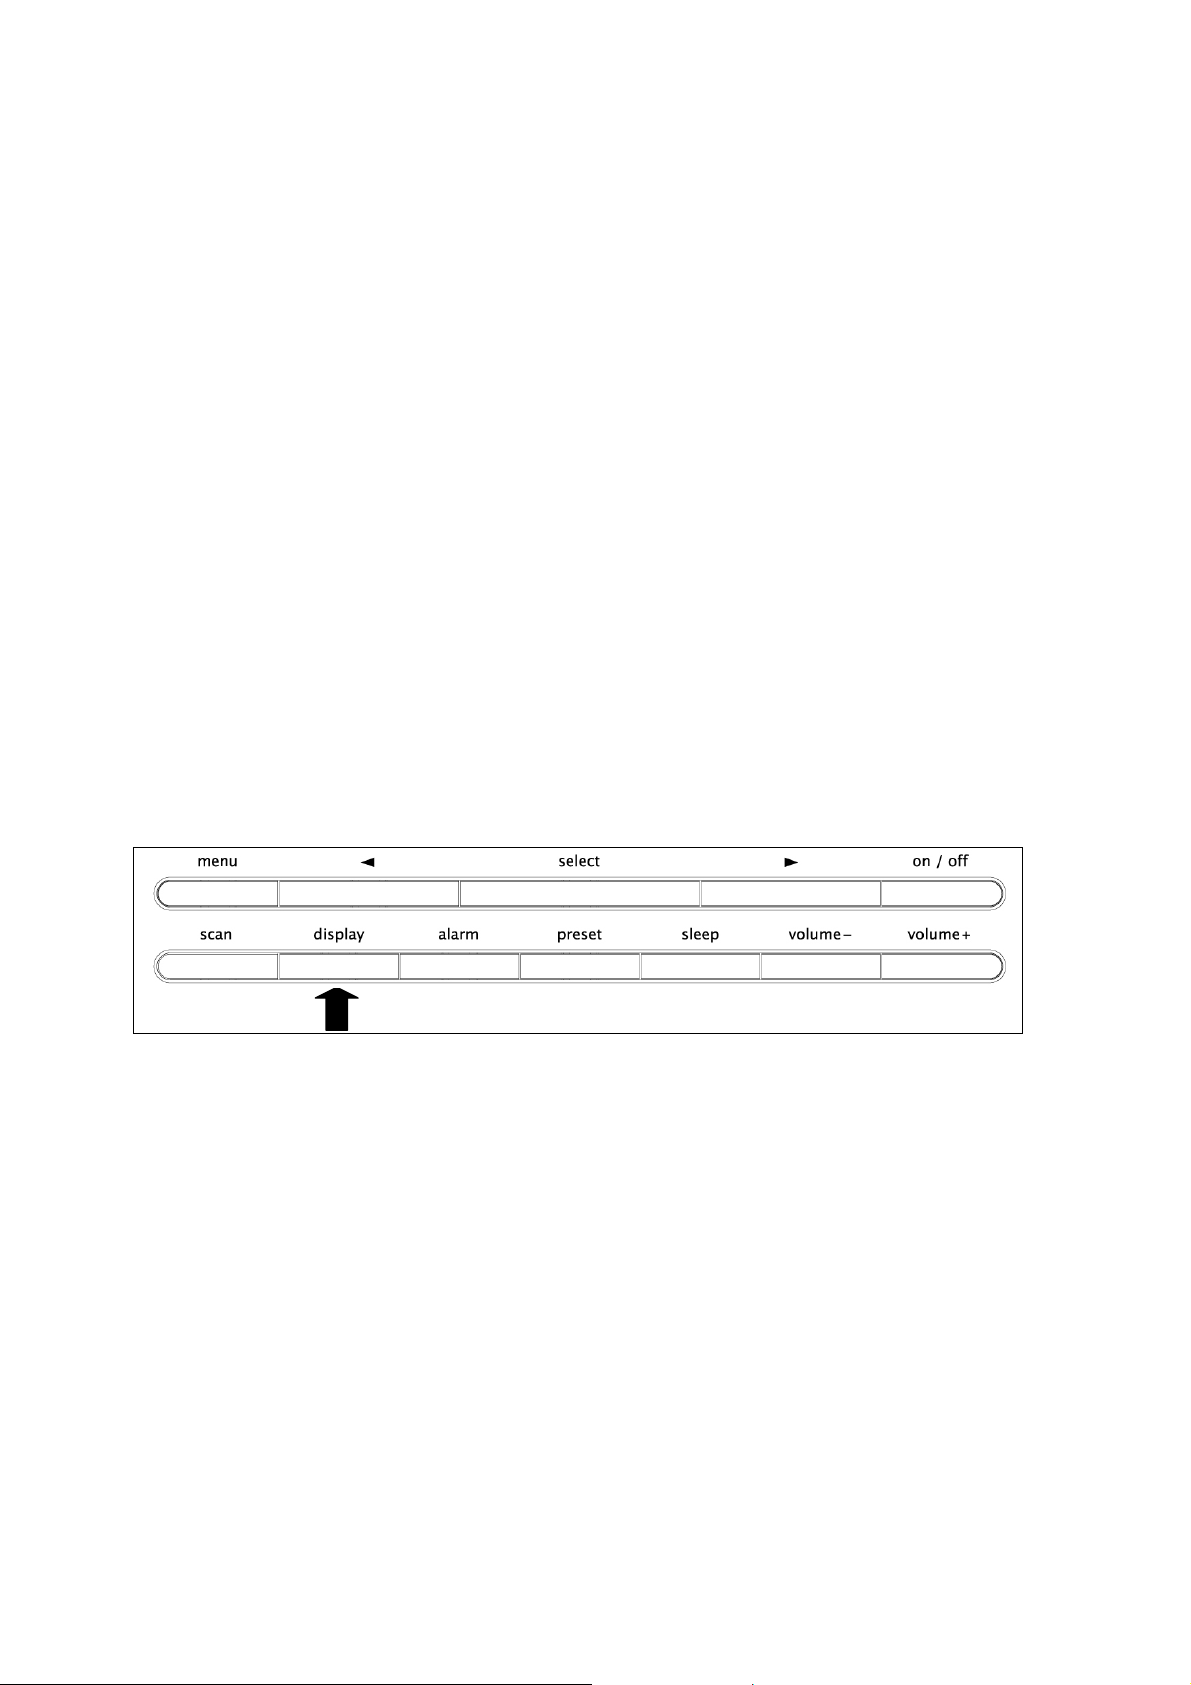
5.3 Changing the Information on the Display
It is possible to regularly change the displayed information on the screen.
To choose one of the following options press the ‘display’ button repeatedly:
• Scrolling text (DLS) – the default mode and broadcast by most stations
• Programme type – type of content being broadcast
• Multiplex – all stations belong to a multiplex that are groups of stations owned
and broadcast by a single operator
• Time and Date – an accurate time and date service updated from the
multiplex
• Channel – Multiplex channel and frequency
• Mode – Indicates stereo or mono and the bit/data rate that is being used by
the broadcaster. This will depend on the content being broadcast.
• Signal error – the lower the signal error, the better the reception quality at
that time and location
Page 8/14
Page 9

To show a graphic signal strength indicator:
• Press the ‘select’ button at any time when tuned into a station. The empty
block indicates the minimum required level for good reception and the filled
blocks show the current level.
• If required move the antenna around until the filled blocks move past the
empty block.
6 Menu Options
To select a menu option press the ‘MENU’ button then scroll through the
options using the ‘LEFT/RIGHT ARROW buttons. When you have found the
menu option you require press ‘SELECT’.
The menus options are as follows:
6.1 Station Order
By selecting the ‘Station Order’ option you can change the order in which your
stations appear on the station order list. Choose one of the below options then
press SELECT
• Alphanumeric – all stations are sorted alphabetically (default)
• Active Stations – all stations that are active will appear at the top of the list
and all inactive stations at the bottom of the station list. Inactive stations are
the stations that appear with a ‘?’ n ext to them
• Favourite Stations – this displays your ten favourite (most listened to)
stations at the top of the list and the rest below in alphanumeric order. Your
favourite stations are those that appear with a ‘<’ next to them
• Prune Stations – if you move a DAB radio to a different location, certain
stations on your station list may no longer be available ho wever these will
continue to appear on your station list as ‘inactive’ stations and will appear
with a question mark ‘?’ next to them. These stations can be deleted by
selecting the ‘Prune Stations’ option
Scroll through this list using the LEFT/RIGHT ARROW buttons and then press
SELECT to choose your preferred option
Page 9/14
Page 10

6.2 Manual Tune
Selecting the ‘Manual Tune’ menu option shows the signal strength to help
you find the optimum position for your GEO-1 and the antenna
• Press the LEFT/RIGHT ARROW buttons to find the channel that you want then
press SELECT (UK stations are in the range 11B to 12D). The signal meter will
be displayed. The empty block indicates the minimum required level for good
reception and the filled blocks show the current level.
• Move the antenna around until the f illed blocks move past the empty block.
When you have a good signal the display will show the multiplex name and
add its stations to the list
NB You can display the signal level at any time by pressing the SELECT button
while you are listening to a station
6.3 Dynamic Range Control
DRC helps you hear quieter sounds at low volume or in a noisy environment.
Not all broadcasters currently use DRC however your GEO-1 radio is equipped
to implement DRC at varying levels.
Having selected the DRC option from the menu use the LEFT/RIGHT ARROW
KEYS to select the DRC value
• DRC 0 – switches DRC off
• DRC ½ - DRC level is half of that sent by the broadcast
• DRC 1 – DRC level as sent by the broadcaster
6.4 Software Version
If you call requiring technical support you may be asked to give these details
Page 10/14
Page 11

7 Clock & Alarm Functions
7.1 Setting the Clock
Your GEO-1 will set itself automatically from the time transmitted with the
DAB signal or you can choose to set the clock yourself
To auto set the clock:
• Turn the mains power on
To manually set the clock:
• Press the MENU button on your radio
• Use the LEFT/RIGHT ARROW Keys to choose ‘Clock’
• Press SELECT
• Use the LEFT/RIGHT ARROW keys to select ‘Set Clock’
• Press SELECT
• The clock will appear with the hours highlighted. Use the LEFT/RIGHT ARROW
keys to set the hours then press SELECT
• The minutes will then be highlighted. Use the LEFT/RIGHT ARROW Keys to set
the minutes then press SELECT
• Continue this process for the date including day month and year
7.2 Setting the Alarms
For your convenience, the GEO-1 can store four different alarm times, each of
those a ‘once only’ or ‘daily’ setting.
To set the alarm time and its corresponding frequency (once only/daily):
• Turn the radio on using the ON/OFF button
• Press the MENU button.
• Use the LEFT/RIGHT ARROW KEYS to choose ‘Clock’. Press SELECT.
• Use the LEFT/RIGHT ARROW KEYS to choose ‘Set Alarm’. Press SELECT.
• Use the LEFT/RIGHT ARROW keys to choose Alarm 1-4. Press SELECT.
• The screen will appear with the message ‘Alarm x – Not In Use’. To start
setting this Alarm press SELECT.
• The time will appear with the hours highlighted. Use the LEFT/RIGHT ARROW
keys to set the hours then press SELECT
• The minutes will then be highlighted. Use the LEFT/RIGHT ARROW keys to set
the minutes then press SELECT
• The screen will then display the frequency options. Use the LEFT/RIGHT
ARROW keys to choose either ‘daily’ or ‘once’. Press SELECT.
Page 11/14
Page 12
• Then using the LEFT/RIGHT arrow keys select either a DAB radio alert or
Buzzer alert. PRESS SELECT to confirm choice.
• The screen will then summarise and confirm your settings
• The GEO-1 will then return automatically to radio mode
• Follow above steps to pre-program all 4 alarms
7.3 To enable or disable a PRESET ALARM:
CAN BE DONE IN STANDBY MODE OR WHEN THE RADIO IS TURNED ON
• Press the ALARM button.
• Use the LEFT/RIGHT Arrow Keys to select a pre-programmed alarm.
• Pressing the SELECT key repeatedly will enable OR disable the displayed
alarm. THE ALARM IS ENABLED WHEN THE ‘BELL’ SYMBOL APPEARS ON THE
DISPLAY
• Having enabled or Disabled the alarm the GEO-1 will automatically return to
its previous state (radio – if the device was turned on; time and dat e – if the
device was in standby mode). THE BELL SYMBOL WILL REMAIN ON THE
DISPLAY IF AN ALARM HAS BEEN ENABLED.
7.4 To turn an ALARM OFF:
• Press the ALARM button
7.5 SNOOZE Function:
It is possible to choose the duration of ‘Snooze’ time. Snooze – is defined as a
way of silencing an alarm alert for a given number of minutes from 5 minutes
to 60 minutes (1 hour). Once the number of minutes has been set – pressing
the SNOOZE button will silence any alarm alert for the corresponding number
of minutes:
• When the GEO-1 is switched on, press the MENU button
• Use the LEFT/RIGHT ARROW keys to select ‘Clock’. Press SELECT.
• Use the LEFT/RIGHT ARROW keys to select ‘Snooze’. Press SELECT
• Use the LEFT/RIGHT ARROW keys to select number of minutes. To confirm
press SELECT
Page 12/14
Page 13
7.6 SLEEP Function:
The sleep function allows the user to listen to the radio before going to sleep
secure in the knowledge that the radio will turn itself of f after a given period
of time. The given period of time is chosen by the user.
USING THE SLEEP FUNCTION DOES NOT AFFECT THE ALARM SETTINGS
To set the number of minutes before the radio ‘sleeps’:
• Press ‘SLEEP’
• Use the LEFT/RIGHT ARROW keys to select the number of minutes until you
wish the radio to ‘sleep’
• Press SELECT
• The message ‘Sleep Activated’ will appear on the display
• The radio will ‘sleep’ (go into standby state) after the corresponding number
of minutes
8 Performing a RESET
To restore the GEO-1 to its factory settings press and hold down the MENU
button for two seconds.
A message will appear on the screen asking you for confirmation. Press the
SELECT button to continue or allow the radio to return to the previous state.
NB a system reset will delete all presets, menu option selections and
alarm/clock settings. A system reset should only be performed if this
is required or if the unit appears to have developed an operational
fault
Page 13/14
Page 14

9 Display
9.1 Brightness Control
The backlit LED display has two brightness settings – High or Low. The switch
to manually control this is located at the base of the back of the unit.
The LOW setting is advised for bedside use or when ambient lighting is dim.
The HIGH setting is advised where ambient light is bright e.g. office/desk top
use
When in standby mode the GEO-1 will automatically go to the Low Brightness
setting after 30 minutes. Should better visibility be required, the high
brightness setting can be activated temporarily by tapping the SNOOZE key.
10 Technical Specification
• General: DAB stereo alarm clock radio capable of receiving all DAB band III
transmissions
• Frequency: DAB Band III with fast auto tune
• Antenna connector: Pig Tail antenna supplied
• Power supply: 9V DC external power supply
• Display: Custom built blue back lit LCD; easy to read; large characters;
large viewing angle
• Controls: stand by ON/OFF; volume +/-; station +/-; 10 preset; select;
display; menu; snooze; sleep; alarm; scan )
• Approvals: CE
11 Headphone Output
The GEO-1 includes a standard headphone socket for consideration to others.
Headphones are not supplied.
FOR MORE INFORMATION ON THIS AND OTHER PRODUCTS
VISIT:
Page 14/14
www.genusdigital.com
 Loading...