

3. Replace the Vortex sprayer in the system cover. Plug in the motor.
If the motorized sprayer stops unexpectedly, immediately:
1. Check that the power cord is properly plugged in and there is power to the
socket.
2. Unless the motor can be restarted within a few minutes, add enough nutrient
solution, or plain water, so that the bottoms of all growing cups are submerged. This will prevent crop loss.
3. If the problem seems to be in the motor, contact your retailer or
General Hydroponics.
Plants, like all living organisms can be infected with a variety of diseases. The
best way to avoid sick plants is to maintain clean conditions and correct environmental factors (light, temperature, humidity, ventilation, etc.) for a given crop.
Start with clean seeds and cuttings. If you suspect plant disease, consult a good
guide or call your county agricultural agent.
RainForest Accessories
General Hydroponics offers the following accessory and replacement products
for use with your RainForest system:
CocoTek liners & caps
Lid insert kits
Controller for multiple module systems
WaterFarm modules for larger plants
Nutrient chemicals in small and large quantities
pH test kits, pH control solutions
Growing cups and covers
Hydroton
Pump rebuild kits
Modular Aeroponic System Models 66, 318 & 236
We V
alue Your Opinion
Thank you for selecting the RainForest modular hydroponic system. Your satisfaction, and your opinions about our products, matter a great deal to us. Please
send us any comments or suggestions about how we can improve our product
line. If you wish to be on our mailing list (to receive information about new products), please send us your name and address.
P.O. Box 1576, Sebastopol, CA 95473
Phone (707) 824-9376 • Fax (707)
info@genhydro.com
© GENERAL HYDROPONICS 2004
824-9377
060804m
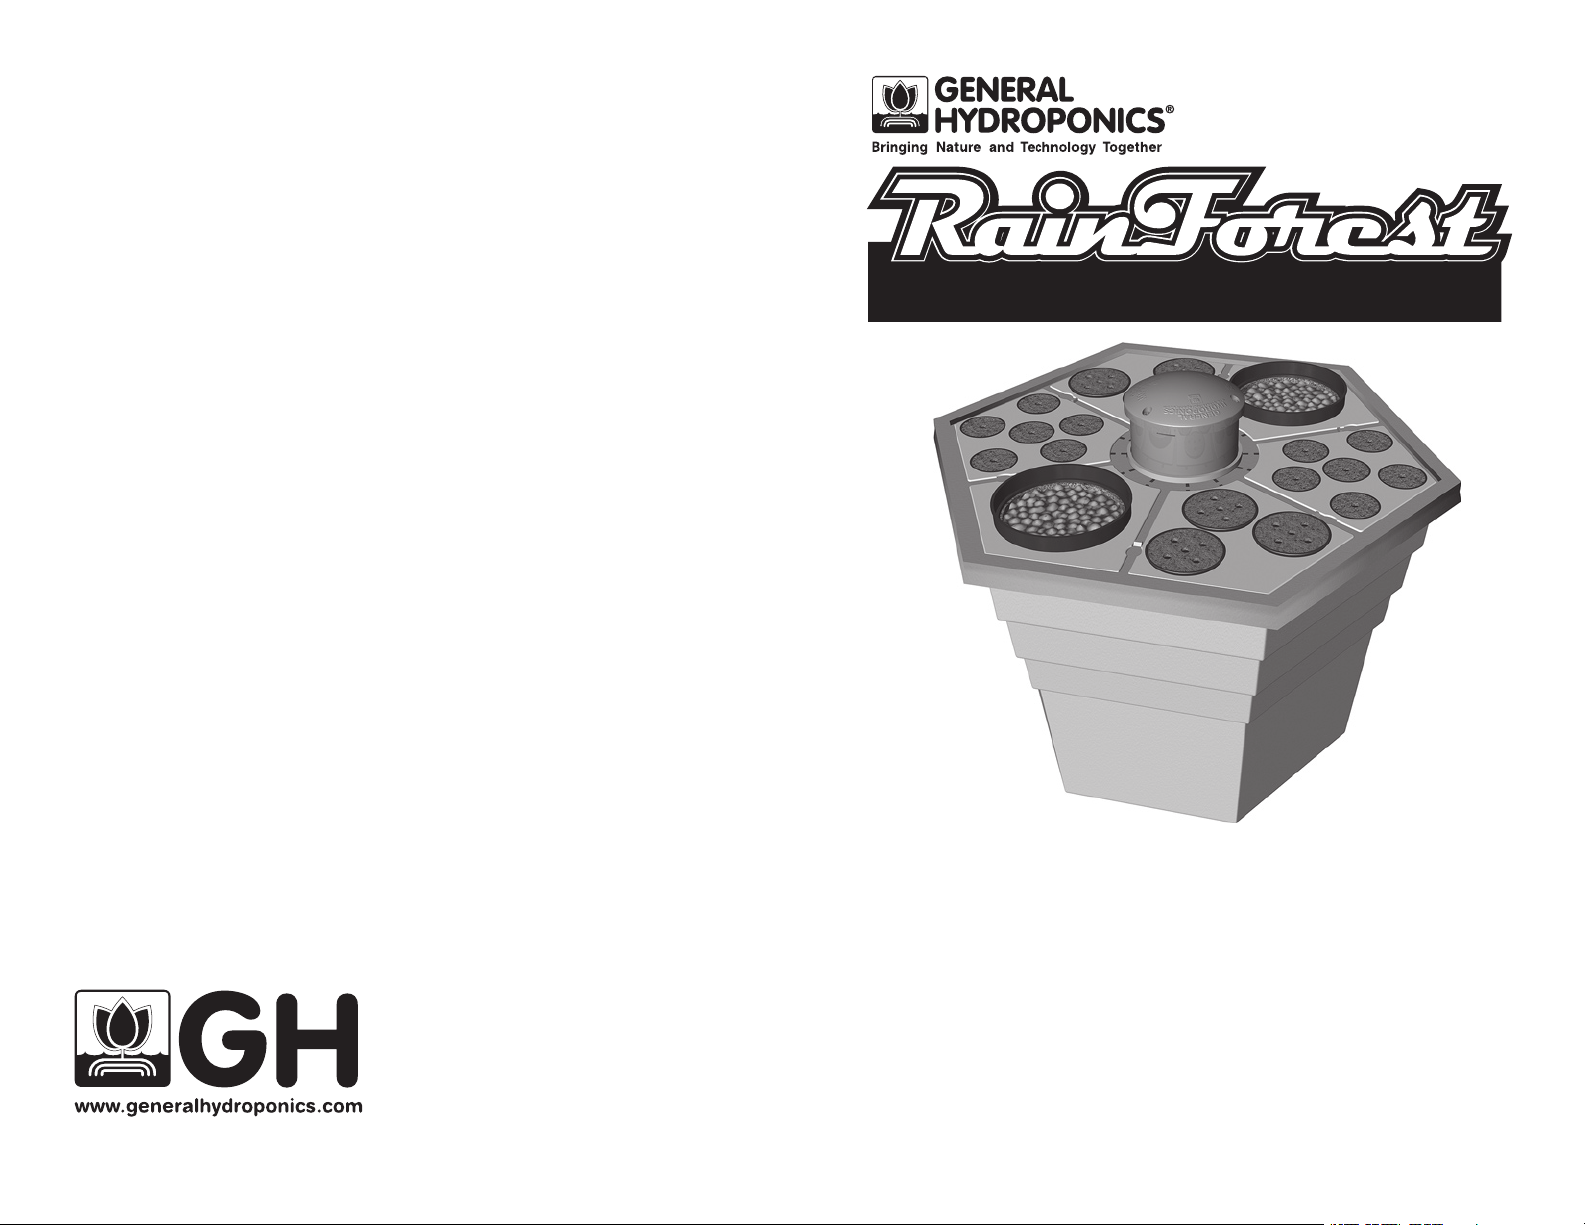
The RainForest System allows you to rapidly root cuttings and germinate seeds.
You can raise small plants to maturity in the RainForest, or start your plants in the
RainForest and transplant them to your garden or to another hydroponic system
such as the General Hydroponics
You will be amazed by the kinds of plants that can be propagated from cuttings
using the RainForest. These
bles, and flowers -- many of which have never been propagated by cuttings before.
Of course, easily-propagated plants will root quickly and grow phenomenally in the
RainForest.
The RainForest secret is the patented aero-hydroponic method of delivering the
nutrient solution. Oxygen-charged nutrient solution is sprayed through the air onto
the cuttings, seeds, and newly formed roots. This oxygen-rich nutrient solution con
stantly circulates within the RainForest reservoir, so that much more oxygen reaches
the root boundary zone than with other hydroponic systems. The
mal levels of both oxygen and nutrients, so that the entire plant thrives.
WaterFarm.
include fruit and nut trees, ornamental shrubs, vegeta-
roots absorb opti
-
-
Sprayer Boot
Cap
Liner
Growing Cup
Reservoir
Access
Opening
under each
lid insert
Root Guard
Root Guard Sleeve
Vortex Sprayer
Cap
Liner
Cup
Growing
Drain Level Tube
with water
tape marks
level
6” Lid Insert
MAINTAINING YOUR RAINFOREST
Maintain the Solution Level
Nutrient solution
fast-growing plants can lower the reservoir solution level very quickly so you
should check the reservoir daily, or use a controller.
Always maintain the nutrient solution at a level between the upper and lower
on the drain/level tube. Under warm, dry conditions, add plain water as
mark
needed to maintain the correct solution level; under cool, humid conditions,
add very mild nutrient solution instead. Stir well and adjust the pH level
whenever
Completely Replace Nutrient Solution
You should completely replace the nutrient solution at least once a month. If
nutrient
use exceeds 1 gallon/day in the RainForest, drain and replace the
solution every two weeks. If nutrient use exceeds 2 gallons/day in the
RainForest, replace the solution once a week.
Transplant Your RainForest Plants
You can grow fast-growing crops such as lettuce to maturity in the
RainForest. Some other kinds of plants, such as Ficus benjamina,
happily for years in a RainForest system.
Other large or long-lived plants can be started in the RainForest and then
transplanted to the ground or to an
unit specifically designed for use with large, long-lived plants).
is lost through evaporation and plant transpiration. Large,
you add water or solution to the system.
will live
WaterFarm unit (a General Hydroponics
Each RainForest module consists of:
Reservoir with drain/level tube -- 17 gallon capacity
Reservoir cover
Root Guard
Root Guard Sleeve
Lid Insert
3”
Lid inserts
Vortex Sprayer (with Sprayer Boot)
Hydroton
Growing cups (plastic net cups)
ek™ liners & caps
CocoT
•Model 236 has 36 - 2” sites (6 in each lid insert)
•Model 318 has 18 - 3” sites (3 in each lid insert)
2”
Lid Insert
•Model 66 has 6 - 6” sites (1 in each lid insert)
Optional RainForest System Controller
General Hydroponics
ffers an optional system Controller™ that automatically
™ o
maintains the level of the nutrient in many interconnected RainForest modules.
This option is perfect for large-scale growing, since it eliminates the need to
monitor each module separately
.
When transplanting, carefully separate or cut apart tangled roots. If there
is a
large root system, do not try to salvage the cup. For short-lived plants, such
as annuals, transplant the plant in its cup. For plants whose enlarging roots
might
be choked by the cup, cut the cup apart and remove it from the roots
in sections.
Clean the System Between Crops
In between crops, drain and dismantle the RainForest system. Thoroughly
clean the reservoir, drain/level tube, cups, lids, spinner, and Hydroton with a
dilute chlorine bleach solution (1/2 cup/gallon). Rinse well and reassemble.
This disinfects the system and reduces the rate of algae buildup and
disease. Note: Do not remove spinner from motor shaft.
Troubleshooting
From time to time, you may need to clear nutrient deposits or bits of plant matter from the sprayer holes.
Turn off the system and remove the motorized sprayer from the cover.
1.
Spray
2.
clogged holes with pressurized water until debris is removed.
do this:
To

7. As your plants grow, maintain the appropriate level of nutrient solution in the
reservoir (14 to 16 gallons). Keep the nutrient level at the upper mark on the
drain/level tube until multiple roots have developed that hang down below
the growing cup. Once roots are well developed, you may safely allow the
nutrient level to drop as low as the lower mark on the drain/level tube. See
Maintaining Your RainForest for details.
8. After the cuttings have developed roots, add Hydroton to the cups to help
support the plants. Be sure to wash and soak the Hydroton before adding
them to the cups (see Equipment Assembly for details).
The Hydroton serve primarily as a mechanical support. If you expect to
transplant your cuttings, you may prefer to not use Hydroton at all.
To
start Seeds in the RainForest:
Always use fresh, clean seeds that are free of disease and/or soil contamination
EQUIPMENT ASSEMBLY
1. If you are starting seeds, soak the
dition" them. Then rinse thoroughly to remove any sand or other small particles.
If
you are starting cuttings, it is better not to add
roots
have begun to form on the cuttings. If you plan to transplant the cut-
you may prefer to grow them totally without
tings,
2.
Rinse any dust or debris out of the system parts.
3. On the
side of the reservoir, snap the clip into the hole that is directly above
the grommet.
4. If
you are using a Controller, connect the reservoir to the Controller (see the
instructions provided with the Controller) and proceed to step 6 below
Hydroton
overnight in plain water to "con-
Hydroton
Hydroton
to the cups till
.
.
1. Fill each growing cup almost to the top with Hydroton that have been
washed and soaked overnight in tap water.
2. Place seeds on the Hydroton as you would plant them in the ground. Cover
the seeds with a layer of Hydroton.
Most seeds prefer to be planted one Hydroton diameter below the surface.
Larger seeds may prefer to be planted deeper, smaller seeds closer to the
surface. Place very small seeds on a tiny piece of fine nylon netting, or other
non-absorbent support, just under the surface of the Hydroton.
3. Insert the cups firmly in the holes in the reservoir cover. Cover any unused
holes in the reservoir cover to retard water loss.
Place the RainForest in a warm, well-lit location.
4.
Seedlings generally develop faster if the nutrient is warm (75-80 F); keep
the RainForest in a warm room or place the reservoir on top of a small electric heating pad. Place the RainForest in bright, indirect sunlight ~~ or use
color-corrected, or sun light simulating, lamps placed close to the
RainForest reservoir.
5. If using artificial lights, set the light timer to simulate a normal day/night
cycle. If using a motor timer, connect and set the timer. Plug in the sprayer
motor.
When sprouting seeds, it is preferable (but not required) to have the
RainForest motor cycle 1-hr ON/1-hr OFF, 24 hrs/day. Once seedling roots
extend through the bottom of the cups and into the nutrient solution, you can
use any of the timing options described under Cuttings: step 6.
6. As your plants grow, maintain the appropriate level of nutrient solution in the
reservoir (see Maintaining Your RainForest for details).
If the reservoir is not being connected to a Controller, insert the rigid end of
the
elbow for the drain/level tube through the grommet into the reservoir
(you may
have to gently rock and twist the drain/ level tube as you push in
order to get the tube through the grommet).
5. Gently
6.
push the upper part of the drain/level tube into the stud.
Add the nutrient solution and adjust the pH as described under The
Nutrient Solution.
7. Put the
motor to
lid on the reservoir and insert the motor in the lid. Briefly plug in the
be sure the power source and motor are operational (the sprayer
should deliver a strong spray into the "air gap" where the growing cups normally hang). Unplug the motor
.
8. Plant your RainForest as described under Planting Your RainForest.
Top
Controller System
Controller
Reservoir
Controller
Module
Hydroponic
Modules
Straight Connector
Tee
View of a Straight
Line Set-up
Top View of a Double
Line Set-up
Elbow

THE NUTRIENT SOLUTION
PLANTING YOUR RAINFOREST
The Model 318 RainForest reservoir holds approximately 16 gallons when filled
to the upper mark on the drain/level tube, the lower mark indicates approximately 10 gallons, do not allow the level to fall below the lower mark. You can mix
the nutrient solution in the reservoir or another container.
Mild Solution (for seeds, cuttings or delicate seedlings)
Use the following very mild nutrient solution until the cuttings have rooted or the
seedlings have grown several sets of leaves.
1. Add distilled, purified, or reverse-osmosis filtered water to the reservoir up to
the top mark on the drain/level tube (18 gallons).
2. Add the following nutrients and stir well:
1/4 tsp FloraMicro / gallon of water (4.5 tsps /18 gallons).
1/ 4 tsp FloraGro / gallon of water (4.5 tsps /18 gallons).
1/4 tsp FloraBloom / gallon of water (4.5 tsps / 18 gallons).
3. Adjust the nutrient solution pH to between 5.8 and 6.2 (see instructions with
the General Hydroponics Ph Control kit).
Regular Solution (for mature or very fast growing plants)
Mature or very fast growing plants usually prefer a stronger nutrient solution for
optimal growth and maximum yield.
1. Mix the nutrient solution as described above, but use:
1.5 tsp FloraMicro / gallon of water (9 T
1.5 tsp FloraGro / gallon of water (9 Tablespoons / 18 gallons)
1 tsp FloraBloom / gallon of water (6 Tablespoons / 18 gallons)
2. Adjust the nutrient solution pH to between 5.5 and 6.5 (see instructions with
the General Hydroponics Ph Control Kit).
You may want to adjust the nutrient solution to meet your specific needs.
• T
o enhance vegetative growth, use more FloraGro and less FloraBloom.
• T
o enhance flower and fruit production, use less FloraGro and more
FloraBloom.
o provide more calcium or iron (for green, leafy vegetables), use slightly
• T
more FloraMicro.
• See nutrient bottle labels for additional information.
ablespoons / 18 gallons)
You can start 1 to 5 (Model 318) cuttings in each RainForest growing cup. If you
start several cuttings in one cup, plan to separate them soon after roots have
formed
you will raise to maturity in the RainForest, use the center hole in the CocoTek
cap and start only 1 cutting per cup.
To
Always use fresh, clean cuttings that are free of disease and/or soil contamination, soft green stems work best; woody stems are slower
1. Put
2.
3. Insert the cuttings into the cups. Be sure the cuttings are well separated
4. Insert the
5.
6. If
and before their roots become tangled. For large plants and plants that
start cuttings in the RainForest:
.
a cap on each growing cup. Poke a pencil through the holes in each cap
loosen any tight hole flaps.
to
Trim each cutting to the correct length. Each cutting should have a leaf node
very near the bottom end of the cutting. Trim so that 3-1/2" of the cutting can
extend
below the cap (through the bottom of the cup and into the air gap)
and a few inches (containing several leaves) can extend above the cover.
Remove
where they
1/2"
on the cutting, which MUST BE ALWAYS SUBMERGED
in the nutrient solution.
reservoir cover holes to retard water loss by spray
Place the RainForest in a warm, well-lit location. The optimum temperature
for starting cuttings
sunlight or
the cuttings (fluorescent lamps are best, if you are using "Metal-halide or
High pressure sodium place them well above the cuttings so that
they
cycle. If
motor. When starting cuttings, the RainForest motor should be ON 24
hours/day. Once roots extend into the nutrient solution, you can use a timer
to run the motor intermittently. Set the timer to run the motor through the day
and off at night (it should be turned ON for about 1 hour midway
through the night).
all leaves from the portion of the cutting that will be below the cap.
pass through the cup bottom. Be sure all cuttings extend at least
below the bottom of the cup. The first roots will form at the lowest node
cups firmly in the holes in the reservoir cover. Cover any unused
.
is 20-25 C (70-75 F). Keep the plants in bright, indirect
use color-corrected, or sunlight-simulating, lamps placed close to
do not burn).
using artificial lights, set the light timer to simulate a normal day/night
using a motor timer, connect and set the timer. Plug in the sprayer
 Loading...