

Page 1
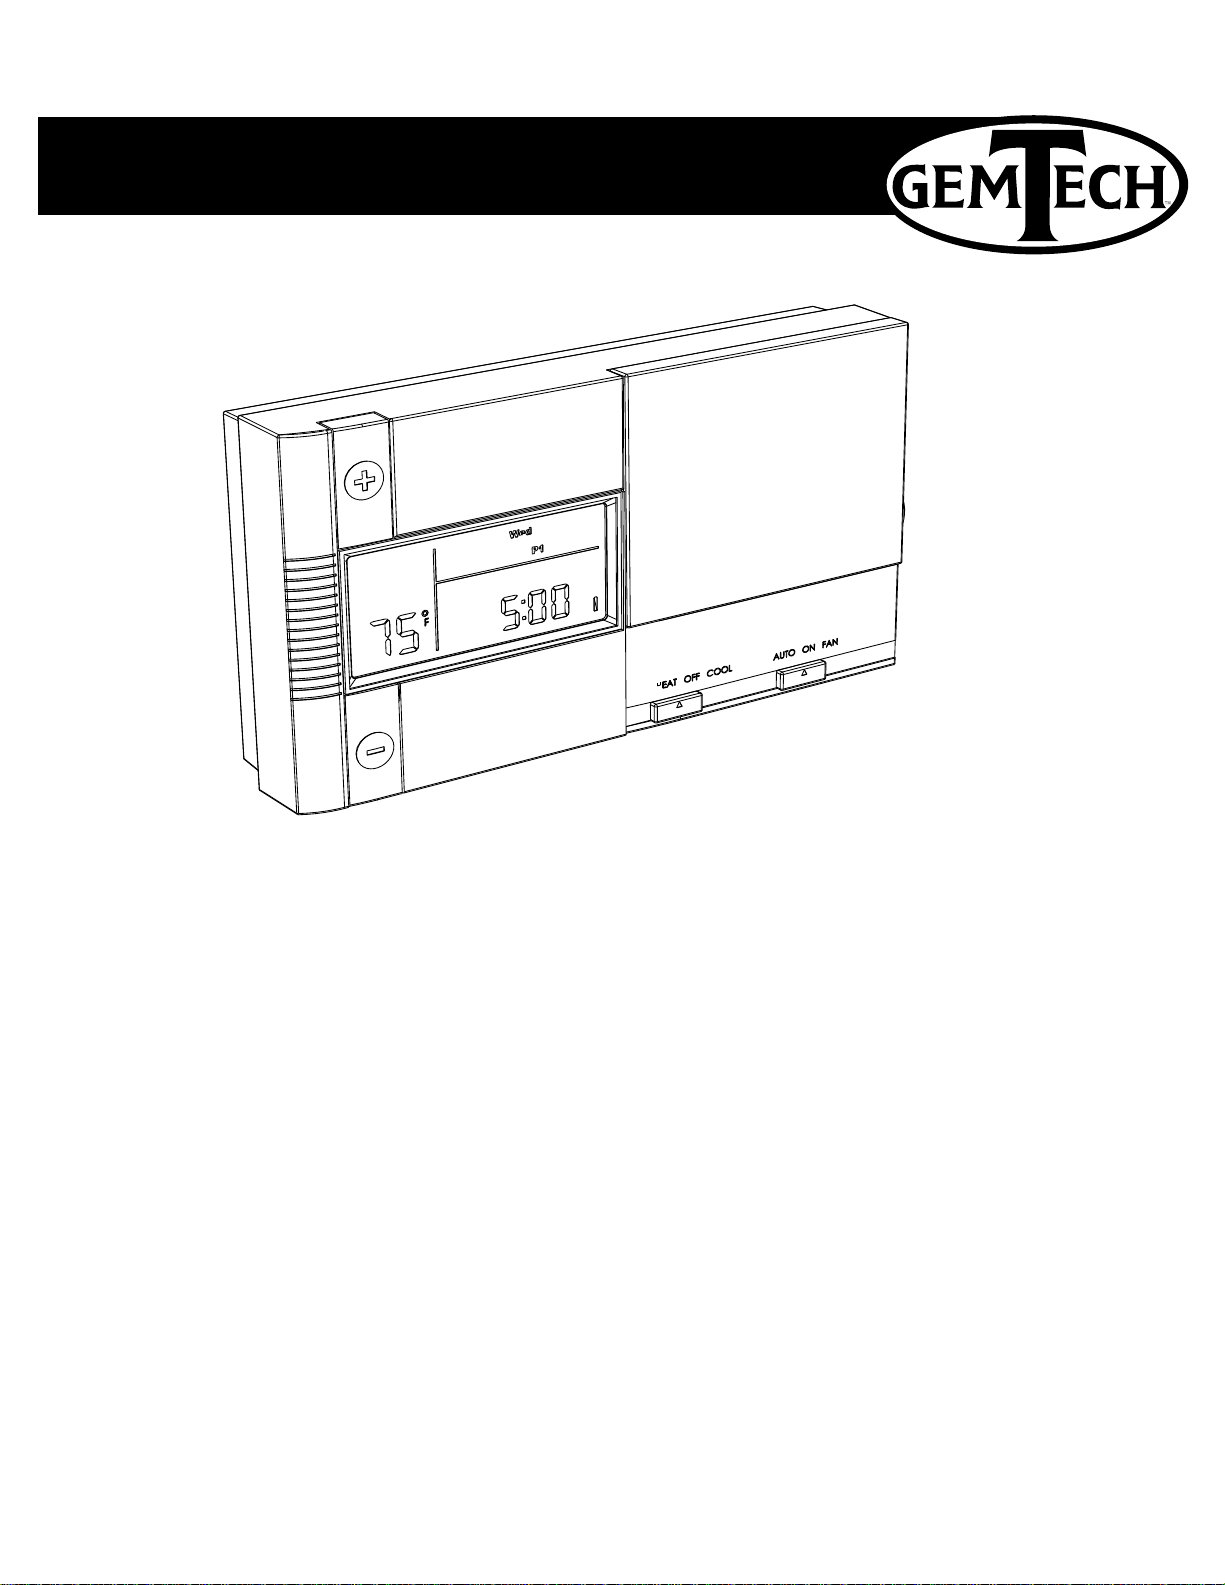
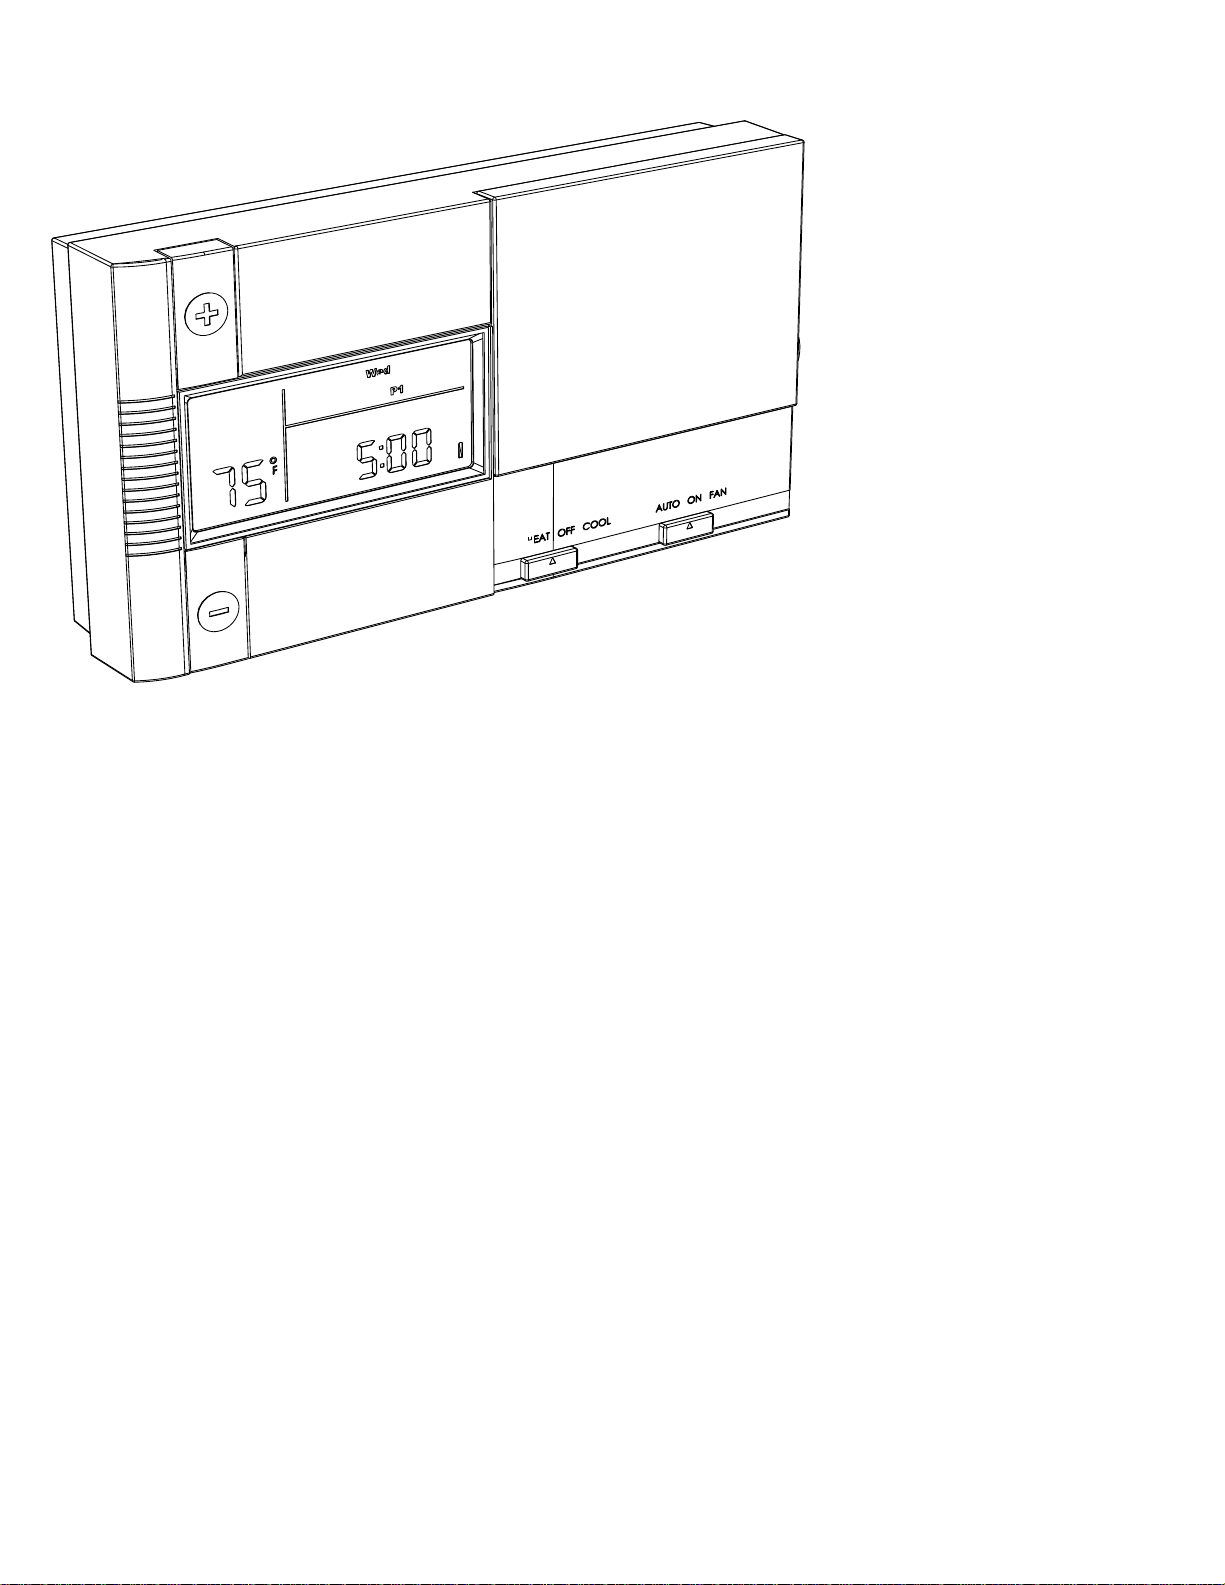
Operation GT7000
Page 2
Operation GT7000
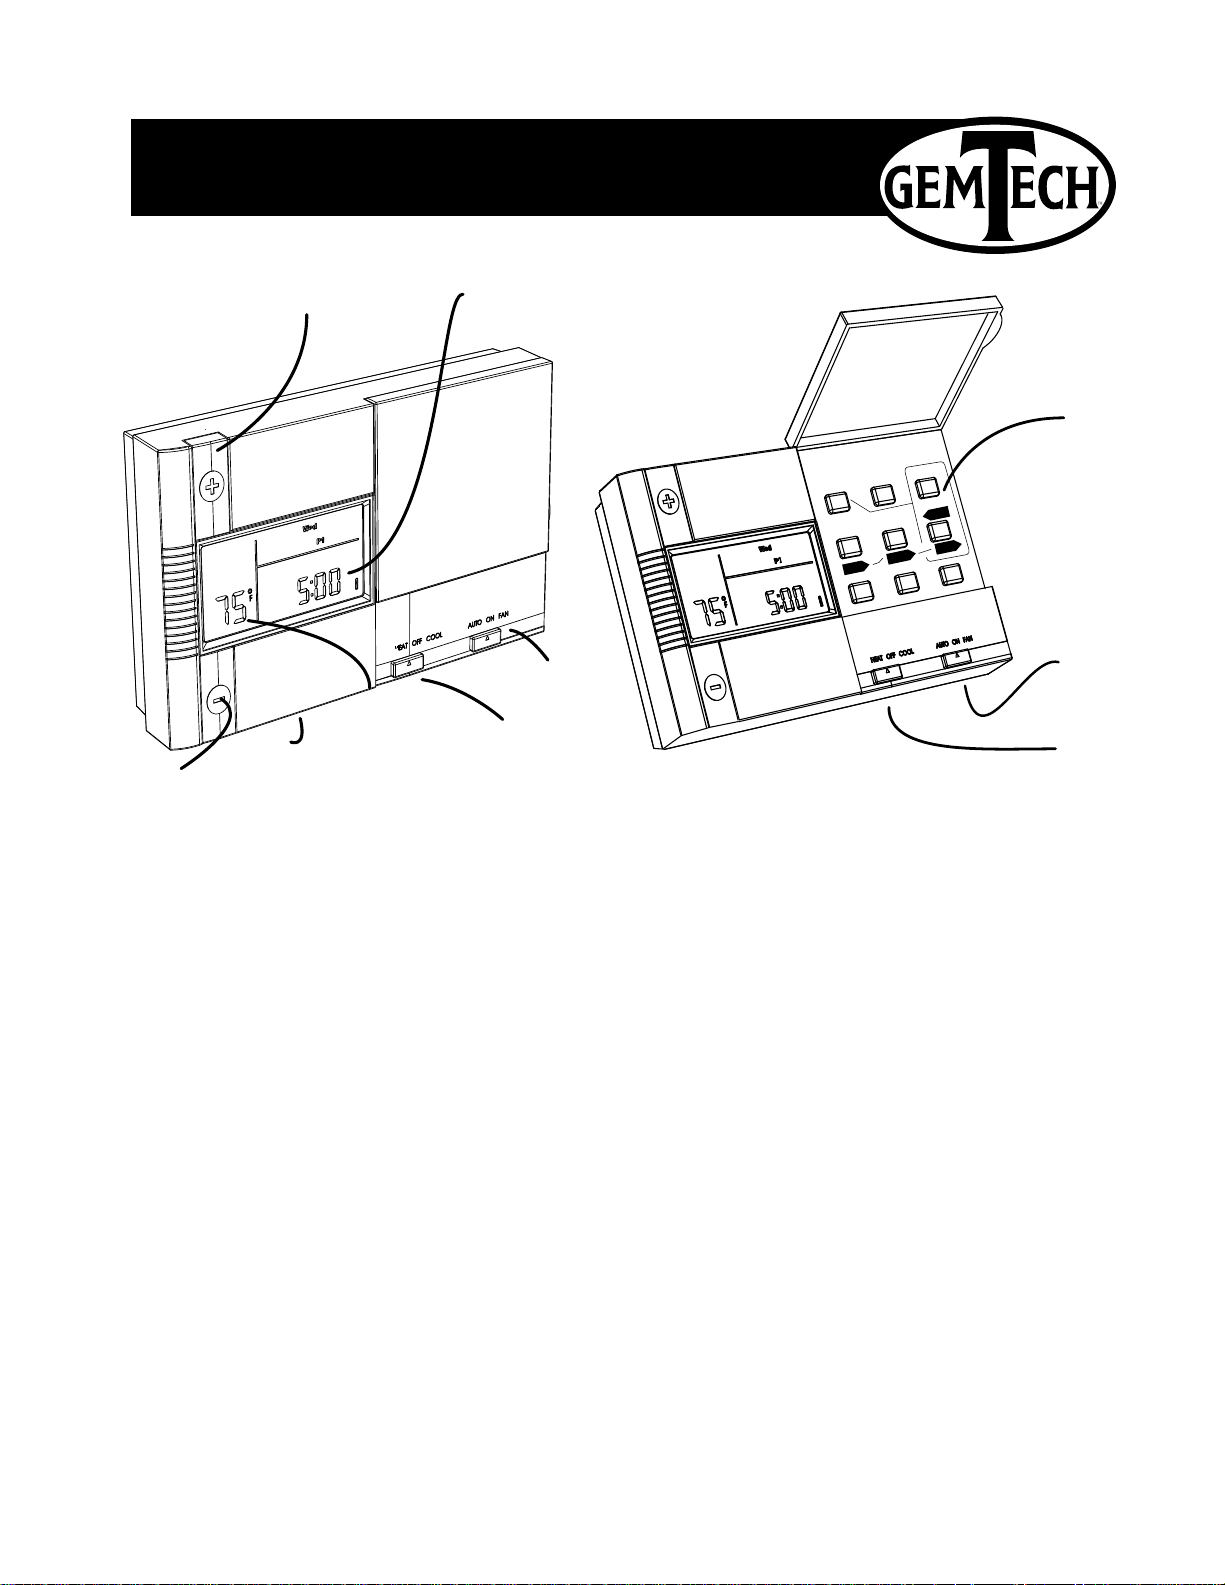
- Cover Closed -
TEMP DOWN
button
Statement of use: The GT7000 can be used with most 24 volt
gas, oil or electric heating and air conditioning systems, single
stage heat pumps , gas millivolt and zoned heating systems. It
cannot be used with 120 volt heating systems or 2 stage
PG
1
heat pumps.
TEMP UP
button
Backlight
Switch
Time / Current Temp
Display
Set Temp
Display
Mode
Switch
Fan
Switch
SET CLOCK
HOME
DAY
SDP
PROGRAM
TIME SET
P
NEXT
TIME SLOT
COPY HOLD
Control Panel
TIME
TIME
REVIEW FILTER
Fan
Switch
Heat/Cool
Mode Switch
Page 3
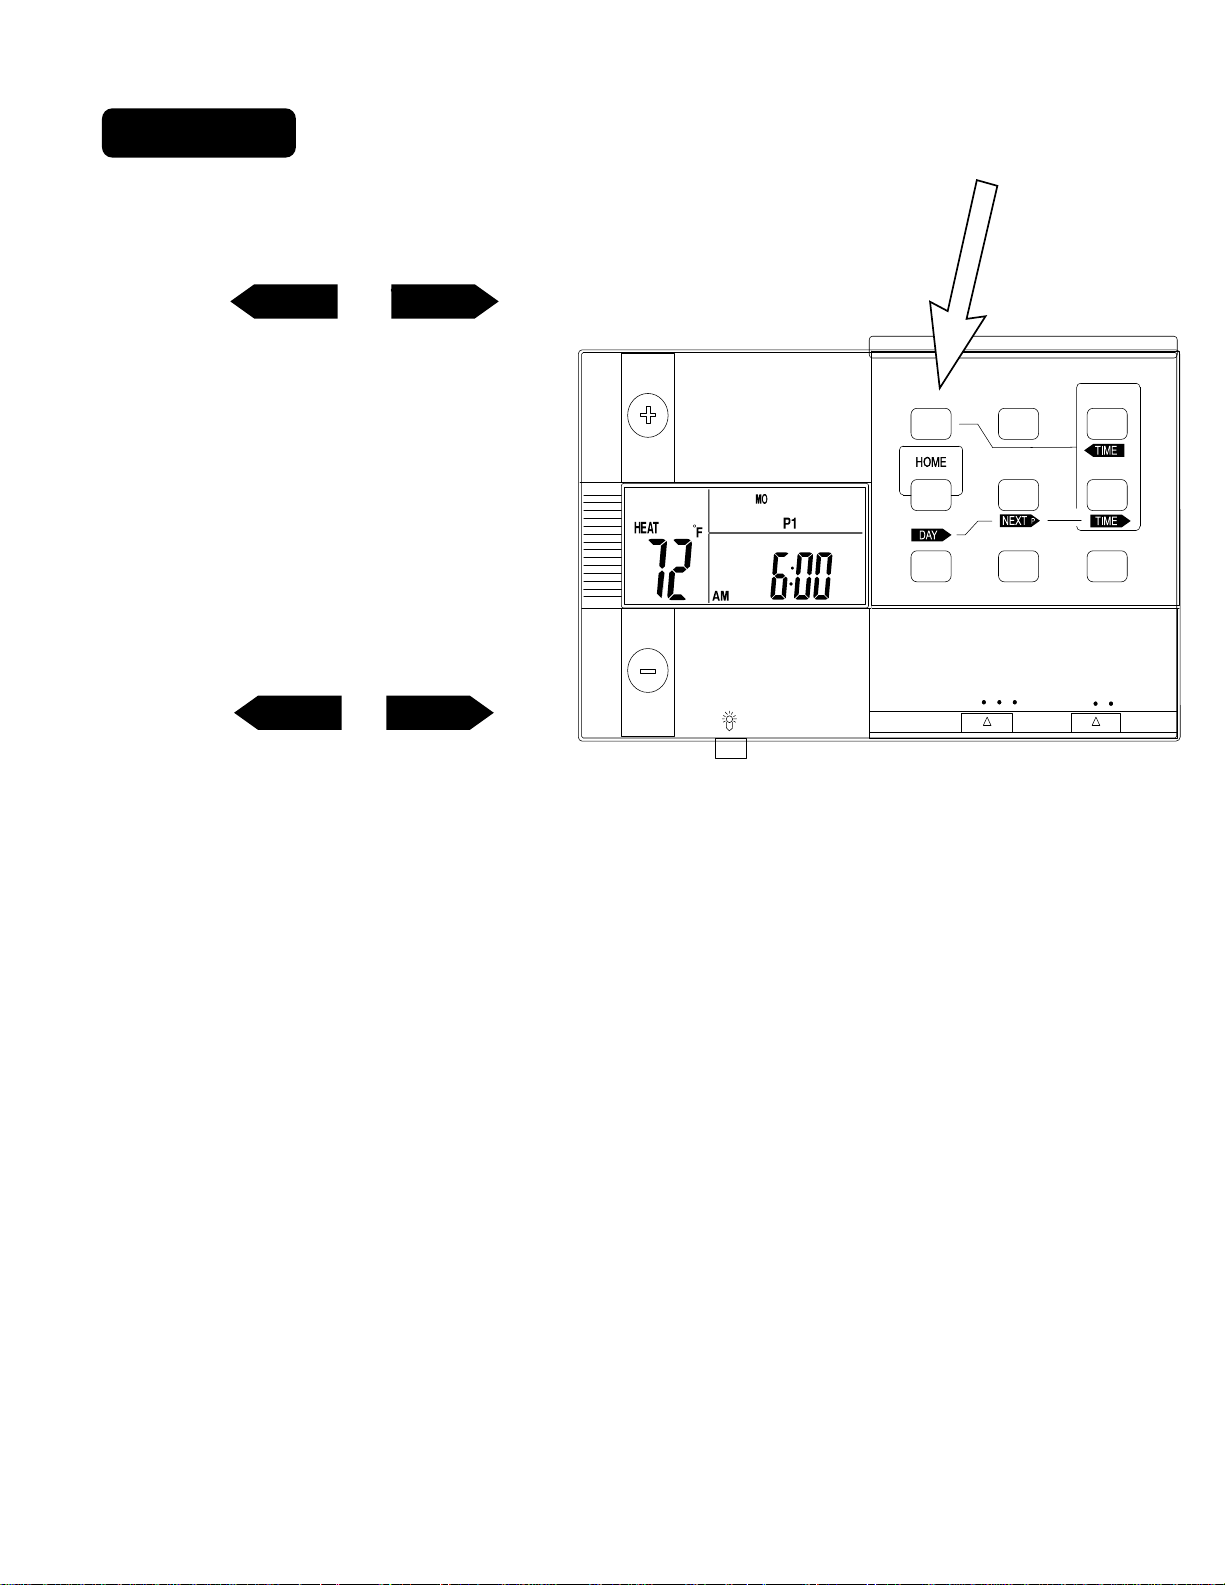
1 Set Clock
Set day of the week -
.
Press SET CLOCK once to set the day of the week. The
day of the week display flashes. (Initially SU for Sunday)
.
Press <TIME or TIME>
TIMETIME
to select the day.
.
Press HOME to store your
settings. (If HOME is not
SET CLOCKSET CLOCK
SDPSDP
TIME SETTIME SET
PG
pressed in 60sec. unit will save
your last setting.)
Set time of day -
.
Press SET CLOCK twice to set
the time. The time display will
flash.
.
Press <TIME or TIME> to
TIMETIME
set the time. Press and hold to
set the time in the fast mode.
.
Press HOME to store your
settings.
2
PROGRAM
HEATHEAT
TIME SLOTTIME SLOT
TEMP HOLDTEMP HOLD
COPY HOLD
OFFOFF
COOLCOOL
AUTOAUTO
FILTERFILTER
REVIEW FILTER
FANFAN
ONON
Page 4
2 Auto-run
This Thermostat comes preprogrammed with an Energy-Star
TM
approved program. This program is recommended by the EPA for
energy efficiency.
We strongly recommend that you Auto-Run this
HEAT2
program for one week, and see if it works for you. If it
MO
AM
does not fit your needs you can always input a
custom program.
.
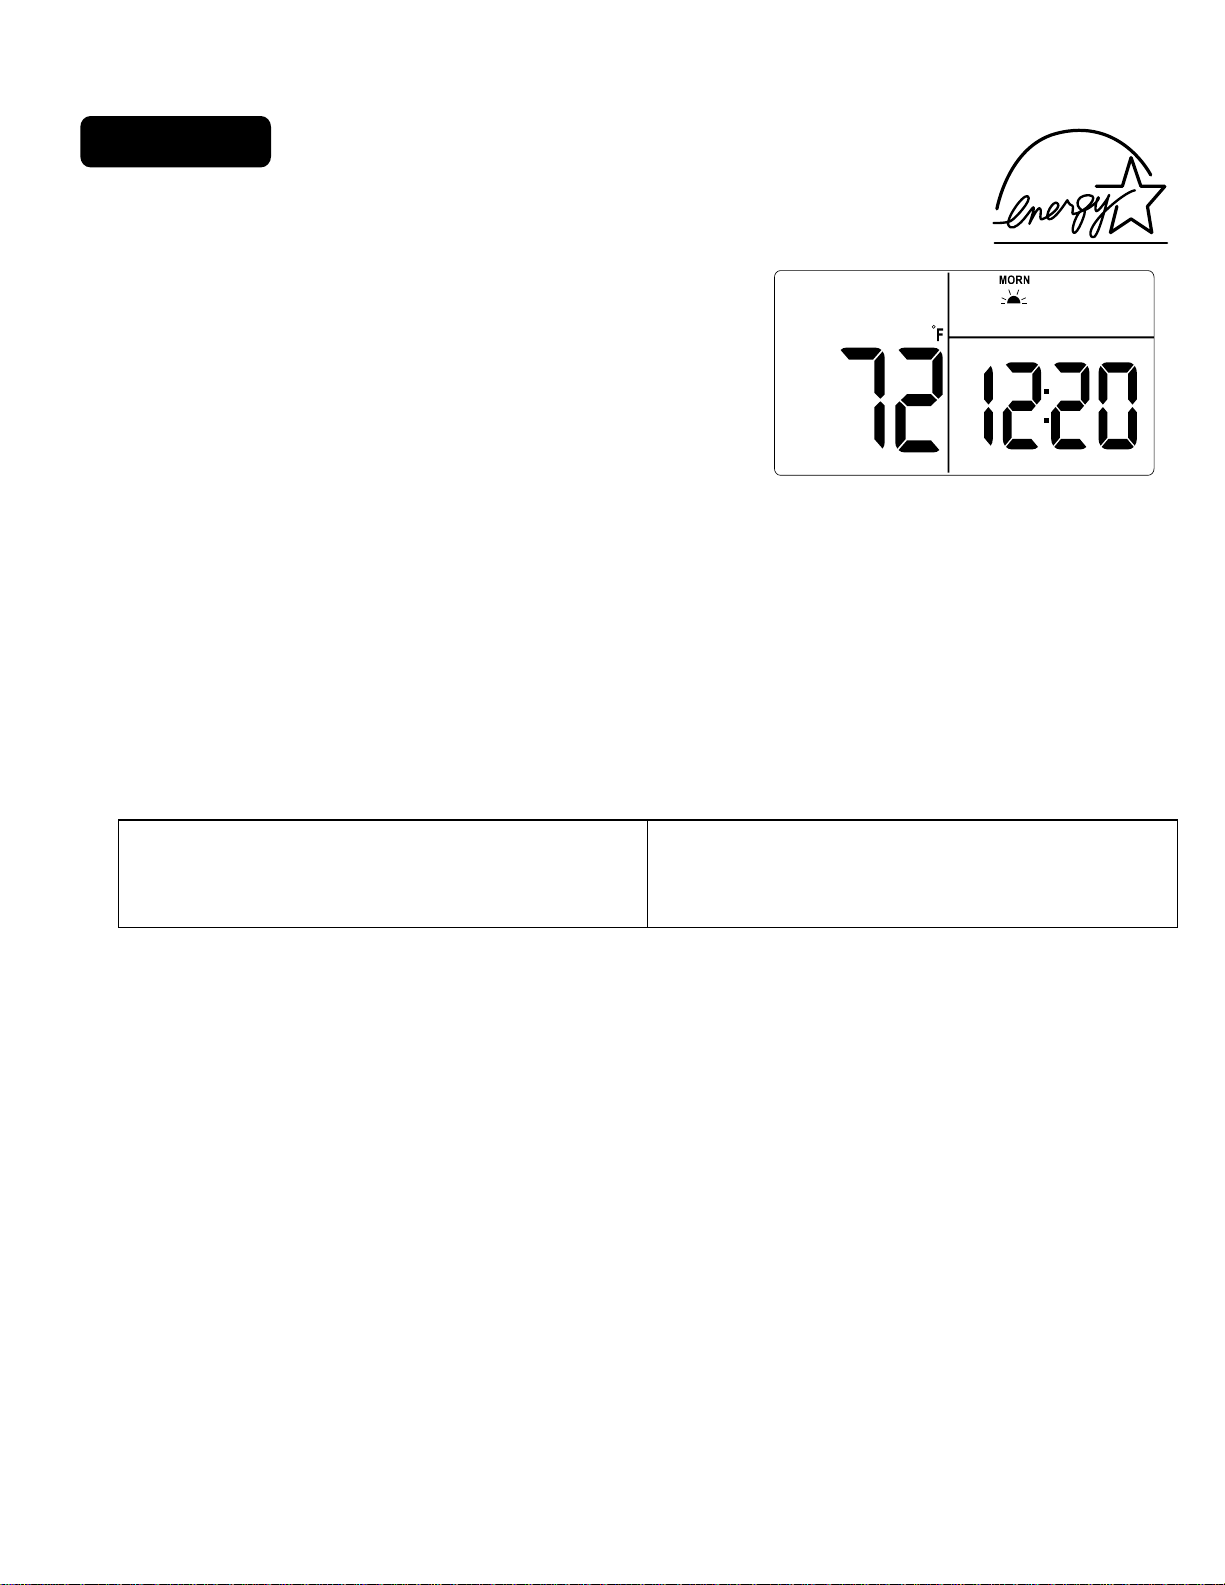
To Auto-Run the Energy-StarTM program, select HEAT or COOL with the mode
TM
switch. The unit is now running the Energy-Star
.
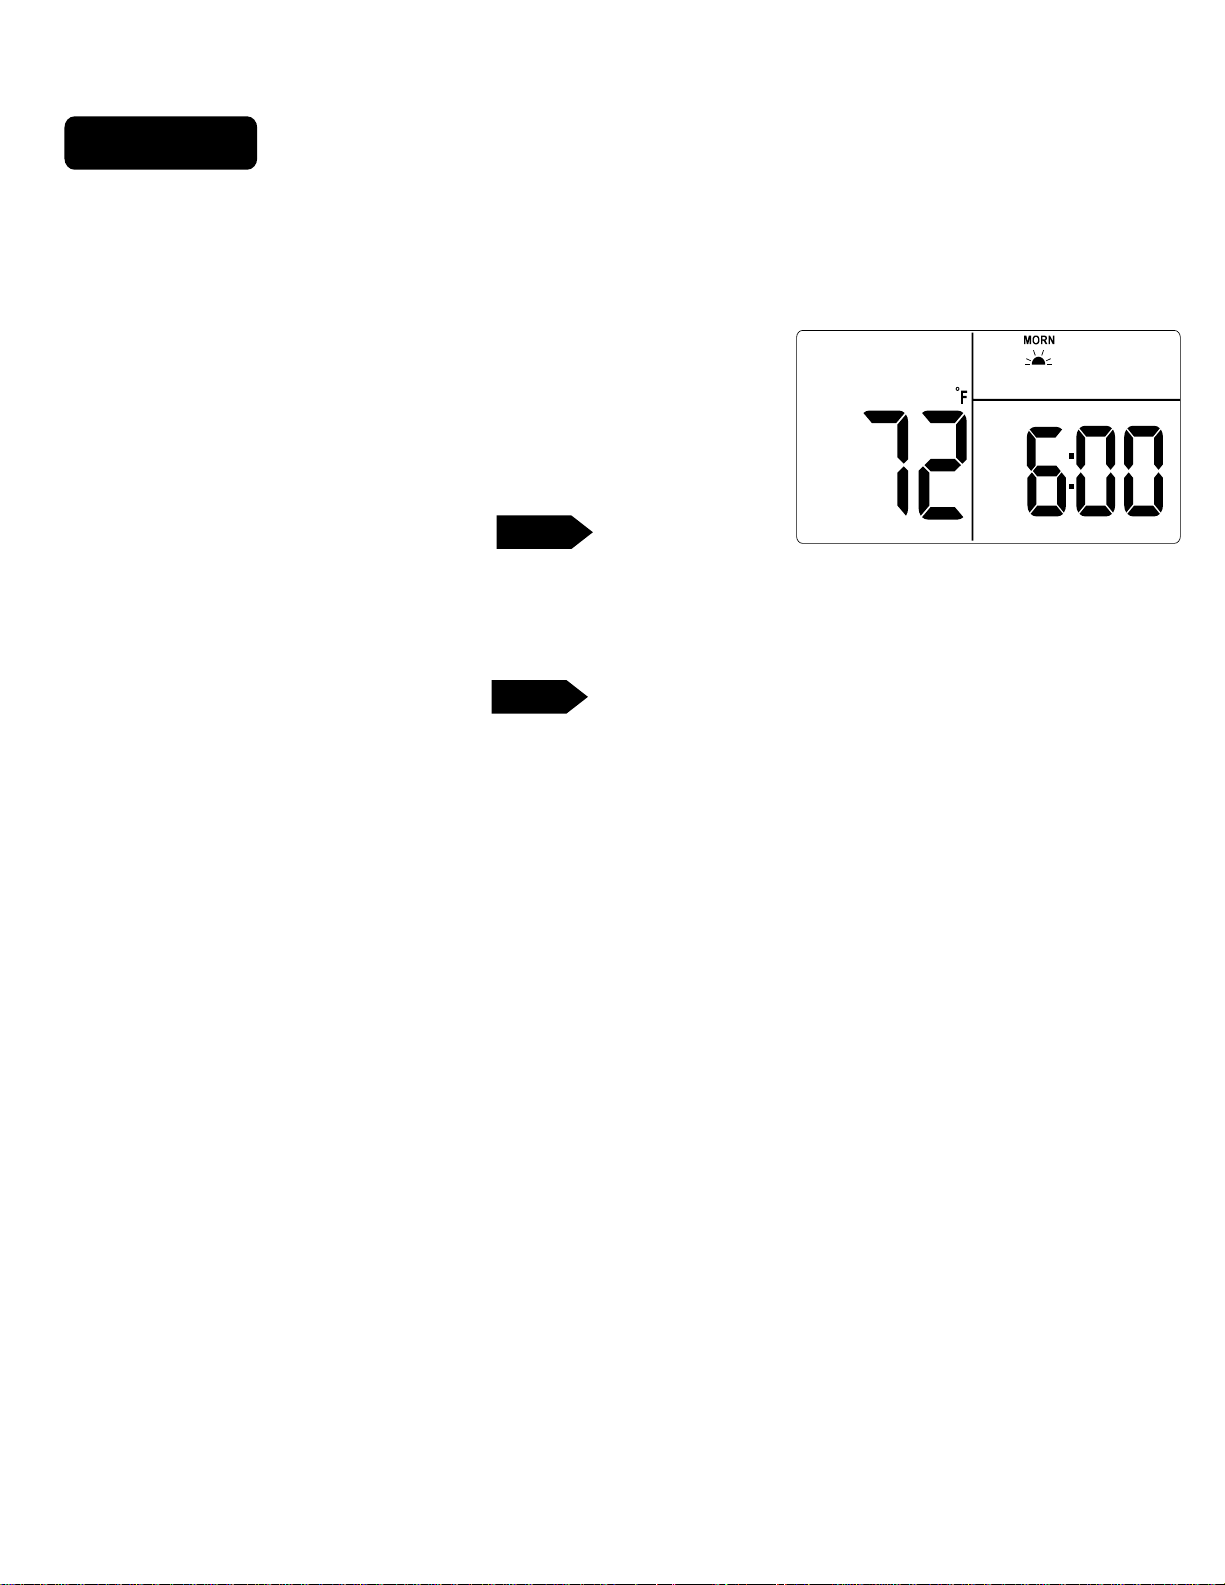
The clock and the ambient temperature are displayed on the right.
They alternate every 2 seconds. One of the TIME SLOT icons
comes on, this indicates the TIME SLOT active in the Energy-Star
.
The programmed temperature is shown on the left. For program details refer to
the Energy-Star
TM
program chart below.
TARGET TEMP
program.
MORN DAY EVE NITE
Tm
program.
ROOM TEMP
PG
3
HEAT
All Days 70oF 62oF 70oF 62oF
P1
6:00am
P2
8:00am
P3
6:00pm
10:00pm
P4
COOL
All Days 78oF 85oF 78oF 82oF
P1
6:00am
P2
8:00am
P3
6:00pm
P4
10:00pm
Page 5
3 Program
NOTE: 60 Second Rule-During programming, if a button is not pushed
within 60 seconds, the unit will go out of the set mode. Everything you have
input in this programming will automatically be saved.
.
Select HEAT with the HEAT/Cool MODE switch.
.
To select the day you want to program: Press
PROGRAM to enter programming mode. The
PROGRAM
show
advance the day selection.
.
Select the TIME SLOT you want to program: To change the TIME SLOT
(
Morn, Day, Eve, Nite
SU
icon will come on. The day icon will
(Sunday). Pressing again will
) press the
DAY
P
NEXT
NEXT
button. The display will cycle through
HEAT2
TARGET TEMP
MO
PROGRAM
AM
ROOM TEMP
the time periods in sequence. Select
.
Select the desired temperature for that TIME SLOT : To change the
temperature for that TIME SLOT press the TEMP UP / TEMP DOWN
buttons.
PG
4
Morn.
Page 6

3 Program cont.
.
Select the time of day you want that TIME SLOT to represent:
To set the time when MORN will begin, press the
move the set point forward or backward in time.
.
Select the next TIME SLOT and program temp and time:
P
Press
time. Select the remaining TIME SLOT's, EVE and NITE. Program their temp
and time info.
.
Repeat the above procedures for each day of the week. Push DAY> button
to cycle through the days.
.
To COPY the program of the current day to another day, press COPY
program once.
day will go solid and the day icon for the destination day will flash. Use the
DAY
day> button to select the destination day.
NEXT
NEXT>
, the display will show DAY, for Period 2. Repeat setting temp and
COPY
will display on the LCD. The day icon for the source
<TIME
or
TIMETIME
DAY
TIME>
buttons to
PG
5
.
Press COPY again to confirm the copy. If you decide you don't want to copy,
Page 7
3 Program cont.
.
To program an alternate or "Special Day" program, that you can access at any
time, press day> until PROGRAM for SPD day is displayed. Repeat
the procedure above to program temp settings for the Special Day.
When finished programming, press HOME to save your program.
.
To program for cooling,
select COOL with the Heat/Cool MODE switch and repeat the above procedure.
.
To REVIEW the program you have entered.
Press PROGRAM once to enter Programming Mode.
Then, press FILTER / REVIEW once,
The display will cycle through the programmed times and temps, showing each
program for 12 seconds. Starting from Sunday; MORN and ending
at Saturday; NITE.
The programmed temperature is shown on the left of the LCD, the programmed
DAY
PG 6
time, day and time slot are shown on the right and right top of the LCD
respectively.
Page 8
4 Special Features
SPD
.
The "Special Day Program" can be used when you are
unexpectedly home or going onvacation and need to
activate an alternate heat / cooling program.
.
With the MODE switch in HEAT or COOL press the
SPECIAL DAY button.
.
When the SPECIAL DAY Program is active, all other day settings are ignored
.
The SPECIAL DAY program will terminate when the mode switch is moved or if the
SPECIAL DAY button is pushed again.
Swing
.
Swing setting determines the temperature difference from ON
to OFF that the thermostat will command the heating/cooling
system to run.
.
With the MODE switch in HEAT or COOL, press the
button.
.
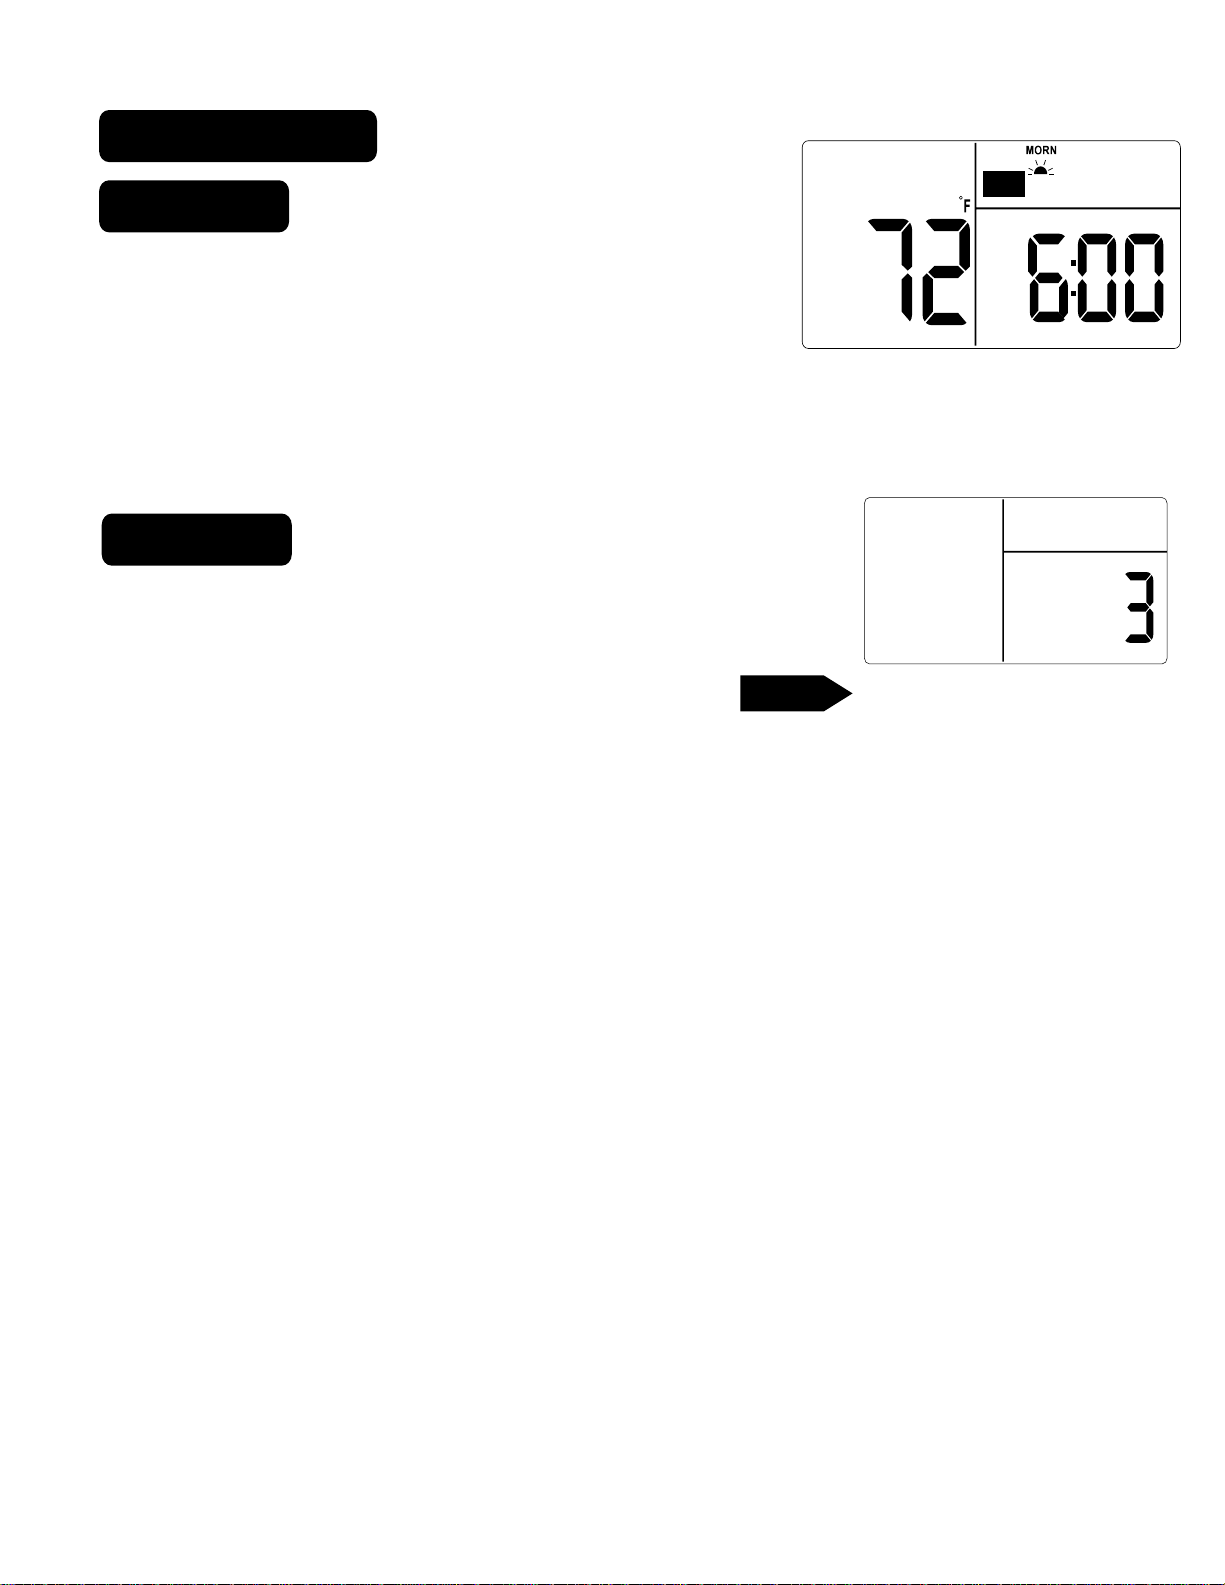
The SET TEMP SWING icon is displayed. The current setting of temp swing is shown on
the display (default at 3 ).
.
To change the swing, push TEMP UP or TEMP DOWN buttons. The furnace will cycle
more at the lower numbers as it tries to keep your set point constant.
.
To complete the swing setting, push the HOME button.
PG
7
TIME
HEAT
TARGET TEMP
SPD
PROGRAM
AM
ROOM TEMP
SWING
Page 9
4 Special Features cont.
Manual
.
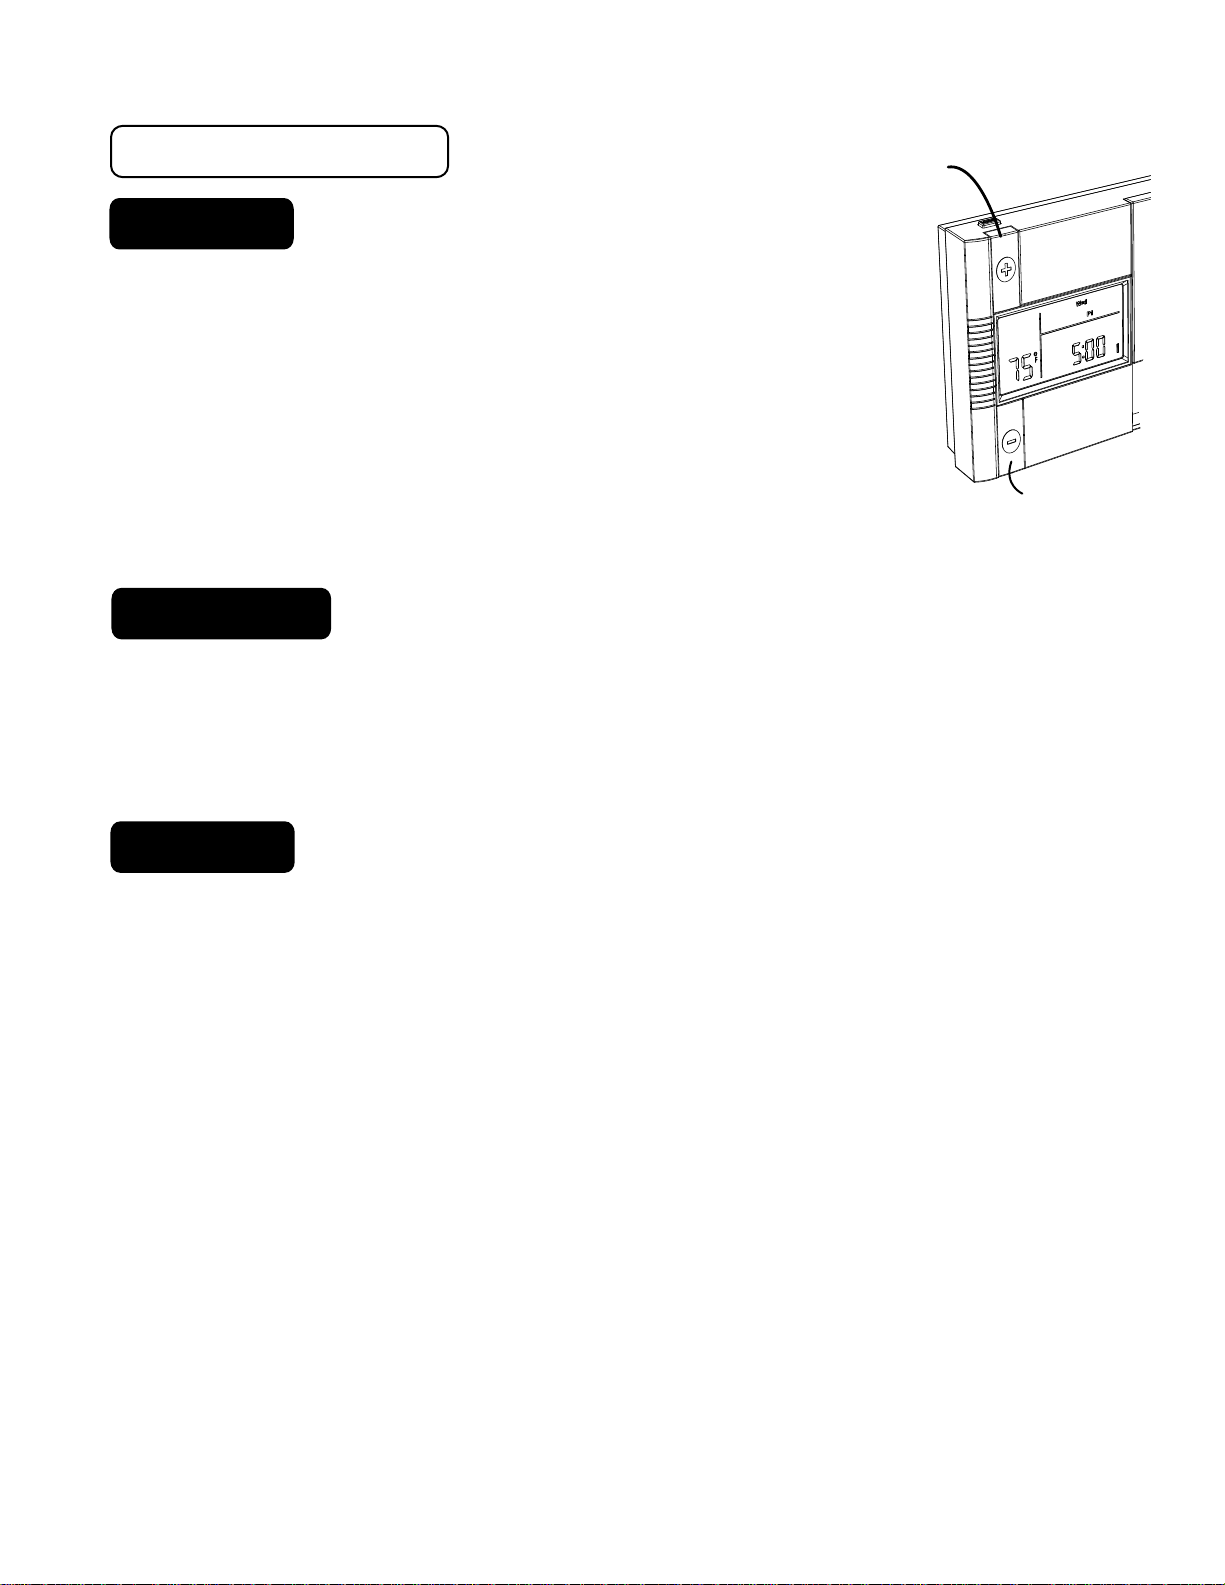
With the MODE switch in HEAT or COOL, push the UP or
DOWN button buttons to temporarily change the control
temperature by 1 degree per step. Press and hold for faster
setting.
.
The OVERRIDE icon comes on which shows the displayed
UP-button
PG
temperature may be different from the programmed setting.
.
The OVERRIDE is canceled at the start of the next time period,
or when the MODE switch is moved, or if
TEMP HOLD
To change and hold the temperature until you return.
.
Open the door and push the
Push the UP or DOWN button buttons to set the hold temperature.
.
HOLD is canceled if MODE switch is moved, or by pressing
Back Light
.
Press Back light or any button for 16-20 sec of light. Press and hold for longer light.
8
HOLD
button. The HOLD icon comes on.
TEMP HOLD
is pressed again.
HOLD
again.
DOWN-button
button
Page 10
4 Special Features cont.
Filter
The life of a heater filter varies depending on many factors, furnace run time,
and this will vary from the filter life noted on the filter media.
.
The GT7000 has a feature that keeps track of actual furnace run time and
reminds you to periodically replace your system's air filter.
.
Press the FILTER button once to review the current filter record.
The FILTER and HR icons come on with accumulated filter hours being displayed.
.
Press to clear the record. Press again to recover the previous record.
.
To see the filter limit setting, press and hold the FILTER button for two seconds.
.
To change the filter limit hours setting, press F. or or B. Press and hold
for faster setting. The filter limit can be set within 000-500 hours.
.
To leave the filter display, press HOME or wait 60 seconds.
Lock
TIME
TIME
TIME
Allows you to lock the Program (to prevent any changes in custom settings)
.
To enable or disable the program lock, press the following buttons one at a time, in
this sequence.
TIME
then FILTER, then SET CLOCK, and last HOME.
.
The LOCK icon (a pad lock) appears when the system is locked.
PG
9
Page 11
4 Special Features cont.
Calibration
NOTE: Your thermostat comes from the factory calibrated to + or - 1 degree F. It is an
accurate instrument. If you want your thermostat to display the same temperature as
another thermometer in your home, you can adjust its calibration.
To change the calibration:
.
Mode switch of the unit must be in the HEAT or COOL position.
.
Press the <Time
.
Press the Temp Up/Temp Down buttons to adjust the temperature reading.
.
Press HOME to save the new setting.
Low Battery
.
When the batteries are low, the battery icon will come on and flash.
The two AA Batteries in the unit need to be replaced. In some installations your
heater system will stop functioning when the thermostat loses power. Replace
TIME
batteries as soon as you see this warning. The thermostat programs will remain
for 30 seconds while the batteries are removed and replaced.
.
Do not take longer than 30 sec to change the batteries in your unit
or you will lose all custom settings and all programming. Only the
Energy-StarTM program will remain. Once the batteries are replaced,
PG
the system will return to normal in 2 seconds.
10
Page 12

PG
11
4 Special Features cont.
Status Indications
COOL will blink when the COOL is running.
HEAT will blink when the HEAT is running.
15 min Delay
(Only applies on 2 stage conventional heating systems )
If your heating system has a second stage of conventional heat (W2) the
thermostat will add the second stage heat source if the first stage does not make
the target temp w/in 15 min.
Page 13
4 Special Features cont.
C or F display
.
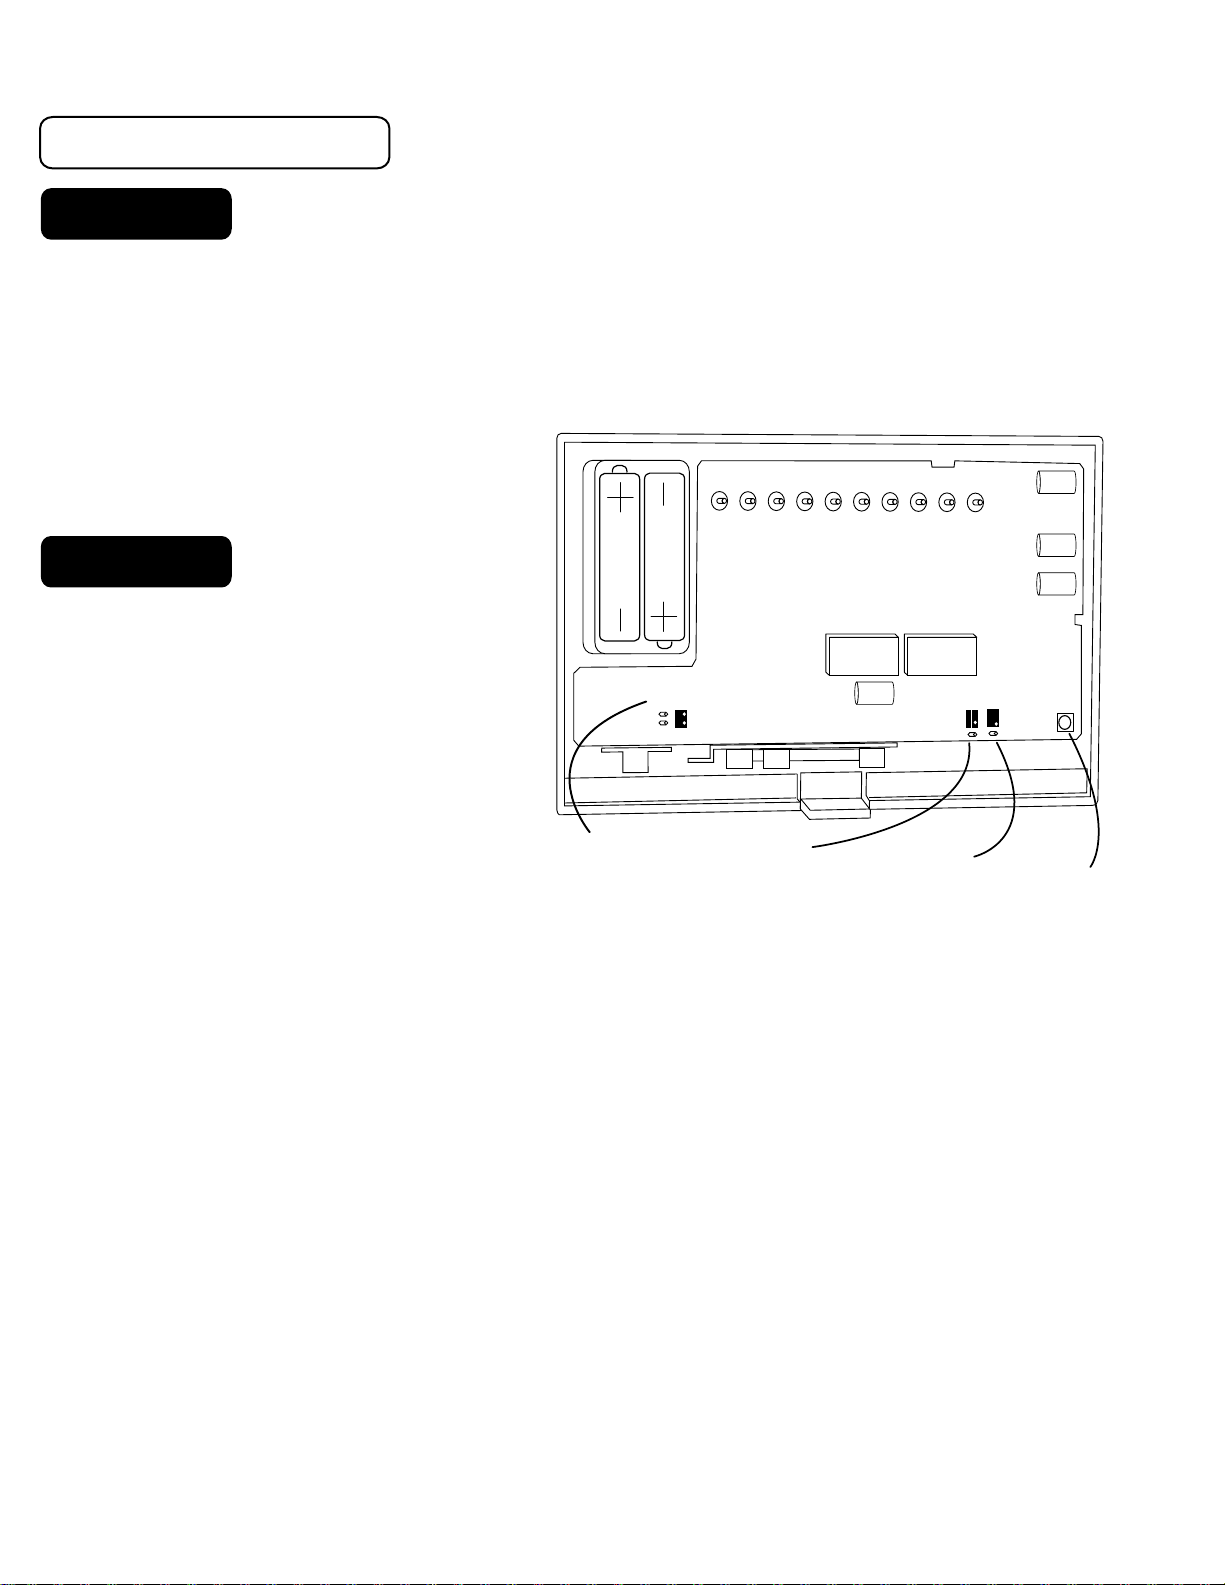
Centigrade / Fahrenheit selection. The C/F jumper is on the back of the thermostat
control unit. Separate the control unit from the wall-mounted terminals.
.
When changed, the thermostat must be reset to activate the change. When
resetting, all custom settings and
programming will be erased
and only the Energy-
12/24 hour
.
The thermostat can display
time in 12 or 24 hour formats.
The 12/24 jumper is on the
back of the thermostat
(see illustration).
.
When changed, the
thermostat must be reset to
activate the change.
A
AA
AA
GAS ELECT
Gas / Electric
jumper
G
Y
W
RH
B
O
Inside of Unit
o
C -oF
jumper
12-24hr
jumper
RC
W2
SHORT C
ON F
C
SHORT24
OPEN12
RESET
button
PG
12
Page 14
Customer Support Website www.Gemtech-thermostats.com
954-917-4160 Gemaire Distributors
1-507-016
 Loading...