

Page 1

W
ireless USB adapter
802.11b/g 54M USB 2.0 wireless LAN adapter
Page 2

W
ireless USB adapter
Page 3

W
ireless USB adapter
Page 4

W
ireless USB adapter
Disclaimer
·
We spared no efforts to make sure that the information in this manual is correct and complete.
However no liability is accepted for any errors or omissions. Gembird Electronics reserves the
right to change the specifications of the hardware and software described in this manual
without prior notice.
·
No part of this manual may be reproduced, transmitted or translated in any language in any
form, by any means, without the prior written permission of Gembird Electronics Ltd.
·
Gembird Electronics makes no warranties for damages resulting from corrupted or lost data due
to a mistaken operation or malfunction of the product, the software, personal computers or
peripheral devices.
Gembird® is a registered trademark of GMB Tech (Holland)
bv.
Other names or products not mentioned above may be registered trademarks or trademarks of their
respective owners.
Copyright © 200
7 Gembird Electronics Ltd. All rights reserved.
Page 5

W
ireless USB adapter
Page 6

W
ireless USB adapter
Introduction
Thank you for buying the Gembird® 802.11b/g 54M USB 2.0 wireless LAN adapter! This
manual will help you insta
ll and use it properly.
Features
· Supports data transfer rate up to 54Mbps
· Auto fallback data rate under noisy environment
· All modern encryption security standards including 256-bit
· Supports Wireless Roaming - can be moved from one access point to another without
interruption of connection
NICW
-
U3
Use
r manual
Page 7

W
ireless USB adapter
Specification
· Complies with IEEE802.11g, IEEE802.11b
· Transmit Speed Auto-Negotiation, up to 54M
· USB 2.0 connector
· Supports Ad-Hoc/Infrastructure modes
· Standard / protocol: IEEE 802.11g; IEEE 802.11b; USB2.0; CSMA/CA with ACK
· Frequency Range: 2.4-2.4835GHz
· Data Rate: 54/48/36/24/18/12/9/6/11/5.5/2/1 Mbps (Auto Rate Sensing for
OFDM/CCK/QPSK/BPSK modulation Technology)
· Security: WPA; 64/128/256-bit WEP; TKIP/AES, WEP2
· Modulation technology: Orthogonal Frequency Division Multiplexing
(OFDM)/Complementary Code Keying (CCK)
· Transmitter output power: 20dBm (MAX)
· Internal antenna type
· Supports Windows 2000/XP/VISTA; Linux(Unix); Mac OS(10.3/10.4)
· Size: 114.3mm*54mm*8.7mm
· Weight: 55g
· Operating temperature: 0 ~ 40C
· Storage temperature: -40 ~ 70C
· Humidity: 5 ~ 95% non-condensing
Page 8

W
ireless USB adapter
Installation
Install illustration: "The CD-ROM installs method" is belong to a method of normal install drive,
if appear an unconventional
ity during the period of installation, Please handle according to "System
install method automatically" or "Equipments management machine install method" (the following
instruction setup the USB wireless adapter under Windows XP).
CD
-ROM installs method
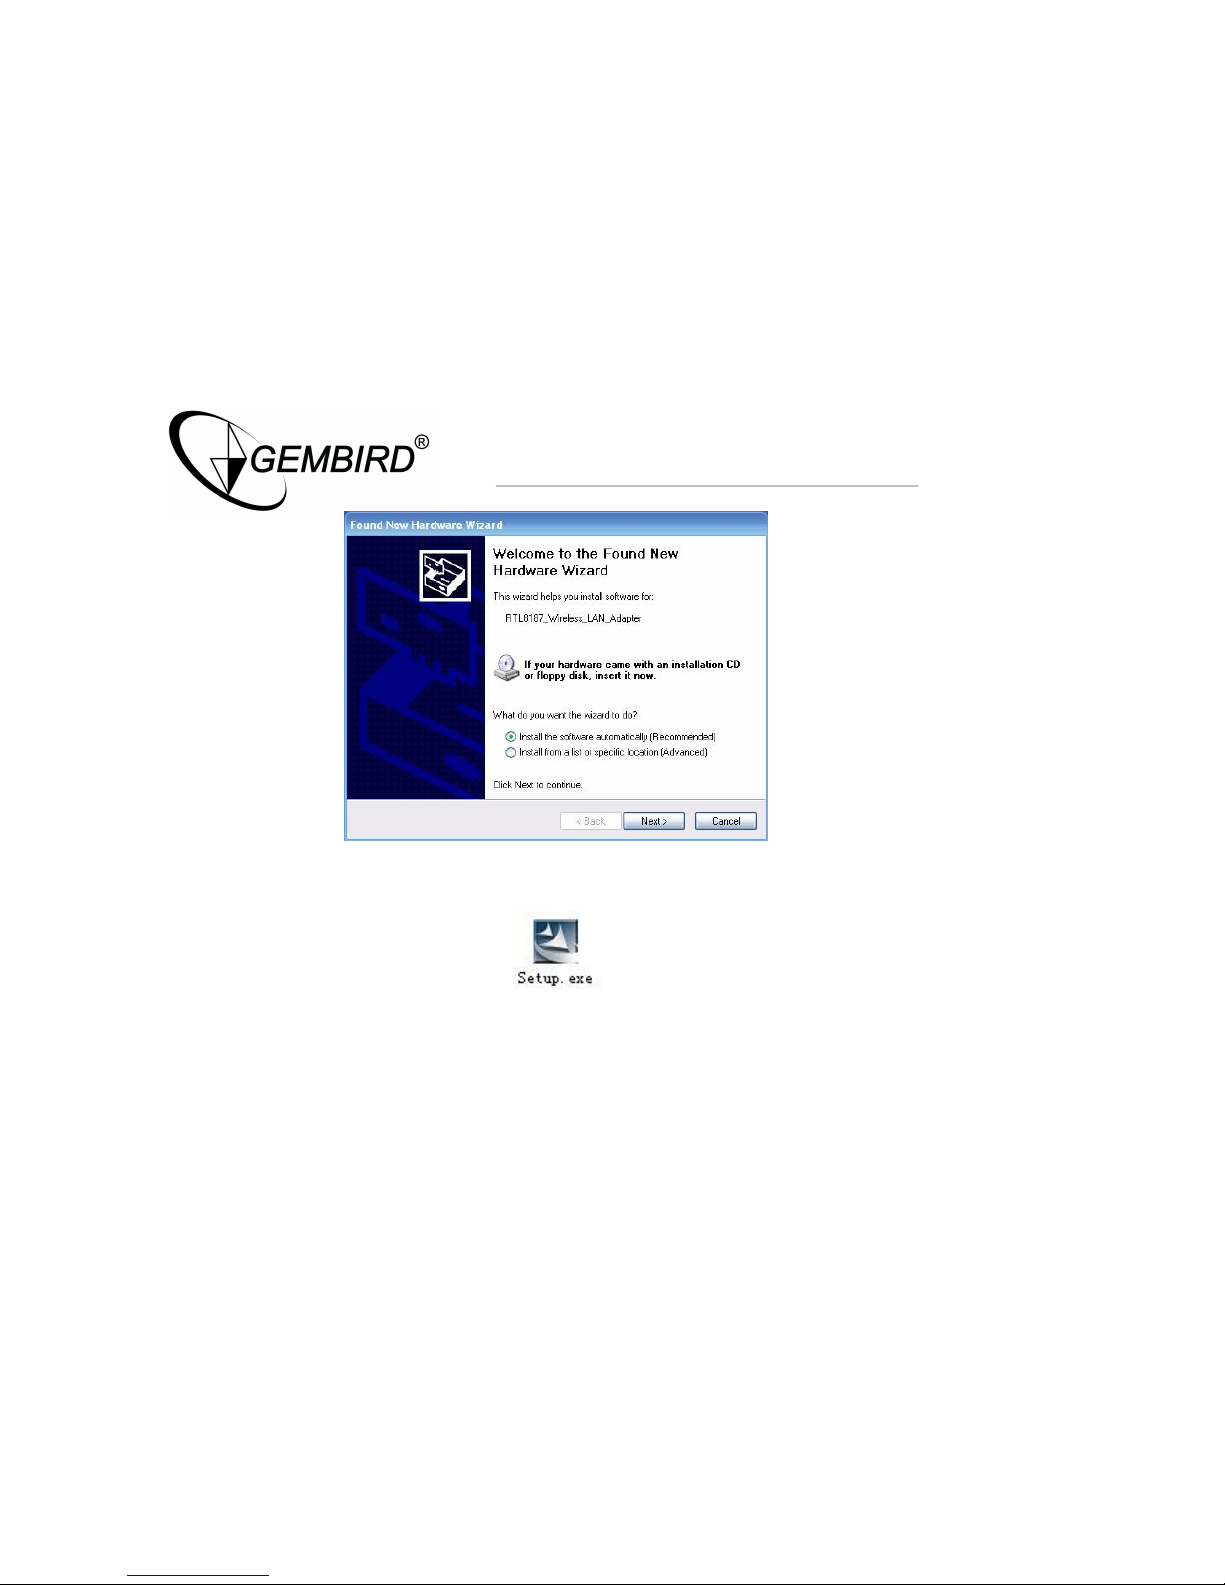
· First insert the USB wireless to USB port of the computer. After turn on the computer
power to enter operation system, the system will show "FOUND NEW HARDWARE
WIZARD", and click "cancel" close dialog box.
Page 9
W
ireless USB adapter
· Please put the driver CD into the CD-ROM, and double click "Setup.exe". (Fig 3)
Page 10

W
ireless USB adapter
· The system appears a dialog box automatically for drive to install. Customer according to
"drive to install a wizard to carry on to install gradually".
· The installs procedure finished, click "Finish".
Note:
If at installs procedure doesn’t pass the Microsoft Attestation, click "still continue" here.
Page 11

W
ireless USB adapter
System installs method automatically
· First time, Refer to "CD-ROM installs method" step 2 to installs driver, the system appear
"find out a new hardware wizard" dialog box open automatically, after find out the
equipments, the choice "from the software automatically", the Click "next move".
Page 12

W
ireless USB adapter
· In "Please choose your search and installation options" dialog box, Click "Browse" to
designate paths of driver, and click "Next".
Example: (CD-ROM) E:\driver\RTL8187\WINXP
Page 13

W
ireless USB adapter
· The system appear installs software procedure.
· Then installs finished, Click" finish" to complete installs.
Note:
If at installs procedure doesn’t pass the Microsoft Attestation, click" still continue" here.
Page 14

W
ireless USB adapter
Equipments management installs method
· First insert the USB wireless adapter to USB port of the computer. After turn on the
computer power to enter operation system, the system could show “FOUND NEW
HARDWARE WIZARD”, and click "cancel" close dialog box
· Use right key to Click "my computer", appear attribute dialog box, choose "properties →
hardware → device manger", select “device manger”
Page 15

W
ireless USB adapter
· On “device manger” dialog box, Choose “ Ethernet Controller”
Page 16

W
ireless USB adapter
Page 17

W
ireless USB adapter
· Use right key click the equipments , choose " Update driver …".
· Appear dialog box, and choose “Install from a list or specific location (Advanced)”, click
“Next”.
Page 18

W
ireless USB adapter
· Last step refer to “The system installs method automatically” step 2 … 4.
Page 19
W
ireless USB adapter
Configuration your wireless adapter
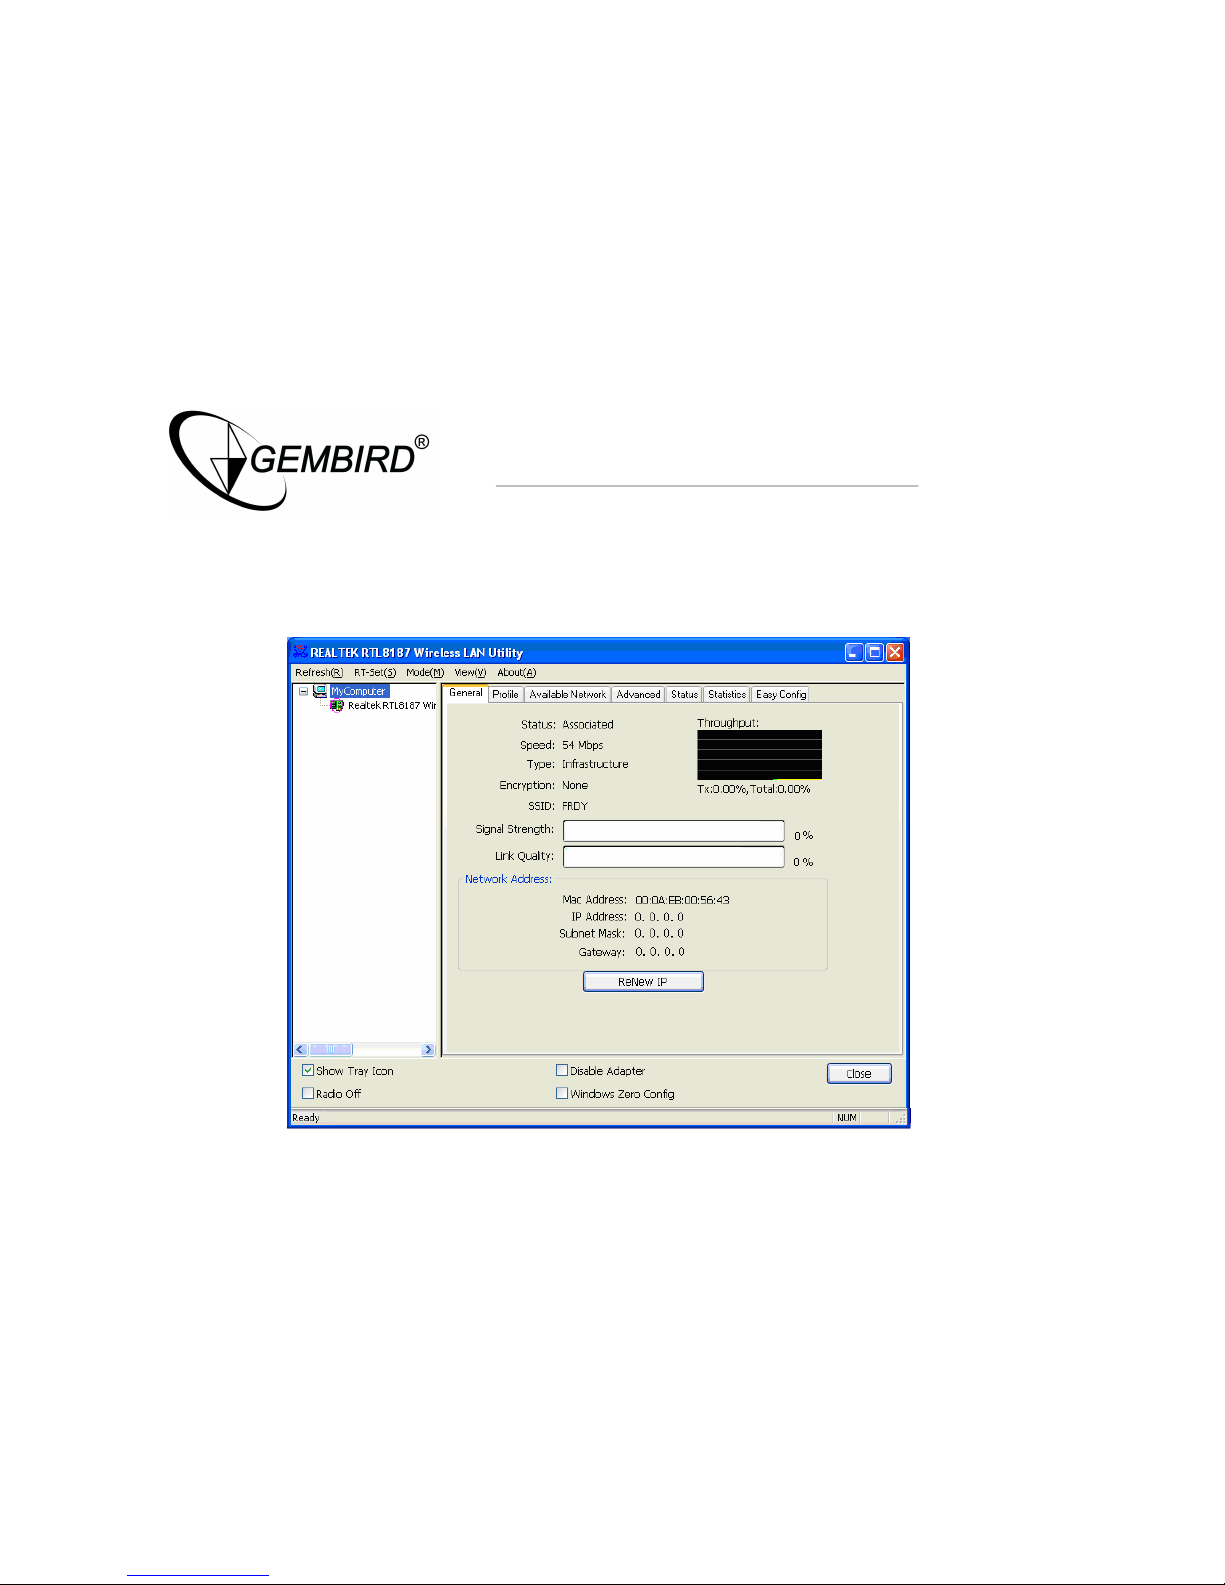
· The Wireless Client Configuration Utility screen will appear automatically.
Page 20

W
ireless USB adapter
Page 21
W
ireless USB adapter
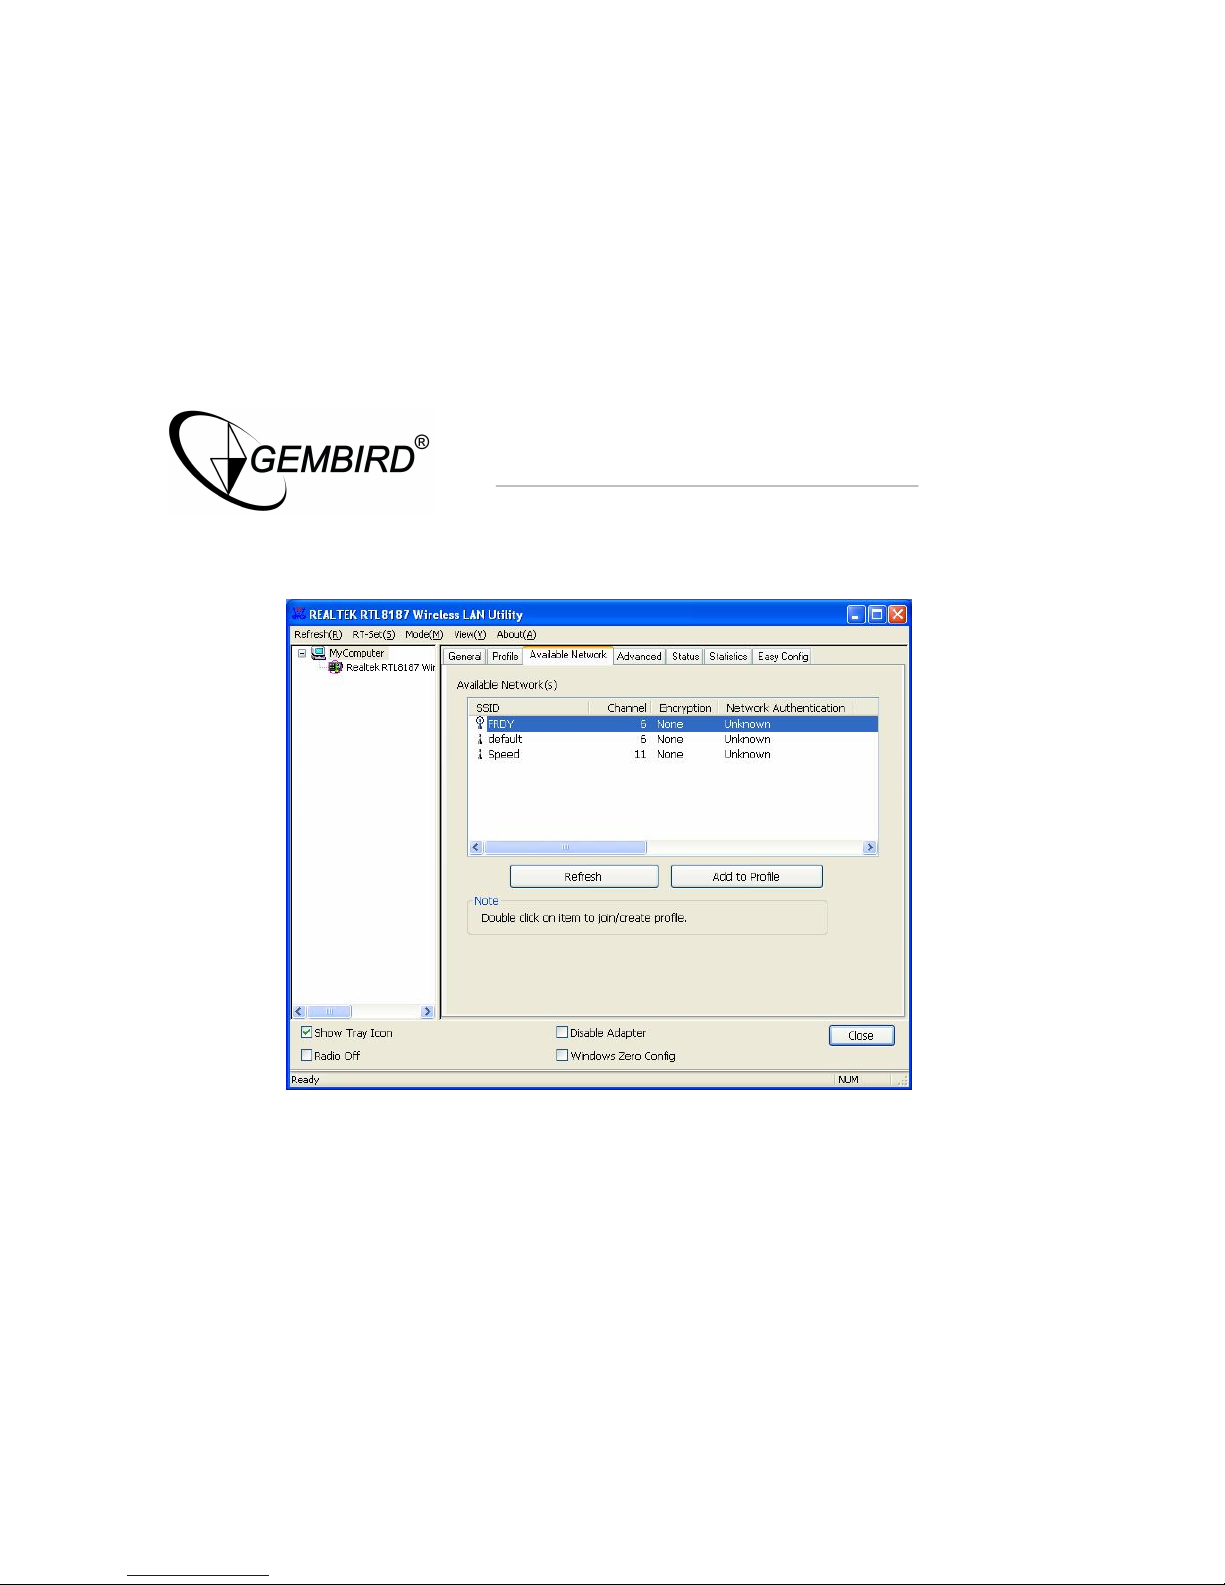
· Chose Available Network into Available Network dialog box, then click Refresh button to
search for available wireless networks.
Page 22
W
ireless USB adapter
· To connect to one of the networks on the list, select the wireless network, and click Add to
profile button.
Page 23
W
ireless USB adapter
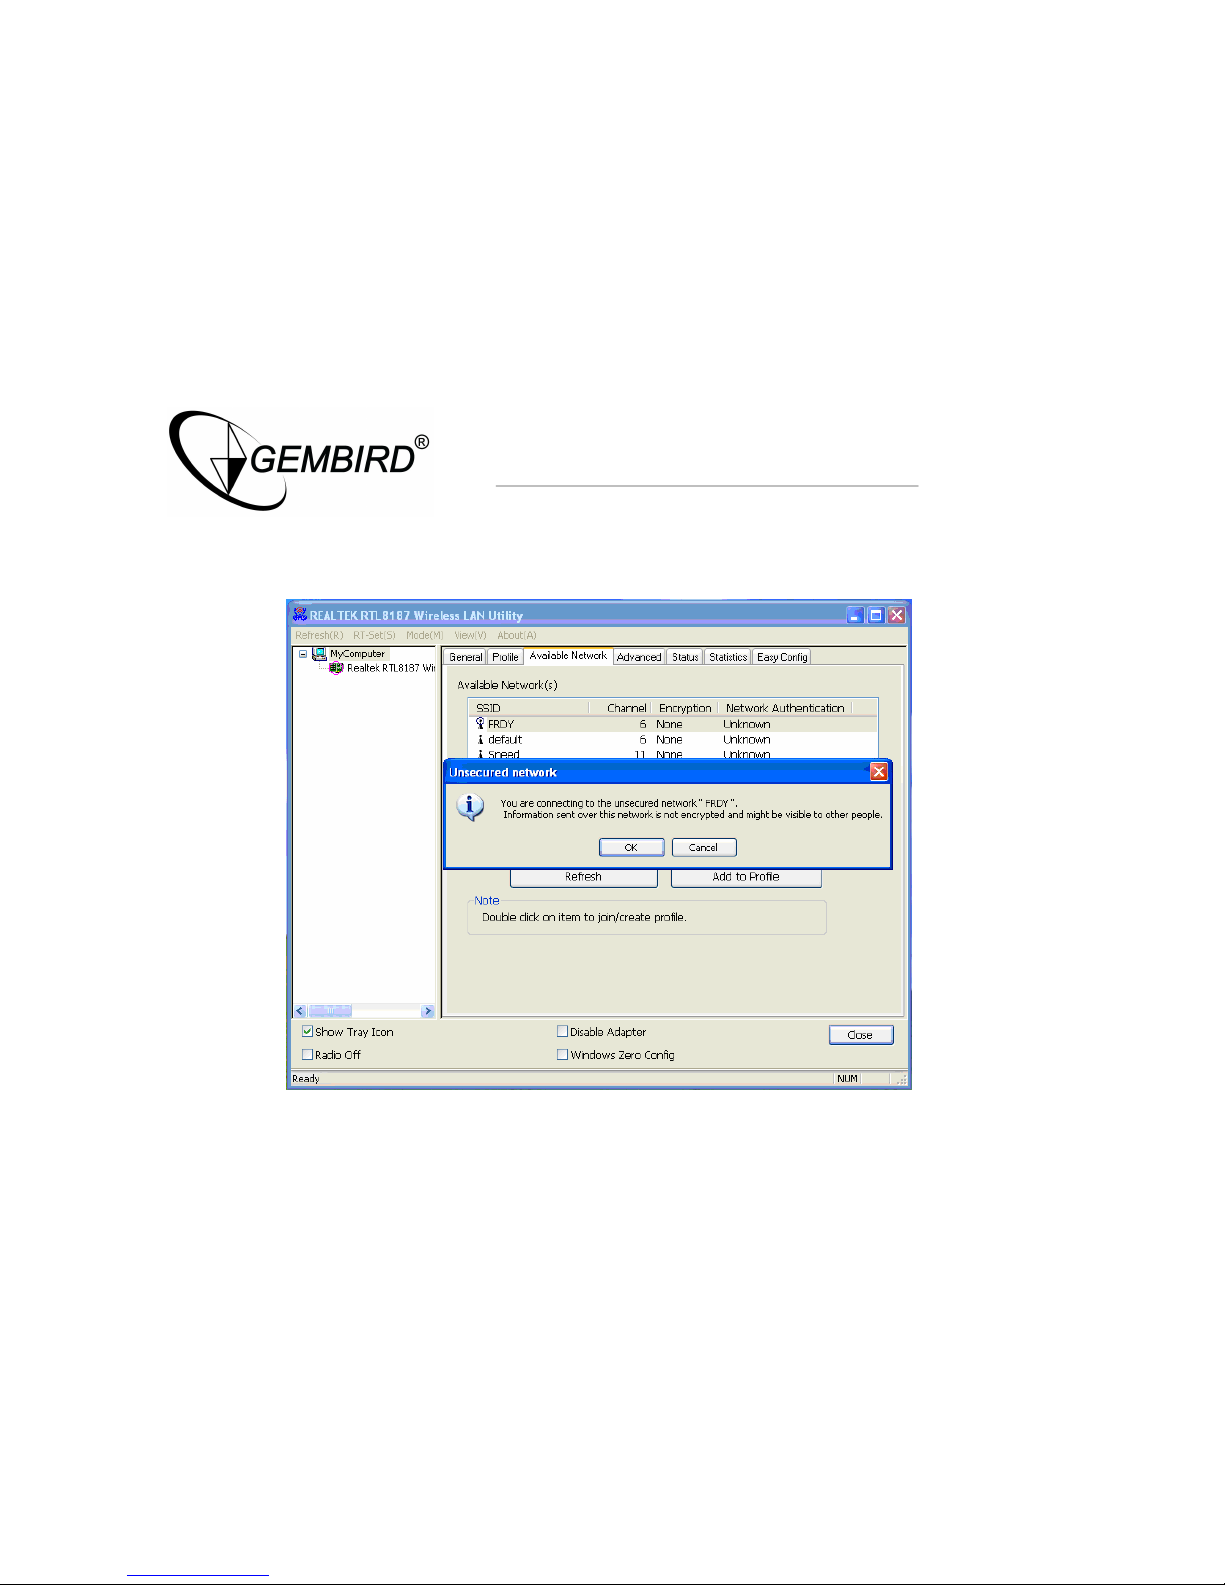
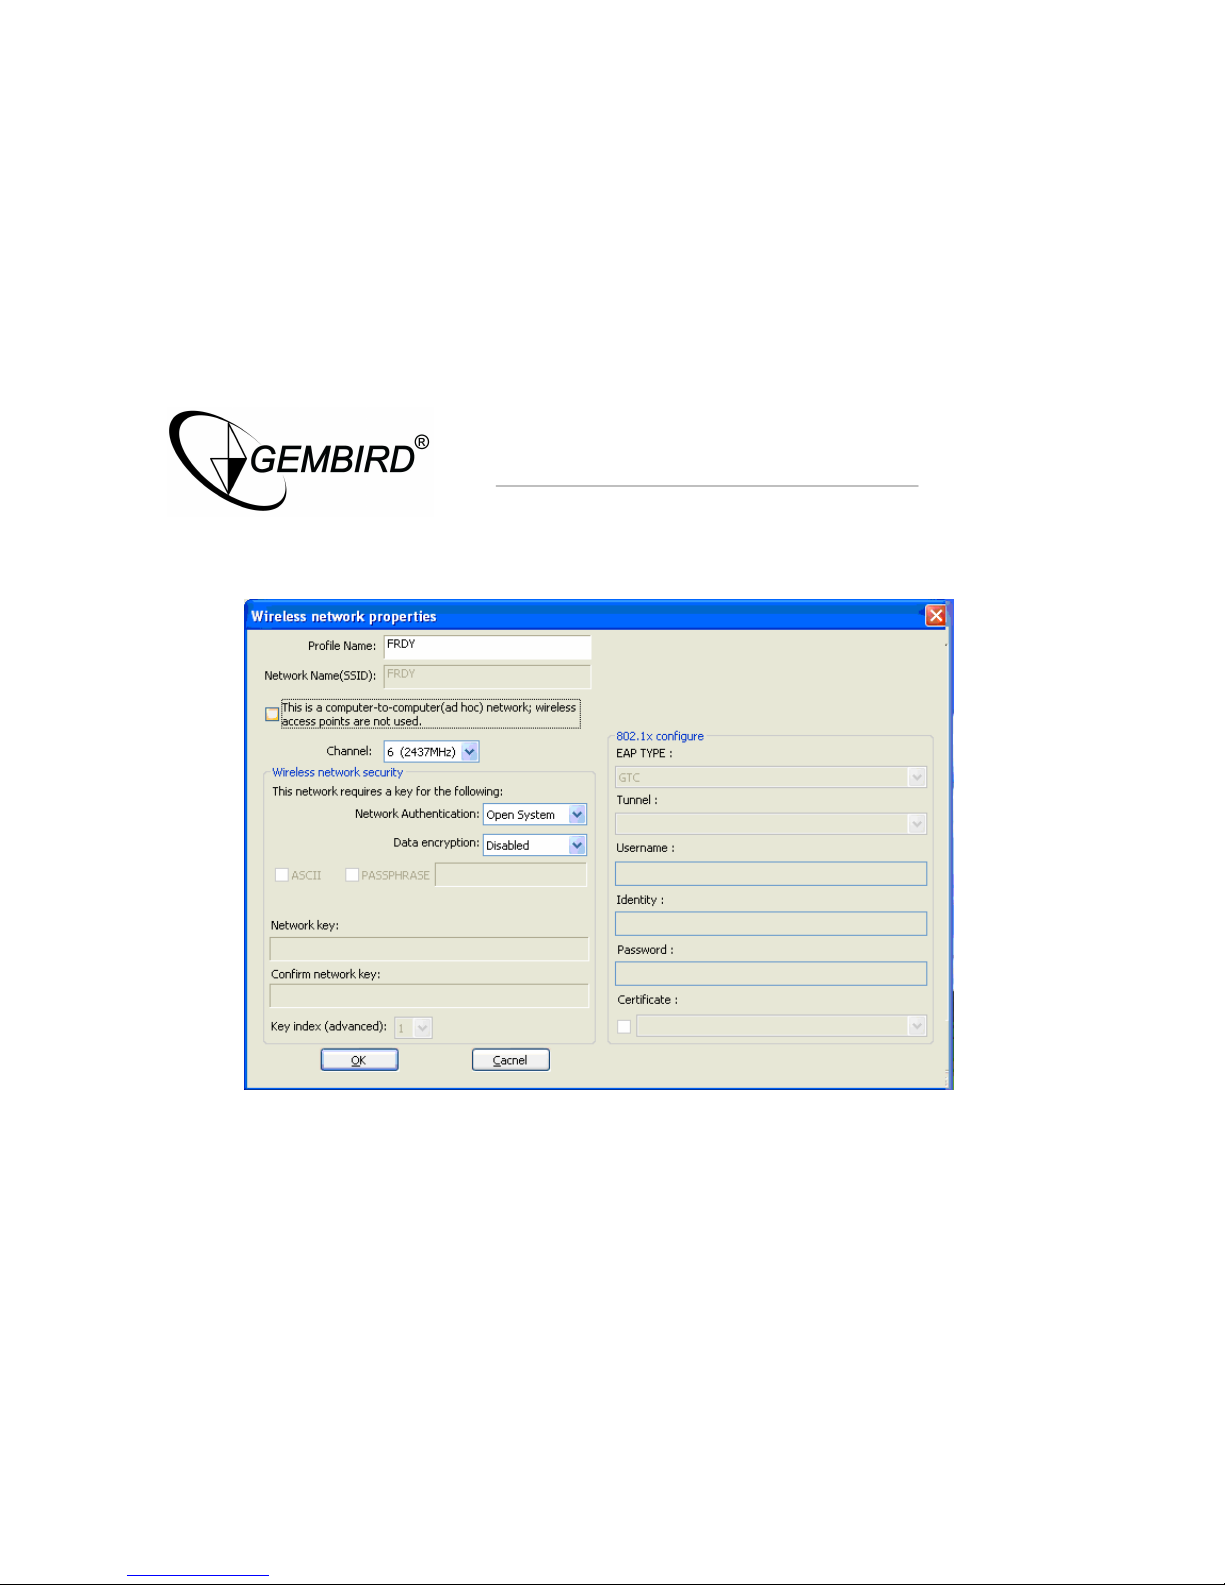
· Then Click OK button, appear a Wireless network properties dialog box, click OK button
back to PROFIL option screen
Page 24
W
ireless USB adapter
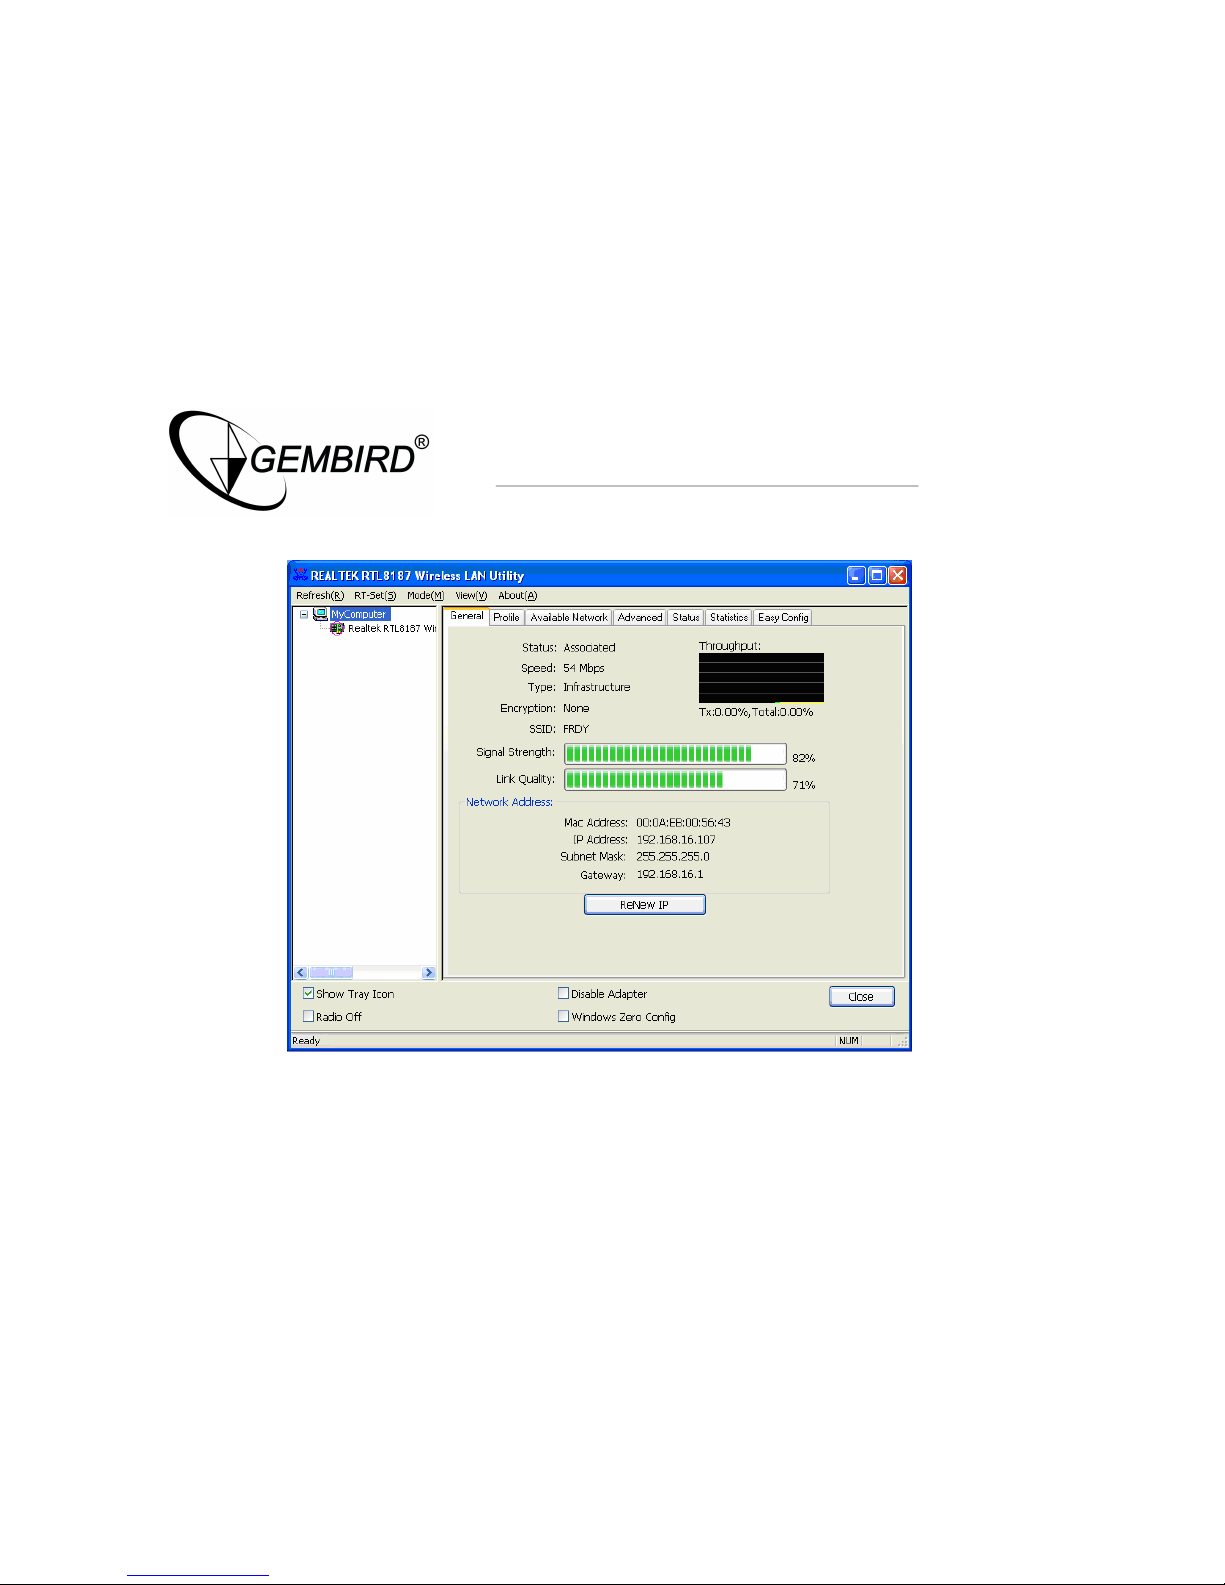
· Then click General option screen, View network state on the option screen
Page 25

W
ireless USB adapter
Congratulations! You’ve successfully configured your wireless adapter!
Page 26

W
ireless USB adapter
 Loading...