

Page 1
USER MANUAL
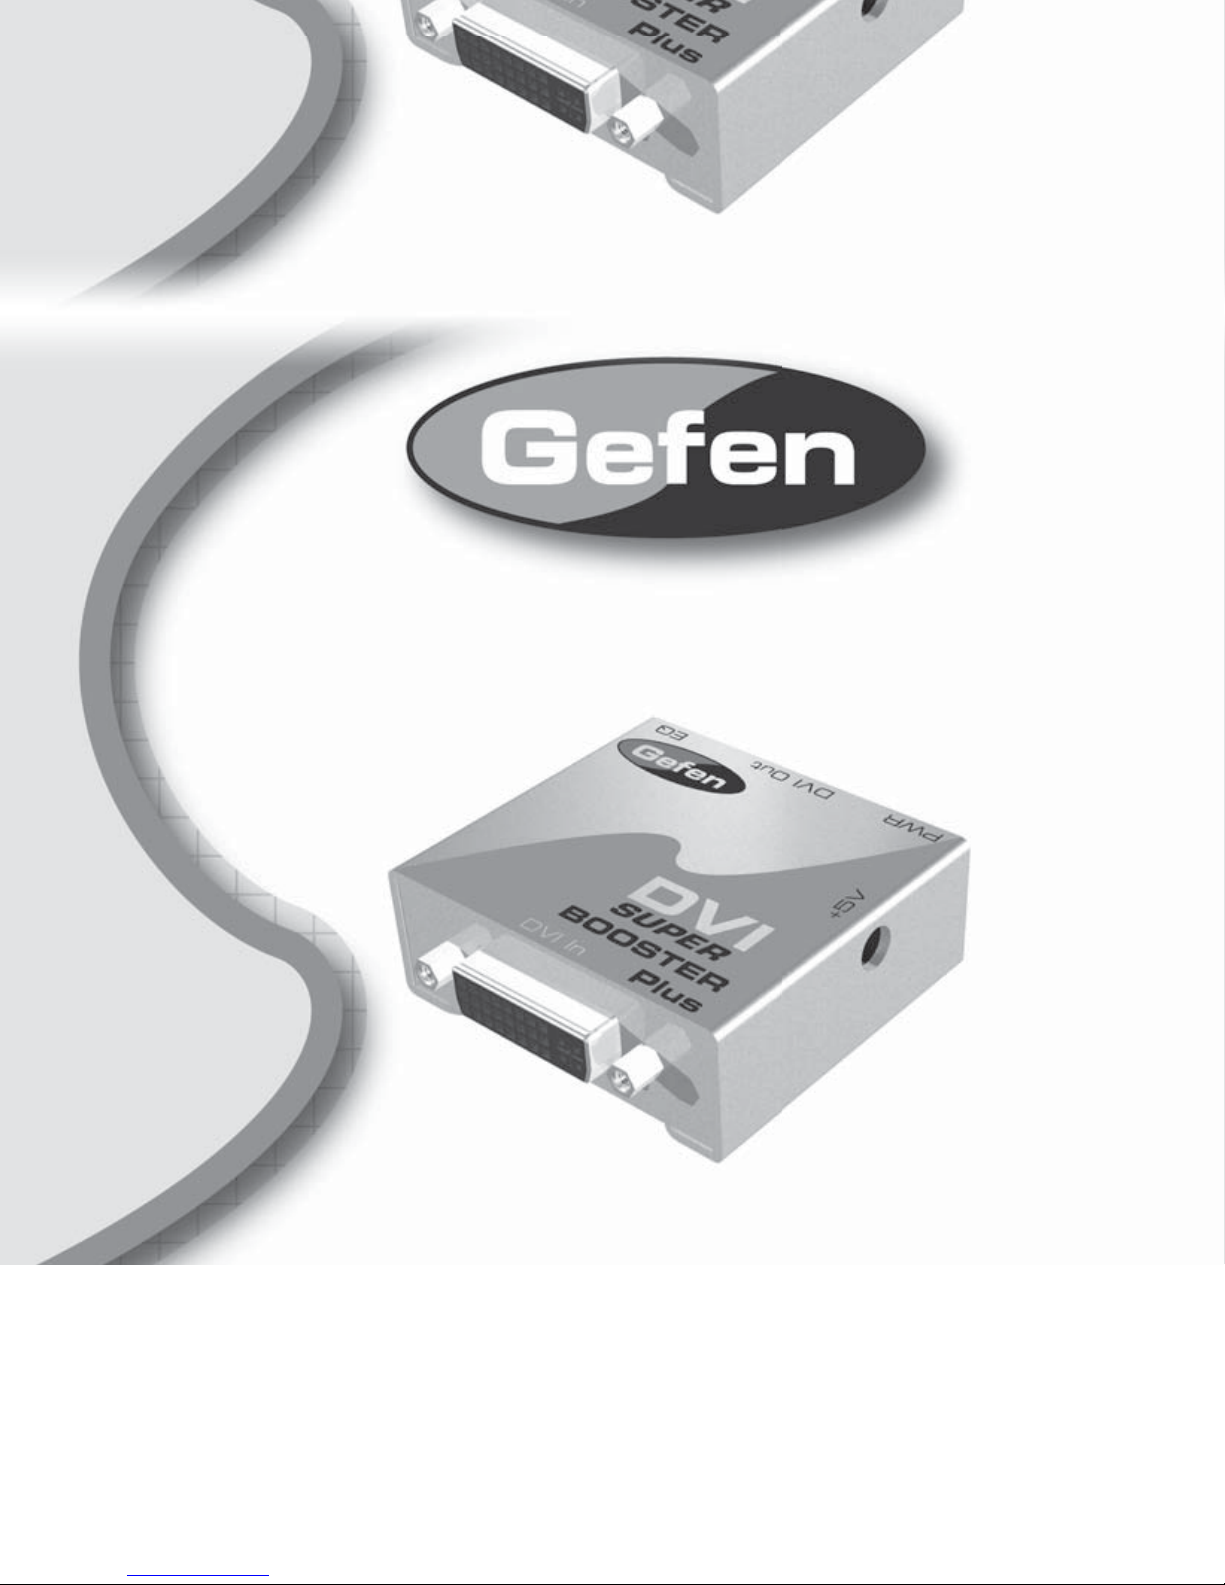
DVI Super Booster Plus
USER MANUAL
www.gefen.com
www.gefen.com
Page 2

Technical Support Hours:
8:00 AM to 5:00 PM Monday thru Friday.
Write To:
Gefen Inc.
C/O Customer Service
20600 Nordhoff St.
Chatsworth, CA 91311
support@gefen.com
www.gefen.com
Notice
Gefen Inc. reserves the right to make changes in the hard ware, packaging and any accompanying
doc u men ta tion without prior written notice.
The DVI Super Booster Plus is a trademark of Gefen Inc.
© 2008 Gefen Inc., All Rights Reserved
Technical Support:
Telephone (818) 772-9100
(800) 545-6900
Fax (818) 772-9120
Technical Support Hours:
8:00 AM to 5:00 PM Monday thru Friday.
Write To:
Gefen Inc.
C/O Customer Service
20600 Nordhoff St.
Chatsworth, CA 91311
support@gefen.com
www.gefen.com
Notice
Gefen Inc. reserves the right to make changes in the hard ware, packaging and any accompanying
doc u men ta tion without prior written notice.
The DVI Super Booster Plus is a trademark of Gefen Inc.
© 2008 Gefen Inc., All Rights Reserved
ASKING FOR ASSISTANCE
Page 3

TABLE OF CONTENTS
Panel Layout
Connecting and Operating the DVI Super Booster Plus
Auto Equalization
Specifi cations
Warranty
Introduction
Features
Panel Layout
Connecting and Operating the DVI Super Booster Plus
Auto Equalization
Specifi cations
Warranty
3
4
5
6
7
1
2
3
4
5
6
7
Page 4

INTRODUCTION
the DVI signal before it is output to the DVI monitor or projector. The DVI Super
Booster Plus will clean out the digital noise (sparkles) in your picture. The DVI Super
Booster Plus is connected with a DVI (male to male) cable from the computer DVI
graphic port to the DVI Super Booster input. The DVI Super Booster’s output uses
a second DVI (male to male) cable to go from the output to any DVI display or
projector with a DVI connector. The DVI Super Booster Plus regenerates the video
signal so it must be placed at the end of the cable run, close to the display.
Congratulations on your purchase of the DVI Super Booster Plus. Your complete
satisfaction is very important to us.
The DVI Super Booster Plus extends the length of any DVI cable by regenerating
the DVI signal before it is output to the DVI monitor or projector. The DVI Super
Booster Plus will clean out the digital noise (sparkles) in your picture. The DVI Super
Booster Plus is connected with a DVI (male to male) cable from the computer DVI
graphic port to the DVI Super Booster input. The DVI Super Booster’s output uses
a second DVI (male to male) cable to go from the output to any DVI display or
projector with a DVI connector. The DVI Super Booster Plus regenerates the video
signal so it must be placed at the end of the cable run, close to the display.
1
1
Page 5

FEATURES
Extends DVI displays away from the HDTV source
Maintains highest Single Link resolutions up to 1080p/1920x1200
Supports DDWG standard for DVI compliant monitors
HDCP Compliant
Includes:
(1) DVI Super Booster
(1) 5VDC Power Supply
(1) User’s Manual
Features
Perfects digital video sent over long stretches of DVI cables
Extends DVI displays away from the HDTV source
Maintains highest Single Link resolutions up to 1080p/1920x1200
Supports DDWG standard for DVI compliant monitors
HDCP Compliant
Includes:
(1) DVI Super Booster
(1) 5VDC Power Supply
(1) User’s Manual
•
•
•
•
•
•
•
•
•
2
2
Page 6

Front Panel
Back Panel
Back Panel
Adjustment
Manual EQ
Adjustment
Indicator
Power LED
Indicator
DVI In
DVI In
DVI Out
DVI Out
PANEL LAYOUT
3
3
Page 7

CONNECTING AND OPERATING THE DVI DETECTIVE
2.
3.
4.
5.
1.
2.
3.
4.
5.
Connect a short DVI cable from the “DVI Out” connection in the back of the DVI
Super Booster to your display or projector
Plug the 5v power supply into the DVI Super Booster.
Plug the 5v wall mount power supply into the wall outlet.
Adjust the trim pot on the front of the unit to tune the signal and eliminate any
video noise.
Note: Instead of manually adjusting the EQ to reduce image noise, the DVI
Super Booster Plus has the ability to do auto equalization. To enable the Auto
EQ, remove the silver sticker on the bottom of the unit to reveal the service dip
switch. By default, the switches should both be in the OFF position. Flip dip
switch 1 to the ON position to enable Auto EQ. If the image is degraded or has
any video noise in this mode, please disable the Auto EQ and adjust the image
manually.
Connect the long DVI cable from the source into the “DVI In” on the front of the
DVI Super Booster. The DVI Super Booster is placed next to your display to
regenerate the DVI cable.
Connect a short DVI cable from the “DVI Out” connection in the back of the DVI
Super Booster to your display or projector
Plug the 5v power supply into the DVI Super Booster.
Plug the 5v wall mount power supply into the wall outlet.
Adjust the trim pot on the front of the unit to tune the signal and eliminate any
video noise.
Note: Instead of manually adjusting the EQ to reduce image noise, the DVI
Super Booster Plus has the ability to do auto equalization. To enable the Auto
EQ, remove the silver sticker on the bottom of the unit to reveal the service dip
switch. By default, the switches should both be in the OFF position. Flip dip
switch 1 to the ON position to enable Auto EQ. If the image is degraded or has
any video noise in this mode, please disable the Auto EQ and adjust the image
manually.
4
4
Page 8

Remove the silver
tape to expose the
Dip Switch Bank
Auto EQ ON
1
ON
2
Remove the silver
tape to expose the
Dip Switch Bank
Auto EQ OFF
(Default)
Auto EQ ON
1
ON
2
1
ON
2
AUTO EQUALIZATION
By default, both Dip Switches should be in the off position as shown above. To
enable the Auto EQ, please fl ip Dip Switch 1 to the ON position. You must then
proceed to manually adjust the EQ by turning the EQ trim pot on the front of the unit
in small increments. It is important to turn the dial in very small increments as the
“sweet spot” at which all video noise is eliminated can be very small.
5
5
Page 9

Input DDC Signal .............................................................................. 5 volts p-p (TTL)
Maximum Single Link Range ....................................................... 1920 x 1200 x 60hz
DVI Input/Output Connector Type ..................................................................... DVI-D
Power Consumption ........................................................................................ 5 Watts
(max)
Power Supply…………………….. ...................................................................... 5VDC
Dimensions .............................................................................. 1.75”W x 1”H x 2.25”D
Shipping Weight ................................................................................................. 2 Lbs
Video Amplifi er Bandwidth ............................................................................ 165 MHz
Input Video Signal ................................................................................... 1.2 volts p-p
Input DDC Signal .............................................................................. 5 volts p-p (TTL)
Maximum Single Link Range ....................................................... 1920 x 1200 x 60hz
DVI Input/Output Connector Type ..................................................................... DVI-D
Power Consumption ........................................................................................ 5 Watts
(max)
Power Supply…………………….. ...................................................................... 5VDC
Dimensions .............................................................................. 1.75”W x 1”H x 2.25”D
Shipping Weight ................................................................................................. 2 Lbs
SPECIFICATIONS
6
6
 Loading...