

Page 1
Quick Start Card
in.yj-2™ North American version
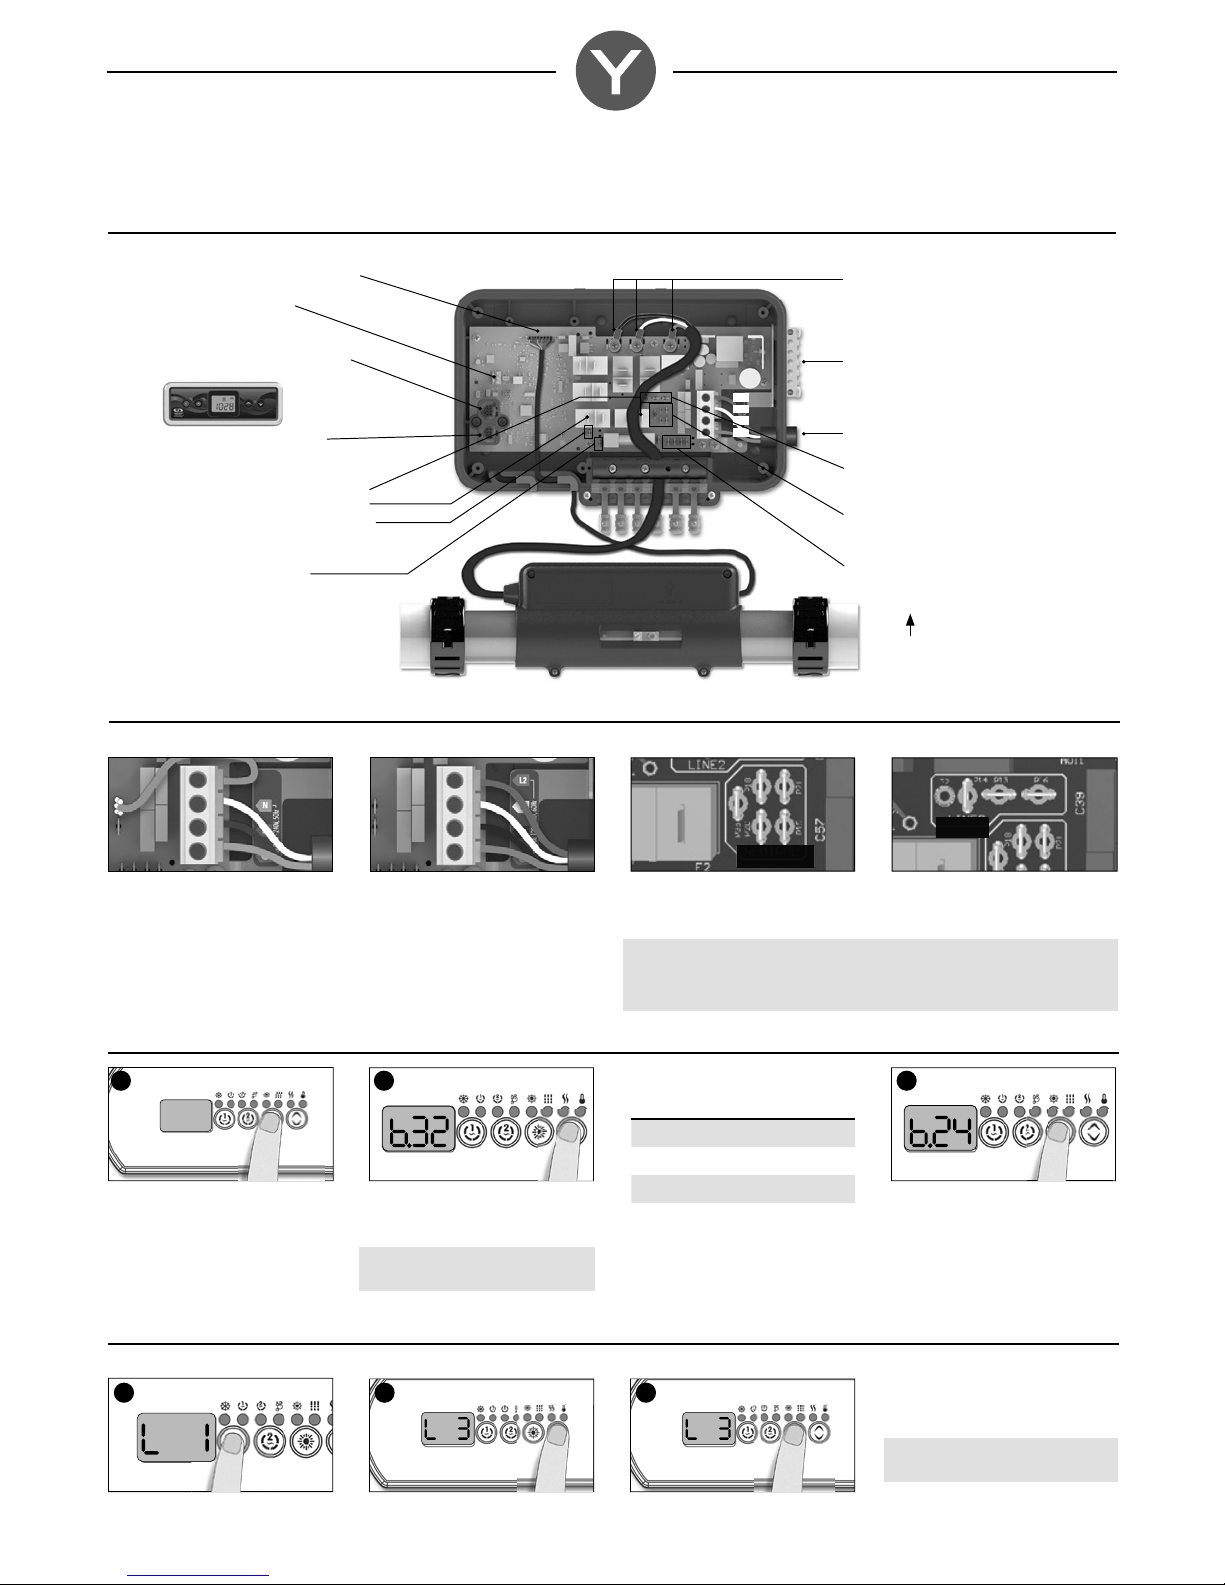
1- Connect all outputs & keypads
By default, this pack runs on Low level 1. Pump 1 dual speed, a 12 V light and a 4kW heater at 240 V.
P1 - Heater communication cable
P33 - Light output
(Max. 0.5A @ 12 V DC)
CO - Communication links
in.touch, in.stik, Aux keypad, etc.
C1 - Main keypad connector
Outputs:
Pump 1 High speed - Out 2: K7-P
Pump 1 Low speed - Out 1: K6-P
Ozone: P23 (with Pump 1 Low speed
WARNING: The ozone voltage input
must be same as Pump 1.)
Audio/Video - Direct: P25
Heater connections
(P3 & P4 Element, P5 Ground)
Bonding lugs:
connect redundant ground
L2
N
L1
G
cable to heater, pumps, etc.
Main power entry connection
Ø 2.54 cm (1'')
Line 2: Connect White wire from
240V pump/acc.: P14, P15, P16
Neutral: Connect White wire from
120V pump/acc.: P18, P19, P20
Ground: connect all Green wire from
pump/acc.: P27, P28, P29 or P30
This side up
2- Connect the main power
75 L/min (18 GPM) minimum water flow required.
2.a- Electrical wiring 2.b- Pump & accessory voltage
NEUTRAL
120 V (3 wires)
DO NOT REMOVE THE BROWN WIRE.
Insert each wire into the appropriate
socket of the main terminal block
according to the color code indicated
on the sticker. Use a flat screwdriver to
tighten the screws on the terminal.
240 V (4 wires)
Remove and discard brown wire and
insert each wire into the appropriate
socket of the main terminal block
according to the color code indicated
on the sticker. Use a flat screwdriver to
tighten the screws on the terminal.
Look at the pump and accessory voltage requirement and make sure to connect each
WHITE common wire to the correct tab on the board: Use any neutral tab for 120 V or
use any LINE2 tab for 240 V
WARNING! All connections must be made by a qualified electrician in accordance
with the national electrical code and any state, provincial or local electrical code in
effect at the time of the installation. This product must always be connected to circuit
protected by a Ground Fault Circuit Interrupter (GFCI).
3- Select breaker
Breaker setting for GFCI used.
GFCI b
40 A 32 A
30 A 24 A
Press and hold the Program key for
20 seconds until you access the breaker
setting menu.
Use the Up/Down key to select the
breaker value. The value can be
modified from 10 to 32 A.
Power management will make sure
never to exceed this rating.
20 A 16 A
15 A 12 A
The values displayed by the system
correspond to 80% of the maximum
amperage capacity of the GFCI.
LINE 2
321
Press the Program key to set breaker
rating.
Note: If the keypad in use does not
have the Program key use the Filter or
Light key instead.
4- Select and Enter spa configuration
By default configuration #1 is selected by Gecko at our factory. Perform this step only if you need to run a different configuration.
21
Enter the low level selection menu,
hold the Pump 1 key for 30 seconds.
Use the Up/Down key to choose the
new low level configuration number.
3
Press the Program key to confirm the
configuration.
Note: If the keypad in use does not
have the Program key use the Filter or
Light key instead.
For more information, see our website:
www.geckoalliance.com
Page 2
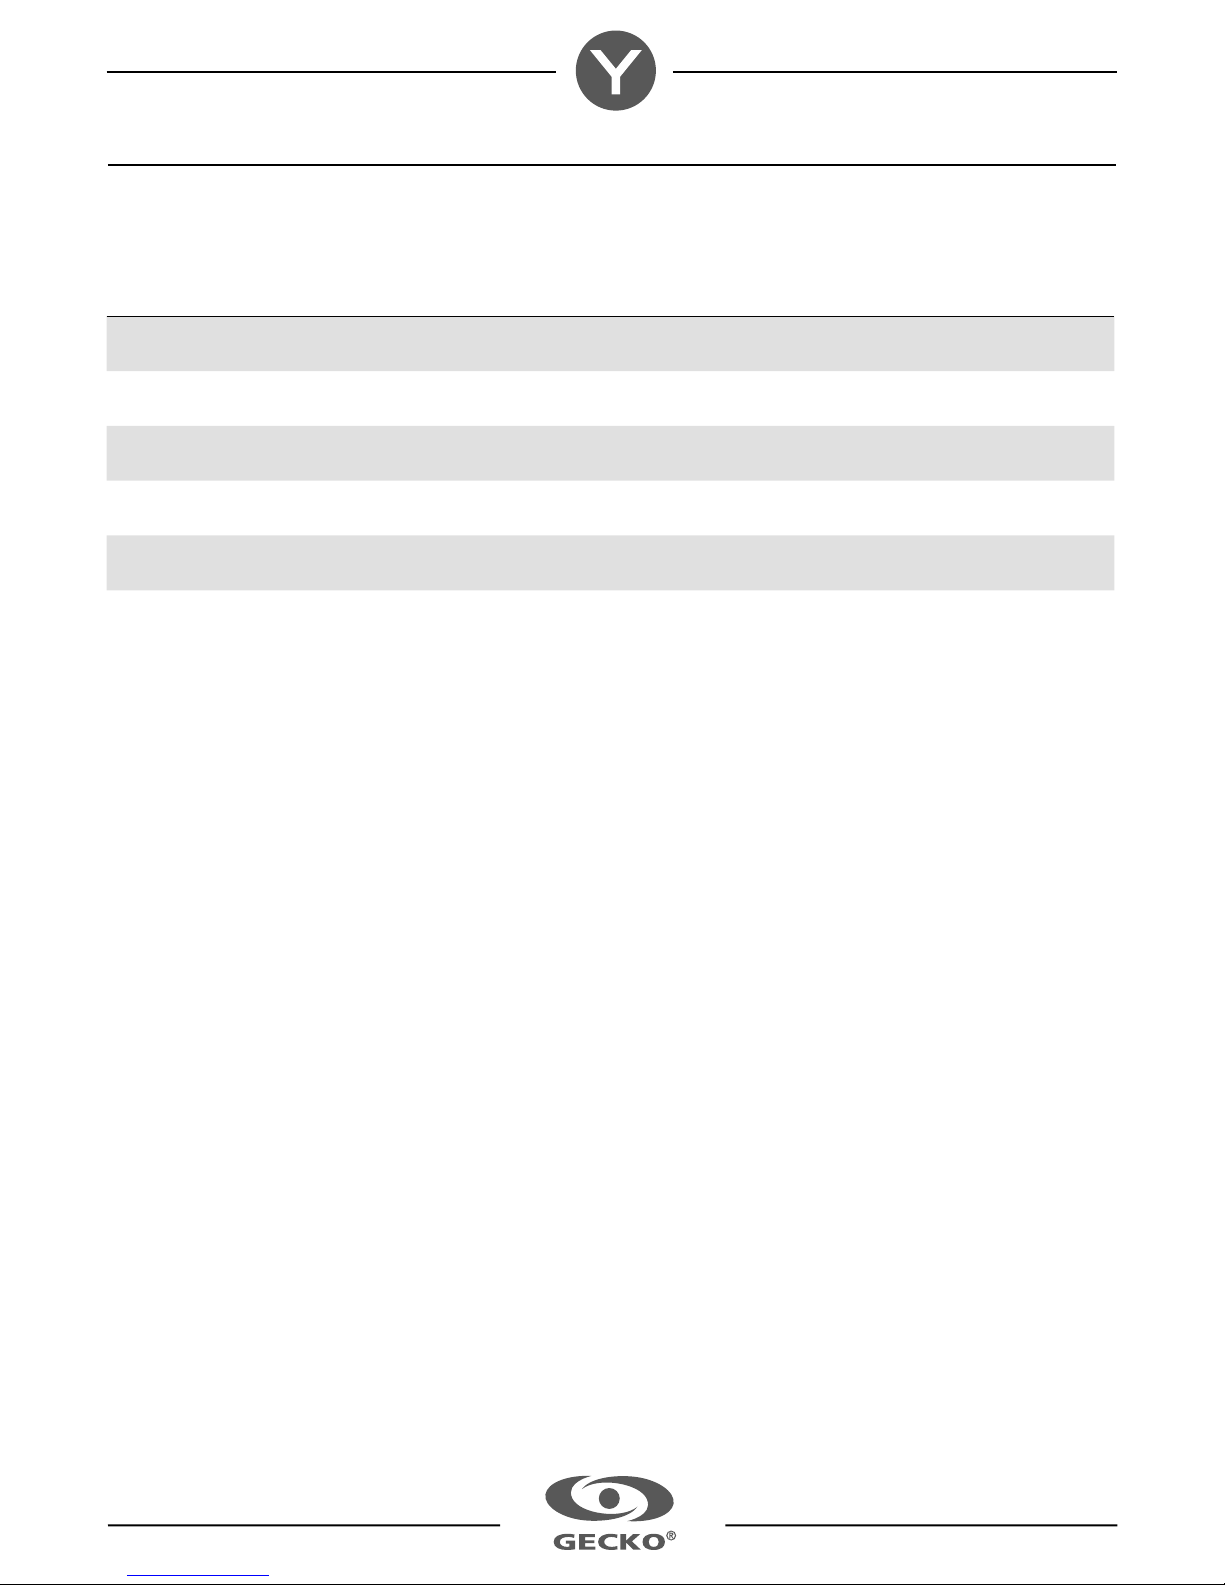
Configuration selection chart
Software #276, rev. 001
Information between ( ) indicates which connector/tab to use. See drawing from Step 1 for connector position.
Standard
config. #
1 (K7-P)
2
3
4
5
* Circulation pump is not controled via a relay and will run 24/7. Circulation pumps must provide at least 75 L/min (18 GPM) without creating kinetic heating of the water
(Gecko recommends using the Aqua-Flo Circ-Master - 1/15 HP).
** Output current
Pump 1
High speed
10A**
1SP
(K7-P)
4A**
1SP
(K7-P)
4A**
1SP
(K7-P)
10A**
(K7-P)
10A**
Pump 1
Low speed
(K6-P)
3A**
_ _ _ (K6-P)
_
_ _ (K6-P)
(K6-P)
3A**
Pump 2
_ _ _
1 sp
(K6-P)
8A**
_ (P-25)*
Circ. Pump (CP)
configuration
_ _
2A**
2A**
Ozone (O3)
configuration
_
_
Filter cycle daily Heater
2 * 1 hour
with P1
2 * 1 hour
with P1
2 * 1 hour
with P1
2 * 6 hour
withCP
Always on
2 * day purge
with P1H
Pump 1
Pump 1
Pump 1
CP
CP
For complete TechBook or more information, see our website: www.geckoalliance.com
© Groupe Gecko Alliance Inc., 2015
All trademarks or registered trademarks are the property of their respective owners.
9919-101299-B Rev. 02-2016
www.geckoalliance.com
 Loading...