

Page 1
WR72X10313 KIT I
Install Instructions
Kit Contents
2 Large BM FZ Slides
2 Small BM FZ Slides & Supports
1 Upper FZ Basket
Slide Spacers
Screws
Install Instruction
Install Guide
5/32 Drill Bit
Door Alignment Kit WR49×10112
Step I
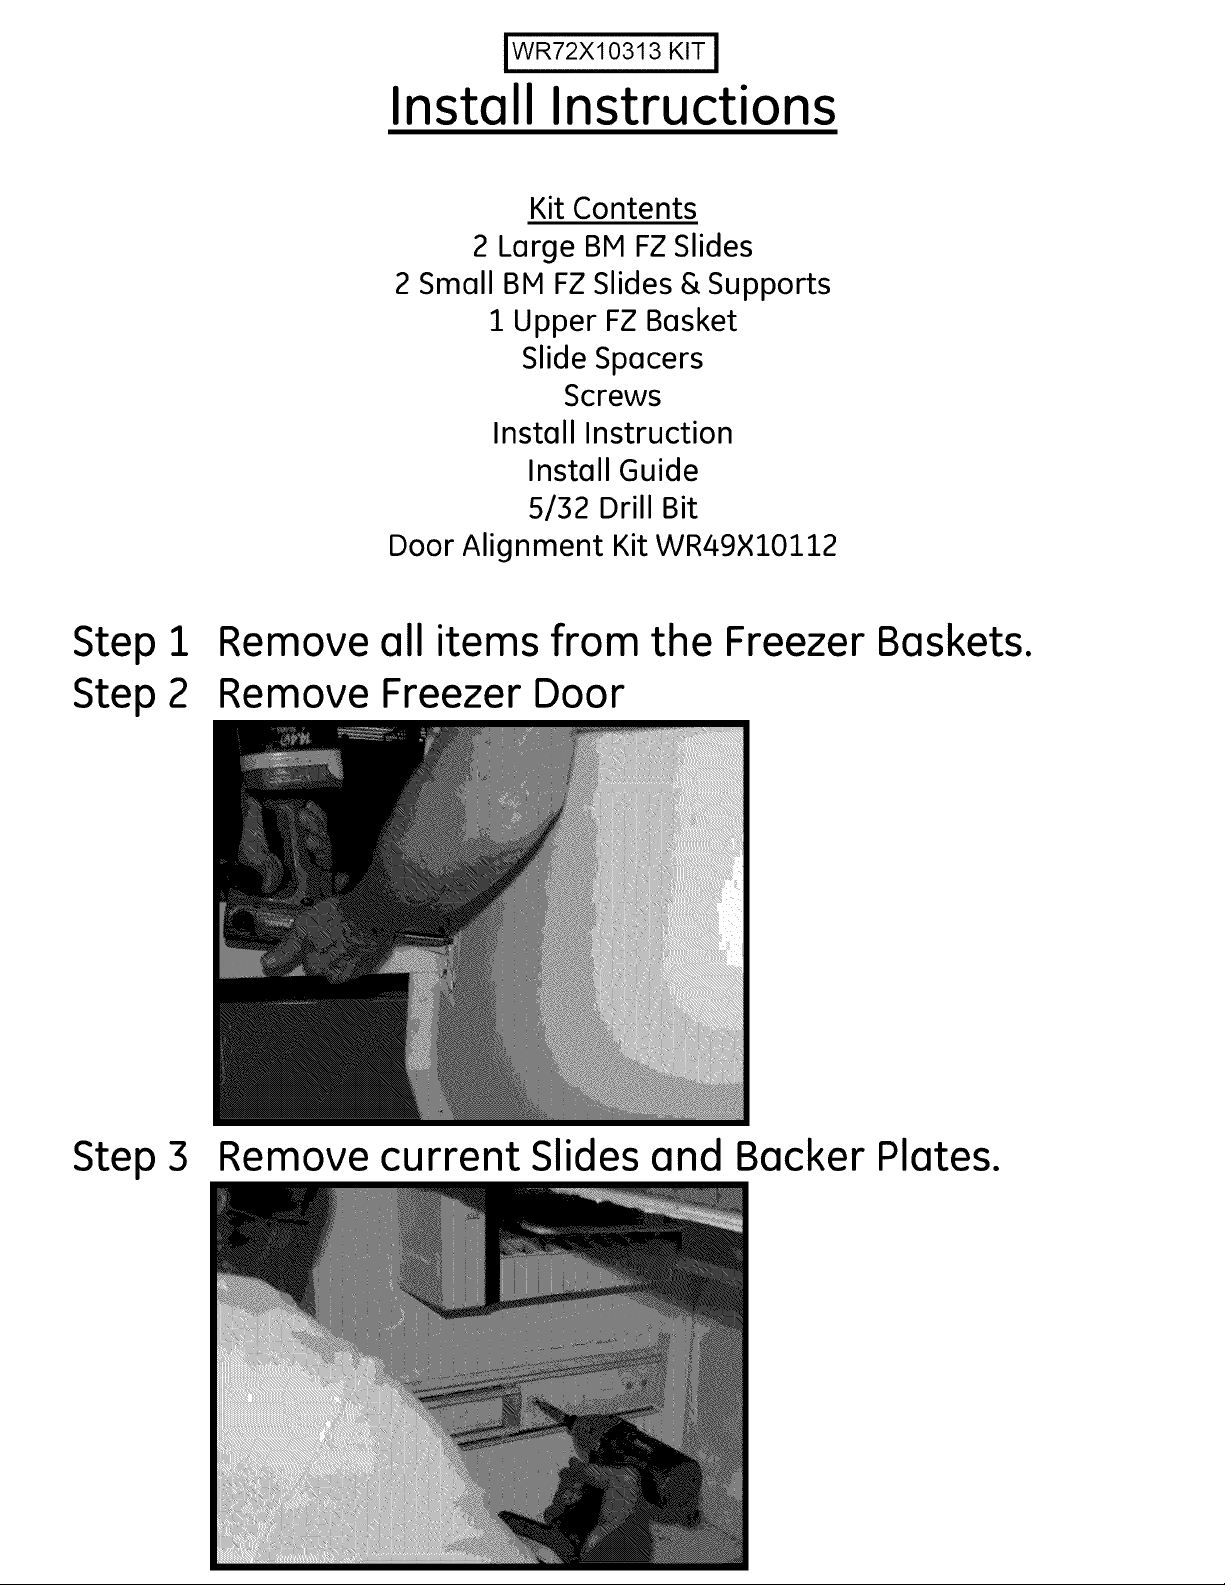
Step 2
Step 3
Remove all items from the Freezer Baskets.
Remove Freezer Door
Remove current Slides and Backer Plates.
Page 2
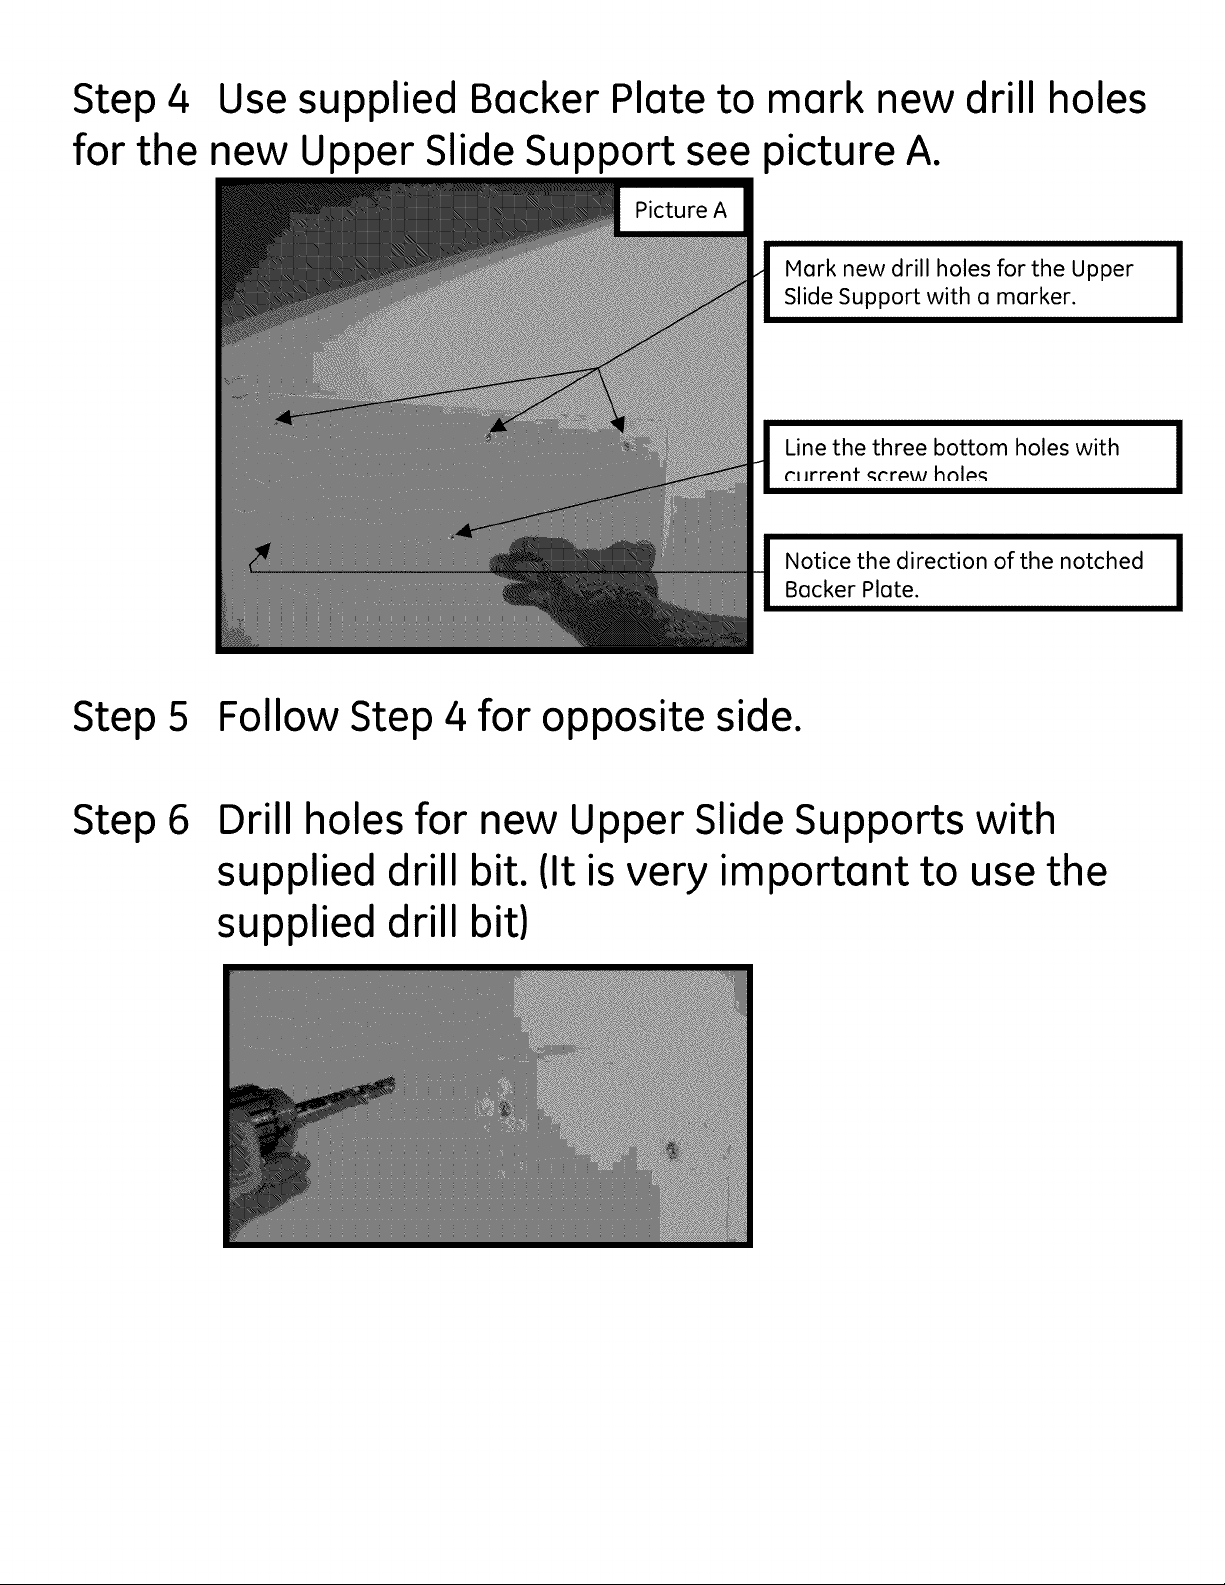
Step4
Use supplied Backer Plate to mark new drill
holes
for the
new Upper Slide Support see picture A.
Picture A
Step 5 Follow Step 4 for opposite side.
Hark new drill holes for the Upper
Slide Support with a marker.
Line the three bottom holes with
cI Jrr_nf _cr_w hnl_
Notice the direction of the notched
Backer Plate.
Step6
Drill holes for new Upper Slide Supports with
supplied drill bit. (It is very important to use the
supplied drill bit)
Page 3

Step 7
After holes have
been
drilled reinstall above
Step8
mention Backer
Plate
(repeat for opposite side).
Use the supplied double-sided
tape to hold the Backer Plate in
place. Do not use the supplied
screws. These screws will be used
for installing the new slides.
Install new Lower (large) Freezer Slide, see
picture B(repeat for opposite side).
Remember to use the provided guide
to align the new slide, see picture C.
Picture B
Picture C
Page 4

Step 9
Install new upper Freezer
(repeat for opposite side).
Slide, see
picture D
Step
lOInstall
oppos
Upper Freezer Slide Inserts (repeet for
ite side).
Step 11 Instell the Customer's door. For proper door
elignment use the provided Door Alignment Kit.
(WR49×10112)
Page 5

Step
12 Extend large Freezer Slide and install customer's
large Freezer Basket onto the new Freezer Slide.
Step 13 Install new Upper Freezer Basket.
Step14
Clean work areas carefully, ensure all metal
shavings are cleaned in both the cabinet and
from the customer's home.
::_2_I:!::!_Ii iPOOI
 Loading...