

Page 1
GE
g
READ THOROUGHLY BEFORE INSTALLING
INSTALLATION
Read these instructions carefully before proceeding with
installation of this product. Failure to follow instructions may
result in improper operation or voiding of warranty.
Lighting Solutions
GEH-5916
INSTRUCTIONS
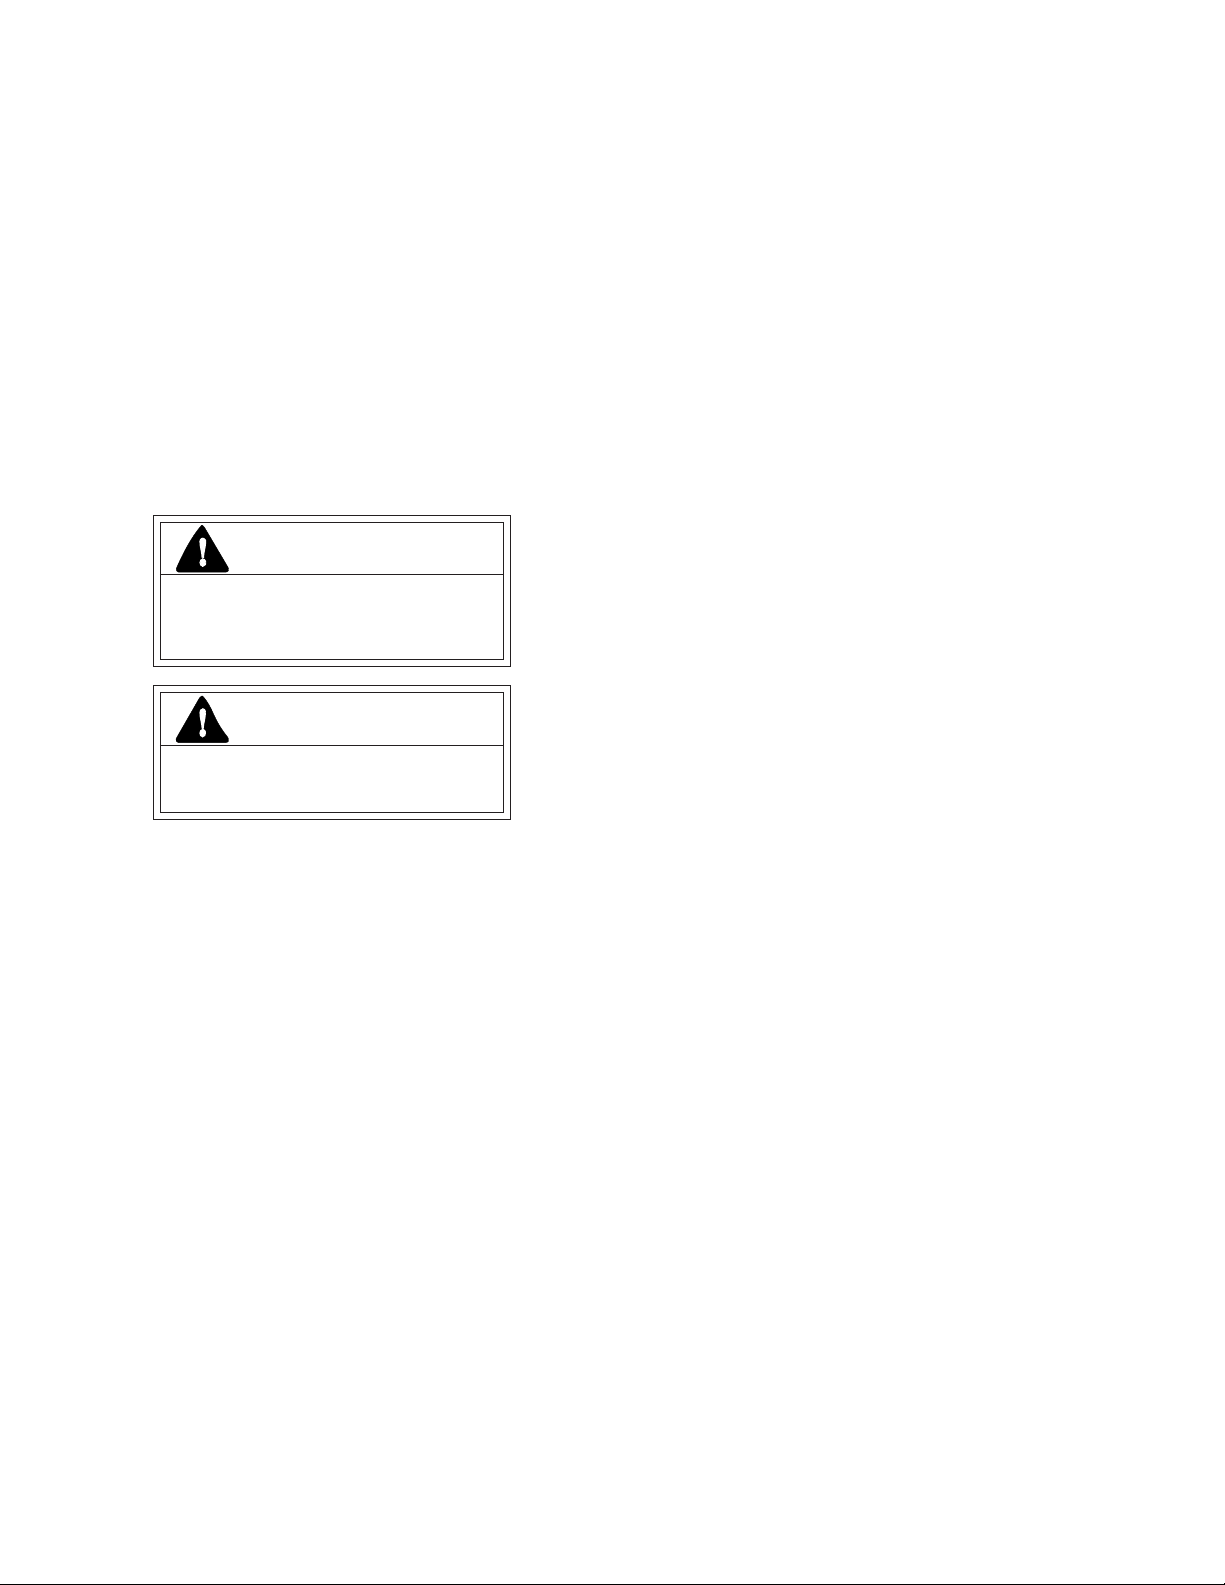
WallmountTM 400 Luminaire
WARNING
Risk of electric shock
• Turn power off before servicing
– see instructions
WARNING
Risk of fire
• Use supply wire specified on
nameplate
MOST DWELLINGS BUILT BEFORE 1985 HAVE
SUPPLY WIRE RATED 60C. CONSULT A QUALIFIED
ELECTRICIAN BEFORE INSTALLING.
GENERAL
Upon receipt of fixture, thoroughly inspect for any freight
damage, which should be brought to the attention of the
delivering carrier. Compare the catalog description listed on
the packing slip with the fixture label on the package to
assure you have received the correct merchandise.
MOUNTING
CAUTION
Unit will fall if not installed properly
• Follow installation instructions
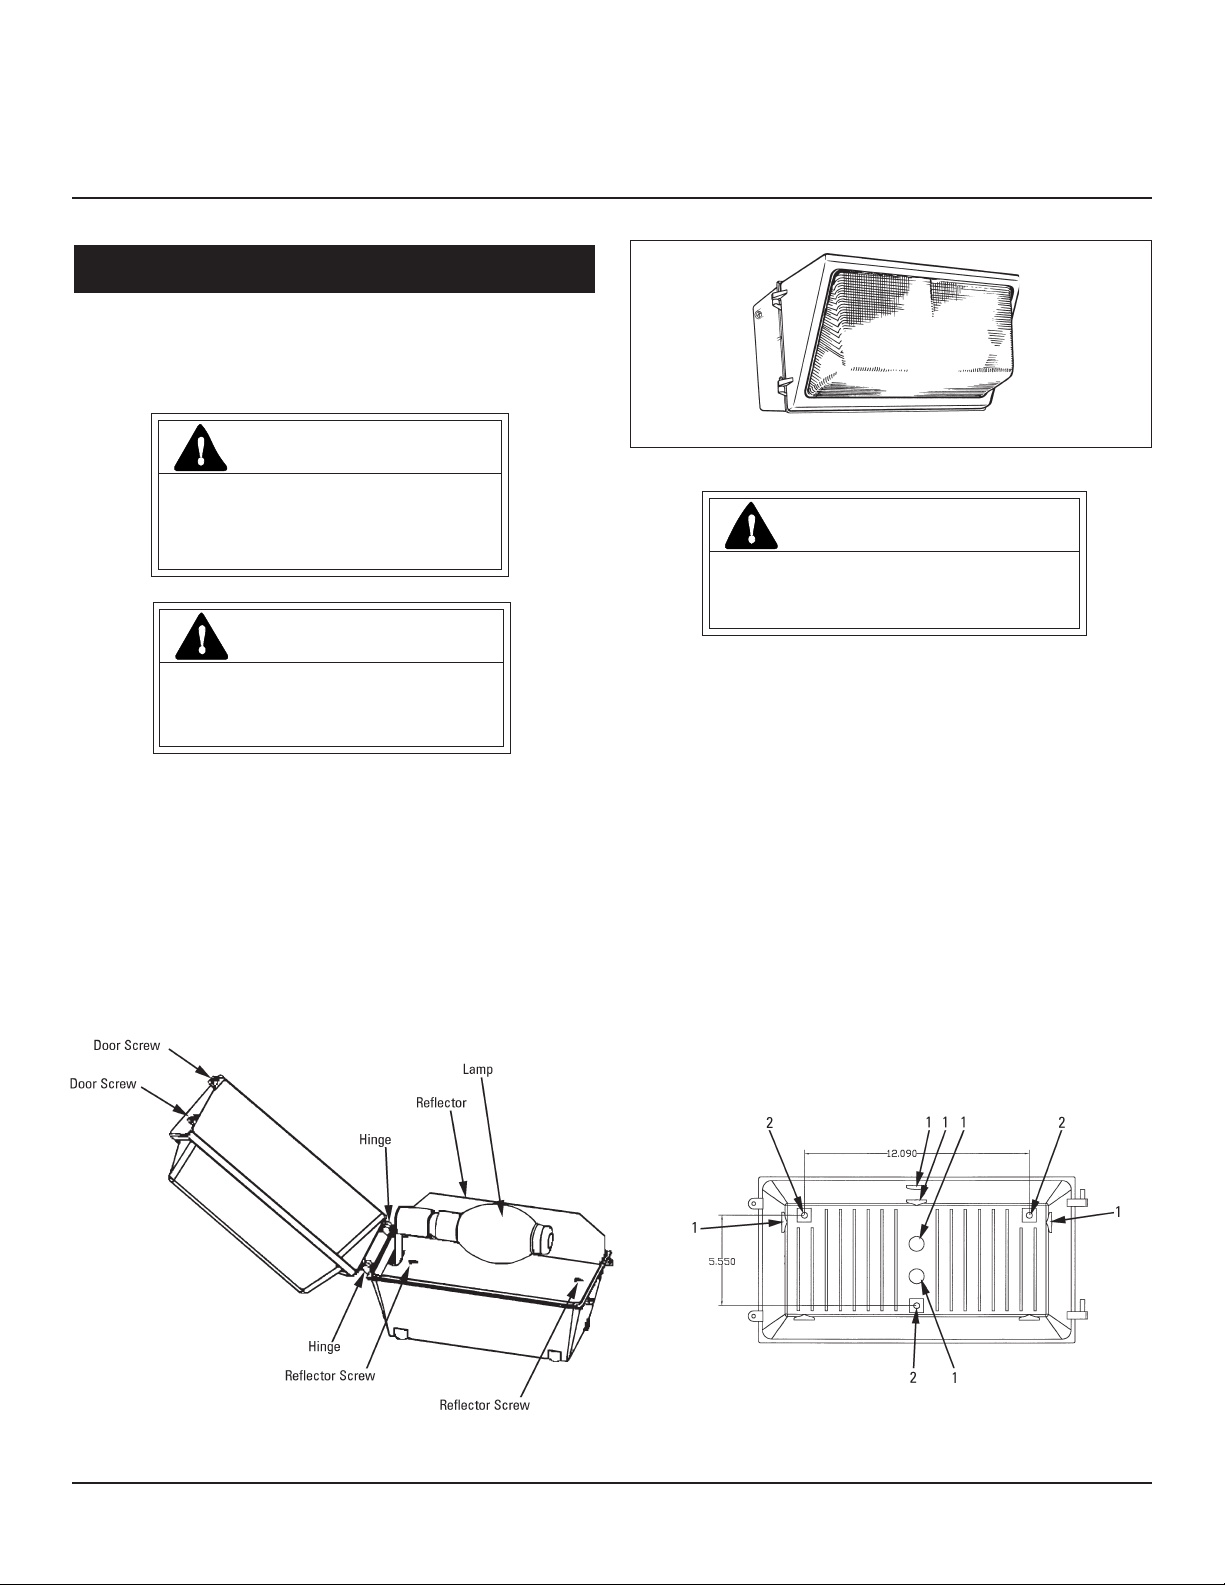
1. Loosen screws securing lens door. Open lens door wide
enough to lift from hinges and remove (See Figure A).
2. Remove lamp and reflector (See Figure A).
3. This unit is designed for attachment to 1/2” ridged
conduit at the sides, top and back (See #1’s, Figure B).
It may be necessary to drill out mounting bosses for
attachment hardware (See #2’s, Figure B).
4. In any mounting configuration, properly caulk mounting
holes to prevent water from entering fixture from behind.
A high grade caulk, such as RTV-108 or equivalent,
should be used.
5. Properly secure fixture to mounting surface with appropriate hardware and connect conduit as indicated above.
NOTE: Fixture to be mounted according to position label
inside lamp compartment.
6. Attach wiring according to instructions below.
7. Re-install reflector, lamp and lens door.
Figure B: Back ViewFigure A: Open View
These instructions do not purport to cover all details or variations in equipment nor to provide for every possible contingency to be met in connection with installation, operation or
maintenance. Should further information be desired or should particular problems arise which are not covered sufficiently for the purchaser’s purposes, the matter should be referred
to GE Lighting Solutions.
Page 2
WIRING
Make all electrical connections in accordance with
the National Electrical Code and any applicable local
code requirements.
Verify that supply voltage is correct by comparing it
to nameplate.
Do not remove insulated connectors from wires not
needed for required voltage connection.
When this fixture is supplied with single voltage lead,
please make sure the voltage furnished to the fixture is the
same as specified on the unit. When fixture is supplied with a
multitap ballast, it is set to 277 volts. If 120, 208 or 240 volts is
desired: Cap 277 volt lead and strip appropriate voltage lead.
Connect to incoming hot lead using proper wire connectors.
LAMP INSTALLATION
CAUTION
Risk of burn
• Allow lamp/fixture to cool before
handling
TROUBLE SHOOTING
In the event your fixture fails to operate properly, first
check that:
1. The correct lamp is properly installed.
2. The lamp is not faulty.
3. The line voltage at the fixture is correct.
4. The fixture is wired properly.
5. The fixture is grounded properly.
6. The optional photocell is of proper voltage and wattage.
7. There is no reflected light back into the photocell causing
the fixture to turn off.
WARNING
Risk of burn
• Do not touch operating luminaire
Use only lamps specified on nameplate. Observe
lamp manufacturer’s recommendations and
restrictions on lamp operation, particularly ballast
type, burning position, etc.
Lamp Tightness – Mogul Base Lamp: The lamp should be
securely inserted to the NEMA-EEI specified torque of 35
inch-pounds, which is best achieved by very firmly tightening
to insure application of sufficient torque. Tightening must be
sufficient to fully depress and load the center contact of the
socket.
MAINTENANCE
This Wallmount 400 fixture is designed for years of
trouble-free operation. For optimum performance,
periodically clean the reflector and refractor with a
non-abrasive cleaner.
Page 3

GE
g
LIRE ATTENTIVEMENT AVANT D'INSTALLER
INSTALLATION
Lisez attentivement ces instructions avant de commencer
l'installation du produit. Le non-respect des instructions risque de
provoquer un mauvais fonctionnement et d'annuler la garantie.
Lighting Solutions
GEH-5916
INSTRUCTIONS
Luminaire WallmountTM 400
AVERTISSEMENT
Risque d'électrocution
• Mettre hors tension avant d'intervenir
– Suivez les instructions
AVERTISSEMENT
Risque d'incendie
• Utilisez la liaison d'alimentation
spécifiée sur la plaque signalétique
LA PLUPART DES MAISONS CONSTRUITES AVANT 1985
POSSÈDENT DES CÂBLES D'ALIMENTATION
HOMOLOGUÉS 60C. CONSULTEZ UN ÉLECTRICIEN
QUALIFIÉ AVANT DE COMMENCER L'INSTALLATION.
GÉNÉRALITÉS
Sur réception du luminaire, vérifiez soigneusement si des
dommages sont survenus durant le transport, lesquels doivent être
signalés au transporteur. Comparez la référence de catalogue
figurant sur le bon d'expédition avec l'étiquette sur la boîte du
luminaire pour vous assurer que de la livraison du bon produit.
Vis de porte
Vis de porte
Charnière
Lampe
Réflecteur
MONTAGE
ATTENTION
Risque de chute en cas de mauvais
montage
• Suivez les instructions
1. Desserrez les vis retenant la porte de la lentille. Ouvrez
suffisamment la porte pour la détacher des charnières et
l'enlever (voir la figure A).
2. Enlevez la lampe et le réflecteur (voir la figure A).
3. Ce luminaire a été conçu pour être fixé à un conduit cannelé de
1/2 po, sur les côtés, en haut et sur le dessous (voir les éléments
1 dans la figure B). Il sera peut-être nécessaire de percer les
cannelures de montage pour installer les fixations (voir les
éléments 2 dans la figure B).
4. Quelle que soit la configuration de montage, calfeutrez
adéquatement les trous de montage pour éviter les infiltrations
d'eau dans le luminaire par l'arrière. Utilisez un mastic de
qualité supérieure, notamment du RTV-108 ou un produit
équivalent.
5. Fixez correctement le luminaire sur la surface de montage,
avec les fixations appropriées, puis connectez le conduit
conformément aux indications ci-dessus. REMARQUE : Le
luminaire doit être installé conformément à l'étiquette de
position à l'intérieur du compartiment de la lampe.
6. Installez les fils électriques conformément aux instructions
ci-dessous.
7. Réinstallez le réflecteur, la lampe et la porte de la lentille.
Charnière
Vis du réflecteur
Vis du réflecteur
Figure A : Vue ouverte
Figure B : Vue arrière
Ces instructions n'ont pas pour destination de couvrir tous les détails ou variantes de l'équipement, ni de répondre à toutes les éventualités que vous pourriez rencontrer pendant l'installation,
le fonctionnement ou l'entretien. Si vous souhaitez des informations complémentaires, ou si vous rencontrez un problème particulier qui ne soit pas adressé de votre point de vue d'acheteur,
le sujet doit être remonté jusqu'à la société GE Lighting Solutions
Page 4

CÂBLAGE
Toutes les connexions doivent être conformes aux normes
électriques nationales et à la réglementation locale en
vigueur.
Assurez-vous que la tension électrique est adéquate en
vérifiant la plaque signalétique.
N'enlevez pas la gaine isolante sur les fils qui ne sont pas
nécessaires aux connexions électriques.
Si ce luminaire est livré avec un conducteur de tension unique,
assurez-vous que la tension arrivant au luminaire est identique à
celle figurant sur l'appareil. Si le luminaire est livré avec un ballast
à plusieurs raccords, il est réglé à 277 volts. Si vous désirez utiliser
une tension de 120, 208 ou 240 volts, installez un capuchon sur le
conducteur de 277 volts et dénudez le conducteur de tension
approprié, puis connectez ce conducteur au fil d'alimentation à
l'aide de serre-fils adéquats.
INSTALLATION DE LA LAMPE
ATTENTION
Risque de brûlure
• Laissez le bloc d'ampoule refroidir
avant d'y toucher
DÉPANNAGE
Si votre luminaire présente des problèmes de fonctionnement,
faites d'abord les vérifications suivantes :
1. Une lampe appropriée est correctement installée.
2. La lampe n'est pas défectueuse.
3. La tension qui arrive au luminaire est appropriée.
4. Les fils électriques du luminaire sont correctement installés.
5. Le luminaire est correctement mis à la terre.
6. La cellule photoélectrique optionnelle est de tension et
puissance appropriées.
7. Aucune lumière ne peut être réfléchie dans la cellule
photoélectrique, ce qui éteindrait le luminaire.
AVERTISSEMENT
Risque de brûlure
• Ne touchez pas le luminaire en
fonctionnement
Utilisez uniquement des lampes conformes aux exigences
de la plaque signalétique. Respectez les recommandations
du fabricant de la lampe, ainsi que les restrictions
s'appliquant à l'utilisation de la lampe, notamment sur le
type de ballast, la position de brûlage, etc.
Serrage de la lampe – Lampe à culot Goliath : La lampe doit être
solidement insérée avec une force de 35 lb/po (normes NEMAEEI), ce qui peut être obtenu avec un serrage très ferme. Le
serrage doit être suffisant pour enfoncer complètement la lampe
et charger le contact central de la douille.
ENTRETIEN
Ce luminaire Wallmount 400 a été conçu pour fonctionner
plusieurs années sans panne. Pour en optimiser les performances,
nettoyez périodiquement le réflecteur et le réfracteur avec un
produit non abrasif.
g
GE Lighting Solutions • 1-888-MY-GE-LED • www.gelightingsolutions.com
16943533----888
GE Lighting Solutions is a subsidiary of the General Electric Company. Evolve and other trademarks belong to GE Lighting Solutions. The GE brand and logo are trademarks of the General Electric Company.
© 2011 GE Lighting Solutions. Information provided is subject to change without notice. All values are design or typical values when measured under laboratory conditions.
35-201578-109 (3/04)
 Loading...