

GE TV User Manual

TV User’s Guide
We bring good things to life.

Please fill out the product registration card and return it immediately.
Returning this card allows us to contact you if needed.
Keep your sales receipt to obtain warranty parts and service and for proof
of purchase. Attach it here and record the serial and model numbers in
case you ever need them. The numbers are located on the back of the TV.
Model No.________________________________________________________
Serial No._________________________________________________________
Purchase Date: ___________________________________________________
Dealer/Address/Phone:____________________________________________
__________________________________________________________________
__________________________________________________________________
Important Information
i
CAUTION:
To prevent electric shock, match wide blade of plug to wide
slot, fully insert.
ATTENTION:
Pour éviter les chocs électriques, introduire la lame la plus
large de la fiche dans la borne correspondante de la prise et
pousser jusqú au fond.

Table of Contents
1
Important Information Warning, Product Registration ____________________________________ i
Quick Guide to Your TV Startup ____________________________________________________________________ 2-3
Hook up your TV, Plug in the TV, Put Batteries in the Remote,
Turn on the TV, Place Channels in Memory, Set the Time
Basic Tour of the Remote ____________________________________________ 4
Power, Volume, Channel, Special and Menu Buttons
Menu Basics ______________________________________________________________ 5
Colors, Menu Buttons, Moving through the Menus
Using Your Remote With Remote Buttons ______________________________________________ 6-7
Adjusting Your TV Overall Picture __________________________________________________________ 8
Picture Settings
__________________________________________________________ 9
Color, Tint, Brightness, Sharpness, Autocolor, Picture Reset
Sound Settings _________________________________________________________ 10
Stereo, Tone
Using Advanced Features Placing Channels in Memory/Autoprogram ______________ 11
Naming the Channels
______________________________________________ 12
Setting the Sleep Timer
_____________________________________________ 13
Setting the Alarm Clock
___________________________________________ 14
Watching Closed Captioning
____________________________________ 15
Selecting a Language
_______________________________________________ 15
Setting Your TV for Antenna or Cable
_______________________ 16
References Front Panel Buttons __________________________________________________ 17
Displays on the Screen
_____________________________________________ 18
Trouble Checks
____________________________________________________ 19-20
Order Form for Parts
___________________________________________ 21-22
Limited Warranty
____________________________________________________ 23
Glossary
__________________________________________________________________ 24
Index
________________________________________________________________________ 25
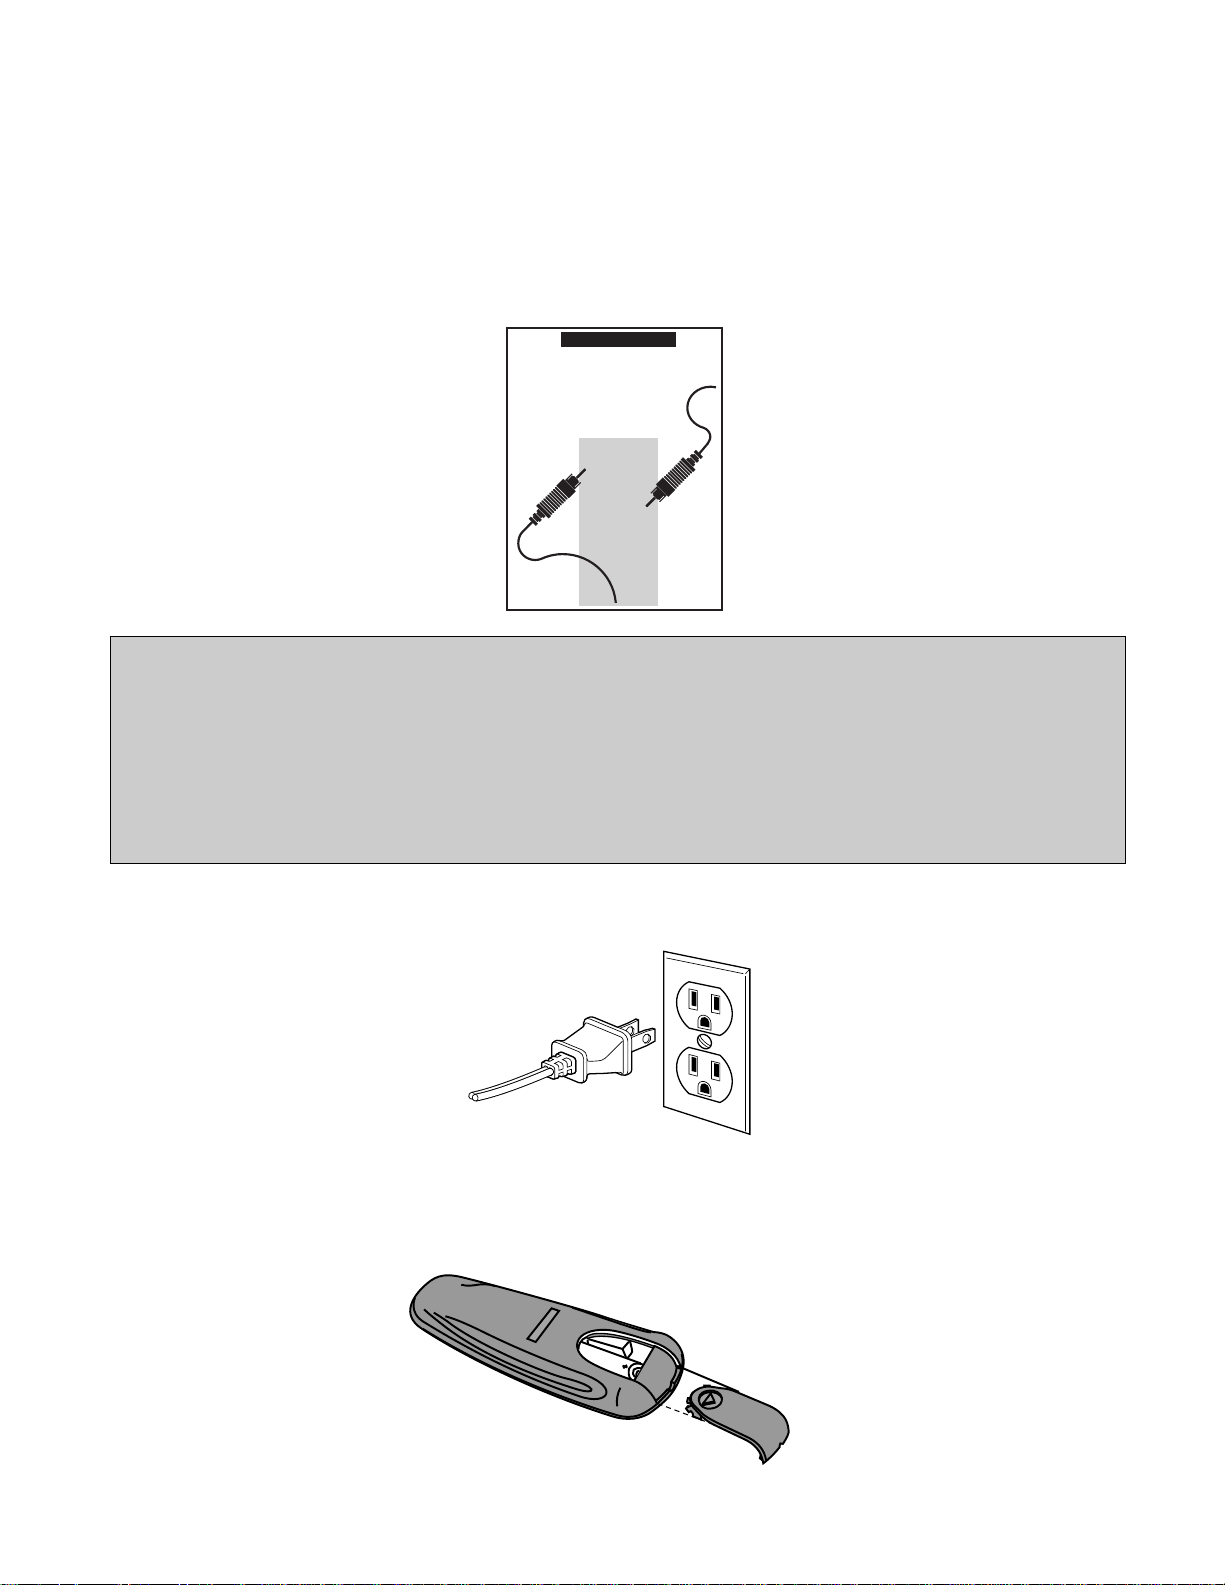
Quick Guide to Your TV
Startup
2
Plug the cord into the outlet,
matching the wide and the small
end of the plug with the outlet.
2. Plug in the TV
The steps below will get your TV connected and ready for watching. For
more details, see the page numbers listed.
3. Put Batteries in the Remote
A. Pull off the cover of the battery
compartment.
B. Place two AAA batteries as
shown, matching the +and –
end of each battery in the
compartment.
C. Replace the cover.
1. Hook up your TV
Details are in the Connections
Guide.
Hook up any antennas, cables or
other equipment to your TV before
you follow the steps below.
CONNECTIONS
GUIDE
Use This Book First!
ToFind
Your Hook-up
Turn To
Page 1
THIS GUIDE
SHOWS HOW
TO HOOK UP
YOUR TV
AND OTHER
COMPONENTS.
CAUTION: Matching stands were designed to be used with the table model TVs included in this book. The
recommended stands are provided with hardware to secure the TV to the stand so that it cannot be easily
pulled off or tipped over. Your GE dealer can help you choose the appropriate stand for your TV.
Stands are not available by mail order. To locate your nearest GE dealer call 1-800-447-1700.
If you choose not to use the stand recommended for your TV, take precautions that the stand or furniture the
TV is placed on is properly located and of adequate size and strength to prevent the TV from accidentally
being tipped over or pulled off. This could cause damage to the TV and/or personal injury.

Quick Guide to Your TV
Startup
3
A. Press MENU until the Alarm
menu is selected. This menu
is green.
B. The Clock is automatically
highlighted the first time you
set it. If it is not, press
CHANNEL down to highlight it.
C. Press VOLUME – to set the
hour.
D. Press VOLUME +to set the
minutes.
F. The menus will automatically
disappear from the screen, after
a brief period of time.
A. Press MENU until the Setup menu
is selected. This menu is white.
B. Press VOLUME + to place
channels in the TV’s memory
(Autoprogram).
C. Wait until TV has cycled through
all the channels and returns to
original channel.
6. Set the Time
5. Place all available
channels in memory
(Autoprogram)
Details for adding and deleting
channels are on page 11.
Press POWER on the remote.
OR
Press POWER on the TV.
4. Turn on the TV
DISPLAY
MUTE
INPUT SKIP
VOL VOL
CHAN
CHAN
MENUCLEAR RESET
PREV CH
POWER
1 32
4 65
7 98
0
12:21 AM 13
Controls Alarm Adjust Setup
Alarm: Off
Alarm Channel: 07
On Time: Disabled
Off Time: Disabled
Clock: Use –/+ to set time.
13
Controls Alarm Adjust Setup
English
Français Español
Autoprogram
Label: 13 Clear
Channel Memory: 13 Stored
Cable/Air: Cable
MENU CH VOL–VOL+POWERCH
DISPLAY
MUTE
INPUT SKIP
VOL VOL
CHAN
CHAN
MENUCLEAR RESET
PREV CH
POWER
1 32
4 65
7 98
0
DISPLAY
MUTE
INPUT SKIP
VOL VOL
CHAN
CHAN
MENUCLEAR RESET
PREV CH
POWER
1 32
4 65
7 98
0
Quick Guide to Your TV
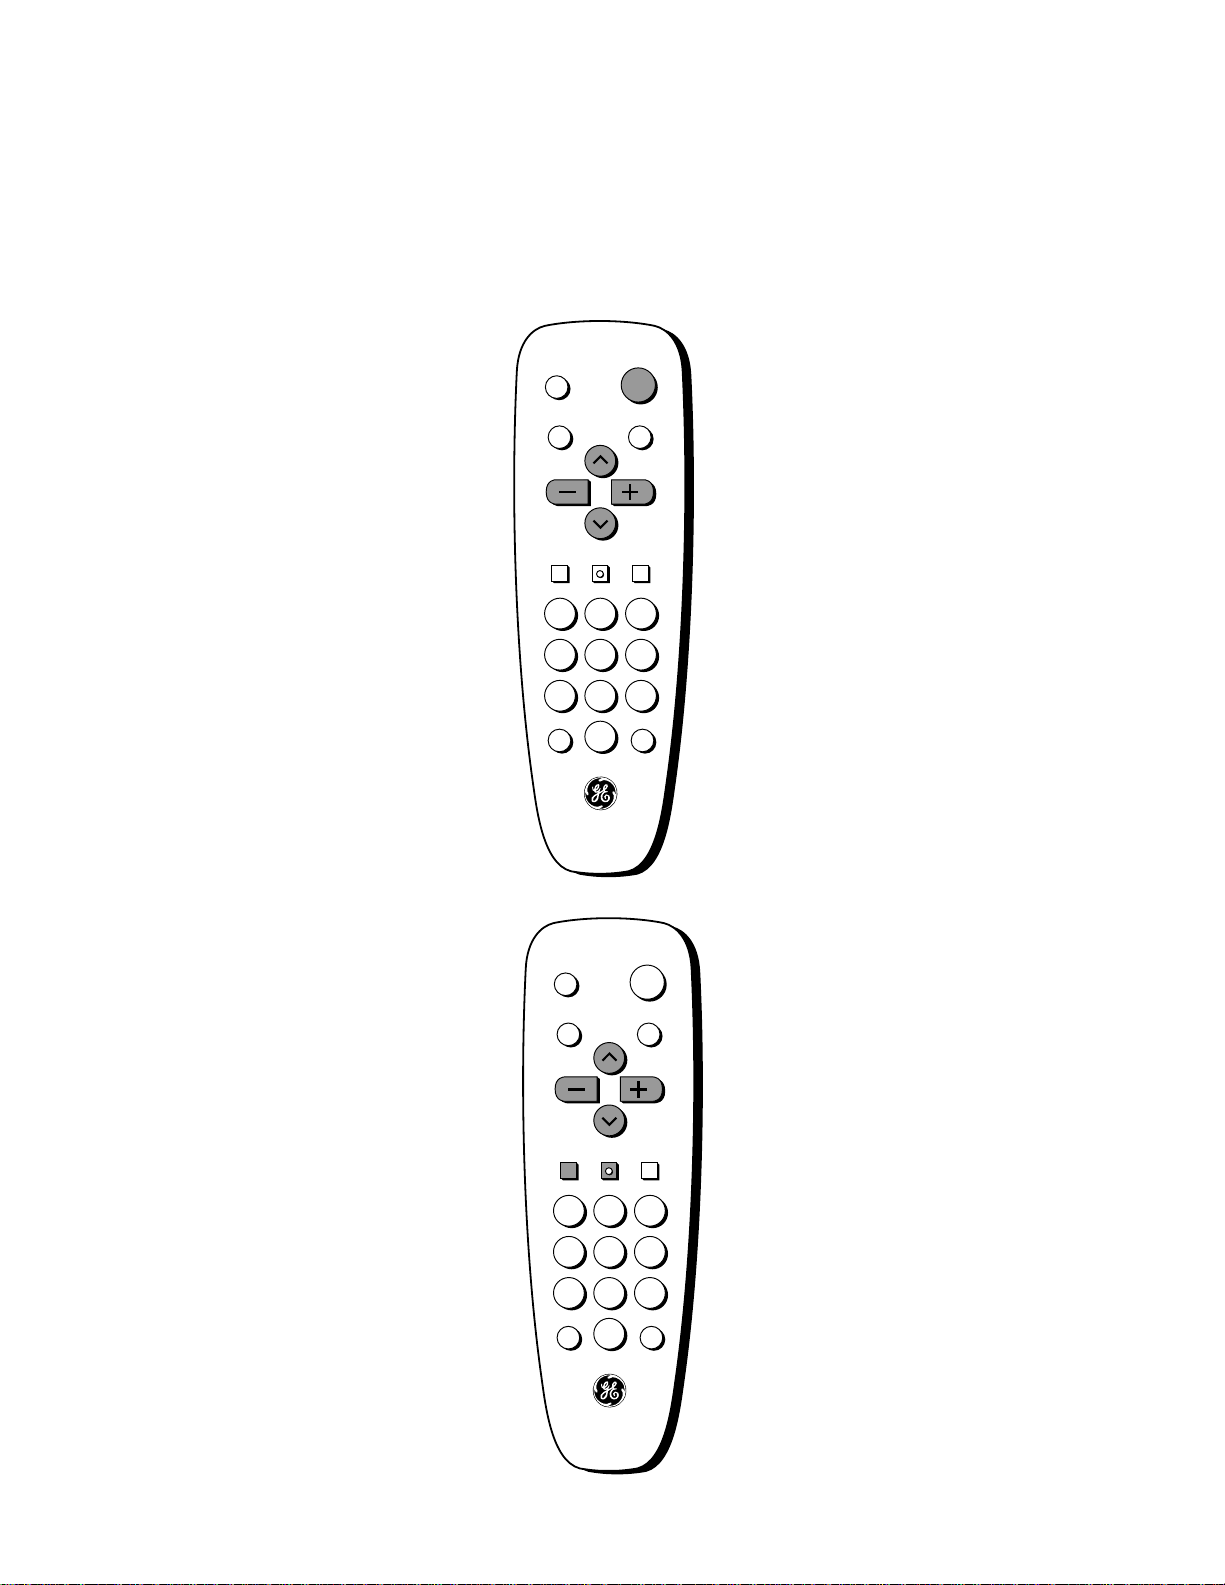
Basic Tour of the Remote
4
Turns the TV on and off.
Operate the TV.
Scan up and down through
channels in the TV’s memory.
Raise and lower the sound.
Power Button
Volume, Channel and Special
Buttons
Details are on page 6.
Basic information about your remote is shown below. This will give you a
general idea of how your remote works. For more details, see page 6.
Change the menus and features on
the screen.
Menu Buttons
Details are on page 5.

Quick Guide to Your TV
Menu Basics
5
Colors
Press MENU repeatedly to see
each of the four menu colors.
Each menu has a different color
background as shown at the left.
General information about using the on-screen menu system is shown
below. Details on using the remote buttons are on page 6. Many menu items
are explained in detail in Adjusting Your TV starting on page 8 and Using the
Advanced Features starting on page 11.
Moving through the Menus
1. Press MENU to move from
menu to menu.
2. Press CHANNEL up and down
to move through the features in
the menu.
3. Press VOLUME + and – to
move left and right on the
menu lines.
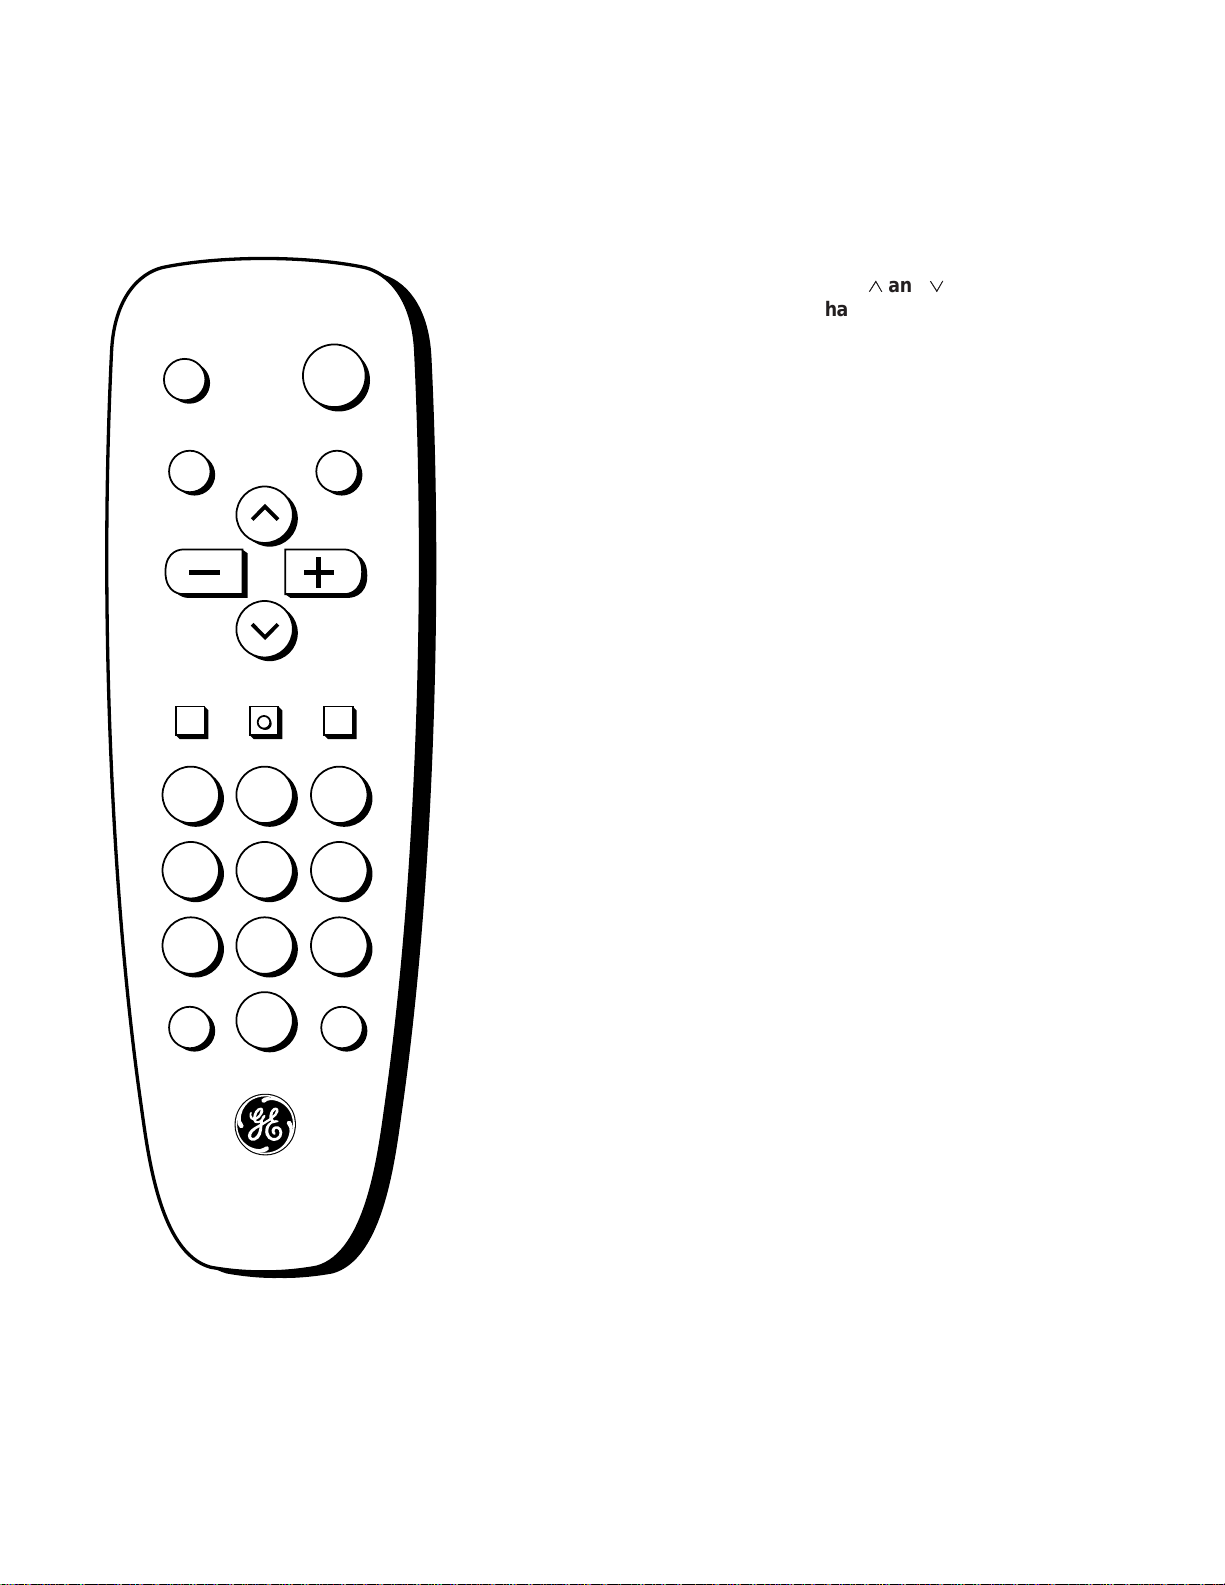
Using Your Remote
With Remote Buttons
6
DISPLAY
MUTE
INPUT SKIP
VOL VOL
CHAN
CHAN
MENUCLEAR RESET
PREV CH
POWER
1 32
4 65
7 98
0
DISPLAY
Shows displays on the screen.
Clears menus from the screen.
POWER
Turns the TV on and off.
MUTE
Switches the TV sound on or off.
PREV CH (Previous Channel)
Changes back and forth between
two channels.
Select a channel and then select
another. Press PREV CH to switch
between the two channels.
CHAN 22and
11
(Channel up and down)
Scans up and down through
channels in the TV’s memory.
Moves up and down menus. See
Menu Basics on page 5.
VOL + and –
(Volume up and down)
Raises and lowers sound.
Moves left and right on a menu
line. See Menu Basics on page 5.
Changes a feature setting.
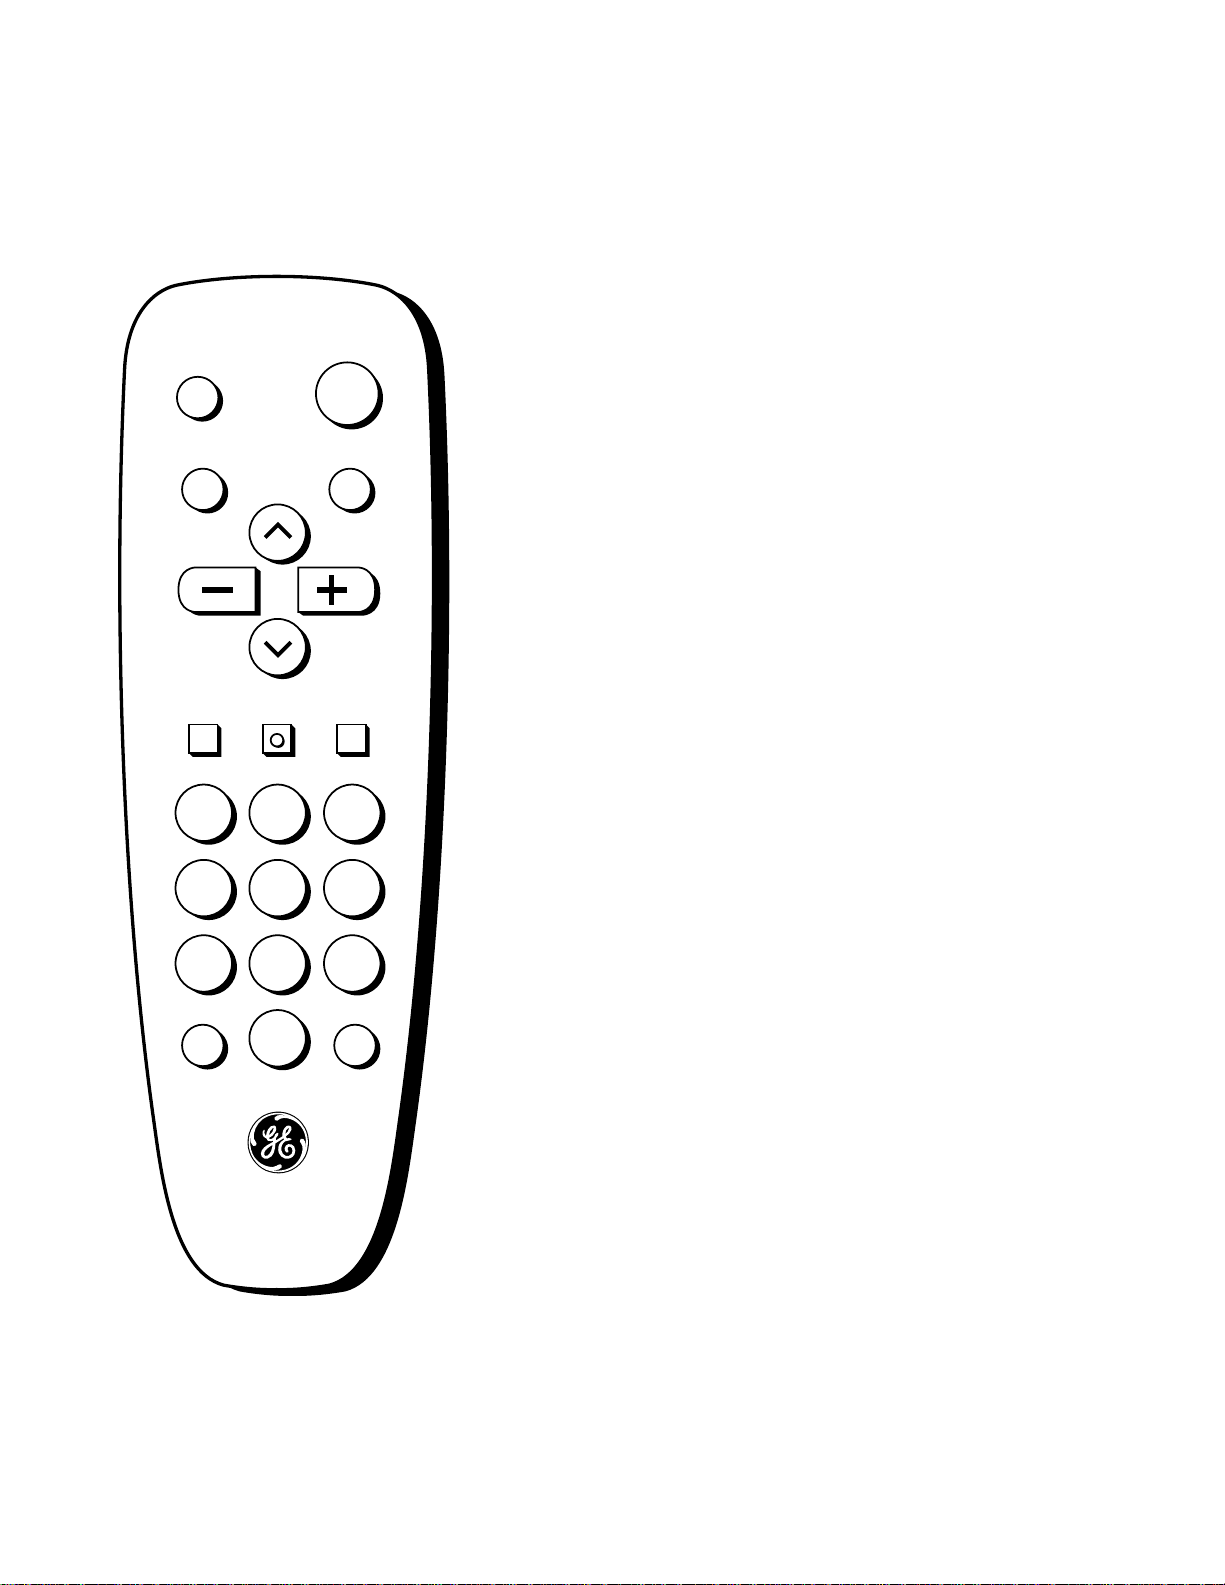
Using Your Remote
With Remote Buttons
7
DISPLAY
MUTE
INPUT SKIP
VOL VOL
CHAN
CHAN
MENUCLEAR RESET
PREV CH
POWER
1 32
4 65
7 98
0
CLEAR
Clears menus and displays from
the screen.
MENU
Shows menus on the screen and
moves from menu to menu.
RESET
Returns the picture adjustments to
the original settings.
Number Buttons
Selects any channel number.
Two numbers must be pressed for
each channel. Press 0 and 6 for
channel 6.
For three digit channels, press and
hold 1 until 1-- appears on the
screen. Then press the other two
numbers.
INPUT
Switches between the TV channels
and
Video 00
if another component
is connected.
SKIP (Commercial Skip)
Allows you to look at other
channels during commercials.
Each press adds 30 seconds. Use
the CHANNEL or number buttons
to scan the other channels. TV
switches back to original channel
when time runs out. Press CLEAR
to cancel SKIP.
 Loading...