

GE TFX27PFXFBB Owner’s Manual
GEAppliances
ProfileModels 24 & 27
with Ret@shmentCenter
and ElectronicDispenser
@
Part No. 162D7736PO05 Pub No 49 6909
Congratulations!
YouAreNow Partof theGEFamily.
Welcome to the GE l_(mily.
We're proud of our quality
products and we are
committed to pro'riding
dependable service. You'll
see it in this easy-to-use
()wner's Manual and you'll
hear it in the fl'iendly voices
of 01.ll ` O.IStOlller servi(e
department.
Best ()fall, you'll experience
these vahles each time yoll
use your refl'igerator.
That's important, because
your new re/_'igerator'aill
be part of your t_unily tbr
many)-ears. And _x-ehope
y(m will be part of (mrs tbr a
long time to come.
We thank g)u tor bu}ing
GE. We appreciate yore.
purchase, and hope you
will continue to rely on us
whenever you need quality
appliances lbr your home.
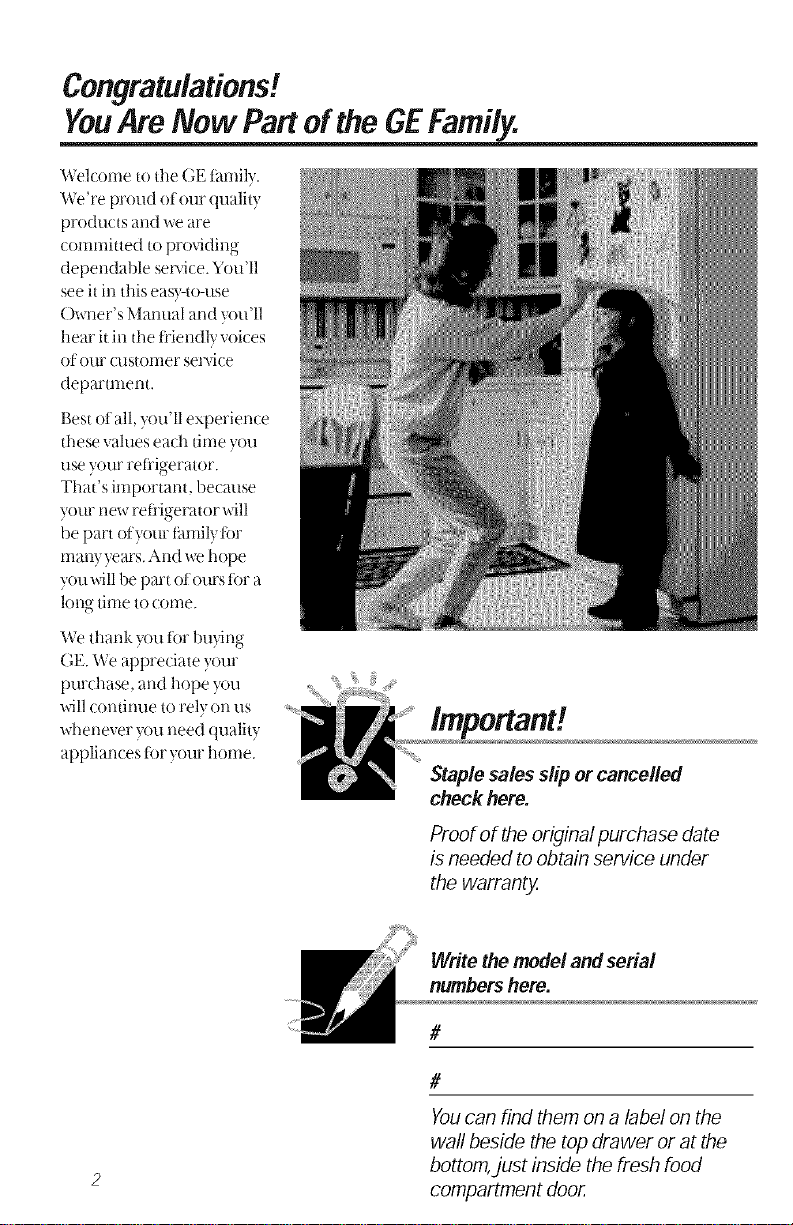
important!
Staple sales slip or cancelled
check here.
Proof of the original purchase date
is needed to obtain service under
the warranty.
Write the modeland serial
numbershere.
#
#
Youcan find them on a label on the
wall beside the top drawer or at the
bottom,just inside the fresh food
compartment door.
GE& You,
A Service Partnership.
Ask any 6E appliance owner and they will
tellyou we stand behind our products with
unmatched quality service. However, did
you know that most questions result from
simple problems that you can easily fix
yourself injust afew minutes? This
Owner's Manual can tell you how
thismanual
Inside you _dllfind many
helpflfl hints on how to use and
maintain your refrigerator
properly. Just a little preventive
tare on _,x)urpart tan save yon a
great deal of time and nlc, ney
over the lite ofyonr refl'igerator.
Reviewthesectionon
TroubleshootingTips
SafetyPrecautions.::.:: :,:. 4
How tO connect E/ectridty :., :6
Use of AdapterPlugs .: : ,. : :6,
Use Of Extensbn Cords: :, : i,,
ii
Installation Instructions
Preparingre
Installthe Refrigerator,. 28,29
_ater LineInstallation ., ,30-34
You'll find many answers to
cornnlon problenls here.
If you reviewour chart of
Troubleshooting Tips first, }ou ma}
not need to call for service at all.
If YouNeedService
If you do need service, you can
relax knowing help is only a phone
(:all away. A list of toll-Fee
customer service numbers is
included in the back section. Or, in
U.S.,you can always (:allthe GE
Answer Center _')at 800.626.20(t0,
24 hours a day, 7 days a week.
In Canada,(:all 800-:46144400.
English .................. 4
FranGais ................ 43
Espanol ................. 87
TroubleshootingTips
Normal
OperatingSounds ......... 35
Betore You
CallForService ...... 36-40
Customer Service
Warranty
forCanadianCustomers..... 41
t/_rrant3
tot U,S.Customers.......... 42
ServiceTelephone
Numbers ......... BackCover
3 ..........................................
IMPORTANTSAFETYINFORMATiON.
READALL INSTRUCTIONSBEFOREUSING.
WARNING!
Use this appliance only for its intended purpose as
described in this Owner's Manual.
SAFETYPRECAUTIONS
When using electrical appliances, basic safety precautions
should be followed, including the following."
iiliiiiiiHl_l "'"ii!liiiii_
This refl'igerator must be
properly installed and
located ill accordance with
the Installation Instructions
betore it isused.
Do not allow children to
climb, stand or hang on the
shelves in the reti'igerator.
They could damage tile
refl'igerator and seriously
injure themselves.
Do not allow anyone to
climb, sit, stand, or han?£
on the Retl'eshment Center
door. Tile?, couM damage tile
relAgerator and maybe even
tip it over, causing severe
personal ir_ju[)-.
Do not touch the cold
sllrJaces in the freezer
comparunent, particularly
when hands are damp or wet.
Skin may stick to these
extremely (:old surl_ces.
Do not store or use gasoline
or other flammable vapors
and liquids in tile vicinity of
this or any other appliance.
In refl'igerators with
automatic icemakers, mx)id
contact with the moving parts
of tile ejector mechanism, or
with the headng element that
releases tile cubes. Do ilot
place fingers or hands on tile
automatic icemaking
mechanism while tile
retrigerator is plugged in.
N Keep fingers out of the
"pinch point" areas;
clearances between tile
doors and between the doors
and cabinet are necessarily
small. Be careflll closing
doors when chiMren are in
tile area.
Unplug tile refl'igerator
beiore cleaning and making
repairs.
NOTE."Westronglyr_:ommend
thntanysen/icingbeperformed
bya qunlifiedindividual.
Turning tile control to tile
OfF position does not remove
power to the light cir_alit.
Do not reffeeze fl'ozen
loods which have thawed
completely,
IMPORTANT:
PROPERDISPOSALOFTHEREFRIGERATOR
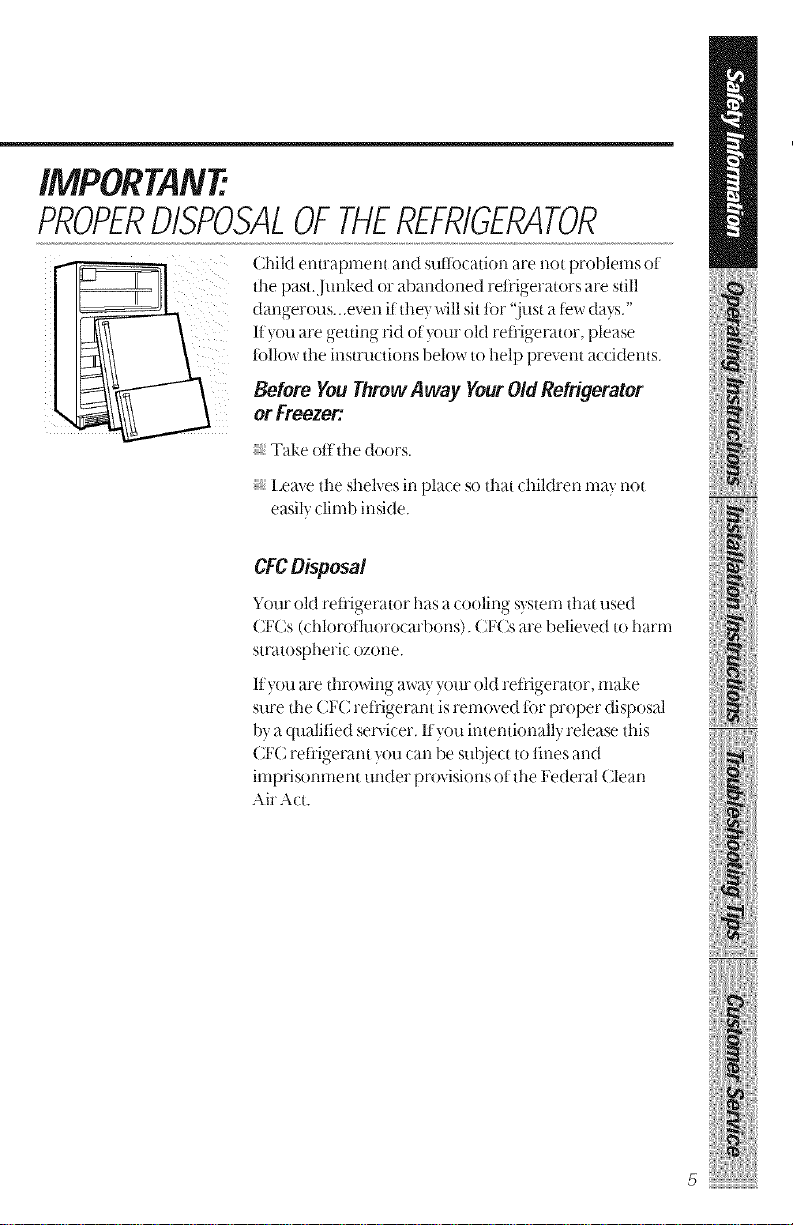
Child entrapment and suflbcation are not problems of
the past.Junked or abandoned rel_igerators are still
dangerous...even if they will sit fi:,r"iust a lew days."
If you are getting rid of your old reliigerator, please
l_)llow the instructions below to help prevent accidents.
Before YouThrow Away YourOld Refrigerator
or Freezer:
Take oflthe doors.
l.eave the shelves in place so that children may not
easily climb inside.
CFCDispose/
Your old refligerator has a cooling system that used
Cl_'Cs (chlorofluorocarbons). Cl_'Csare believed to harm
stratospheric OZOlle.
It",ou are throwin , away your old refl" gerat( r make
sure the CFC refligerant is removed tor proper disposal
by a qualified set_,icer, ltyou intentionally release this
CFC refligerant you can be subject to fines and
imprisonment under provisions of the Federal (;lean
Air Act.
iiiii!iiii! ii l !'i iiiii
5
IMPORTANTSAFETYINFORMATiON.
READALL INSTRUCTIONSBEFOREUSING.
A WARNING!
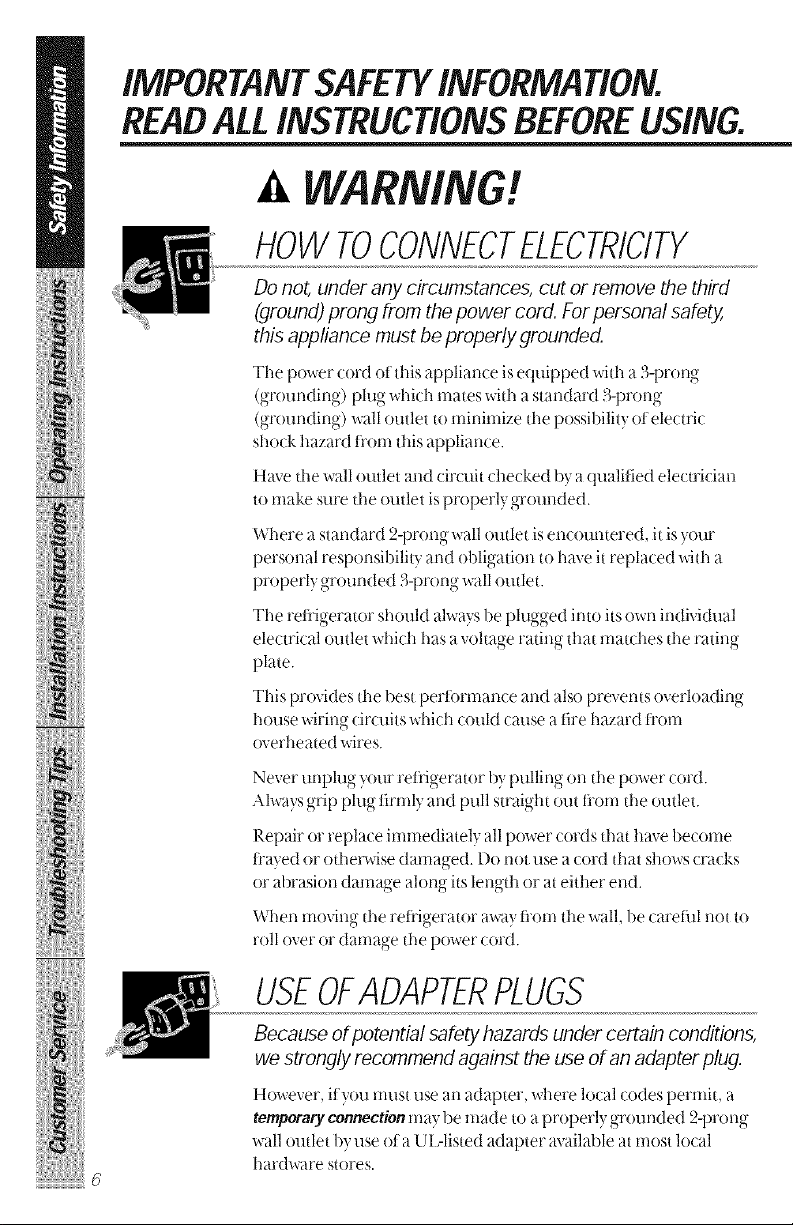
HOWTOCONNECTELECTRICITY
Do not, under any circumstances, cut or remove the third
(ground) prong from the power cord. Forpersonal safety,
this appliance must be properly grounded.
The power cord of this appliance is equipped with a 3-prong
(grounding) plug whi(h mates with a standard 3-prong
(grounding) wall outlet to minimize the possibility of electric
shock hazard ti'om this appliance.
Have the wall outlet and circuit checked by a qualified electrician
to make sure the outlet is properly grounded.
Wilere a standard 2-prong wall outlet is encountered, it is your
personal responsibility and obligation to have it replaced with a
properly grounded 3-prong wall outlet.
The refrigerator should always be plugged into its own individual
electrical outlet _dlich has a voltage rating ttlat matches the rating
plate.
iiii_iiii_iiiii!iii
ii/iJiiiiH_l_l "?li]:iii_
This provides the best perlormance and also prevents overloading
house wiring circuits whicil could cause a fire hazard Fore
overheated wires.
Never unplug your refrigerator by pulling on tile power cord.
Always grip plug tirml? and pull straigtlt out fi'om tile outlet.
Repair or replace immediately all power cords that tlave become
fl'ayed or otherwise damaged. Do not rise a (ord that sho'_ s cracks
or abrasion damage along its lengttl or at eittler end.
Wilen moving the refl'igerator away lmm ttle wall, be cm'etul not to
roll over or damage tile power cord.
USEOFADAPTERPLUGS
Because of potential safety hazards under certain conditions,
we strongly recommend against the use of an adapter plug.
However, if you must use an adapter, where local codes permit, a
temporaryconnectionmay be made to a properly grounded 2-prong
wall outlet by use of a UI Aisted adapter available at most local
hardware stores.
Thelargerslotintheadaptermustbealignedwiththelargerslotin
thewalloutlettoprovideproperpolarityintheconnection()fthe
pox_er(ord.
Whendisconnectingthepowercordlromtheadapter,alwayshold
theadapterinplacewithonehandwhilepullingthepower(ord
plugwiththeotherhand.Ifthisisnotdone,theadapterground
terminalisveU likely to break with repeated use.
If the adapter ground terminal breaks. DO tVOTUSE the refl'igerator
until a proper ground has been established.
Attachingtheadaptergroundterrain:2toa w:21outletcove:screwdoesnot
groundtheapplianceunlessthecove:screwismet:_l,andnotinsul:_tedandthe
walloutletisgroundedthroughthehousewiring.Youshouldhavethecircuit
checkedbyaqualifiedelectriciantom:_kesuretheoutletispmpedygrounded
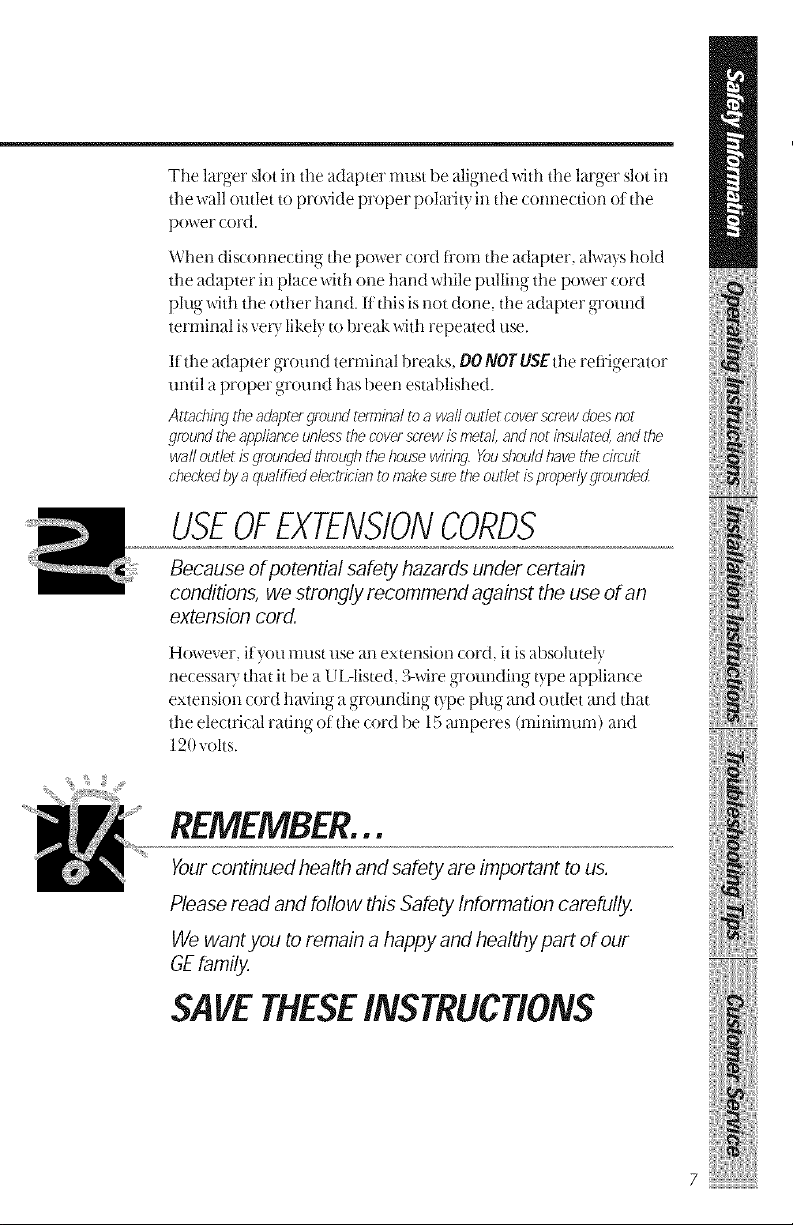
USEOFEXTENSIONCORDS
Because of potential safety hazards under certain
conditions, we strongly recommend against the use of an
extension cord.
However, ifyou must use an extension cord, it is absolutely
necessa U that it be a UI Aisted, 3-wire grounding type appliance
extension cord having a _rounding type plug and outlet and that
the electrical rating of the cord be 15 amperes (minimum) and
120 volts.
, m , • ,
REMEMBER...
Your continued health and safety are important to us.
Please read and follow this Safety Information carefully.
We want you to remain a happy and healthy part of our
GE family.
SAVETHESEINSTRUCTIONS
7
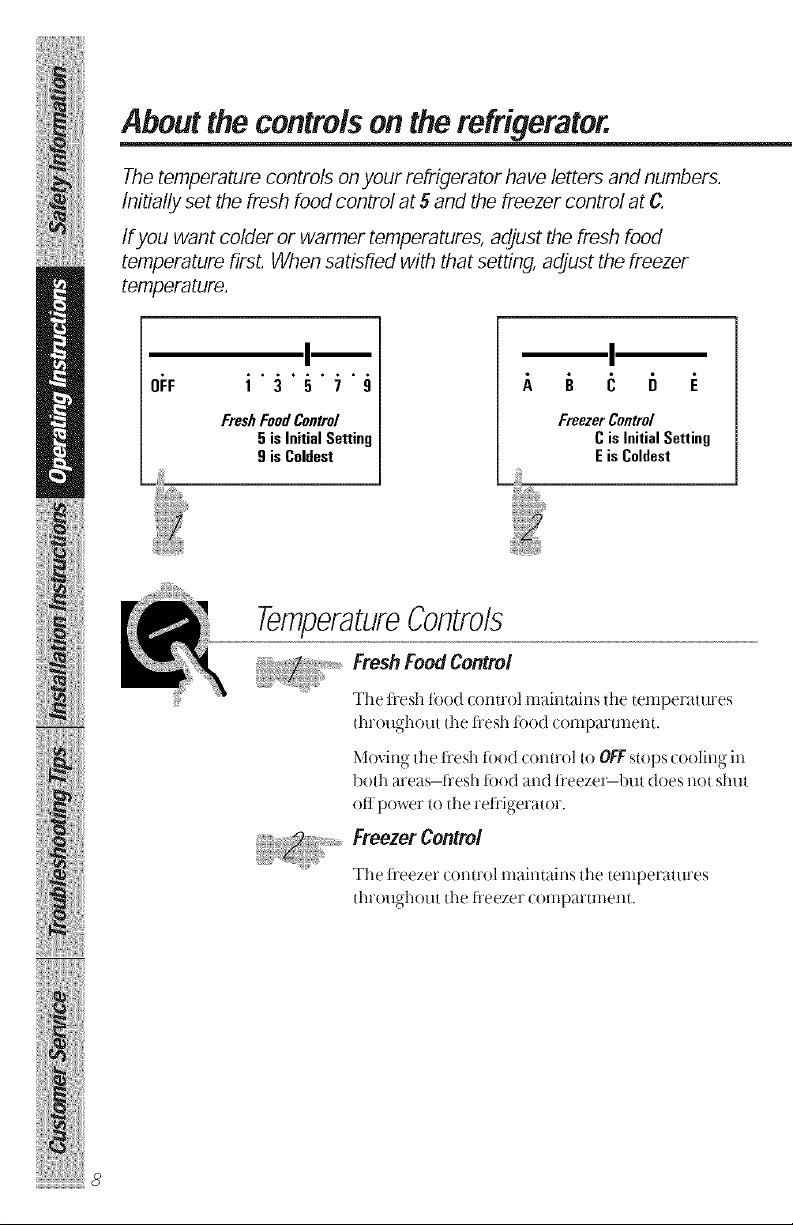
Ahoy,con,ro, on,he-,r,geraO
Initially set the fresh food control at 5 and the freezer control at C.
Ifyou want colder or warmer temperatures, adjust the fresh food
temperature first. When satisfied with that setting, adjust the freezer
temperature.
OI:F
con ro, on o r er orhavean n mbe
1 3 5 7 9
FreshFoodControl
5 is Initial Setting
9 is Coldest
FreezerControl
Cis Initial Setting
Eis Coldest
TemperatureControls
Fresh Food Control
The tt'esh ti)od (ontro] m_dntains tile temperatures
throughout tile li'esh tbod comparunent.
Movingtile fresh tk>od(:ontrolto OFFstops cooling ill
both areas--h'esh tood and freezel_but does not shut
offpower to the refrigerator.
Freezer Control
ii/iiiiiiH_l_l ""ii!lii:iii_
The tt'eezer ( Olltfo] illklhlt_dris tile telllpel'_lttlres
throughout the li'eezer comparunent.
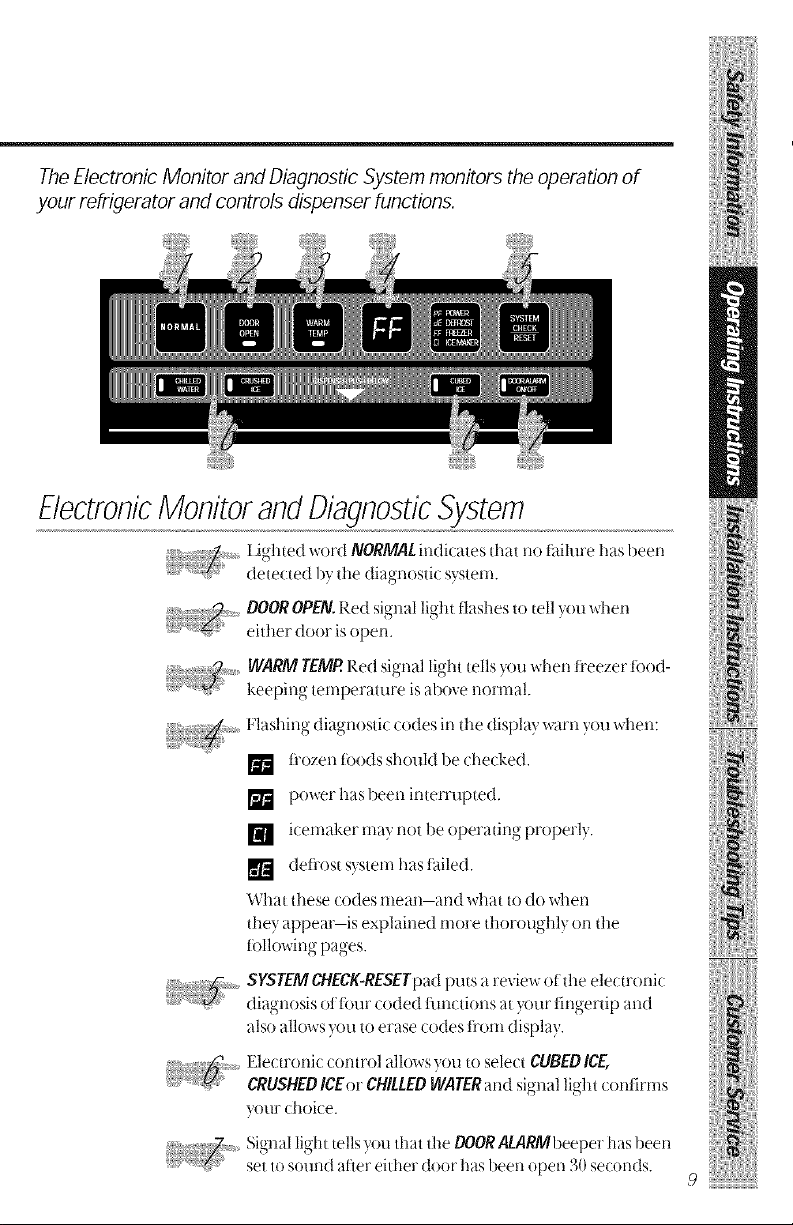
TheElectronic Monitor and Diagnostic System monitors the operation of
your refrigerator and controls dispenser functions.
ElectronicMonitor andDiagnosticSystem
IJghted _ord NORMALindicates that no t_fihu'e has been
deterred b_ the diagnostic s'_stem.
DOOROPEN.Red signal light flashes to tell }ou',d_en
either door is open.
WARMTEMP.Red signal light tells ?,ou ",d_enfl'eezer food-
keeping temperature is above normal.
Flashing diagnostic codes in the display warn you when:
[] l_'ozen loods should be checked.
] power hasbeen interrupted.
[] icemaker may not be operating properly.
[] deti'ost system has failed.
What these codes mean-and what to do when
they appear-is explained more thoroughly on the
tbllowing pages.
SYSTEMCHECK-RESETpad puts a revie',_ of the ele(:tronic
diagnosis oi ibm" coded flmctions at your fingertip and
also allows you to erase codes ti'om display.
Electronic control allows you to select CUBEDICE,
i_'
CRUSHEDICEor CHILLEDWATERand signal light confirms
your choice.
Signal light tells you that the DOORALARMbeeper has been
set to sound after either door has been open % seconds.
9
Aboutthe controlson the refrigerator.
When YourRefrigeratoris FirstPlugged In
ilii ii iiiiili
All panel lights come on tk)rfive se(onds, a beep sounds, and lights
go oil except as tktllows:
, PY flashes in tile display. Touch SYSTEMCHECK-RESETpadto
erase it.
Word NORMALg-lo_s.
P,ed WARMTEMPlight g]o_ s ifi_'eezer comparunen[
telnperamre is higher than normal. It goes offwhen proper l()od-
keeping temperatui'e is rear hed.
Door alarm beeper is activated and light on DOORALARM
pad glows.
, CRUSHED/CEseIe(don light glo_x:s.
P,ed DOOROPENlight flashes it'eidler door is open, goes
ottt when doors are shut.
Night light in ice and water dispenser is off.
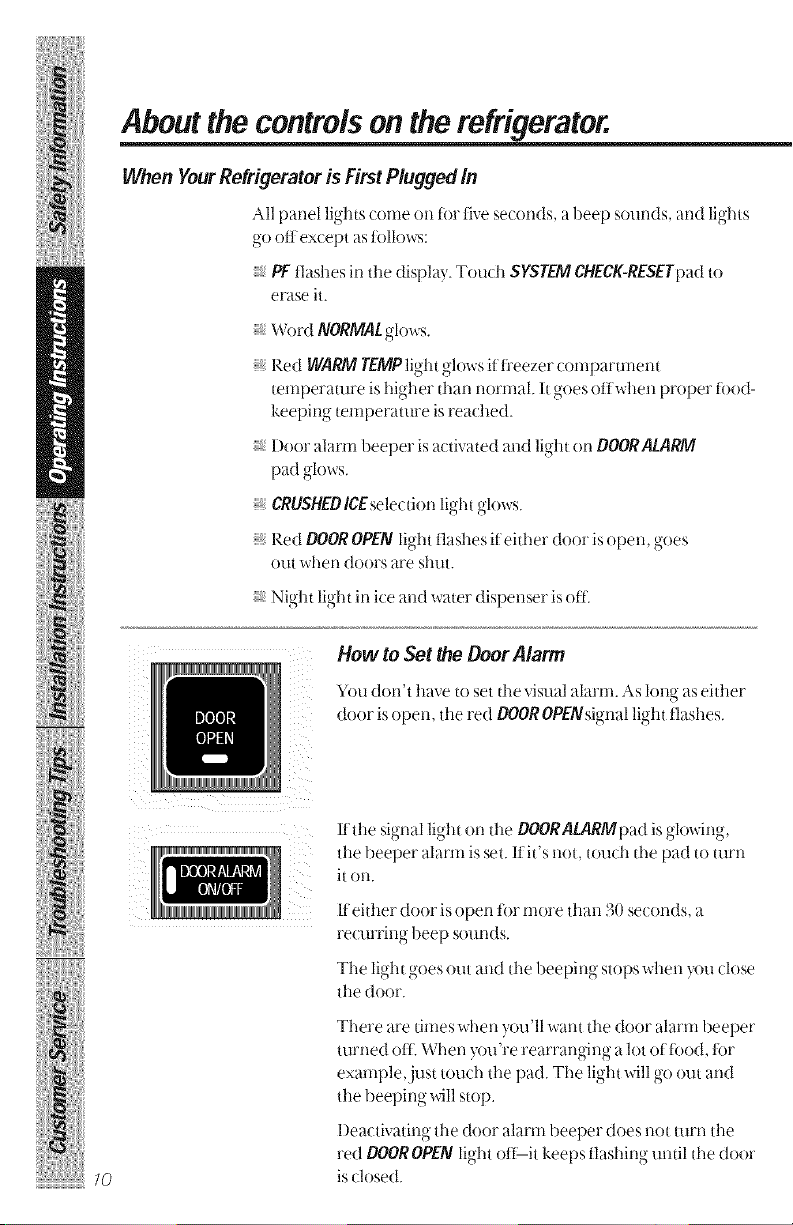
How to Set the Door Alarm
YOUdon't have tit set tile visual alal'ill. As Iollg as either
door is open )tie red DOOROPENsignal light ttashes.
iiliiiiiiH_l_l ""ii!lii:iii_
10
I1tile signal light on tile DOORALARMpad is glo_ing.
tile beeper alarm is set. Hit's not, tonch tile pad to mrn
it on.
II either door is<)pen for more dlan 30 seconds, a
vecuiTing beep sounds.
The light goes <)tit and the beeping stops when )ou close
tile door.
There are Limeswhell you'll wall) tile door alal'ill beeper
tin'ned olK When you're rearranging a lot of tL_od,l_)r
example .]'ust touch tileI)'_d . Tile lio,tlt_i]l g*(t()tit aild
ttle beeping will stop.
I)eactivating ttle door alarm beeper does not turn tile
red DOOROPENlight oft-it keeps ttashing until tile door
is closed.
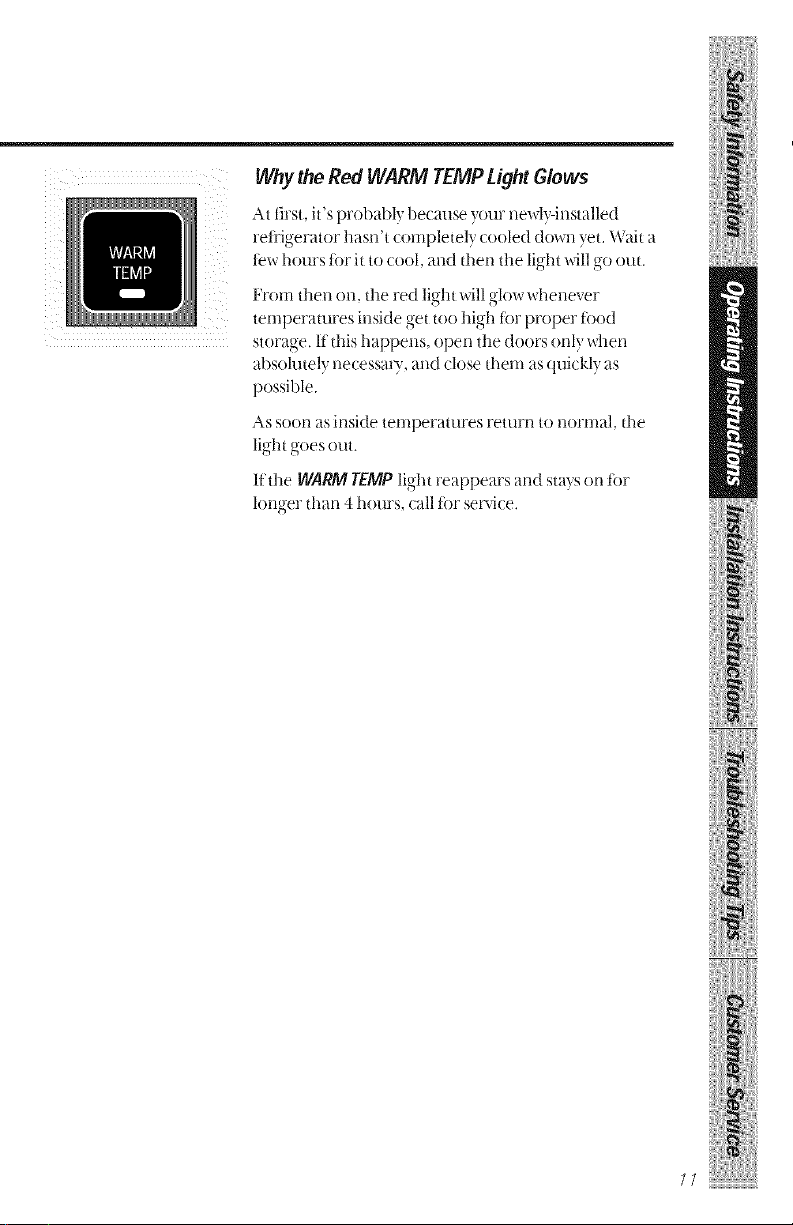
Why the Red WARM TEMP LightGlows
At first, it's probably because your newly-installed
i tYlO 1"
"e "ge ator hasn't completely cooled (l()_n yet. Wait a
few hours for it to cool, and then the light will go ()tit.
From then on, the red light will glow M_enever
temperatures inside get too high tor proper tood
storage. It"this happens, open the doors only "Maen
absolutely necessa U, and dose them as quickly as
possible.
As soon as inside temperatures return to normal, the
light goesout.
lfthe WARMTEMOlight reappears and stayson lot
longer than 4 hours, calllot service.
Aboutthe controlson the refrigerator.
How theElectronic Monitor and Diagnostic
System Works
iliiii:iiiiili
Tile elecu'onic monitor and diagnostic s)stem alerts }on
when something starts to go wrong.
lla diagnostic (:ode appears on the display, something
needs special attentiorL To get }our auention tile
display code tlashes until you erase it. Tile first 6 flashes
are accompanied by beeps.
Ifmore than one coded limction requires attention at
tile same time, the one vAth tile highest priority vAllbe
displayed first.
Pressing tile SYSTEMCHECK-RESETpadwill evaluate all
()tiler coded timctions. If tile NORMALdisplay is lit
during tile displaying of a code. that ftmction is
operating properly.
Pressing tile SYSTEMCHECK-RESETpad_11 erase two
(:odes immediatel_PFand CLThe dEand FFcodes can
onl? be erased by touching tile SYSTEM CHECK-RESET
pad alier tile condition that caused the code to flash has
been corrected.
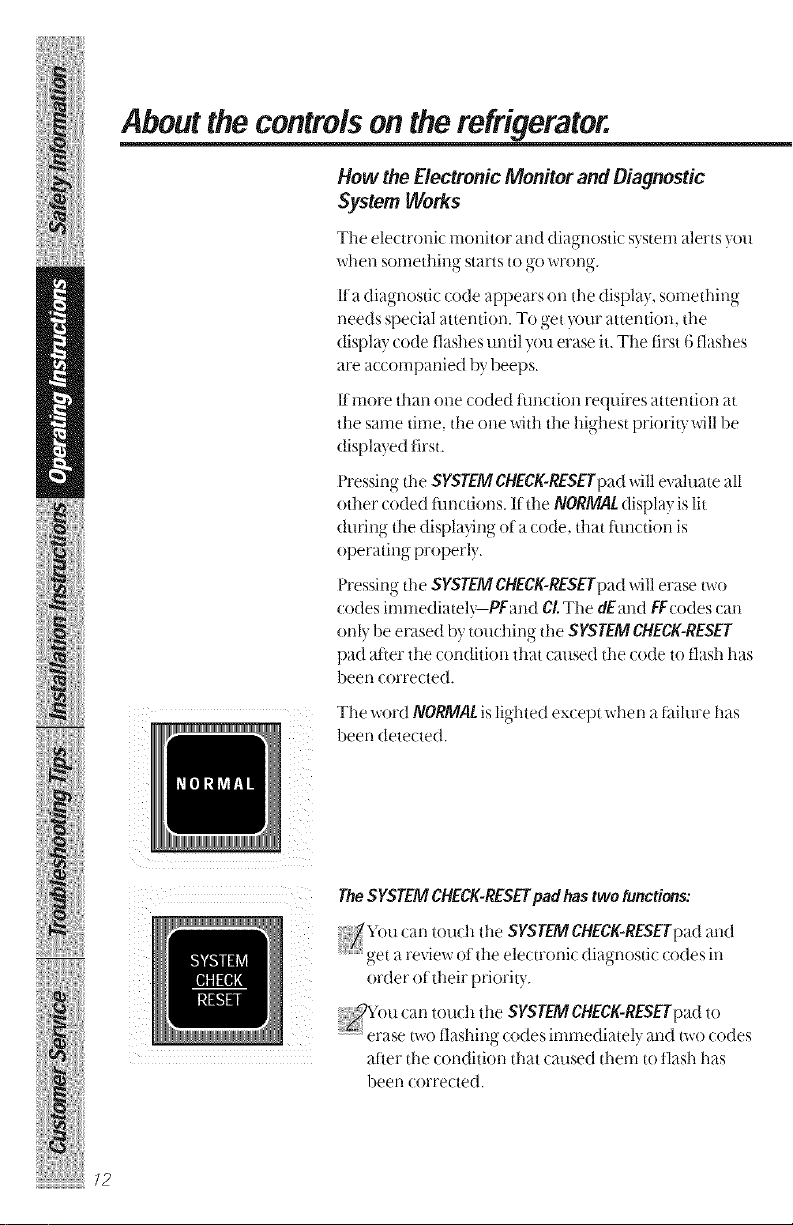
Tile _ord NORMALis lighted except _llen a tailure has
been detected.
iiii iiii iiiii!iii
iiliiiiiiHl_l ""ii!liiiii_
/2
TheSYSTEMCHECK-RESEtpadhastwo functions:
YOucan toudl tile SYSTEMCHECK-RESETpadand
get a revie,a of tile electroni_ diag-nosti( codes ill
order of their priority.
:;::_Y0u can touch tile SYSTEM CHECK-RESETpad to
) erase two tlashing codes immediately and t_o codes
aher the condition that caused them to flash has
been corrected.
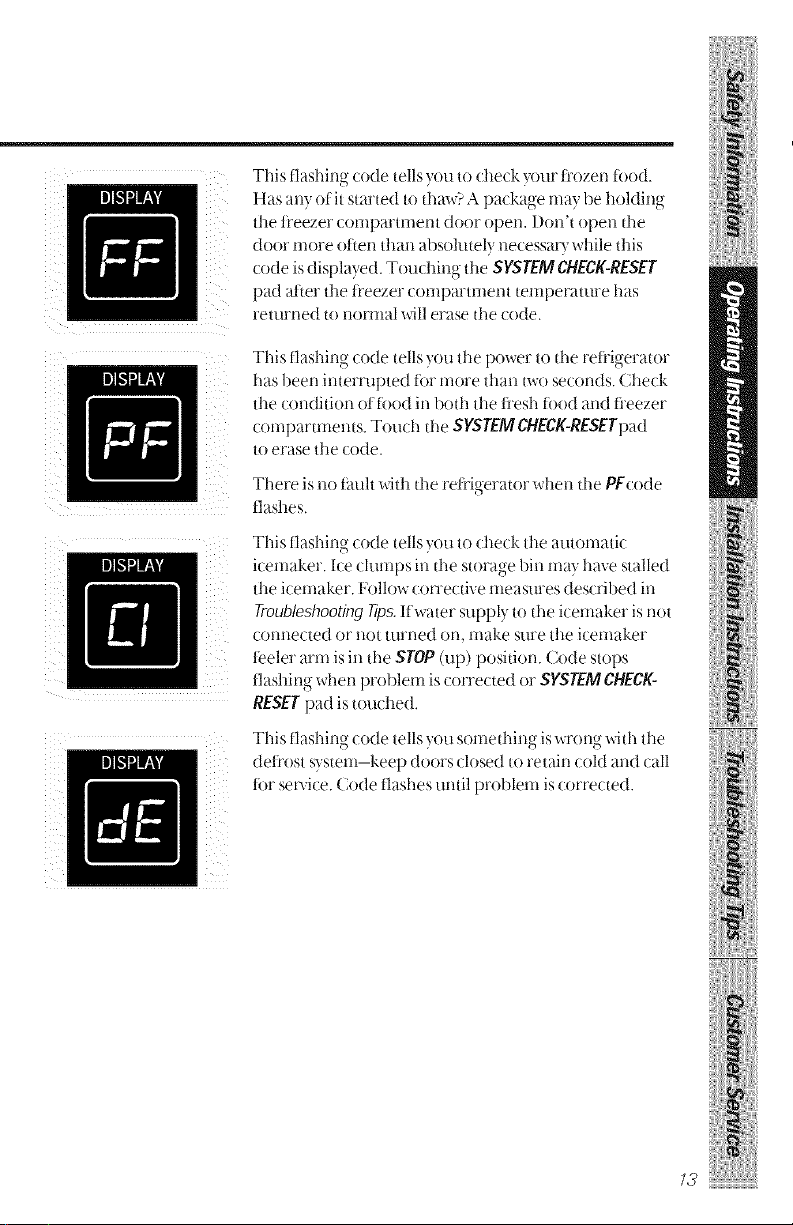
This ttash ng (ode tells you t( (he(k }our fi ozen ti od.
Has any of it started to thaw? A package may be holding
the tt'eezer compartment door open. Don't open the
door more olden thall absolutely necessary while this
code is displayed. Touching the SYSTEM CHECI(-REser
pad al_er the tt'eezer compartment temperature has
returned to normal will erase the code.
Th s ttashin_ code tells you the po'a er to tile reiiigerator
has been interrupted t_)1"more than tx_ose( onds. Check
the condition oi tbod in both tile ti'esh t_od and ti'eezer
compartments. Touch tile SYSTEM CHECK-RESETpad
to erase the code.
iii _i
iI
There is no tauh with tile reitigerator when tile PFcode
flashes.
This tlash ng( ode tells you t( (heck tile automatic
icemaker. Ice clumps in the storage bin may have stalled
the icemaker. Follow con'ective measures described in
Troubleshooting rips, Ifwater supply to the icemaker is not
connected or not turned on, make sure the icemaker
i i
teeler arm is in the STOP (up) position. Code stops
flashing when problem is corrected or SYSTEM CHECK-
RESET pad is tonched.
This tlash no-code tells you someth lg s'a rt)no with the
O , < O
dett'ost system-keep doors closed toretain cold and call
tor set'Gce. Code tlashes until problem is corrected.
Aboutthe controlson the refrigerator.
How ToTest Temperatures
ilii ii iiiiili
FoodStorage
Automatic Energy Saver System
[lse the mill.: test fbr the fl'esh food comparunent. Pla(e a container
of milk on the top shelf and check it a day later, ff the milk is too
warm or too cold, a({just the temperature controls.
Use the ice cream test ior the fi'eezer compartment. Place a
container of ice creal-n in the center of the fi'eezer and check it alter
a day. Kit's too hard or to<)soti, a({iust the temperature controls.
Atterthawing thecontrols,allow24hourstot therefr_d,er;_toftoreachthe
tempefT}tur_youhaveseL
The type of packag'ing used and the storage temperamres',,,'ill allect
how long tbod vdll keep in the refrigerator.
New food storage guidelines are constantl?, being developed.
ConsulttheCountyExtension5avice totthelatestintomTationontreezinqand
storingfoods.
Youwon'tfindanenergysaverswitchonthis[_ffiyefator
ii/iJiiiiH_l_l "?li]:iii_
....................................._4
Warm liquid lrom the rel_igerator's condenser is automatically
circulated around the Font edge of the freezer compartment to
help keep moisture fl'om lbnning on the outside of the reh'igerator
during humid weather.
Many refl:igerators use special electric heaters. This refrigerator
needs none. That's why there is no energy saver _vitch...there's no
need tot it.
Aboutthe refrigerator shelvesand dishes.
Not all features are on all models.
[] t upand out rT] Tiltup
ToRemove
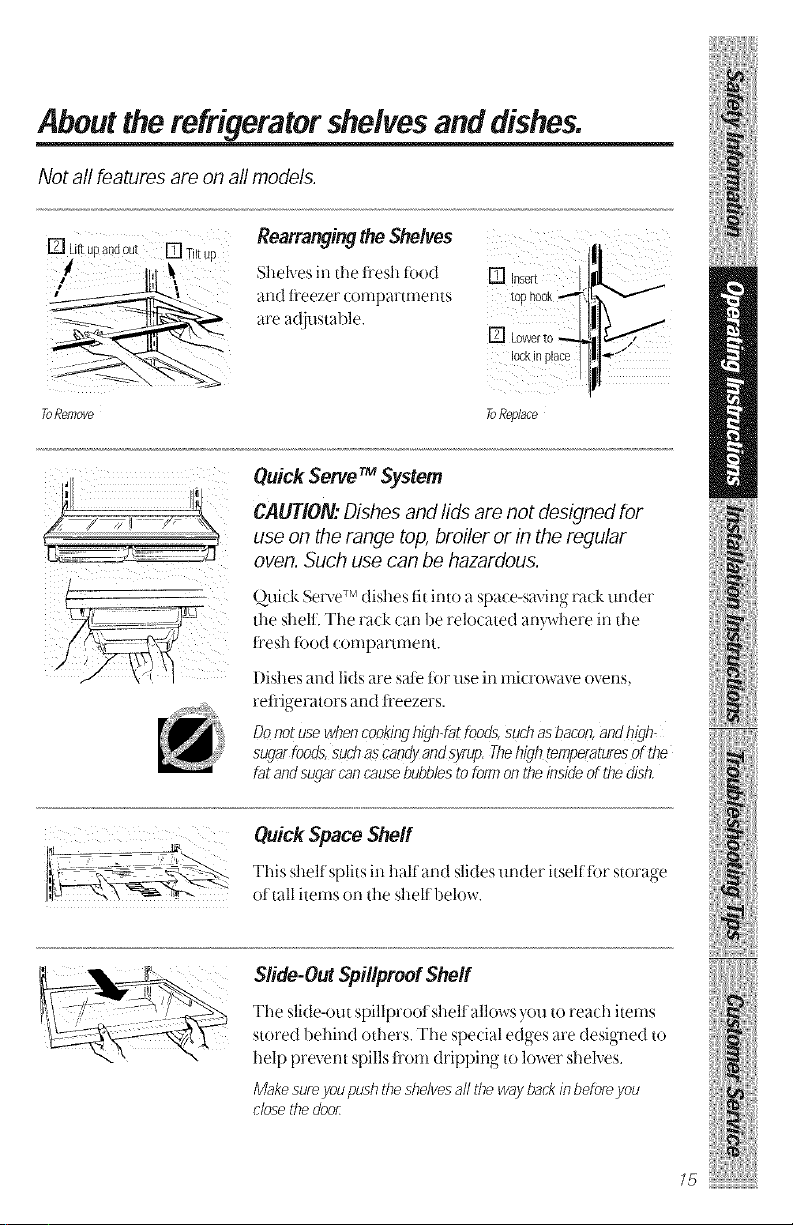
Rearrangingthe Shelves
1t
Shelves in the lt'esh toad [] Insert ,r-._Lllll
are a(liustable. [] Lowerto _1_;_'-_
lockinpla
ToReol_se
Quick ServeTMSystem
CAUTION: Dishes and lids are not designed for
use on the range top, broiler or in the regular
oven. Such use can be hazardous.
Quid< Serve TM dishes fit into a spa(e-saving rad< under
the shell: The rack (:an be relocated am'where in the
liesh load compartment.
l)ishes and lids are sale lot use in micr_wave ovens,
1 _IlO 1"
:e :"go atOFS and treezers.
Donotusewhencookingh{gh@tfoods,suchasbacon,andhigh.
sugarfoods,sucflascandyandsFup. Thehightemperaturesof the
fatandsugarcancausebubblesto formontheinsideof thedish.
iiilii il!ii
Quick Space Sheff
This shelt splits in halt'and slides under itself for storage
ot tall items on the shell belo',_.
Sfide-OutSpi//pmof Shelf
The slide-out spillprool shell allows yon to read_ items
stored.....behind others The si)e(i'd.... ed m,-es.....are desig,ned to
help prevent spills tt'om dripping to lower shelves.
Makesureyoupushtheshelvesallthewaybackinbeforeyou
closethedoor:
iiiii!iiii! ii l !'i iiiii
15
About the storage drawers.
Not all features are on all models.
ilii ii:iiiiili
........................ J
ii i i i i i i
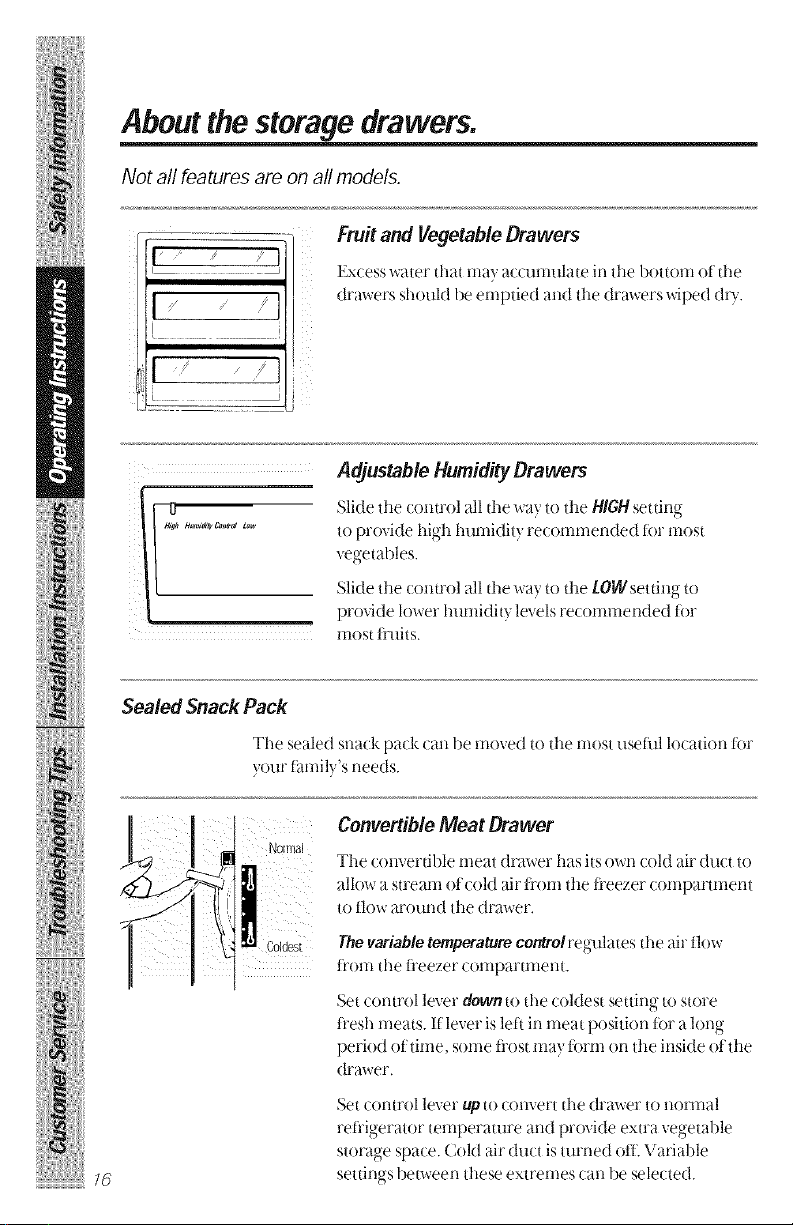
Sealed Snack Pack
_ _- Fruitand Vegetable Drawers
Ex_ ess _ater that may a(cllmtllate irl the bottom of the
/
/ / /"
....
drawers shouM be emptied mM the dra_ers wiped do.
Adjustable HumidityDrawers
Slide tile control all the way to tile HIGH setting
to provide high humidity recommended lor most
vegetables.
Slide ttle control all the way to ttle LOW setting to
provide lower humidity levels recommended lor
most lmits.
The sealed Sllacl¢.[)a(]¢. (all be moved to tile l-tit)stuseth] Io(ation tor
yore" tamily's needs.
iliiiiiil lll ""ii!lii:iii
16
Normal
Convertible Meat Drawer
The convertible l-neat drawer has its OWilcold air duct to
allow a stream oicoM air tl'Oi-tltile fl'eezer comparu-nent
to flo',_ arotmd tile drawer.
The variable temperature coNrolreg_flates the air t]ow
t_'t)lll the fl'eezer coillpartlllellt.
Set control lever down to the coldest setting to store
fl'esh meats. If'lever is left in meat position R_r a long
period ot time, some fi'ost may torm on ttle inside ot ttle
drawer.
Set control lever up to COllvert the drawer to llorlrlal
retl'igerator temperature and provide extra vegetable
storage space. Cold air duct is turned olt. Variable
settings between these extremes call be selected.
About storage drawer removal
Not all features are on all models.
%
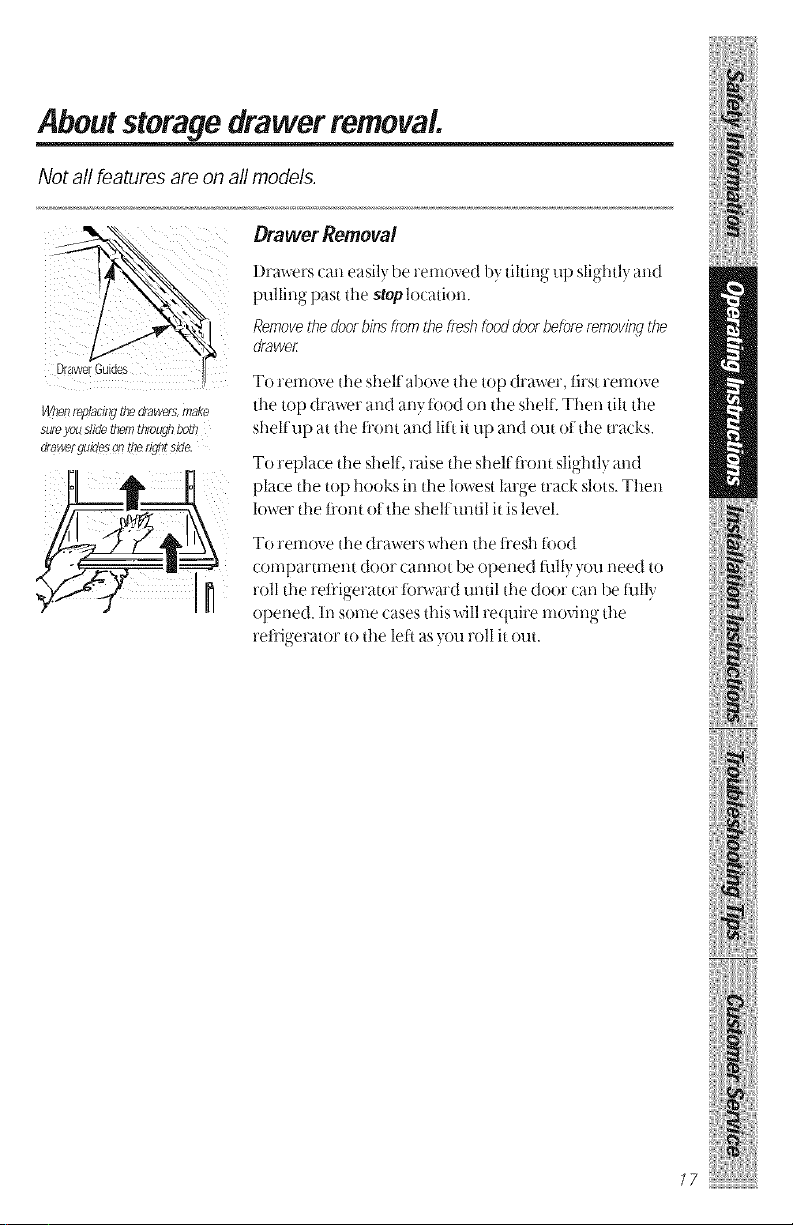
Drawer3uides
When f_plscln_ [tle Qrswef5 fflSKe
sure you slice _rlem[r_ugt ooe
gfawef guI3es Ol7 e?e fight S Je
Drawer Removal
I)rm_ ers can easily be removed by tilting up slightly and
pnlling past tile stoplocation.
Removethedoorbinsflorathetrashtoeddoorbolerore.movingthe
drawer
To reinove tile shelf above tile top drinker, tirst reir_ove
the top dra_er and any ti)od on tile shelf. Then tilt tile
shelt'up at tile front and lift it up and out of the tracks.
To replace tile shell raise tile shell fi'ont slightly and
place the top hooks in the lowest large tratk slots. Then
lower the ti'ont of the shelt mltil it is level.
To remove tile drawers when tile tt'esh li_od
compartment door camlot be opened fillly yon need to
roll the relt'igerator tbrward until the door (:an be tnlly
opened. In some cases this will require moving tile
rett'igerator to tile left as }on roll it ont.
ilii iiiiil
Aboutthe additional features.
Not all features are on all models.
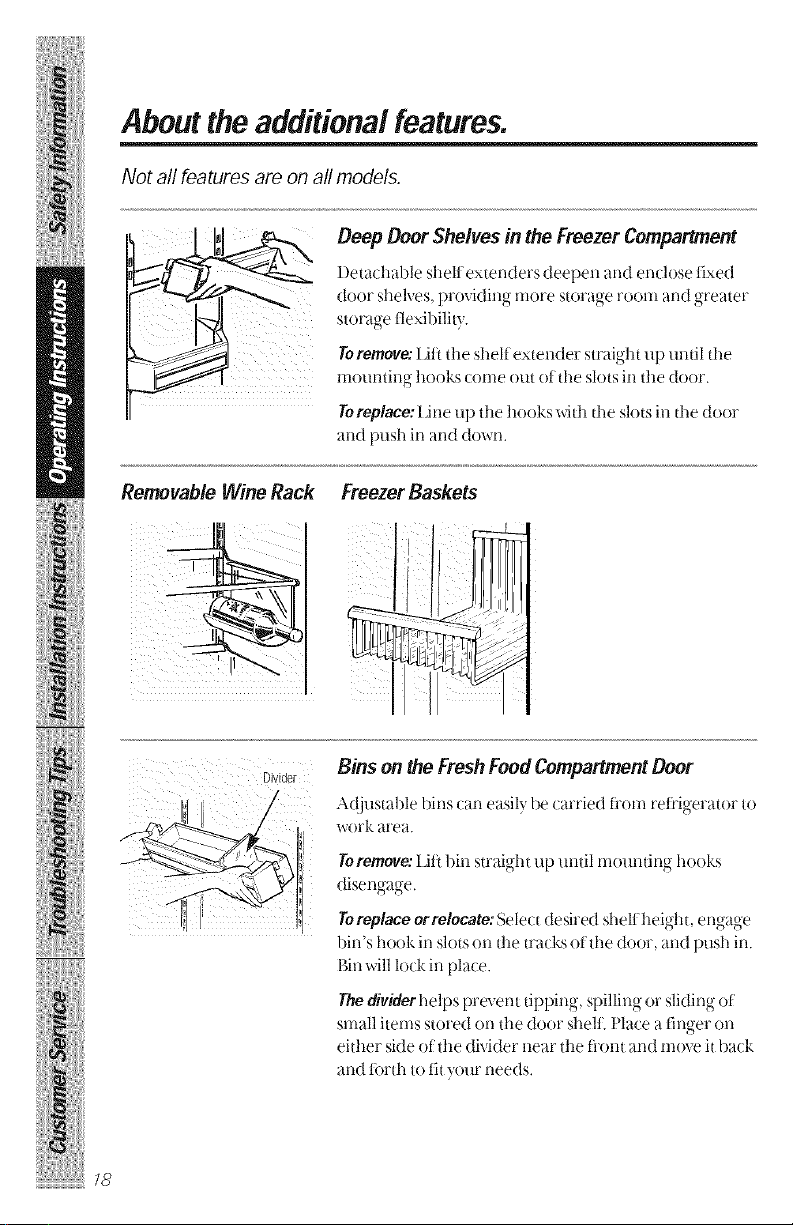
Deep Boor Shelves in the Freezer Compartment
l)etach_dfle shell extenders deepen and enclose lixed
door shelves, providing ulore storage l'OOllland greater
storage flexibility.
Yoremove: Lift the shelt'extender straight up until tile
motlntillg hooks tome ()lit ot tile slots in tile door.
Toreplace: IJne up ttle hooks with tile slots in tile door
and push in and down.
Removable Wine Rack FreezerBaskets
ii/iiiiiiH_l_l "'li!lii:iii_
18
g
Divider
Bins on theFreshFood Compartment Boor
Ac!justablebins (an easilybe tarried fl'omretdger;uor to
_ork area.
Toremove: lift bin straight up until mounting hooks
disengage.
Torep/ace orrolocato:Select desired shell height, engage
bin's hook in slots on tile tracks of tile door, and push in.
gin will lock in place.
Thedivider helps prevent tipping, spilling or sliding of
small items stored on tile door shell; Place a linger on
either side of ttle divider near ttle li'ont and move it back
and lorth to tit your needs.
Aboutthe refreshmentcenter.
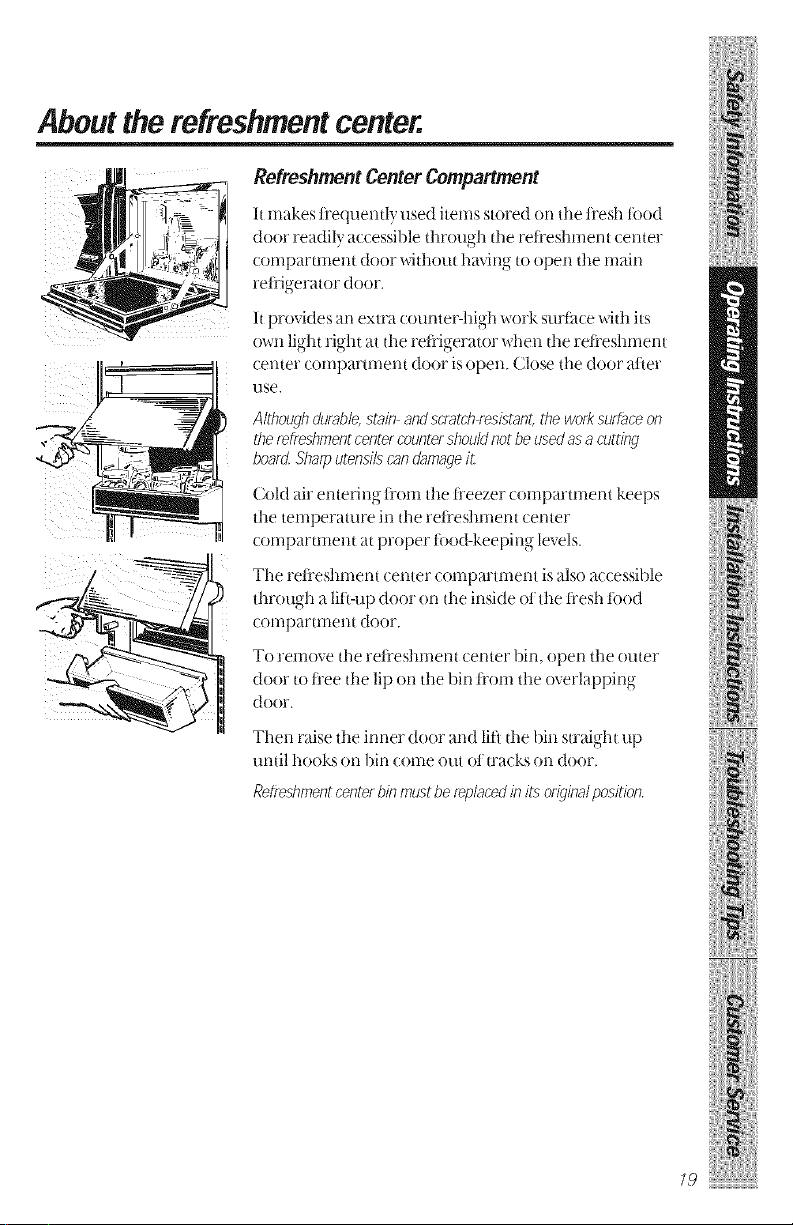
RefreshmentCenterCompartment
It makes Fequently used items stored on tile fl'esh tood
• hr ) oh •door readily ac(essible t (:ug tile retreshmem center
( ornp}lr[lllell[ door wi[hottt h}tvin_ to open tile ill,tin
i in? r' r"e "_e ato door.
It provides an e×tra counter-high work surt_(e with its
own light right at the refl'igerator when the relt'eshrnent
(enter (omparmlent d()or is open, (;lose tile door alier
use.
Although durable,st;2n and scmtch resistant, the work surt;_ceon
the refreshmentcenter counter shouldnot beused as a cutting
boar_ Sharp utensils canrt;_mageit
Cold air entering fl'om tile fl'eezer compartment keeps
the temperature ill the refl'eshment center
comparunent at proper tood-keeping levels.
Tile refl'eshment center compm'tment is also accessible
through a lift-up door on tile inside ot tile h'esh tood
comparunent door.
To remove tile reli'eshmem center bin, open tile outer
door to fl'ee tile lip on tile bin lt'om tile overlapping
dooF.
Then raise tile inner door and litt tile bin straight up
llntil hooks on bin COllie ()tit Oi tracks oil door.
Refreshmentcenter bin must be replaced in its original position.
Abouttheautomaticicemaker.
ilii ii iiiiili
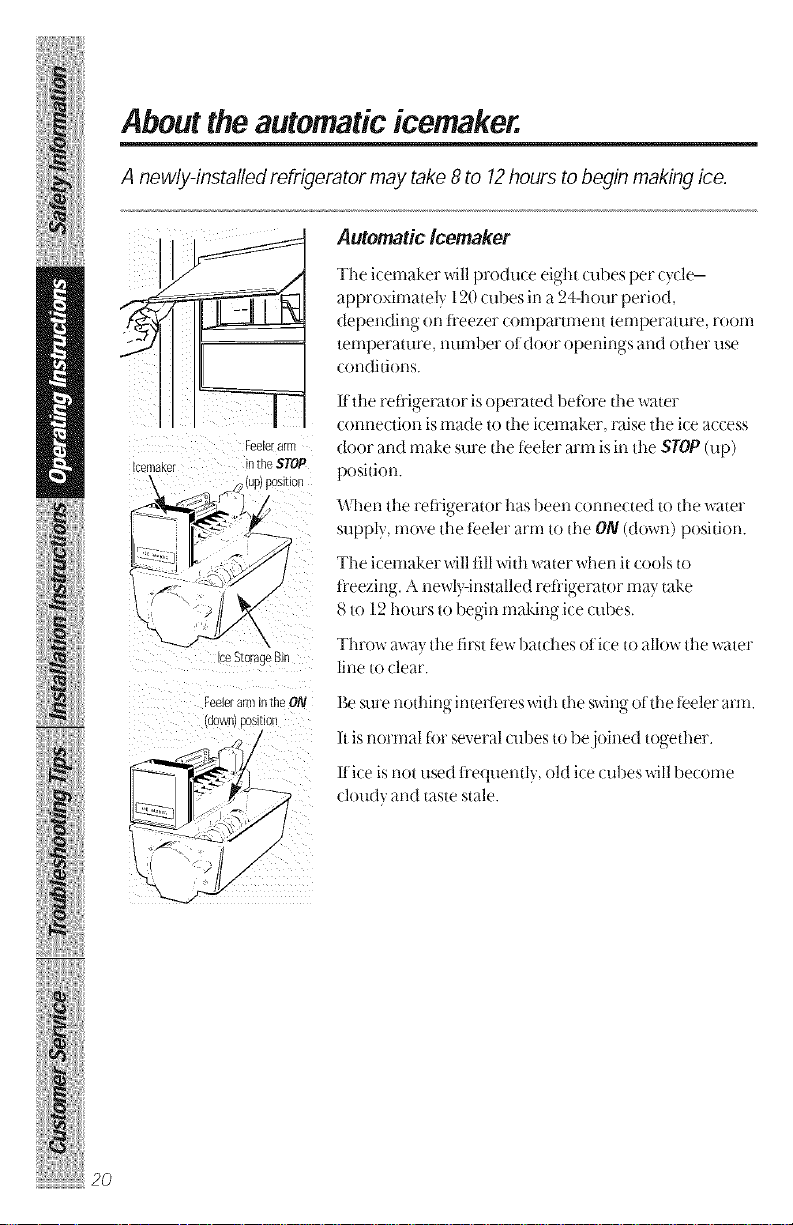
,._ __ approximately 120 cubes in a 24-hour period,
"-Yl IK- te,;, .erature,l,u,i,,,ero,d,,or,lpe. . sa,,dotlleruse
Automatic Icemaker
I j -- / Tile i, emaker will produt e eight tubes per cyt le-
II aJ t e.el,d,l, o.,ree.erco* , .art,.,el,tte* ,,.er.t.rer,lo* ,
connection is made to tl_e icemaker, raise the ice access
Feelerarm door and make sure tile leeler arm is in the STOP (tip)
position.
When the refi'igerator has been connected to tile water
supply, move the teeler arm to tile ON (down) position.
Tile icemaker will lill with water when it cools to
Feezing. A newly-installed reti'igerator may take
8 to 12hours to begin makingice cubes.
:eSt0mgeBi_ line toclear.
Feeleram1intheON Be stn'e nothing interleres with tile swing otthe leeler arm.
oownl DOSKION
Throw away the first lew batches ()rice to allow the water
It is nomlal h)r several cubes to bejoined together.
llice is not used l}'equently, okl ice cubes will become
cloudy and taste stale.
iiii_iiii_iiiii!iii
ii/iiiiiiH_l_l ""ii!lii:iii_
/
/
./
About the ice and water dispenser.
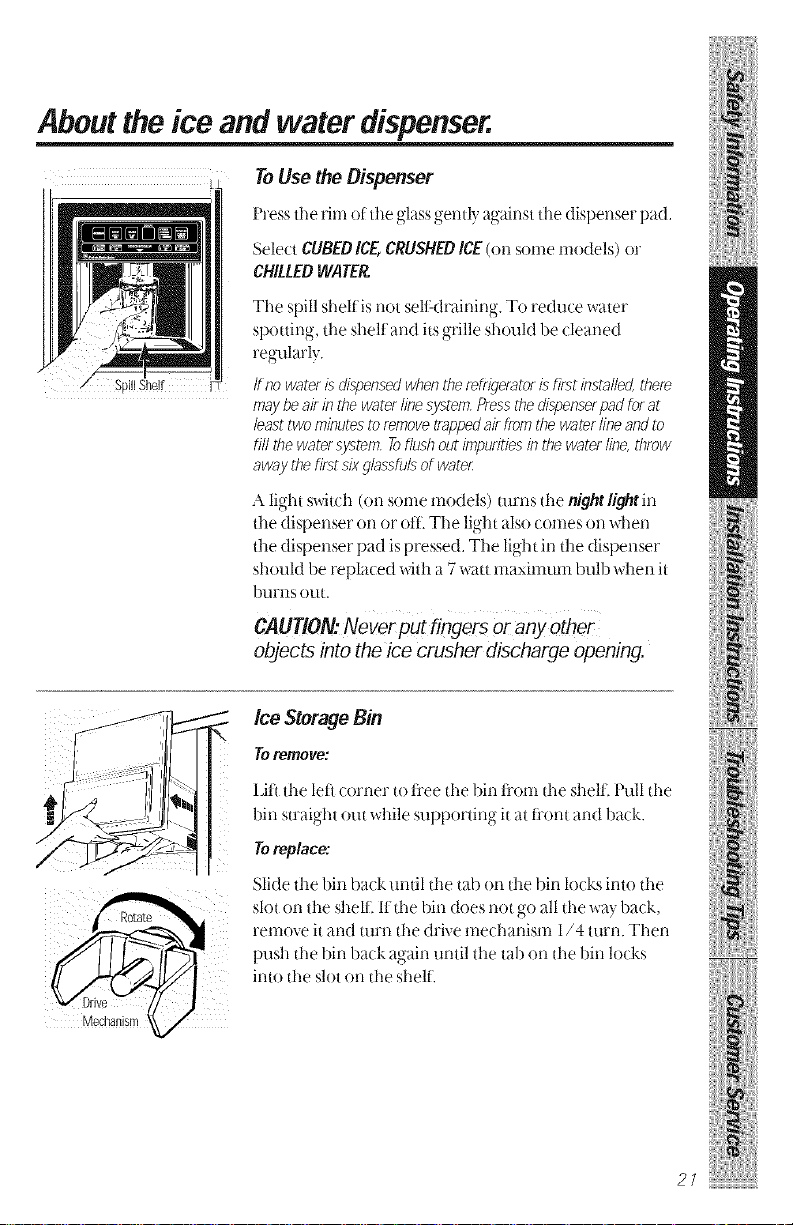
ToUsethe Dispenser
Press the rim of tim glass gently against tim dispenser pad.
Sele(tCUBED ICE,CRUSHED ICE (on some models) or
CHILLED WATER.
The spill shelf is not self-draining. To reduce water
spotting, the sheli and its grille should be deaned
regularly
ff no water is dispensed when thef_frigerator is first installe_ ther_
may be air in the water linesystem. Pressthe dispenserpad for at
least two minutes to r_move trappedair from the water line andto
fill the water system. Toflushout impurities in the water line, throw
away the first six gbsstuls of water:
_. holy "
"g _swltch (on some models) turns the night light in
the dispenser on or off'. The light also collies Oll ",dmn
the dispenser pad is pressed. The light in the dispenser
should be replaced _;_th a 7 _;_att maximum l)ulb when it
burns out,
CAUTION:Never put fingers or any other
objects bto the ice crusher discharge opening.
IceStorage Bin
Toremove:
IJfl the left corner to free the bin fl'om the shelf. Pull the
bin straight out while supporting it at fi'ont and 1)ack.
Toreplace:
Slide the bin back until the tab On the bin locks into the
slot on the shell. It the bin does not go all tl_e',_ay bad,:,
remove it and mrn the drive medmnism I/4 turn. Then
push the bin back again until the tab on the bin locks
into the slot on the shelf.
ilii iiiiil
MechanBm
2/
Abouttheice andwater dispenser.
ilii ii:iiiiili
Important Facts About Your Dispenser
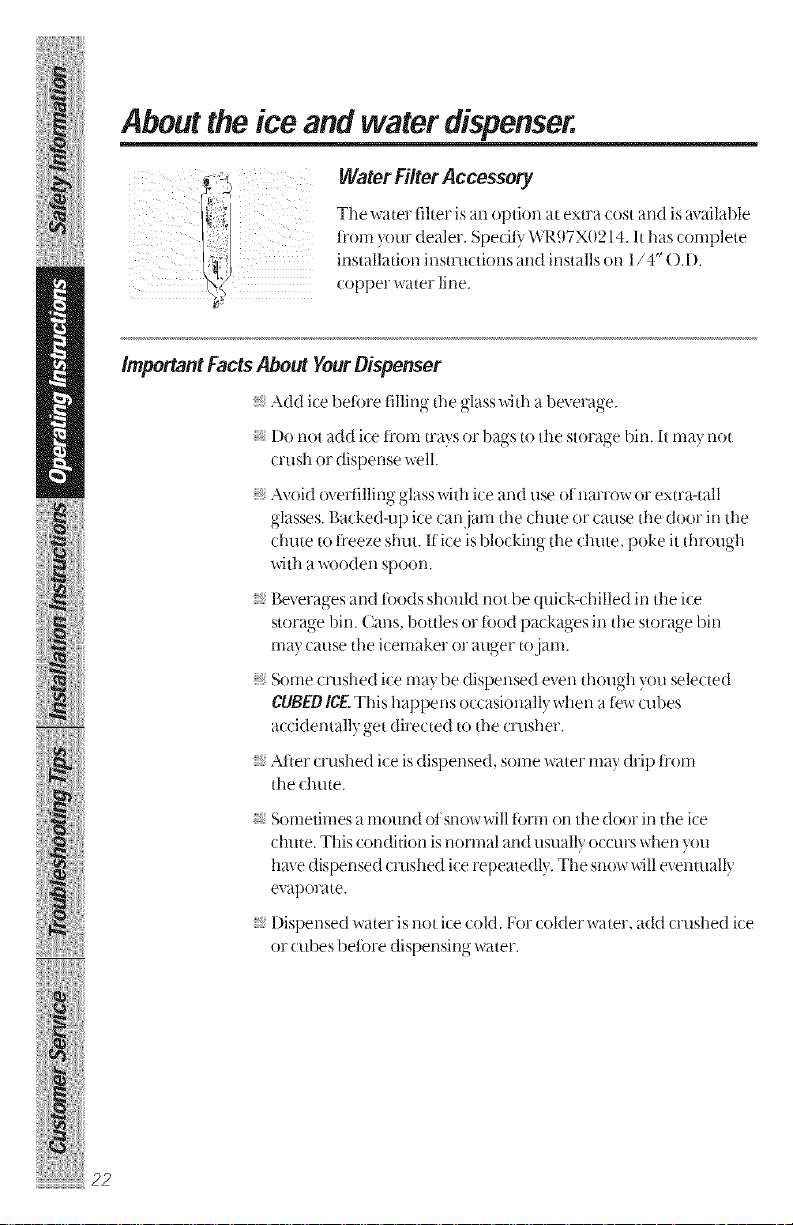
WaterFUteraccesso
The water filter is an option at extra cost and is available
f_'omvotw dealer. Spe_ ilk,WP,97X0214. It h_,tscomplete
installation instructions and installs on 1/4' ().]l).
copper _,_ater line.
Add i_e 1)ef'ol"efilling the glass with a beverage.
I)o not add ice f_'om trays or bags to the storage bin. It ma) not
crush or dispense well.
.......,/_void overfillin " lass with ice and use of narrow or extra-tall
glasses. Backed-up ice can jam the chute or cause the door in the
chute to fieeze shut. [fi(e is blocking the chute, poke it through
with a wooden spoon.
Beveragesand tk)odsshould not be quick-chilled in the ice
storage bin. (;ans, bottles or fk_odpackages in the storage bin
i11a}'cause the icemaker or auger to.jam.
Some cnlshed ice ma> be dispensed even though you selected
CUBEDIgEThis happens occasionallywhen a lewcubes
accidentalb get directed to the crusher.
OO
iiliiiiiiH l l ""ii!lii:iii
22
, _M'tercrushed ice isdispensed, some water may drip l_'om
the chute.
, Sometimes a mound of snow will tk_rnlo,1 the door in the ice
chute. This condition is normal and usuallyoccm-s when you
have dispensed cnlshed ice repeatedly. The snow will eventually
evaporate.
., Dispensed water isnot ice cold. For colder water, add crushed i(e
or cubes before dispensing _ater.
Careandcleaningoftherefrigerator.
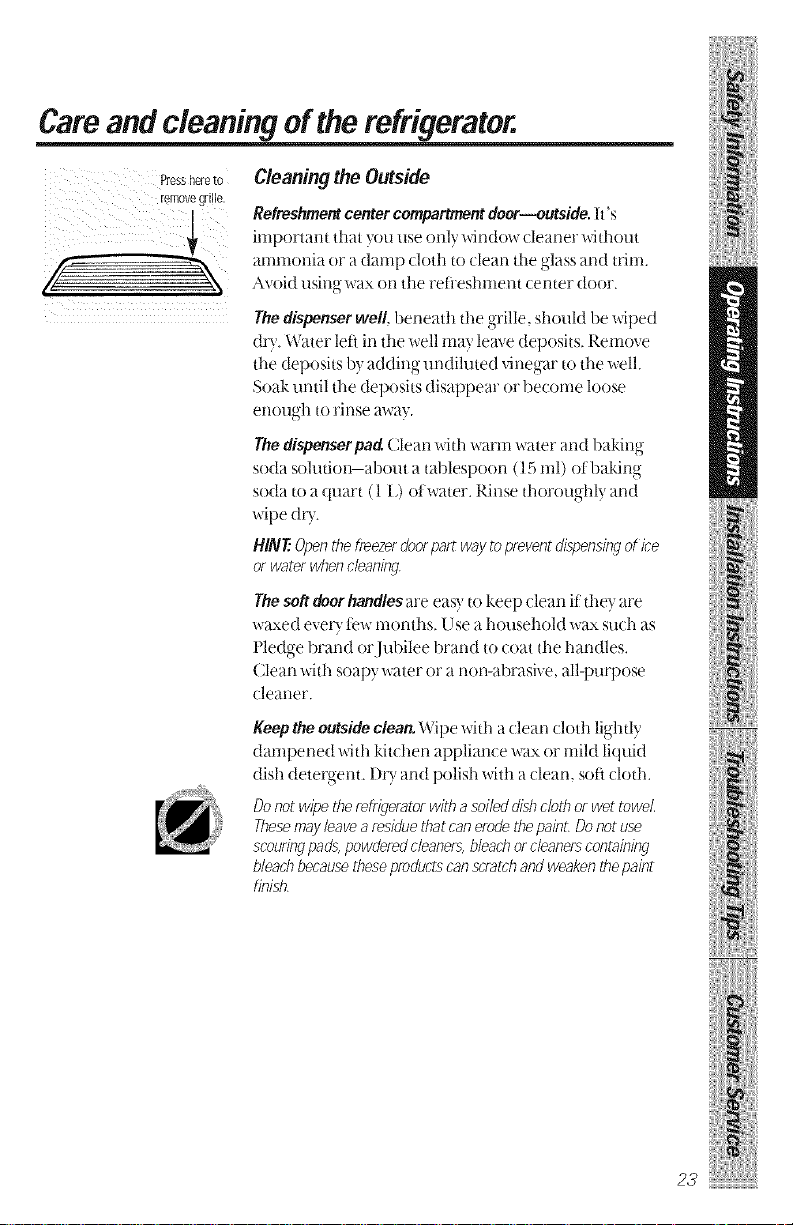
Pres_h_eto Cleaning the Outside
remove gNHe
illiportalit that yotl tlse ()lily x_irldow clearlel" without
Refreshmentcenter compartmentdoor--outside.It's
- alillilOllia or 7ldamp cloth to clean the glass arid trim.
f-- _, Avoid using wax on die rell'eslunent center door.
The dispenser well. beneath the gTille, should be wiped
di)'. Water leti in the well may leave deposits. Remove
the deposits by adding undiluted tinegar to the well.
Soak until the deposits disappear or become loose
enough to rinse away.
The dispenserped. Clean with warm water and baMng
soda solution-about a tablespoon ( 15el) o! baking
soda to a quart ( 1L) ol water. Rinse thoroughly and
wipe dry.
HINT:Openthetreezerdoorpartwaytopreventdispensingof ice
or woter when cle;Tning.
Theso# doorhandlesare easyto keep clean if tl_e)-are
waxed eveU iew months. Use a household waxsuch as
Pledge brand or lubilee brand to coat tl_ehandles.
Clean witl_soapywater or a non-abrasive, all-pro'pose
cleaner.
Keep theoutside clean. _4ipe with a clean cloth lightly
dampened with khchen appliance wax or mild liquid
dish detergent. I)U and polish with a clean, soli cloth.
Do not wipe the refrigerator with a soiled dish cloth or wet towel.
Thesern<_yleave oresidue that can erodethe p_Tint.Donot use
scouringp_Tds,powdered cleilners, bleilch d cleaners cont_Tining
bleachbecause theseproducts ciTnscratch and weaken the paint
finish.
;[
ili iliiii'il
23
Careandcleaningoftherefrigerator.
ilii ii:iiiiili
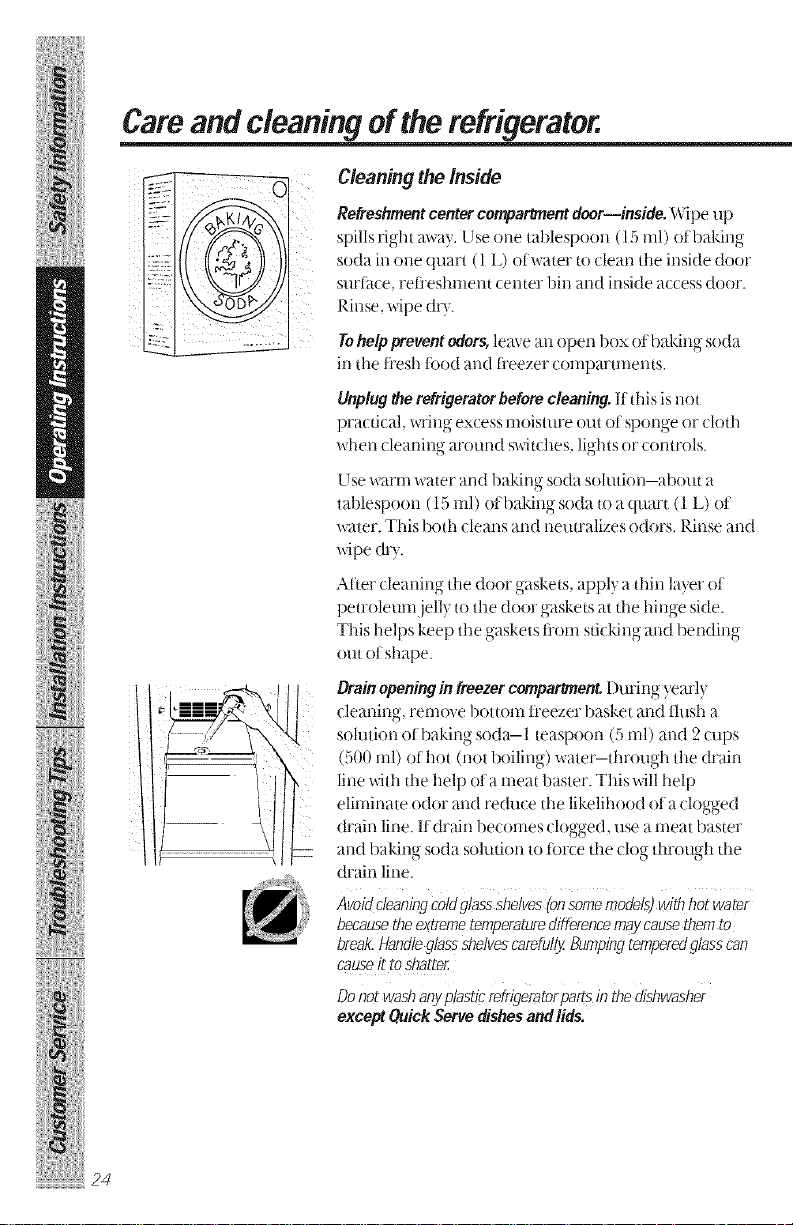
I Drainopening in freezercompartment.1)m:ing },earl>
Cleaning the Inside
Refreshmentcentercompartmentdoor--inside._,_ipe up
spills right away. Use one tablespoon (l 5 ml) ot baMng
soda in one quart (I L) of_ater to dean the inside door
sllrface, refreshlllent center bin and inside ac(ess door.
Rinse. wipe d*3.
......... Tohelp prevent odors, leave an open box at baldng soda
in the t_'esh food and fi'eezer compartments.
Unplugtherefrigeratorbeforecleaning.If this is not
pro( tical, wring ex(ess moisture out of sponge or (lath
xd_en cleaning around switches, lights or controls.
Use _Aarlll x_ater and baking soda sohltion-abotlt a
tablespoon (15 ml) at baldng soda to a quart (1 L) of
water. This both cleans and neutralizes odors. Rinse and
wipe oh).
After cleaning the door gaskets, appl} a thin layer of
peu'oleumjelly to the door gaskets at the hinge side.
This helps keep the gaskets fronl stiddng and bending
out of shape.
cleaning, renlove bott()lll freezer basket alld fltlsh a
solution of baking soda-I teaspoon (5 ml) and 2 cups
iiii iiii iiiii!iii
iiliiiiiiH l l "'"ii!lii:iii
24
! (500 ml)of hot (not boiling-)water-through the drain
\
line with the help era meat baster. This will help
eliminate odor and reduce the likelihood of a clogged
drain line. li drain becomes clogged, use a meat baster
and baking soda solution to t6rce the clog through the
• drain line.
Avoicldeaningc°ldglassst,elves(onSomemodels)wittlhotware,
becausetheextremetemperaturedifferencemaycausethemto
break,ftandleglassshelvescamfufly.Bumpingtemperedglasscan
causeit toshatter:
Donotwasflaoyp/asticteffigeratorpartsin thedishwasher
except QuickServedishesandlids.
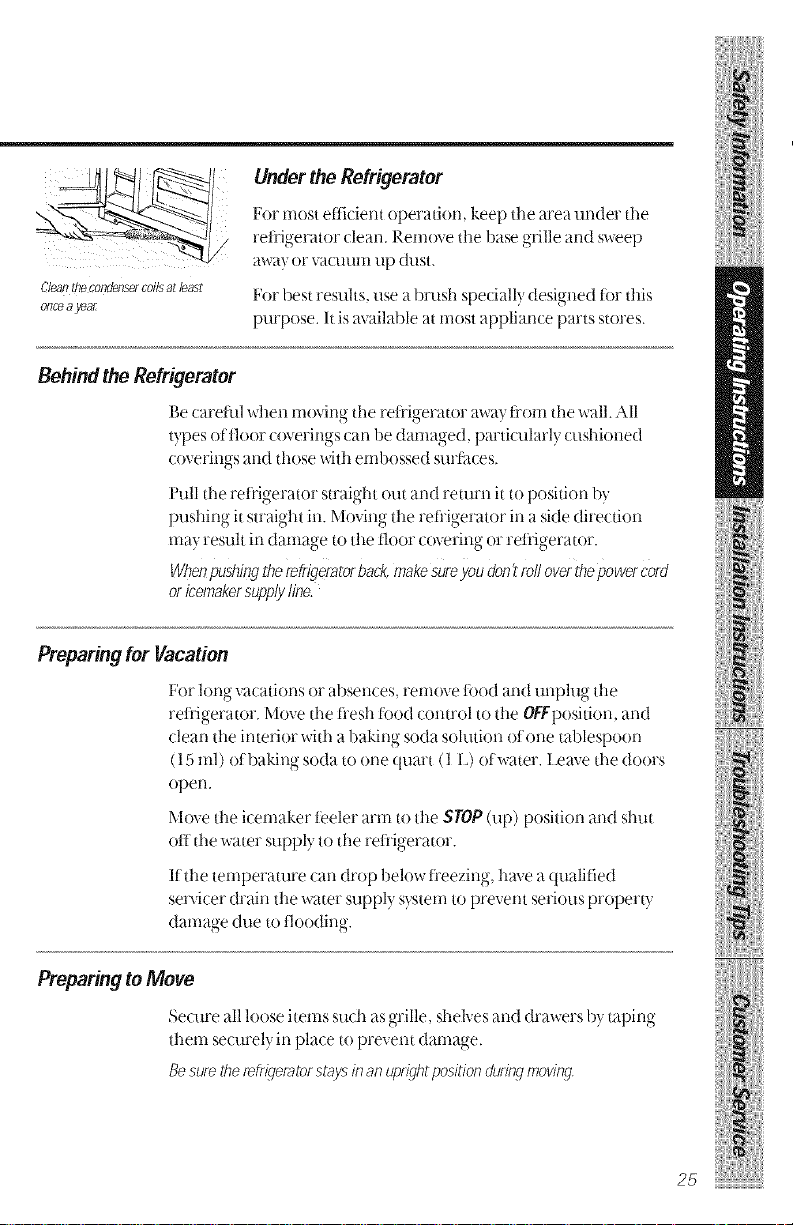
Glean the condenser coils at bast
ofice a yeaE
BehindtheRefrigerator
Be careful ",dmn moving tile refl'igerator ax_a}ti'om tile wall. All
types oft]oor coverings can be damaged, particularl} cushioned
coverings and those with eulbossed snrlsces.
Pull the refl'igerator straight out and return it to position by
pushing it straight in Moving the refl'i ,erator ill a side direction
may result in damage to the floor covering or refl'igerator.
WhenpushingtDerefrigeratorha&, makesureyoudon'trollova thepowercold
oricemakefsupplyline.
Preparing for gacation
For long va(ations or absences, remove tood and unplug the
refrigerator. Move the fi'esh lood control to the OFFposition, and
(:lean the interior _dth a )a" g soda so tit )n ofone tablespoon
(15 ml) of baking soda to one quart (1 L) ot water. I!cave the doors
open.
M(we the icemaker leeler arm to the SIOP (up) position and shut
oil the water supply to the refrigerator.
If the temperature call drop below fl'eezing, have a qualified
ses','icer drain the water supply system to prevent serious property
damage due to t]ooding.
Underthe Refrigerator
For most ell]dent operadon, keep the areatrader tile
refl'igerator clean. Remove the base grille and s',_eep
away or va(llUlll lip dtlst.
For bestresults, use abrash speciallydesigned tot this
purpose. Itisavailable at most appliance parts stores.
1 kino " 1 i(
Preparing toMove
Secure all loose items su(h as grille, shelves and drawers by taping
them securely in place to prevent damage.
Besuretherefrigeratorst;)ysinanuprightpositionduungmoving.
25
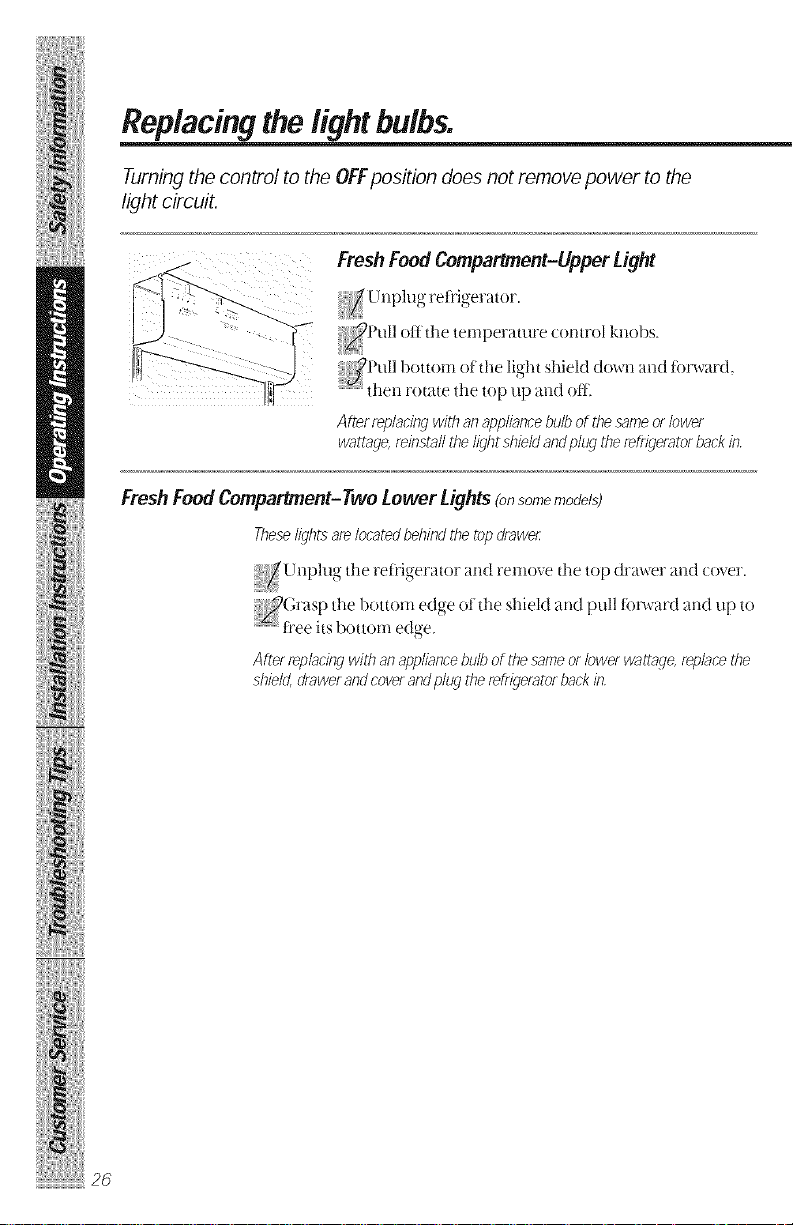
i_ Replacing the lightbulbs.
Fro.,FoodCo p , .e. -Upper
_l'ull of_'thetemperature(omrol knobs.
_Pull bottom of the light shield (lox_ n and forward,
then rotate the top tip and oft.
After tel)lacing with an appliance bulb of the sameor lower
wattage, reinstall the light shield andplug the refrigerator back in.
FreshFoodCompartment-TwoLower Lights(onsomemodels)
Theselights are located behind the top drawer
//Unplug the reft'igerator and remove the top drinker and cover.
_(;rasp the bottom edge of the shield and pull tba_ ard and up to
:::_' tt'ee its bottoill edge.
After replacing win an appliancehub of the sameof lower wattage, replace the
shiekt, drawer and coverand plug the refrigerator back in.
ii/iiiiiiH_l_l ""ii!lii:iii_
Freezer Compartment
_Remove the shelf iust belo',_light shield.
_,Pull the light, sh eld towardvou, to reach the bull).
Afterreplacingwifl7anappliancebulbofflTesameorlowerwattage,reinstallthe
shieldandshelf,andplLLgtherefrigeratorbackin,
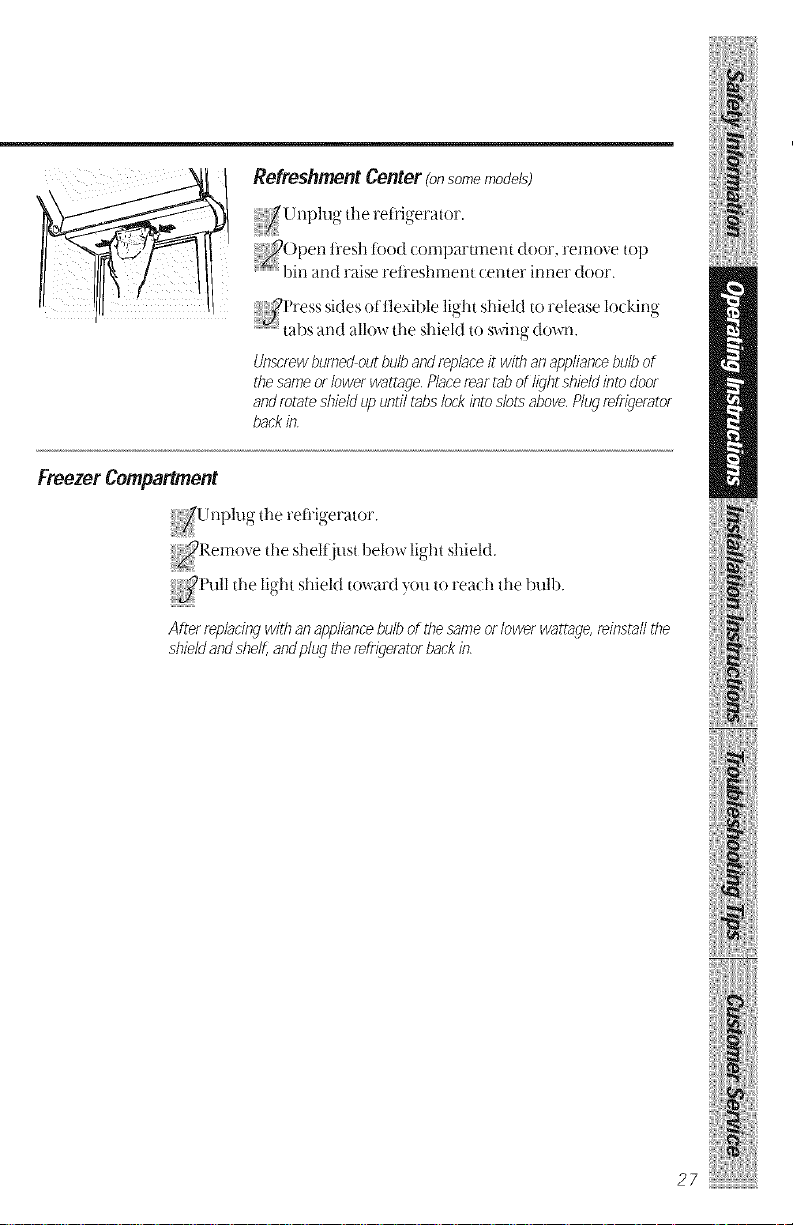
RefreshmentCenter(on some models)
_()pen il'es]l f()od COlllpartlr_e|lt door, remove top
""""' bin and raise refreshment tenter inner door.
_l'ress sides of t]exible light shield to release locking
ui tabs and allou the shiel(l to swing doun.
Unscrewburnedoutbulbandrepbceit withanappliancebulbof
thesameof lowerwattage.Placereartaboflightshieldintodoor
aodmtateshMdupuntiltabslockintoslotsabove.PlugrefrigerT}tor
backin,
27
Preparing toinstalltherefrigerator. ,.
Read these instructions completely and Carefully.
ii!t!
WaterSupplyto the Icemaker
YOll will need to connect the icemaker to a cold water line.
A water supply kit ((ont_ ining copper tubing shutofI valve, fittings
and instru(tions) is available at extra cost tix)m }onr dealer.
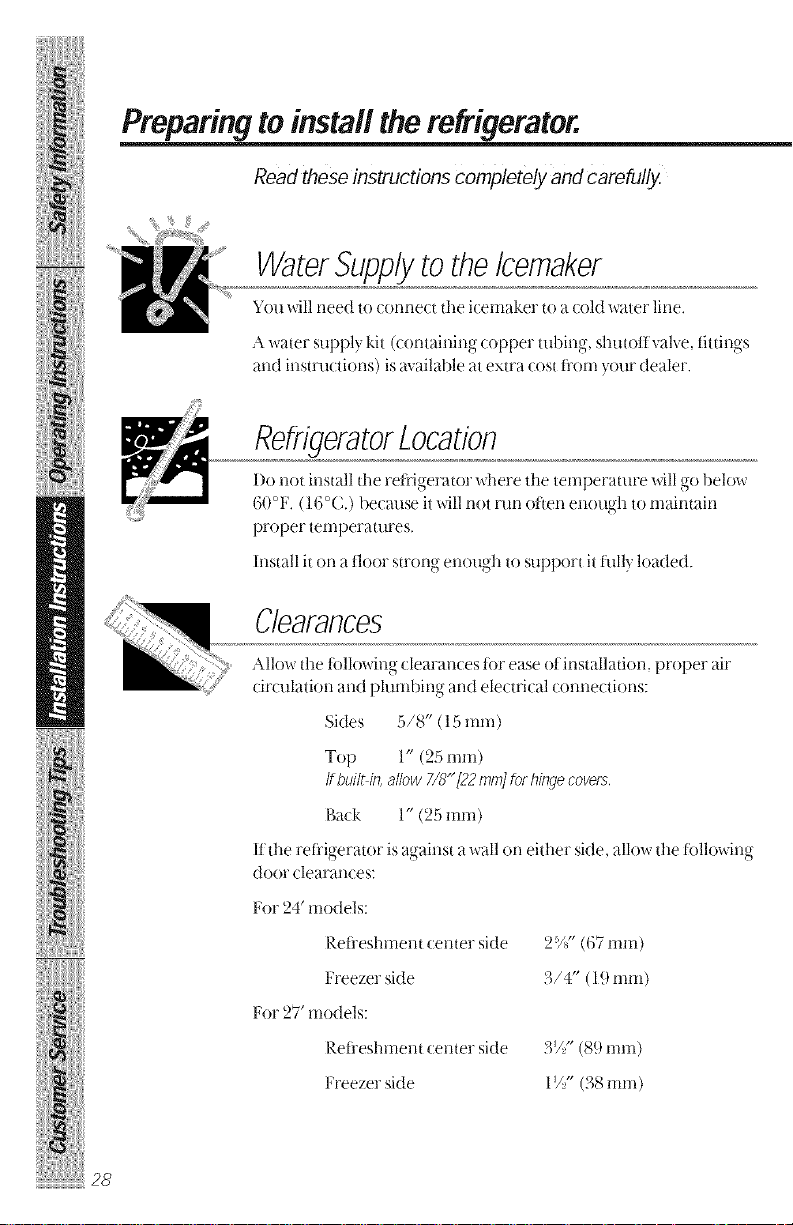
RefrigeratorLocation
I)o not install tile reitigerator _dlere the temperature will go below
60°F. (l (;°C.) because itwill not run often enough to m_dntain
proper temperatures.
Install it on a floor strong enough to support it fiflly loaded.
_/eflrances
Allow tile following (lem'ances tor ease ol install_ttion, proper air
circnlation alld plumbing aild electri(al connections:
Sides 5/8" (15 ram)
Top 1" (25 ram)
Itbuiltin,allow 7/8"[22miniforhinqecovers.
Back 1" (25 ram)
It the refrigerator is against a _all on either side. allow the tbllowing
door clearances:
For 24' models:
Refi'eshment center side
Freezer side
For 27' models:
Ret]'eshment center side
l,'reezer side
_8
2%" (67ram)
3/4" (19 ram)
3_Z_," (89ram)
1_," (38 ram)
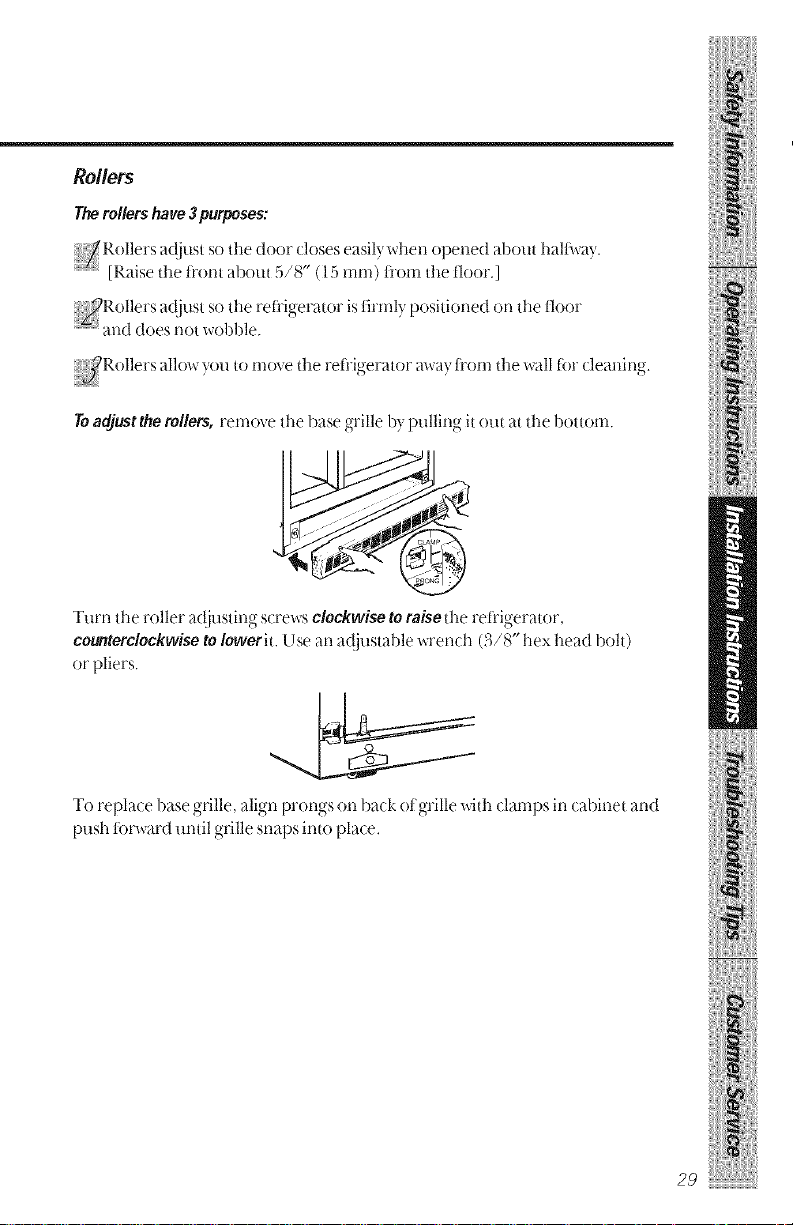
Rollers
Therollershave3purposes:
Rollers adjust so tl_edoor closes ek[silvwhen opened about halfi_av.
[Raise the fl'ont al)out 5/8" (15 ram) tl"()lIlthe floor.]
_P.ollers ad ust so the refl'igerator is firmly positioned on the floor
and does r_ot_()bble.
JP.ollers allo_ you to move the refrigerator a_av fl'om the wall for (leaning
Toadjust the milers, remove the base grille by pulling it out at the bottom.
Turn the roller a(!iusting scre_ s c!ockwise to raise the refrigerator
cot_terclockwise to Iowerit. Use an a(!justable wrench (3/8" hex head bolt)
or pliers.
To replace base grille, align prongs on back ot grille with clamps in cabinet and
push for'ward until grille snaps into place.
29
Installingthe water line.
Readthese instructions completely and Carefully.
ii!t!
BeforeYouBegin
This water line installation is not warranted by the
refrigerator or icemaker manufacturer. Follow these
instructions carefully to minimize the risk of expensive
water damage.
Water hammer (water banging in the pipes) in house
plumbing can cause damage to refrigerator parts and lead
to water leakage or flooding. Calla qualified plumber to
correct water hammer before insta#ing the water supply
line to the refrigerator.
Toprevent burns and product damage, do not hook up the
water line to the hot water line.
Ifyou useyour refrigerator before connecting the water line,
make sure the icemaker feeler arm is kept in the STeP (up)
position.
Do not install the icemaker tubing in areas where
temperatures fall below freezing.
When using any electrical device (such as a power drill)
during installation, be sure the device is insulated or wired
in a manner to prevent the hazard of electric shock.
All installations must be in accordance with local plumbing
code requirements.
30
 Loading...