

GE Television User Manual

Television User's Guide
Important Information
WARNING
WARNING
To reduce the risk of fire or
electric shock, do not expose
this product to rain or
moisture.
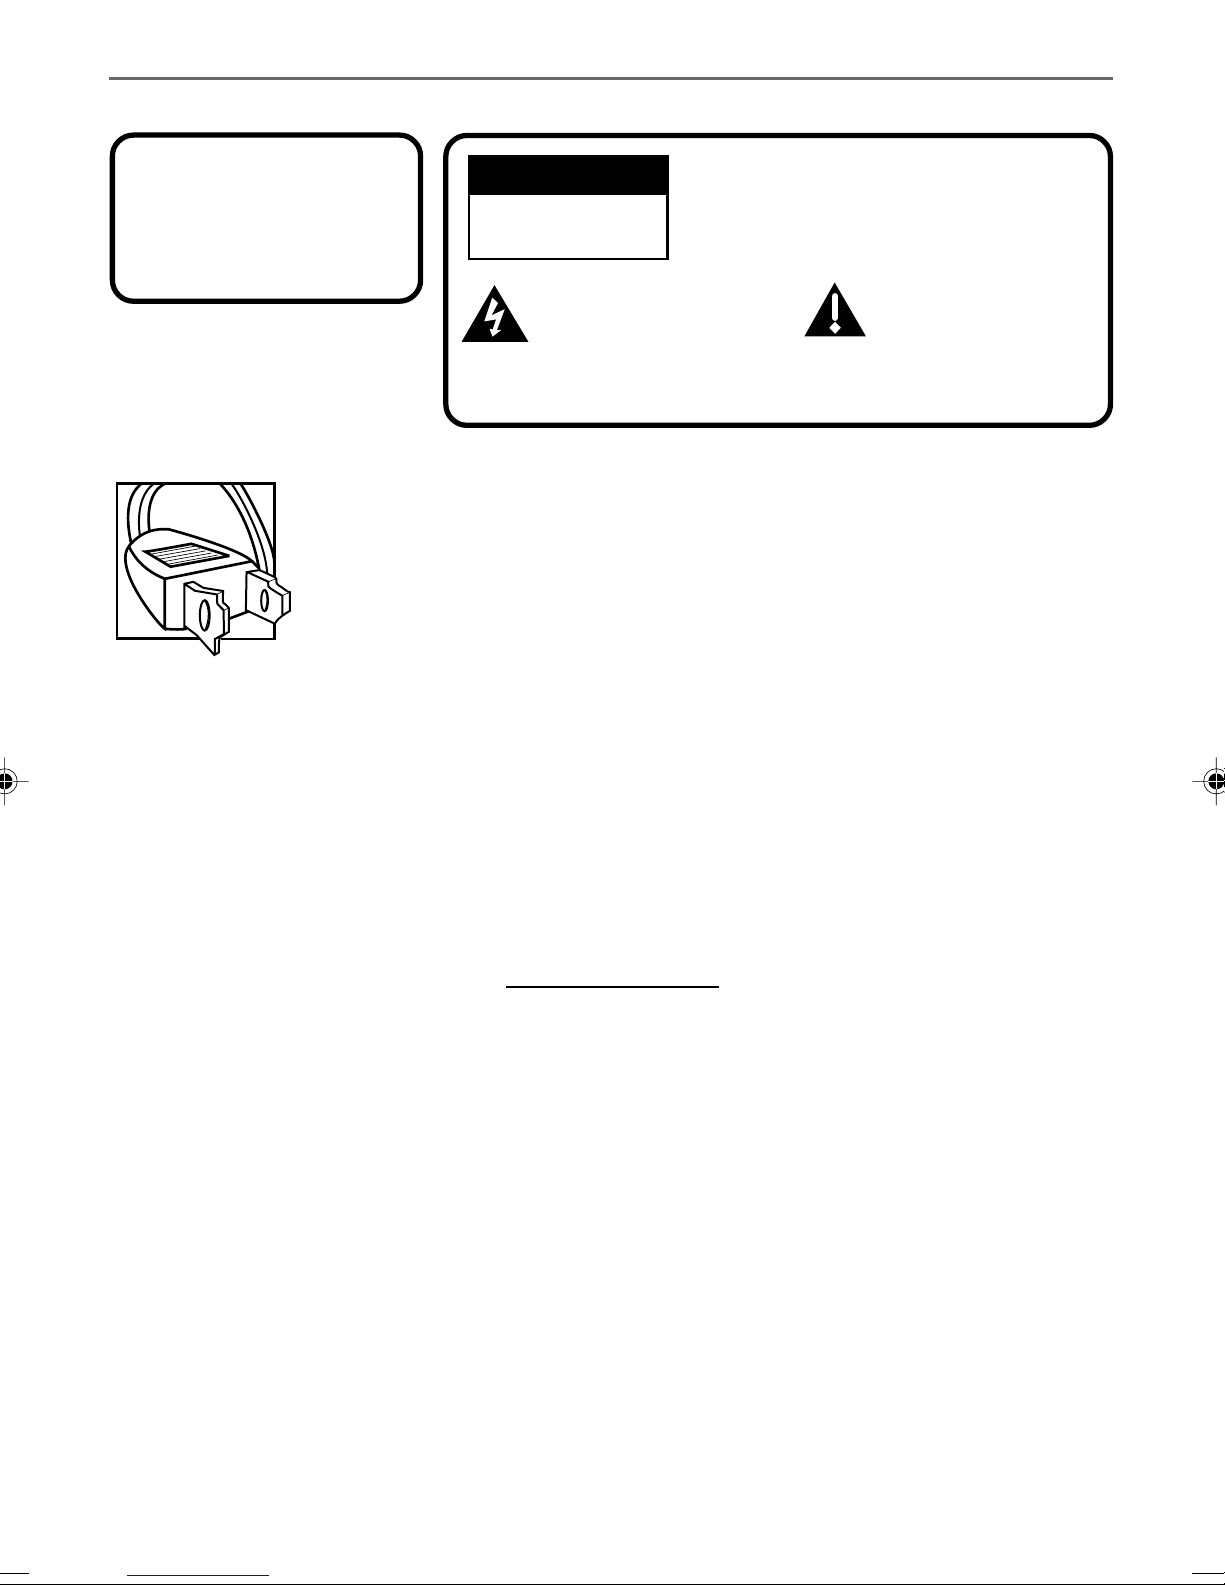
Caution: To reduce the risk of electric shock, match wide blade of plug to wide
slot, fully insert.
Attention: Pour éviter les chocs électriques, introduire la lame la plus large de la
fiche dans la borne correspondante de la prise et pousser jusqú au fond.
Refer to the identification/rating label located on the back panel of your product
for its proper operating voltage.
FCC Regulations state that unauthorized changes or modifications to this
equipment may void the user’s authority to operate it.
If fixed (non-moving) images are left on the screen for long periods, they may be permanently
imprinted on the screen. Such images include network logos, phone numbers, and video games. This
damage is not covered by your warranty. Extended viewing of channels displaying these images
should be avoided.
RISK OF ELECTRIC
SHOCK DO NOT OPEN
This symbol indicates
"dangerous voltage" inside
the product that presents a
risk of electric shock or
personal injury.
To reduce the risk of electric shock, do not
remove cover (or back). No user serviceable
parts inside. Refer servicing to qualified service
personnel.
This symbol indicates
important instructions
accompanying the
product.
Cable TV Installer: This reminder is provided to call your attention to Article 820-40 of the National
Electrical Code (Section 54 of the Canadian Electrical Code, Part 1) which provides guidelines for proper
grounding and, in particular, specifies that the cable ground shall be connected to the grounding system
of the building as close to the point of cable entry as practical.
Table of Contents
Setup and Connection ................................ 1
Dipole Antenna Connection ....................... 1
Channel Marker ........................................... 2
Front Panel Controls ................................... 3
Front Panel Lock.......................................... 3
Remote Control Buttons ............................. 4
TV Main Menu ............................................. 5
The Picture Quality Menu .......................... 5
The Screen Menu ........................................ 6
The Channel Menu ...................................... 7
V-Chip Parental Controls ........................... 8
V-Chip Movie Rating Limit ........................ 9
Blocking Movie Ratings ..........................9
Viewing Movie Ratings ...........................9
The TV Rating Limit Screen ................. 10
Blocking Age-Based Ratings and
Content Themes..................................... 11
Viewing Age-Based Ratings and
Content Themes..................................... 11
V-Chip Unrated Program Block........... 12
Lock/Unlock Parental Controls ............ 12
The Time menu .......................................... 12
Troubleshooting ......................................... 13
Accessory Information .............................. 14
Limited Warranty ...................................... 15
V-Chip TV Rating Limit .............................. 9
Chapter 1: Getting Started
ANTENNA, CABLE, CABLE BOX OR VCR
CABLE/
ANTENNA
TV (Back Panel)
Setup and Connection
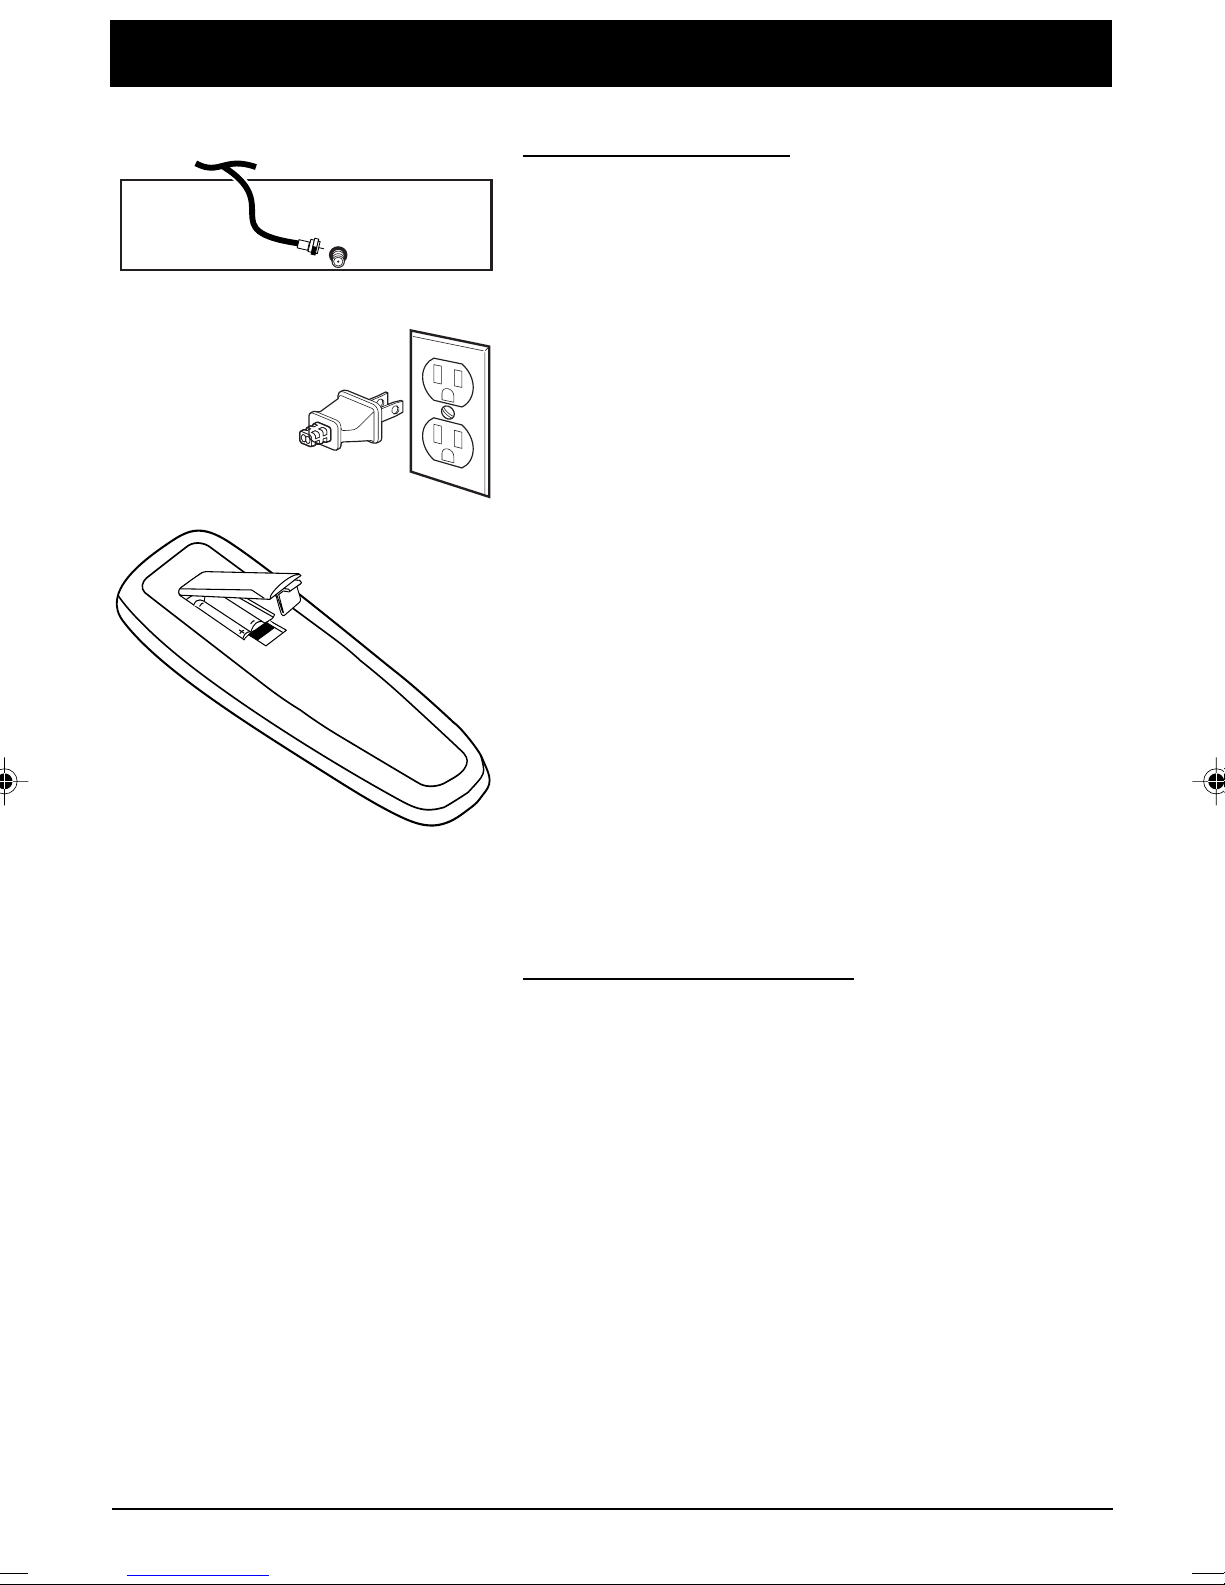
Step 1: Connect Your TV
Connect the cable from your cable system or off-air antenna
to the cable in-jack on the back of the TV, as shown.
Step 2: Plug In Your TV
Plug the end of the power cord into the wall outlet,
matching the wide blade of the plug with the wide slot in
the outlet. Be sure to insert the plug completely.
Step 3: Put Batteries in the Remote Control
1. Remove the battery compartment cover
from the back of the remote.
2. Insert batteries as shown, matching the + and – ends of
each battery in the compartment.
3. Replace the cover.
Step 4: Turn on the TV
Press the POWER button on the remote or POWER on the
front panel.
Step 5: Auto Channel Search
Perform an Auto Channel Search (described in the Channel
menu section).
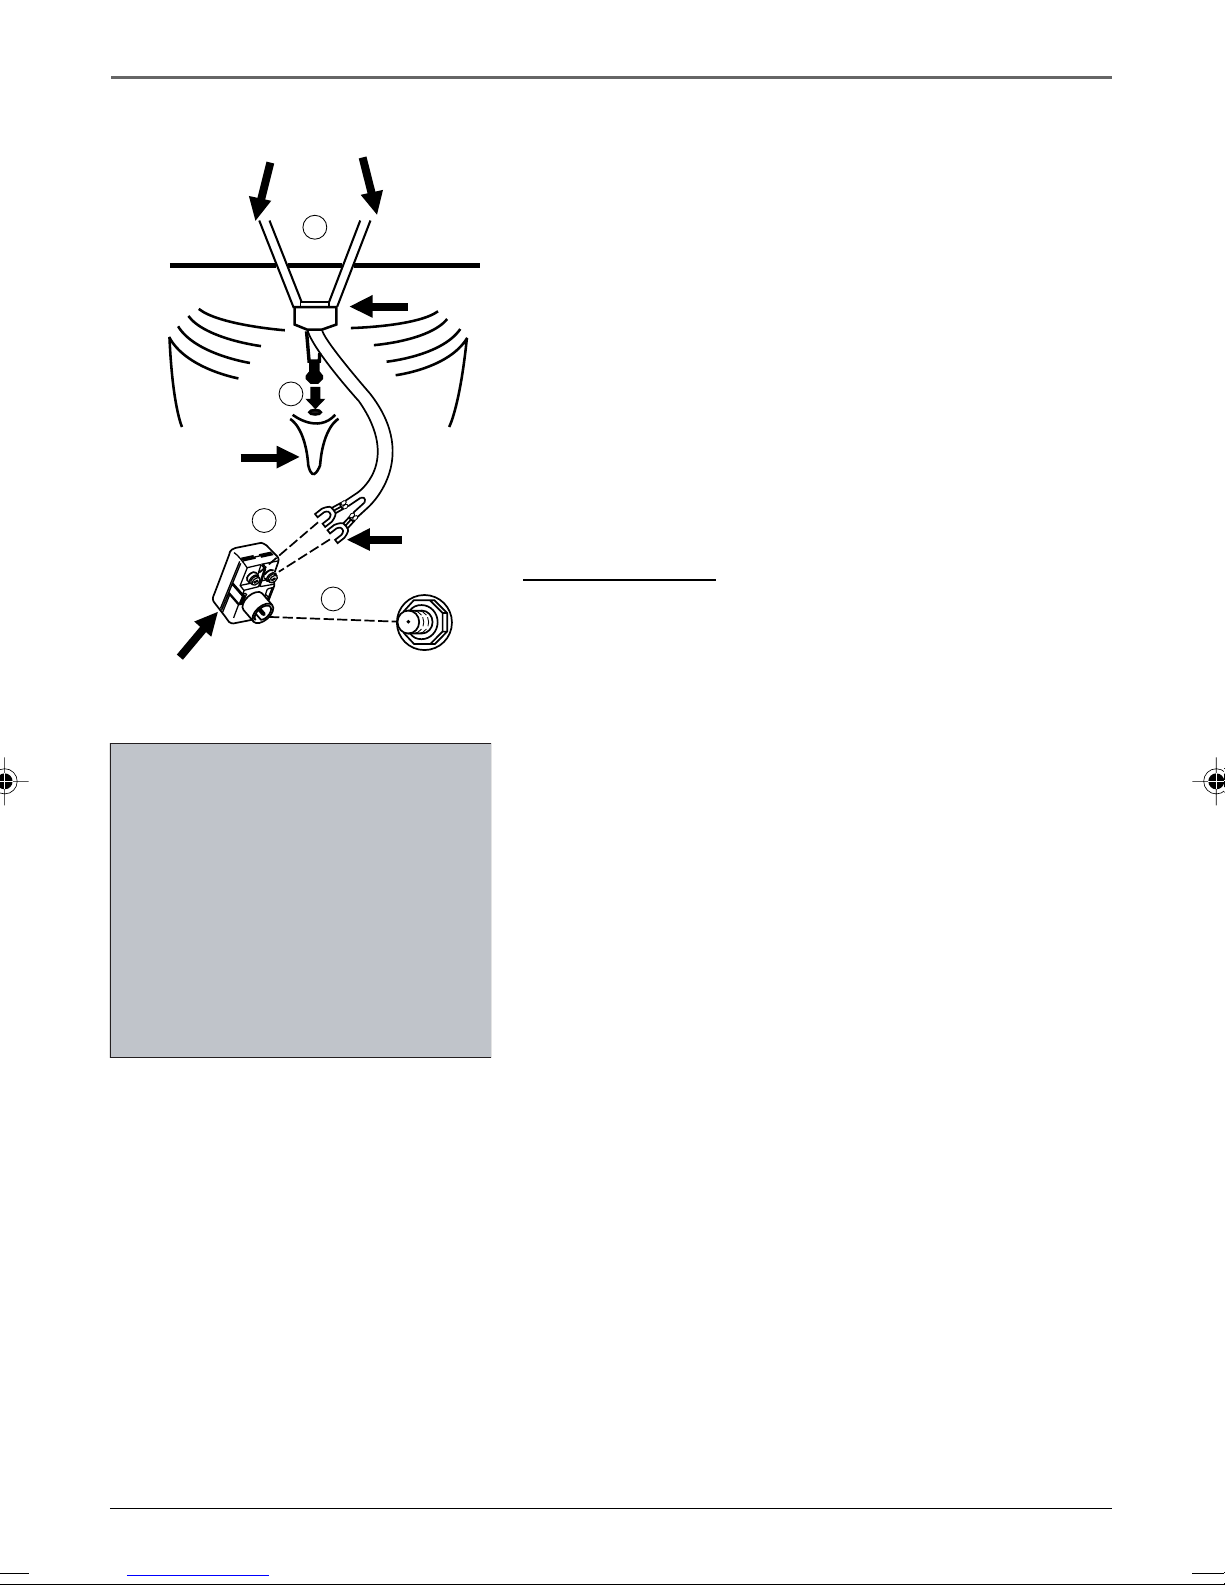
Dipole Antenna Connection
Follow the steps to connect the indoor antenna supplied with
your TV (only if you do not connect an outdoor antenna or a
cable-TV system).
Continues on next page...
Chapter 1 1
Graphics contained within this publication are for representation only.
Getting Started
Dipole Antenna (Supplied)
4
Base
1
Slot
2
3
Antenna Adapter (Supplied)
Tw i n
Lead
ANTENNA
Insert the antenna base into the pocketed slot on the back of
your set. Stand at the back of your set with the antenna
twin-lead facing you, and press the base of the antenna into
the slot until it locks in place.
Connect the ends of the twin-lead to the Antenna Adapter
(supplied).
Connect the Antenna Adapter to the ANTENNA connector on
the back of the TV.
Later, after you’ve turned on the TV, adjust the length and
position of the antenna rods for best reception.
• For viewing VHF channels, extend the rods fully.
• For viewing UHF channels, shorten the rods for best
reception.
Channel Marker
The Channel Marker comes up when you first turn on the TV,
change channels, or press the DISPLAY button.
01:30 Displayed to count down time left on the commercial
skip timer.
7:17
Sleep
Mute
The Channel Marker shown is
just an example of what your
screen may look like.
1:30
13
CC
13 Displays the current channel.
7:17 Displays the current time.
CC Displayed when Closed Captioning is available.
Mute Displayed when you mute the audio.
Sleep Displayed when the Sleep Timer has been set.
You can press MENU or CLEAR to make the Channel Marker
disappear, or it will disappear automatically after a short
time.
2 Chapter 1
Graphics contained within this publication are for representation only.

Getting Started
Front Panel Controls
CHAN Scans up through the channel list. When a menu is displayed, CHAN points up to items and
adjusts menu controls.
CHAN v Scans down through the channel list. When a menu is displayed, CHAN v points down to items
and adjusts menu controls.
MENU Brings up the Main menu. When in the menu system, it selects highlighted items. Also returns
you to the previous menu.
POWER Turns the TV on and off.
VOL – Decreases the volume. When a menu is displayed, VOL– is used to point left to items and adjust
menu controls.
VOL + Increases the volume. When a menu is displayed, VOL+ is used to point right to items and adjust
menu controls.
v
Front Panel Lock
This feature allows you to lock the buttons on the front of
the TV. Even when the front panel lock feature is ON, the TV
Caution
If you choose to use a stand with your TV,
take precautions that the stand or other
furniture the TV is placed on is properly
located and of adequate size and
strength to prevent the TV from
accidentally being pushed off, pulled off,
or tipped over. This could cause damage
to the TV and/or personal injury.
operates with the remote control.
•To lock the buttons on the front of the TV, make sure the
TV is turned ON, then press and hold the POWER button
on the remote for approximately 5 seconds.
•To turn off the front panel lock, make sure the TV is OFF,
then press and hold the POWER button on the remote for
approximately 5 seconds. Now the buttons will operate
properly.
v
Chapter 1 3
Graphics contained within this publication are for representation only.
Getting Started
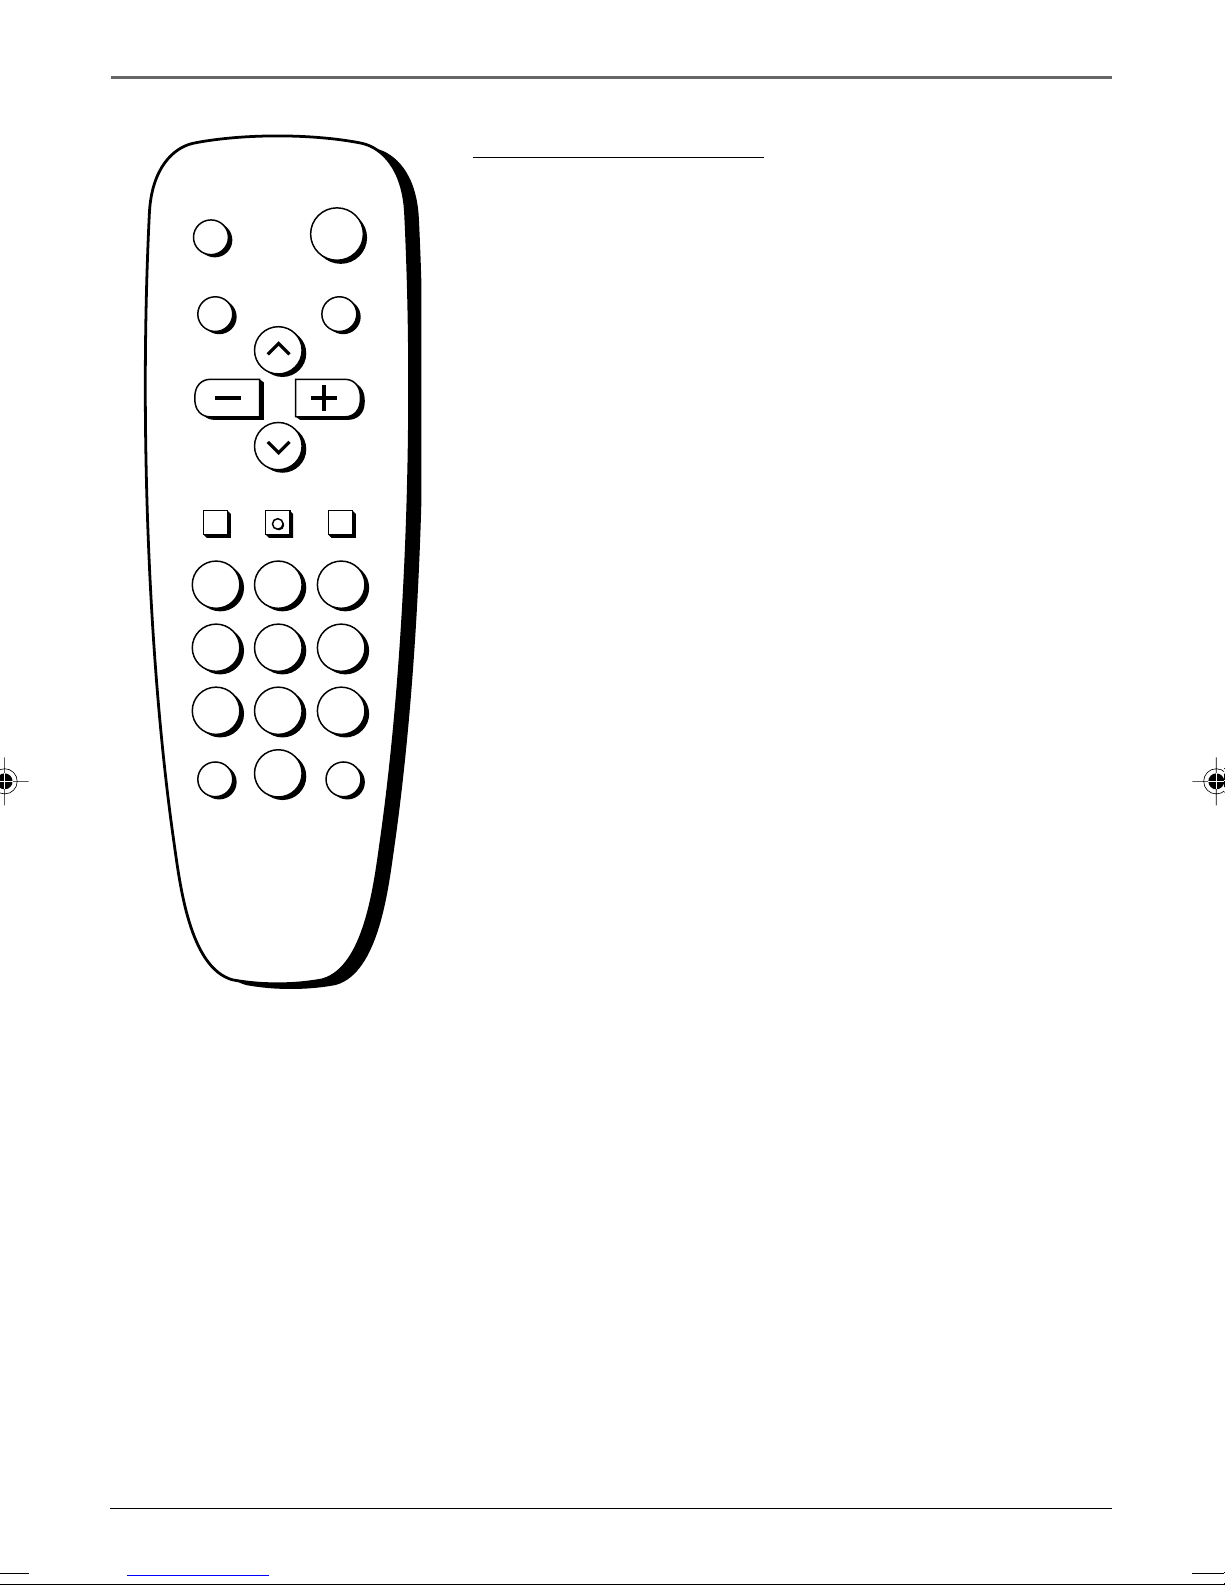
Remote Control Buttons
DISPLAY
MUTE
VOL VOL
132
465
798
0
INPUT SKIP
POWER
PREV CH
CHAN
CHAN
MENUCLEAR RESET
When operating the remote, point it directly at the front of the
TV. Objects between the remote and the remote sensor can block
the signal to the TV.
POWER Button Press to turn the TV on or off.
PREV CH Button (Previous Channel) Pressing this button
switches the TV back to the last tuned channel. This is useful if you
want to watch two channels. Select the first channel you wish to
watch. Then select the other channel by pressing two number
buttons. The TV changes back and forth between the two channels
each time you press this button.
DISPLAY Button Press to display the time and channel number on
the screen. Press to see if the Sleep Timer, Alarm Timer, and Closed
Captioning are set. Press to quickly remove menus from the screen
unless otherwise noted within the menu.
MUTE Button Press to quickly reduce sound to minimum level.
Closed captioning (C1) may appear on the screen when you press
MUTE. To restore sound and normal picture, press MUTE again or
press VOL up.
CHAN ^/v Buttons (Channel Up and Down) Press to select the
next higher or lower channel in memory. You can add or erase
channels in memory as desired. Details are on page 7.
Point and Select
To use the on-screen menus, you
need to know one rule: point and
select
• Use the MENU button to bring up
the menu screen. Use the arrow
buttons to move the hightlight up
and down
• Press the MENU button to select
the highlighted item.
VOL Buttons (Volume Up and Down) (Also – and + Buttons)
Press VOL + to increase volume, or press VOL – to decrease volume.
The volume display appears on the screen when you press the VOL
buttons. When a menu is displayed, press + or – to adjust the
setting of an item that is highlighted in a menu.
MENU Button Press to bring up the menu display, then press the
channel up and down buttons to choose the desired menu item,
and then press the + or - to adjust the item.
RESET Button Press to return all video settings (color, tint,
contrast, brightness, and sharpness) back to the original settings.
CLEAR Button Press to clear the screen of all on-screen displays.
Number Buttons (0-9) Press to directly access any channel
number. To select a channel, press two number buttons. For
example, press 0 then 6 for channel 6. To select a 3-digit
number, press and hold number button 1 until 1-- appears on the
screen. Then press the other two numbers.
INPUT Button Switches the TV to channel 3. This is useful if you
have a VCR connected to your TV.
SKIP Button (Commercial Skip) Starts an on-screen countdown
timer. While the timer is on the screen, you can browse through
other channels. Each press of the SKIP button adds 30 seconds to
the timer. When the timer reaches 0:00, the TV will automatically
go back to the channel it was on when the timer was started.
4 Chapter 1
Graphics contained within this publication are for representation only.
 Loading...