

GE TBX18DAX, TBX18DAXERWW, TBX18DAXBRWW, TBX18DAXHRWW, TBX18DAXGRWW Owner's Manual
...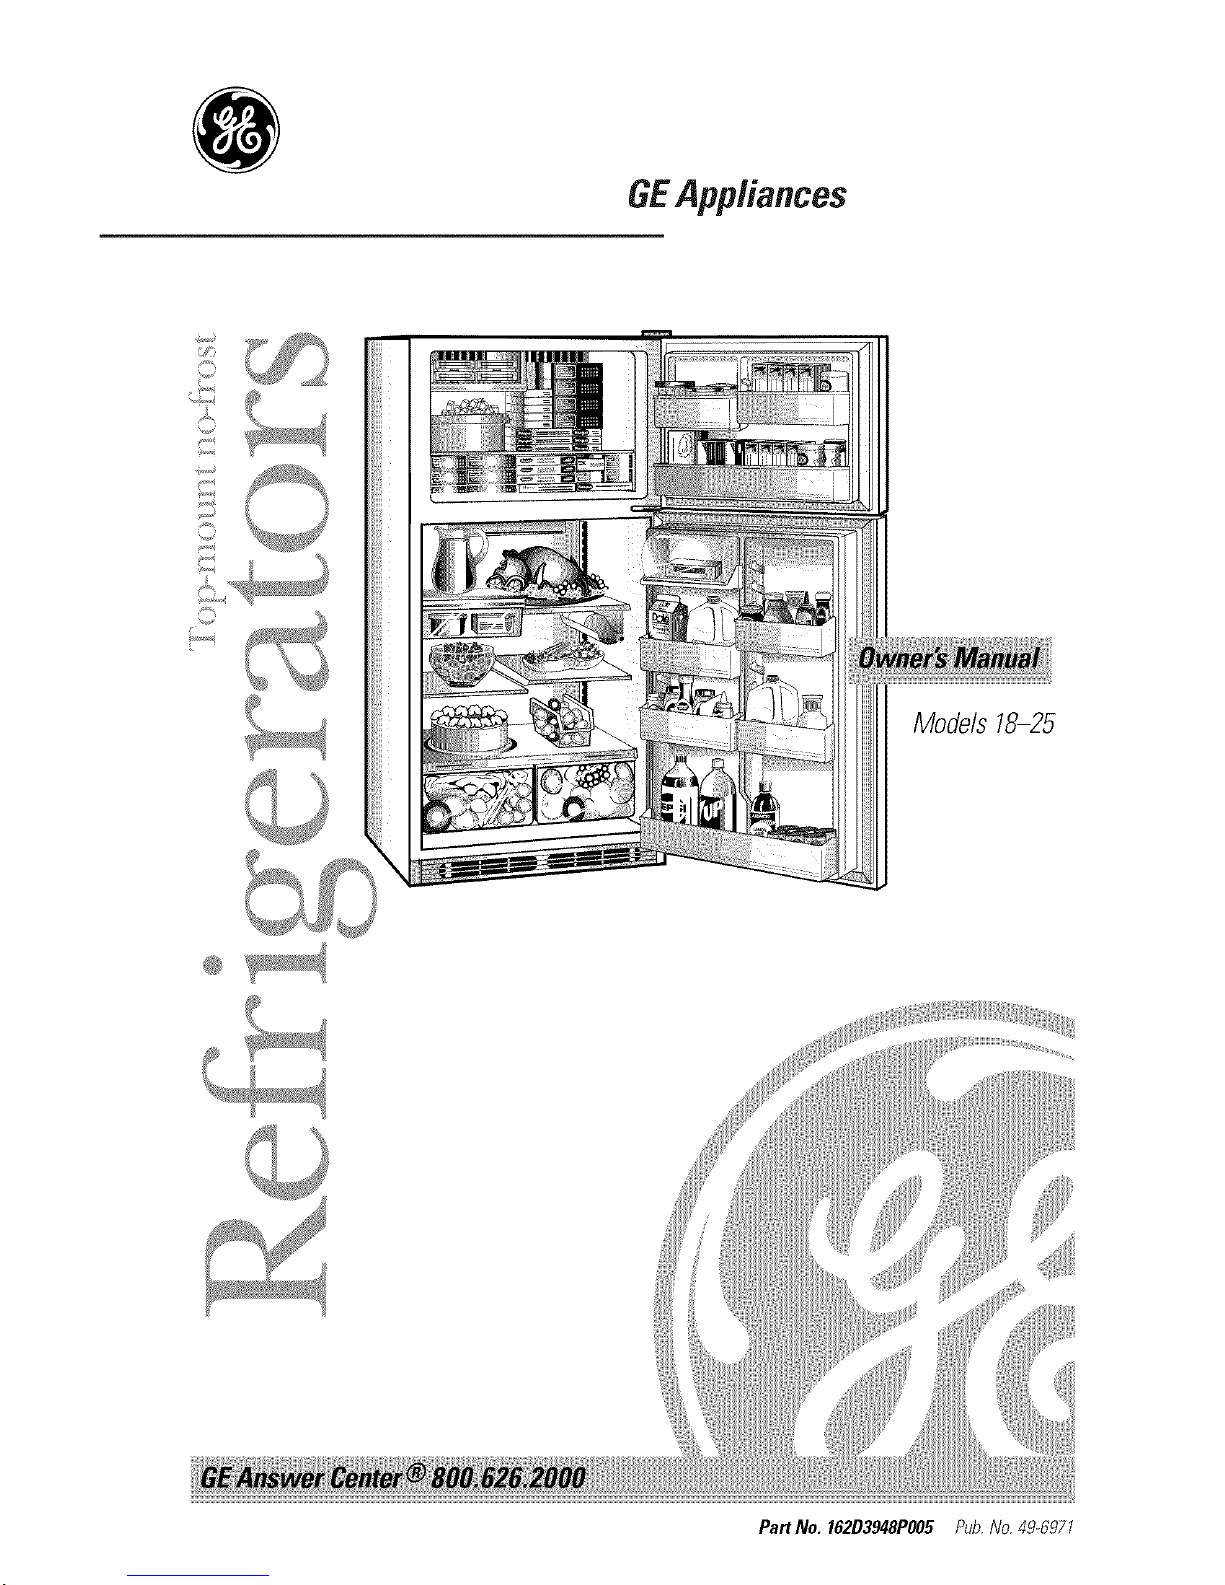
GEAppliances
Models 18-25
Part No. 162D3948PO05 Pub.No. 49.6971
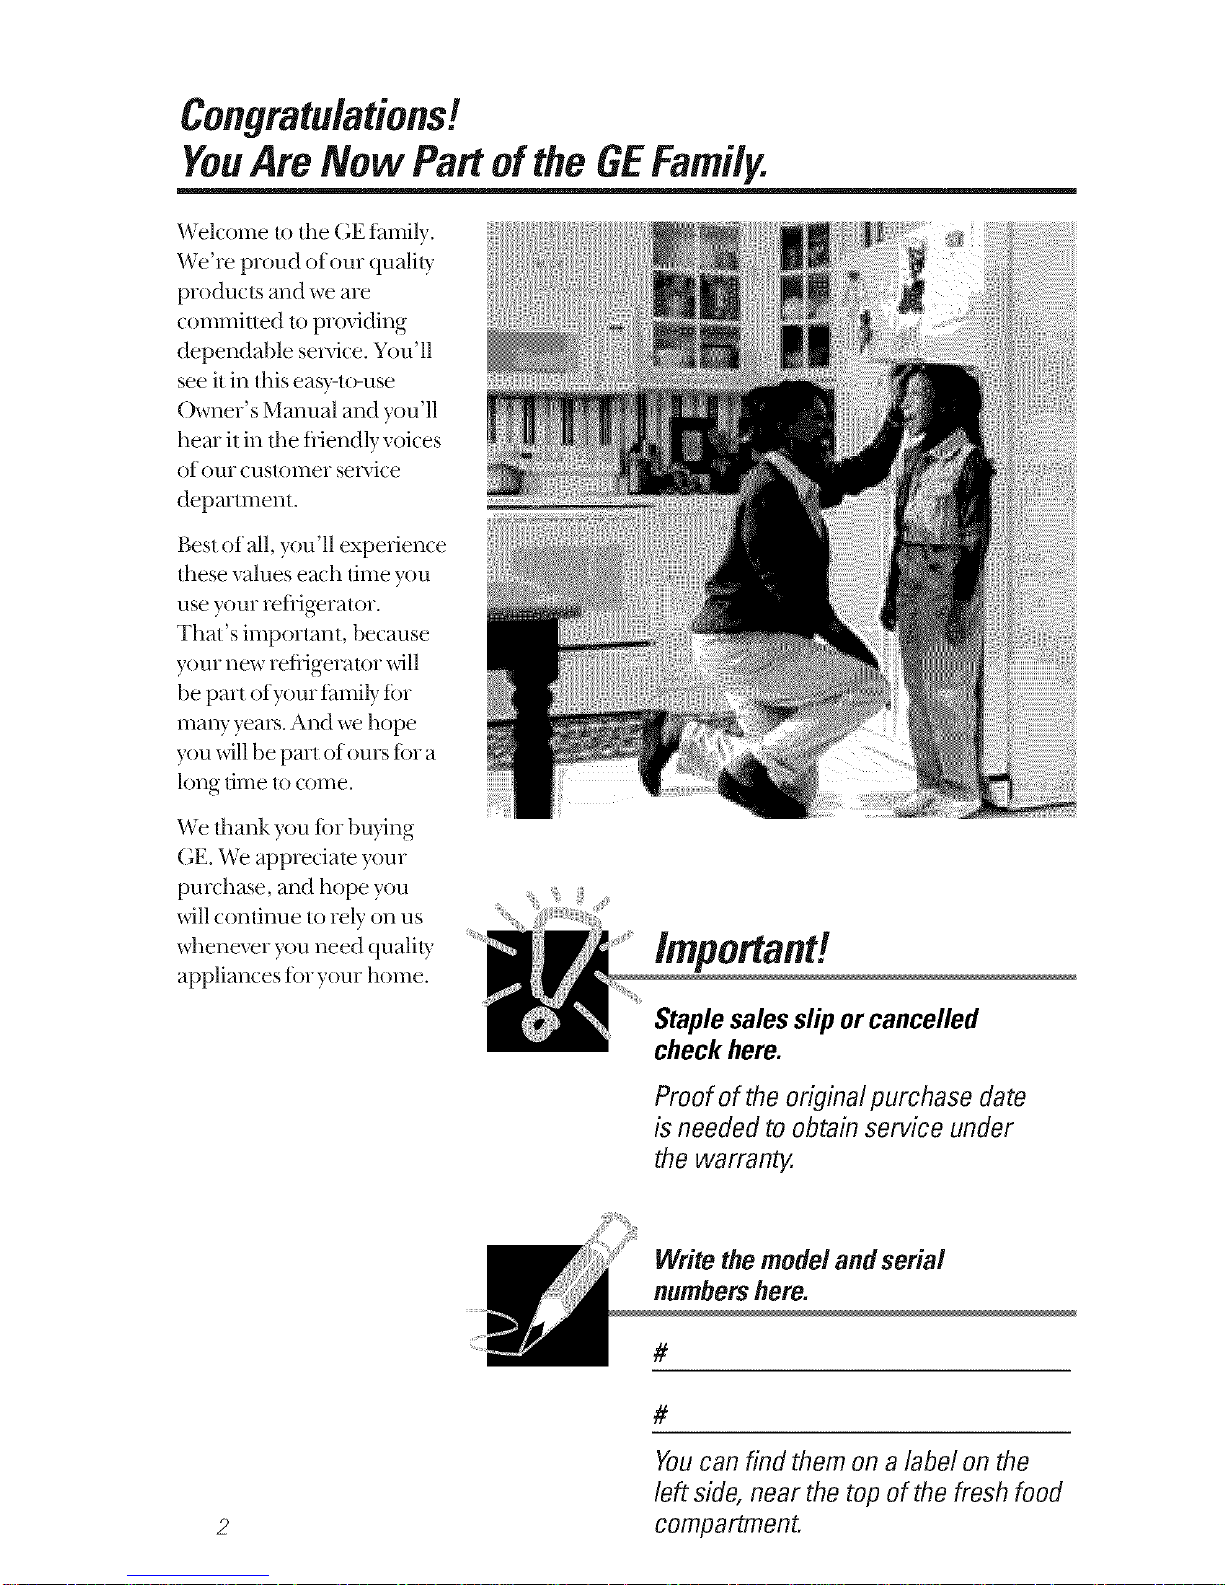
Congratulations!
YouAreNow Partof theGEFamily.
Welcome/o tim GE f_tmily.
We're proud of our quality
products and we are
commitmd toproviding
dependable se_Tice. You'll
see it in this easy-lo-use
Owner' s Mmmal and you'll
hem il in/he fi_iendly voices
of our customer se_,ice
departmenl.
Best of all, you'll experience
these values ea(h dine you
use your refl_igerator.
That's importanl, because
your new refl_igerator will
be part of your family fin.
ma W yem_.And we hope
you will be pmt of ours f_)ra
long lime to come.
Wethankyou fi)r bwing
GE. Weappreciate your
purchase, and hope you
_ll condnue lo rely on us
whenever you need quality
appliances for your home.
Important!
Staple sales slip or cancelled
check here.
Proof of the original purchase date
is needed to obtain service under
the warran_
2
Write the model and serial
numbershere.
#
#
Youcan find them on a label on the
left side, near the top of the fresh food
compa%ment.
GE& You,
A Service Pattnership
Ask any GEappliance owner and they will
tefl you we stand behind our products with
unmatched quality service, However, did
you know that most questions result from
simple problems that you can easily fix
yourseff in just a few minutes? This
Owner's Manual can tell you how,
ReadthisManual
Inside you _dll find many
helpflll hinls on how lo use and
maintain your refiigeralor
properly..lust a linle preventive
cme on your part can save }_m a
greal deal of time and money
over lhe life of your reflJgeralor.
ReviewtheSectionon
TroubleshootingTips
You'll find many answers lo
common problems here.
If you review our charl of
Troubleshooting Tips firsl,
)X)tlIn W nol need lo call tor
sel_ice al all.
ff YouNeedService
If you do need sewice, you can
relax knoxdng help isonly a
phone call mvay.A lislof loll-flee
cuslolner service nulnbers is
included in the back section.
()r, in theU.S.,you can ahvays
call lhe GEAnswer Cenmr ®
al 800.696.9000, 94 hours a day,
7 days a week. In Canada, call
1-800-o61-3400.
Safety Information
SafetyPrecautions........... 4
How toConnectElectricity .... 6
UseofAdapterPlugs....... 6,7
Useof ExtensionCords....... 7
OperatingInstructions
TemperatureControls ..... 8-10
Features............... 11-15
AutomaticIcemaker....... 16
Iceand WaterDispenser.. 17, 18
CareandCleaning....... 19-21
Installation Instructions
Preparingto
Install theRefrigerator.... 22,23
WaterLineInstallation ...24-28
Reversi_ theDoorSwing/
RemovingtheDoors ..... 29-36
Troubleshootingtips
NormalOperatingSounds.... 37
BeforeYou
CallForService ......... 38-41
CustomerService
Warranty
for CanadianCustomers..... 42
Warranty
for U.S.Customers.......... 43
ServiceTelephone
Numbers ......... BackCover
3
IMPORTANTSAFETYINFORMATION.
READALL INSTRUCTIONSBEFOREUSING
A WARNING!
Use this appliance only for its intended purpose as
described in this Owner's Manual
4
SAFETYPRECAUTIONS
When using electrical appliances, basic safety precautions
should be followed, including the following:
This reflJgerator must be
properly installed and
located in accordance with
the Installation Instructions
befi)re it is used.
iiiiiiiiiiiii_iil
iiiiiiiiiiiii_iil
iiiiiiiiiiiii_iil
Do not allow children to
climb, stand or hang on file
sheNes in tile refligerator.
They could damage tile
refligerat,)r and seriously
injure themselves.
Do not touch the cold
sm-ta(es in file fieezer
compartment when hands
me damp or wet. Skin m W
stick to these extremely cold
sin-laces.
Do not store or use gasoline
or other flmnmable vapors
and liquids in tile xicinity of
this or any other appliance.
In refligerators xdth
ram)marie icemakers, avoid
contact xdfll tile moving parts
of tile ejector mechanism, or
_dfll tile heating element that
releases tile cubes. Do not
place fingers or hands on the
mlu)mafic icemaking
mechanism while tile
refligerator is plugged in.
iiiiiiiiiiiii_iil
iiiiiiiiiiiii_iil
Keep fingers out of dm
"pinch point" areas;
clearances between tile
doors and bem'een tile doors
and cabinet are necessarily
small. Be careful closing
doors when children are in
tile area.
IJnplug tile refligerator
befi)re cleaning and making
repairs.
NOTE."Westronglyrecommend
thatanyservicingbeperformed
byaqualifiedindividual.
Turning the control to tile
OFFposition does not remove
po_er to the light circuit.
Do not refi-eeze fi-ozen fi)ods
which have thawed
completely.
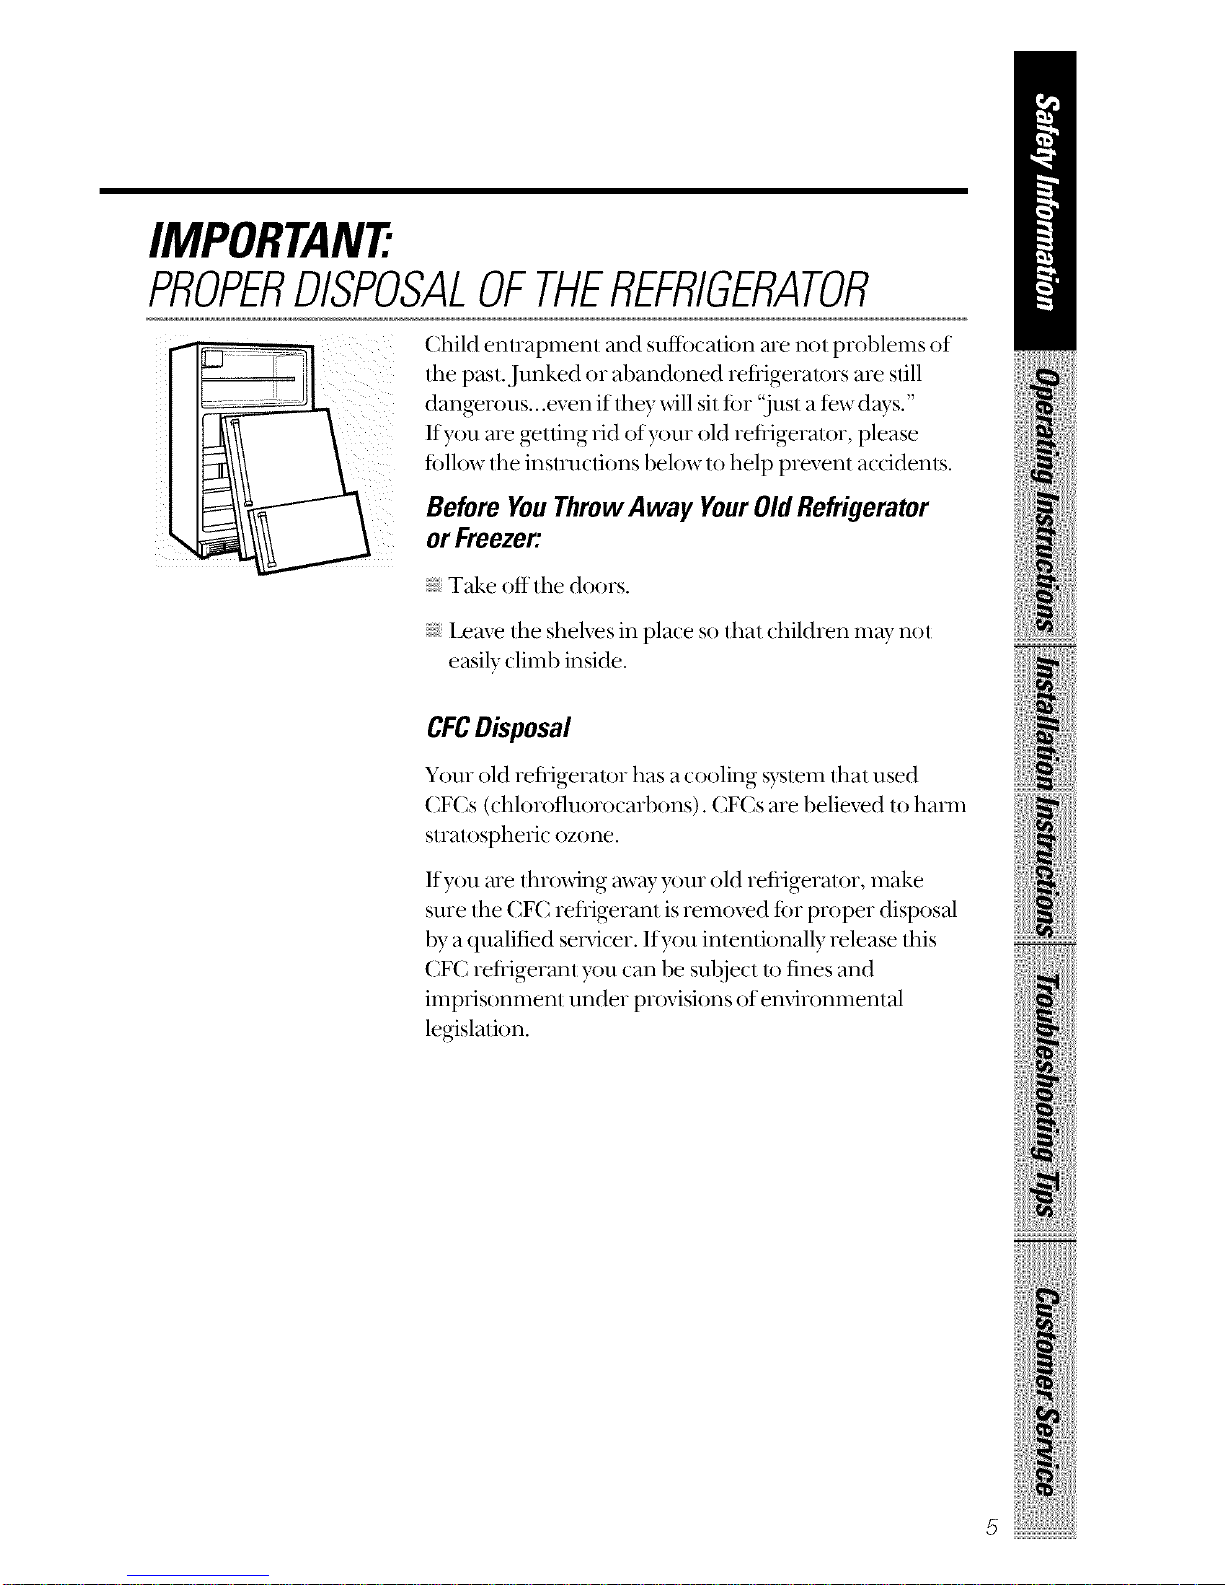
IMPORTANT:
PROPERDISPOSALOFTHEREFRIGERATOR
Child enuapment and suflbcafion are not problems of
lhe past. Junked or abandoned refigerau_rs are slill
dangerous...even if lhey _dll sit for ".justa few days."
If you are gelling rid of}xmr old refigerator, please
follow the instnlclions below to help prevent accidents.
Before YouThrowAway YourOld Refrigerator
or Freezer:
Take off the doors.
Leave the shelves in place so that children may not
easily climb inside.
CFCDisposal
Your old refiigeralor has acooling system that used
CFCs (chlorofluorocarbons). CFCs are believed to harm
stratospheric ozone.
If you are throating away }xmr old refigeralor, make
sure the CFC refligerant is removed for proper disposal
by a qualified sel_icer. If you inlenlionally release ibis
CFC refigeranl >)u can be subject to fnes and
imprisonment under provisions of environmental
legislalion.
5
IMPORTANTSAFETYINFORMATION.
READALL INSTRUCTIONSBEFOREUSING.
6
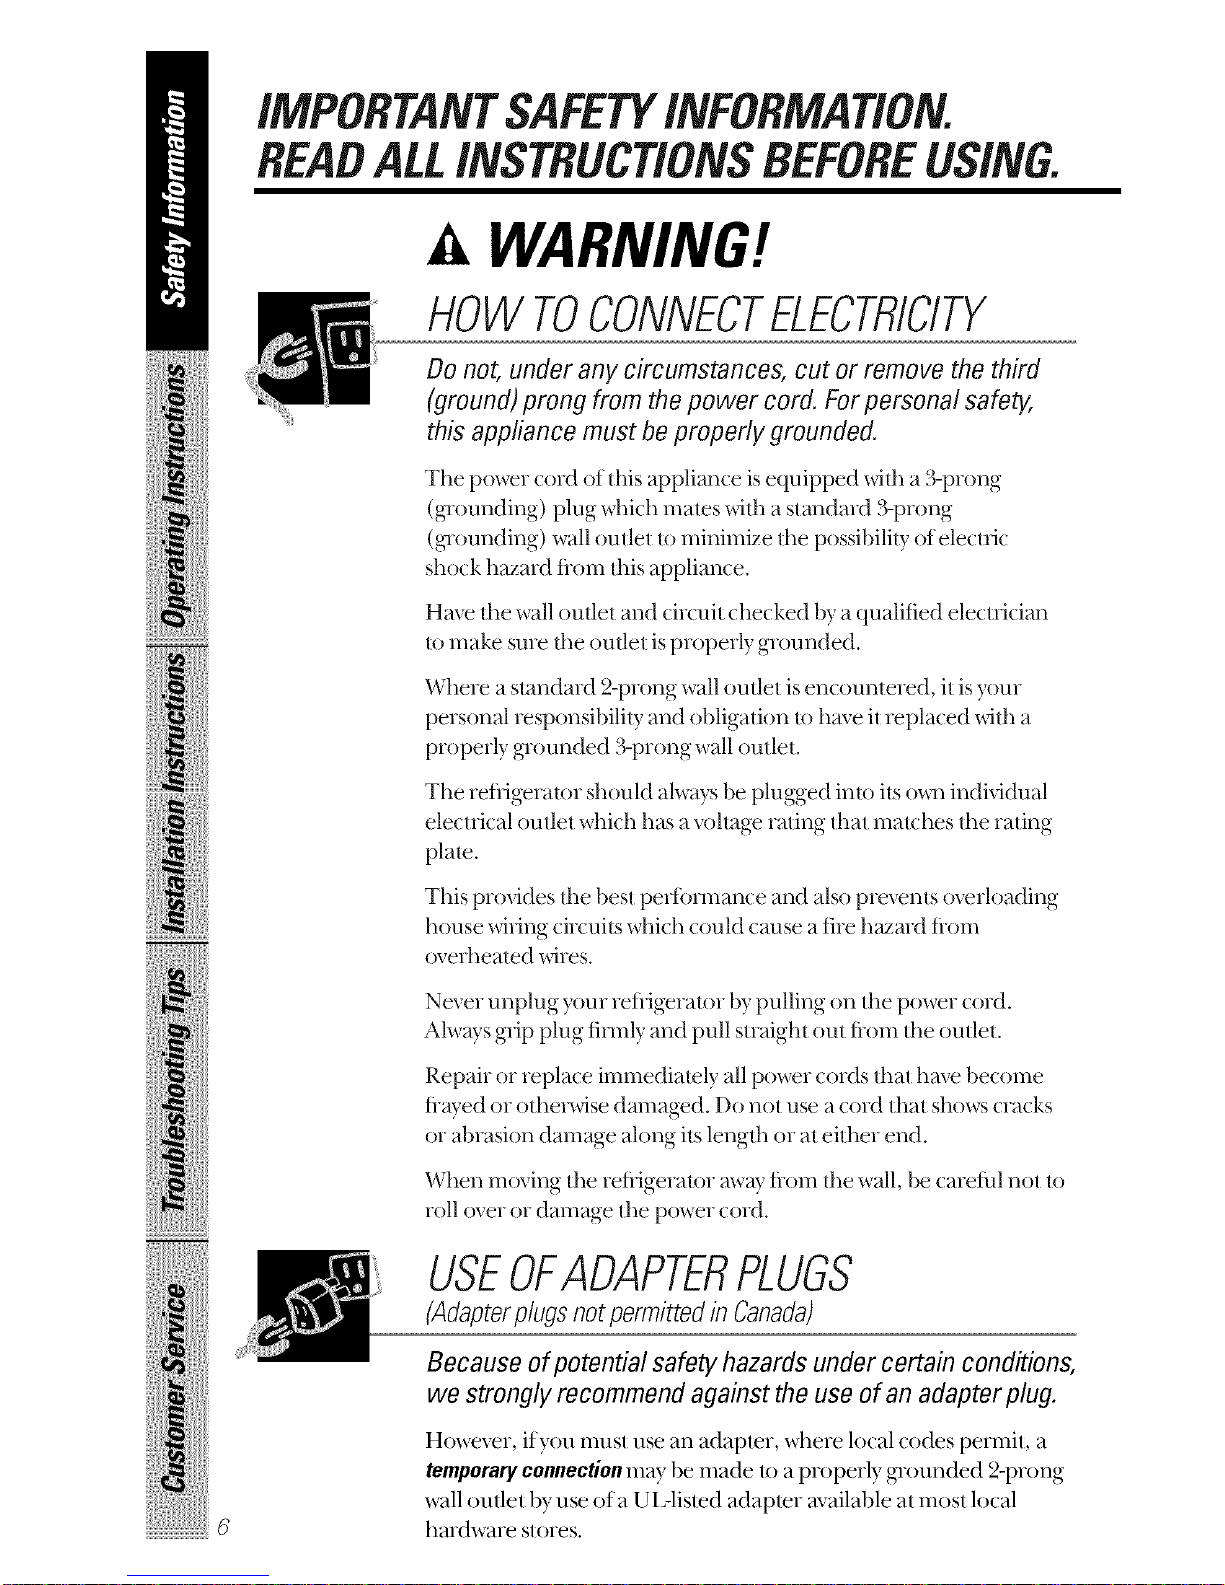
[, WARNING!
HOWTOCONNECTELECTRICITY
Do not, under any circumstances, cut or remove the third
(ground) prong from the power cord. Forpersonal safety,
this appliance must be properly grounded.
The power cord of this appliance is equipped _4tl_ a 3-prong
(glounding) plug which mates _4tl_ a standard 3-prong
(glounding) wall outlet to minimize d_e possibility of electric
shock hazard flom this appliance.
Have tl_e wall outlet and circuit checked by a qualified elecn_ician
to make sure the oudeI is properly grounded.
Where a standard 2-prong wall outlet is encountered, it is your
personal responsibility and obligation to have it replaced _Stl_ a
properly glounded 3-prong wall outlet.
The refl_igerator should always be plugged into its o_m individual
electrical outlet which has a vohage rating that matches the rating
plate.
This provides d_e best pedbnnance and also prevents overloading
house _fing ci_cuits which could cause a fi_e h_ard flom
oveflmated wi_es.
Never unplug your refrigerator by pulling on the power cord.
Ahvays grip plug firmly and pull straighl out flom the outlet.
Repai_ or replace immediately all power cords dmt have become
flayed or othe_se damaged. Do not use a cord that shows cracks
or abrasion damage along its lengd_ or at either end.
When moving the refl_igerator mvay flom d_ewall, be careful not to
roll over or damage dm power cord.
USEOFADAPTERPLUGS
(Adapter plugs not permitted in Canada)
Because ofpotential safety hazards under certain conditions,
we strongly recommend against the use of an adapter plug.
However, if you must use an adaptor, where local codes permit, a
temporaryconnectionmay be made to aproperly g_ounded 2-prong
wall outlet by use ofa UL-listed adapter available at most local
hmdware stores.
The larger slot in the adapler must be alig_md _fl_ tim larger slot in
tim wall outer to pro_ide proper polarity in tim connection of tim
power cord.
When disconnecting the power cord tiom tim adapter, ahvays hold
tim adapler in place _dth one hand while pulling the power cord
plug _dfl_ tim other hand. If fl_is is not done, tim adapter ground
terminal is ve D- likely to break _dth repeated use.
If the adapter gTound mnninal breaks, DO NOTUSE tim refiigerator
until a proper ground has been established.
Attachingtheadaptergroundterminaltoawalloutletcoverscrewdoesnot
groundtheapplianceunlessthecoverscrewismetal,andnotinsulated,andthe
walloutletisgroundedthroughthehousewiring.Youshouldhavethecircuit
checkedbyaqualifiedelectriciantomakesuretheoutletisproperlygrounded
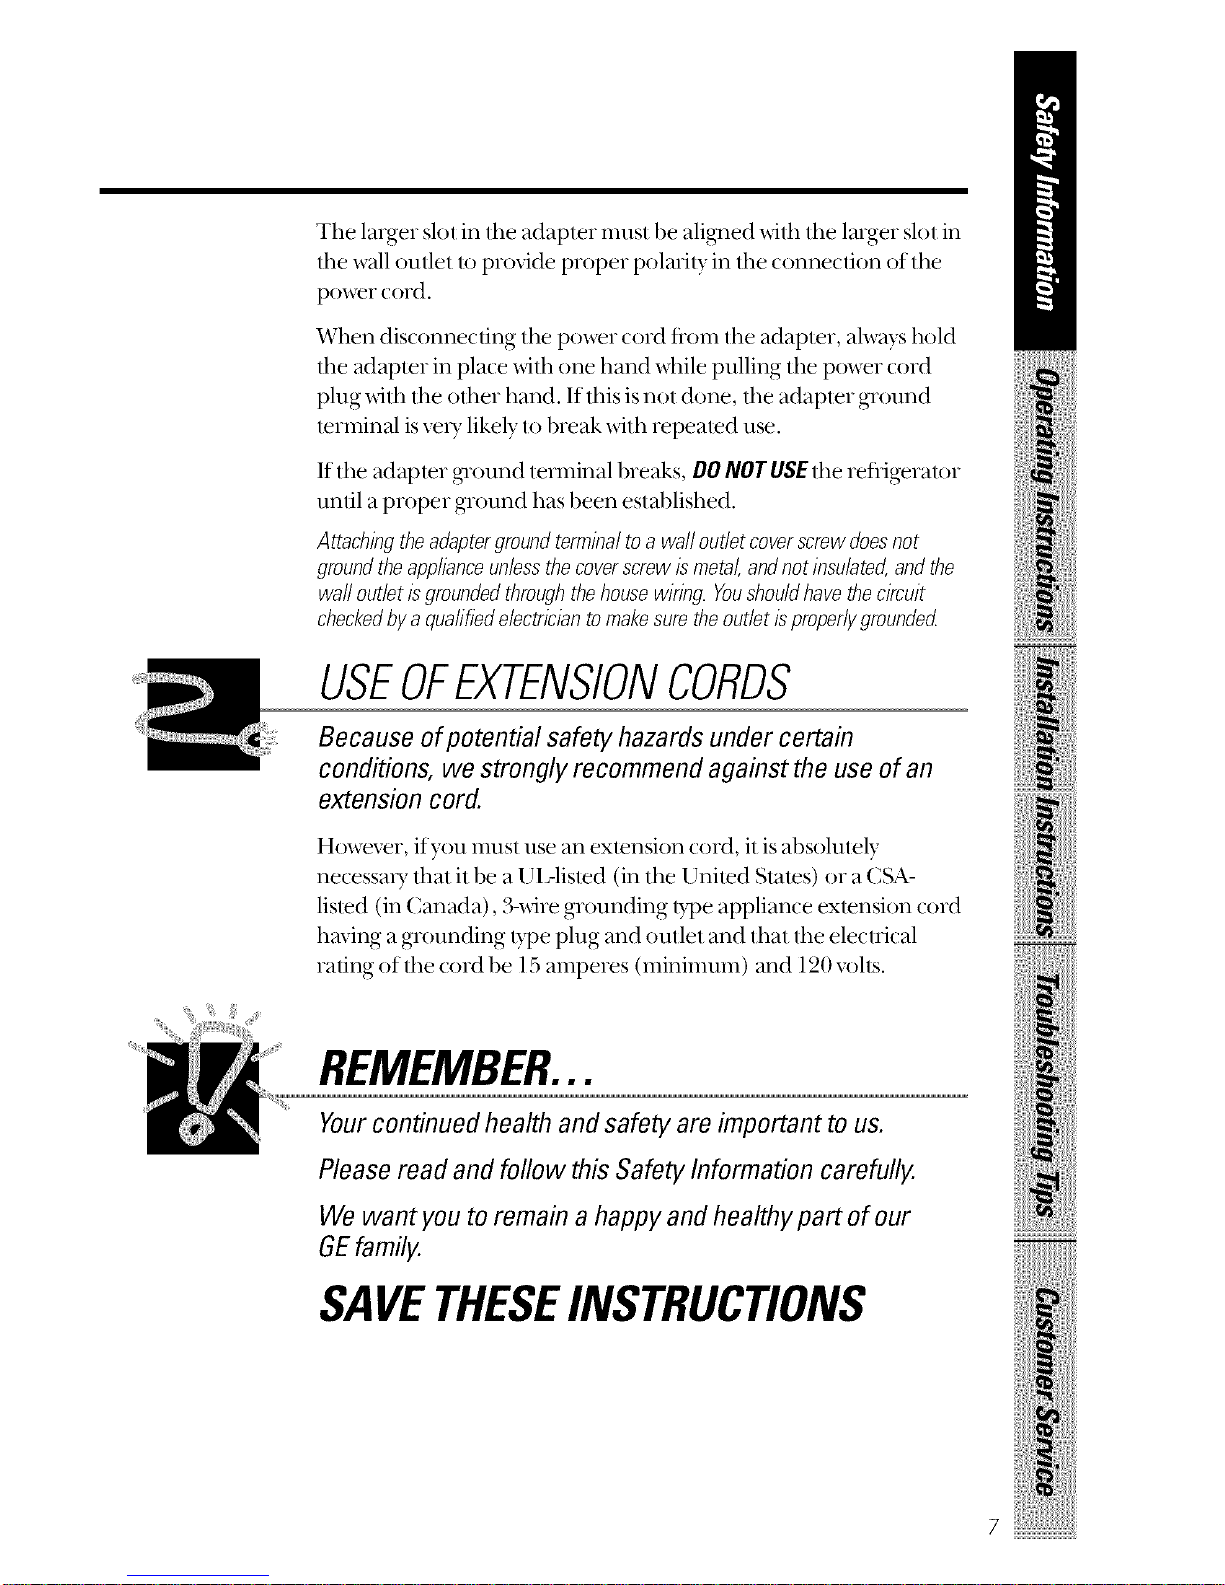
USEOFEXTENSIONCORDS
Because of potential safety hazards under certain
conditions, we strongly recommend against the use of an
extension cord.
However, if you must use an exmnsion coM, it is absolutely
necessa U that it be a UL-listed (in the Unimd Stares) or a CSA-
listed (in Canada), 3-_dre grounding bi)e appliance exlension cord
having a grounding bi)e plug and outlet and that lhe elecwical
rating of tim cord be 15 amperes (minimum) and 120 vohs.
REMEMBER...
Your continued health and safety are important to us.
Please read and follow this Safety Information carefully.
We want you to remain a happy and healthy part of our
GEfamily.
SAVETHESEINSTRUCTIONS
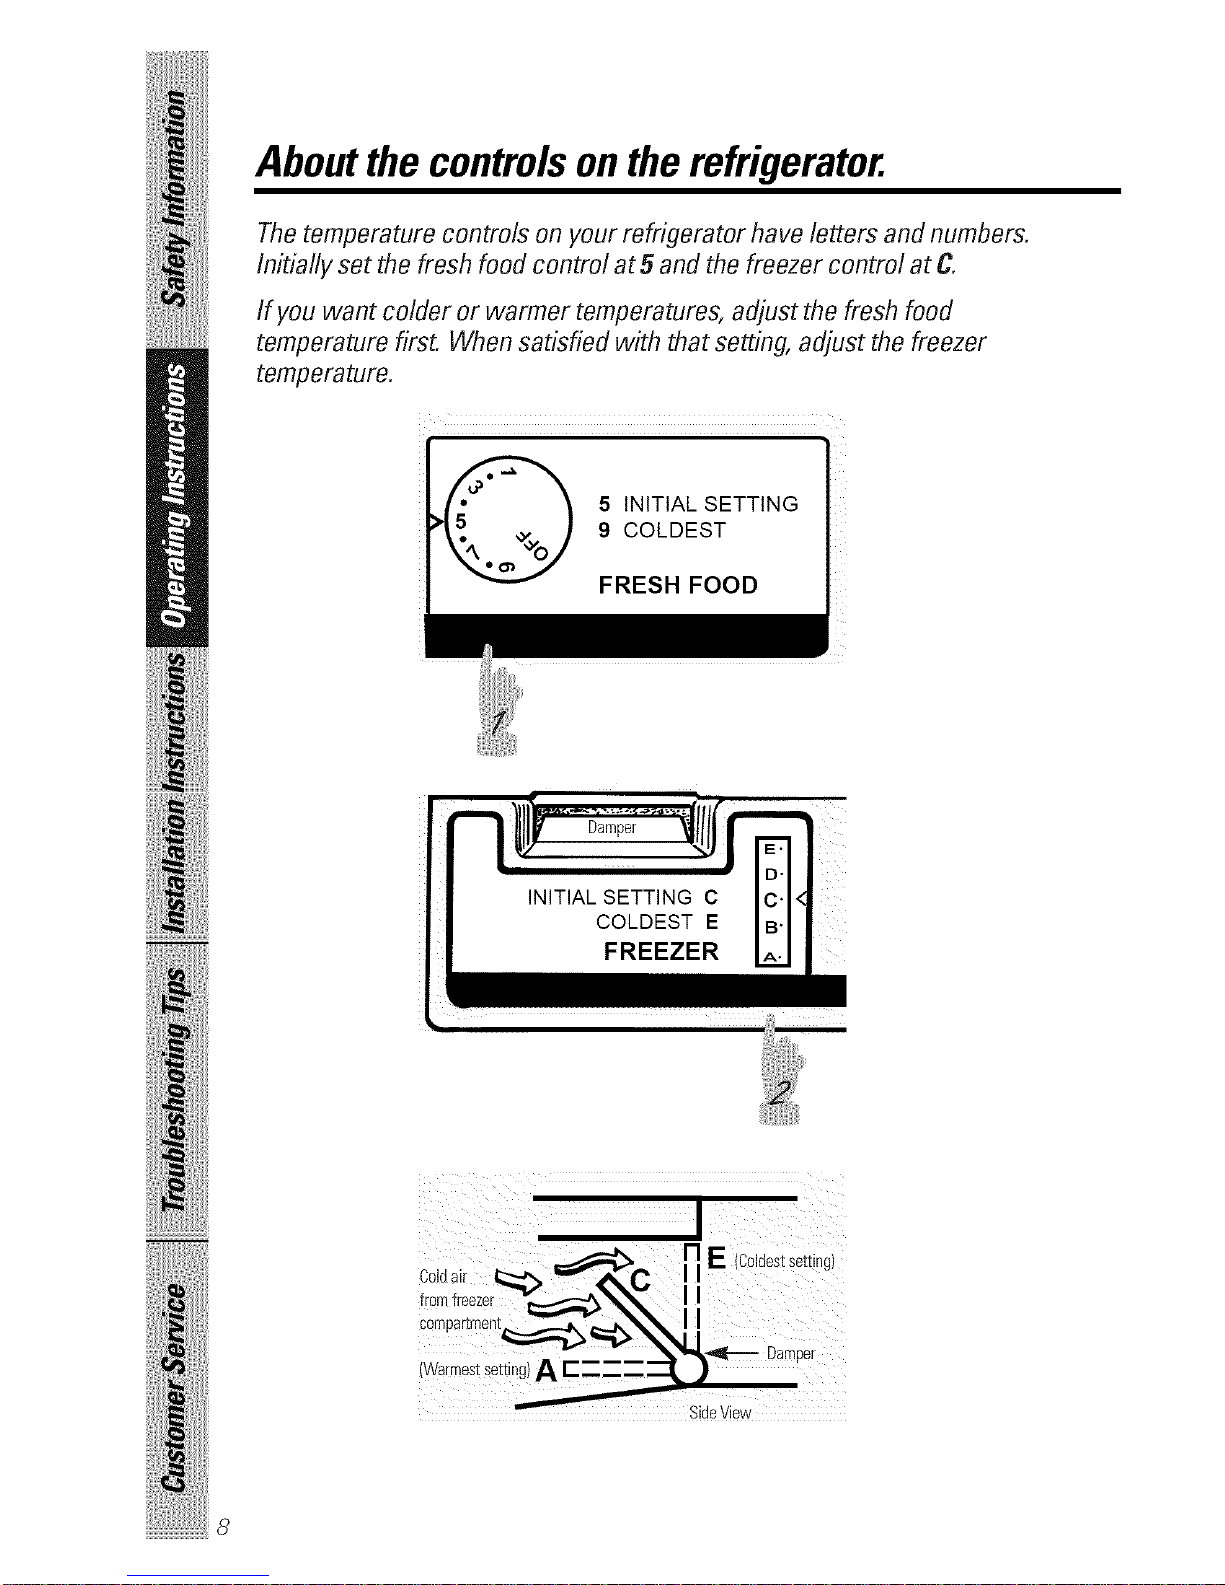
Aboutthe controlson the refrigerator.
The temperature controls on your refrigerator have letters and numbers.
Initially set the fresh food control at 5 and the freezer control at C
If you want colder or warmer temperatures, adjust the fresh food
temperature first. When satisfied with that setting, adjust the freezer
temperature.
5 INITIAL SETTING
9 COLDEST
FRESH FOOD
INITIAL SETTING C
COLDEST E
FREEZER
sssssssss_
8
I
SideView
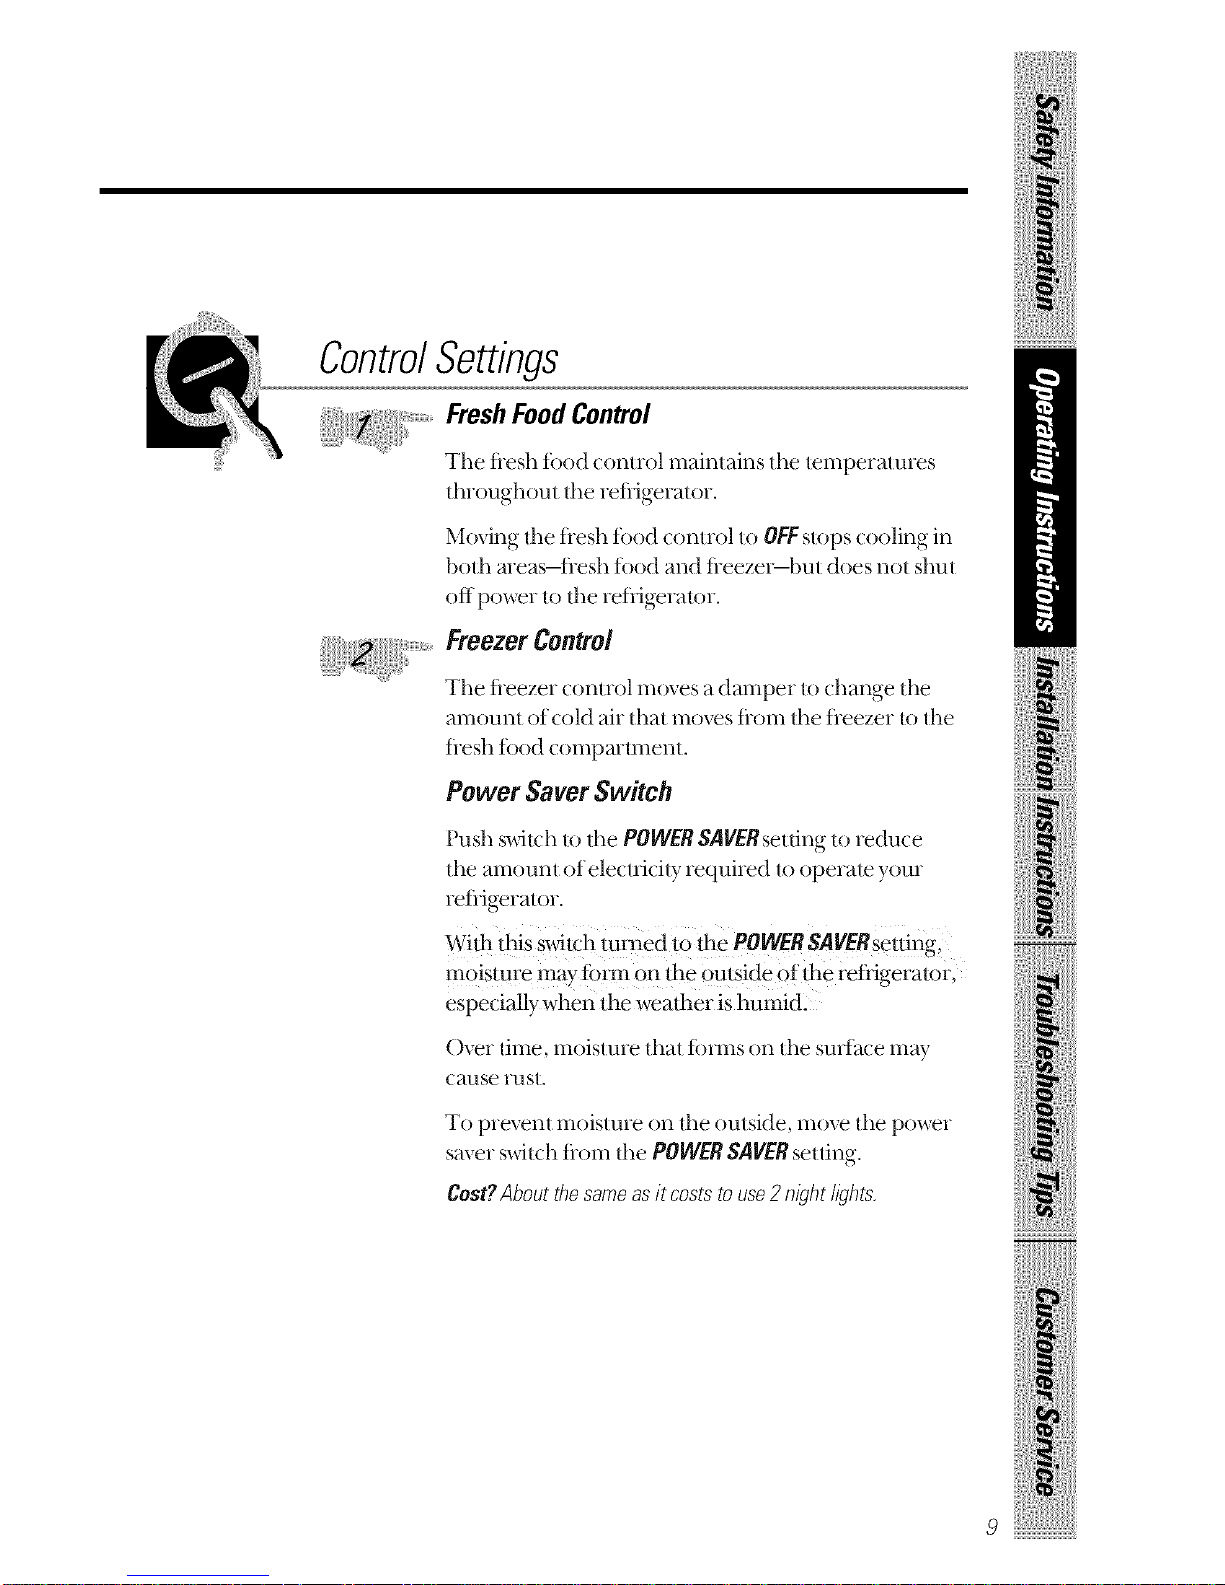
ControlSettings
_i FreshFood Control
The flesh tbod conm)l maintains the temperatures
fluoughout the refligerator.
Moving the fresh fbod control to OFF stops cooling in
both areas-flesh fb(:d and fleeze:_but does not shut
off power !o !he reffigerator.
freezer Control
The fleezer con!rol moves a damper to change !he
amount (:f c(:ld air that m(:ves flom !he fleezer 1o !he
flesh t(:(:d c()mpa:tl_ile:_i!.
Power Saver Switch
Push switch to !he POWER SAVERsetting 1o reduce
!he amount of electricit)_ required to operate yore
refligerator.
With thisSwitchturned tO the POWER SAVfnsetting-i
moisture may tbnn on the outside of dee refiigerator,
especially when the weather is humid l
Over time, moisture tha! ibnns (::] the sm_{hce may
CaUSe :'US!,
To prevent mois!ure on !he outside, move the power
saver swi!ch flo:n !he POWER SAVERsetting.
Cost?About thesame as it costs to use2 night//_Thts.
9
About the controlson the refrigerator.
How ToTestTemperatures
I Jse tile milk test fbr tile flesh fbod compartment. Place a container
of milk on tile top shelf and check it a day later. If tile milk is too
waI_In 0I" tOO cold, a(!just tile temperature controls.
I Jse tile ice cream test ibr file fleezer comparmmnt. Place a
container of ice cream in tile center of tile fleezer and check it aller
a day. If it's too hard or too soft, a{!just tile temperature contlOlS.
After changing thecontrols,allow 24 hoursfor the refrigerator toreach the
temperature you haveset
FoodStorage
Tile type of packaging used and file slorage temperatures xdll 'afl_ect
how long tbod _dll keep in the refligeralor.
New fbod storage gMdelines are constantly being developed.
ConsulttheCountyExtensionServiceforthelatestinformationonfreezingand
storingfoods.
Aboutthe refrigerator shelves and dishes.
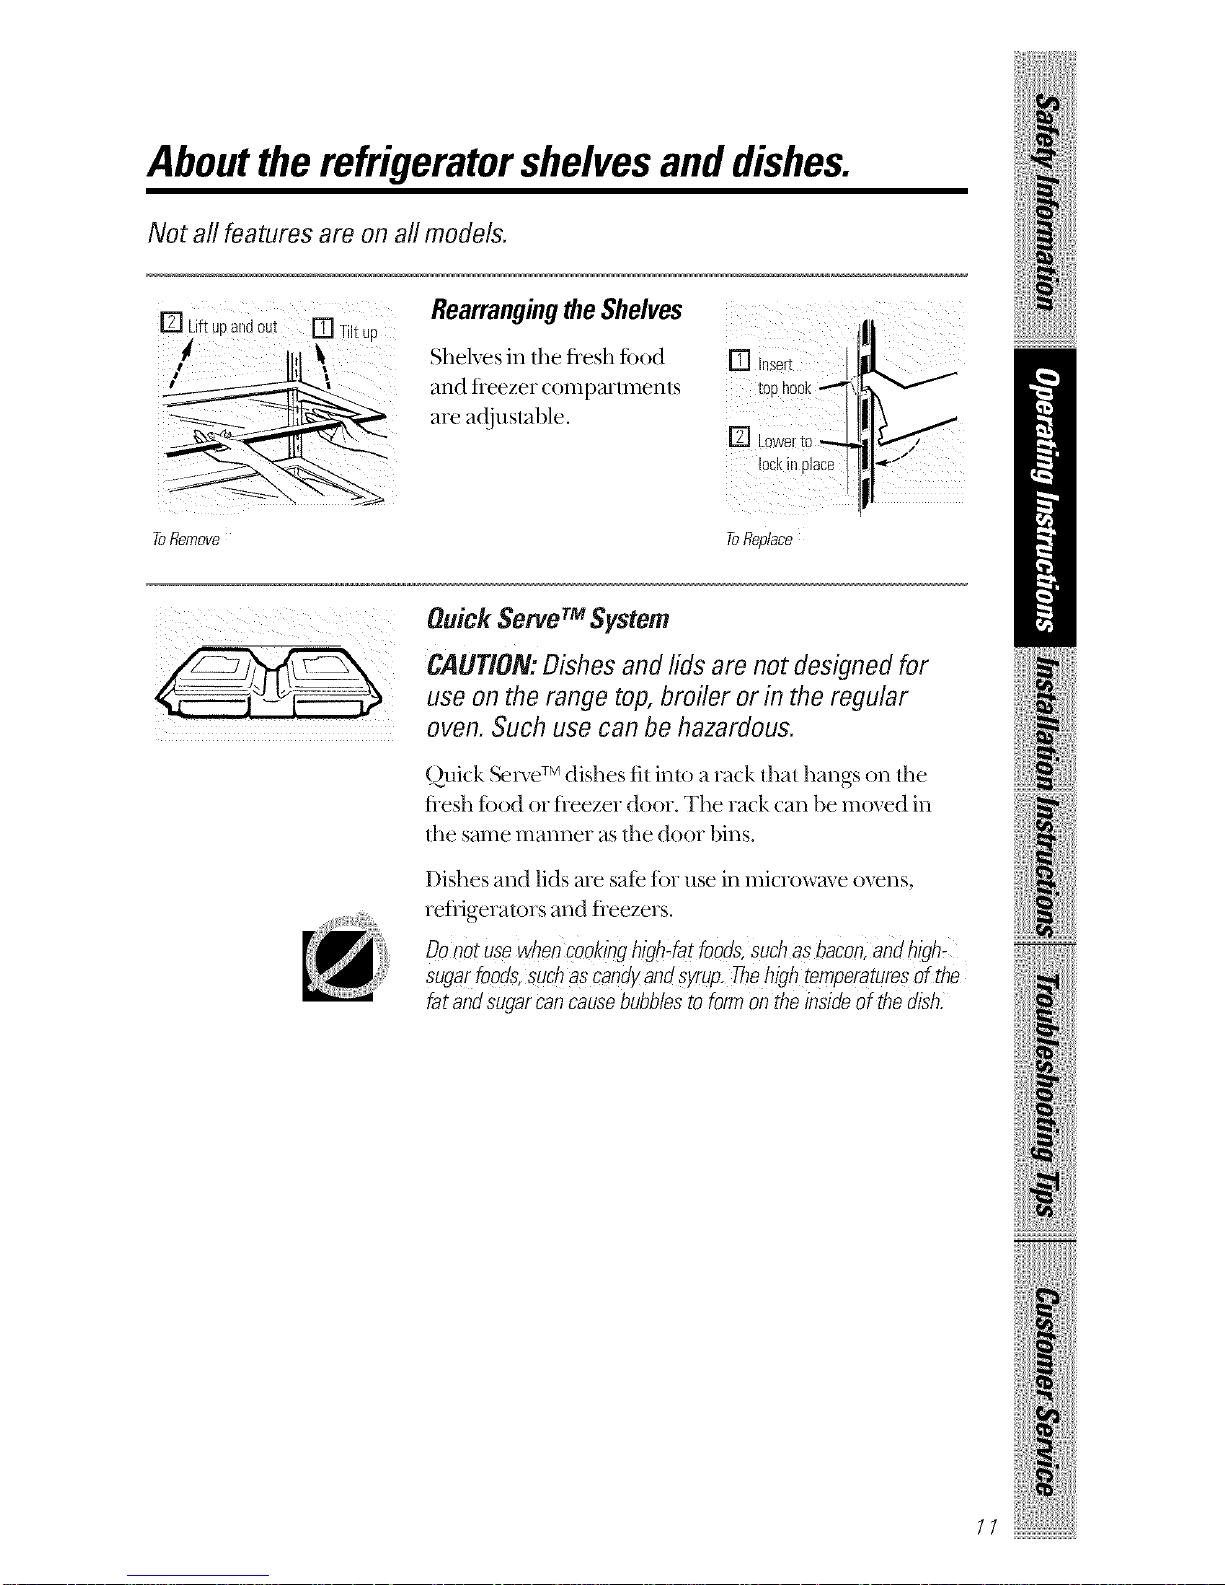
Not all features are on all models.
[] Liftuoanaout [] TiltuD RearrangingtheShelves
Shelves in the ti-esh food [] hserc
2tlld [ieezer COlllp_ll'/lllell/s [00 nook
are adiuslal)le.
]Lower to
lOCKI11OI8C6
V
ToRemove To Re_lace
Quick Serve TMSystem
CAUTION:Dishes and lids are not designed for
use on the range top, broiler or in the regular
oven. Such use can be hazardous.
Quick _rve TM dishes til inlo a rack thai hangs on llle
tiesh todd or tieezer door. Tile rack can be moved in
lhe same manner as tile door bins.
Dishes and lids me sate tbr use in microwave ovens,
refiJgeralors and ficezers.
Donotusewhencookinghigh-fatfoods,suchasbacon,aMhigh-
sugarfoods,suchaScandyandsyrup.Thehightemperaturesofthe
fatandsugarcancausebubblestoformontheinsideofthedish.
11
Aboutthe refrigerator bins.
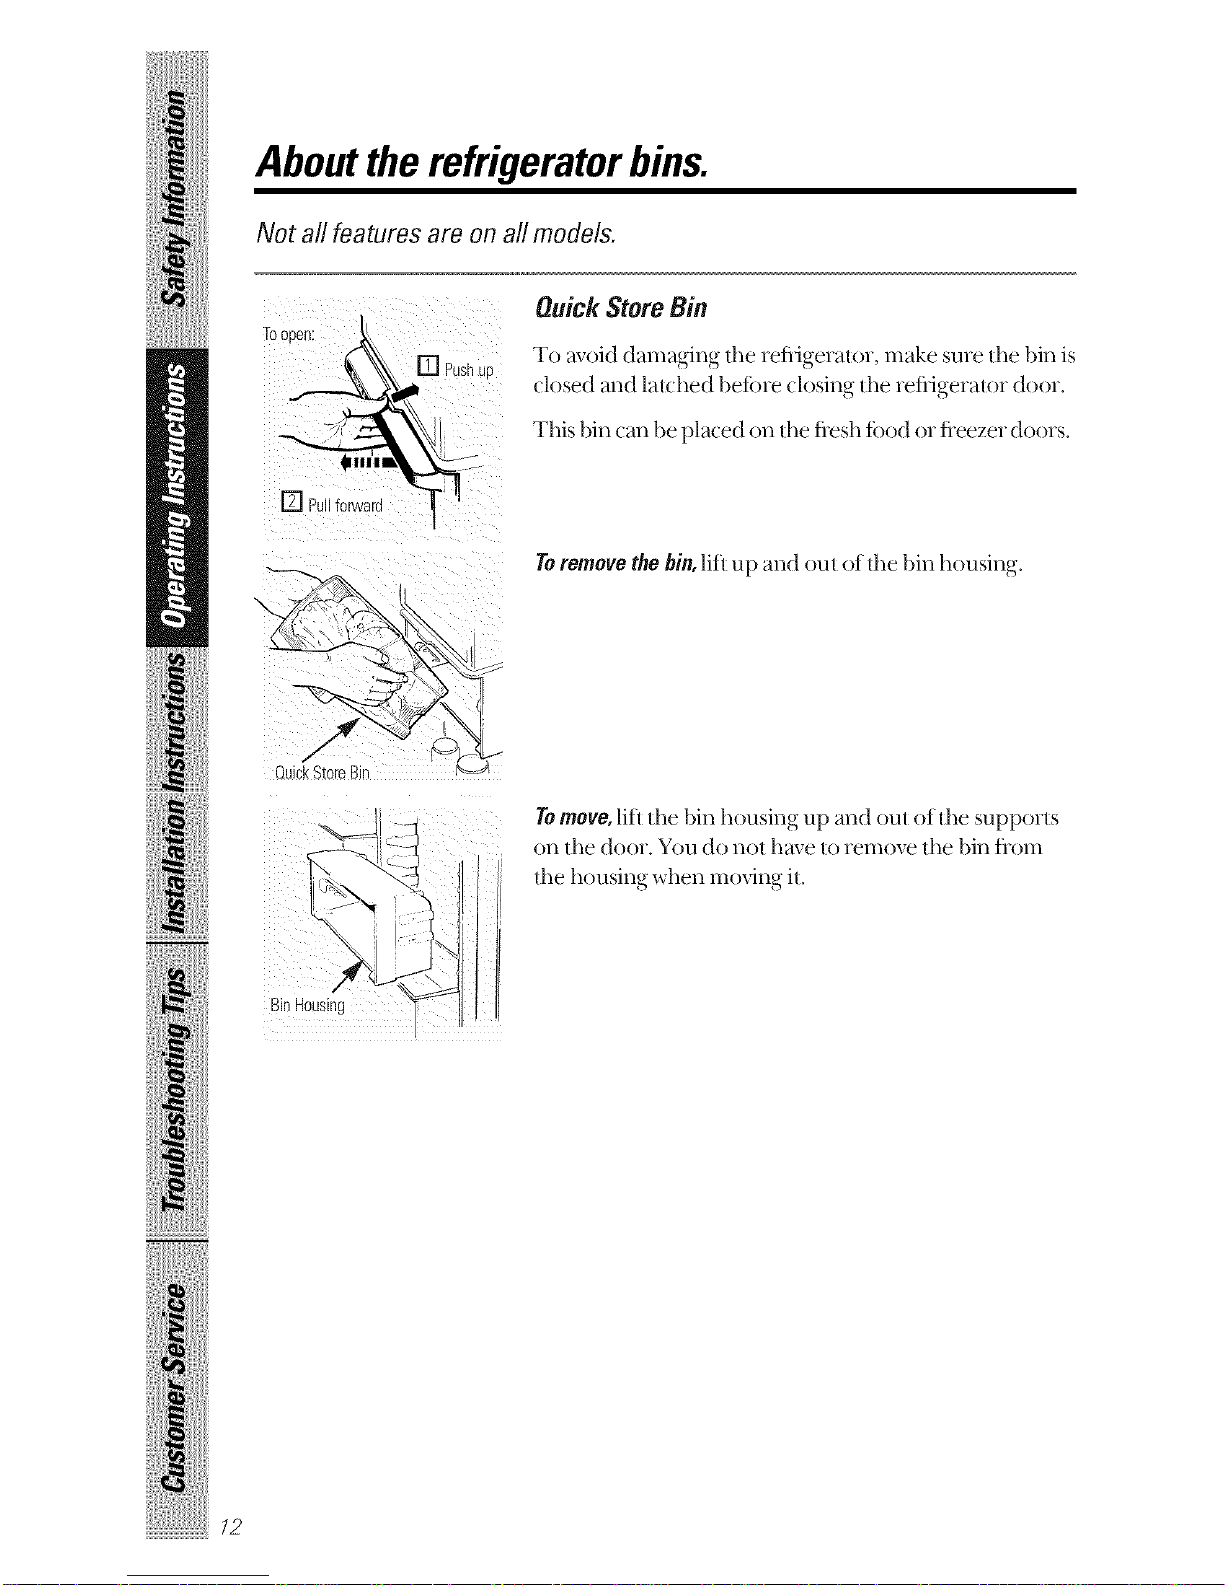
Not all features are on all models.
[] Pullforward
[] PushUE
Quick StoreBin
To avoid damaging the refligerator, make sme the bin is
€losed and la|ched beiore closing the refligeramr door,
This bin can be placed on lhe flesh fbod or fleezer doors,
Quic[<StoreBir
Toremovethebin,liftup and out of the bin housing.
To move, lift the bin housing up and out of the supports
on the door. You do not hm,e to remove the bin tiom
the housing when moving it.
Bin Housing
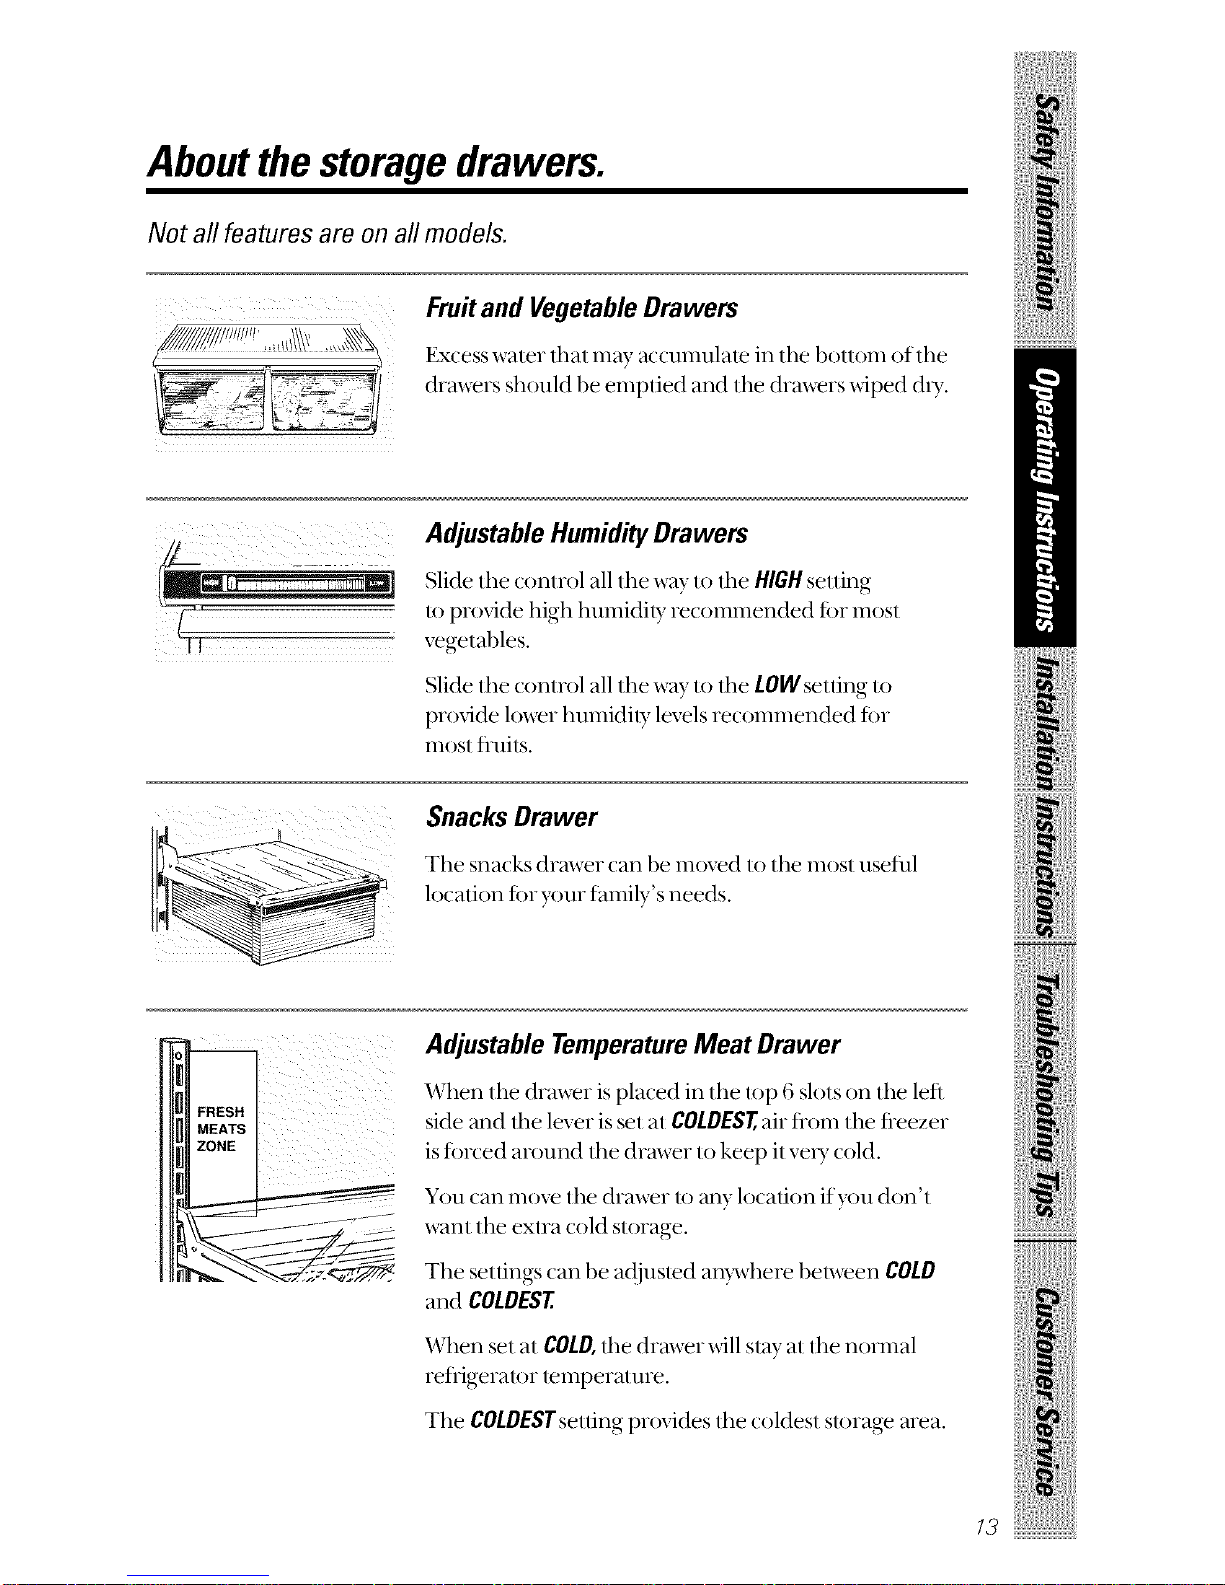
Aboutthe storagedrawers.
Not all features are on all models.
Fruitand VegetableDrawers
Excess water that may accumulate in tile l)ottom of tile
drawers should be emptied and the drawers _dped d) T.
/
Adjustable Humidity Drawers
Slide tile control all file way to tile HIGH setting
It) provide high hulnidil}7 recommended fin inosl
vegetables.
Slide the control all the way to the LOW setting to
provide lower humidi b, levels recommended fin
inosl fl-uils.
i i!iiiiii
Snacks Drawer
Tile snacks drawer can 1)e moved to file most useful
location fin your thmily's needs.
Adjustable TemperatureMeat Drawer
When tile drawer is placed in tile top 6 slots on tile left
side and file lever is sel al COLDEST,air flom lhe fleezer
is %reed around file drawer 1o keep il ve) T cold.
You can move the drawer lo any location if you don'l
want the exlra cold slorage.
Tile selfings can be adjusled an)_vhere bel_veen COLD
and COLDEST
When set at COLD, tile drawer xdll slay at the normal
refligeralor lemperalure.
The COLDESTsetting provides file coldesl storage area.
13
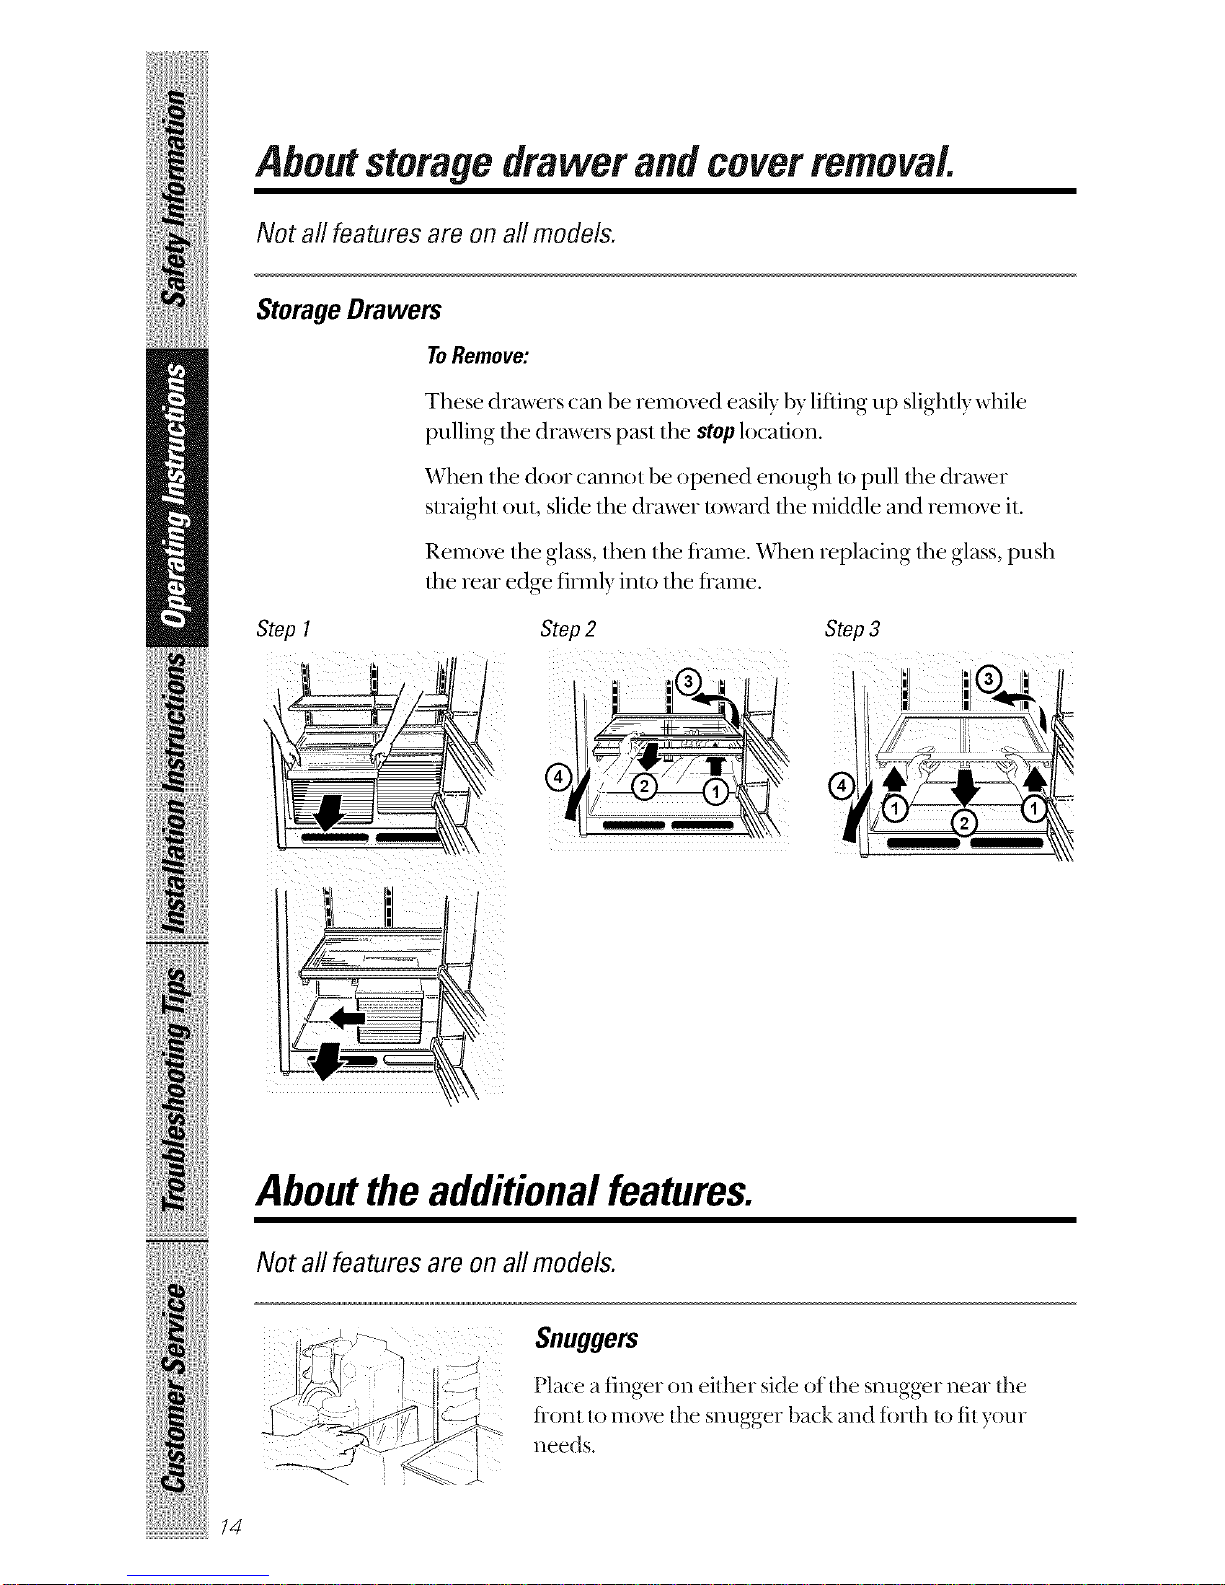
About storage drawer and coverremoval.
Not all features are on all models.
Storage Drawers
ToRemove:
These drmvers can beremoved easily 1)ylifting up slightly while
pulling tile drawers pasl lhe stop location.
When tile door cannol be opened enough 1o pull lhe &rover
sl_aighl out, slide tile drawe_ t()wmd lhe middle and _emove il.
Remove tile glass, then tile fl-ame. X4_lenreplacing tile glass, push
the rear edge firmly into tile flame.
Step 1
i /
Step2
i% ,l
Step3
'i' '
I, ,'_1 :®J
11/ Ill I,I _
Aboutthe additional features.
Not all features are on all models.
Snuggers
Place afinger on either side of the snugger near the
flont _omove the snugger back and fbnh _ofit yore
needs.
/4
 Loading...