

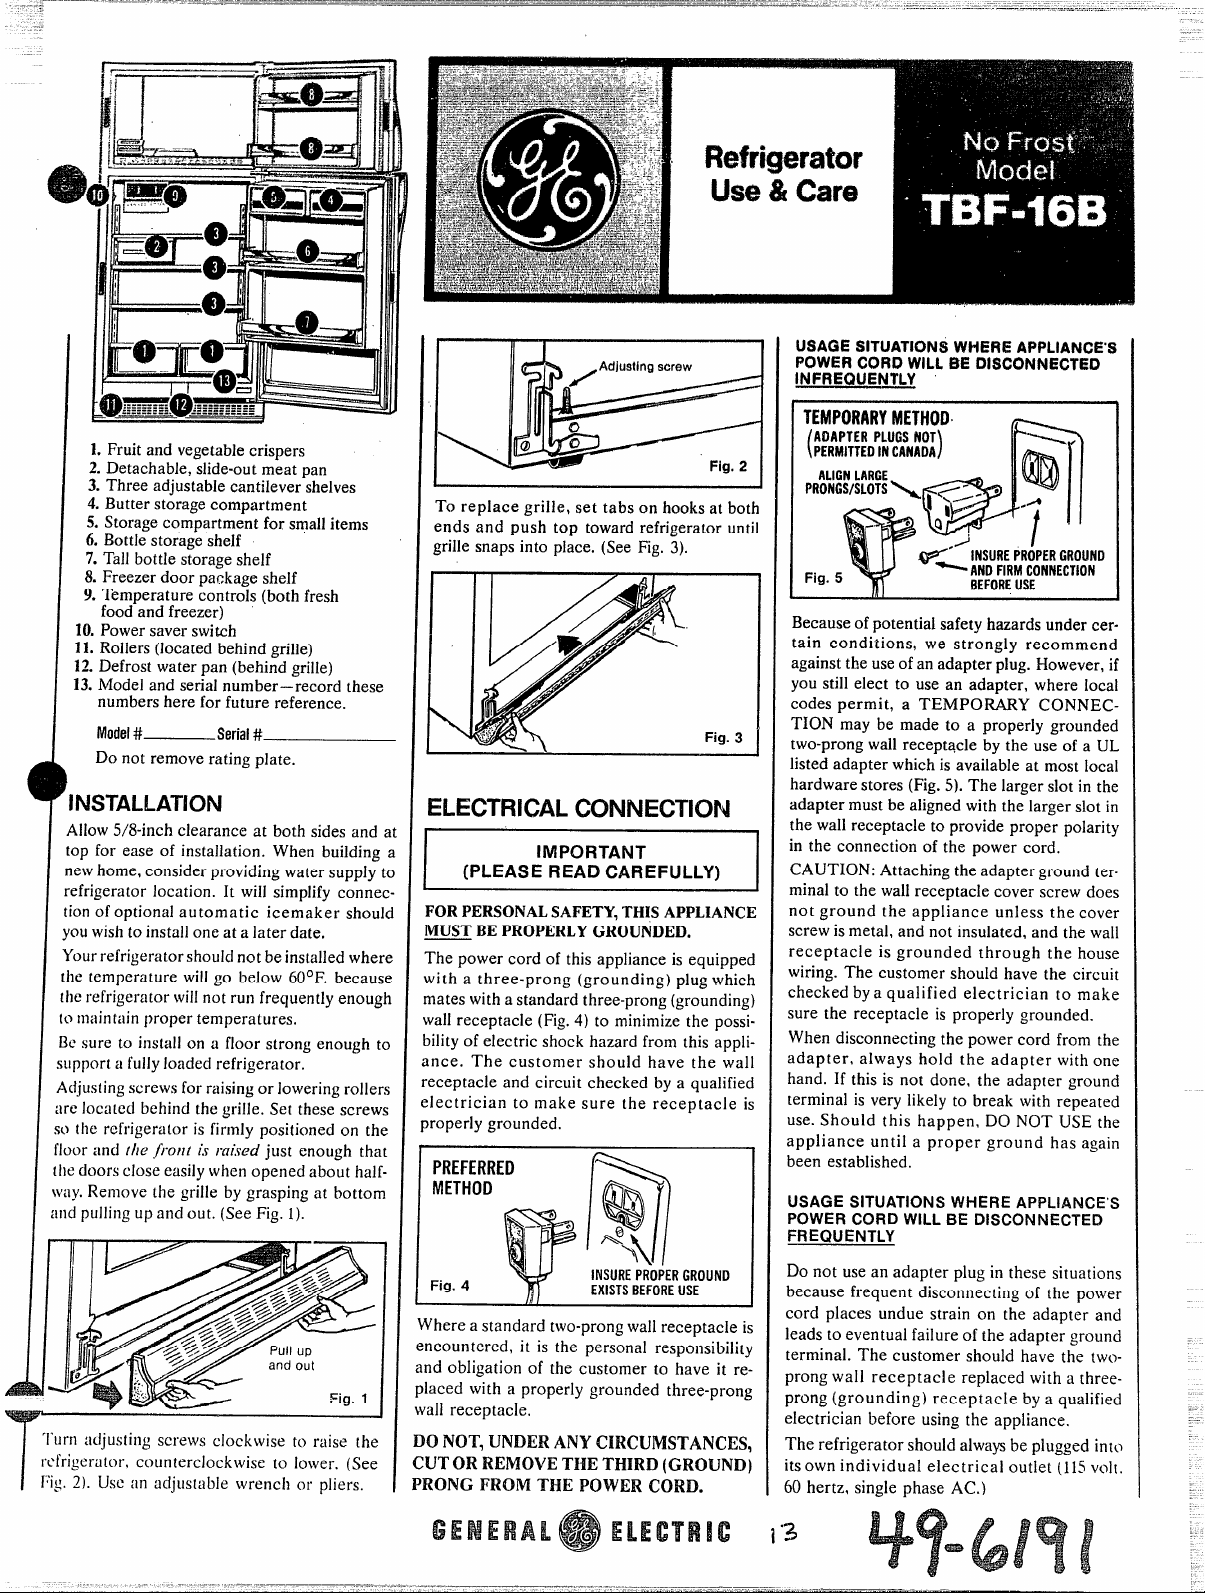
L Fruit and vegetable crispers
2. Detachable, slide-out meat pan
3. Three adjustable cantilever shelves
4. Butter storage compartment
5. Storage compartment for small items
6. Bottle stoiage shelf
7. Tall bottle storage shelf
8. Freezer door package shelf
9. Temperature controls (both fresh
food and freezer)
10.Power saver switch
11.Rollers (located behind grille)
12. Defrost water pan (behind grille)
13.Model and serial number—record these
numbers here for future reference.
Model#
I
Do not remove rating plate.
INSTALLATION
+
Allow5/8-inch clearance at both sides and ~
top for ease of installation. When building ,
newhome, consider providing water supply t~
refrigerator location. It will simplify connec
tion of optional automatic icemaker shouh
youwish toinstall one at a later date,
Yourrefrigerator should not beinstalled wherx
the temperature willgo below 60°F. becaust
[herefrigerator willnot run frequently enoug}
to maintain j>ropertemperatures.
Be sure to install on a floor strong enough to
support a fullyloaded refrigerator.
A(fjusfingscrews for raising or lowering rollers
are located behind the grille. Set these screws
so the rcfrigerti[or is firmly positioned on the
floor and the
the doors close easily when opened about half-
\Vtly.Renlove the grille by grasping at
d pullingup and out. (See Fig. 1).
an
Turn adjus[ing screws clockwise to raise [he
refrigerator, counterclockwise to lower. (See
Fig. 2). Use an a~ljustab]e wrench or pliers.
I
.fiont h raised just enough that
Serial#
bottom
To replace grille, set tabs on hooks at bol
ends and push top toward refrigerator unt
grille snaps into place. (See Fig. 3).
I11
I
ELECTRICALCONNECTION
IMPORTANT
(PLEASE READ CAREFULLY)
FORPERSONALSAFETY,THISAPPLIANCI
MUSTBEPROPERLYGROUNDED.
The power cord of this appliance is equippe~
with a three-prong (grounding) plug whicl
nates with a standard three-prong (grounding
wallreceptacle (Fig,4) to minimize the possi
]ility of electric shock hazard from this appli
Lnce. The customer should have the wal
receptacle and circuit checked by a qualifie(
electrician to make sure the receptacle i,
properly grounded.
PREFERRED
METHOD
Fig.4
Where a standard two-prongwall receptacle i!
encountered, it is the personal responsibility
md obligation of the customer
~laced with a properly grounded three-prong
,vallreceptacle,
30 NOT, UNDER ANY CIRCUMSTANCES,
WI’(IR
REMOVETHETHIRD(GROUND
)RONG~R~~ THE ~o~ER ~oRD.
Q
9
%
Q
+!?
n
INSUREPROPERGROUND
EXISTSBEFOREUSE
Fig. 3
to have it re
USAGE SITUATIONS WHERE APPLIANCE’S
POWER CORD WILL BE DISCONNECTED
INFREQUENTLY
TEMPORARYMETHOD
ADAPTERPLUGSNOT
PERMITTEDINCANADA
(
ALIGNLARGE
PRONGSISLOTS\ ~
Fig.5 y
Because ofpotential safety hazards under certain conditions, we strongly recommend
against the use ofan adapter plug. However,if
you still elect to use an adapter, where local
codes permit, a TEMPORARY CONNECTION may be made to a properly grounded
two-prongwall receptacle by the use of a UL
listed adapter which is available at most local
hardware stores (Fig.5). The larger slot in the
adapter must be aligned with the larger slot in
the wall receptacle to provide proper polarity
in the connection of the power cord.
CAUTION: Attaching the adapter ground terminal to the wall receptacle cover screw does
not ground the appliance unless the cover
screw is metal, and not insulated, and the wall
receptacle is grounded through the house
wiring. The customer should have the circuit
checked bya qualified electrician to make
sure the receptacle is properly grounded.
When disconnecting the power cord from the
adapter, always hold the adapter with one
hand. If this is not done, the adapter ground
terminal is very likely to break with repeated
use. Should this happen, DO NOT USE the
appliance until a proper ground has again
been established.
USAGE SITUATIONS WHEEFIEAPPLIAINCI?S
POWER CORD WILL BE DISCONNECTED
FREQUENTLY
Do not use an adapter plugin these situations
because frequent disconnecting of the power
cord places undue strain on the adapter and
leads to eventual failure of the adapter ground
terminal. The customer should have the twoprong wall receptacle replaced with a threeprong (grounding) receptacle by a qualified
electrician before using the appliance.
The refrigerator should alwaysbe plugged into
its own individual electrical outlet (115volt.
60 hertz, single phase AC.)
)
-
Hnv
nrcfl
&:f
n
IIWI
—
J@
—
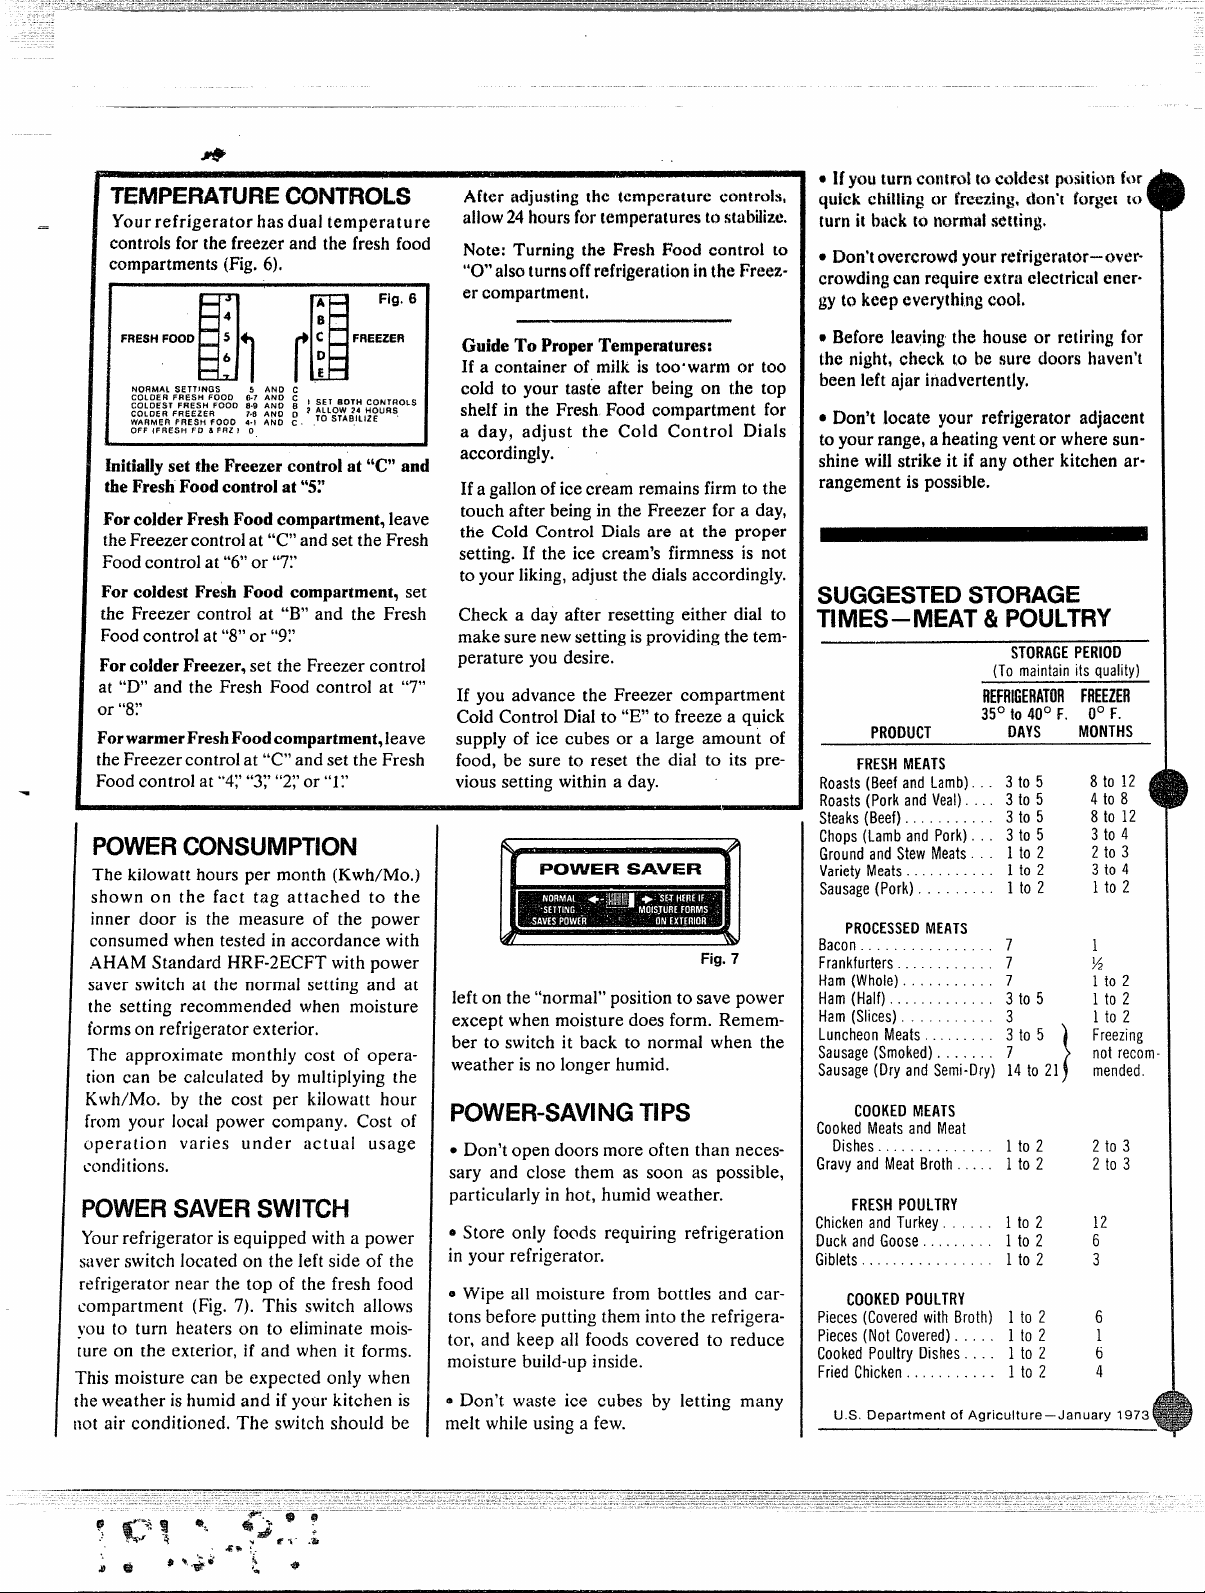
TEMPERATURECONTROLS
.
Your refrigerator has dual temperature
controls for the freezer and the fresh food
compartments (Fig, 6).
After adjusting the temperature controls,
allow24hours for temperaturesto stabilize.
Note: Turning the Fresh Food control to
“O”alsoturnsoffrefrigerationintheFreezer compartment,
hide To ProperTemperatures:
NOFIMAL SETTINGS
cOLoER ‘RESH ‘OOD ‘“7 ‘ND c I SET BOTH CONT7-IOLS
COLDEST FRESH FOOD 8.9 ANO El
COLDER FREEZER 7.6 ANO o 2 ‘LLOw 24 ‘Ou Rs
WARMER FRESH FCIOO 4.1 ANO c
OFF IFRESH PO a FRZ 1 0
I
Initiallyset the Freezer control at “C”and
the Fresh Foodcontrol at “51’
Forcolder FreshFoodcompartment,
the Freezer control at “C” and set the Fresh
Food control at “6”or “7?
For coldest Fresh Food compartment,
Freezer control at “B” and the Fresh
the
Food control at “8” or “9~’
Forcolder Freezer, set the Freezer control
at “D” and the Fresh Food control at “7”
or “8?
ForwarmerFreshFood compartment,leave
the Freezer control at “C” and set the Fresh
.
Food control at “4;’“3;’“2;’or “l:’
ill’”’::;
5 ANO c
TO STABILIZE
leave
If a container of milk is too-warm or too
cold to your taste after being on the top
shelf in the Fresh Food compartment for
a day, adjust the Cold Control Dials
I
accordingly.
Ifa gallonofice cream remainsfirmto the
touch after beingin the Freezer for a day,
the Cold Control Dials are at the proper
setting. If the ice cream’s firmness is not
to yourliking,adjust the dials accordingly.
set
Check a day after resetting either dial to
makesurenewsettingisprovidingthe temperature you desire.
If you advance the Freezer compartment
Cold Control Dial to “E” to freeze a quick
supply of ice cubes or a large amount of
food, be sure to reset the dial to its pre-
vious setting within a day.
POWERCONSUMPTION
[
The kilowatt hours per month (Kwh/Mo.)
shown on the fact tag attached to the
inner door is the measure of the power
consumed when tested in accordance with
AHAM Standard HRF-2ECFT with power
saver switch at the normal setting and at
the setting recommended
when moisture
formson refrigerator exterior,
The approximate monthly cost of opera-
tion can be calculated by multiplying the
Kwh/Mo. by the cost per kilowatt hour
from your local power company. Cost of
operation varies under actual usage
conditions,
POWVE13W$VE13
SWITCH
Yourrefrigerator isequipped with a power
saverswitch located on the left side of the
refrigerator near the top of the fresh food
compartment (Fig. 7). This switch allows
;OUto turn heaters on to eliminate mois-
ure on the exterior, if and when it forms.
Phismoisture can be expected only when
heweather is humidand if your kitchen is
ot air conditioned. The switch shouid be
left on the “normal”positionto save power
except when moisture does form. Remember to switch it back to normal when the
weather is no longer humid.
POWER-SAVINGTIPS
o Don’topen doors more often than necessary and close them as soon as possible,
particularly in hot, humidweather.
oStore only foods requiring refrigeration
in your refrigerator.
e Wipe all moisture from bottles and cartons before putting them into the refrigerator, and keep all foods covered to reduce
moisture build-up inside.
~Don’t waste ice cubes by letting many
melt while using a few.
POWER SAVER ]
Fig.7
● Ifyou mm caltrol to wkkst position for
quick chilling or freezing.don’t forget m
(
turn h buck to nwmd setting.
● Don’tovercrowdyour ret’rigeriMor—over-
crowdingcnnrequireextra tiectricai
to keep everylhi.ngcool,
gy
Before leavingthe house or retiring for
●
entw-
the night, check to be sure doors haven’t
been left ajar inadvertently,
● Don’t locate your refrigerator adjacent
toyour range, a heatingventor where sunshine willstrike it if any other kitchen arrangement is possible.
SUGGESTEDSTORAGE
TIMES–MEAT & POULTRY
STORAGEPERIOD
(To maintain its quality)
REFRIGERATORFREEZER
35° to40° F. 0° F.
PRODUCT
MEATS
FRESH
Roasts(13eefand
Roasts (Pork and Veal). . 3 to 5
Steaks (Beef).. . . . . . . . . . 3 to 5
Chops (Lamb and Pork) . . . 3 to 5
Ground and Stew Meats. . 1 to 2
Variety Meats . . . . . . . . . . . 1 to 2
Sausage (Pork) . . . . . . . . . 1 to 2
PROCESSEDMEATS
Bacon . . . . . . . . . . 7
Frankfurters. . . . . . . . . . . . 7
Ham (Whole). . . . . . . . . . . 7
Ham (Half). . . .. . . . . . . . 3 to 5
Ham (Slices) . . . 3
Luncheon Meats . . ... . . . . 3 to 5
Sausaize(Smoked). . . . . . . 7
Sausa~e (Dry and”Semi-Dry)
COOKEDMEATS
Cooked Meats and Meat
Dishes. . . . . . . . . . . . . .
Gravy and Meat Broth
FRESHPOULTRY
Chicken and Turkey. . . . 1 to 2
Duck and Goose . . . . . . . . 1 to 2
Giblets. . . . . . . . . . . . . . 1 to 2
GOOKEDPOULTRY
piW?S(Covered with Broth) 1 to 2
Pieces (Not Covered). 1 to 2
Cooked Poultry Dishes. . . . 1 to 2
Fried Chicken . . . . . . . . . . . 1 to 2
U.S. Department of Agriculture–January 1973
Lamb). . 3 to 5
DAYS
4 to 21)
to 2
to 2
MONTHS
\
8 to 12
4 to 8
8 to 12
3 to 4
2 to 3
3 to 4
1 to 2
1
%
1 to 2
1 to 2
1 to 2
Freezing
not recoin
mended.
2 to 3
2 to 3
12
6
3
6
1
6
4
{
[
 Loading...