

Page 1
Page 2
FoR Your
The AC power plugis polarized (one blade is wider than the other) and only fits
intoAC power outlets one way. If the plug won't go into the outlet completely,turn
the plugover and try to insert it the other way. If it still won't fit, contact a qualified
electricianto changethe outlet, or use a different one. Do not attempt to bYpaSs
this _feiy feature.
IMPORTANT BA_'ERY INFORMATION
• When storing the unit or unplugging it from the AC outlet for e day or more, be
sure to remove the battery because it can leak and damage the unit.
• Batteries may leak electrolyte if inserted incorrectly, if disposed of in fire, or if
an attempt is made to charge a battery not intended to be recharged.
, Discard leaky batteries immediately. Leaking batteries can cause skin burns or
other personal injury.
• Dispose of batteries, according to federal, state, and local regulations.
WARNING:To_k'va_r Free
TOW OFIMOBltWL
Models7-4812//-4813
347A8235-0Q01(Ray.OE/S)
96-12
Printedin China
_ IBMIIOII €olmllmll IumnaOmCs
RO. Box1976, Indianapolis, IN 46206
O 1996Thomson ConsumerElectronics,In_
Trademark(s)® Reg!stered
Marca(s) Registrada(s)
Page 3
"No WORRY"BATTERYBACKUP
This clock radio is equipped with a memory holding system that can be powered
with a customer-installed g-volt alkaline battery (not included). The power failure
protection circuit will not operate unless battery is installed.
When normal household power is interrupted, or AC line cord is unplugged, the
battery will power the clock radio to keep track of time and alarm settings pro-
grammed into memory. When on battery power, the digital display will not light;
however, should WAKE TiME occur during the power interruption, the radio will
operate or the alarm will sound if remaining battery power is adequate. Normal
operation will resume after AC power is restored so you will not have to reset time
or alarm.
Install battery as follows:
1, Remove battery compartment door (located on the back of the radio) by
applying thumb pressure to area indicated on battery door and then lift the door
out and off the cabinet.
2, Connect a 9-volt battery to battery connector plug.
3. Insert battery in compartment and replace compartment door,
NOTE: Alkaline (NEDA 1604A) batteries are recommended. Carbon-zinc
(NEDA 1604) batteries may be used but memory holding time will be substan-
tially reduced. Memory holding dine for a fresh alkaline battery isapproxi-
mately ,_hours (if radio or alarm are not operated), which should take care of
short, nuisance-type AC power failures. To preserve battery life, the radio
should remain plugged into an AC outlet. As batteries get older, their voltage
drops and memory may be lost. l_e sure to replace the battery periodically.
Battery should be removed if the radio will be stored for more than one day.
Leaky batteries can badly damage the clock radio.
POWERFAILUREINDICATOR
When AC power is interrupted (disconnected) for a short period both time and
alarm settings will change (unless optional battery is installed}. After A¢ power is
restored (reconnected) the Digital Display will blink to indicate that power was
interrupted and you must readjust the TIME and ALARM settings. To stop display
from blinking, press the HOUR or MIN button.
Ba_d_itda
Page 4

ooooooooooooooooooooooooooooo
ooooooooooooooooooooooooooooooo
ooooooooooooooooooooooooooooooooo
ooooooooooooooooooooooooooo
ooooooooooooooooooooooooooooooooooo
oooooooooooooooooooooooooooooooooooo
oooooooooooooooooooooo0ooooooooooooo
oooooooooooooooo....ooooooooooo!i °
0000000000000000000000000000000000000
0000000000000000000000000000000000000
0000000000000000000000000000000000000
0000000000000000000000000000000000000¢
O000000000000000000000000000000000000C
O000000000000000000000000000000000000C
oooooooooooooooooooooooooooooooooooooc
oooooooooooooooooooooooooooooooooooooc
( s,voozE)
i ii
/
Volume
OPERATE THE P d)IO
1. Plug the power cord into any 120-V AC household outlet.
2. Turn the FUNCTION SELECTOR to ON.
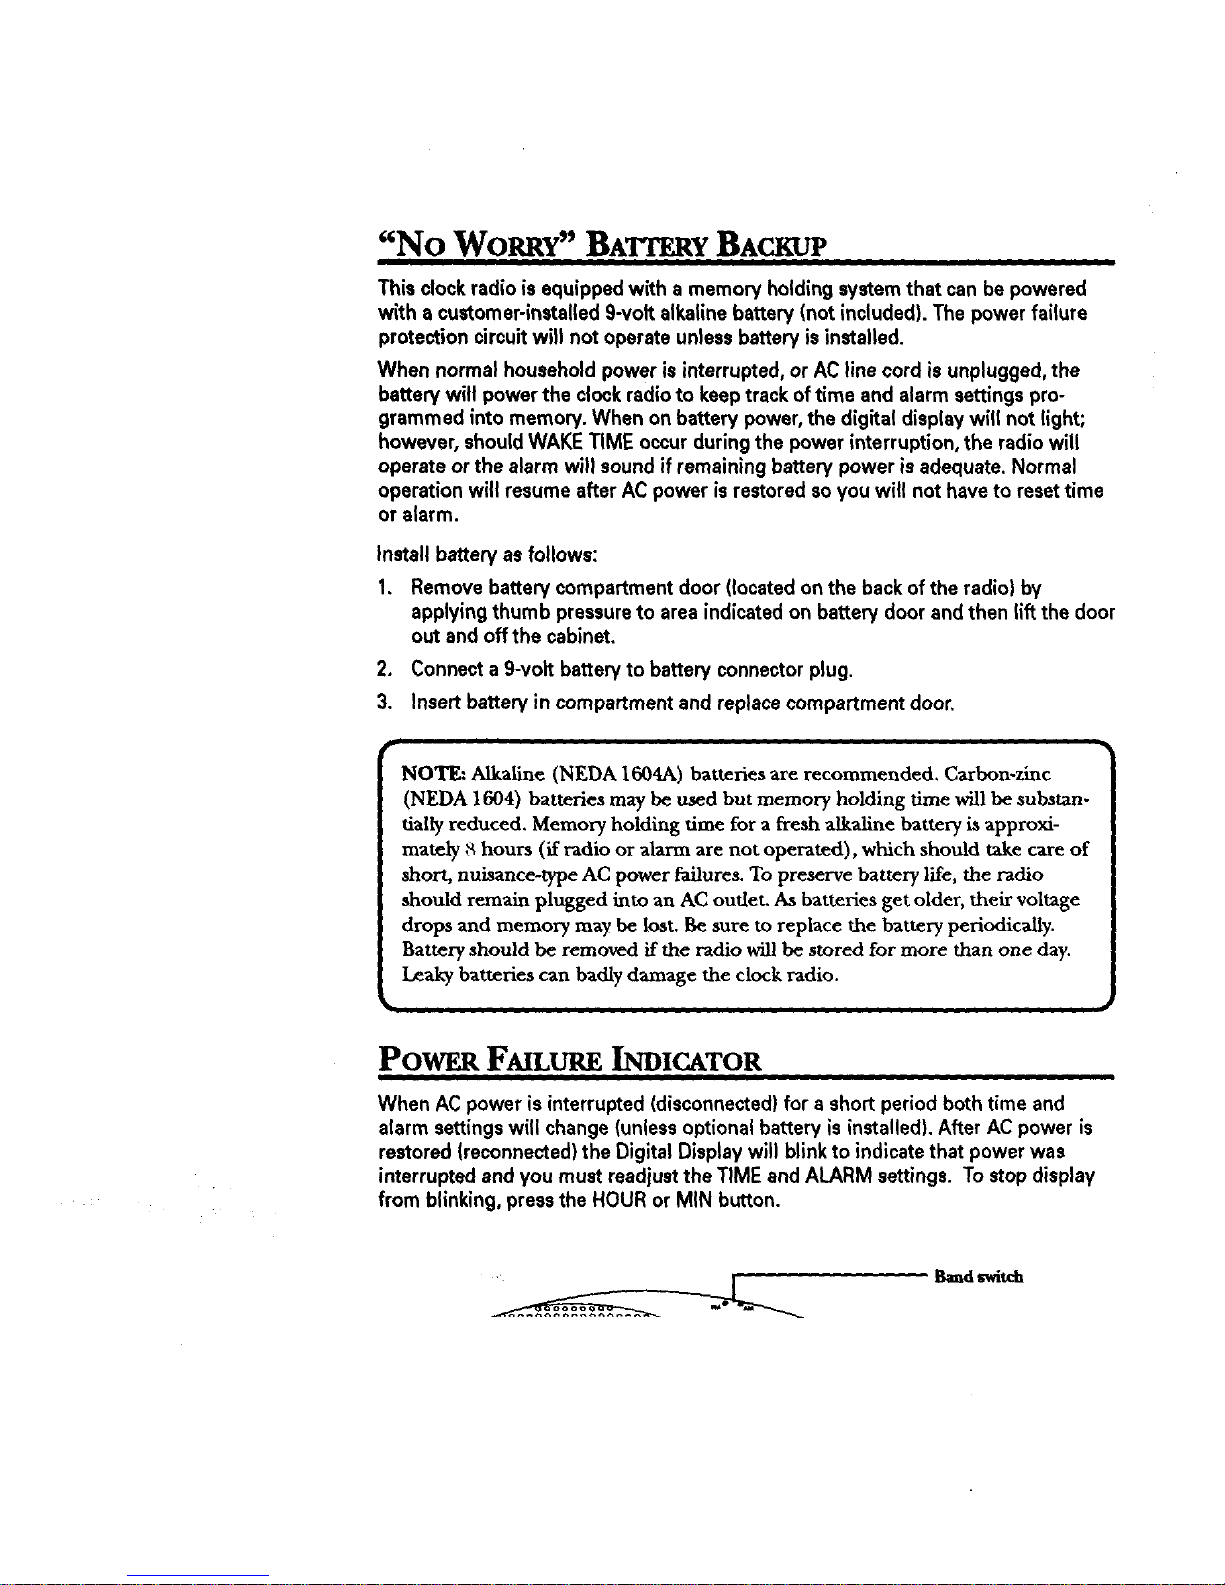
3. Slide the AM/FM BAND switch (located on the back of the unit) to the desired
broadcast band.
4. Turn TUNING knob to select a station.
5. Adjust the VOLUME control to your preferred listening level.
6. Toturn the radio off, slide the FUNCTION SELECTOR to OFF.
BUILT-IN AFC
The Built-In Automatic Frequency Control (AFC) works only on FM. It helps to
reduce drift on FM reception and to keep the radio locked in on the FM station to
which it is tuned.
When tuning in FM stations, you may notice that often the station you desire can
be heard on two or three nearby points on the dial. Always tune carefully to the
loudest and clearest point.
A.N'W24NAS
AM Antenna - A built-in ferrite rod antenna eliminates the need for an outside
antenna for AM reception. Rotating the unit slightly may improve reception of
distant AM stations.
FM Antenna - The power cord acts as your FM antenna. The power cord picks up
moderate to strong stations and eliminates the need for an external antenna in
most strong signal areas. Be sure the power cord is stretched out to its full length.
Do not coil or bunch the cord together. Changing position of the power cord may
improve reception.
Page 5

SET THE TIME
Your digital clock timer operates on a 12-hour cycle. The AM indicator on the left of
the display wilt light up to let you know if the display is reading AM time.
1. Press the HOUR button to get the correct AM or PM hour.
2. Press the MIN button to get to the exact minute time.
AM
indlcamr
72.oo
a8 • m * N .100 • tO4 • tm
i m •
Wake (alm'mon)
indicator
j. i_ ¸
Tim WAKE
1. Press and hold WAKE button.
2. While holding the WAKE button, use the HOUR and MIN buttons to change the
display to desired AM or PM wake-up time.
3. Release WAKE button and the current time is displayed again. Wake time is set.
WAKE TO Musm
1. Select an AM or FM station
2. Set wake time (See SET THE WAKE TIME directions).
3. Set FUNCTION SELECTOR to MUSIC position. (The WAKE INDICATOR in the
display will light.)
The radio will turn on at the wake time you set and will turn itself off after approxi-
mately 2 hours. To turn the radio off sooner, set FUNCTION SELECTOR to OFF.
WAKETO
1. Set the wake time.
2. Place the FUNCTION SELECTOR in the ALARM position. The WAKE
INDICATOR in the display will light.
The tone alarm will sound at the wake time you set and turn itself off after approxi-
mately 2 hours. To turn the alarm off sooner, set FUNCTION SELECTOR to OFF.
Your clock radio has a 24-hour timer. When FUNCTION SELECTOR is left in MUSIC
Page 6

orALARMwakemode,it willturn itselfon,soundfor approximately 2 hours,-turn
itself off, and turn on again at the same time the following day.
The WAKE INDICATOR in the display lights when the clock radio is in a WAKE mode.
SLEEP TO Music
You can drift off to sleep to music knowingthat the radio will turn itself off automati-
cally. Simply:
I. Set the FUNCTION SELECTORtothe OFF position.
2. Pressand hold the SLEEPbutton.The time displaywill exhibit 0:59. The radio
will turn on automatically.
3. While holding SLEEPbutton, pressthe MIN button and time will startto count
down. Select any sleep time between59 minutes and I minute. Forsleep time of
more than 59 minutes, up to I hour and 59 minutes, momentarily pressthe
HOUR button (while holding down the SLEEPbutton). The displaywill exhibit
1:59.Then, pressMIN buttonto select the desired amount of sleep time in
excessof I hour.
4. Release SLEEPbutton and the currenttime isonce again displayed. The radio is
now on and you can select your station inthe usual way. Playwill be for the
chosen length of time (upto I hour 59 minutes), andthen the radio will turn
itself off. If you decide to turn the radio off sooner, pressthe SNOOZE button.
SLEEP TO MUSIC AND WAKE TO Music OR ALARM
You can set your digital clock radio to lull you to sleep, turn itself off, than awaken
you at a preset time - all automatically.
1. Set the wake time.
2. Follow the steps under WAKE TO MUSIC or WAKE TO ALARM.
3. Then, proceed with Steps 2 through 4 under SLEEP TO MUSIC.
NOTE: Be sure the FUNCTION SELECTOR is in either MUSIC or ALARM
WAKE position.
SNOOZE ALARM OPERATION
The Snooze-Alarm control has three functions:
1. It allows extra sleep time after the radio comes on
in the WAKE TO MUSIC
mode. Press SNOOZE bar to silence the radio. About 9 minutes later, the radio
will play again.
2. It allows extra sleep time in the WAKE TO ALARM mode. When the alarm
sounds, touch the SNOOZE bar to silence the alarm. About 9 minutes later, the
alarm will sound again. You can use the SNOOZE feature repeatedly for up to
two hours, after which the radio or alarm will turn off until the next day.
3. It shuts off the sleep cycle. (See SLEEP TO MUSIC.)
Page 7

I_{INUTES AND SECONDS TIME DIsPI_Y
Fora display of time in minutes and seconds:
1. Press and hold the WAKEbutton•
2• While holding down WAKE button, momentarily pressthe SLEEPbutton•The
hourdigits will display minutes; the minute digits will displayseconds and start
to increment. ReleaseWAKE buttonto return to the hour and minute display.
SKRVICE
This product should be serviced only by those specially trained in appropriate
servicing techniques. Attach your sales receipt to the booklet for future reference or
jot down the date this product was purchased or received as a gift• This informa-
tion will be valuable if service should be required during the warranty period•
Purchase Date
Name of Store
FCC I_ OP ,ATION
oh,is dev ce comp .e.swith Pa_15 of the FCC Rules• Oper.ation,is. subject to the
qwing two conditions: In lnia de.vice may not cause harmrul interference_ and
(2) this device ,must accept any interference received, including interference that
may cause unaesirea operation.
n accordance w th FCC requirements, changes or modifications not ex.pressly
approved by Thomson Consumer Electronics could void the user's authority to
operate this proauct•
Th ,sdevice generates and uses radio frequency (RF,) energy, and.if not.instal!e.d
ana uses properly this equipment may cause interference to radio and television
recept on.
If this equipment does cause interference to radio or television reception (which
you can determine by unplugging the umt}, try to correct the interference by one or
more ot the following measures:
Reorient the receiving antenna (that is, the antenna for the radio or television
that is "receiving the interference)•
Move the unit away from the equipment that is receiving interference.
• Plug the unit into a different wall outlet so that the unit and the equipment
• " interference are on different branch circuits.
receiving
If these measures do not eliminate the interference, please consult your dealer or
an expe_enced radio/tele_sion technician for additional ,suggestions. A!so, the
reaeral L,ommuniceuons L,ommisaion nas p_rep.areoa nell._ru!ooovJet, How IO
Identify and Resolve Radio TV Interference Problems." This booklet is available
from t[_e U.S. GovernmentPrinting Office, .Washington, DC 20402• Please specify
stock numoer uu4-uuu-uu,_4_-4 wnen oroerlng copies.
LIMITEDW UO_N
Page 8

What your warranty €orm:
• Any defect in materials or workmanship.
For how long after your purchase:
• One year.
(The warranty for rental units beginswith the first rental.)
What we will do:
Provideyou with a new, or at our option, a refurbishedunit.
The exchange unit is under warranty for the remainderof the original product'swarranty
period.
How to make a warranty claim:
• Properlypackyour unit. Includeany cables, etc., which were originally providedwith the
product. We recommend using the original carton and packing materials.
• Includein the packageevidenceof purchasedate such asthe bill of sale. Also print your
name and address and a description of the defect. Send standard UPS or itsequivalent to:
ThomsonConsumer Electronics,In_
Product ExchangeCenter
32 Spur Drive
ElPaso,Texas 7S006
• Payany charges billed to you by the Exchange Center for service not coveredby the
warranty.
• A new or refurbishedunit will beshipped to you prepaid freigM.
Whet yourwarranty _ not cover:
• Customerinstruction. (Your Owner's Manual provides information regarding operating
instructionsand usercontrols. For additional information, askyour dealer.)
Installation and set-up serviceadjustments.
Batteries.
Damage from misuse or neglect.
Productswhich have been modified Orincorporated into other products.
Productspurchasedor serviced outside the USA.
• Acts of God, such as but not limited to lightning damage.
Product Registration:
• Pleasecomplete and mail the ProductRegistrationCard packedwith your unit. It will make
it easier to contactyou should it ever be necessary.The return ofthe card is not required
for warranty coverage.
How state law relates to this warranty:
• This warranty givesyou specificlegal rights, and you may have other rights which vary
from state to state.
If you purchased your product outside the USA:
• This warranty does not apply. Contact your dealer for warranty information.
 Loading...