

GE PTDS855GM0MS, PTDS850EM0WW, PTDN800GM0WW, PTDN805GM0MS, PTDS855EM0MS Owner's Manual And Installation Instructions
...
0
GEAppliances.com
Safety Instructions ........... 2-s
Operating Instructions
Controls ........................... 6-8
Cycle Options .................... 9-10
Dryer Features ..................... 11
Loading and Using
the Dryer ........................ 12, 13
Installation Instructions
Before You Begin ............... 14-16
Connecting a Gas Dryer ........ 17-20
Connecting an
Electric Dryer ................... 21-23
Exhausting the Dryer ........... 24-30
Final Setup .......................... 31
Reversing the Door Swing ....... 32-33
Troubleshooting Tips .......... s4
Consumer Support
Warranty (U.S.)................. 36
Warranty (Canada) ............. 37
Consumer Support .............. 38
Write the model and serial
numbers here:
Model #
Serial #
They are on the label on the front
of the dryer behind the door.
3828EL2001D
49-90403 11/10/10 GE
IMPORTANT SAFETY INFORMATION.
READ ALL INSTRUCTIONS BEFORE USING.
A WARNING!
For your safety, the information in this manual must be followed to minimize the risk
of fire or explosion, electric shock, or to prevent property damage, personal injury, or
death.
._Do not store or use gasoline or other
flammable vapors and liquids in the
vicinity of this or any other appliance.
installation and service must be
performed by a qualified installer,
service agency or the gas supplier.
WHAT TO DO IF YOU SMELL GAS:
Do not try to light a match, or cigarette,
m
or turn on any gas or electrical
appliance.
Do not touch any electrical switch;
do not use any phone in your building.
Clear the room, building or area of all
occupants.
California Safe Drinking Water and Toxic Enforcement Act
Thisact requiresthe governor of Californiato publisha list ofsubstancesknown to the state to cause cancer,
birth defects or other reproductive harm and requiresbusinessesto warn customers of potential exposureto
such substances.
Gasappliances can causeminor exposureto four ofthese substances,namelg benzene,carbon monoxide,
formaldehgde and soot, caused primarilg bg the incomplete combustion of natural gas or LPfuels.
Properlyadjusted dryers will minimize incomplete combustion. Exposureto these substances can be minimized
further by properly venting the dryer to the outdoors.
r41 immediately call your gas supplier
from a neighbor's phone. Follow the
gas supplier's instructions carefully.
r-5-]lf you cannot reach your gas supplier,
call the fire department.
%
GEAppliances.com
PROPERINSTALLATION
This dryer must be properly installed and located in accordance with the Installation Instructions
before it is used. If you did not receive an Installation Instructions sheet, you can receive one by
visiting GEAppliunces.com, or by calling 800.GE.CARES (800.432.27Y).
I Properlgground drger to conform with all
governing codesand ordinances. Follow details
in Installation Instructions.
I Installor store where it will not be exposed to
temperatures below freezing or exposedto
the weather.
I Connect to a properlg rated, protected and sized
power supplg circuit to avoid electrical overload.
I Removethe colored protective film from both the
control panel and the door.
I Removeall sharp packing items and dispose of all
shipping materials properlg.
I Donot remove the vent protector from the buck of
the drger (onsome models).
I Pullthe protector out and down to its lowest
position and connect the exhaust duct to the drger.
Thelowered protector will prevent the duct from
getting crushed (onsome models).
I Keeparea around the exhaust opening and
adjacent surrounding areas freefrom the
accumulation of lint, dust, and dirt.
Exhaust/Ducting:
r_ DrgersMUSTbe exhausted to the outsideto
prevent large amounts of moisture and lint from
being blown into the room.
r2] use onlg rigid metal 4" diameter ductwork inside
the drger cabinet and useonlg ULapproved
transition ducting between the drger and the
home duct. USEOFPLASTICOROTHER
COMBUSTIBLEDUCTWORKCANCAUSEAFIRE.
PUNCTUREDDUCTWORKCANCAUSEA FIREIFIT
COLLAPSESORBECOMESOTHERWISE
RESTRICTEDIN USEORDURINGINSTALLATION.
Forcomplete details,follow the Installation
Instructions.
3
IMPORTANT SAFETY INFORMATION.
READ ALL INSTRUCTIONS BEFORE USING.
A WARNING!
YOUR LAUNDRY AREA
B
Keepthe area underneath and around your
appliances free of combustible materials
(lint, paper,rags, etc.),gasoline,chemicals
and other flammable vapors and liquids.
I Keepthe floor around your appliances clean
and dry to reduce the possibility of slipping.
I Closesupervisionis necessary if this appliance
isused by or near children. Donot allow children to
play on,with or insidethisor any other appliance.
WHEN USING YOUR DRYER
B
Neverreach into the dryer while the drum is
moving. Beforeloading, unloading or adding
clothes,wait until the drum has completely
stopped.
B
Cleanthe lint filter before each load to prevent lint
accumulation insidethe dryer or in the room. DO
NOTOPERATETHEDRYERWITHOUTTHELINT
FILTERIN PLACE.
B
Donot wash or dry articles that have been
cleaned in,washed in,soakedin or spotted with
combustible or explosivesubstances (suchaswax,
oil,paint, gasoline,degreasers, dry-cleaning
solvents,kerosene,etc.)which may ignite or
explode. Donot add these substances to the
wash water. Do not useor place these substances
around your washer or dryer during operation.
B
Donot place items exposed to cooking oils in your
dryer. Items contaminated with cookingoils may
contribute to a chemical reaction that could cause
a clothesload to catch fire.
B
Any article on which you have used a cleaning
solvent or that contains flammable materials (such
as cleaning cloths,mops, towels used in beauty
salons,restaurants or barber shops,etc.)must not
be placed inor near the dryer until solvents or
flammable materials have been removed.There
are many highly flammable items usedin homes
such as acetone,denatured alcohol, gasoline,
kerosene,some household cleaners,some spot
removers,turpentines, waxes,wax removersand
products containing petroleum distillates.
I Keepall laundry aids (suchas detergents, bleaches,
etc.)out of the reach of children, preferably ina
locked cabinet. Observe allwarnings on container
labelsto avoid injury.
I Neverclimb on or stand on the dryer top.
The laundry processcan reducethe flume
retardancy of fabrics.Toavoid such a result,
carefully follow the garment manufacturer's
care instructions.
Do not dry articlescontaining rubber, plastic,foam
or similar materials such aspadded bras,tennis
shoes,galoshes, bath mats, rugs, bibs,baby pants,
plastic bags, pillows,etc.,that may melt or burn.
Somerubber materials, when heated,can under
certain circumstances produce fire by
spontaneous combustion.
Do not store plastic,paper or clothing that may
burn or melt on top of the dryer during operation.
Garments labeled DryAway from Heat or Do Not
TumbleDry (suchas lifejackets containing kapok)
must not be put in your dryer.
Donot dry fiberglass articles in your dryer.
Skinirritation could result from the remaining
particles that may be picked up by clothing
during subsequent dryer uses.
Tominimize the possibility of electric shock,unplug
this appliance from the power supply or disconnect
the dryer at the building's distribution panel by
removing the fuse or switching off the circuit
breaker before attempting any maintenance or
cleaning (exceptthe removal and cleaning of the
lint filter).NOTE:PressingSTART,PAUSEor POWER
doesNOTdisconnect the appliance from the power
supply.
4
A WARNING!
WHEN USINGYOURDRYER(cont.)
GEAppliances.com
B
Neverattempt to operate this appliance if it is
damaged, malfunctioning, partially disassembled,
or has missingor broken parts, including a
damaged cord or plug.
B Theinterior of the machine and the exhaust duct
connection inside the dryer should be cleaned at
least once a gear by a qualified technician. See
the Loading and Usingthe Dryersection.
B
Ifyours isa gas dryer,it isequipped with an
automatic electric ignition and does not have
a pilot light. DONOTATTEIWPTTOLIGHTWITHA
MATCH.Burnsmay result from having your hand
in the vicinity ofthe burner when the automatic
ignition turns on.
B
Donot open the dryer doorduring steam cycles.
Thesteam isvery hot and itwill continue to
exhaust from the part for severalseconds after
opening. Donot touch the steam part after a
steam cycle.
I Donot usesteam cycle with items such aswool,
leather,silk,lingerie,foam products or electric
blankets.
B
Donot use heat to dry articles containing foam
rubber or similarly textured rubber-like materials.
B
Donot place items exposed to cooking oils in your
dryer. Items contaminated with cooking oils may
contribute to a chemical reaction that could cause
a load to catch fire.
B
Youmay wish to soften your laundered fabrics
or reducethe static electricity in them by using
a dryer-applied fabric softener or an anti-static
conditioner. We recommend you use either a fabric
softener inthe wash cycle, according to the
manufacturer's instructions for those products,
or try adryer-added product for which the
manufacturer gives written assurance on the
package that their product can be safely used
in your dryer. Serviceor performance problems
caused by useof these products are the
responsibility of the manufacturers ofthose
products and are not covered under the
warranty to this appliance.
WHEN NOT USING YOUR DRYER
B
Graspthe plug firmly when disconnecting this
appliance to avoid damage to the cord while
pulling. Placethe cord away from traffic areas
so itwill not be stepped on,tripped overor
subjected to damage.
B
Donot attempt to repairor replace any part
of this appliance or attempt ang servicingunless
specificallg recommended in thisOwner'sManual
or in publisheduser-repairinstructionsthat gou
understand and have the skillsto carrg out.
I Beforediscarding a dryer,or removing it from
service,remove the dryer door to prevent children
from hiding inside.
I Do not tamper with controls.
READAND FOLLOWTHISSAFETYINFORMATIONCAREFULLY.
SAVETHESEINSTRUCTIONS
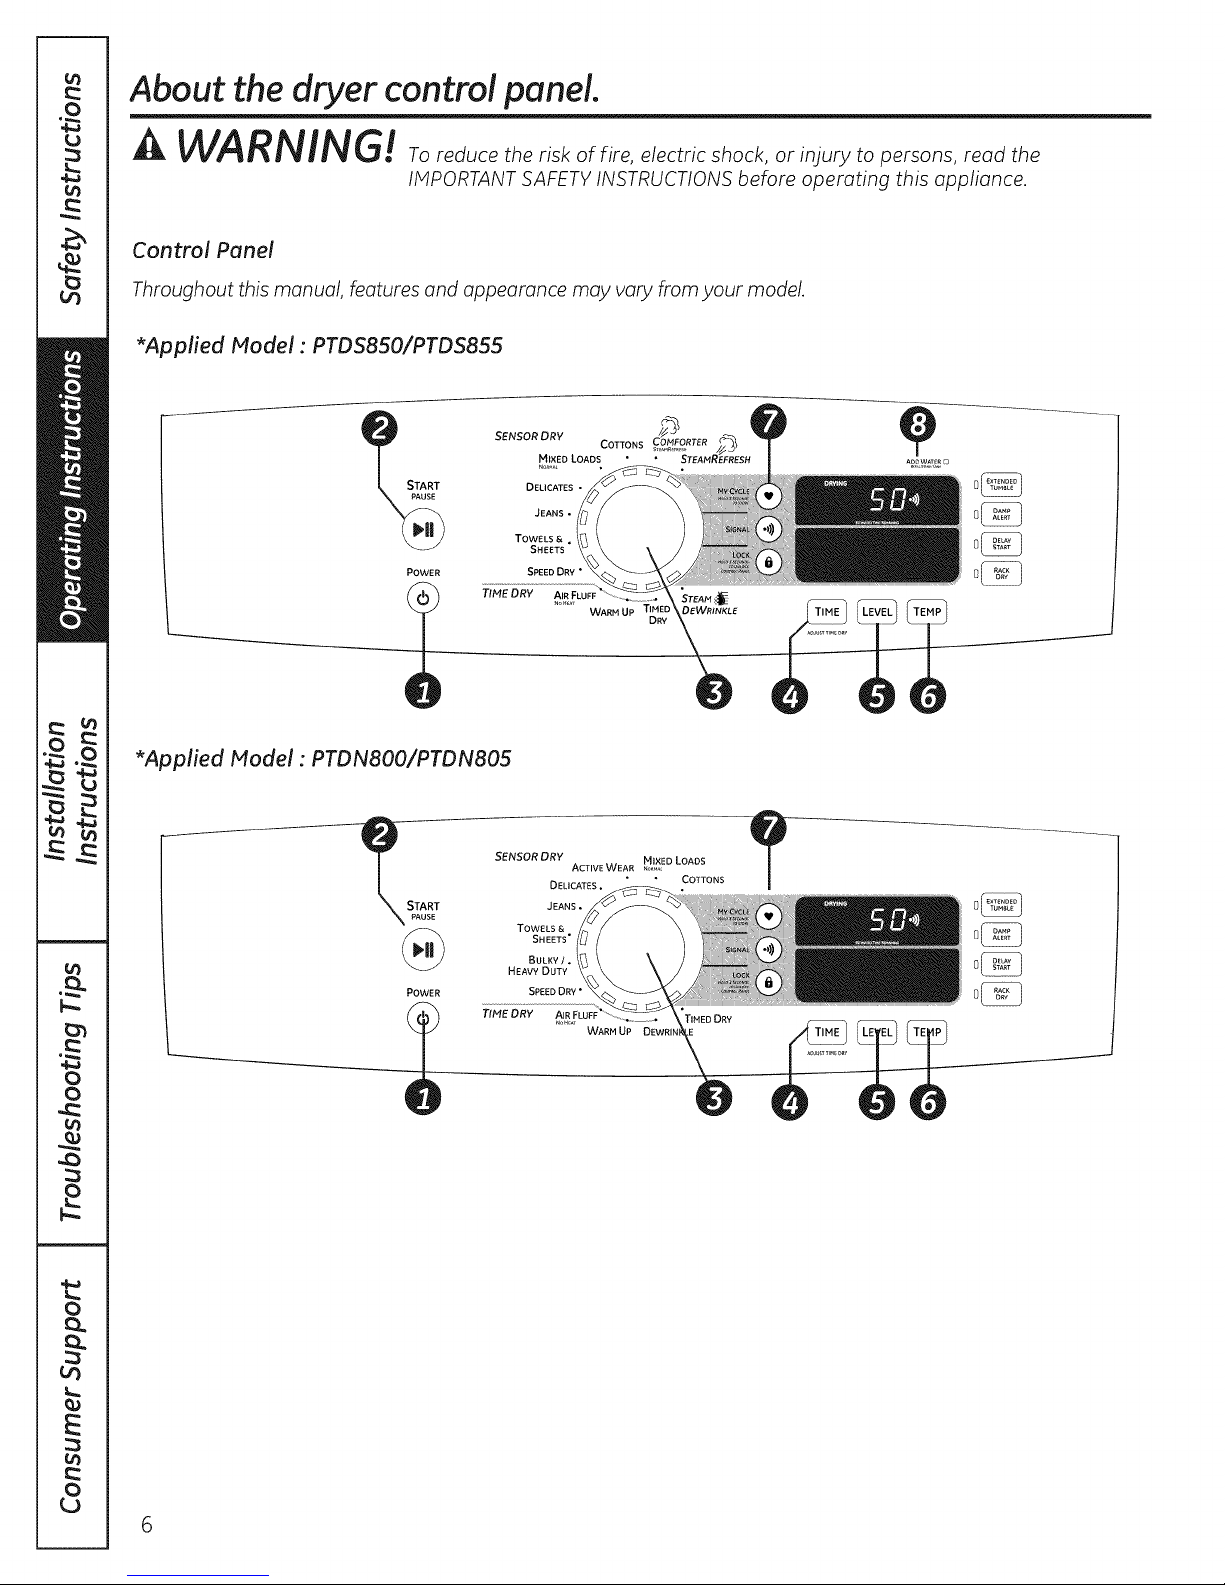
About the dryer control panel.
IMPORTANT SAFETY INSTRUCTIONS before operating this appliance.
Control Panel
Throughout this manual, features and appearance may vary from your model.
*Applied Model • PTDS850/PTDS855
START
POWER
TIHEDRV
*Applied Model •PTDN8OO/PTDN805
START JEANS •
PAUSE
POWER SPEED DRY
TIHE DRY TINED DRY
SENSOR DRY
MIXED LOADS
DELICATES
JEANS-
TOWELS & ,
SHEETS
SPEEDORY
SENSOR DRY MIXED LOADS
TOWELS &
SHEETS"
BULKY/.
HEAVY DUTY
COTTONS
WARM UP TIHEE DEWRINKLE
ACTIVE WEAR _o.M_
DEEICATES COTTONS
WARN UP DEWRff,
"_TEAN
DRY
o_
o_
6
GEAppliances.com
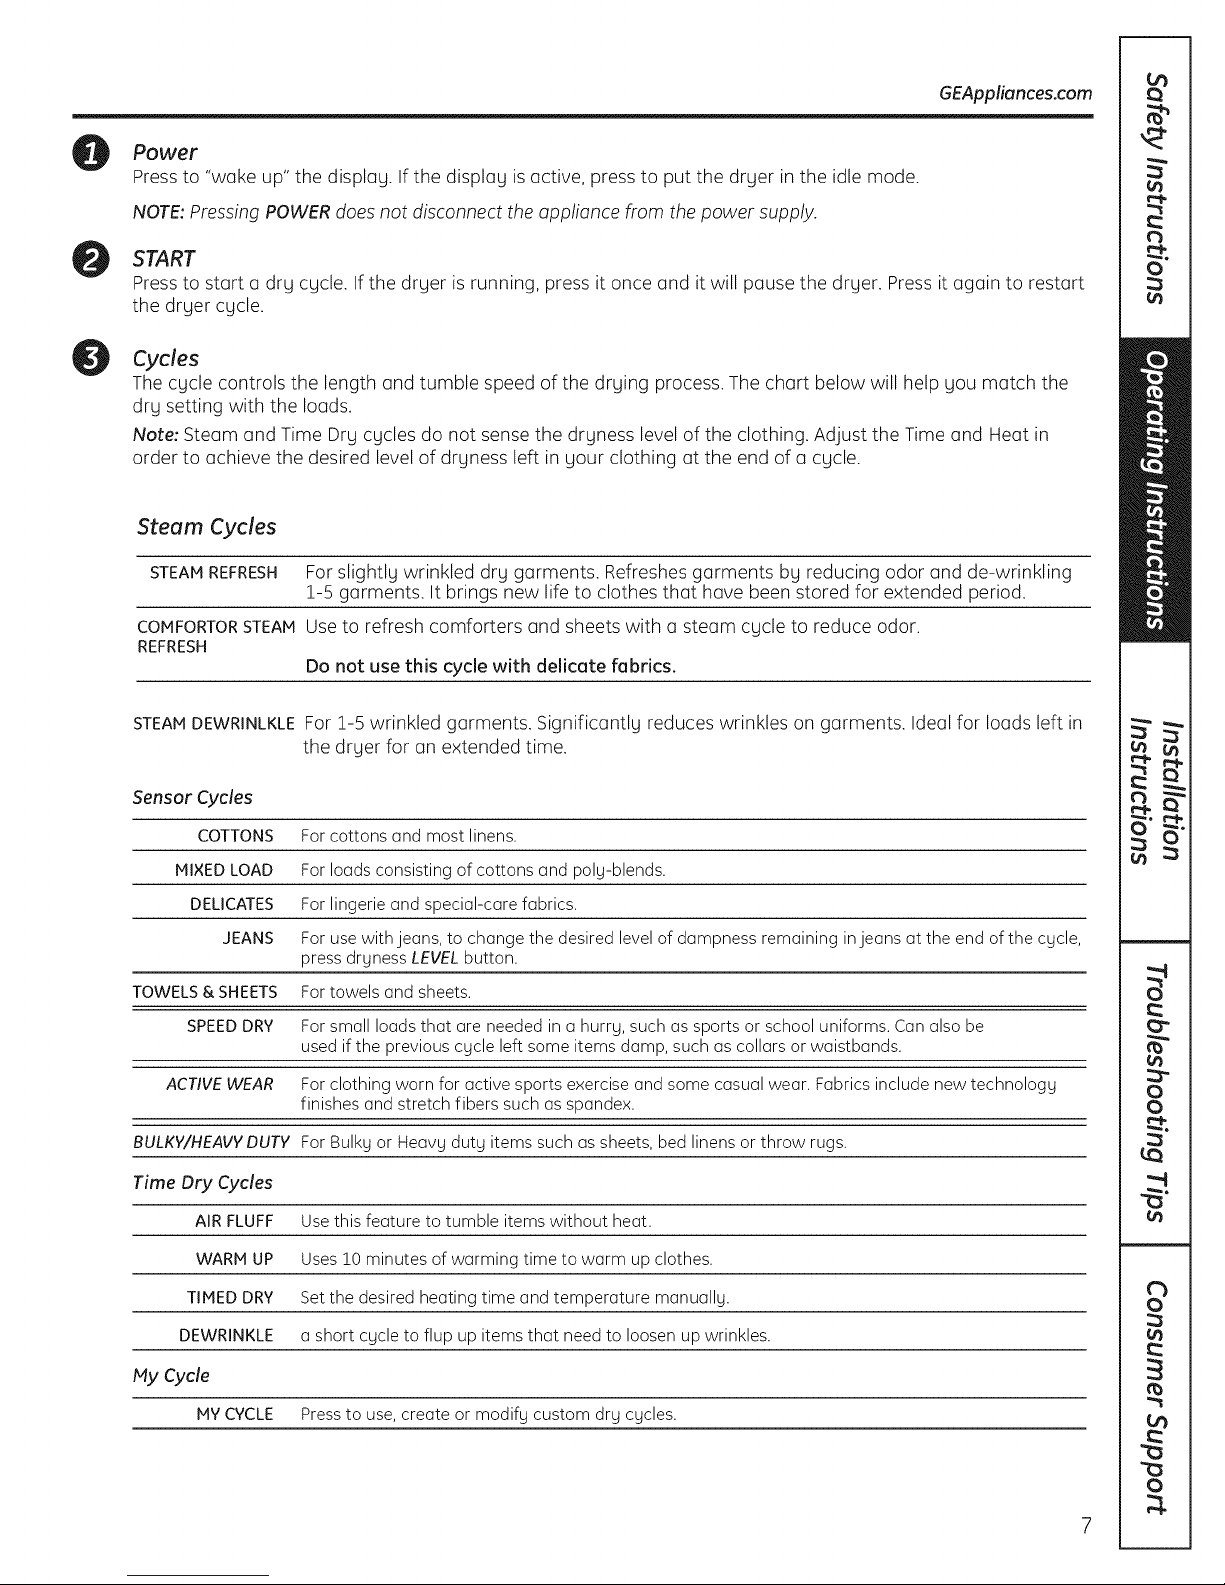
Power
Press to "wake up" the display. If the display is active, press to put the dryer in the idle mode.
NOTE:Pressing POWER does not disconnect the appliance from the power supply.
START
Press to start a dry cycle. If the dryer is running, press it once and it will pause the dryer. Pressit again to restart
the dryer cycle.
Cycles
The cycle controls the length and tumble speed of the drying process. The chart below will help you match the
dry setting with the loads.
Note: Steam and Time Dry cycles do not sense the dryness level of the clothing. Adjust the Time and Heat in
order to achieve the desired level of dryness left in your clothing at the end of a cycle.
Steam Cycles
STEAMREFRESH For slightly wrinkled dry garments. Refreshes garments by reducing odor and de-wrinkling
1-5 garments. It brings new life to clothes that have been stored for extended period.
COMFORTORSTEAMUse to refresh comforters and sheets with a steam cycle to reduce odor.
REFRESH
Do not use this cycle with delicate fabrics.
STEAMDEWRINLKLEFor 1-5 wrinkled garments. Significantly reduces wrinkles on garments. Ideal for loads left in
the dryer for an extended time.
Sensor Cycles
COTTONS Forcottons andmostlinens.
MIXEDLOAD For loadsconsistingof cottons and polg-blends.
DELICATES Forlingerieand special-carefabrics.
JEANS For usewith jeans,to changethe desiredlevelof dampnessremaining injeansat the end ofthe cgcle,
pressdrgnessLEVELbutton.
TOWELS&SHEETS Fortowels and sheets.
SPEEDDRY Forsmallloads that areneededina hurrg,such assportsorschooluniforms.Canalsobe
usedif the previouscgcleleft someitemsdamp,suchas collarsor waistbands.
ACTIVEWEAR Forclothingworn for activesportsexerciseandsome casualwear.Fabricsincludenewtechnologg
finishesandstretch fibers such asspandex.
BULKY/HEAVYDUTY ForBulkgor Heavgdutg itemssuchas sheets,bedlinensor throw rugs.
Time Dry Cycles
AIRFLUFF Usethisfeature to tumble itemswithout heat.
WARMUP Uses!0 minutesof warmingtimeto warm up clothes.
TIMEDDRY Setthe desiredheatingtime andtemperature manuallg.
DEWRINKLE a shortcgcleto flup up itemsthat needto loosenup wrinkles.
My Cycle
MY CYCLE Press to use, create or modify custom dry cycles.

About the dryer control panel (cont.).
Time Dry
Use to set your own dry time. TIME DRY is also recommended for small loads.
To use TIME DRY:
1. Turn dry cycle dial to TIME DRY.
2. Select the drying time by pressing the TIME button. You can increase the time in 10 minute increments up to Z
hr and 40 min. Each time you press the Time button, observe the segment display at the top of the control
increase by 10 minutes increments. The upper display shows the actual dry time. The lower display shows the
dry time range. E.G.the lower display shows 50 - 60 the upper display will show :50, if you press the TIME
button again the lower display remains at 50 - 60 and the upper display will change to :60 minutes. The dry
time will be 60 minutes.
3. Select temperature by pressing the TffMP button.
4. Close the door.
5. Press the START/PAUSE button.
Dry Level
The sensor continuously monitors the amount of moisture in the load. When the moisture in your clothes reaches
your selected dry level, the dryer will stop.
EXTRADRY Use for heavy fabrics.
HaRE DRY Use for heavy or mixed type of fabrics.
DRY Use for normal dryness level suitable for most loads. This is the preferred cycle
for energy saving.
LESSDRY Usefor lighter fabric (ideal for ironing).
DAMP For leaving items partially damp.
TEMP
You can change the temperature of your dry cycle.
ANTI-BACTERIAL This option may only be used with mixed load, towels and sheets and jeans cycles. This option
reduces certain types of bacteria by 99.9%: The anti-bacterial process occurs when high heat is used
during a portion of this drying cycle. When the option is selected, dryness level is automatically
changed to Very Dry.
Do not use this cycle with delicate fabrics.
*The Anti-Bacterial temperature setting is Certified by NSFInternational (formerly National
Sanitation Foundation) to NSF Protocol P!54 Sanitization Performance of Residential Clothes Dryers.
NSF Protocol P154
Sanitization Perfbrmance of"
Residential Clothes DoTers
HIGH For regular to heavy cottons.
MEDIUM For synthetics, blends and items labeled permanent press.
LOW For delicates, synthetics and items labeled Tumble Dry Low.
EXTRALOW For lingerie and special-care fabrics.
8
About cycle options.
NOTE: Not all features are available on all dryer models.
My Cycle
Set up your favorite combination of settings and save them here for one touch recall.
These custom settings can be set while a cycle is in progress.
Tostore a MY CYCLEcombination of settings:
1. Select your drying cycle.
2. Change TEMPand DRYLEVELsettings to fit your needs.
& Select any drying OPTIONSyou want.
4. Press and hold the _ pod for three seconds to store your selection. A beep will sound
and the pad will light up.
To recall your stored MYCYCLEcombination:
Press the MYCYCLE button before drying a load.
To change your stored MYCYCLE combination:
Follow steps !-4 in "To store a MYCYCLEcombination of settings".
Add Water
When illuminated this indicates that your steam tank is low and it istime to add water to the tank. Please follow
the instructions on page 11.
GEAppliances.com
About cycle options.
NOTE: Not all features are available on all dryer models.
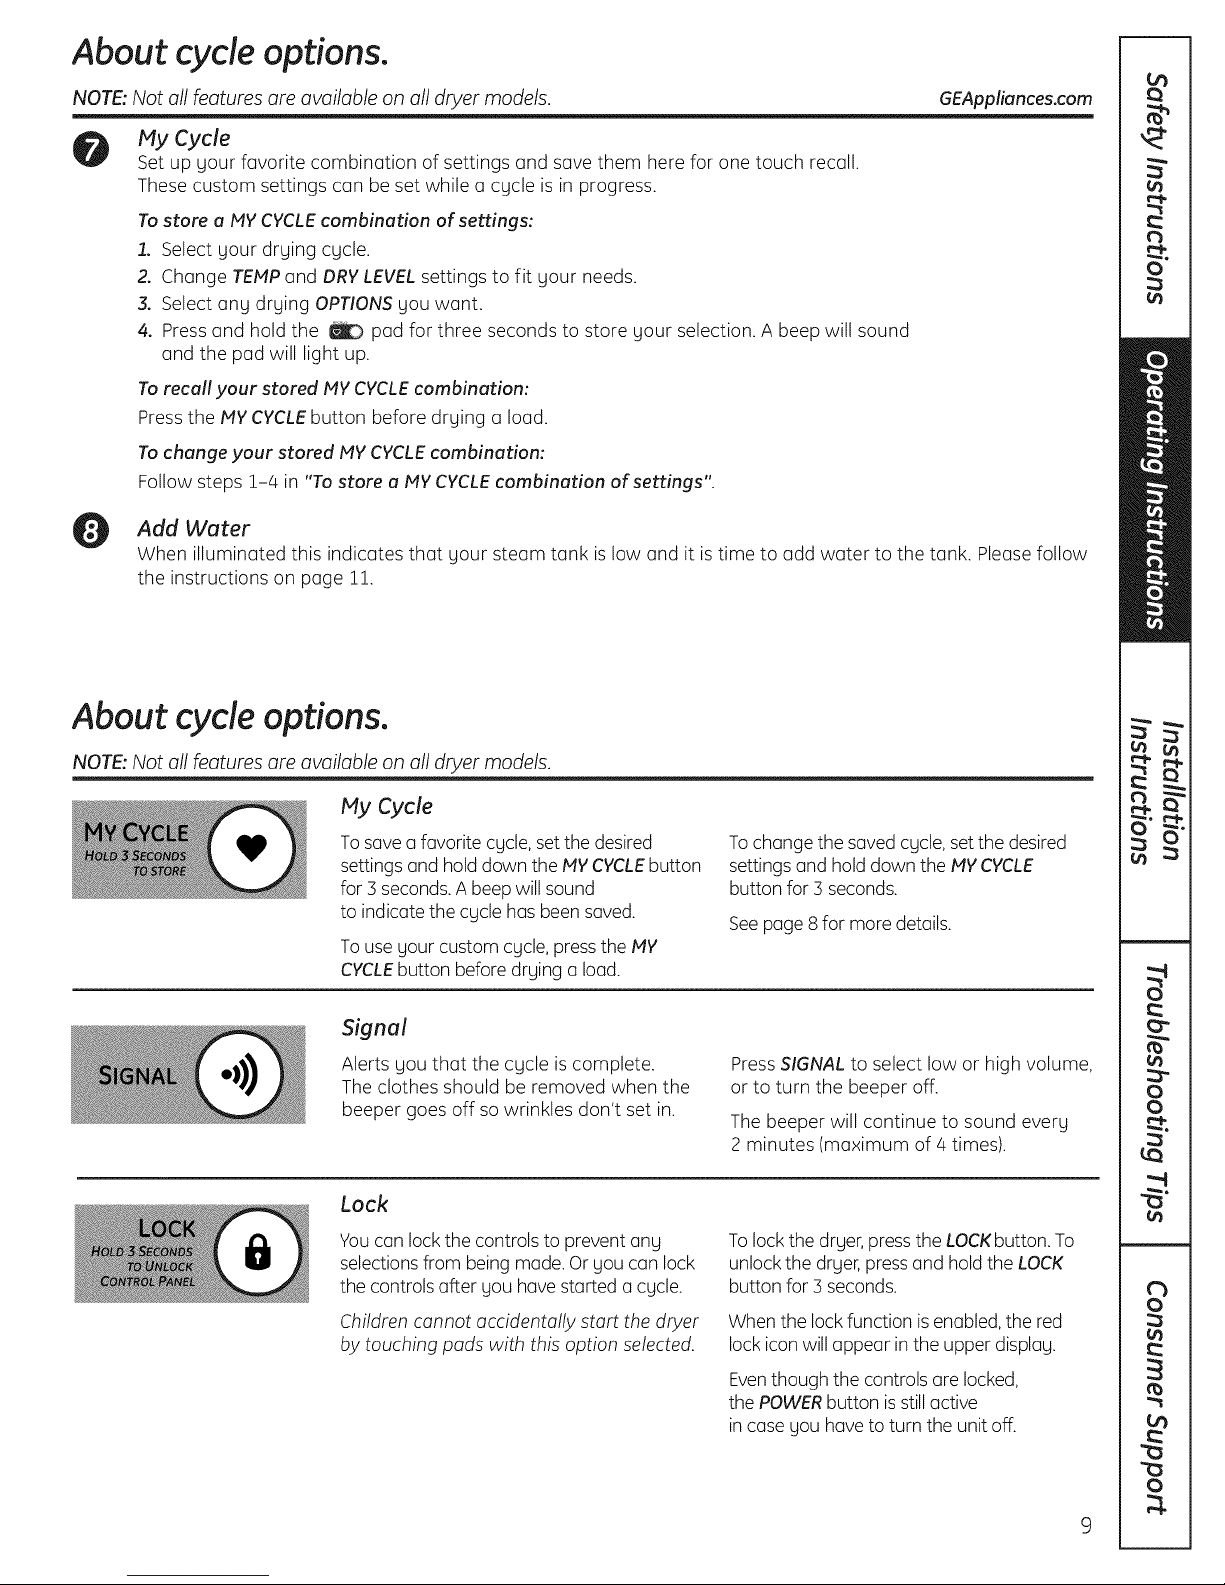
My Cycle
Tosave a favorite cycle, set the desired
settings and hold down the HYCYCLEbutton
for 3 seconds.A beepwill sound
to indicate the cycle has been saved.
Touse your custom cycle, press the MY
CYCLEbutton before drying a load.
Signal
Alerts you that the cycle is complete.
The clothes should be removed when the
beeper goes off so wrinkles don't set in.
Lock
You can lock the controls to prevent any
selectionsfrom being made.Oryou can lock
the controls after you have started a cycle.
Children cannot accidentally start the dryer
by touching pads with this option selected.
Tochange the saved cycle,set the desired
settings and hold down the MYCYCLE
button for 3 seconds.
Seepage 8for more details.
Press SIGNALto select low or high volume,
or to turn the beeper off.
The beeper will continue to sound every
2 minutes (maximum of/4 times).
Tolock the dryer, pressthe LOCI<button.To
unlock the dryer,press and hold the LOCI<
button for :3seconds.
When the lock function isenabled,the red
lock icon will appear in the upper display.
Eventhough the controls are locked,
the POWERbutton isstillactive
in caseyou haveto turn the unit off.
About cycle options(cong.NOTE: Not all features ore available on all dryer models.
Estimated Time Remaining
rE×TENDED
0 L TUMBLE )
0[ 1
ALERT
Displagsthe approximate time remaining
until the end of the cgcle.
Asthe cgcle begins,gouwill seean initial
approximate total cgcle time in the displag.
Then lights will "race" in the displag.This
means the drger iscontinuouslg monitoring
Extended Tumble
Minimizeswrinkles by adding brief periods of
tumbling after cgcleends. The drger will
tumble without heat for 10 secondsfollowed
bg notumbling for 5 minutes and repeat for
up to 3 hours after clothes are drg.Thedrger
isinEXTENDEDTUMBLEwhenthe
ESTIHATEDCYCLETIMEdisplag is
illuminated in a circular pattern.
Damp Alert
Thisoption causes the drger to beep when
clothes havedried to a dump level.Remove
items that gou wish to hang drg. TheDAMP
ALERTwillonlg beepwhen this option is
selected(drg cgcle keeps running).
Removingclothes and hanging them when
theg are damp can reducethe need to iron
some items.
the amount of moisture inthe loud. Thelights
will continue until the drger sensesa low level
of moisture inthe load.At that point, the
drger will calculate and displag the
approximate time remaining.
Thelight besidethe button will light upwhen
EXTENDEDTUMBLEison.
NOTE:It is normal for the drum to pause
for short periods of time during EXTENDED
TUMBLE.
Thelight besidethe button will light upwhen
DAMPALERTison.
NOTE:Only for LESSDRY,DRY,MOREDRY
and EXTRADRYsensor dry selections.
r DELAY ]
0 [ START J
Delay Start
Useto delag the start of gour drger.
1. Choosegour drg cgcle and ang options.
2. Pressthe DELAYSTARTbutton. You
can change the delag time in 1-hour
increments (upto 2/4hours)eachtime
gou pressthe DELAYSTARTbutton. Stop
pressingthe button when gour desired
time isdisplaged.
3. Pressthe START/PAUSEbutton to start
the countdown.
Thecountdown time will be shown inthe
ESTIMATEDTIMEREMAININGdisplag.
Rack Dry
Usethe RACKDRYfeature to drgshoesand
hats.
1. Insertthe drging rack (referto page 11 for
the correct placement).
2. Placegarment inthe center of the rack
and closethe door.
& Pressthe RACKDRYbutton.
4. SetTIME.(referto page 8 for instructions).
5. Pressthe STARTPAUSEbutton.
Thelight besidethe button will light upwhen
DELAYSTARTison.
NOTES:
I If the door is opened while the dryer isin
DELAY,the countdown time will continue
to count down the delay time. If the door
is not closed and the countdown time
expires, the cycle will not start until the
door is closed and the START/PAUSE
button is pressed.
B
You can delay the start of a dryer cycle
up to 24 hours.
Thelight besidethe button will light upwhen
RACKDRYis on.
NOTES:
it Do not use the drging rack without
selecting the RACK DRY cgcle,
II Do not change the cycle setting off the
timed dry cycle.
it When the RACK DRY feature is selected
no other cgcle setting can be chosen,An
invalid tone will sound if the cgcle knob
is turned.
10
D rye r FeQtu res, GEAppliances.cam
F_ i s
Screw
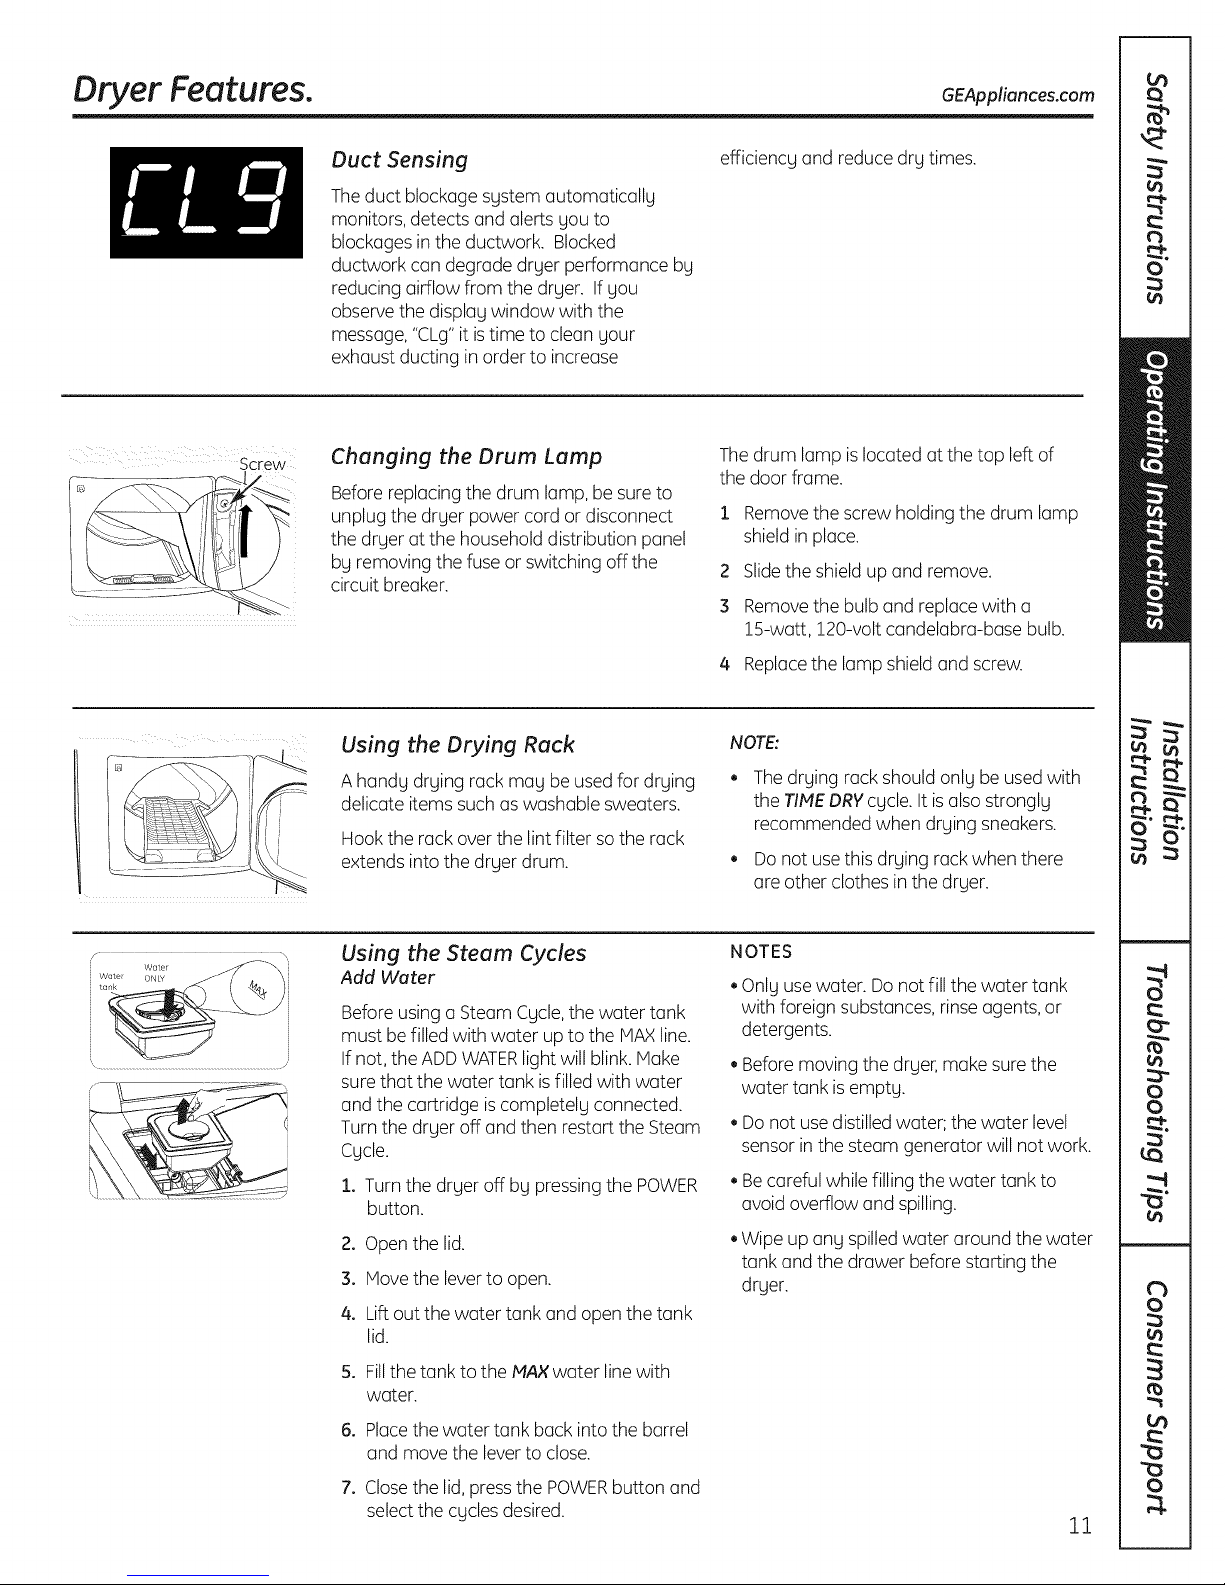
Duct Sensing
Theduct blockage system automatically
monitors, detects and alerts you to
blockagesin the ductwork. Blocked
ductwork can degrade dryer performance by
reducing airflow from the dryer. If you
observe the displag window with the
message,"CLg"it istime to clean your
exhaust ducting in order to increase
Changing the Drum Lamp
Beforereplacing the drum lamp,besure to
unplug the dryer power cord or disconnect
the dryer at the household distribution panel
by removing the fuseor switching off the
circuit breaker.
efficiency and reducedry times.
Thedrum lamp is located at the top leftof
the door frame.
1 Removethe screw holding the drum lamp
shield in place.
2 Slidethe shield up and remove.
3 Removethe bulb and replacewith a
15-watt, 120-volt candelabra-base bulb.
4 Replacethe lamp shield and screw.
f ....... ,
_; Water
Water ONLY
i tan}<
Using the Drying Rack
A handy drying rack may be usedfor drying
delicate items such as washable sweaters.
Hookthe rack over the lint filter sothe rack
extends into the dryer drum.
Using the Steam Cycles
Add Water
Beforeusing a Steam Cycle,the water tank
must be filled with water up to the MAXline.
If not,the ADDWATERlight will blink. Make
sure that the water tank is filled with water
and the cartridge iscompletely connected.
Turnthe dryer off and then restart the Steam
Cycle.
1. Turnthe dryer off by pressingthe POWER
button.
2. Open the lid.
3. Movethe leverto open.
4. Liftout the water tank and open the tank
lid.
5. Fillthe tank to the MAXwater line with
water.
6. Placethe water tank back into the barrel
and move the leverto close.
NOTE:
Thedrying rack shouldonly be used with
the TIMEDRYcycle. It is alsostrongly
recommended when drying sneakers.
Donot usethis drying rackwhen there
are other clothes in the dryer.
NOTES
Only usewater. Do notfill the water tank
with foreign substances,rinse agents,or
detergents.
Beforemoving the dryer, makesure the
water tank isempty.
Donot usedistilledwater; the water level
sensor inthe steam generator will not work.
Becareful while filling the water tank to
avoid overflow and spilling.
Wipe up any spilledwater around the water
tank and the drawer before starting the
dryer.
7. Closethe lid,press the POWERbutton and
selectthe cycles desired.
11
Loading and Using the Dryer.
Always follow fabric manufacturer's care label when laundering.
Sorting and Loading Hints
As(] gener(]l rule,ifclothes (ire sorted
properlg for the w(]sher,theg (]resorted
properlg for the drger. Trg (]lsoto sort items
(]ccording to size. Forex(]mple, do not drg (]
sheetwith socks orother sm(]llitems.
Donot odd f(]bric softener sheets once
the Io(]d h(]s become worm. Theg m(]g
c(]usefabric softener st(]ins.Bounce®
F(]bricConditioner Drger Sheetshove
been (]pprovedfor usein (]11GEDrgerswhen
used in (]ccord(]ncewith the m(]nuf(]cturer's
instructions.
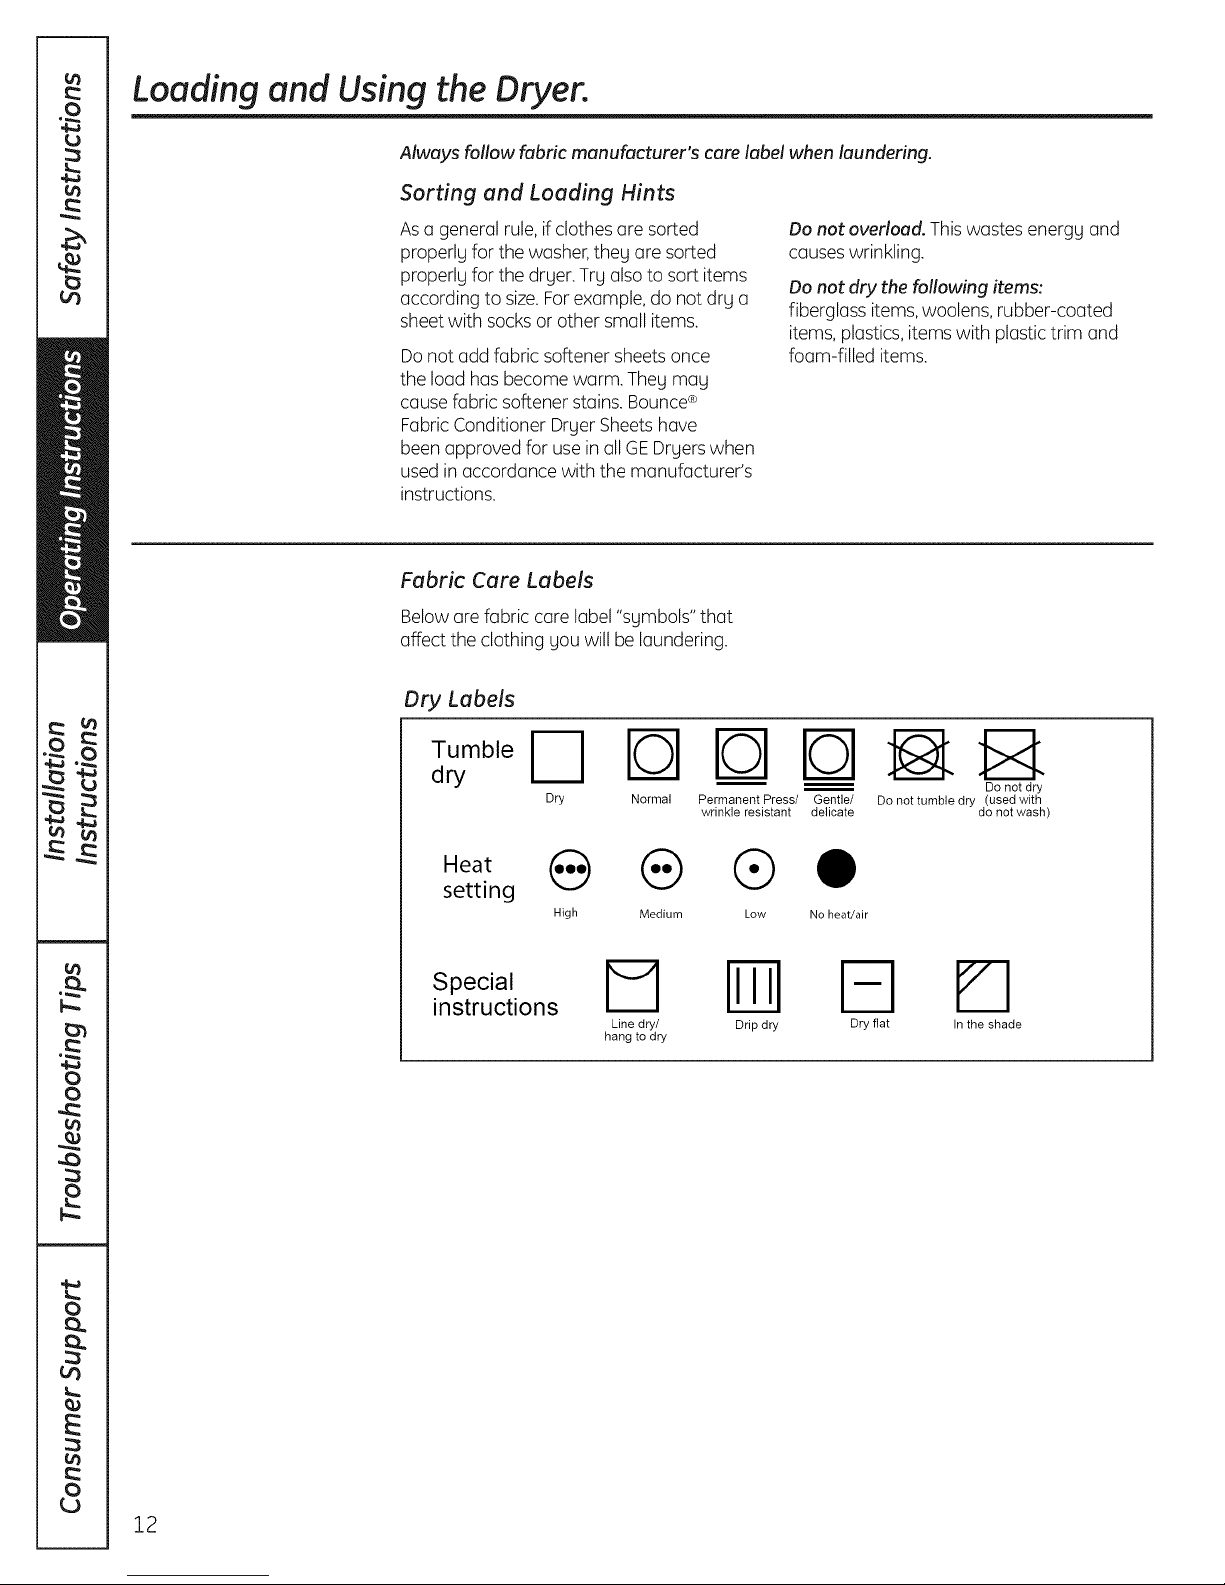
Fabric Cure Labels
Belowore f(]bric core I(]bel"sgmbols"th(]t
(]ffect the clothing gou will be I(]undering.
Dry Labels
Tumble D I_
dry
Dry Normal
Permanent Press/ Gentle/ Do not tumble dry (used with
wrinkle resistant delicate do not wash)
Do not overload. This w(]stes energg (]nd
c(]uses wrinkling.
Do not dry the following items:
fibergl(]ss items,woolens, rubber-co(]ted
items, pl(]stics,itemswith pl(]stictrim (]nd
fo(]m-filled items.
Do not dry
Heat _ _ Q 0
setting
S ecia,D Iml
instructions
High Medium Low No heat/air
Line dry/ Drip dry
hang to dry
Dry flat
Pq
In the shade
12
 Loading...