

GE JT952WF7WW, JT952WF6WW, JT952WF5WW, JT952WF4WW, JT952WF3WW Owner’s Manual
...
vvvvvv.GEAppliances.com
Safety Instruc_tions ......... 2-4
©
Opera6ng Instructions
Clock and Timer . ........... 12
Control I,ockout ............ 12
Controls .................... 5
Convection .............. 15-17
Oven .................. l 0, l l
Probe .................. 14, 17
Sabbath Feature ............. 9
Self-Cleaning Oven ....... 90, 91
Special Features ............ 6-8
Thermostat ................ 19
Timed Baking
and RoasOng ............ 13, 18
Care and Cleaning
Broiler Pan and Grid ......... 24
Cleaning Oven Door . ........ 23
Control Panel .............. 25
I,ift-Off Oven Door .......... 23
I,ight Bulb ................. 22
Oven Floor . ............... 23
Probe ..................... 24
Removing Packaging Tape .... 22
Shelves .................... 24
Stainless Steel Surfaces ....... 25
r _9 "! '
J7 12-30 &ngle Wall Oven
JT952-30" Double Wall Oven
Troubleshooting Tips ..... 26-28
Consumer Support
Consumer Support . . .Back Covet
Product Registration ...... 29, 30
_'arranty .................. 31
Writethemodelandserial
numbers here:
Model #
Serial #
You can find them on a label
on the fl'ont of the oven behind
the oven door on single oven
models, or the ti'ont of the lower
oven behind the oven door on
double oven models.
164D#290P087-2 49-80129-2 02-03JR
IMPORTANTSAFETYINFORMATION.
READALLINSTRUCTIONSBEFOREUSING.
WARNING!
For your safety the information in this manual must be followed to minimize the risk of fire or
explosion, electric shock, or to prevent property damage, personal injury, or loss of life.
IMPORTANTSAFETYNOTICE
The California Safe Drinking Water and ToxicEnforcement Act requires the Governor of California
to publish a list of substances known to the state to cause cancer, birth defects or other reproductive
harm, and requires businesses to warn customers ofpotential exposure to such substances.
The fiberglass insulation in self-clean ovens gives off a very small amount of carbon monoxide during
the cleaning cycle. Exposure can be minimized by venting with anopen window or using a ventilation
fan or hood.
SAFETYPRECAUTIONS
When using electrical appfiances, basic safety precautions should be foflowed, including the
following:
Use this appliance only fbr its irrtended
purpose as described m this )wner s
Mamm].
Do not allow anyone to climb, stand or
hang on the doon They could damag> the
oven, or cause severe personal hljm>
Be sure 7_ur appliance is properly
irrstalled and grounded by a qualified
mchnician in accordance wiflr the
provided irrsta]lafion irrsuucfions.
Do not attempt to repair or replace arty
part of your oven unless it is specifically
recommended in this marmal. All other
servicing should be refened to a qualified
mchnician.
Have tire irrstaller show you the location
of the cfivuit breaker or fl]se. Mark it fox
easy reference.
Before performing any service, disconnect
the oxen power supply at the household
distribution panel by xemoving the fuse or
switching off" dxe circuit breaken
Do not leaxe children alone----dxildren
should not be left alone or unatmnded in
an axea where an appliance is in use. They
should never be allowed m sit or stand on
arty part of the appliance.
Be sure the ox>n is securely installed in
a cabinet flrat is firmly attached to fire
house stx/xct/xie. Never a]low anyone to
climb, sit, stand or hang on the oven doon
Ne_er leave tire o_en door open when you
are not watching the oxen.
Always kee I) combustible wall cox_ring,
curtains or drapes a sad distance flom
yotxr o\_Ir.
AlwWs kee I) dish towels, dishcloths, pot
holders arrd other linens a sad distance
flom your ox>n.
AlwWs kee I) wooden arrd plasuc umnsils
arrd canned food a sad distance away
flom your oven.
Teach children not m plW with the
cormols or arty other part of rixe ox>n.
i,arge scratches or impacts m glass doors
can lead to broken or shatmxed glass.
2
A WARNING!
SAFETYPRECAUTIONS
www.GEAppliances.com
Do not store flammable matefia]s in
an oxen.
CAUtiON: hems of interest to
children should not be stored in cabinets
aboxe an oxen; children climbing on tile
oxen to reach items could be sedonsly
irljured.
Never wear loose-fitting or hanging
garments while using file appliance. Be
careflfl when reaching for items stored in
cabinets over file ox.en. Flammable mamlial
could be ignimd if brougilt in contact with
hot surfaces or heating elements and mac
cause se\.ere l)nY/ls.
Use only di T pot holders--moist or damp
pot holders on hot sni/aaces may i.esult in
burns from steam. Do not let pot holders
touch hot heating elements. Do not use a
towel or other bulkv cloth.
For ?our safew, nexer use your appliance
tbr wanning or heating tile room.
Do not let cooking grease or other
flammable materials accumulate in or
near tile oxen,
Do not use water on grease fires. Nexer pick
up a flaming pan. T/llri tile controls off:
Flame in tile ox.en can be smofllered
completely by closing tile ox.en door and
turning tile oven off or by using a nmlti-
puq)ose dI T chenaical or foan/-tvpe fire
extinguisher
Do not touch tile heating elements or tile
interior sur_ace of tile ox.en. These sur_aces
may be hot enough to burn e\.en fllough
thev at.e dark in colon Dining and after
use, do not much, or let cloflling or oilier
flammable mamrials contact any interior
at.el of tile ox.en; allow sufficient time for
cooling first.
Potentially hot surfitces include oven \.ent
openings, surfaces near tile openings,
crevices around tile oven door, tile edg.es
of file window and metal uim parts abox.e
tile door.
REMEMBER:Tile inside sur/_ace of tile o_en
may be hot when tile door is opened.
Nexer leaxejars or cans of fiat diippings in
or Ileal vonr o_en,
Do not store or use combustible mamlials,
gasoline or other flammable vapors and
liquids in the vicinity of this or anv other
appliance.
Stand away from tile oxen when opening
tile oxen door. Hot air or steam which
escapes can cause bums to hands, face
and/or eyes.
Do not heat unopened food containers.
Pressure could build up and tile container
could burst, causing an irlju U.
Kee I) tile oven xent unobstructed.
Kee I) tile oxen flee from grease buildup.
Place the oxen shelf in tile desired position
while tile oxen is cool. If shehes mnst be
handled when hot, do not let pot holder
contact tile heating dements.
When using cooking or roasting bags in tile
oxen, follow tile manufltcturer's directions.
Pulling out the shelf to the stop-lock is a
comenience in lifting heaxT foods. It is also
a precaution against bums fiom touching
hot surfaces of tile door or oxen walls.
Do not use tile oxen to di T newspapers.
If oxerheated, they can catch on fire.
Do not use the oxen for a storage area.
hems stored in an oxen can ignite.
Do not leme paper products, cooking
utensils or food in tile oxen when not
in rise.
After broiling, always take tile broiler pan
out of tile oxen and clean it. ieftoxer
grease in tile broiler pan can catch fire
next time yon use tile pan.
Clean only parts listed in this Owner's
Manual.
Do not use alunainuna foil to line oxen
1)ottoms, except ;assugg.ested in this manual.
hnproper installation of a]nnainnn/foil may
resuh in a lisk of elecuic shock or fire.
,3

IMPORTANTSAFETYINFORMATION.
READALLINSTRUCTIONSBEFOREUSING.
COOKMEATANDPOULTRYTHOROUGHLY...
Cookmeatandpoultry thoroughly--meat to at least anINTERNALtemperatureof 160°Fandpoultry
toat least an INTERNALtemperatureof 180°ECookingto thesetemperaturesusuallyprotectsagainst
foodbomeilbess.
SELF-CLEANINGOVEN
Do not clean the door g'asket. The door
gasket is essential tbr a good seal. Care
should be token not to rub, damag.e or
mox.e the gasket.
Do not use oven cleaners. No commercial
ox.en cleaner or oven liner promctive
coating of any kind should be used in or
around any part of the oven. Residue flom
ox.en cleaners will damag.e the inside of the
ox.en when the self-clean cycle is used.
Before self-cleaning d_e ox.en, remove die
broiler pan, g_id and other cookware.
Be snie to wipe up excess spillage before
starting file self-cleaning operation.
If the self-cleaning mode malflmcuons,
mm file ox.en off and disconnect file power
suppl> Have it se_wiced by a qualified
mchnician.
READANDFOLLOWTHISSAFETYINFORMATIONCAREFULLY.
SAVETHESEINSTRUCTIONS
4

Usingthe ovencontrols.
(Throughout this manual, features and appearance may vary from your modeL) www.GEAppliances.com
PPE L OVE I
If'TdooTIDI-_,7", f--,-q r--,-',,
IIMER -
OVEN
LIGHT
2
Doubleoven control shown.
OvenControlClockand TimerFeaturesandSettings
BAKE Pad
Press to select fl_e bake flu_('don.
BROIL HI/LO Pad
Press to select the broil funcdon.
CONVECTIONBAKE Pad
Press to select baking with the ('onxe('tion
flmction.
CONVECTIONROASTPad
Press to select roasting with tile ('on_e('fion
flmction.
STARTPad @
Must be pressed to start an} cooking or
cleaning fimction.
Display
Shows tile tiIlle of da,v, oven teilli)ei';ittli'e ,
whether tile oven is in tile bake, broil or
selfk'leaning mode and tile times set fi)r
tile tiiller or _lHtoii/_ltic oven opei';itions.
If "F- anda numberorletter"flashin thedisplayand
theovencontrolsignals,thisindicatesa function
error code.PresstheCLEAR/OFFpadAllowtheovento
coolforonehourPuttheovenbackintooperation.Ifthe
functionerrorcoderepeats,disconnectthepowerto the
ovenandcallforservice.
Ifyourovenwas setfora timedovenoperation
andapower outageoccurred,theclockandall
programmedfunctionsmustbereset
Thetimeof daywill flashin thedisplaywhen there
hasbeena poweroutage.
SELFCLEANSTD/LOWPad
Press to select selfk'leaning timction. See
tile Using the self-cleaning oven secdon.
OVENLIGHT ON/OFFPad
Press to turn tile o_en light on or off.
DELAYSTARTPad
Use ahmg with COOKING TIME or
SELFCLEAN STD/LOW pads to set tile
o'_en to start and stop atltOillati(allv at a
til/le _Otl set.
COOKTIME Pad
Press and then press tile number pads to set
tile aillOtlnt oJ[ tiIne V()[I want VOlli" [()od to
cook. Tile oven will shut off automatically
when the cooking time has rtm out, unless
the Cook and Hold ti_ature was set.
CLEAR/OFFPad
Press to cancel ALL oxen operations except
tile clock and time_:
CLOCKPad
Press before setting tile clock.
Number Pads
0
Use to set any filn('tion requilJng ntllllbei's
such as the time of day on the clock, the
time_; tile oven tempemtm'e, tile internal
ti)od temperature, tile start time and
length of operation for timed baking
and self=cleaning.
KITCHEN TIMER ON/OFFPad
Press to select tile timer feature.
PROBEPad
Press when usino.,..,tile probe to cook food.
5
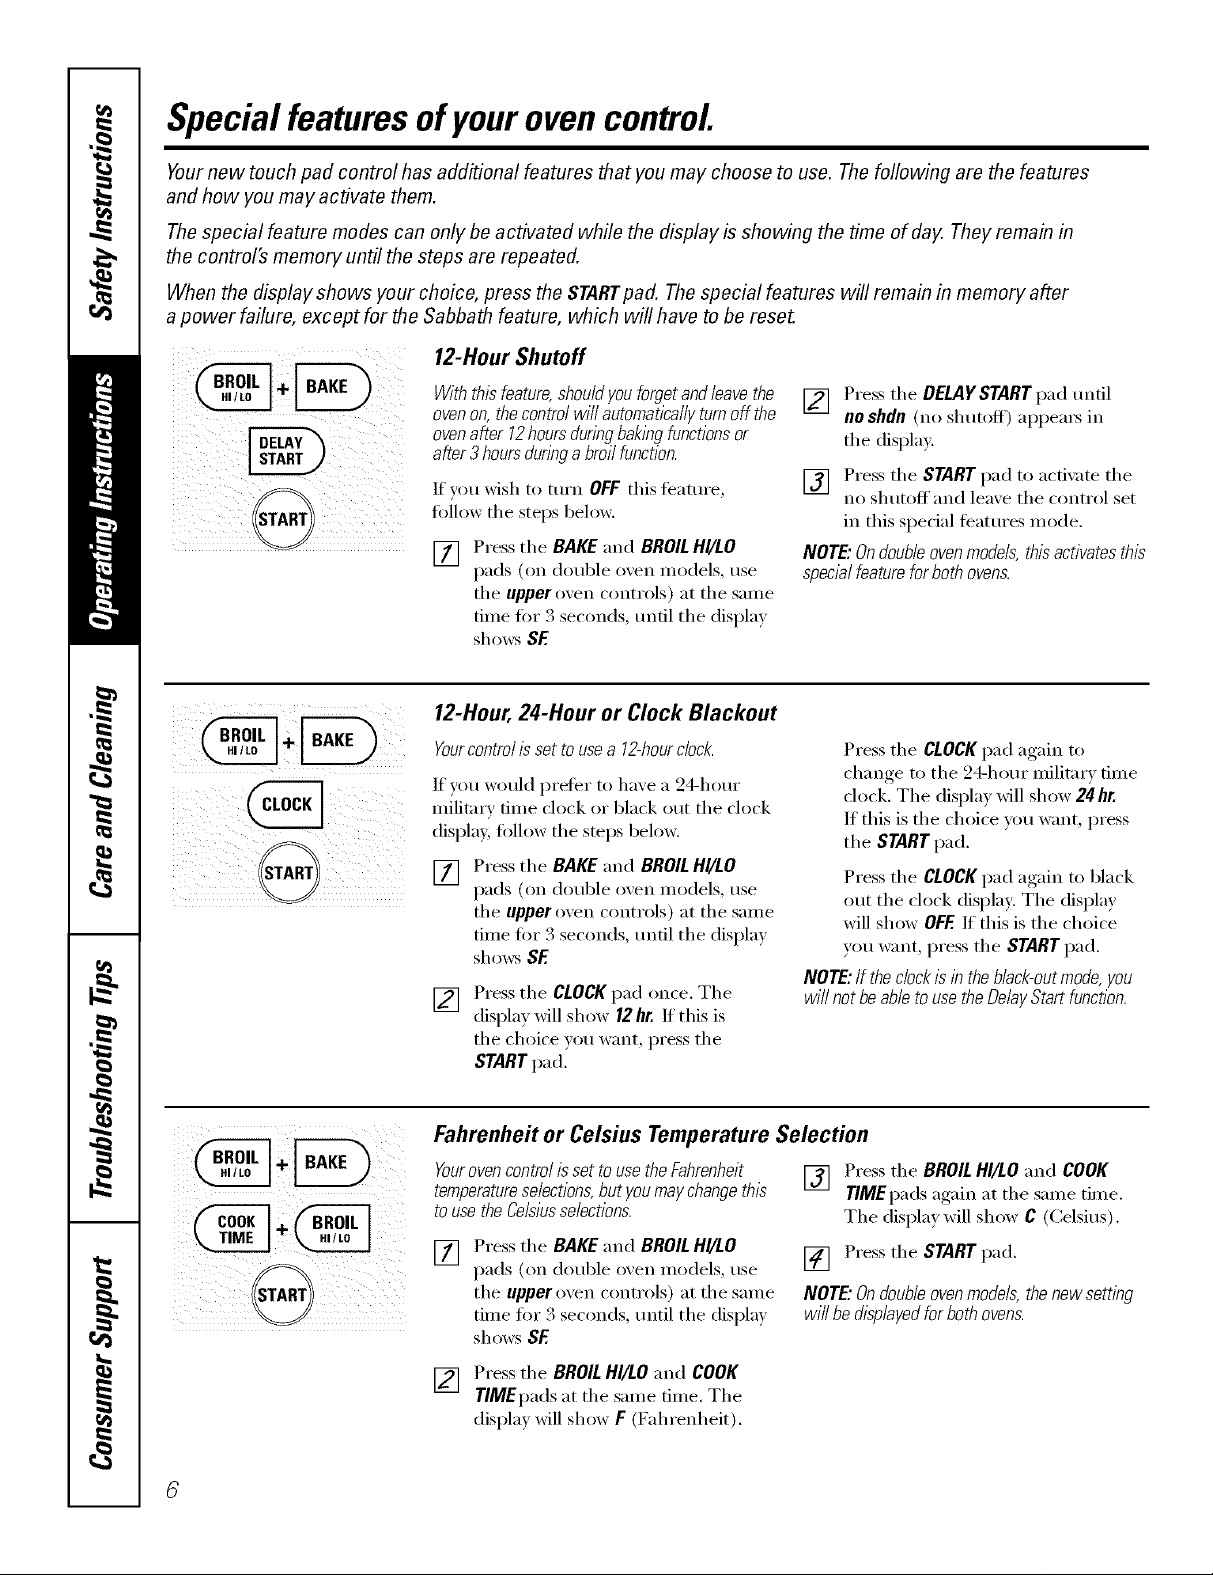
Special featuresof yourovencontrol.
Yournew touch pad control has additional features that you may choose to use. The following are the features
and how you may activate them.
The special feature modes can only be activated while the display is showing the time of day. They remain in
the control's memory until the steps are repeated.
When the display shows your choice, press the STARTpad. The special features will remain in memory after
a power failure, except for the Sabbath feature, which will have to be reset.
12-Hour Shutoff
_i_i__i_i!_ii_i@ iIii_;_i!ii_ii_i___i__ii_
__i_i___ii_iii_@!_i!__i_ii_I_I
ovenon,thecontrolwillautomaticallyturnoffthe
ovenafter 12hoursduringbaklbgfunctionsor
after3 hoursdunbga broilfunction.
If you wish to mrn OFF this teature,
follow the steps below.
[] Press the BAKE and BROILHI/LO
pads (on double oxen models, use
the upper oven controls) at the same
time fin" 3 seconds, tmfil the display
shows SE
12-Hour, 24-Hour or Clock Blackout
Yourcontrolissetto usea 12-hourclock.
If you would preier to have a 24-hour
military time clock or black out the clock
display, fi_llow the steps below,
Press the BAKE and BROILH!/LO
[]
pads (on double oven Inodels, use
the tipper oven controls) at the same
time fin" 3 seconds, tmtil the display
shows SE
Press the CLOCKpad once. The
[]
display will show 12hr. If this is
the choice )ou want, press the
STARTpad.
[] Press the DEL4YSTART I)ad until
nO shdn (no shutoff) appeax_ in
the display.
[] Press the START pad to acfi_ _te the
no shutoff and leave the control set
in this special features mode.
NOTE"Ondoubleovenmodels, this activates this
specialfeature for both ovens.
Press the CLOCKpad again to
change to the 24-hour military time
clock. The display will show 24 hr.
If this is the choice you want, press
the START pad.
Press the CLOCKpad again to black
out the clock display: The display
will show OFF.If this is the choice
you want, press the STARTpad.
NOTE:If the dock is in the b/ack-outmode, you
wi// not be able to use the Delay Start function.
Fahrenheit or Celsius Temperature Selection
Yourovencontro/isset touse the Fahrenheit [] Press the BROIL HI/LO and COOK
temperatureselection& but youmay changethis TIME pads again at the same time.
tOusethe Celsiusselections. The displa)will show C (Celsius).
Press the BAKE and BROIL HI/LO
[]
pads (on double oven models, use
the tipper o_en controls) at the same
time fin" 3 seconds, tmtil the (lispla._
shows SE
[] Press the BROIL HI/LO and COOK
TIMEpads at the same time. The
display will show F (Fahrenheit).
[] Press the START pad.
NOTE"Ondouble ovenmodels,the new settlbg
wi// be displayedfor bothovens.
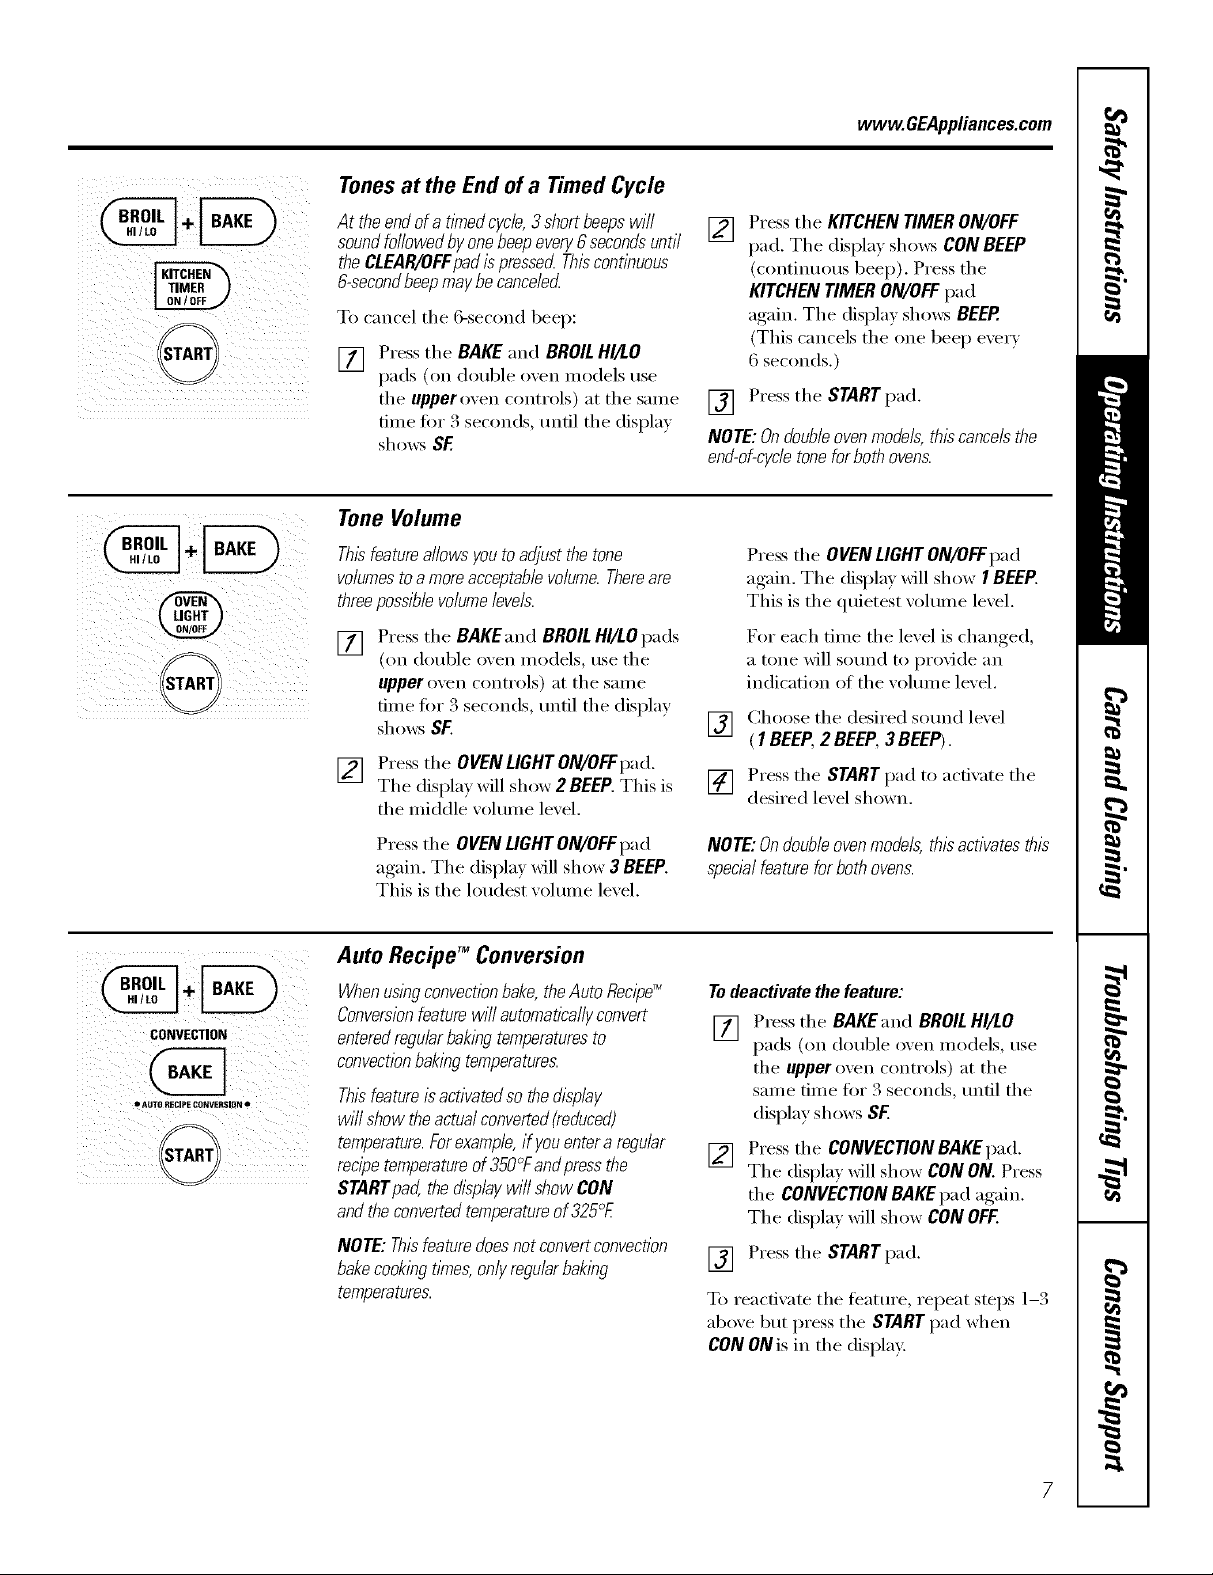
Tonesat the End of a Timed Cycle
www.GEAppliances.com
At theendofa timedcycle,3shortbeepswill
soundfollowedbyonebeepevery6secondsuntil
theCLEAR/OFFpadis presserLThiscontleuous
iI
&secondbeepmaybecancelecL
To cancel the 6-second beep:
Press the BAKEand BROILHI/LO
[]
[] Press the KITCHENtiMER ON/OFF
pad. The displa)shows CONBEEP
(continuous beep). Press the
KITCHEN TIMER ON/OFF pad
again. The display shm_:_ BEEP.
(This cancels the one beep every
6 seconds.)
pads (oil double ()veil inodels use
the upper oven controls) at the same
time fi)r 3 seconds, until the display
shows SF.
[] Press the START pad.
NOTE: On double ovenmodels,this cancels the
end-of-cycletoneforboth ovens.
Tone Volume
tliiII
Thisfeatureallowsyoutoadjustthetone
volumestoa moreacceptablevolume.Thereare
threepossiblevolumelevels.
[] Press the BAKEand BROILHI/LOpads
(on double oxen models, usethe
upperoven controls) at the same
time fl)r 3 seconds, tmtil the display
shows SF.
[] Press the OVEN LIGHT ON/OFFpad.
The display will shox_ 2 BEEP.This is
the middle xolume lexel.
Press the OVENLIGHTON/OFFpad
again. The display will show I BEEP.
This is the quietest volume level.
For each time the level is changed,
a tone will sound to provide an
indication of the volmn e level.
V_] Choose tile desired sotmd level
( 1BEEP, 2 BEEP,3 BEEP).
[] Press the START pad to acdxate the
desired lexel shown.
CONVECTION
Press the OVENLIGHTON/OFFpad
again. The display xdll show 3 BEEP.
This is the loudest xolume lexel.
Auto RecipeTM Conversion
Whenusingconvectionbake,the Auto RecipeTM
Conversionfeaturewill automatically convert
enteredregular bakingtemperaturesto
convectionbakingtemperatures.
Thisfeatureis activatedso the display
will show the actual converted(reduced)
temperature.Forexample,if youenter a regular
recipe temperatureof350°Fand pressthe
STARTpad, the dlaplay will show CON
and theconvertedtemperatureof 325°£
NOTE: Thisfeaturedoes not convertconvection
bakecooking times, only regularbaking
temperatures.
NOTE:Ondoubleovenmodels,thlaactivatesthis
specialfeatureforbothovens.
Todeactivate the feature:
[] Press tile BAKEand BROIL HI/LO
pads (on double oxen models, use
the upper oven controls) at the
same time fi:,r 3 seconds, tmfil the
display sh(_ws SF.
[] Press the CONVECtiON BAKE pad.
The displa) will show CONON.Press
the CONVECtiON BAKE pad again.
The display will show CON OFF.
Press the START pad.
[]
To reactivate the teatm'e, repeat steps 1-3
aboxe but press the STARTpad when
CON ONis in the display.
Special featuresofyouroven control
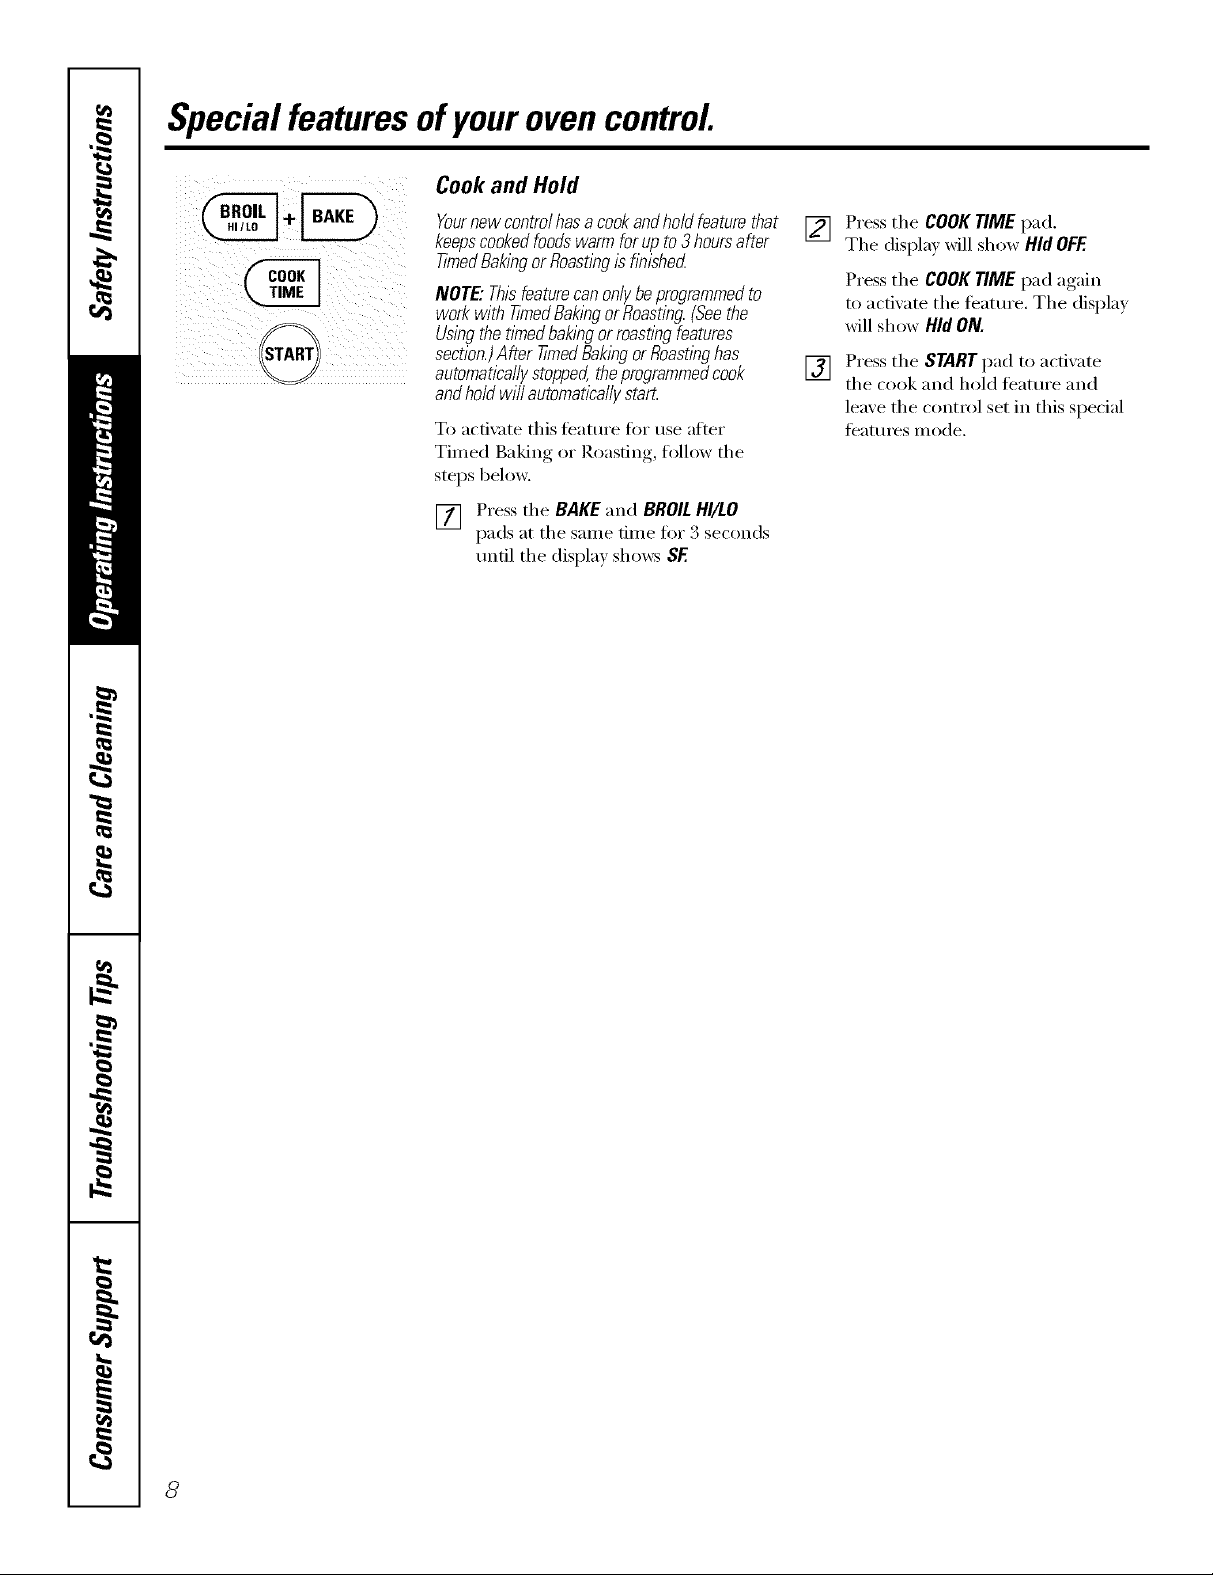
Cook and Hold
START
Yournewcontrolhasacookandholdfeaturethat
keepscookedfoodswarmforupto3hoursafter
tiYnedBakingor Roastingishnished
NOTE"Thisfeaturecan onlybe programmed to
work with tinnedBakingor Roasting.(See the
Usingthe tlYnedbaking or roasting features
section.)After timed Baking or Roastinghas
automaticallystopped, the progremmedcook
andhold will automatically start.
To acfi_ Ke this teature ti)r use after
Timed Baking or Roasting, follow the
steps below.
[] Press the BAKE and BROILHI/LO
pads at the sanle dine fi)r 3 seconds
imtil the display shows SF.
[] Press the COOKTIME pad.
The displa} _dll show Hid OFF.
Press the COOKTIME pad again
to acthate the teatm'e. The displa}
will show Hid ON.
[] Press the STARTpad to activate
the cook and hold teatm'e and
leave the control set in this special
features mode.
8
Usingthe SabbathFeature.
(Designedforuseon theJewish SabbathandHolidays.) www.GEAppliances.com
TheSabbathfeature can be usedfor baking/roastingonlg It cannotbe usedfor convection,broiling, self-cleaningor
DelayStart cooking.
NOTE:Theovenlight comesonautomatically(on somemodels)when thedoor is openedandgoes off whenthedoor is closed.
Thebulbmaybe removed.SeetheOvenLightReplacementsection.Onmodelswith a light switch on the controlpanel,theoven
lightmaybe tumed on andleft on.
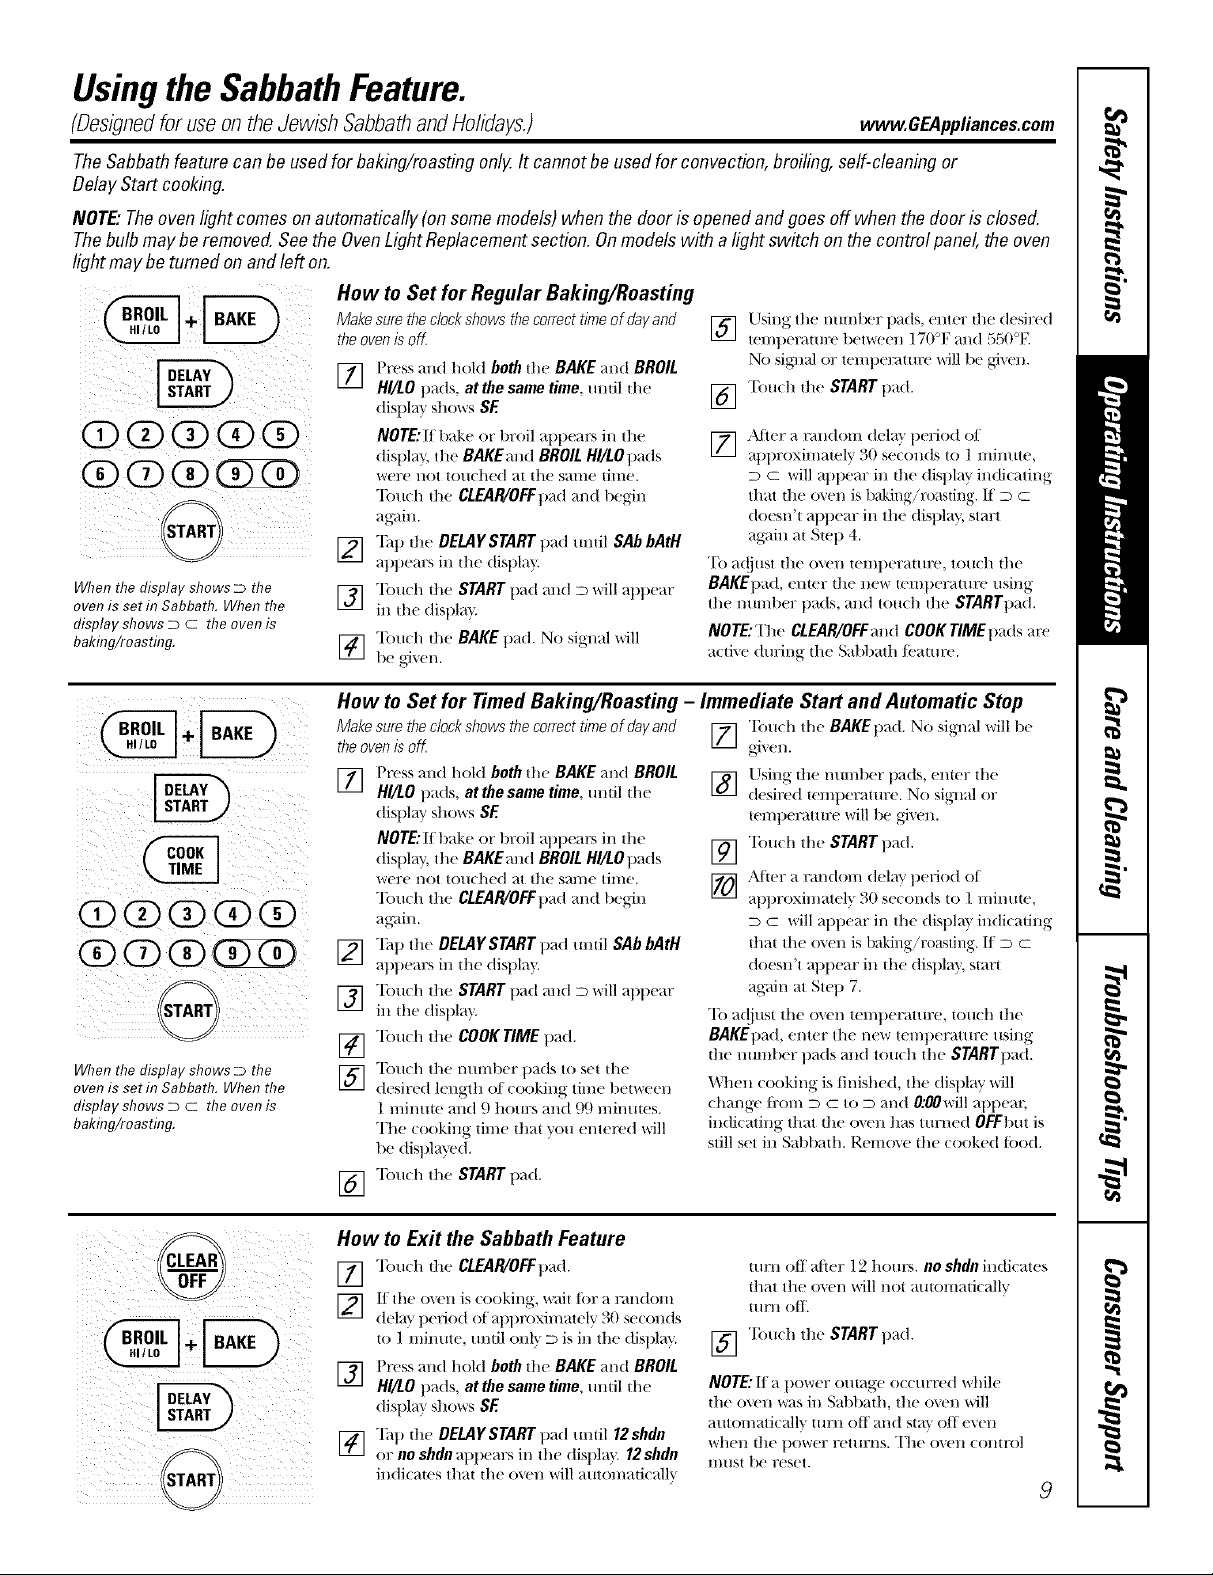
How to Set for Regular Baking/Roasting
?iiiiii fiii i Iill/ii;i
When the display shows D the
oven is set in Sabbath. When the
display shows D C the oven is
bakhTg/roasting.
Make sure the clock shows the correct timeof day and
the ovenis off.
FT] Press and hold both th( BAKE and BROIL
Itl
HI/LO t)_ds, at the same time, mldl the
disl)l m shows SE
NOTE: If bake or t)roil appears ill the
dist)l_ }, the BAKEand BROIL HI/LOt)ads
were not touched at the same time.
Touch tile CLEAR/OFFt)ad and 1)egin
12] "]ht) the DELAYSTART t_(t until SAb bAtH
i¢.-i
_q)l)em:s in the (tist)la"_
] Touch the START pad and D will at)l)ear
in the (tist)la)
] Touch the BAKE t)ad. No signal will
be given.
l-lsing the nmnber t)ads, enter the desired
] temt)erdmre t)erween 170'T and 550°E
No sig_lal or temt)e]_dtm:e will 1)e gJx+ell.
] Tou(h dw STARTt)ad.
[_ Atter a nmdom dela} t)eriod oI
at)l)1 oxim_tely 30 se(onds to 1 minute,
D C will appear in the (list)la _ indi(_ting
that the o_en is baking/roasting. If D C
doesn't _q)l)em: in the dist)lay, start
ag_dn at Step 4.
To a(!just the oven teml)erature , touch the
BAKEpad, enter the new teml)erature using
the numt)er pads, and tou(h the STARTtmd.
NOTE: "Ilw CLEAR/OFFmld COOKTIME t)ads are
a(tive (tm:ing the Sabbath Ibatm'e.
/i ii (i iiii !ii
i ii i
Q Q Q (X)0
When the display shows D the
oven is set in Sabbath. When the
display shows D C the oven is
bakhTg/roasting.
i i
i/ Iiiiii ! ii ii ii!i ii
How to Set for Timed Baking/Roasting - Immediate Start and Automatic Stop
Make sure the clock shows the correct timeof day and [] "lbu(h the BAKE t)ad. No sigl/al will 1)e
the ovenis off. given.
] I'ress and hold both the BAKE and BROIL
HI/LO pads, at the same time, mltil die
disl)lay S] _( )_%rs SE
NOTE:Ill)ake or broil al)t)('_u's ill the
dist)l;_y, the BAKEand BROIL H//LOtmds
were not touched at the stone time.
"Ibuch the CLEAR/OFFtmd mad begin
ag_ain.
_] Tap the DEMYSTARTpad until SAb bAtH
_q)l)ears ill the dist)la _
] "Ibuch the START pad and D will at)t)ear
in the dist)lay.
[_] "lbuch the COOKTIME t)ad.
] "Ibu(h the ntmfl)er t)ads to set the
desired length of cooking time t)etweell
1 minute and 9 hours and 99 minutes.
The cooking thne that you entered will
be disl)h%'ed.
Tollch the STARTpad.
[]
Using the ntmg)er pads, enter the
[]
desired wmt)eramre. No sigqlal or
[el//t)elT_ttlllX_ will 1)e gJx, ell.
"lbu(h the START t)ad.
[]
Af{er a rm/don/delay t)eriod of
[]
_q)t)roxhnatel'_ 30 seconds to 1 mintlte,
D C will appear in tile (tisl)la } indicating
that the o\en is baking/roastiIlg. II D C
doesn't appear in tile dist)h_y, start
again at Step 7.
To a(!iust tile oven teml)erature, touch the
BAKEI)ad, enter the new telnl)erature using
the number pads and touch the STARTpad.
When cooking is finished, the (lisl)lay will
change ti'om D : to D and 0200will al)l)ear
ill(li(atillg that the ovell tills ttlrl/e(t OFFl)tlt is
still set in Sat)bad/. Remo\e il/e cooked tood.
How to Exit the Sabbath Feature
] T(m(h the CLEAR/OFFp;_d.
] lI the oxeH is cooking, wail tbr a rm/dom
dela} period of _q)l)roxinlately 30 se(onds
to 1 mint,e, m/til onh_ D is in the dist)lay.
F_] I)ress and hold both th( BAKE and BROIL
HI/LO t)_(ts, at the same time, mJ,til the
dist)Â@ S] _( )_rs SE
] "]'ap die OELAYSTART p_,d umil 12shdn
or no shdn apl)em:s ill the dist)la } 12shdn
in(li(_tes that the oxell will m,omaticalh
turn off _fft(r 12 hours, no shdn indicates
that the oxen will I/or a/_tomaticallv
Hlrll O _[['.
] "lbu(h the START t)ad.
NOTE:II a t)ower outage occurred while
tile oven x+_s in S_fl)bath, the ovcn will
;+HltoHlg+ti€_dlv ttlrll ott _tI/d St_lV oil (well
whell the t)ower rettlrl/s. "I]le ()_,_'II (OlltI'ol
lIlllS| be reset.
9
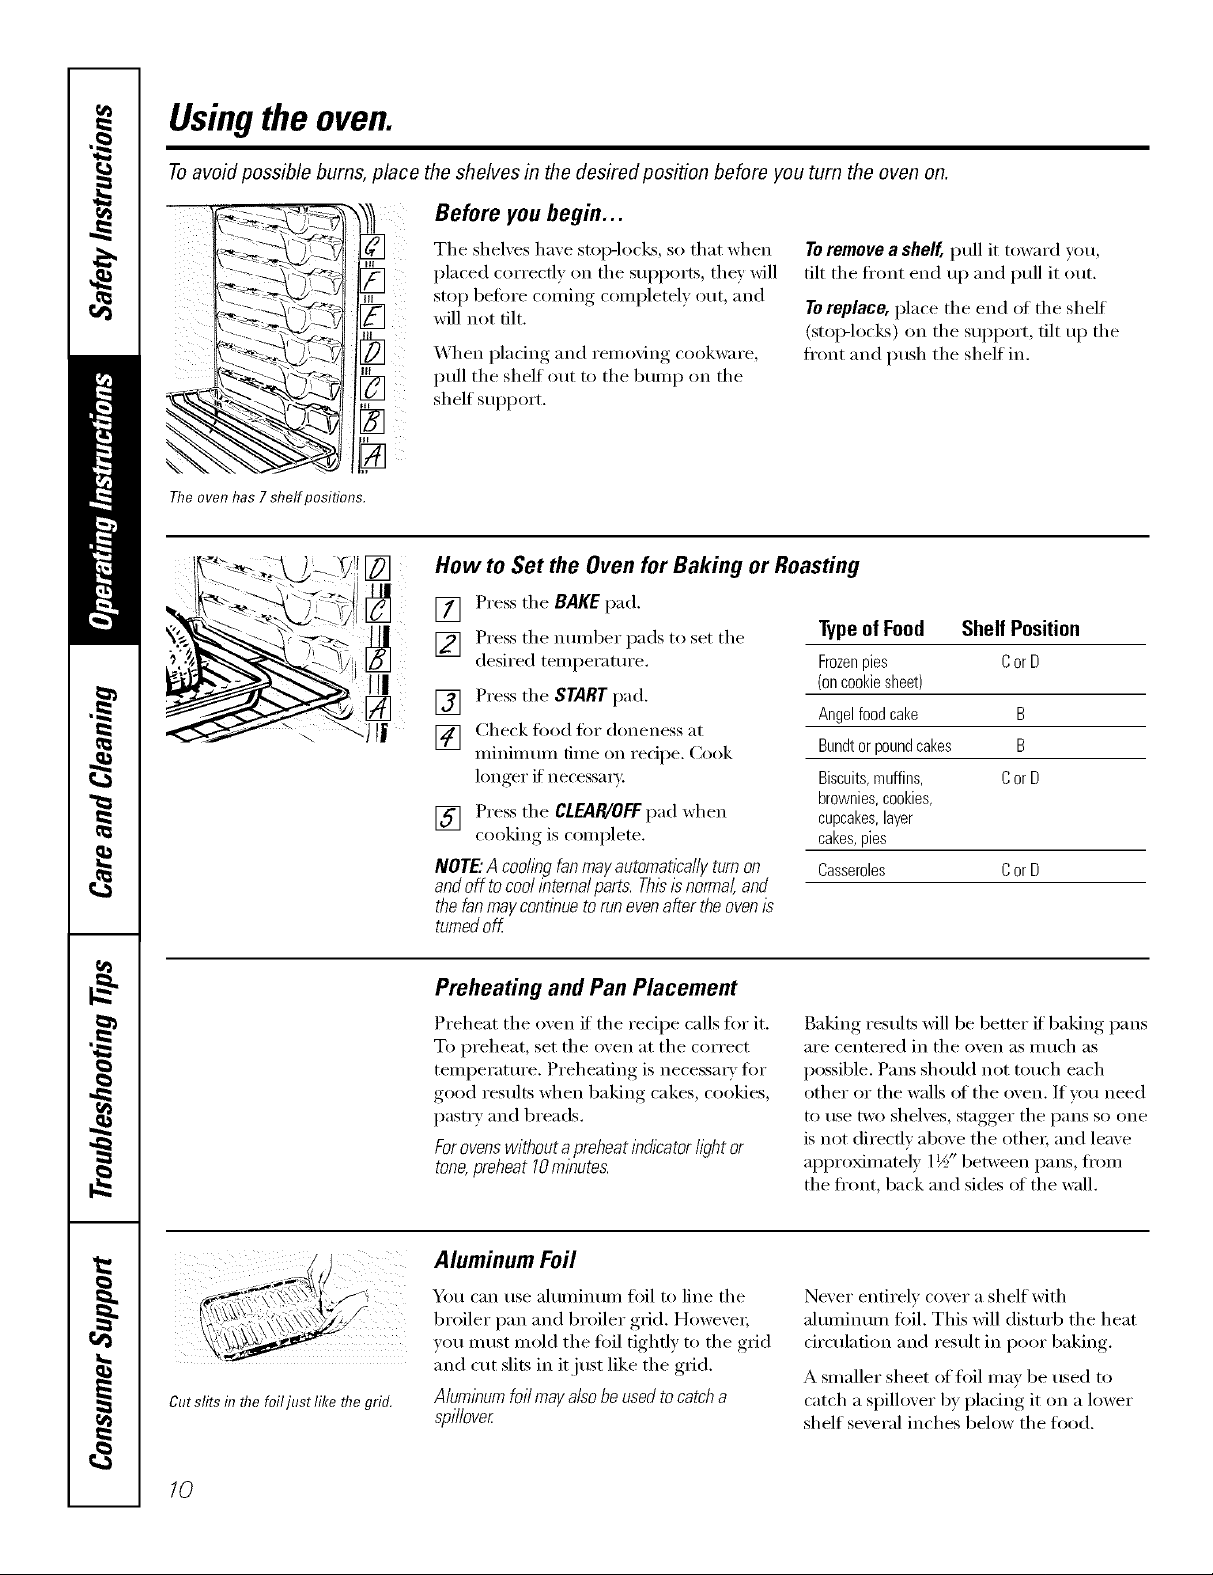
Usingthe oven.
Toavoid possible bums, place the shelves in the desired position before you turn the oven on.
Before you begin...
¸
b: %c 2iID
The oven has 7 shelf positions.
The shelves have stop-lock% so that when
placed correctly on the supports, they will
stop before coming completely out, and
will not tilt.
_._hen I)lacing and removing, cookware,
pull the shelf out to the bump on the
shelf support.
[] How to Set the Oven for Baking or Roasting
[] Press the BAKE pad.
] Press the IllllllbeI" pads to set the
desired temperature.
[] Press the STARTpad.
[] Check fi)od fi)r doneness at
minimum time on recipe. Cook
hmger if necessao:
[] Press the CLEAR/OFFpad when
cooking is complete.
NOTE."Acoohngfanmayautomat/?allyturnon
andoff tocoolinternalparts.Thisisnormal,and
thefanmaycontinuetorunevenaftertheoven/s
turnedoff
Toremove a shelf, pull it toward you,
tilt the fl'ont end up and pull it out.
Toreplace, place the end (ff the shelf
(stoi>locl<s) on the support, tilt up the
fi'ont and push the shelf in.
Typeof Food Shelf Position
Frozenpies Cor D
(oncookiesheet)
Angelfoodcake B
Bundtorpoundcakes B
Biscuits,muffins, Cor D
brownies,cookies,
cupcakes,layer
cakes,pies
Casseroles Cor D
Cut slits in flTefoil just like the grid.
10
Preheating and Pan Placement
Preheat the oven if the recipe calls for it.
To preheat, set the oven at the correct
temperature. Preheating is necessa_-v fi)r
good results when baking cakes, cookies,
pastry and 1)reads.
Forovenswithout apreheat indicator light or
tone,preheat 10minutes.
Aluminum Foil
You can use ahmfinum flfil to line the
broiler pan and broiler grid. However;
you must mold the fifil tightly to the grid
and cut slits in it just like the grid.
Aluminum foil mayalso be used tocatcha
spillover
Baking results will be better if baking pans
aI'e Celltered ii1 tile ovell as ill tlcl/as
possible. Pans should not touch each
other or the walls of the oven. If you need
to use r_x) shelves, stagger the pans so one
is not directly above the othe_; and leave
approMmately 1½" between pans, fl'om
the fl'ont, back and sides of the wall.
Never entirely cover a shelf with
ahmfinum toil. This Mll distu_4) the heat
dreulafion and result in poor baking.
A smaller sheet offl)il may be used to
catch a spillover by plating it on a lower
shelf several inches below the food.
 Loading...