

GE JSS28DN2WW, JSS28DN2CC, JSS28DN1WW, JSS28DN1BB, JSS28DN2BB Owner’s Manual
ge.com
Safety Im_ructions .... '2-4
Operating Iratructions
Clock and Timer ....... 10
Controls .............. 6, 7
Oven ................. 8, 9
Power Outage ........... 7
Sabbath Feature ..... 11, 12
Special Features ........ 11
Surface Units ............ 5
Thermostat ............ 12
Care and Cleaning
Control I_lobs ......... 13
Drip Pans .............. 17
Heating Elements ....... 13
i,ift-Off Oven Door ..... 15
i Jft-Up Cooktop ........ 17
i,ight .................. 16
Oven Interior .......... 15
Shelves ................ 14
Storage Drawer ......... 16
Surface Units .......... 17
Vent .................. 14
Troubleshooting
Tips .............. 18, 19
Iss2s
Accessories. ........... 20
Consumer Support
(_OllSunler
Support ....... Back Cover
Product
Re_stration ........ 21, 22
Warranty .............. 23
Write the model and serial
numbers here:
Model #
Serial #
You can find them on a label
behind the storage drawer on
the front of the range frame.
49-80533 04-08 JR
IMPORTANTSAFETYINFORMATION.
READALLINSTRUCTIONSBEFOREUSING.
WARNING!
For your safety, the information in this manual must be followed to minimize the risk of fire, electric
shock, or to prevent property damage, personal injury, or loss of life.
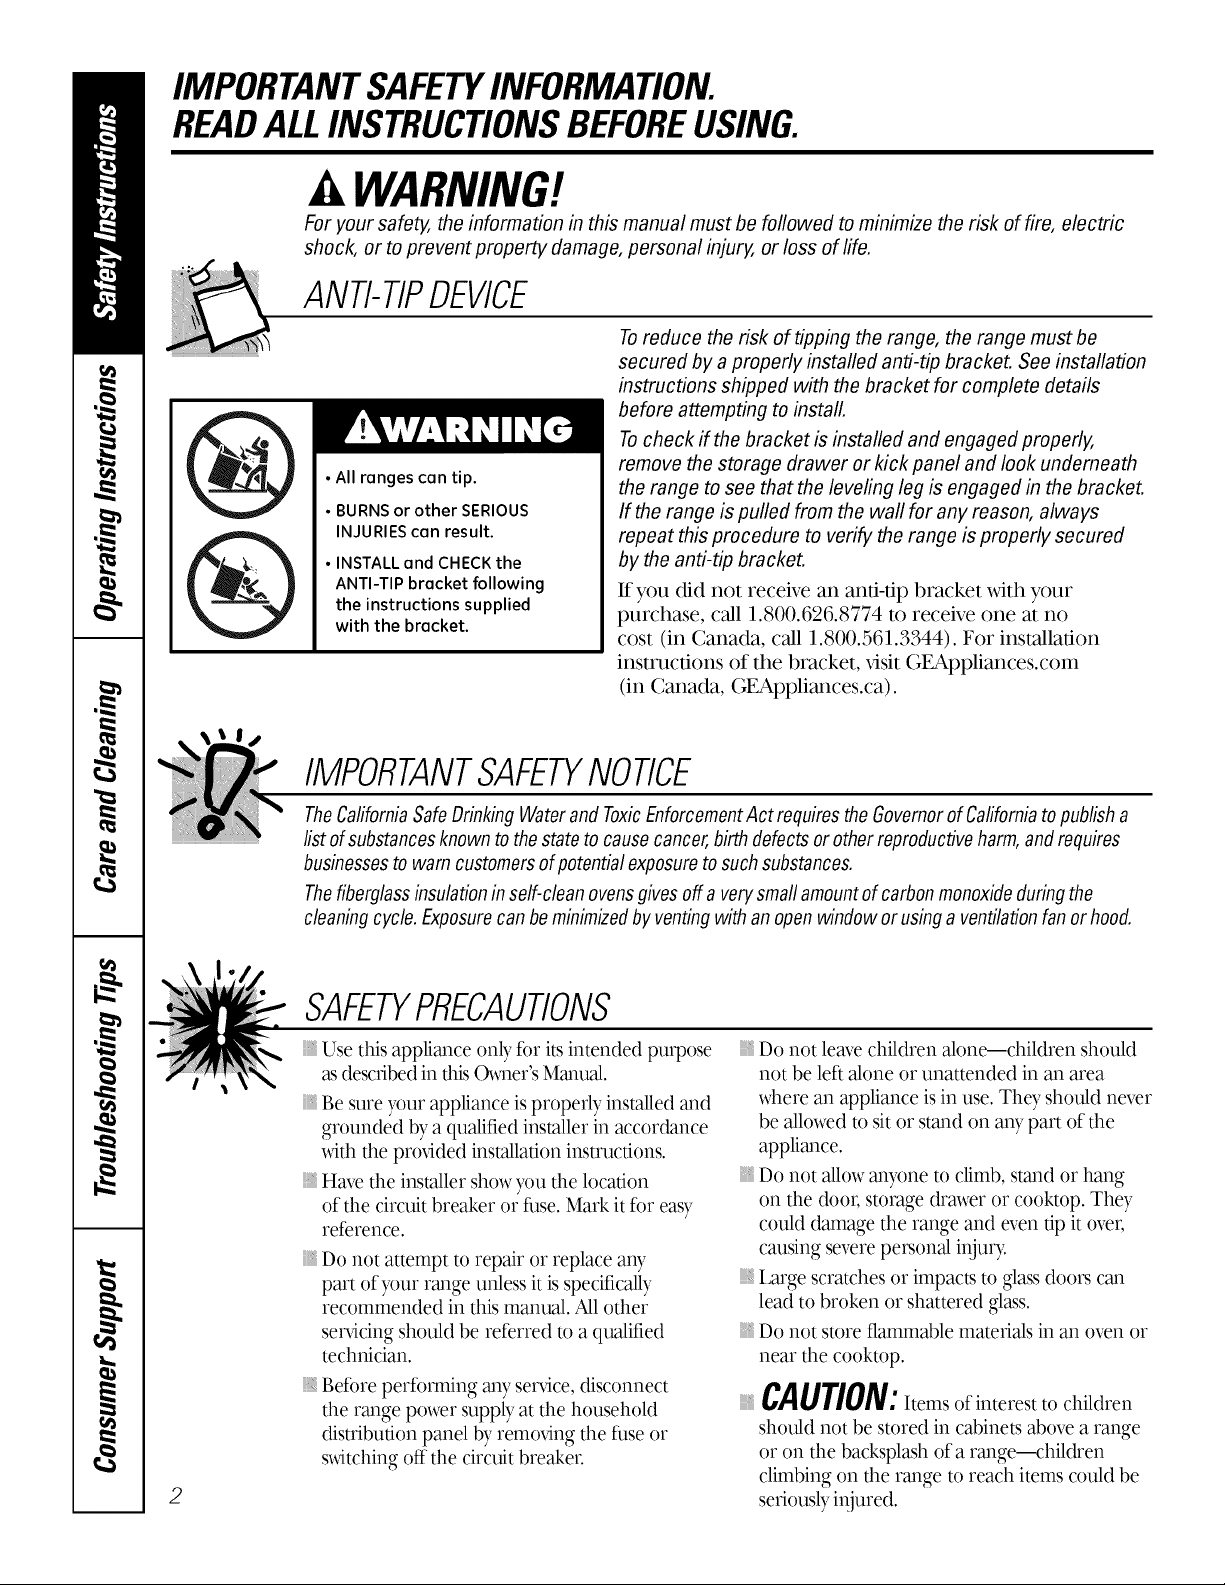
ANti-TIPDEVICE
Toreduce the risk of tipping the range, the range must be
secured by a properly installed anti-tip bracket. See installation
instructions shipped with the bracket for complete details
before attempting to install.
Tocheck if the bracket is installed and engaged properly,
• All ranges can tip.
• BURNS or other SERIOUS
INJURIES can result.
• INSTALL and CHECK the
ANTI-TIP bracket following
the instructions supplied
with the bracket.
remove the storage drawer or kick panel and look underneath
the range to see that the leveling leg is engaged in the bracket.
If the range is pulled from the wall for any reason, always
repeat this procedure to verify the range is properly secured
by the anti-tip bracket.
If you did not receive an anfi-dp bracket with your
purchase, call 1.800.626.8774 to receive one at no
cost (in Canada, call 1.800.561.3344). For installation
instructions of the bracket, x,isit GEAppliances.com
(in Canada, GEAppliances.ca).
IMPORTANTSAFETYNOtiCE
TheCaliforniaSafeDrinkingWaterand ToxicEnforcementAct requiresthe GovernorofCaliforniatopublisha
list of substancesknown to the state to causecancer,birth defectsor otherreproductiveharm,andrequires
businessesto warncustomersof potentialexposuretosuchsubstances.
Thefiberglassinsulationinself-cleanovensgives off a verysmaflamountof carbonmonoxideduringthe
cleaningcycle.Exposurecanbe minimizedbyventingwithan openwindow or usinga ventilationfanorhood.
SAFETYPRECAUtiONS
Use this appliance only fbr its intended purpose
as described in this Owner's Manual.
Be sure your appliance is properly installed and
grounded by a qualified installer in accor¢'tance
with the prtMded installation instructions.
Have the installer show you the location
of the circuit breaker or fhse. Mark it for easy
reference.
Do not attempt to repair or replace any
part of your range unless it is specifically
recommended in this manual. All other
ser_4cing should be referred to a qualified
technician.
geff)re perff)mdng an), serxdce,disconnect
the range power supply at the household
distribution panel by remodng the fhse or
s_dtching off the circuit breaker.
2
Do not leave children alone---children should
not be left alone or unattended in an area
where an appliance is in use. The), should never
be allowed to sit or stand on any part of the
appliance.
Do not allow anyone to climb, stand or hang
on the doo_; storage drmver or cooktop. They
could damage the range and even tip it over,
causing severe personal injur>
Large scratches or impacts to gla_s doors can
lead to broken or shattered glass.
Do not store flammable materials in an oven or
near the cooktop.
CAUTION: temsofinterestto chiMren
should not be stored in cabinets above a range
or on the back@ash of a range--children
climbing on the range to reach items could be
seriously injured.
A WARNING!
SAFETYPRECAUTIONS
ge.com
}}14Neverwearloose-fittingor hanging gamlents while
usingtileappliance.Be carefftlwhen reaching fbr
itemsstored overfilerange. Hammablematerial
couldbe ignited ifbrought in contact_dthhot
surfaceunits or heating elementsand maycause
severebums.
Use only d U pot holders--moist or ¢_np pot
holders on hot surfaces may result ill bums fi'om
steam. Do not let pot holders touch hot surface
units or heating dements. Do not u_
a towel or ()tiler bulky doth in place of pot holders.
For your safel3_never use your appliance for
wamdng or heating file room.
Teach children not to play _dth tile controls or any
()filer part of tile range.
:_Alwass keep dish towels, dish doff/s, pot holders
and ()tiler linens a safe distance fiom your range.
_,Alwass keep x_s)odenand plastic utensils and
canned ff)od a s_e dis_/ce fi_m >)ur range.
_Alwass keep combustible wallcoverings, curtains or
drapm as'afedistance flom >)ur range.
Do not let cooking _ease or ()tiler flammable
materials accumulate in or near tile range.
Keep tile hood and _ease filters dean to maintain
good venting and to avoid _ease files.
Do not use water on gease fires. Never pick up a
flaming pan. Turn tile controls off: Smother a
ranting pan on a surface unit by covering file pan
completely xdflla well-fitting lid, cookie sheet or flat
tmS_Use a multi-purpom dU chemical or if)am-
_pe fire exting-uisher.
Flanfing grease outside a pan car/be put out t)5'
covering it x_itt/baking so_h or, ffm_ilable, t)5,using
a multi-purposedU chelxtical or
fbanr-gpe file extinguisher
Fhme in die oven can be smothered completelyt)5'
dosing the oven door and turning file oven offor
t)5'using a multi-purpose d U chentical or fbam-_pe
file extinguisher
Do not touch file surface m/its, file heating
elements or the interior surface of the oven. These
surfaces may be hot enough to burn even though
fl/eyare _'larkin color. During and after use, do not
touch, or let dotting or other flammable materials
conLactthe smfhce units, areas nearby file surface
units or any interior area of the oven; allow
suffident time for cooling first.
Potentially hot surfaces include the cooktop, areas
facing file cooktop, oven vent opening, surfaces
near the opening, crex,icesaround the oven &)or
RE/I/IE/I/IBER:The inside surface of die oven may be
hot when the door is opened.
Do not store or use combttstible materials, gasoline
or ()filer flammable xapors and liqukls ill tile
x,icinilyof this or any ()tiler appliance.
COOKMEATANDPOULTRYTHOROUGHLY...
Cookmeatandpoultrythoroughly--meattoat leastanINTERNALtemperatureof 160°Fandpoultrytoatleastan
INTERNALtemperatureof 180°ECookingtothesetemperaturesusuallyprotectsagainstfoodbomeillness,
SURFACECOOKINGUNITS
Useproperpansize--select cookwarehavingflat bottomslargeenoughto cover thesurfaceunitheating
element.Theuseofundersizedcookwarewill exposea portionof the surface unit to direct contactandmay
resultin ignitionof clothing.Properrelationshipof cookwareto surfaceunitwill alsoimproveefficiency.
Never leave the surface units unattended
at high heat settings, goilovers cause smoking
and greasy spillovers that may catch on fire.
Do not use aluminum foil to line the drip pans
or anywhere in the oven except as described in
this manual. Misuse could result in a shock, fire
hazard or damage to the range.
Be sure the drip pans and the vent duct are not
covered and are in place. Their absence during
cooking could damage range parts and xdring.
Only certain types of glass, glass/ceramic,
earthem_are or other glazed containers are
suitable for cooktop service; others may break
because of the sudden change in temperature.
To minimize the possibility of burns, ignition of
flammable materials and spillage, the handle of
a container should be turned toward the center
of the range xdthout extending over nearby
surface units.
}}14Ahvays turn the surface units off before 3
removing cookware.
IMPORTANTSAFETYINFORMATION.
READALLINSTRUCTIONSBEFOREUSING.
SURFACECOOKINGUNITS(cont.)
iiiiiiiiiiiii!Do not immerse or soak the removable
surf.ace units. Do not put them in a
dishwasher
When preparing flaming foods under
the hood, turn the fan on.
To avoid the possibility of a burn or
electric shock, always be certain that the
controls fk)r 'all surface units are at the
OFFposition and all coils are cool befk)re
attempting to lift or remove a unit.
Clean the cooktop with caution. If a wet
sponge is used to wipe spills on a hot
cookmp, be careful m avoid steam burns.
Keep an eye on foods being flied at high
or medium high heat settings.
Foods for flying should be as dU as
possible. Frost on flozen foods or moisture
on flesh fk)ods can cause hot f.at to bubble
up and over the sides of the pan.
Use little fat f_r elfective shallow or deep
fat flying. Filling the pan too full of f.at can
cause spillovers when fk)od is added.
If a combination of oils or f.ats will be used
in flTing, stir together before heating, or as
fats melt slowly.
Always heat fat slowly, and watch as it heats.
Use a deep f.at thermometer whenever
possible to prevent overheating f.at beyond
the smoking point.
WARNING!
OVEN
Stand away from the range when opening the oven door. Hot air or steam which escapes can cause
bums to hands, face and/or eyes.
Do not heat unopened food containers.
Pressure could build up and the container
could burst, causing an in,ju U.
Keep the oven vent unobstructed.
Keep the oven flee flom _ease buildup.
Place the oven shelf in the desired position
while the oven is cool. If shelves must be
handled when hot, do not let pot holder
contact the heating elements.
Pulling out the shelf m the stop-lock is a
convenience in lifting hea\ T foods. It is 'also
a precaution against burns flom touching
hot surf.aces of the door or oven walls.
When using cooking or roasting bags
in the oven, follow the manuf.acturer's
directions.
Do not use the oven to dry newspapers.
ff overheated, they can catch on fire.
Do not use the oven fi)r a storage area.
Items stored in an oven can ignim.
Do not leave paper products, cooking
utensils or f_od in the oven when not
in use.
Do not use aluminum fk_il to line
oven bottoms. Improper installation
of aluminum foil may result in a risk
of electric shock or fire.
READANDFOLLOWTHISSAFETYINFORMATIONCAREFULLY.
SAVETHESEINSTRUCTIONS
4
Usingthesurface units, geoom
Throughout this manual, features and appearance may vary from your model
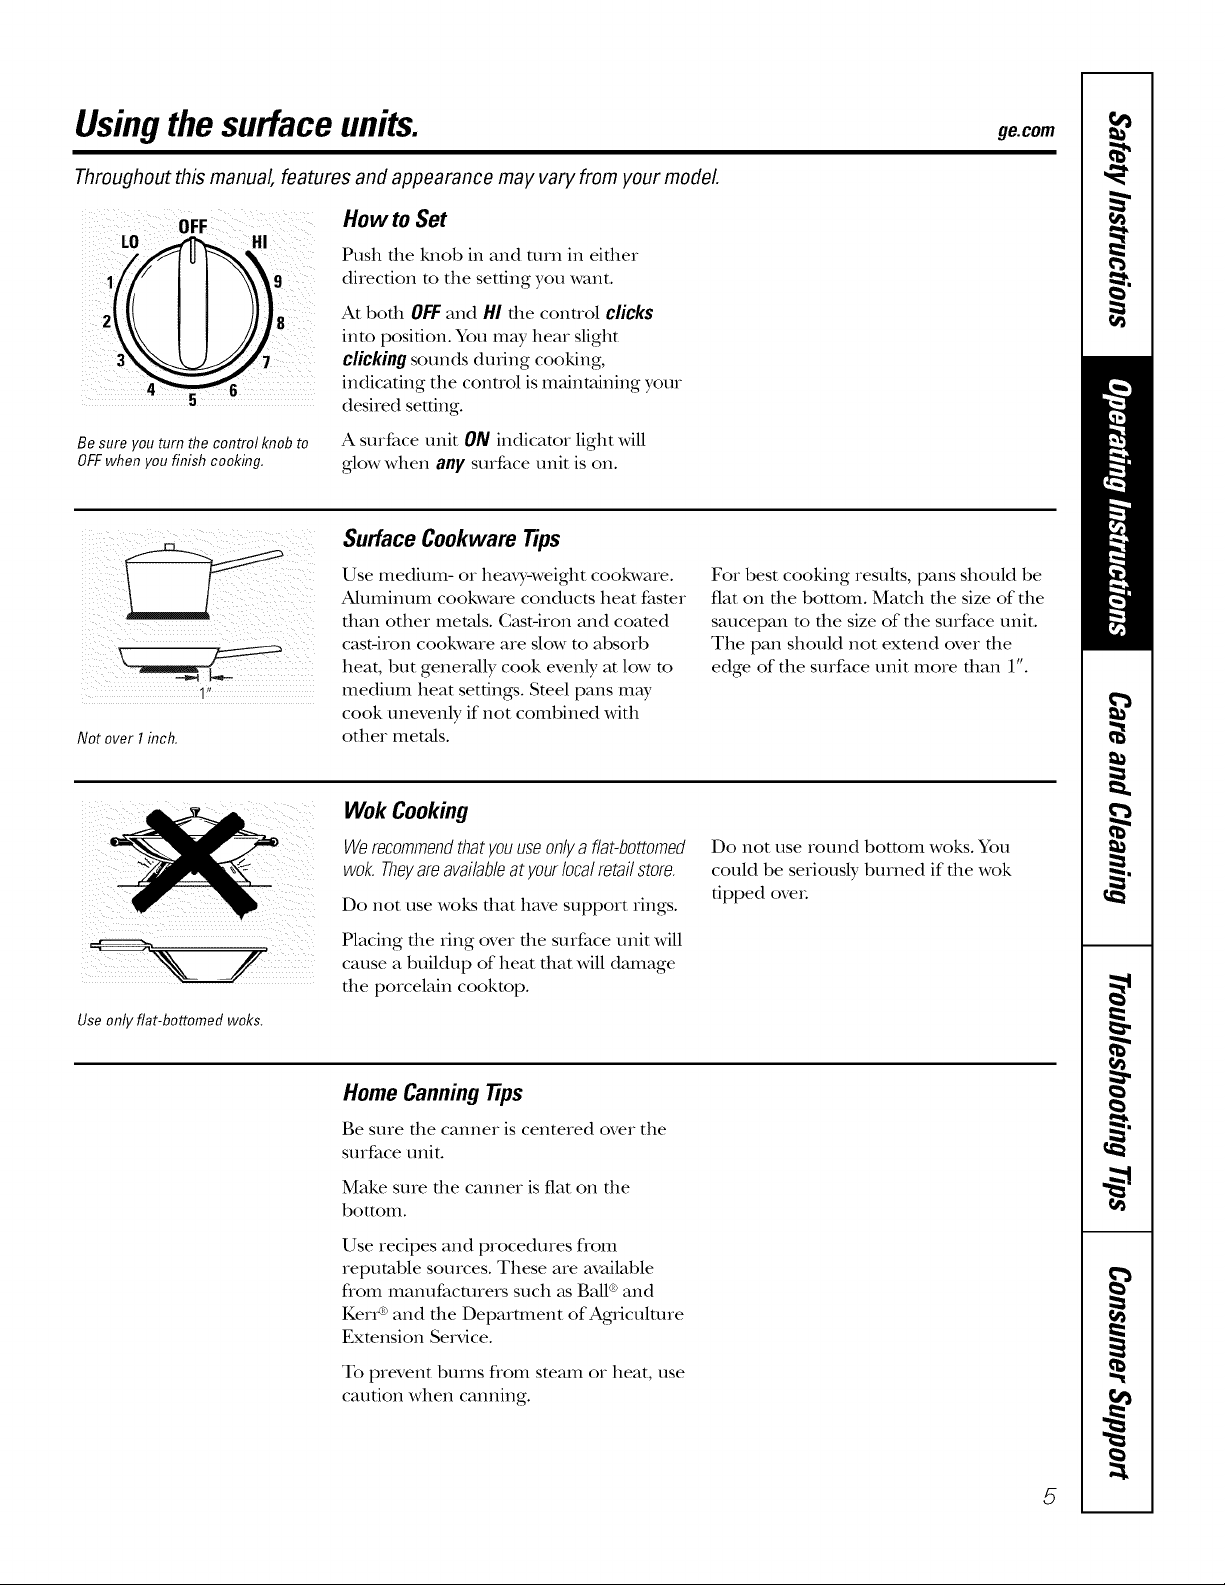
How to Set
Push tile Mlob in and ulrn in ekher
i /1 9
Be sure you turn the control knob to
OFFwhen you finish cooking.
direction to the setting you want.
At bodl OFFand HI tile control clicks
into position. You may hear slight
clickingsounds dudng cooking,
indicating the control is maintaining your
desired setting.
A surface unit ON indicator light will
glow when any surface unit is on.
Surface Cookware Tips
¸1¸"¸¸¸
Not over I inch.
Use only flat-bottomed woks.
Use medium- or heavy-weight cookware.
Aluminum cookware conducts heat faster
than other metals. Gast-iron and coated
cast-iron cookware are slow to absorb
heat, but generally cook evenly at low to
medium heat settings. Steel pans may
cook unevenly if not combined with
other met_fls.
Wok Cooking
Werecommendthat youuseonly a flat-bottomed
wok. Theyareavailableat yourlocalretail store.
Do not use woks dlat have support rings.
Placing tlle ring over the surface unit will
cause a buildup of heat that will damage
tile porcelain cookmp.
Home Canning Tips
Be sure tile canner is centered over the
surface unit.
For best cooking results, pans should be
fiat on the bottom. Match the size of the
saucepan m the size of the surface unit.
The pan should not exmnd over the
edge of the surface unit more than 1".
Do not use round bottom woks. You
could be seriously burned if tile wok
tipped ove_.
Make sure tile canner is fiat on tile
bottom.
Use recipes and procedures flom
reputable sources. These are available
flom manufacturers such as Ball ®and
KerI _ and the Deparunent of Agriculture
Exmnsion Se_Mce.
To prevent burns flom steam or heat, use
caution when canning.
5
Usingtheoven controls.
Throughout this manual, features and appearance may varyfrom your model
OVEN CONTROLS e
OvenControl Clockand TimerFeaturesandSettings
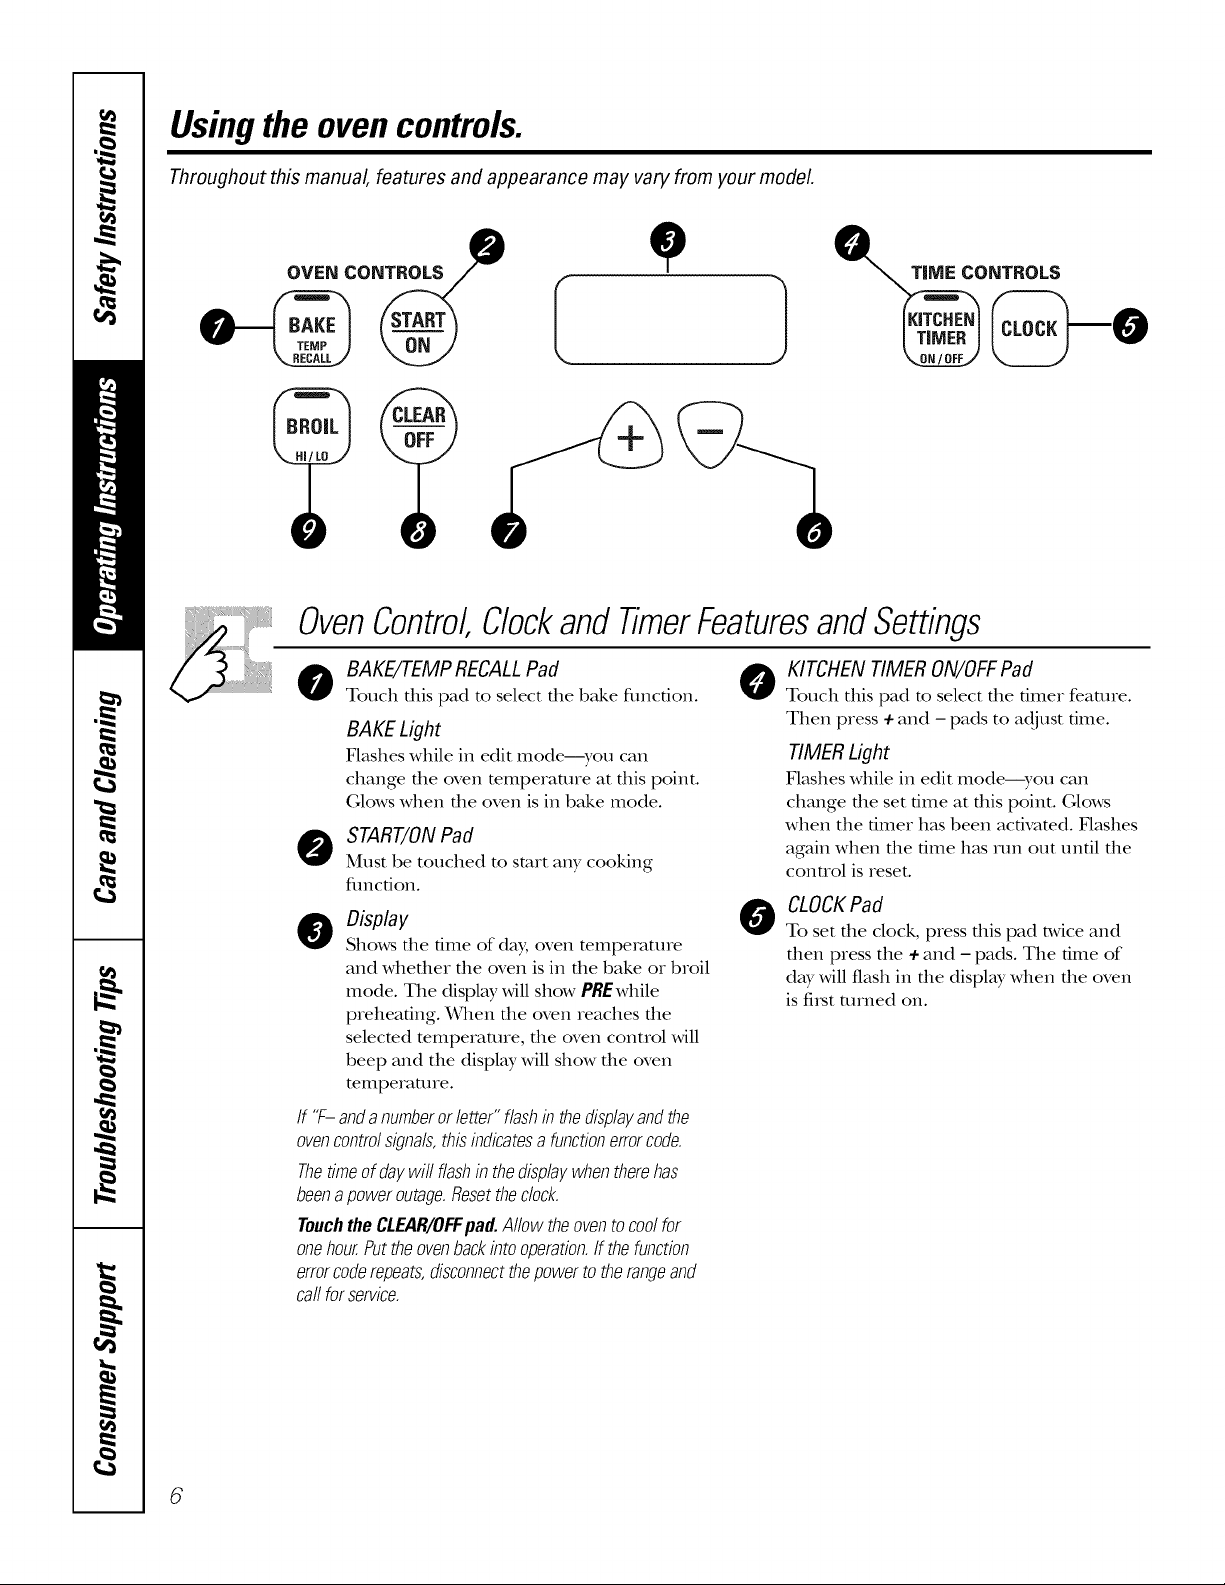
o BAKE/TEMP RECALLPad 0
Touch this pad to select the bake fimcfion.
BAKE Light
Flashes while in edit mode---you can
change the oven temperature at this point.
Glows when the oven is in bake mode.
O START/ONPad
Must be touched to start any cooking
flmcdon.
0 Display
Shows file dine of day, oven tempe_mre
and whefller file oven is in file bake or broil
mode. The displ W will show PREwhile
preheating. When file oven reaches file
selected temperature, file oven connol will
beep and the display Mll show file oven
temperature.
If "F-andanumberor letter"flashin thedisplayandthe
ovencontrolsignals,thisindicatesa functionerrorcode.
Thetimeofdaywit flashin thedisplaywhentherehas
beenapoweroutage.Resettheclock.
TouchtheCLEAR/OFFpad.Allowtheoventocoolfor
onehour.Puttheovenbackintooperation.If thefunction
errorcoderepeats,disconnectthepowertotherangeand
ca//forservice.
KITCHEN TIMER ON/OFFPad
Touch this pad to select the timer feature.
Then press + and - pads to adjust time.
TIMER Light
Flashes while in edit mode--you can
change the set time at this point. Glows
when the timer has been activated. Flashes
again when the time has run out until the
control is reset.
CLOCKPad
0
To set file clock, press tiffs pad n,vice and
fllen press the + and - pads. The time of
day will flash in die display when file oven
is fi_st turned on.
6
OvenControl Clockand TimerFeaturesandSettings
ge.com
- Pad
Short taps to this pad will decrease the time
or temperature by smaU amounts. Touch
and hold the pad to decrease the time or
temperature by larger amounts.
O +Pad
Short taps to dfis pad will incre_tse die time
or mmpemmre by smaU amounts. Touch
and hold the pad to increase the time or
temperature by larger amounts.
Power Outage
If aflashingtimeisinthedisplay,youhave
experiencedapowerfailure.Resetthedock.
o LEAR/OFFPad
Touch this pad to cancel ALLoven
operations except the clock and fimeL
o BROILHI/LO Pad
Touch this pad to select the broil function.
BROILLight
Flashes while in edit mode--you can s_dtch
from HIto LOBROILat this point. (;lo_ \allen
the oven is in broil mode.
To reset the clock, touch the CLOCKpad.
Enter the correct time of day by touching
the + or - pads. Touch the START/ON pad.

Usingtheoven.
Toavoid possible bums, place the shelves in the desired position before you turn the oven on.
Before you begin...
The oven has 7 shelf positions.
The sheNes have stop-locks, so that when
placed correctly on the shelf supports (A
through G), they willstop before coming
complemly out, and will not flit.
When placing and removing cookware,
pull the shelf out m the bump on the
shelf support.
Toremovea shelf,pull it toward you, flit
the front end up and pull it out.
TOreplace, place the end of the shelf
(stop-locks) on the support, flit up the
CAUTION:Whenyouareusingthe
shelfinthelowestposition(A),youwillneedto
usecautionwhenpuffingtheshelfout.We
recommendthatyoupulltheshelfoutseveral
inchesandthen,usingtwopotholders,pull the
shelfoutbyholdingthesidesof it. Theshelfis
lowandyoucouldbeburnedifyouplaceyour
handin themiddleoftheshelfandpullall the
wayout.Beverycarefulnottoburnyourhand
onthedoorwhenusingtheshelfin thelowest
position(A).
front and push the shelf in.
How to Set the Oven for Baking or Roasting
Yourovenis notdesignedfor open-doorcooking. _]
[] Touch the BAKEpad.
[_] Touch the + or-pads until the
desired temperature is displayed.
[] Touch the START/ONpad.
The oven willstmt automafi_dl): The display
willshow PREwhilepIeheafing. _]len the
oven Ieachm die selecmd tempemmIe, die
oven conuol willbeep severalflmes mid die
displaywillshow die o_en mmpemture.
TochangetheoventemperatureduringBAKE
Type of Food Shelf Position
Frozenpies(oncookiesheet) CorD
Angelfoodcake A
Bundtorpoundcakes BorC
Biscuits,muffins,brownies, CorD
cookies,cupcakes,
layercakes,pies
Casseroles CorD
cycle,touchtheBAKEpadandthenthe+ or-
padstogetthenewtemperature.
Turkey A
Touch the CLEAR/OFFpad when
baking is finished and then remove
the food flom the oven.
Center baking pans in the oven.
8
[_] Check.food for donene._ at minimum
nine on redpe. (kK_k longer if nec_uy.
Preheating and Pan Placement
Preheat the oven if die recipe cMls for it.
Preheating is necessary for good results
when baking cakes, cookies, pastry and
breads.
TheDisplaywillshow"PRE"whilepreheating.
Whentheovenreachestheselectedtemperature,
theovencontrolwill beepandthedisplaywill
showtheoventemperature.
Aluminum Foil
Donotusealuminumfoilonthebottom
of theoven.
Never enflrely cover a shelfwifli
ahlminum foil. This will disturb the heat
circulaflon and result in poor baking.
Baking results will be better if baking
pans are cenmred in die oven as much
as possible. If baking with more than one
pan, place the pans so each has at least
1 m 1½" of air space around it. If baking
four cake layers at the same flme, place
two 1wets on rack B and two 1wets on
rock D. Stagger pans on the rack so one
is not directly above the ethel
A smaller sheet of foil may be used to
catch a spillover by placing it on a lower
shelf several inches below the food.
 Loading...