

GE JTP47SC1SS, JTP45WD1WW, JTP45SD1SS, JTP45CD1CC, JTP45BD1BB Owner’s Manual
...
Safety Information
Oven .................... 3-!5
Safety Precautions ......... 3-!5
Self:Cleaning Oven .......... 5
Operating Instructions
Clock and Time_ ................
Oven ................... 6-16
Oven Thermostat .......... 14
Self:Cleaning ........... 15, 16
Timed Baking and
Roasting .................. 13
Care and Cleaning
Broiler Pan and Grid ........ 18
Conuol Panel and Knobs ...18
(;lass Surfaces ............. 18
Heating Element ........... 18
I.ift-Off Oven Door . ........ 17
Oven Interior . ............. 19
Oven I.ight ................ 19
Painted Surfaces ........... 18
Shelves ................... 17
Stainless Smel Surfaces ..... 20
GEAppliances
./ 45
J!_P24
.]TP27
.]TP45
.]TP47
Troubleshooting Tips .2 -2.
._1_3
Consumer Selwiees
Product Registration . .2, 25, 26
Se_wice Telephone
Numbers .......... Back Cover
Warranty .................. 27
www.geappfiances.com 16404290P002 49-80031 07-00 JR

GE& You,A Service Partnership.
IMPORTANT!
Fill out the Consumer Product Registration (ard.
Twoeasy waysto registeryourappliance!
• Through the internet at _v.geappliances.com
• Complete and mail the enclosed Product Registration Card
FORYOURRECORDS
Write the model andserial numbershere:
#
#
You can find them on a label on the fiont of the lower oven behind the oven door.
Staple sales slip or cancelled check here.
Proof of the ori_nal purchase date is needed to obtain secvi( e under the w_uranty.
READTHISMANUAL
Inside you xfillfind many helpflfl hints on how to use and maintain your oven properly.
Just a little preventive (are on your part _an save you agreat deal of time and money over the life
oUvouI" oven.
IFYOUNEEDSERVICE
Y_)u'll lind many answers to common problems in the Before YouCallForService section.
If you review our chmt of Troubleshooting Tipsfirst, you may not need to call tin secvice at all.
Ify_)u do need sevvice, you can relax knowing help is only a phone call away. A list of toll-tiee
customer secvice numbers is included in the back section of this manual.
OR
Visit our Website at: ww_geappliances.cem
2
IMPORTANTSAFETYINFORMATION.
READALLINSTRUCTIONSBEFOREUSING.
WARNING!!
Foryoursafe_ theinformationin thismanualmustbefollowed to minimizetheriskof fireor
explosion,electric shock,ortopreventproperty damage,personalinjury,orlossof life.
IMPORTANTSAFETYNOtiCE
The California Safe Drinking Water and ToxicEnforcement Act requires the Governor of Califomb to
publish a list of substances known to the state to cause cancer, birth defects or other reproductive
harm, and requires businesses to warn customers of potential exposure to such substances.
The fiberglass insulation in self-clean ovens gives off a very small amount of carbon monoxide during
the cleaning cycle. Exposure can be minimized by venting with an open window or using a ventilation
fan or hood.
IMPORTAN7?Thehealth of some birds is extremely sensitive to the fumes given off during
the self-cleaning cycle of any oven. Move birds to another well-ventilated room.
SAFETYPRECAUTIONS
When using electrical appliances, basic safe_/ precautions should be followed, including the following:
iJ_i:;Use this appliance only for its intended
purpose as described in dfis Oxmer's
Manual.
_; Be sure your appliance is properly installed
and g¢_mnded by a qualified technician in
accor, lance with the provided installation
instructions.
_; Do not attempt to repair or replace any
part of your oven unless it isspecifically
recommended in tiffsmanual. All other
servicing should be referred m a qualified
teclmician.
_; Have tim installer show you the location
of tim circuit breaker or fuse. Marl< it fbr
easy,eference.
ij_::;Beff)re pe_ibrTning any sersice, disconnect
the oven pox_r supply at the househoM
distribution panel by removing tim fllse or
switclfing off tim circuit breaker.
_; Do not leave children alone-children
shouM not be left alone or unattended in
an area where an appliance isin use. They
should never be allox_ed to sit or stand on
any part of the appliance.
iJ_i:_Do not allow anyone to dimb, stand or
hang on file door. They couM damage the
oven, or cause seve,e personal injuU.
_ Be sure tim oven is seouely installed in a
cabinet that is fimdy attached to the house
stmctu,e. Never allow anyone to climb, sit,
stand or hang on the oven door.
_; Never leave tim oven door open when you
are not watching the oven.
iJ_i:;Ahvays keep combustible wall covering,
o_rtains or drapes a safe distance fi_ma
your oven.
ij_::_Ah_%vskeep dish rowels, dish doths, pot
hoMers madother linens a safe distmace
fiom your oven.
iJ_i:_Ah_vtys keep wooden and plastic utensils
and canned food a safe distance away from
yo/Ir ()veil.
_ Teach children not to play with the
controls or any other part of the oven.
3
IMPORTANTSAFETYINFORMATION.
READALLINSTRUCTIONSBEFOREUSING.
WARNING!
SAFETYPRECAUTIONS
_ Do not store flammable materials in
an oven.
CAUTION:.erosofinterestto
children shouM not be stored in cabinets
above an oven; children climbing on tim
oven u) reach items could be seriously
injured.
_; Never wear loose4hting or hanging
garments while using tim appliance. Be
carefl|l when reaching f{_ritems su)red in
cabinets over tim oven. Flammable
material could be ignited if brought in
contact with hot surlaces or heating
elements and may cause severe burns.
ij_::_Use only d U pot holders-moist or damp
pot hoMers on hot surfaces m W result in
bums flom steam. Do not let pot holders
touch hot heating elements. Do not use a
towel or otimr bulky cloti1.
iJ_i:_For >)ur safety, never use >mr appliance
f_r x_rming or heating tire r_om.
_ Do not let cooking g_ease or otimr
flammable materials accumulate in
or near tile oven.
_ Do not use water on g_ease fires. Never pick
up a flaming pan. Turn the controls off.
Flame in tire oven can be smotimred
completely by dosing tim oven (Mor and
mining the oven offor by using a muhi-
purpose dU chemical or f{mm-type fire
exting_fisher.
_; Stand away flx)m tire oven when opening
tire oven door. Hot air or steam which
escapes can cause burns to hands, face
and/or eyes.
N Do not heat unopened f_)od containers.
Pressure could buiM up and tile container
could burst, causing an injury.
@ Keep tim oven vent unobstructed.
N Keep tire oven flee flom g_ease buildup.
iJ_i:;Place tire oven shelf in tire desired position
while tire oxen is cool. If shelves nmst be
handled when hot, do not let pot holder
contact tile healing elemenLs.
iJ_i:;_qren using cooking or roasting bags in tire
oven, fi)llow tire manufacturer's directions.
_ Do not touch tire heating elements or tire
interior smtace of tim oven. These surfaces
may be hot enough u) burn even though
they aye clark in color. During and after
use, do not touch, or let dothing or other
flammable materials contact any interior
area of tim oven; allow sutticient time fi_r
cooling first.
Potentially hot smtaces include oven vent
openings, smi_lces near tire openings,
crevices around tim oven door, tim edges
of tim window and metal trim parts above
tile door.
REMEMBER: Tire inside smthce of tire oven
may be hot when tile door is opened.
_ Never leave jars or cans of fat drippings in
or near your oven.
ij_::_Do not store or use combustible materials,
gasoline or other flammable vapors and
liquids in tim vicinity of tilis or any otimr
appliance.
4
_ Pulling out fire shelf to tire stopqock is a
convenience in litdng heax T f()ods. It is also
a precaution against burns fr_mr touching
hot sutt[hces of fire door or oven walls.
_ After broiling, always take the broiler pan
out of tire oven and clean it. I,efiover
gTease in the broiler pan can catch fire
next time you use the pan.
_ Do not use fire oven to dU newspapers.
If overheated, they can catch on fire.
iJ_Z:_Do not use the oxen f(_ra storage area.
Items stor,ed in an oven can ignite.
_ Do not leave paper products, cooking
utensils or f{_odin the oven when not
in use.
_ (]lean only parts listed in this Use and
Care Manual.
Do not use aluminum fk)ilto line oven
bottoms, except as suggested in this
manual. Improper installation of
aluminum f0il mW result in a risk
of electric shock or fire.
COOKMEATANDPOULTRYTHOROUGHLY...
Cookmeat andpoultry thoroughly--meat to atleast anINTERNALtemperatureof 160°Eandpou/try
toat least an INTERNALtemperatureof 180°ECookingto thesetemperaturesusuaflypmtects against
foodbomeillness.
SELF-CLEANINGOVEN
iJ_Z:_Do not clean dre door gasket. The door
gasket is essential f{_ra good seal. Care
should be taken not to rub, damage or
move the gasket.
iJ_Z:_Do not use oven cleaners. No commercial
oven cleaner or oven liner protective
coating of any kind should be used in or
around any part of the oven. Residue from
oven cleaners will damage the inside of the
oven when the self:clean {Tcleis used.
iJ_Z:_l_f()re self:cleaning lhe oven, remove the
broiler pan, gTid and other cookwar,e.
_ l',e sure m wipe up excess spillage bef_r,e
starting the sell:cleaning operation.
iJhZ:;If the sell:cleaning mode malfunctions,
mm the oven off and disconnect the power
supply. Have it sere'iced by a qualified
technician.
READANDFOLLOWTHISSAFETYINFORMATIONCAREFULLY.
SAVETHESEINSTRUCTIONS
Usingthe ovencontrols.
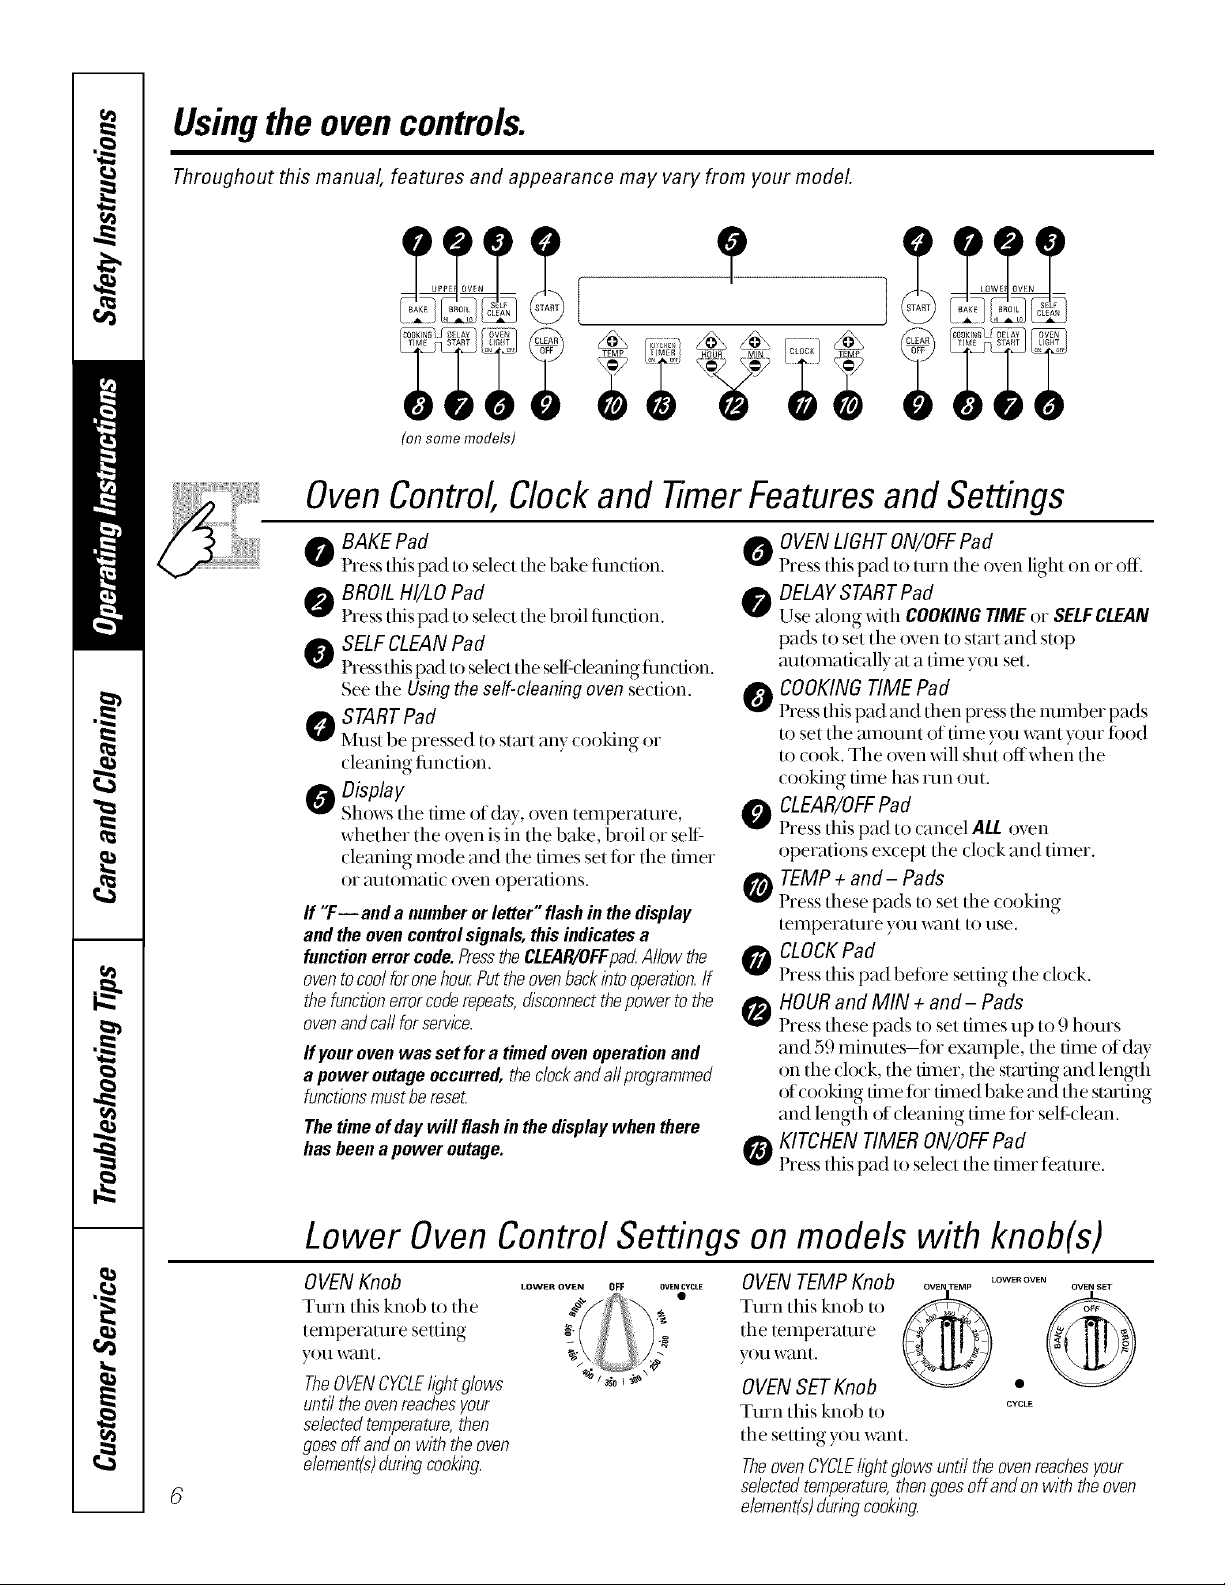
Throughout this manual, features and appearance may vary from your model.
(on some models)
OvenControl, Clock and TimerFeatures and Settings
0 BAKE Pad
Press this pad to select tile bake fimction.
e'_ BROILHI/LOPad
Press this pad to select tile broil fimction.
SELFCLEANPad
Press this pad to sele(t tile self-(leaning tim(Lion.
Seetile Usingthe self-cleaningovensection.
STARTPad
Must be pressed to start any (ooking or
cleaning fimction.
0 Display
Shows tile time of day, oven temperature,
whether the oven is in the bake, broil or sell:
cleaning mode and the times set fi)r the timer
or mnomafic ()yen operations.
ff "F--and a numberorletter"flashinthedisplay
andtheovencontrolsignals, thisindicatesa
functionerrorcode.PresstheCLEAR/OFFpa_Allow the
oventocoolforonehourPuttheovenbackintooperatbn.If
thefunctionerrorcoderepeats,disconnectthepowertothe
ovenandcarlforservice.
fly our oven was set fora timed oven operationand
a power outage occurred, the dock and a//programmed
functionsmust be reseL
Thetime ofdaywill flashin thedisplaywhen there
hasbeena poweroutage.
OVENLIGHT ON/OFFPad
Press this pad to turn tile oven light on or off.
DELAYSTARTPad
Use ahmg widl COOKINGTIMEor SELFCLEAN
pads to set tile oven to start and slop
mltomafically at a time y()u set.
COOKINGTIME Pad
Press this pad and then press tile number pads
to set tile amount of time you want your ti)od
to cook. The oven will shut offwhen the
(ooking time has run out.
CLEAR/OFFPad
Press tllis pad to (ancel ALL oven
operations except the dock and timer.
TEMP ÷ and- Pads
Press these pads to set tile (ooking
telnperamre you want 1orise.
_ CLOCKPad
) y
l ress this pad befi)re setting tile (lo(k.
HOURand MIN + and- Pads
Press these pads to set times up to 9 hours
and 59 minutes--ti)r exmnple, tile time of dW
on the clock, the timer, the stmfing and length
of cooking time ti)r timed bake mM tile stzufing
and length of cleaning time ti)r self clean.
KITCHEN TIMERON/OFFPad
Press this pad to sele(t tile timer featlHe.
Lower Oven Control Settings on models with knob(s)
OVENKnob
Turn this knob to tile
temperature setting
y()tl want,
TheOVENCYCLEh_?htglows
untiltheovenreachesyour
selectedtemperature,then
goesoffandonwith theoven
dement(s)dunbgcooking.
LOWER OVEN OFF OVENCYCLE
OVEN TEMPKnob
LOWER OVEN OVEN SET
Turn this knob to
the temperature
V( )ll _V_IIl[,
OVENSET Knob
Turn this knob to
CYCLE
tile setting y()u want.
TheovenCYCLEhghtglowsuntiltheovenreachesyour
selectedtemperature,thengoesoffandonwith theoven
element(s)duringcooking.
Special featuresofyourovencontrol
Yournew touch pad control has additional features that you may choose to use. The following are the features
and how you may activate them.
The special feature modes can only be activated while the display is showing the time of day. Theyremain
in the control's memory until the steps are repeated.
When the display shows your choice, press the STARTpad. Thespecial features will remain in memory after
a power failure.
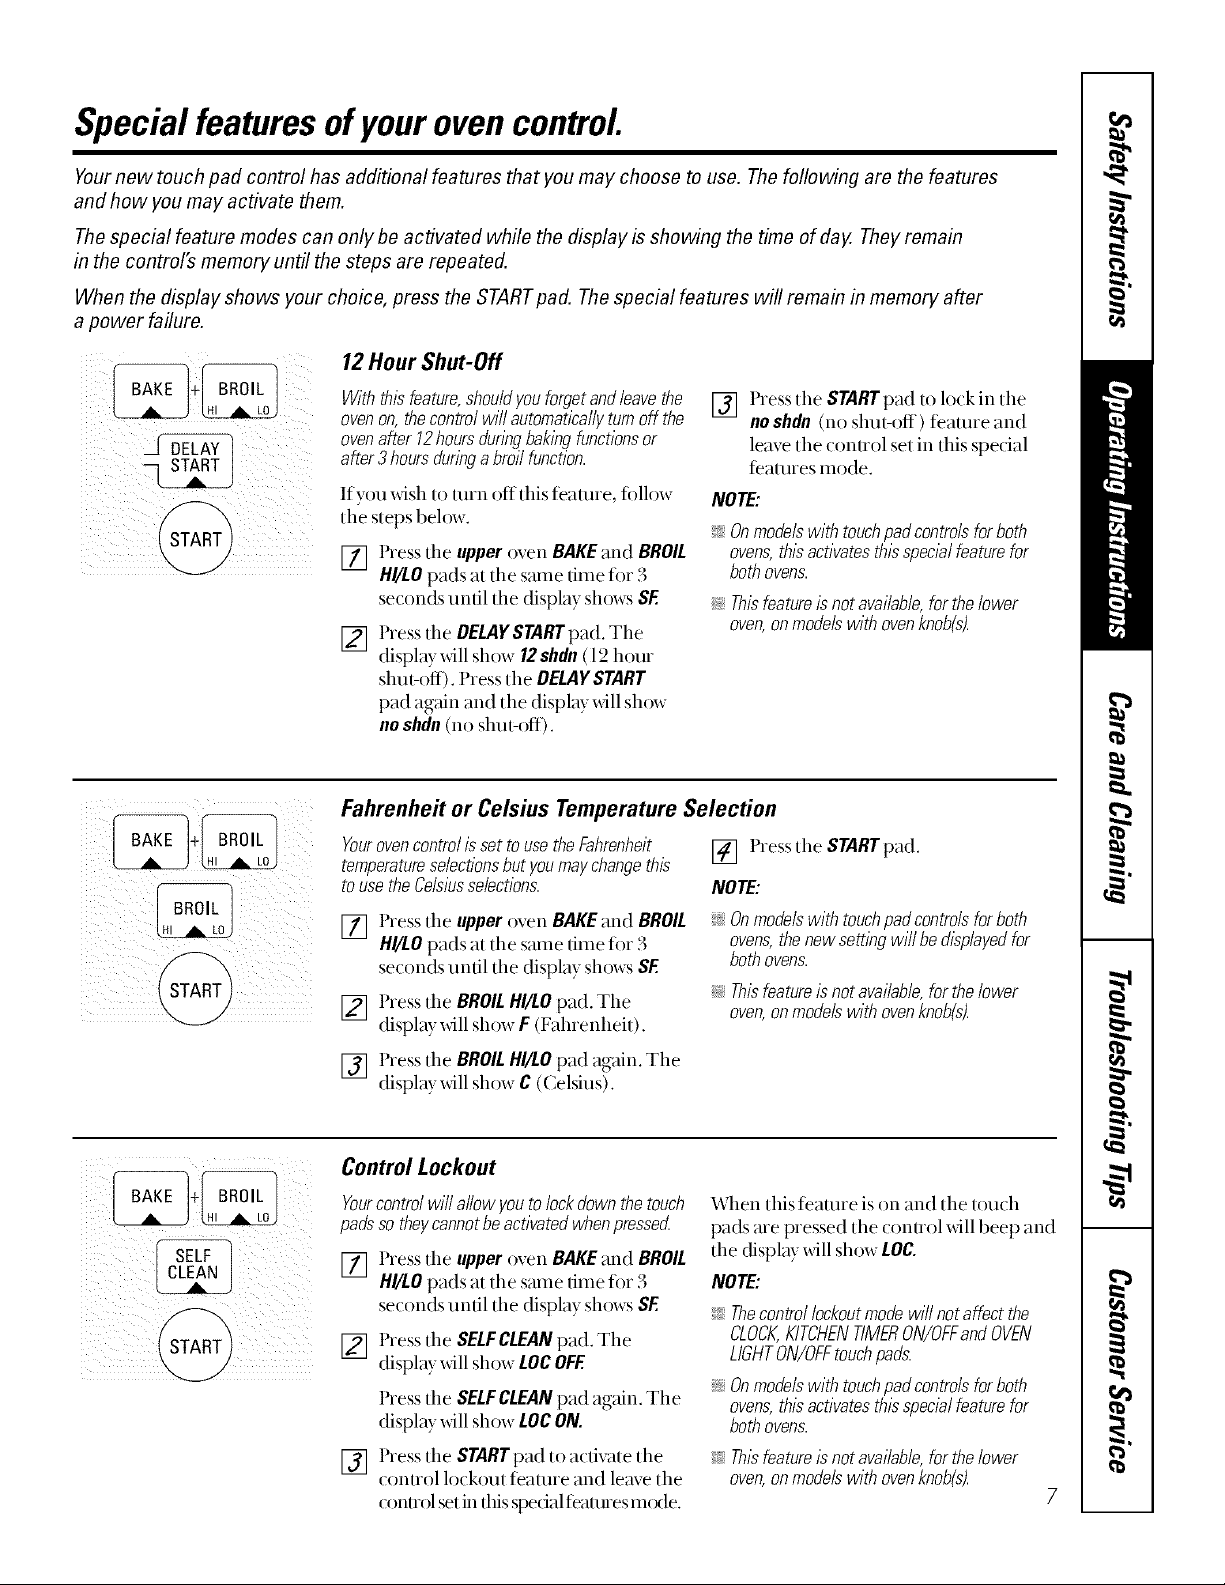
12 Hour Shut-Off
Withthisfeature,shouldyouforgetandleavethe
ovenon,thecontrolwi//automaticallyturnoff the
ovenafter 12hoursflunbgbakingfunctionsor
after3hoursduringa broilfunction.
If yOU wish to tuI'n offthis featuie, folh)w
the steps beh)w.
[] Press the upper oven BAKE and BROIL
HI/LO pads at the same time fi)r 3
seconds until the display shows SF.
Press the DELAYSTARTpad. The
[]
display _dll show 12shdu (12 hour
shut-off). Press the DELAYSTART
pad again and the display will show
no shdn(no shut-off).
Fahrenhe# or Celsius Temperature Selection
Yourovencontrol isset touse theFahrenheit
temperatureselectionsbut you may changethis
to use theCelsiusselections.
Press the upperoven BAKEand BROIL
[]
H!/LOpads at the same time for 3
se(onds until the display shows SF.
[] Press the BROILHI/LOpad. The
display xdll show F (Fahrenheit).
[] Press the STARTpad to lock in the
NOTE:
>_Onmodelswithtouchpadcontrolsforboth
ovens,thisactivatesthisspecialfeaturefor
bothovens.
i:_?Thisfeatureisnotavailable,forthelower
oven,onmodelswithovenknob(s).
[] Pressthe STARTpad.
NOTE:
>_Onmodelswith touchpad controls for both
ovens,the new setting will be displayedfor
both ovens.
i::?Thisfeatureisnotavailable,forthelower
oven,onmodelswithovenknob(s).
no shdu (no shut-off) feattne and
leave the control set in this spedal
featmes mode.
[] Press the BROILHI/LOpad again. The
display _dll show C ((eMus).
Control Lockout
Yourcontrolwill allowyoutolockdownthetouch
padssotheycannotbeactivatedwhenpresser_
[] Press the upper oven BAKE and BROIL
HI/LO pads at the same time for 3
se(onds until the display shows SF.
[] Press the SELFCLEANpad. The
display will show LOCOFF.
Press the SELFCLEANpad again. The
display xdll show LOCON.
[] Press the STARTpad to activate the
control h)ckout feature and leave the
control set in thisspedal teattnes mode.
When this teatme is on and the touch
pads me pressed the conuol will beep and
the display will show LOC.
NOTE:
:i_Thecontrollockoutmodewillnotaffectthe
CLOCK,KITCHENTIMERON/OFFandOVEN
LIGHTON/OFFtouchpads.
i::__Onmodelswith touchpadcontrolsforboth
ovens,thisactivatesthisspecialfeaturefor
bothovens.
>_Thisfeature/snotavailable,forthelower
oven,onmodelswithovenknob(s).
7
Special featuresofyouroven control
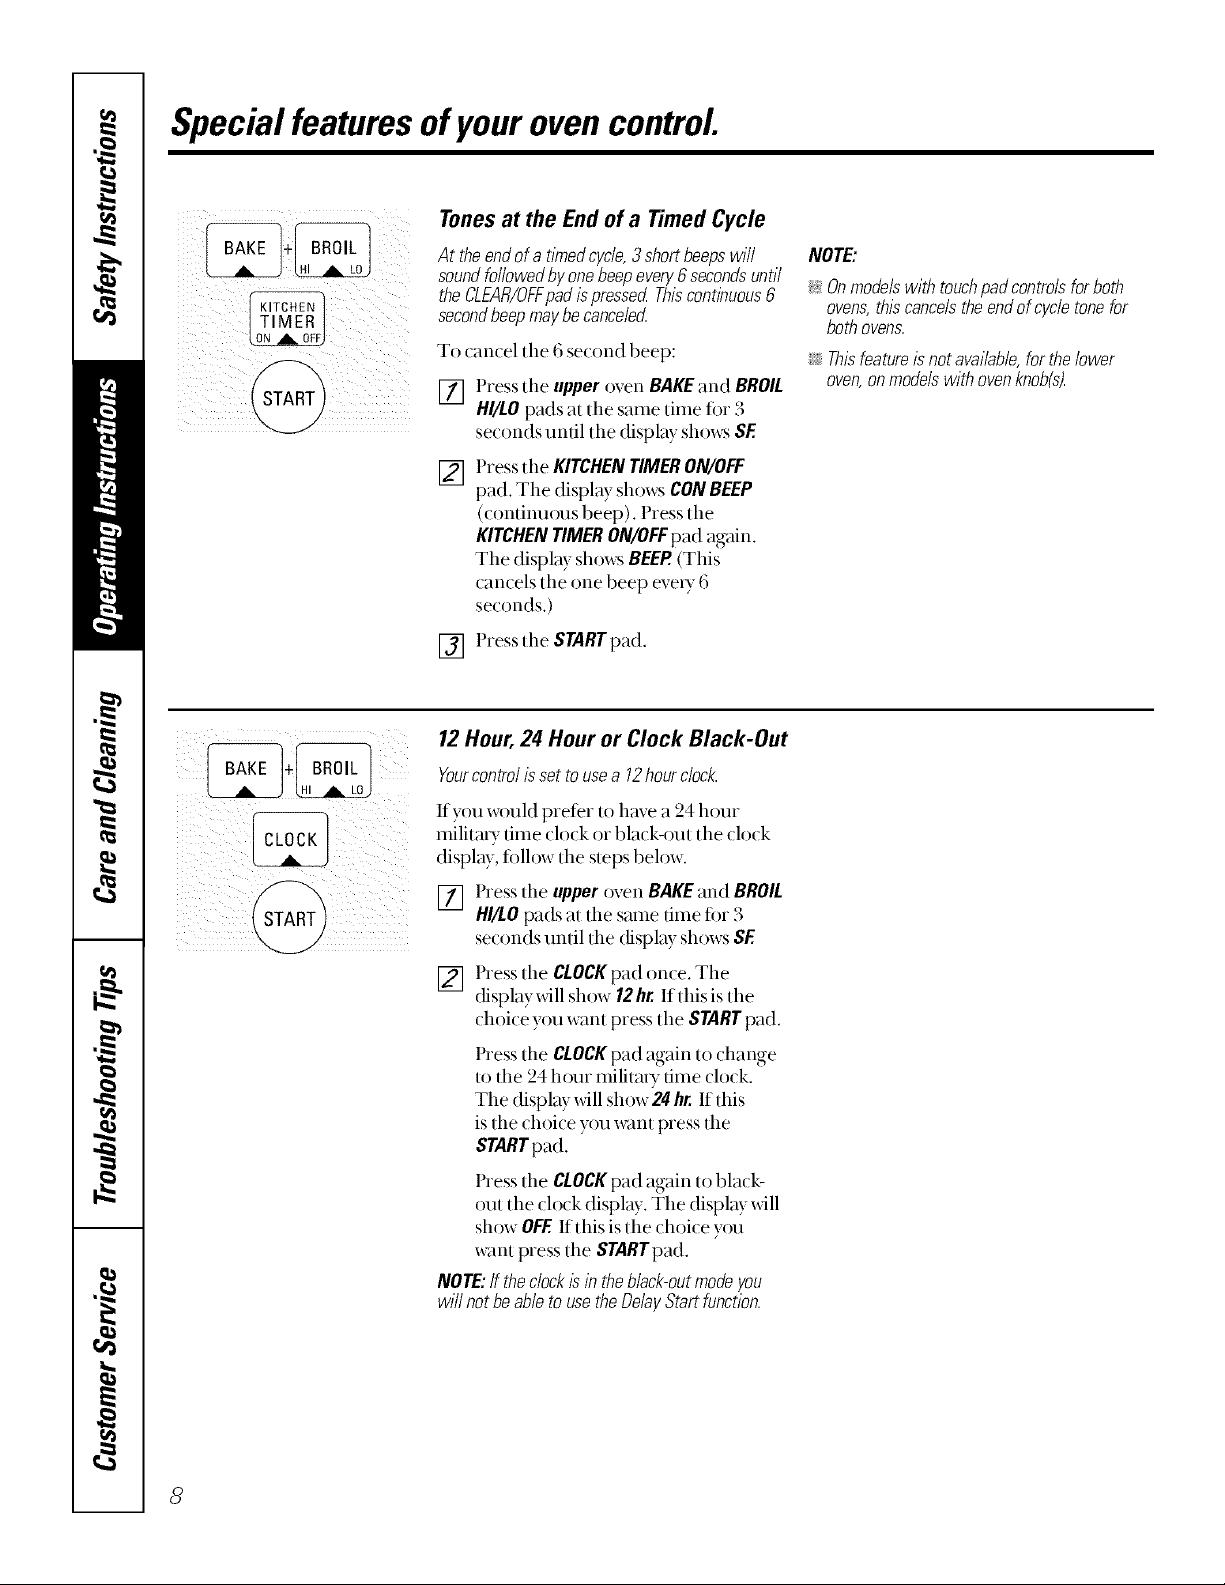
Tonesat the Endof a TimedCycle
At theendofa tYnedcycle,3shortbeepswill
soundfollowedbyonebeepevery6secondsuntil
theCLEAR/OFFpadispressedThiscontinuous6
secondbeepmaybecance/ecL
To cancel tile 6 second beep:
[] Press tlle upperoven BAKEand BROIL
HI/LOpads at tlle same time fi)r 3
seconds until tile display shows SF
Press tlle KITCHENTIMERON/OFF
[]
pad. The display shows CONBEEP
(continuous beep). Press the
KITCHENTIMERON/OFFpad again.
The display shows BEEP.(This
cancels the one beep every 6
seconds.)
[] Press flm STARTpad.
NOTE:
>_& modelswithtouchpadcontrobforboth
ovens,thiscancelstheendofcycletonefor
bothovens.
i:yThisfeatureisnot available,forthelower
oven,onmodelswithovenknob(s).
12Hour,24 Hour or Clock Black-Out
Yourcontrolissettousea 12hourdock.
Ifyou wouM prefer to have a 24 hour
milita U time (lo(k or black-out tile (lo(k
display, tollow tlle steps below.
[] Press the upperoven BAKEand BROIL
HI/LOpads at the same time fi)r 3
se(onds until tile (fisplay shows SF
Press the CLOCKpad once. The
[]
(fisplayxdll show 12hr.If this is the
dloice you want press the STARTpad.
Press the CLOCKpad again to change
to the 24 hour militmy time clock.
The display will show 24 hr.If this
is the choice you want press the
STARTpad.
Press the CLOCKpad again to black-
out the clock display. The display will
show OFF If this is the choice you
want press the START pad.
NOTE:If theclockIsin the black-out modeyou
will not beable to usethe DelayStart function.
8
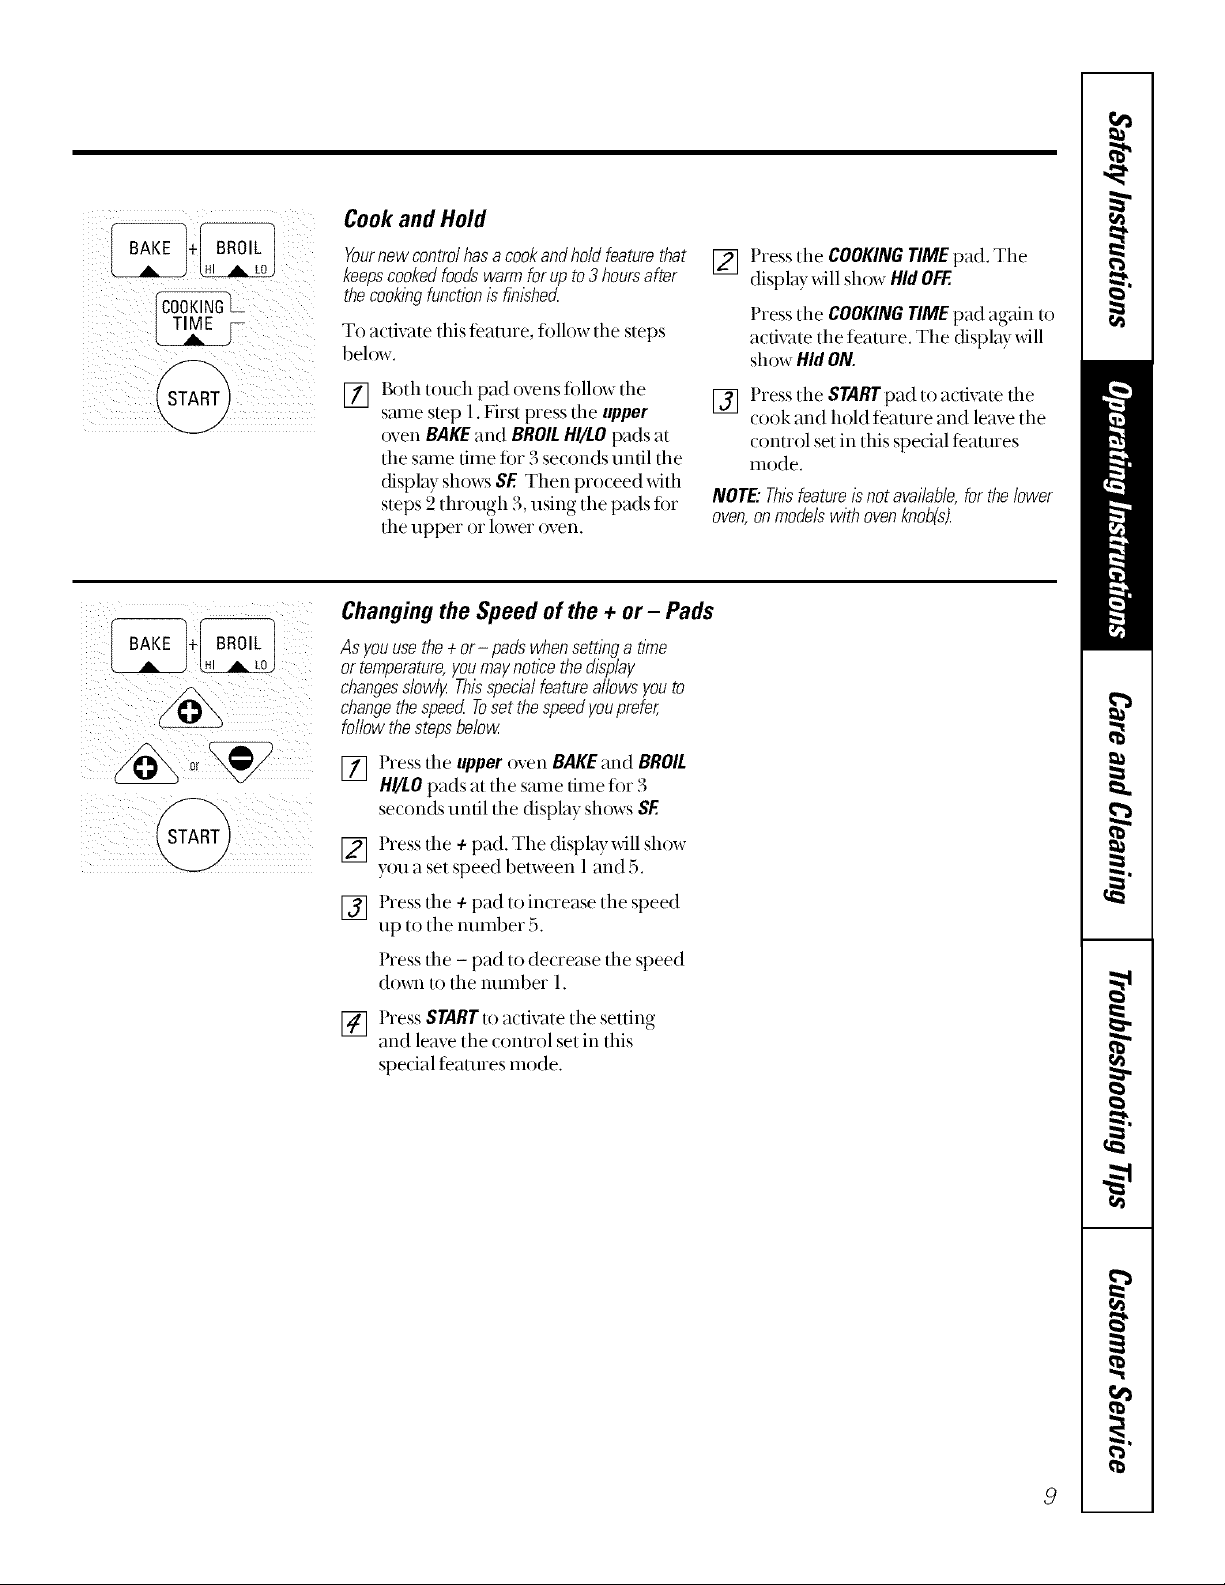
Cook and Hold
iI i! iii
Yournewcontrolhasacookandholdfeaturethat
keepscookedfoodswarmforupto3hoursafter
thecooklhgfunctionisflnlshe_
To a(tivate this teamre, follow tile steps
below.
[] Bofll touOl pad ovens follow tile
same step 1.First press tile upper
oven BAKEand BROILHI/LOpads at
the stone lime tot 3 seconds until the
displ W shows SE Then proceed with
steps 2 through 3, using the pads for
the upper or lower oven.
Changing the Speed of the + or- Pads
As you usethe + or- pads when setting a time
or temperature,youmay notice the display
changesslowly Thisspecialfeature allows you to
changethe speed Toset the speedyouprefer,
follow the stepsbelow
[] Press the upperoven BAKEand BROIL
HI/LOpads at tile same time for 3
se{onds until the display shows SE
[] Press the COOKINGTIMEpad. Tile
display will show Hid OFF.
Press tile COOKINGTIME pad again to
a_tivate tile feature. The display _dll
show HidON.
[] Press tile STARTpad to activate tile
cook and hold feature and leave tile
control set in this special features
inode.
NOTE" Thisfeature isnot available,for thelower
oven,on modelswith ovenknob(s).
Press the + pad. The display xdll show
[]
you a set speed between 1 and 5.
Press tile + pad to increase tile speed
[]
up to tile number 5.
Press tile - pad to decrease tile speed
cl()_l to the number 1.
[] Press STARTto activate the setting
and leave tile control set in tiffs
special Datures mode.
 Loading...